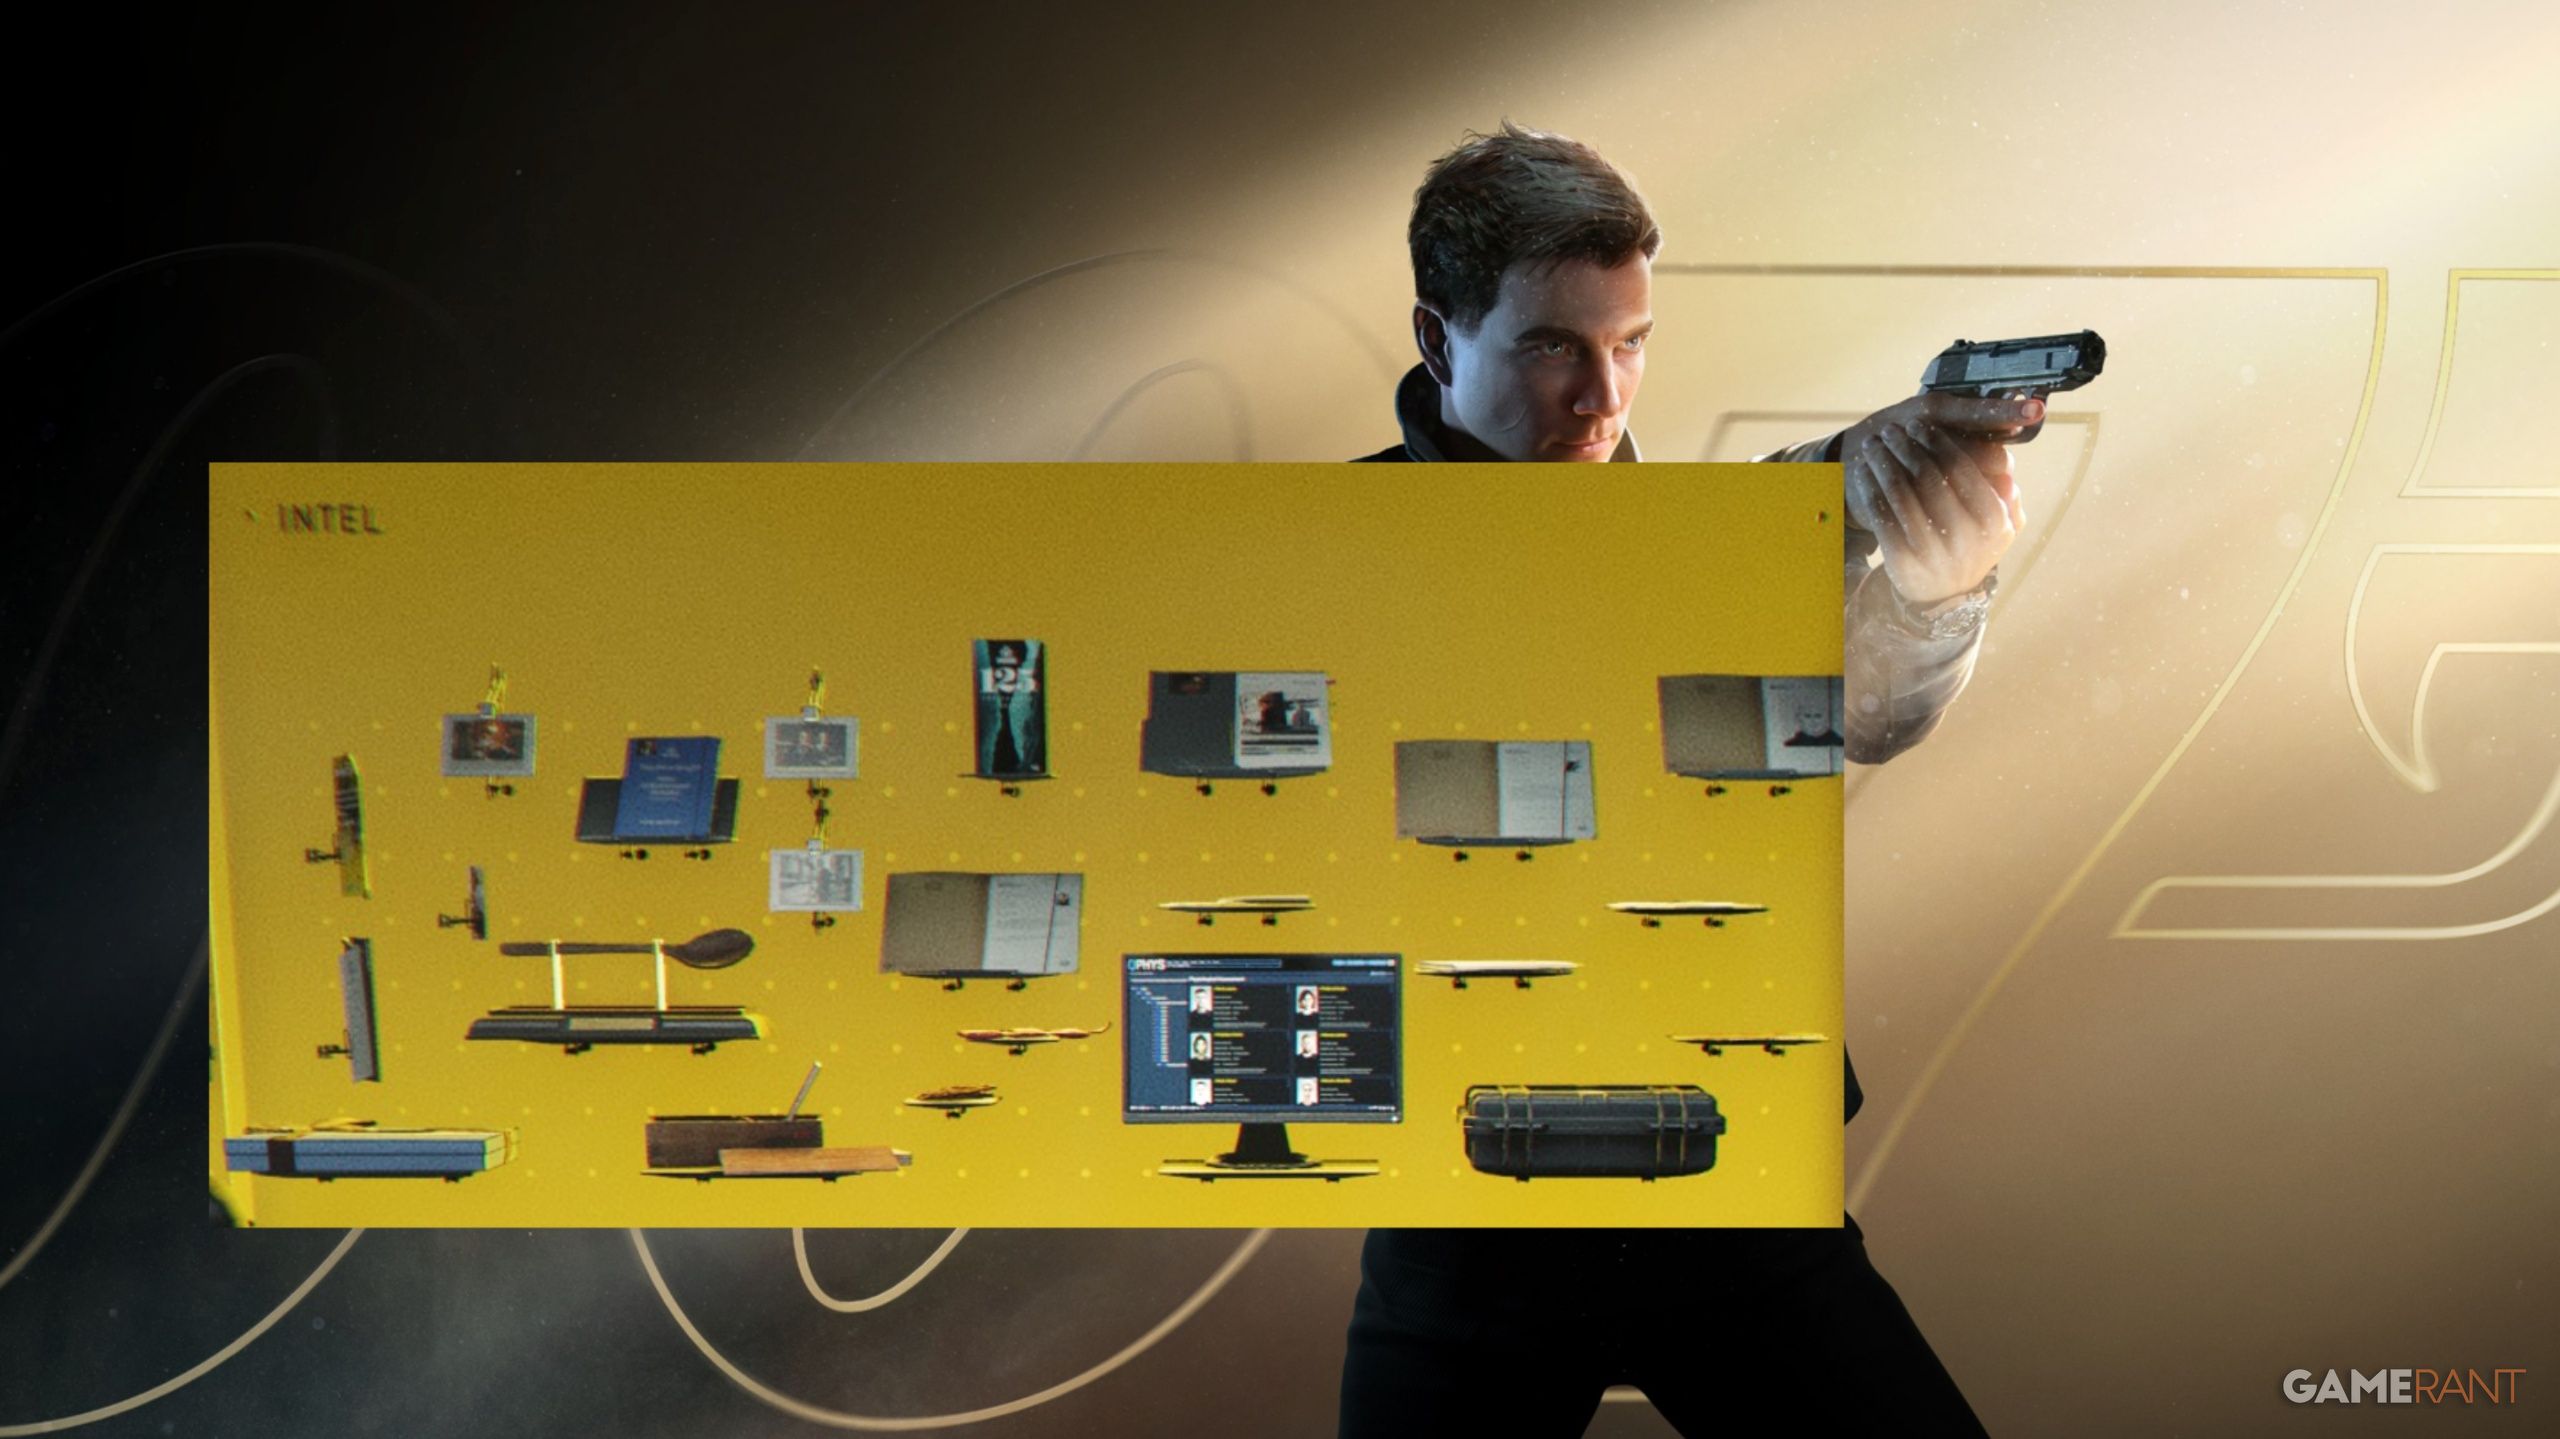
In the game 007 First Light, you can find 23 collectible items referred to as both ‘Intel’ and ‘MI6 Files’. We’ve located all of them and documented where to find each one, including the specific mission and checkpoint, to help you collect them all.
All Intel (MI6 Files) Overview in 007 First Light
| Intel (MI6 File) | Mission | Checkpoint |
|---|---|---|
| Workshop Notice | Selina Tan | The Heart of the Matter | Q-Lab |
| Recruit Stats | 00 Recruits | The Heart of the Matter | Q-Lab |
| Family Photo | Lenox Monroe | A New Home | Home |
| Dress Box | Cressida Bright | A New Home | Home |
| Arrowhead Report | Arrowhead | A Matter of Considerable Delicacy | Operations |
| 009 Profile | 009 | A Matter of Considerable Delicacy | Master Manipulator |
| Facial Composite | Niko and Tero Murto | Out of the Ashes | Talk to Moneypenny |
| Delivery Box | Bawma | The Past Never Dies | Black Market |
| Photo of Greenway | John Greenway | The Past Never Dies | Examine the Crime Scene |
| Bond Family Photo | James Bond | Uninvited | Back Home |
| Webb Industries Press Pack | Webb Industries | Uninvited | Get Upstairs |
| Security Notice | Stephen Bright | Uninvited | Security Office |
| Wooden Spoon | Roger Finch | Knightfall | Executive 1st Floor |
| Employment Contract | Isola Vale | Knightfall | Executive 1st Floor |
| Psych Profile | Damien Webb | Knightfall | The Penthouse |
| Driving Gloves | Q | Going Old School | In the Zone |
| Keynote Presentation | Theresa Lorca | Time to Die | The Three Targets |
| Caliban Profile | Caliban | Time to Die | Suit Up |
| Gun Case | Riptide | Time to Die | Tracking Damien |
| Q’s Photo | Rhys Beckett | Man of the Hour | The Betrayal |
| M Profile | M | Wave of the Future | Operations Department |
| Webb’s Manuscript | Sir Nicholas Webb | Wave of the Future | Operations Department |
| Wallet | Eve Moneypenny | For England | Utility Tunnels I |
Intel #1: Workshop Notice | Selina Tan (The Heart of the Matter)
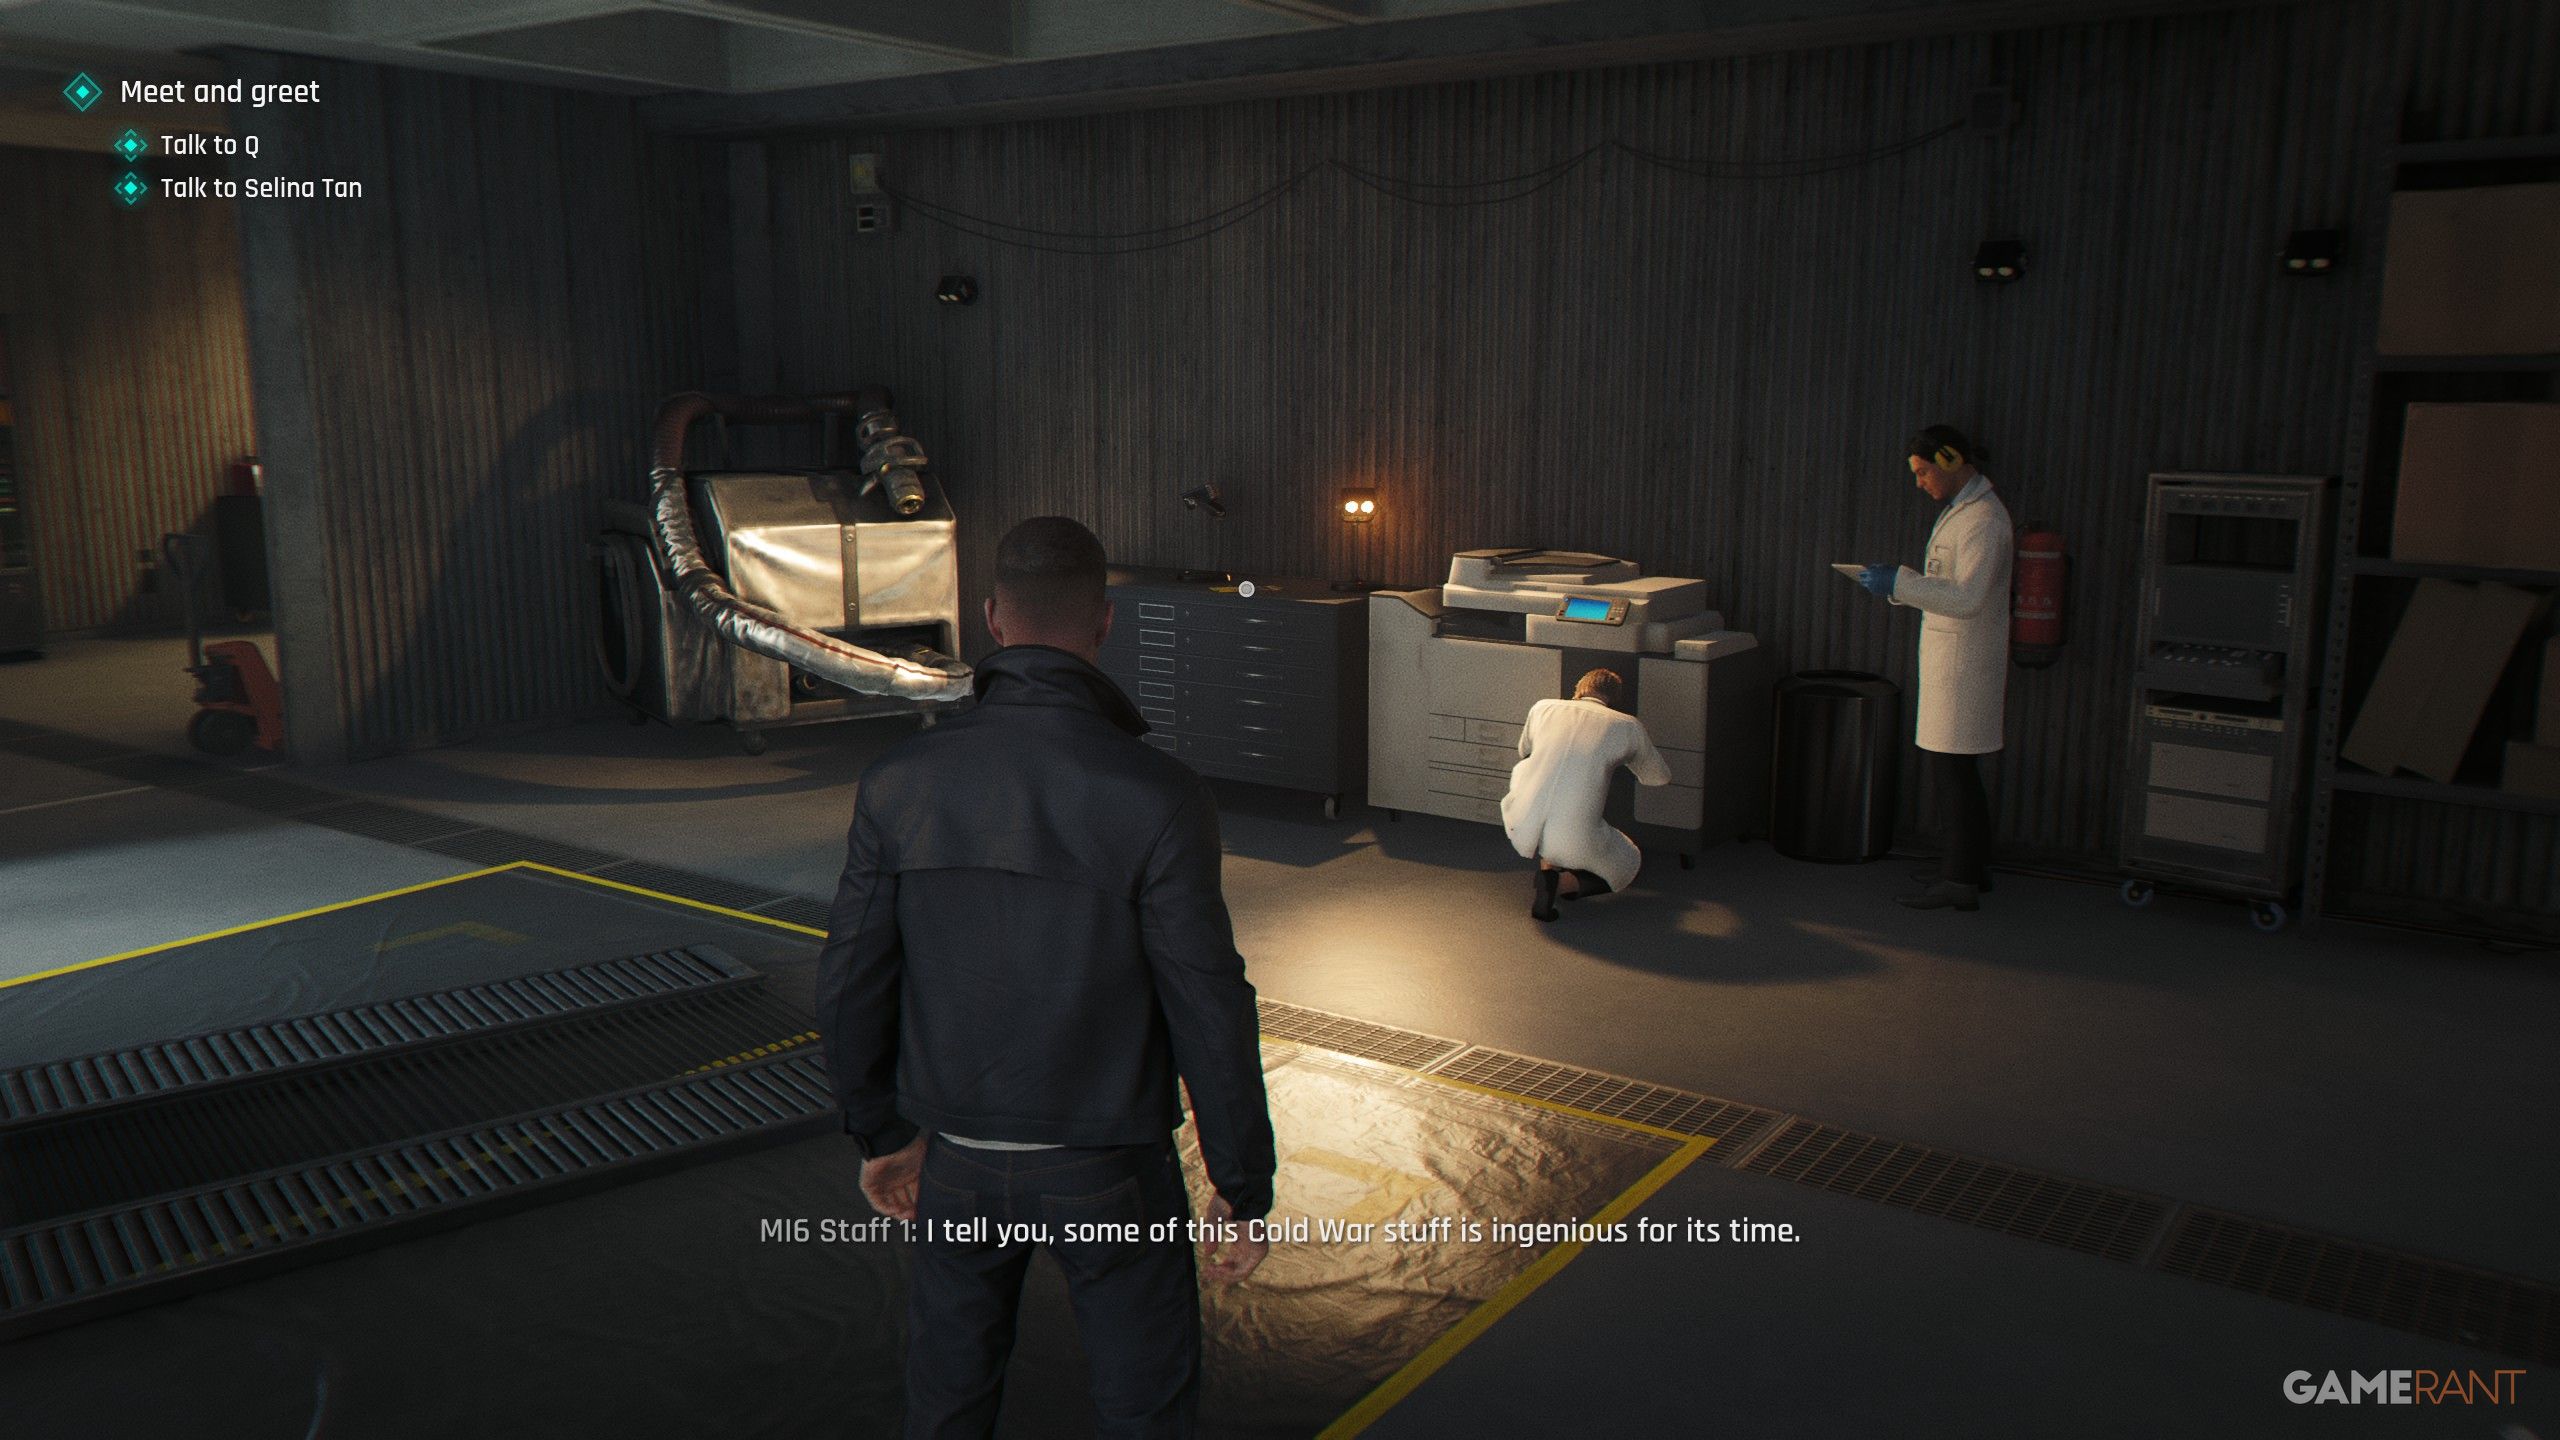
- Checkpoint: Q-Lab
When you begin at Q-Lab, you’ll initially be told to talk to Q and Selina Tan. However, instead of doing that, go straight to the back right corner, near the scientists and the photocopier. You’ll find the information you need on a table there.
Intel #2: Recruit Stats | 00 Recruits (The Heart of the Matter)
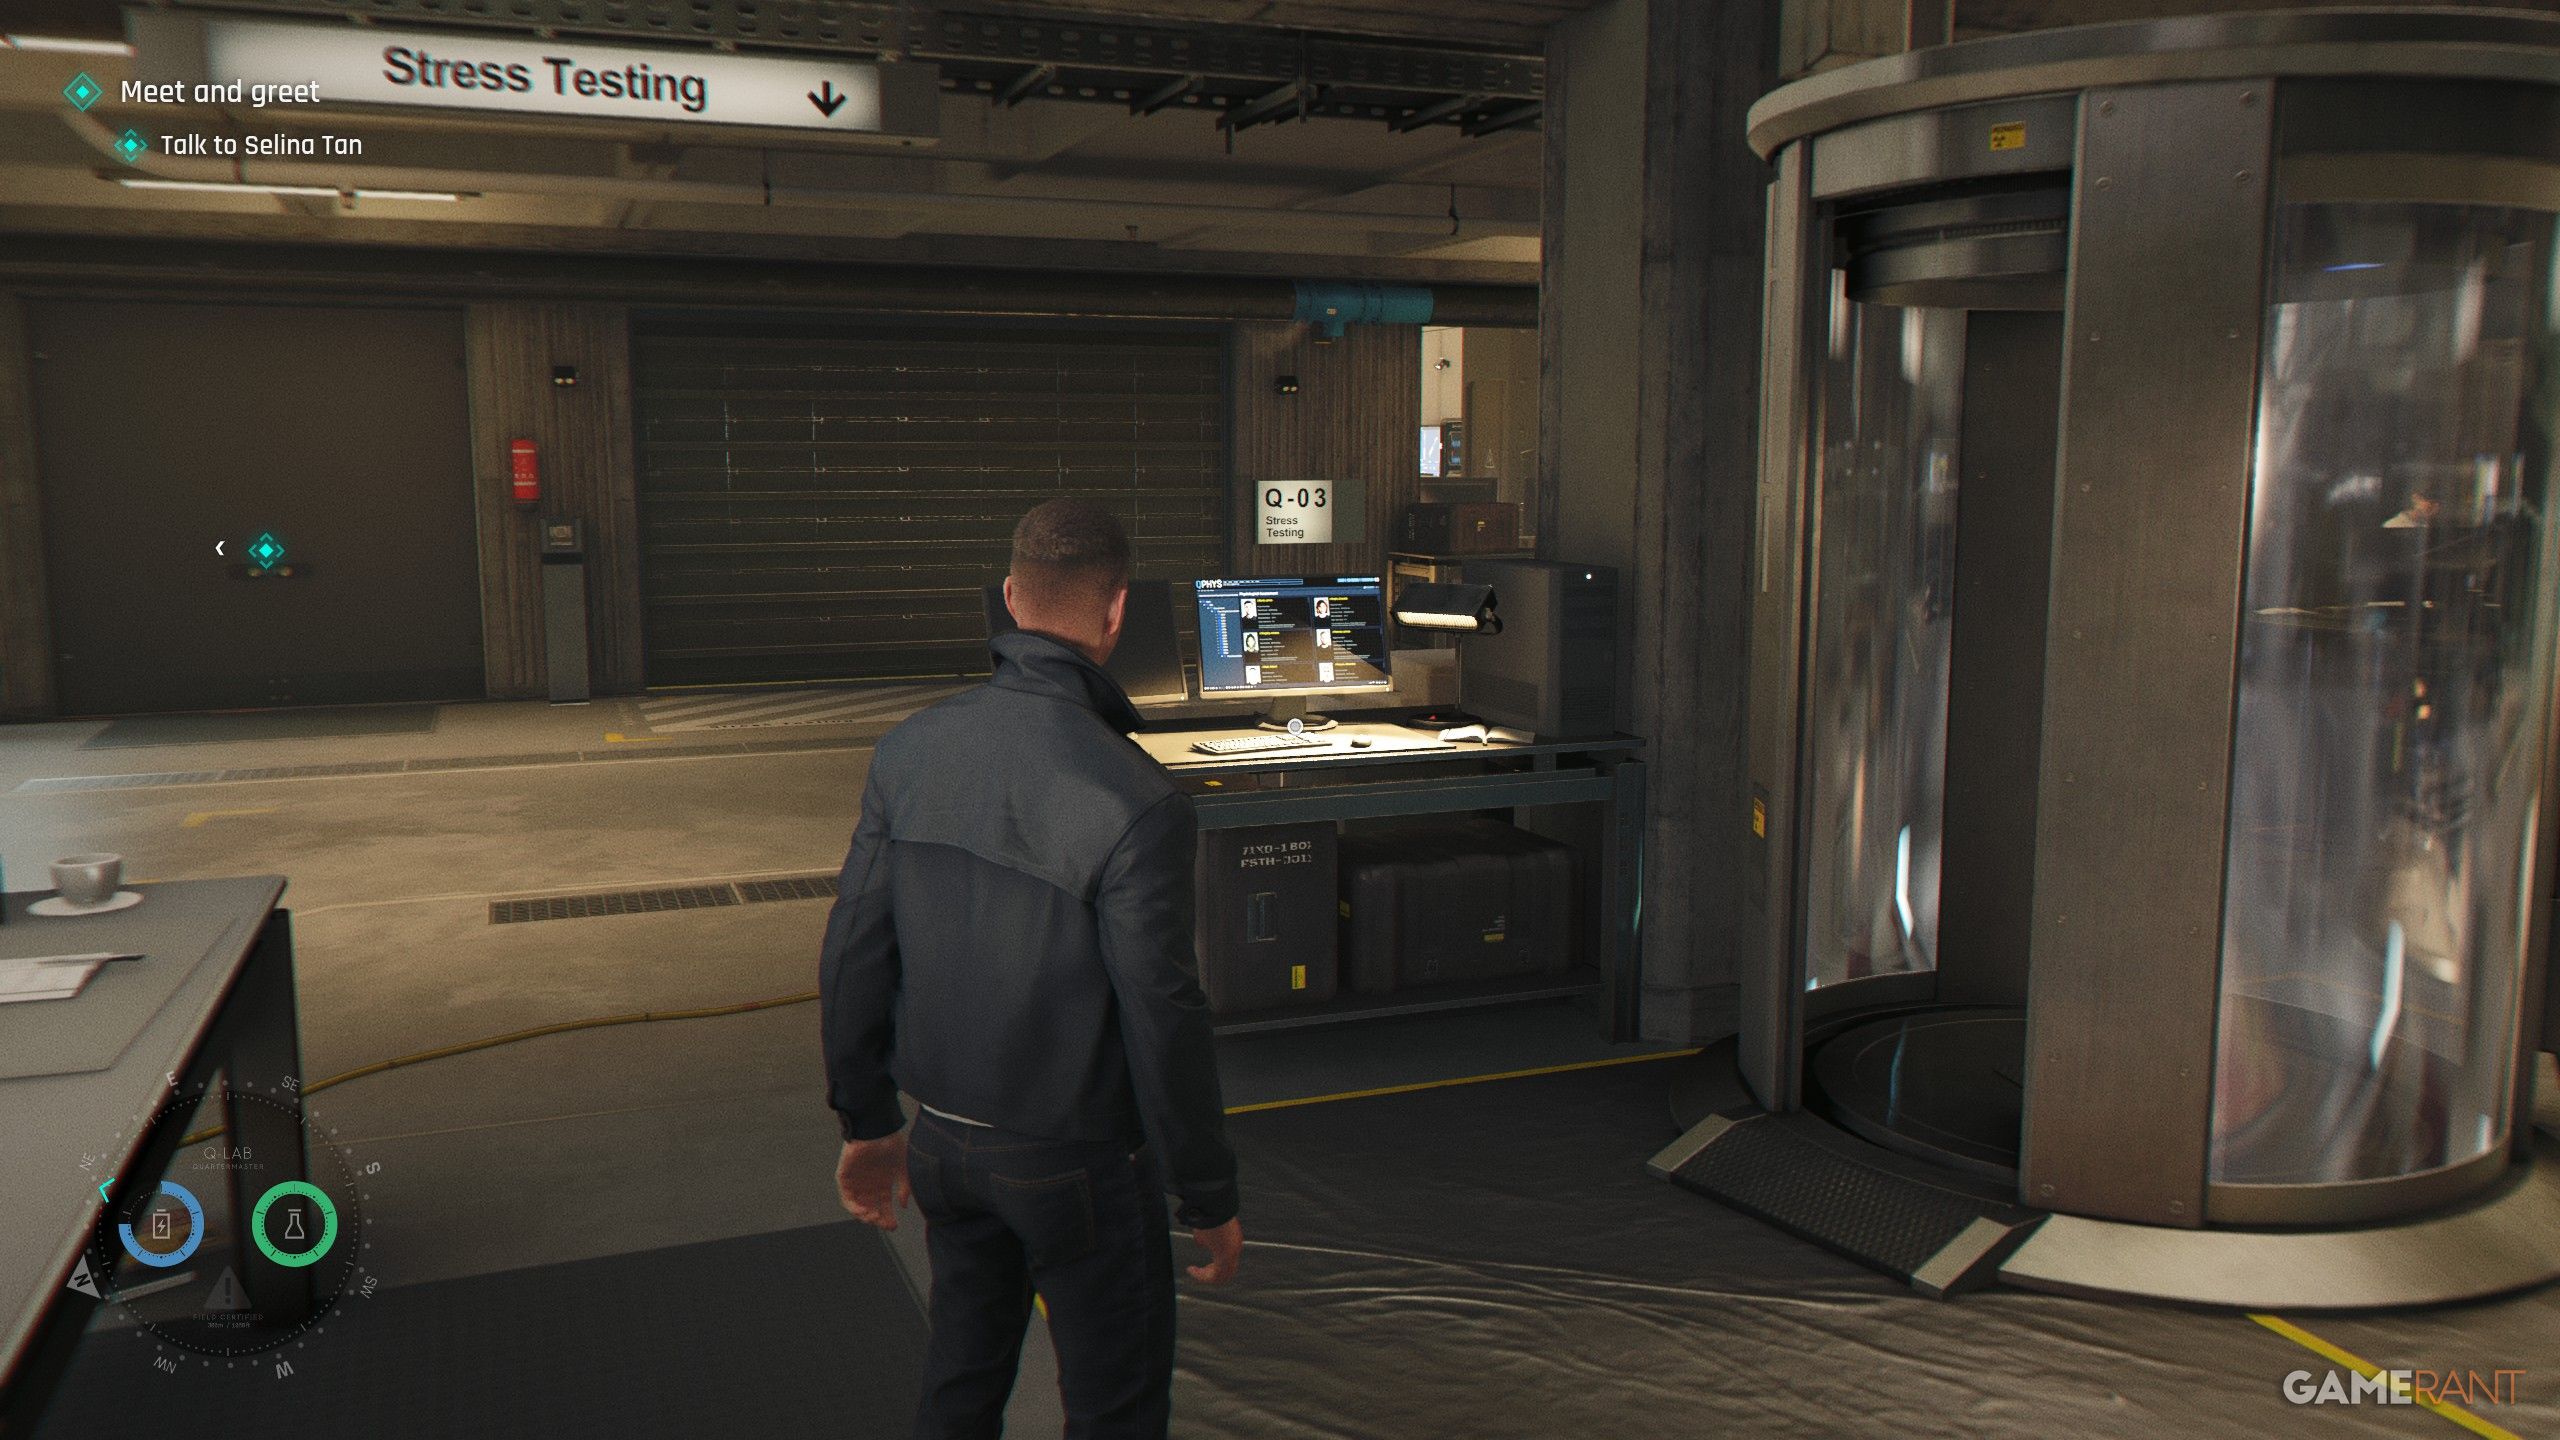
- Checkpoint: Q-Lab
Now you can talk to Q, who will guide you through how to use the Q-Watch. Once you’re finished, go to the table directly behind Q. You’ll find the information you need next to the computer running the Stress Testing program.
Intel #3: Family Photo | Lenox Monroe (A New Home)
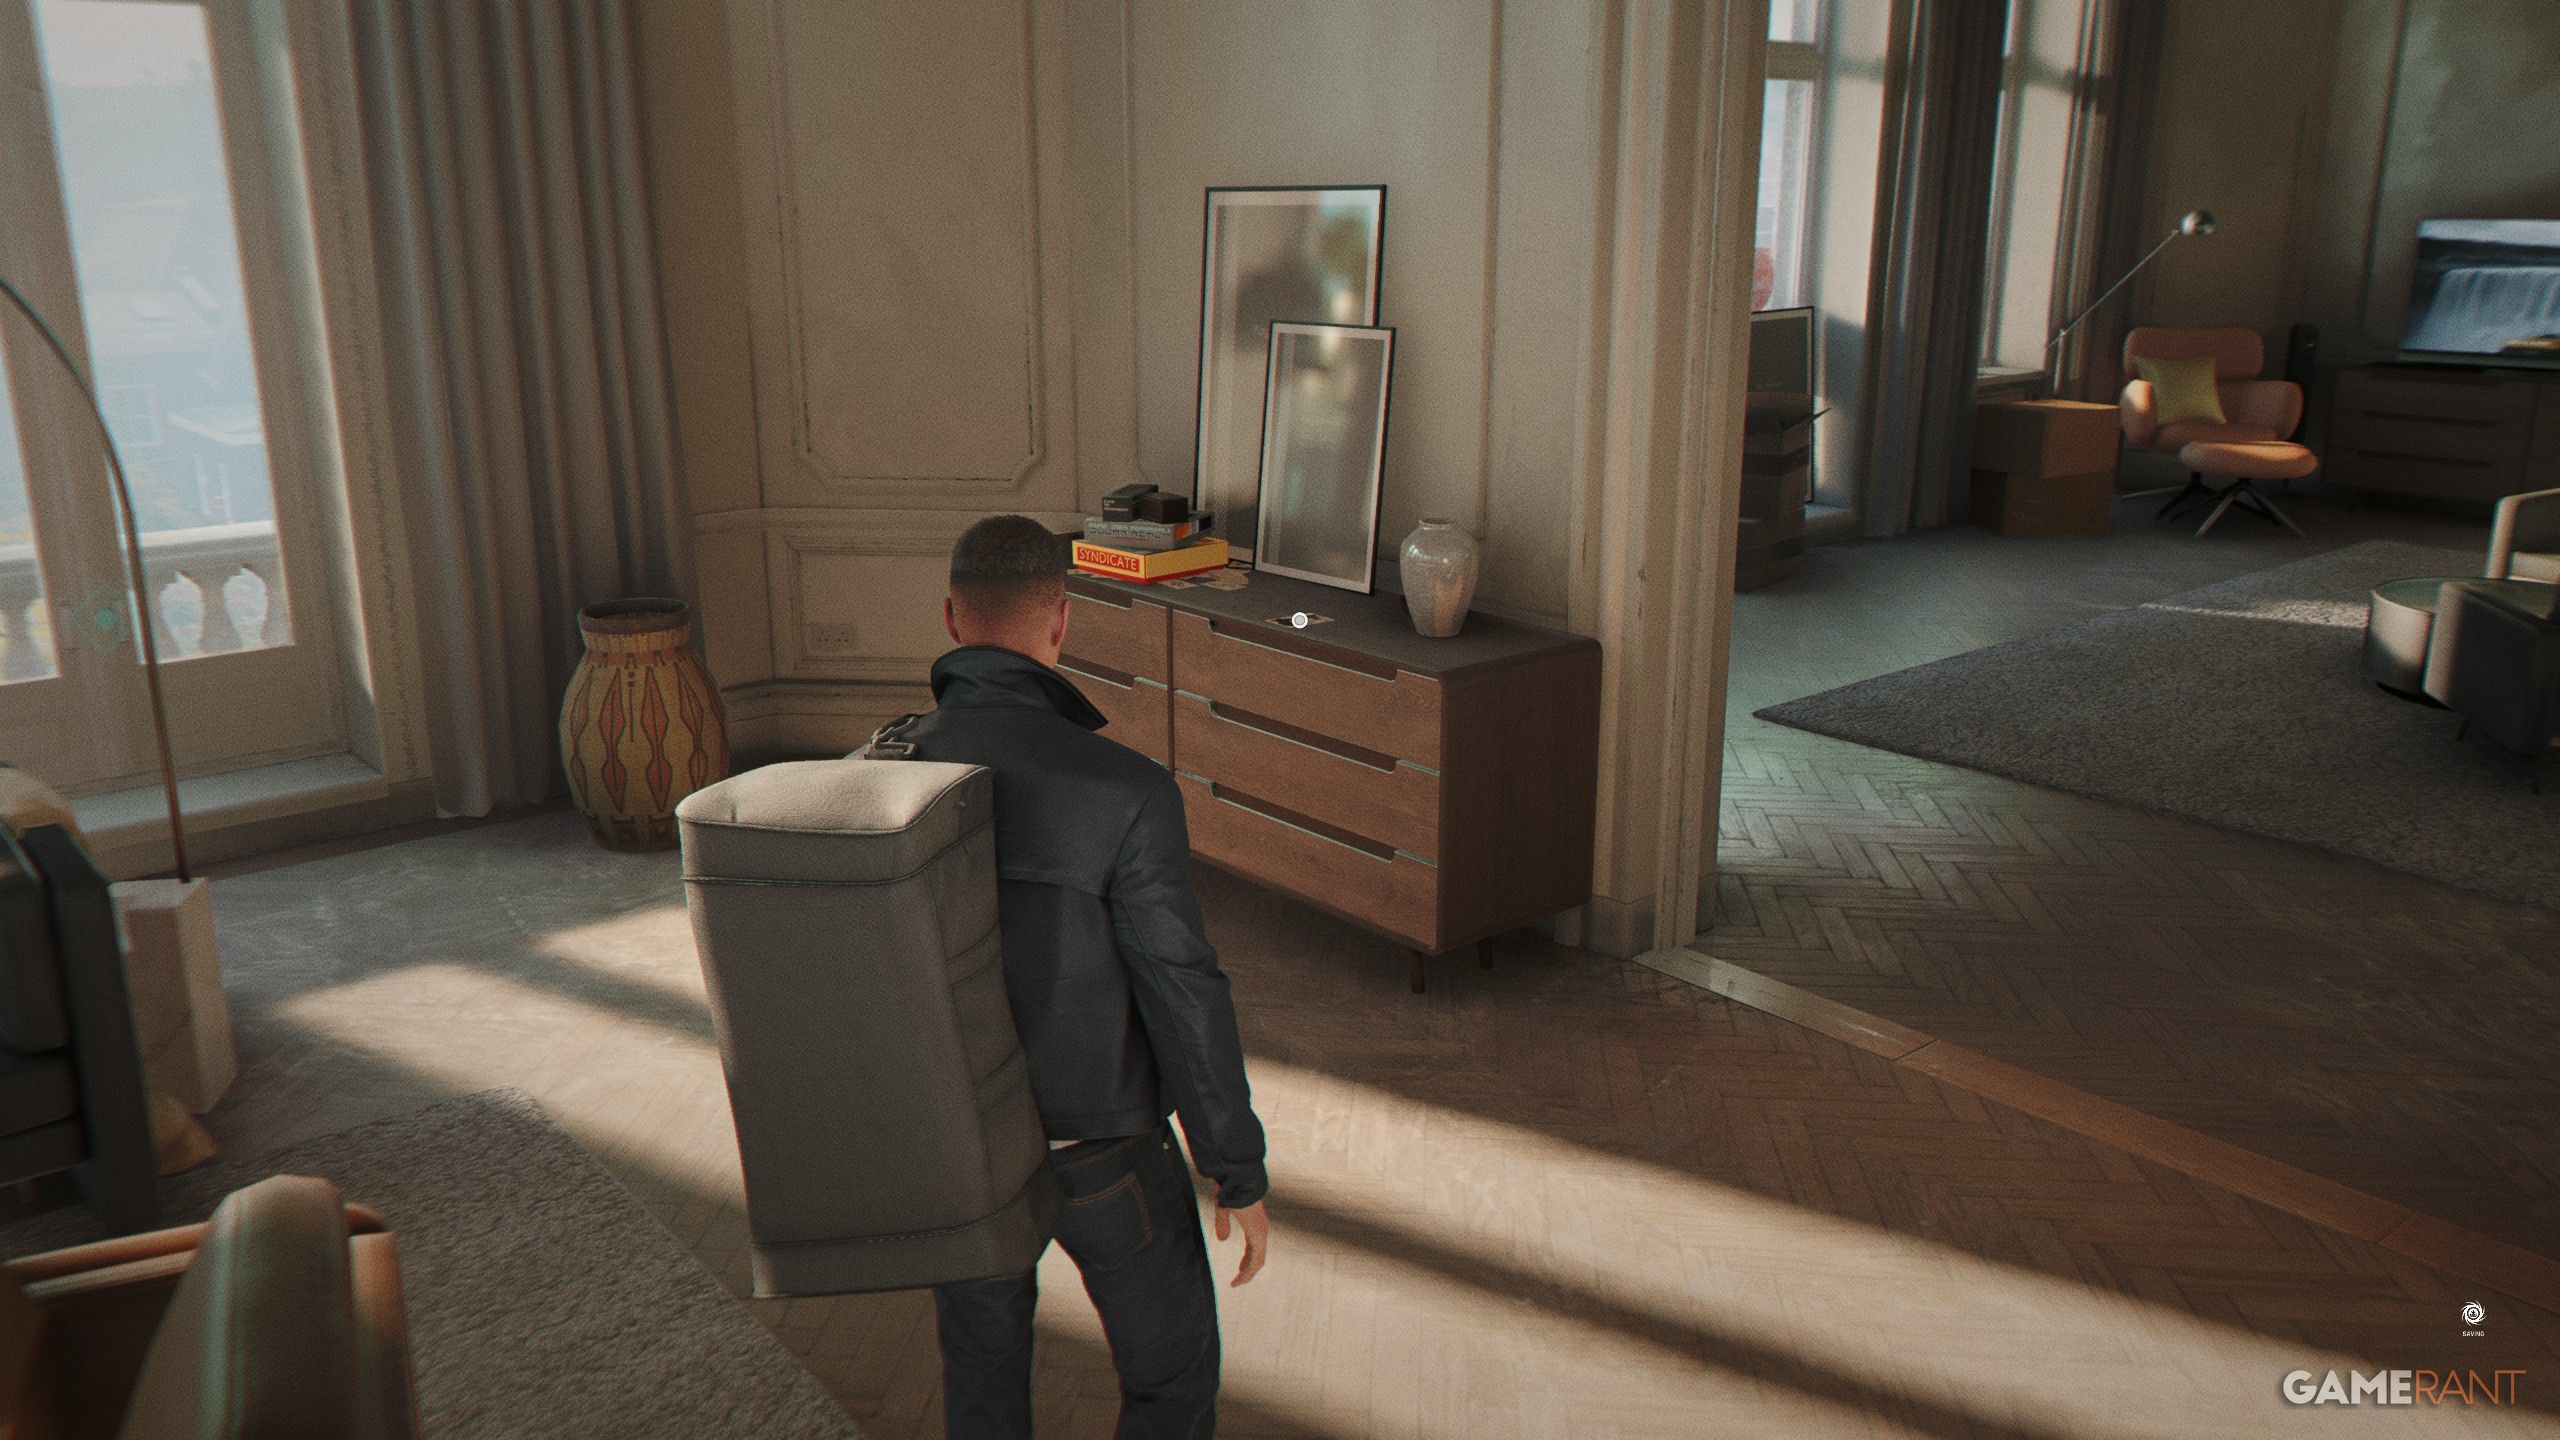
- Checkpoint: Home
Once you’re in your new apartment, go into the living room. You’ll find the information you need on top of the drawers that hold the board games and vase.
Intel #4: Dress Box | Cressida Bright (A New Home)
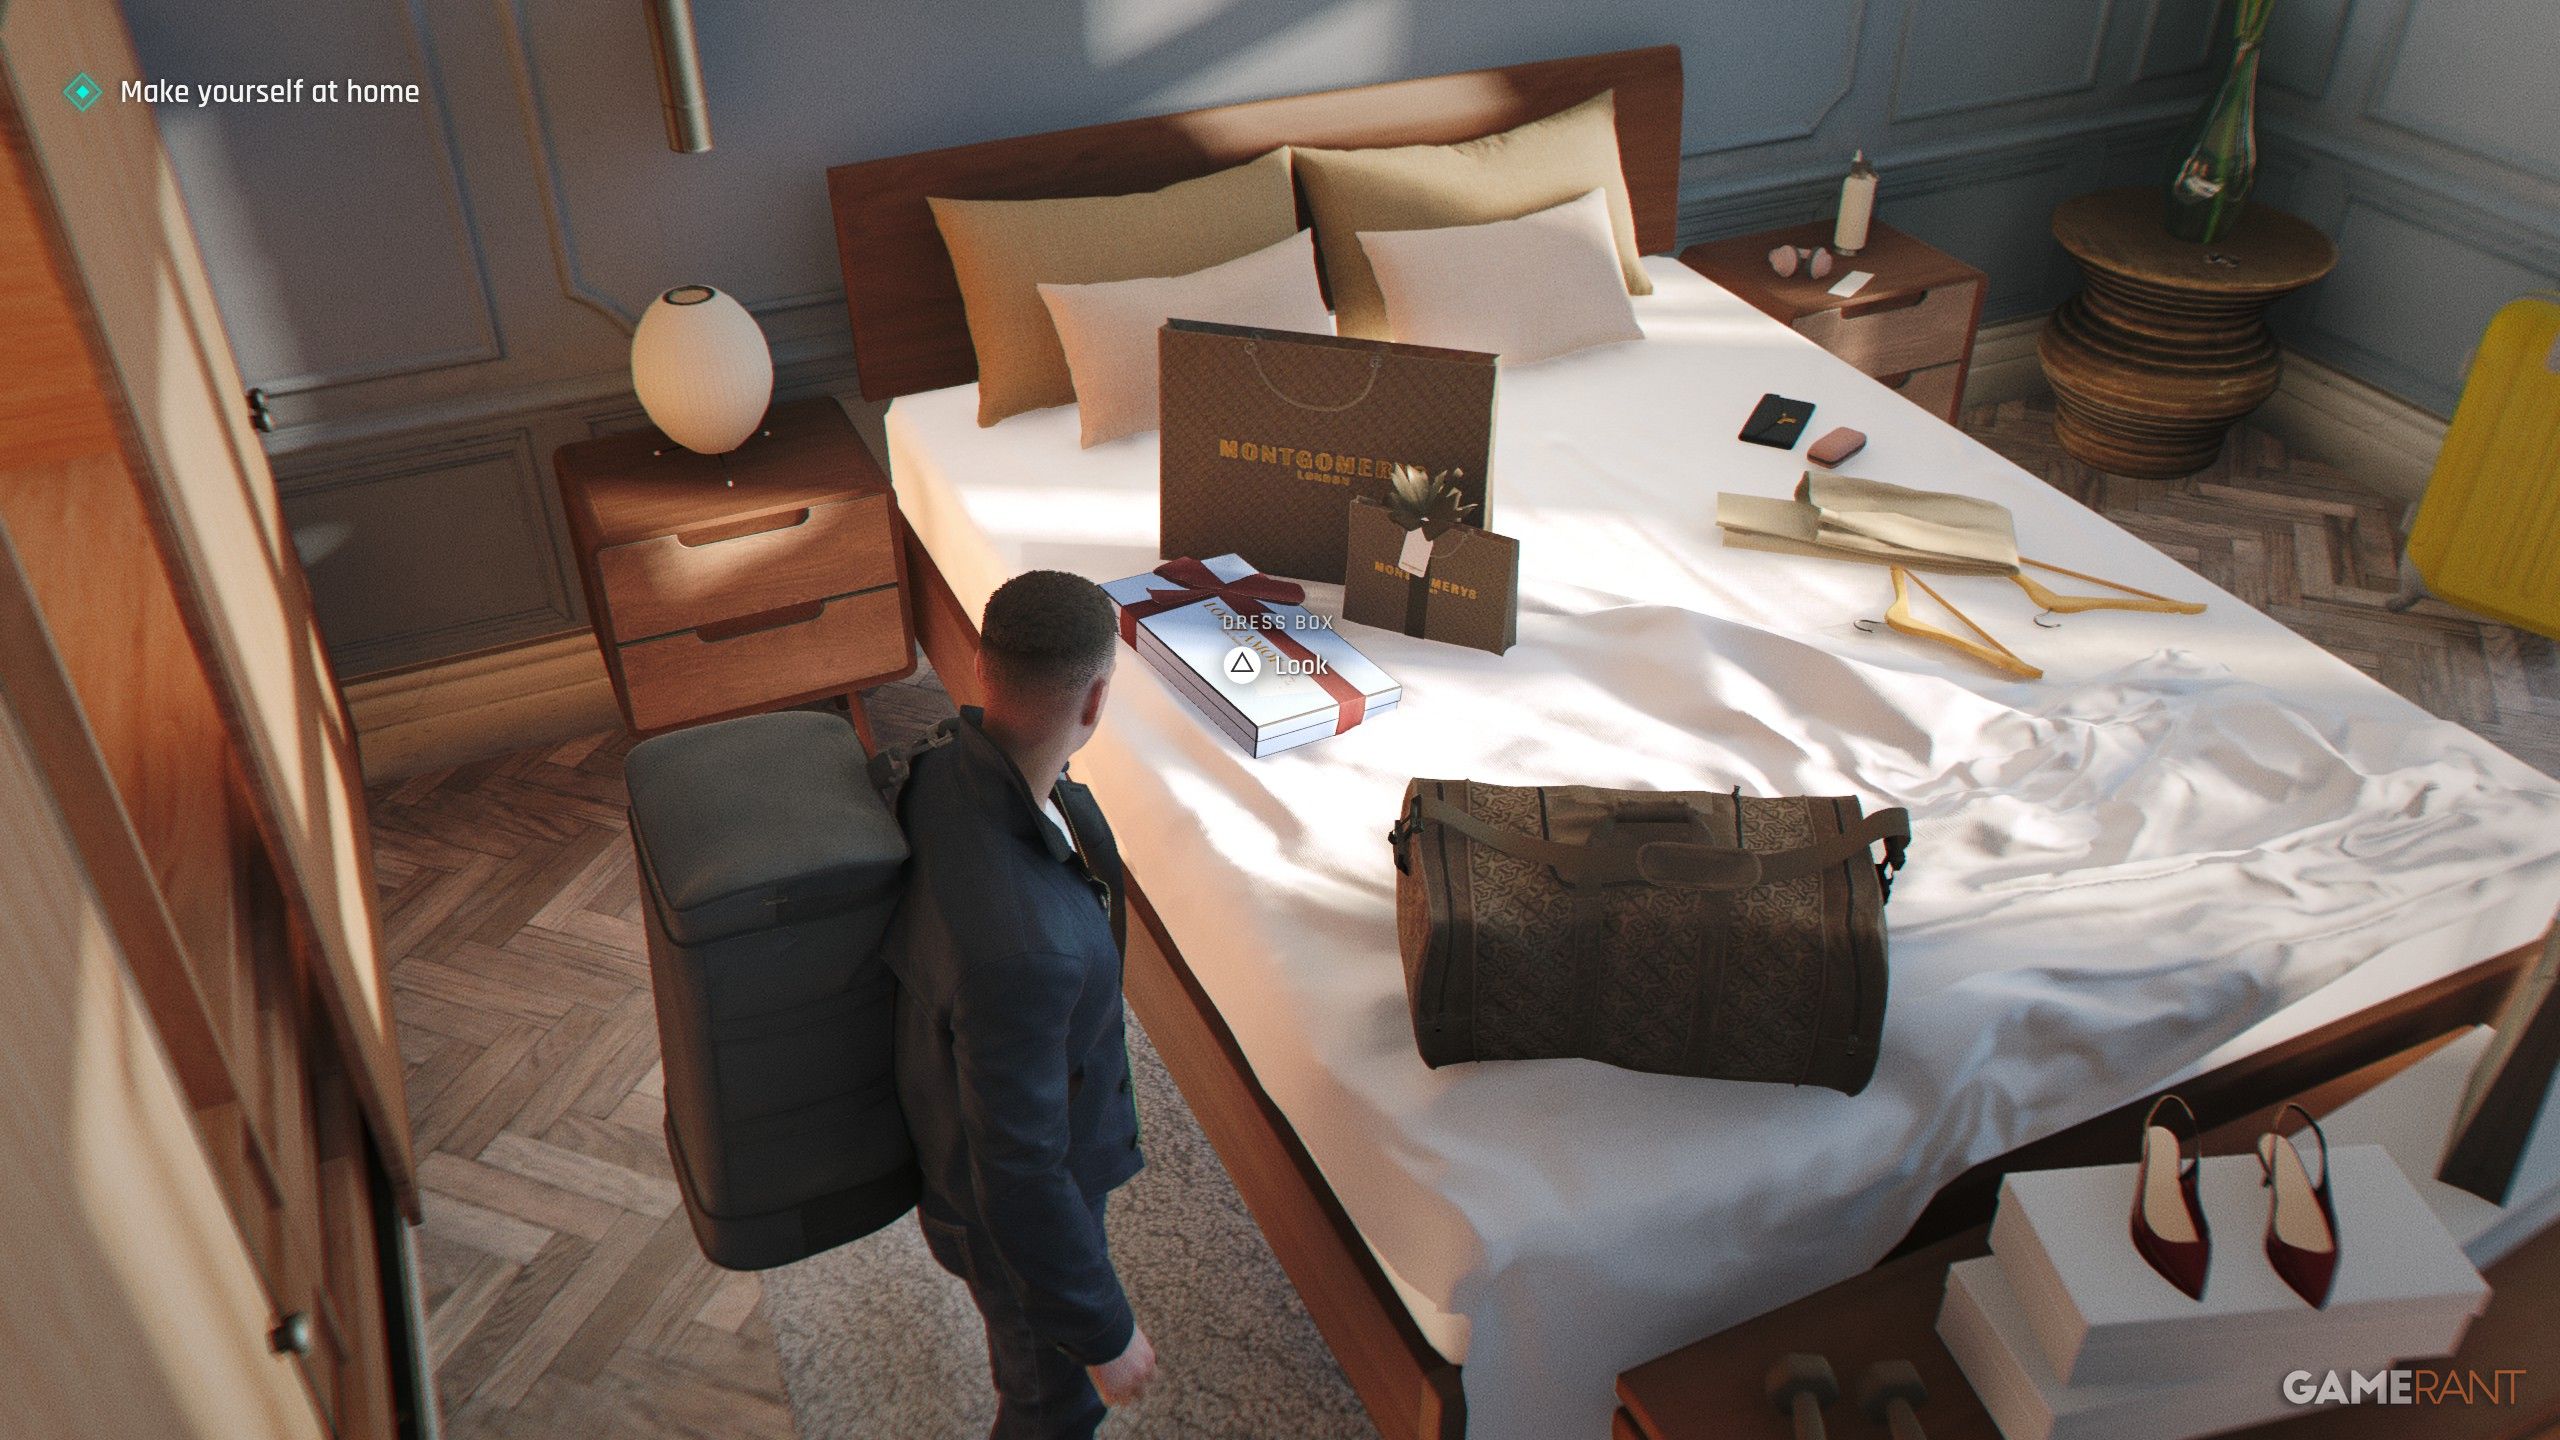
- Checkpoint: Home
As part of the main goal, you’ll need to go to Cressida’s bedroom. Once there, you can examine her bed and check the gift box.
Intel #5: Arrowhead Report | Arrowhead (A Matter of Considerable Delicacy)
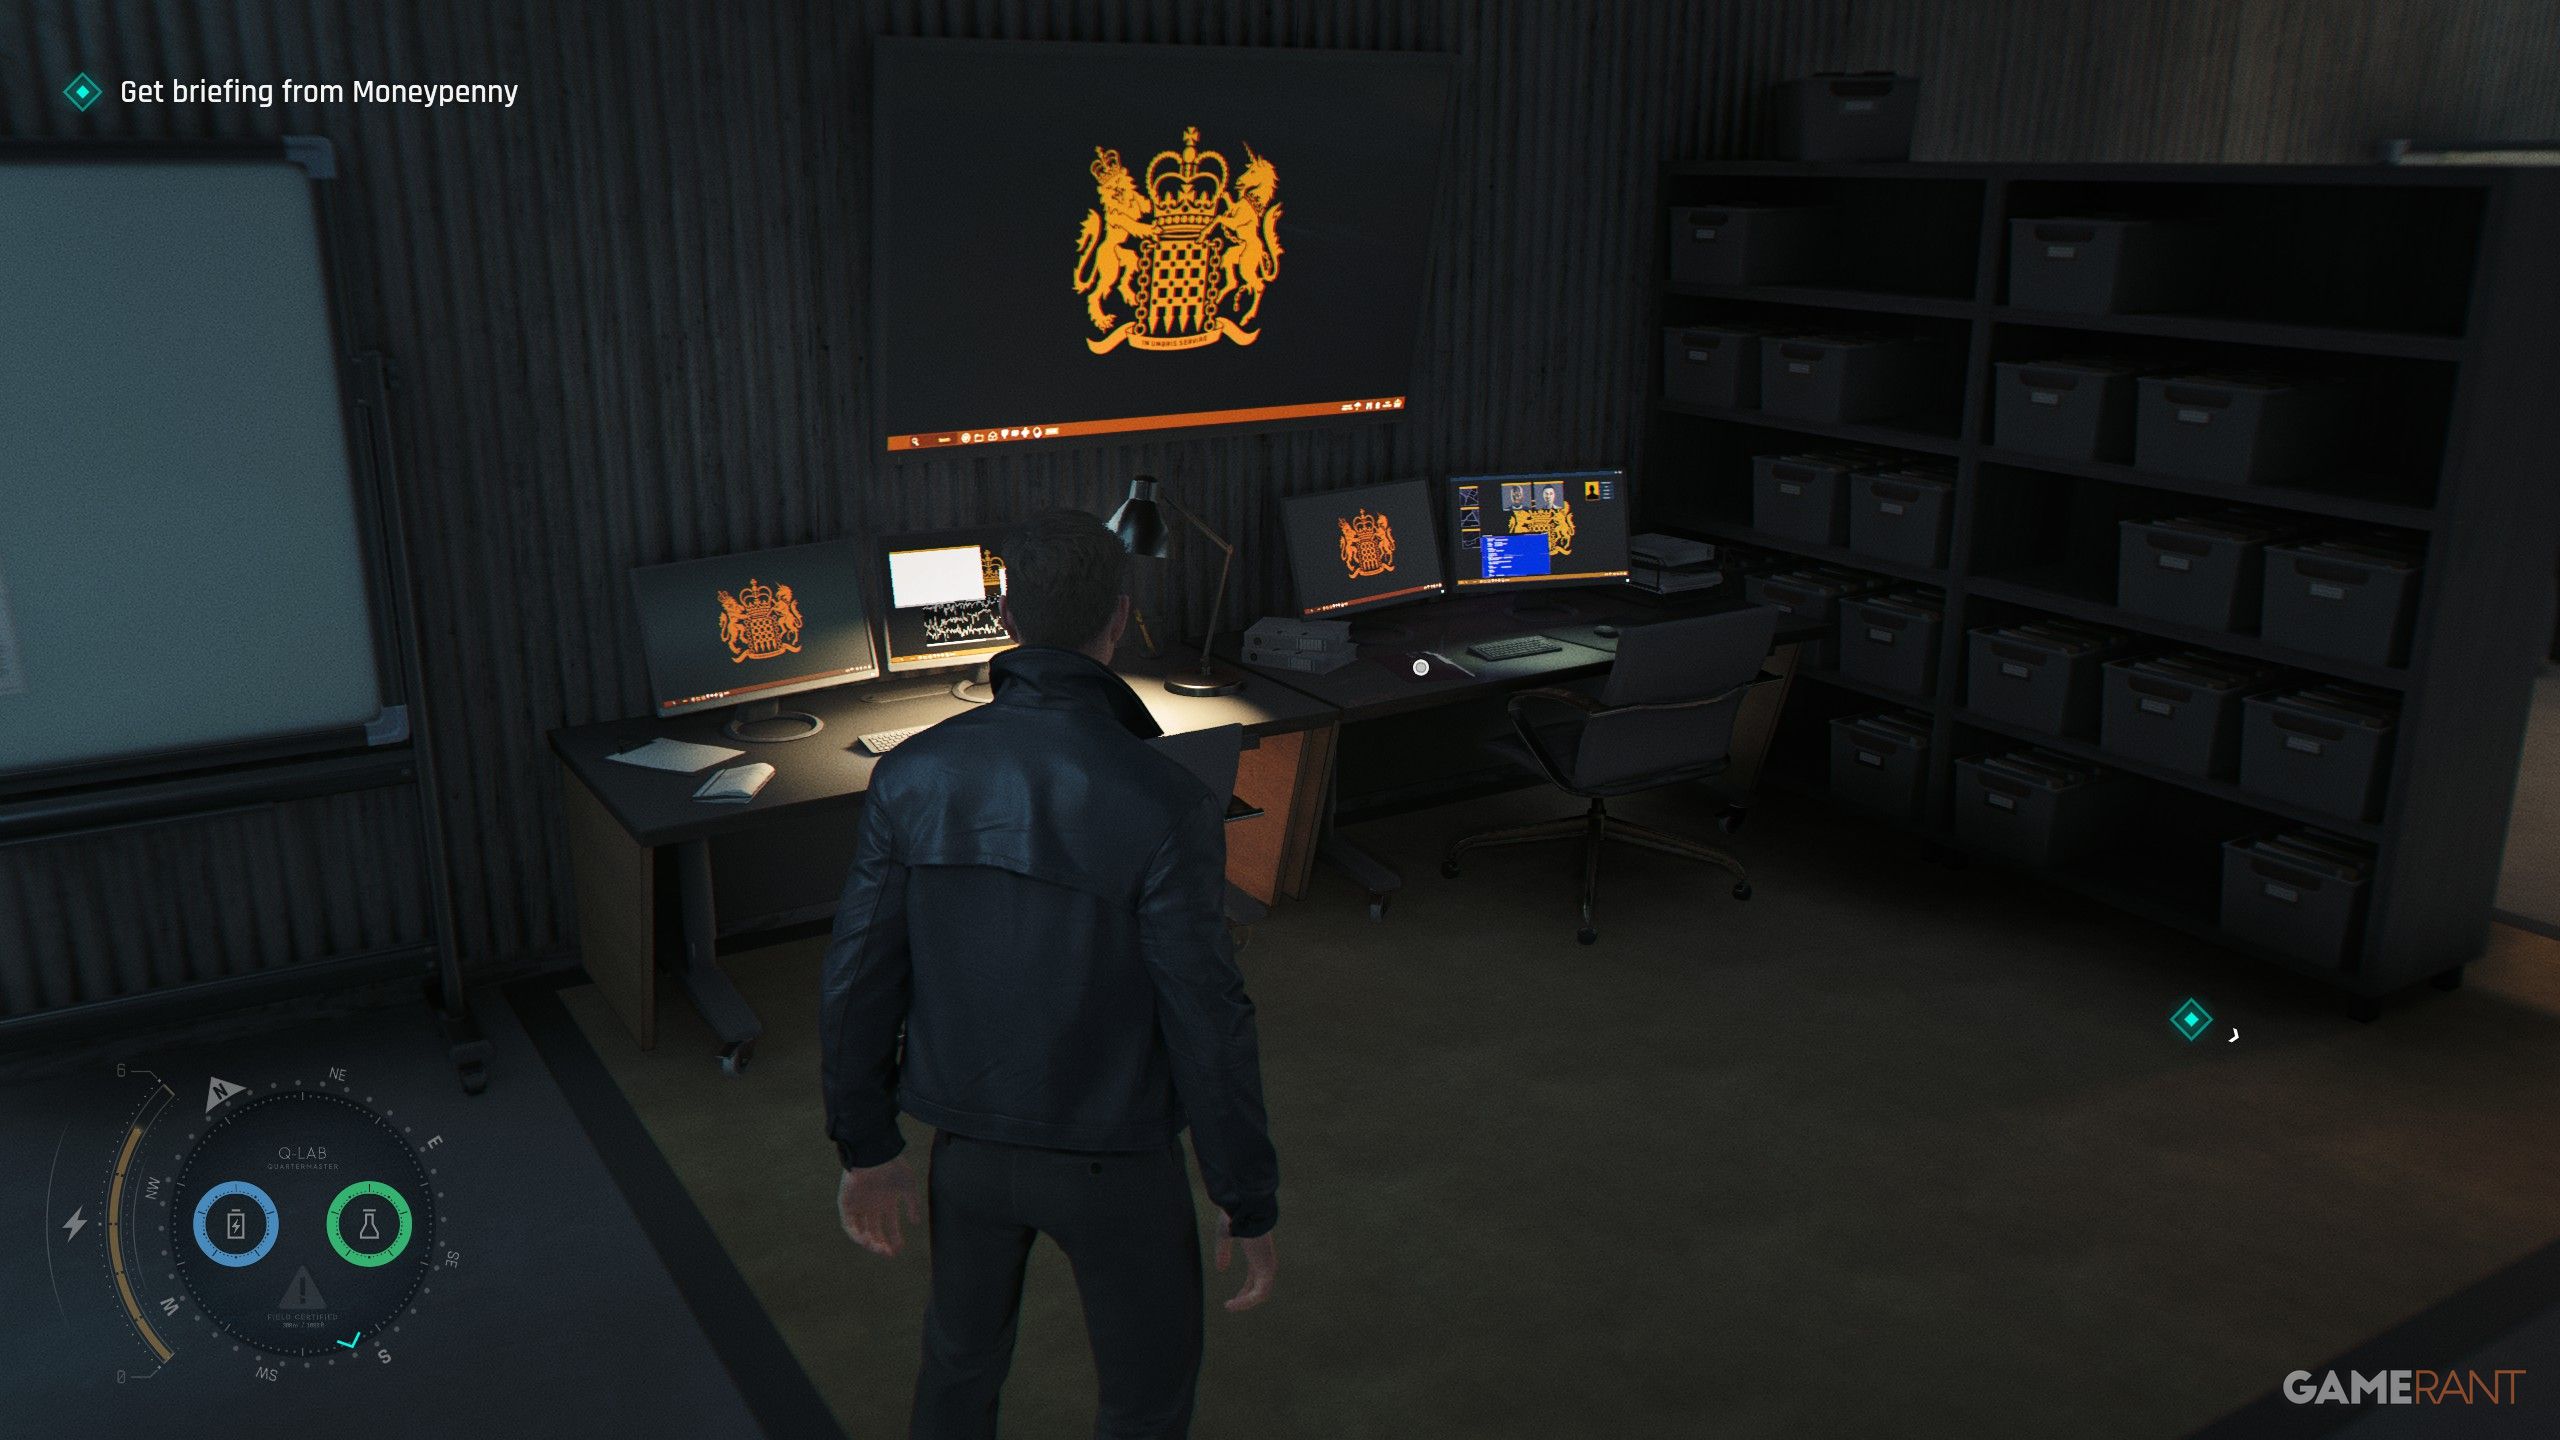
- Checkpoint: Operations
Ride the elevator up, and when you get off, don’t go towards Moneypenny. Instead, turn around and head to the back of the room. You’ll see a note on a desk there.
Intel #6: 009 Profile | 009 (A Matter of Considerable Delicacy)
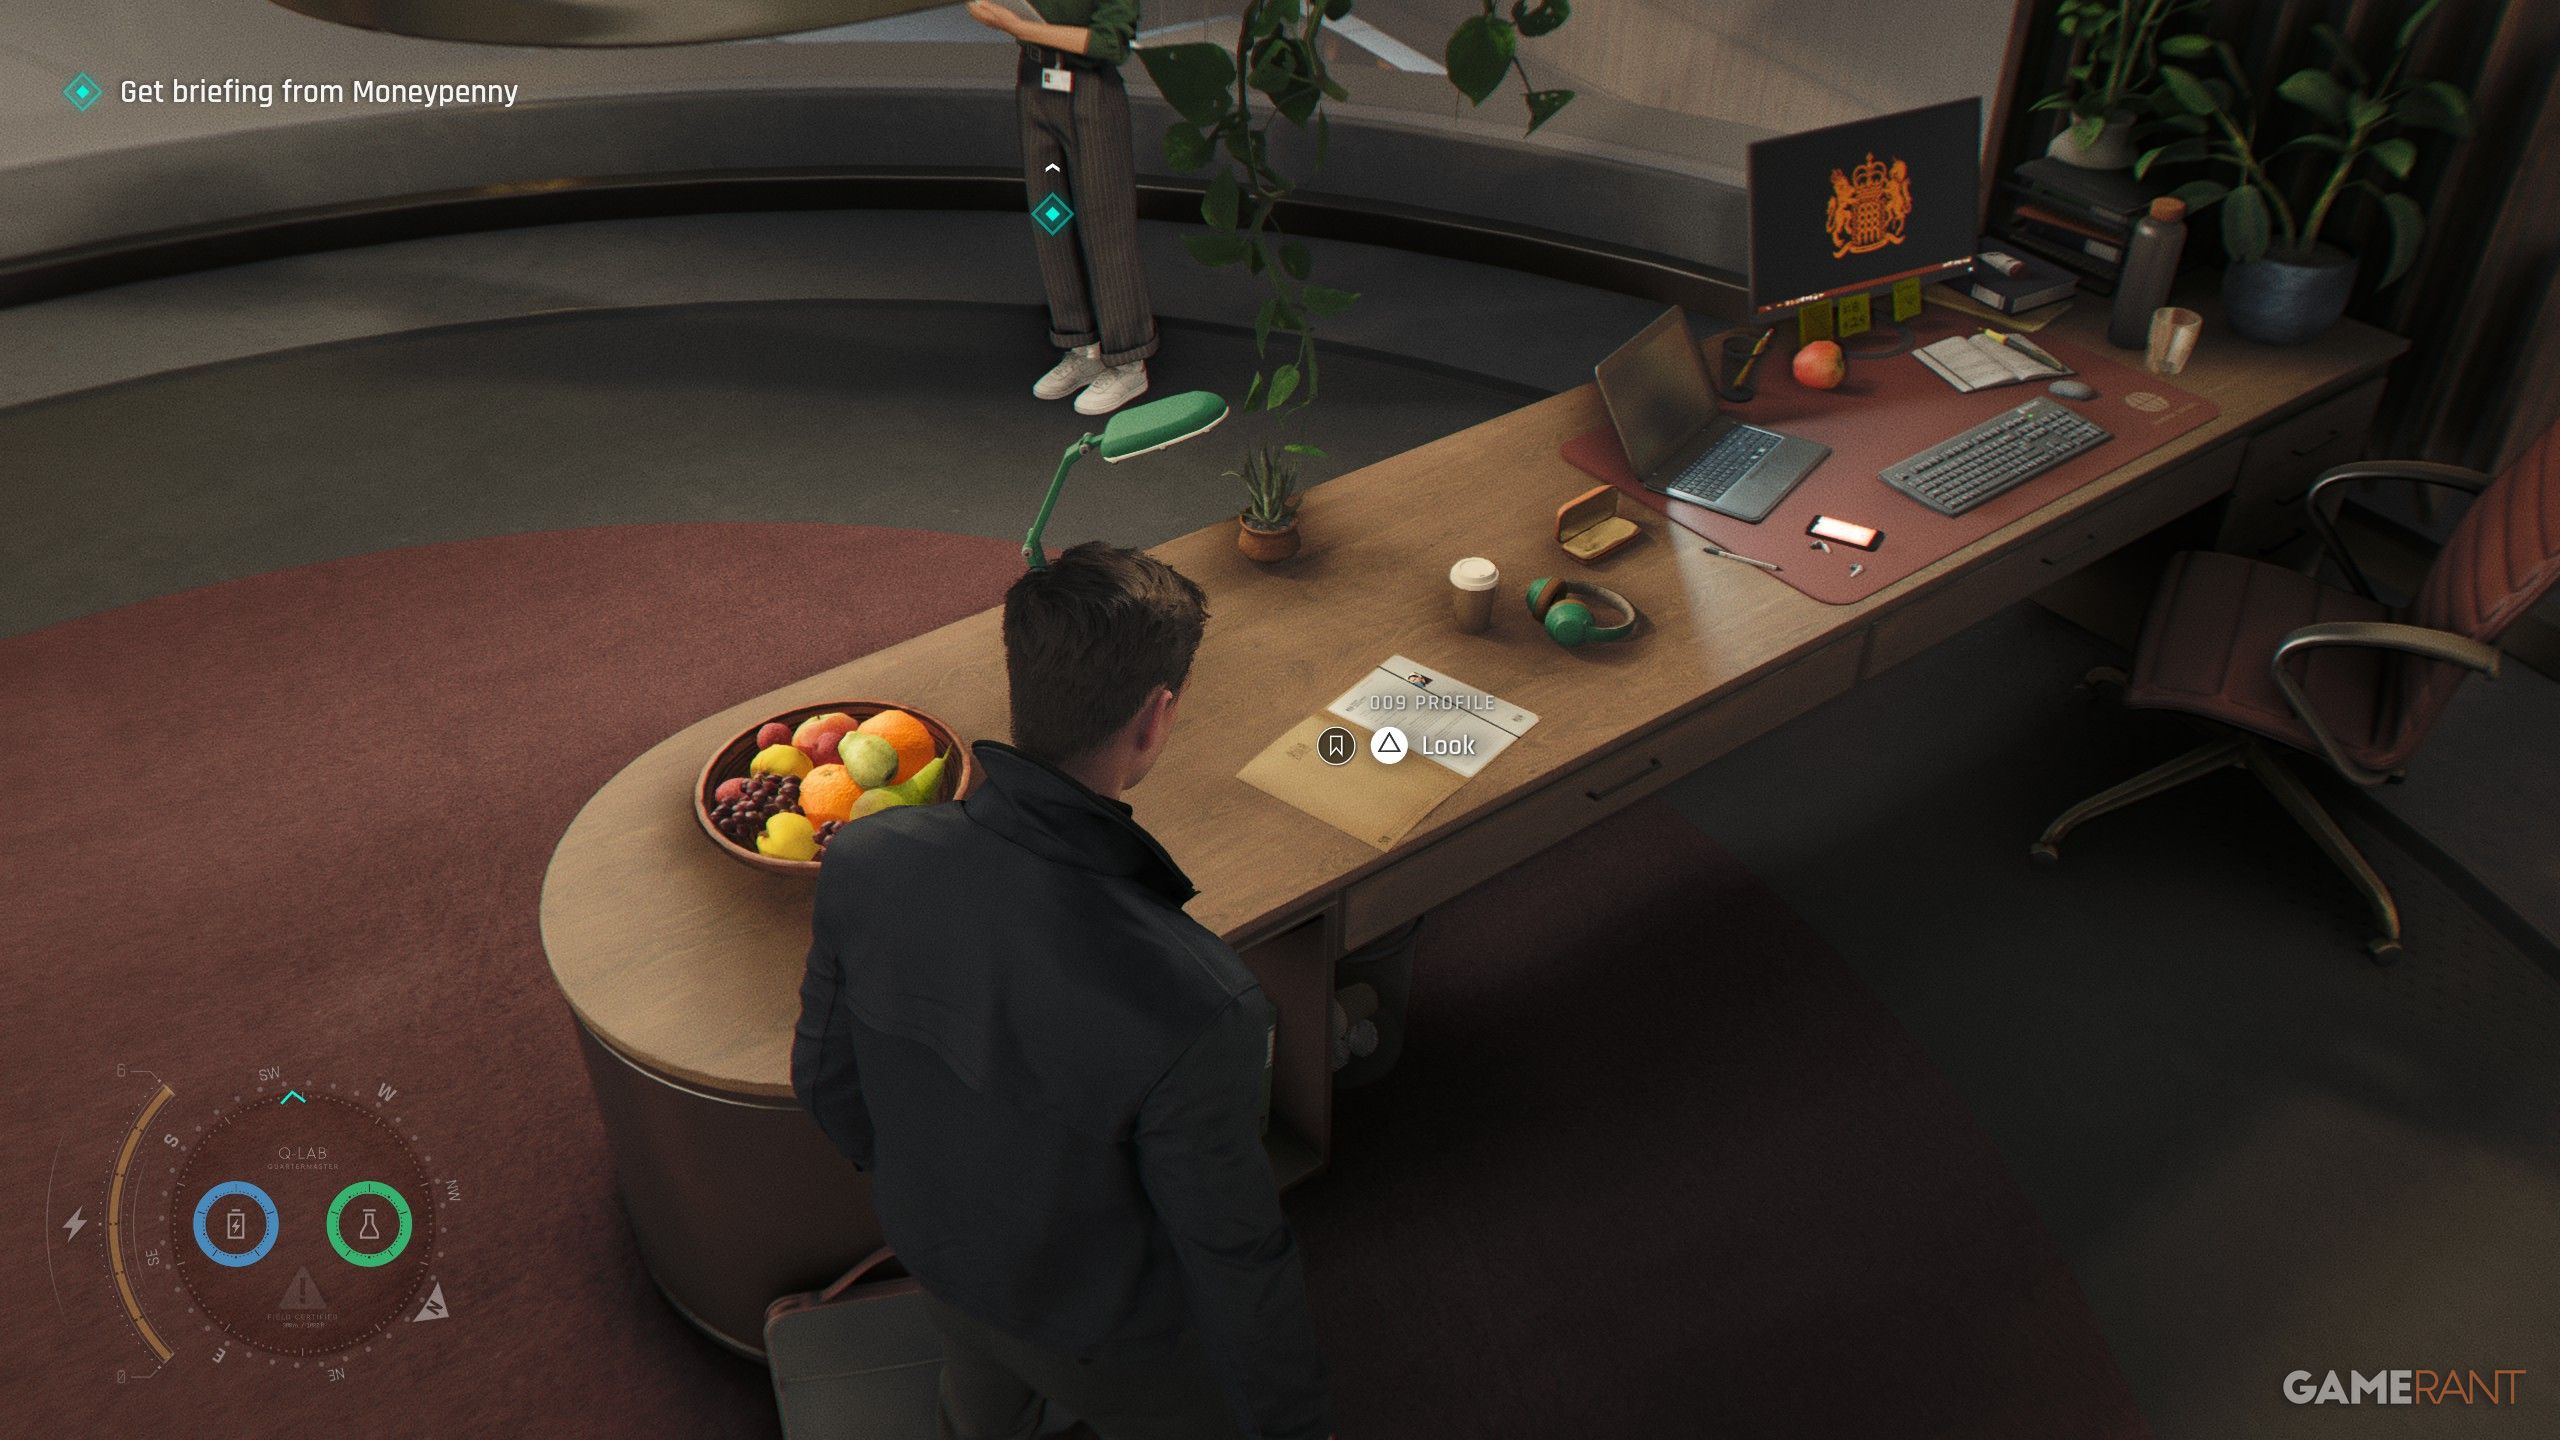
- Checkpoint: Master Manipulator
Once you’re inside Moneypenny’s pod, check her desk to grab this important information.
Intel #7: Facial Composite | Niko and Tero Murto (Out of the Ashes)
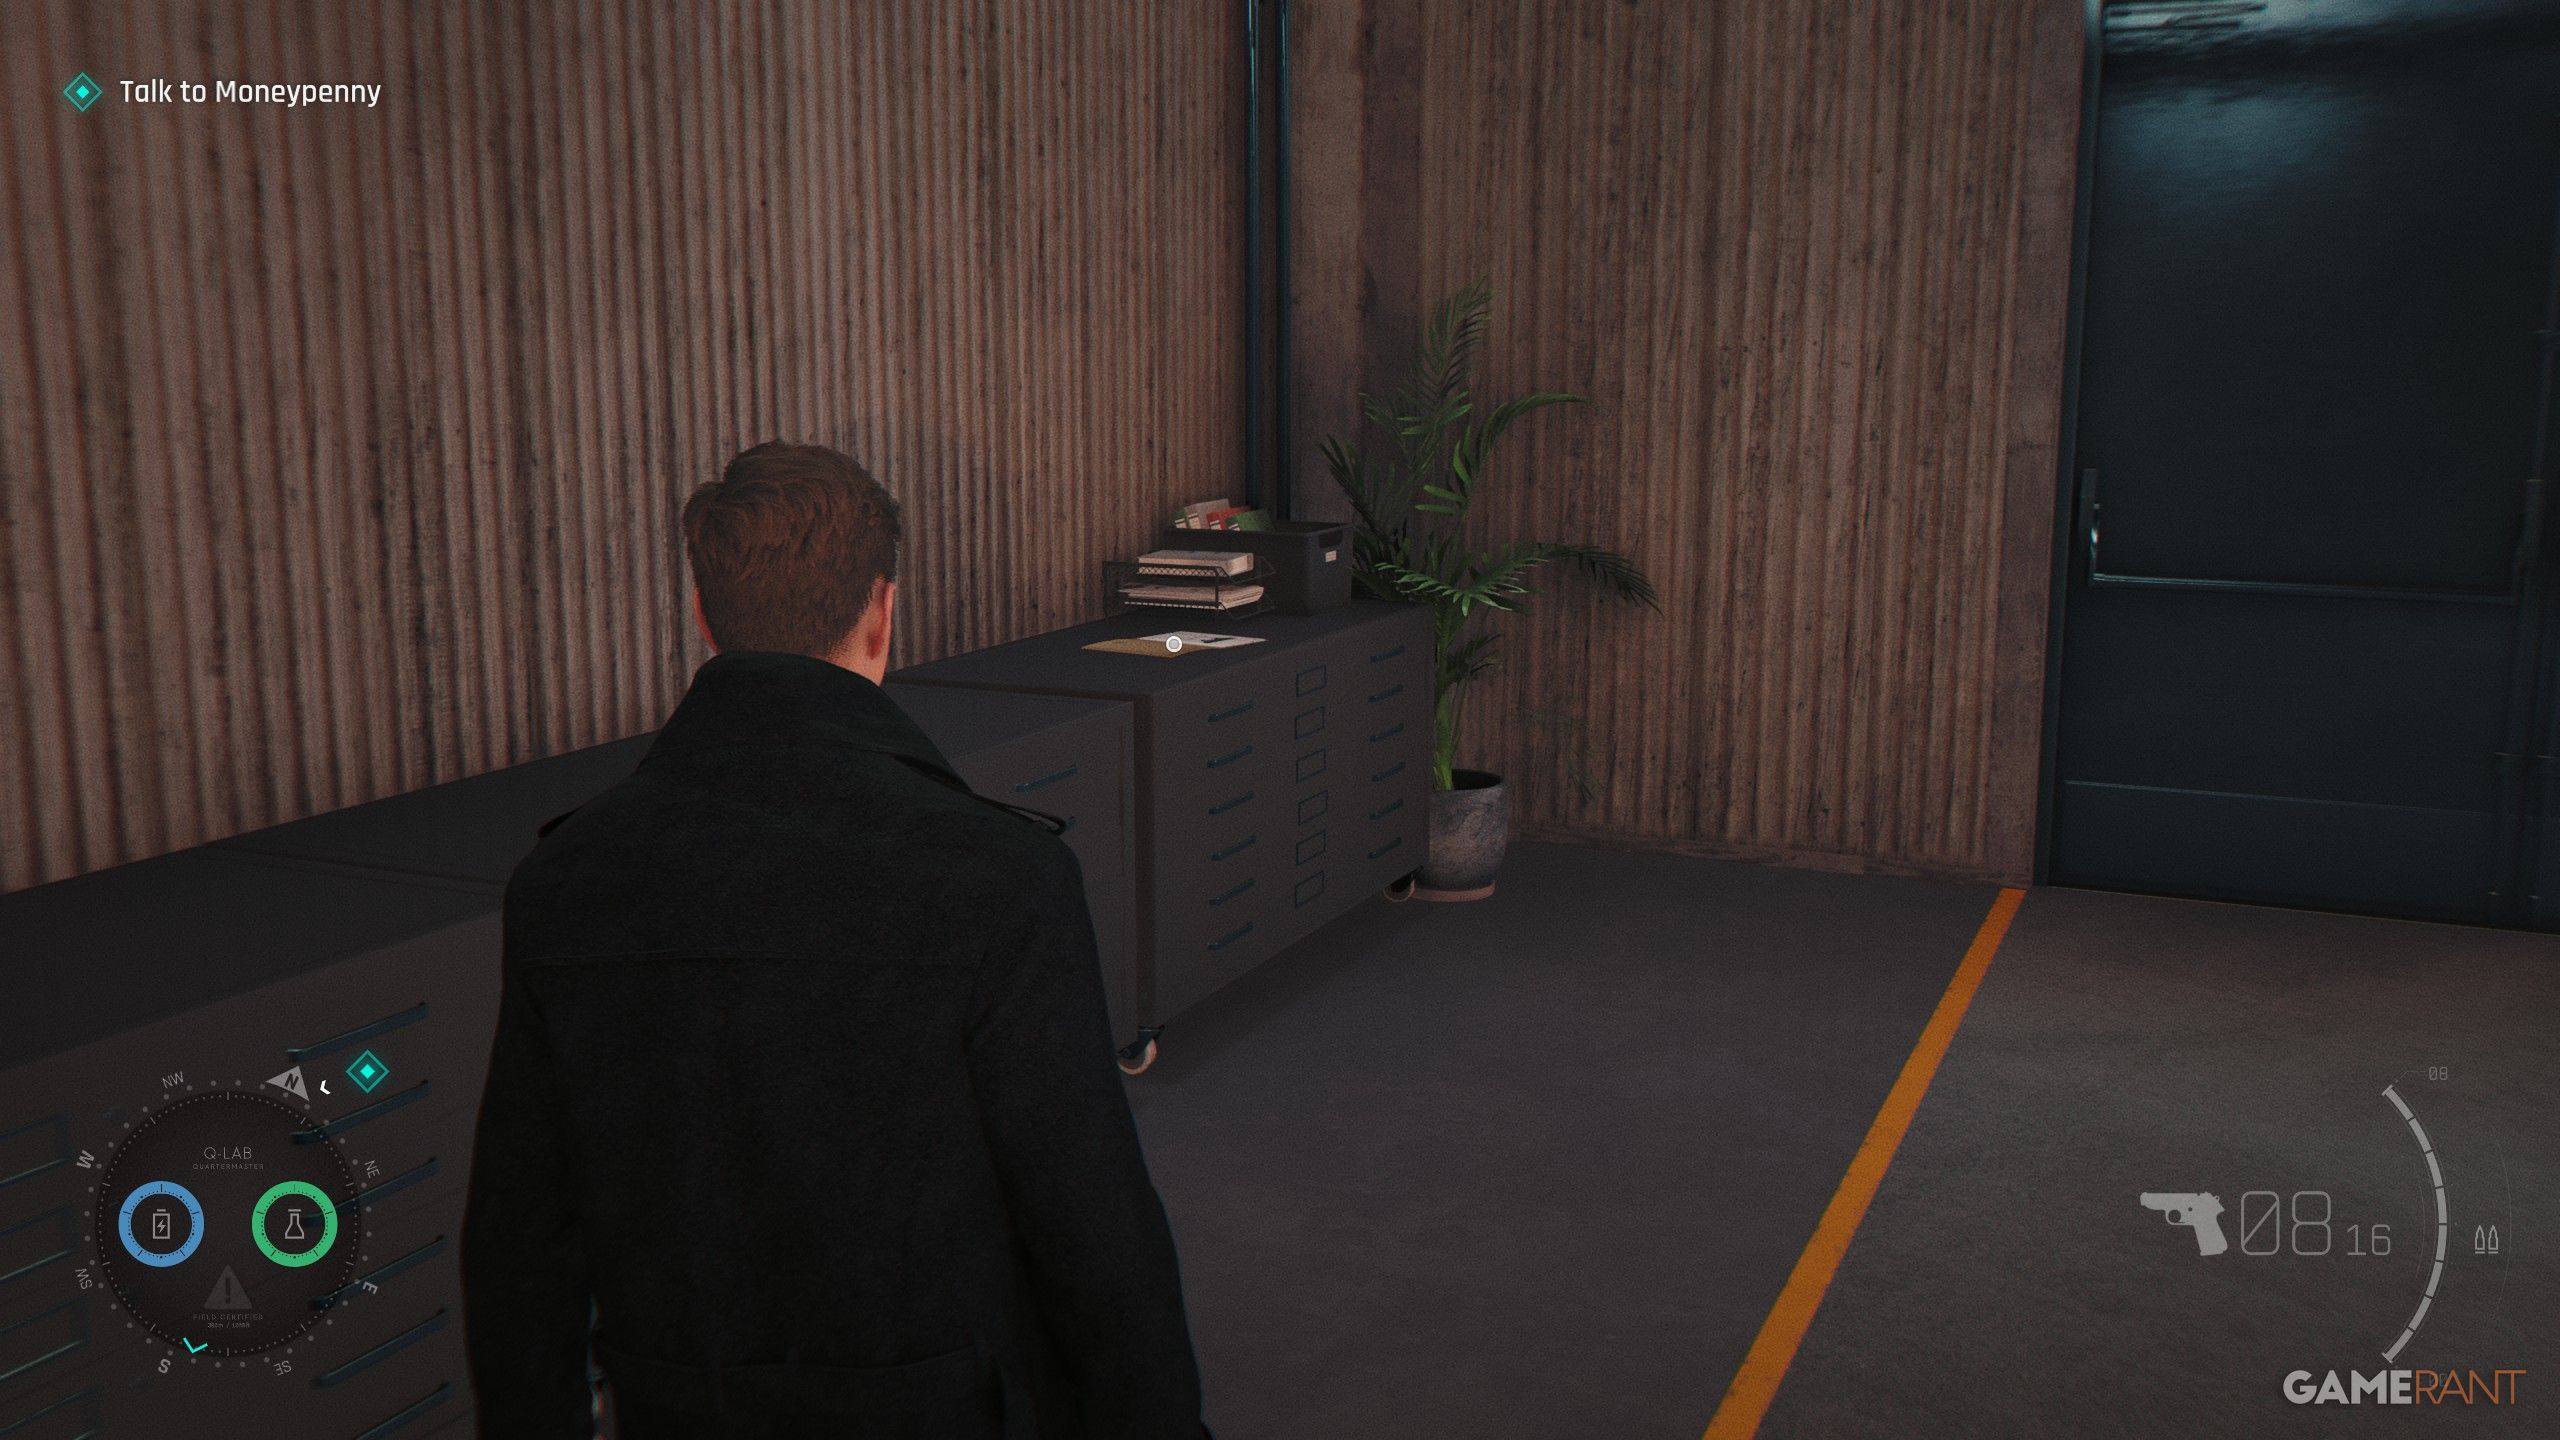
- Checkpoint: Talk to Moneypenny
After you get off the elevator on the Operations floor, walk around behind it to the pair of locked doors. You’ll find the collectible on a cabinet to your left.
Intel #8: Delivery Box | Bawma (The Past Never Dies)
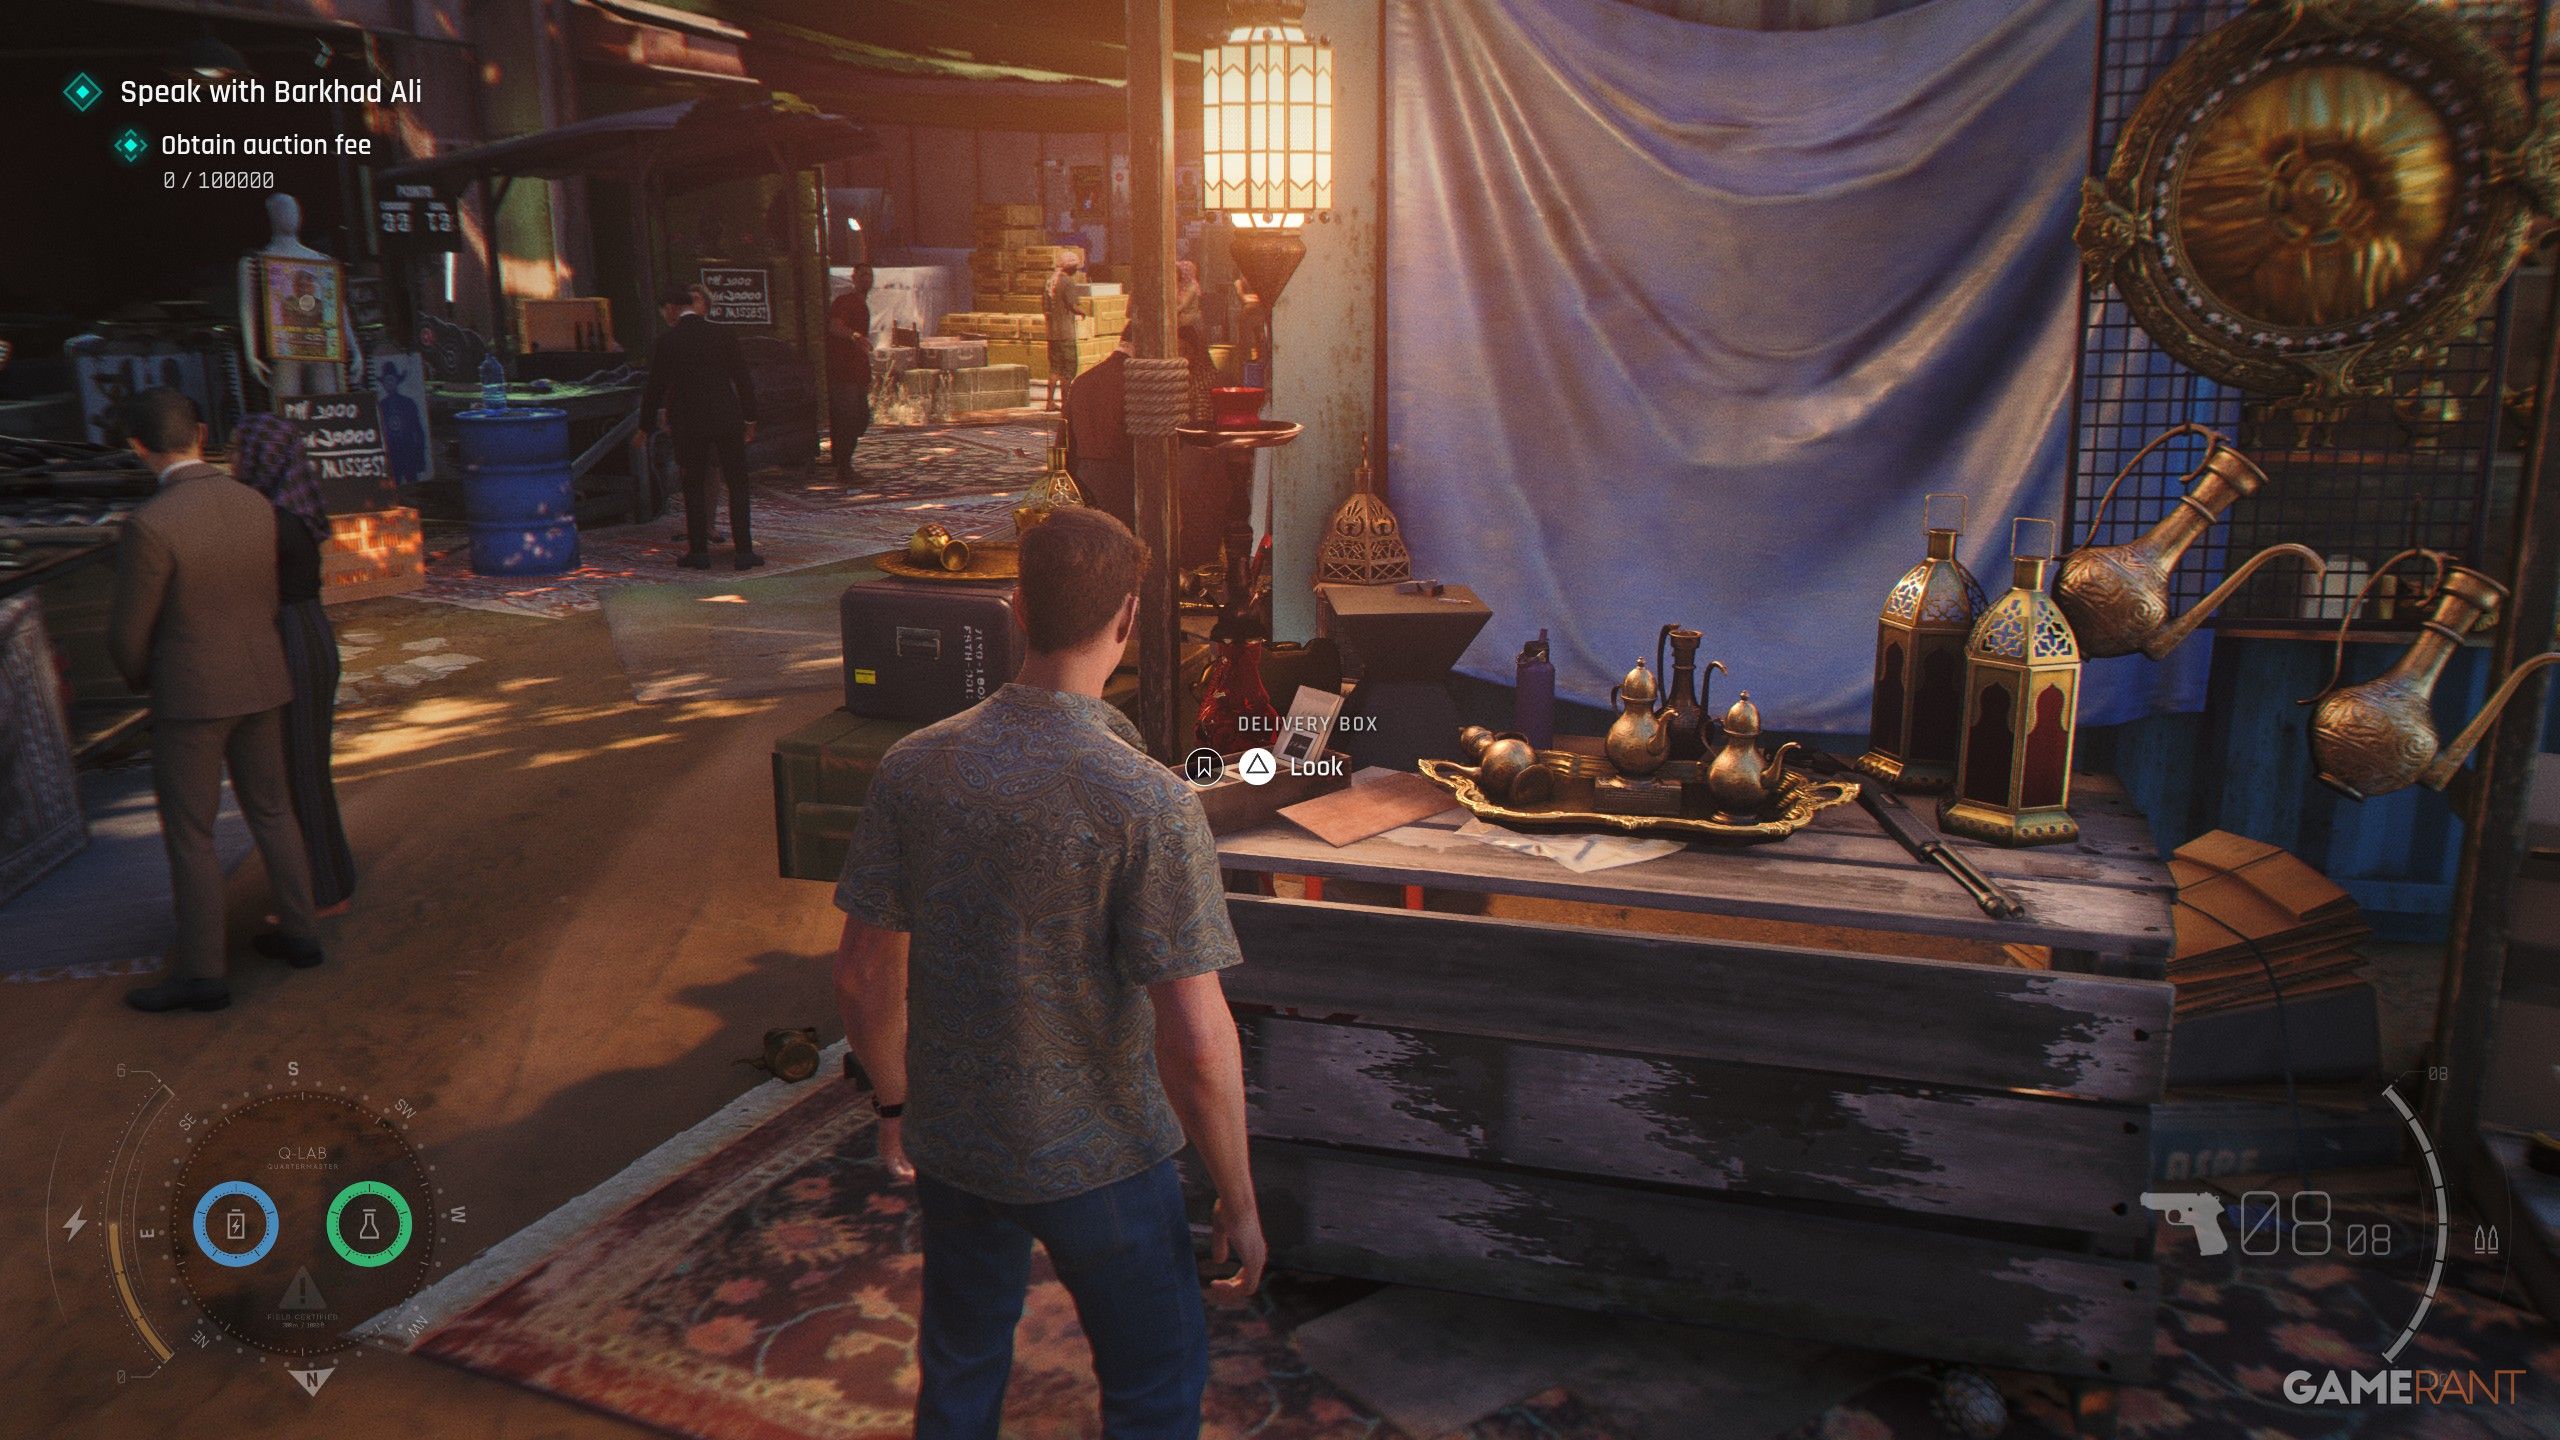
- Checkpoint: Black Market
After you go into the Black Market to pay the auction fee, walk through the yellow container towards the shooting range. You’ll find a booth with information about a wooden box near some golden water jugs.
Intel #9: Photo of Greenway | John Greenway (The Past Never Dies)
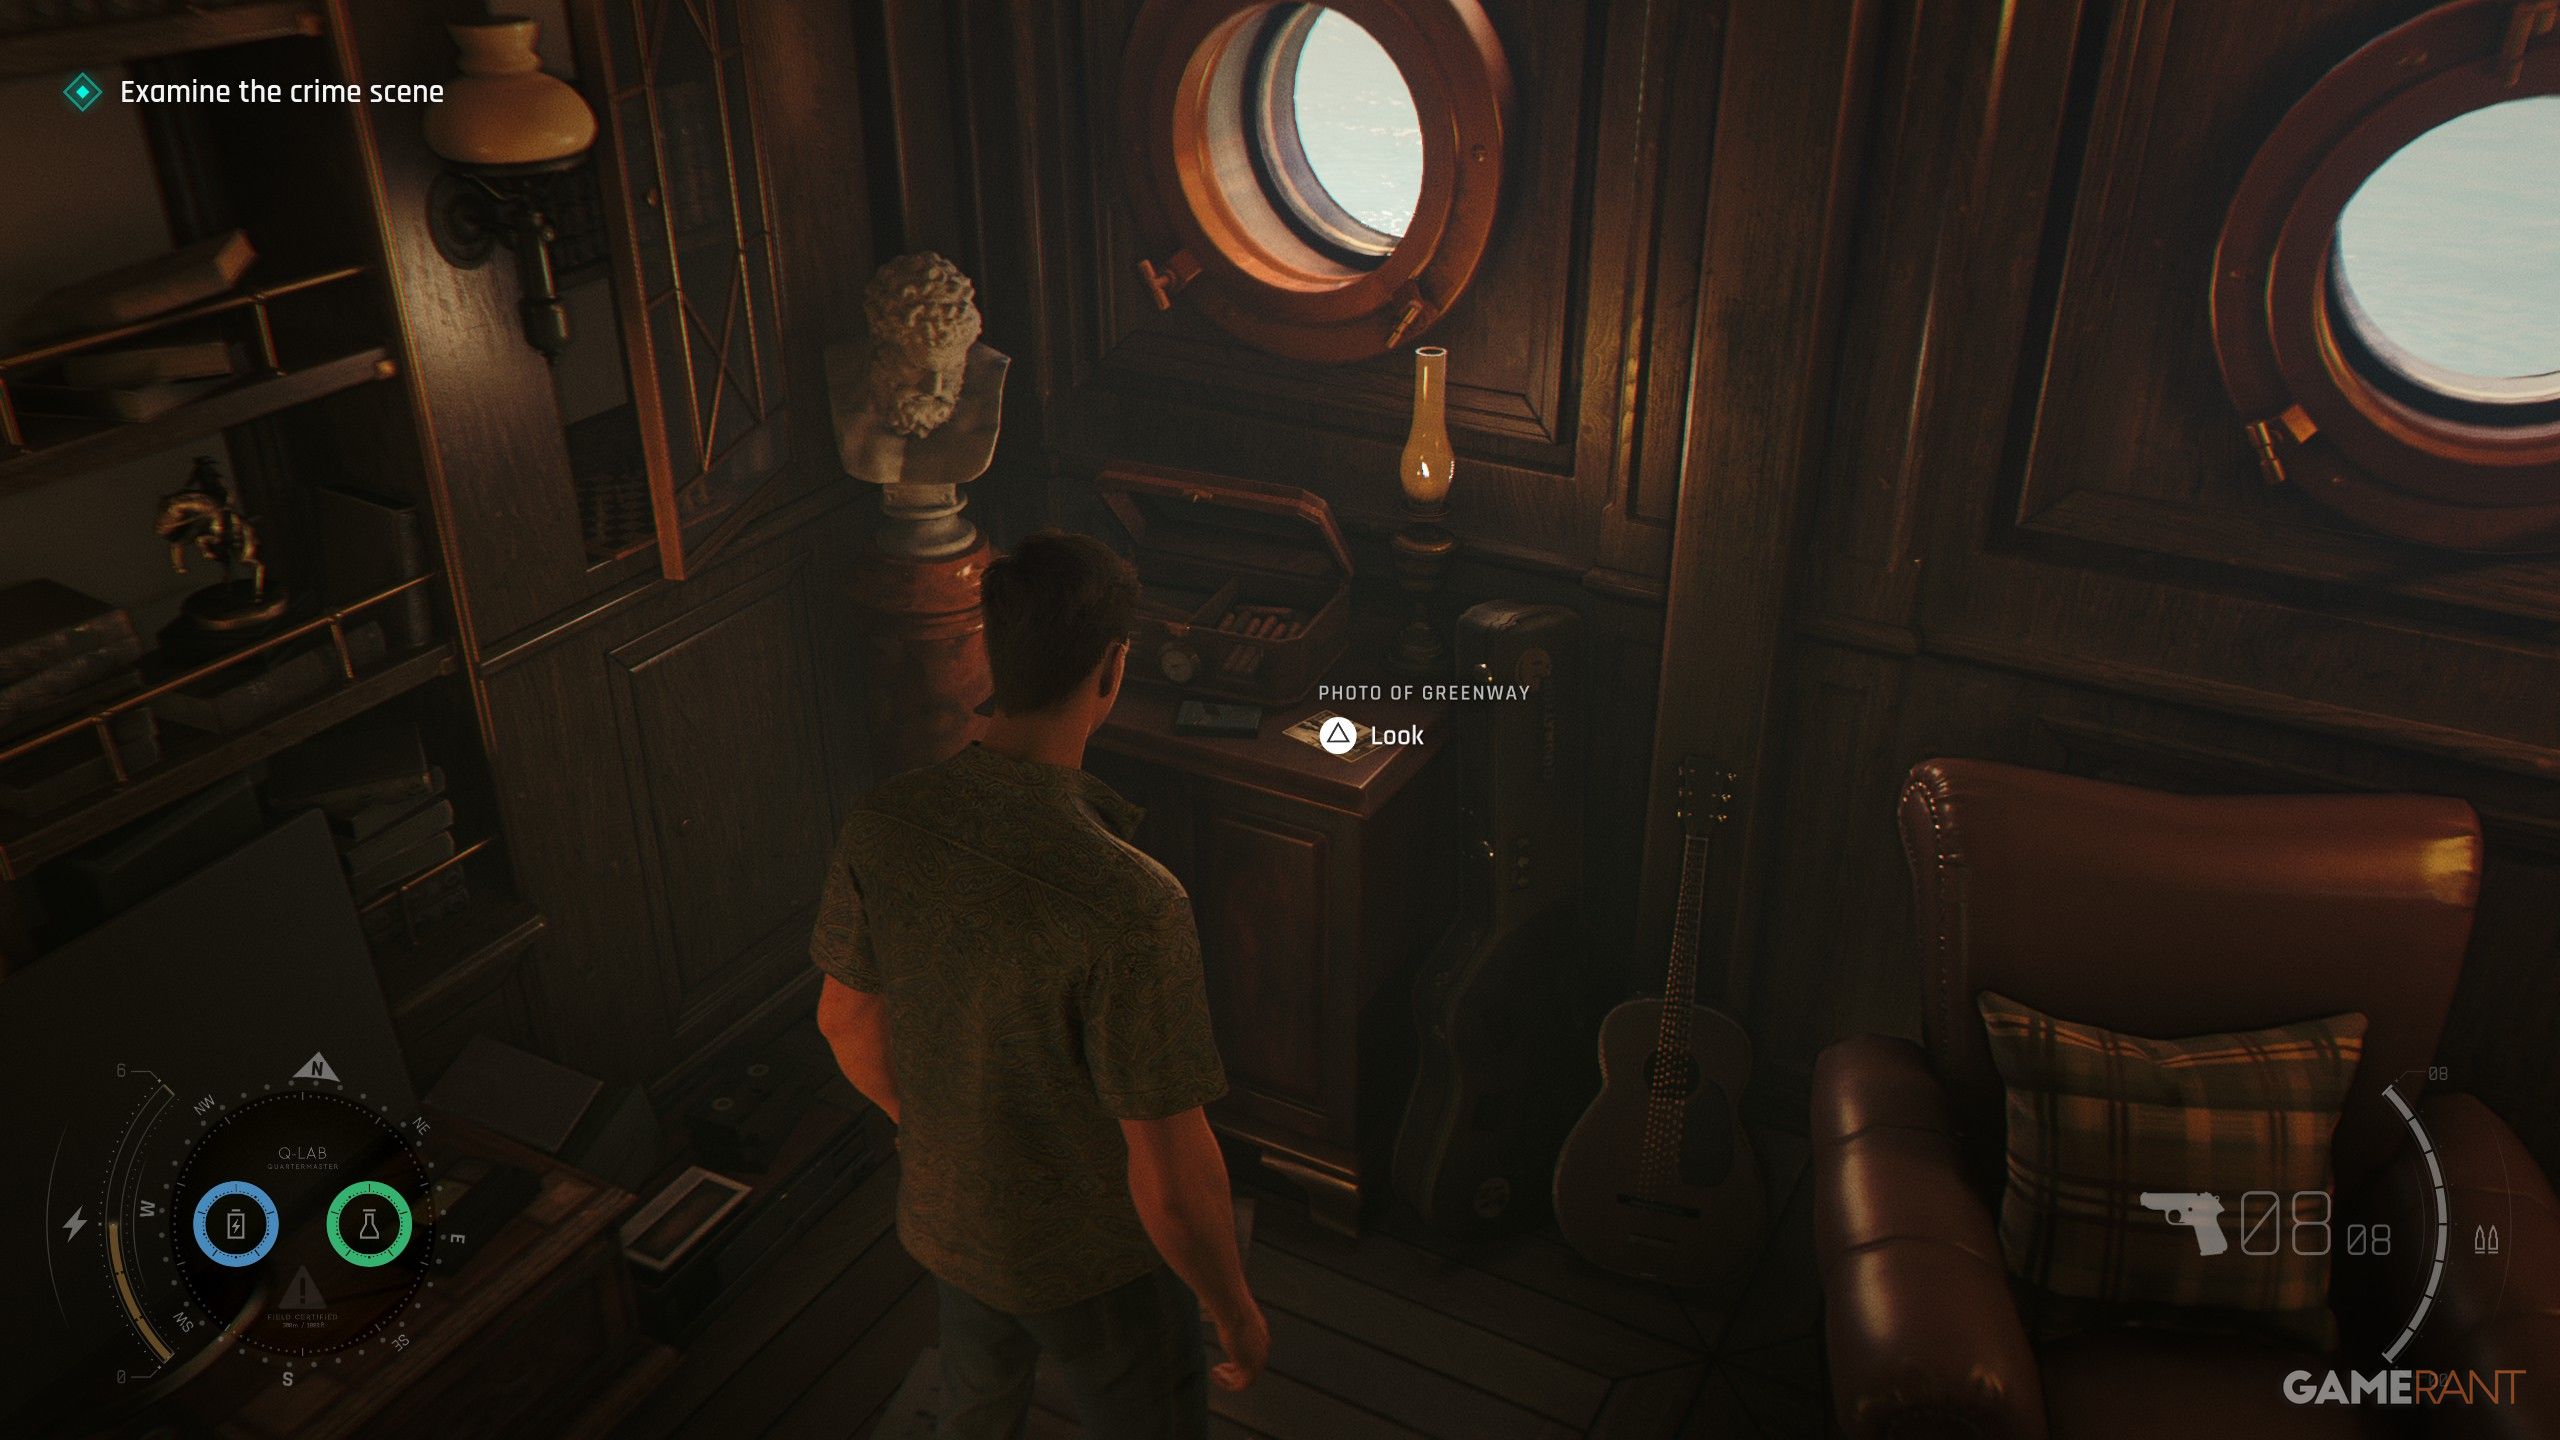
- Checkpoint: Examine the Crime Scene
After you get into boat 009, you’ll need to examine the area where the crime happened. Turn to face north, and look near the window and the head statue – you’ll find another note there.
Intel #10: Bond Family Photo | James Bond (Uninvited)
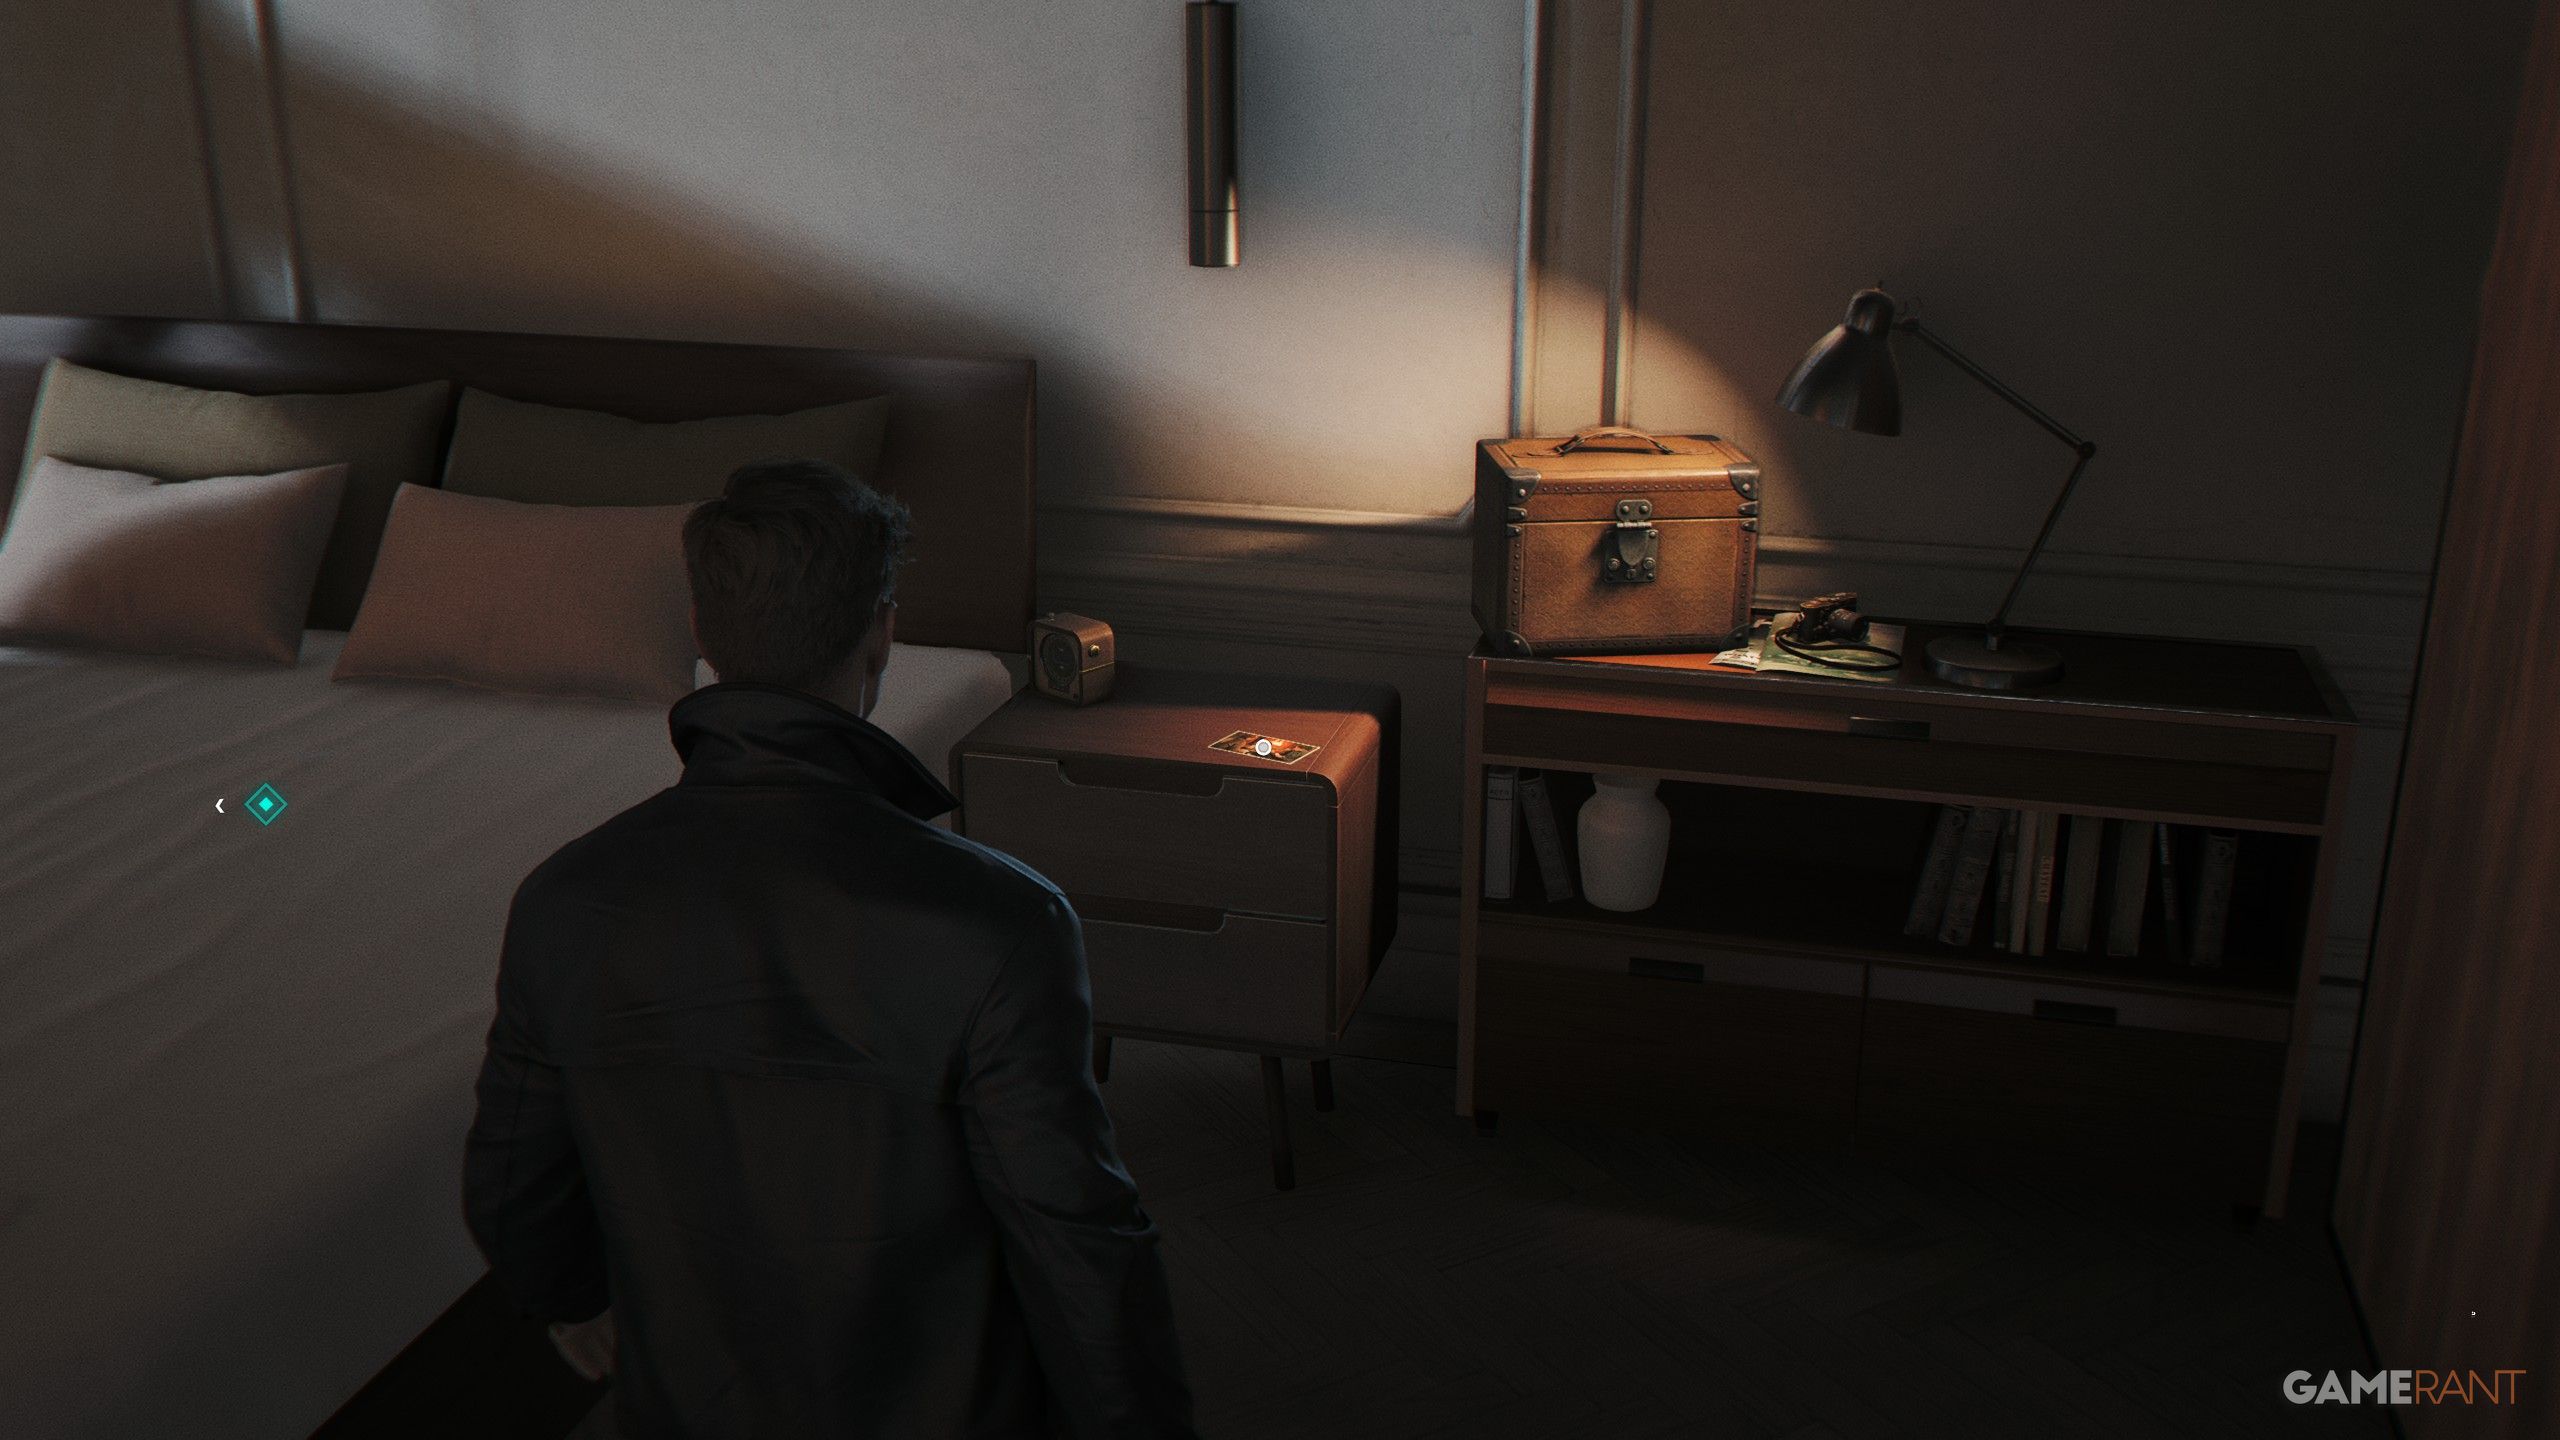
- Checkpoint: Back Home
When you get back to your apartment, go into Bond’s room. The photograph with important information is on the nightstand to the right of his bed.
Intel #11: Webb Industries Press Pack | Webb Industries (Uninvited)
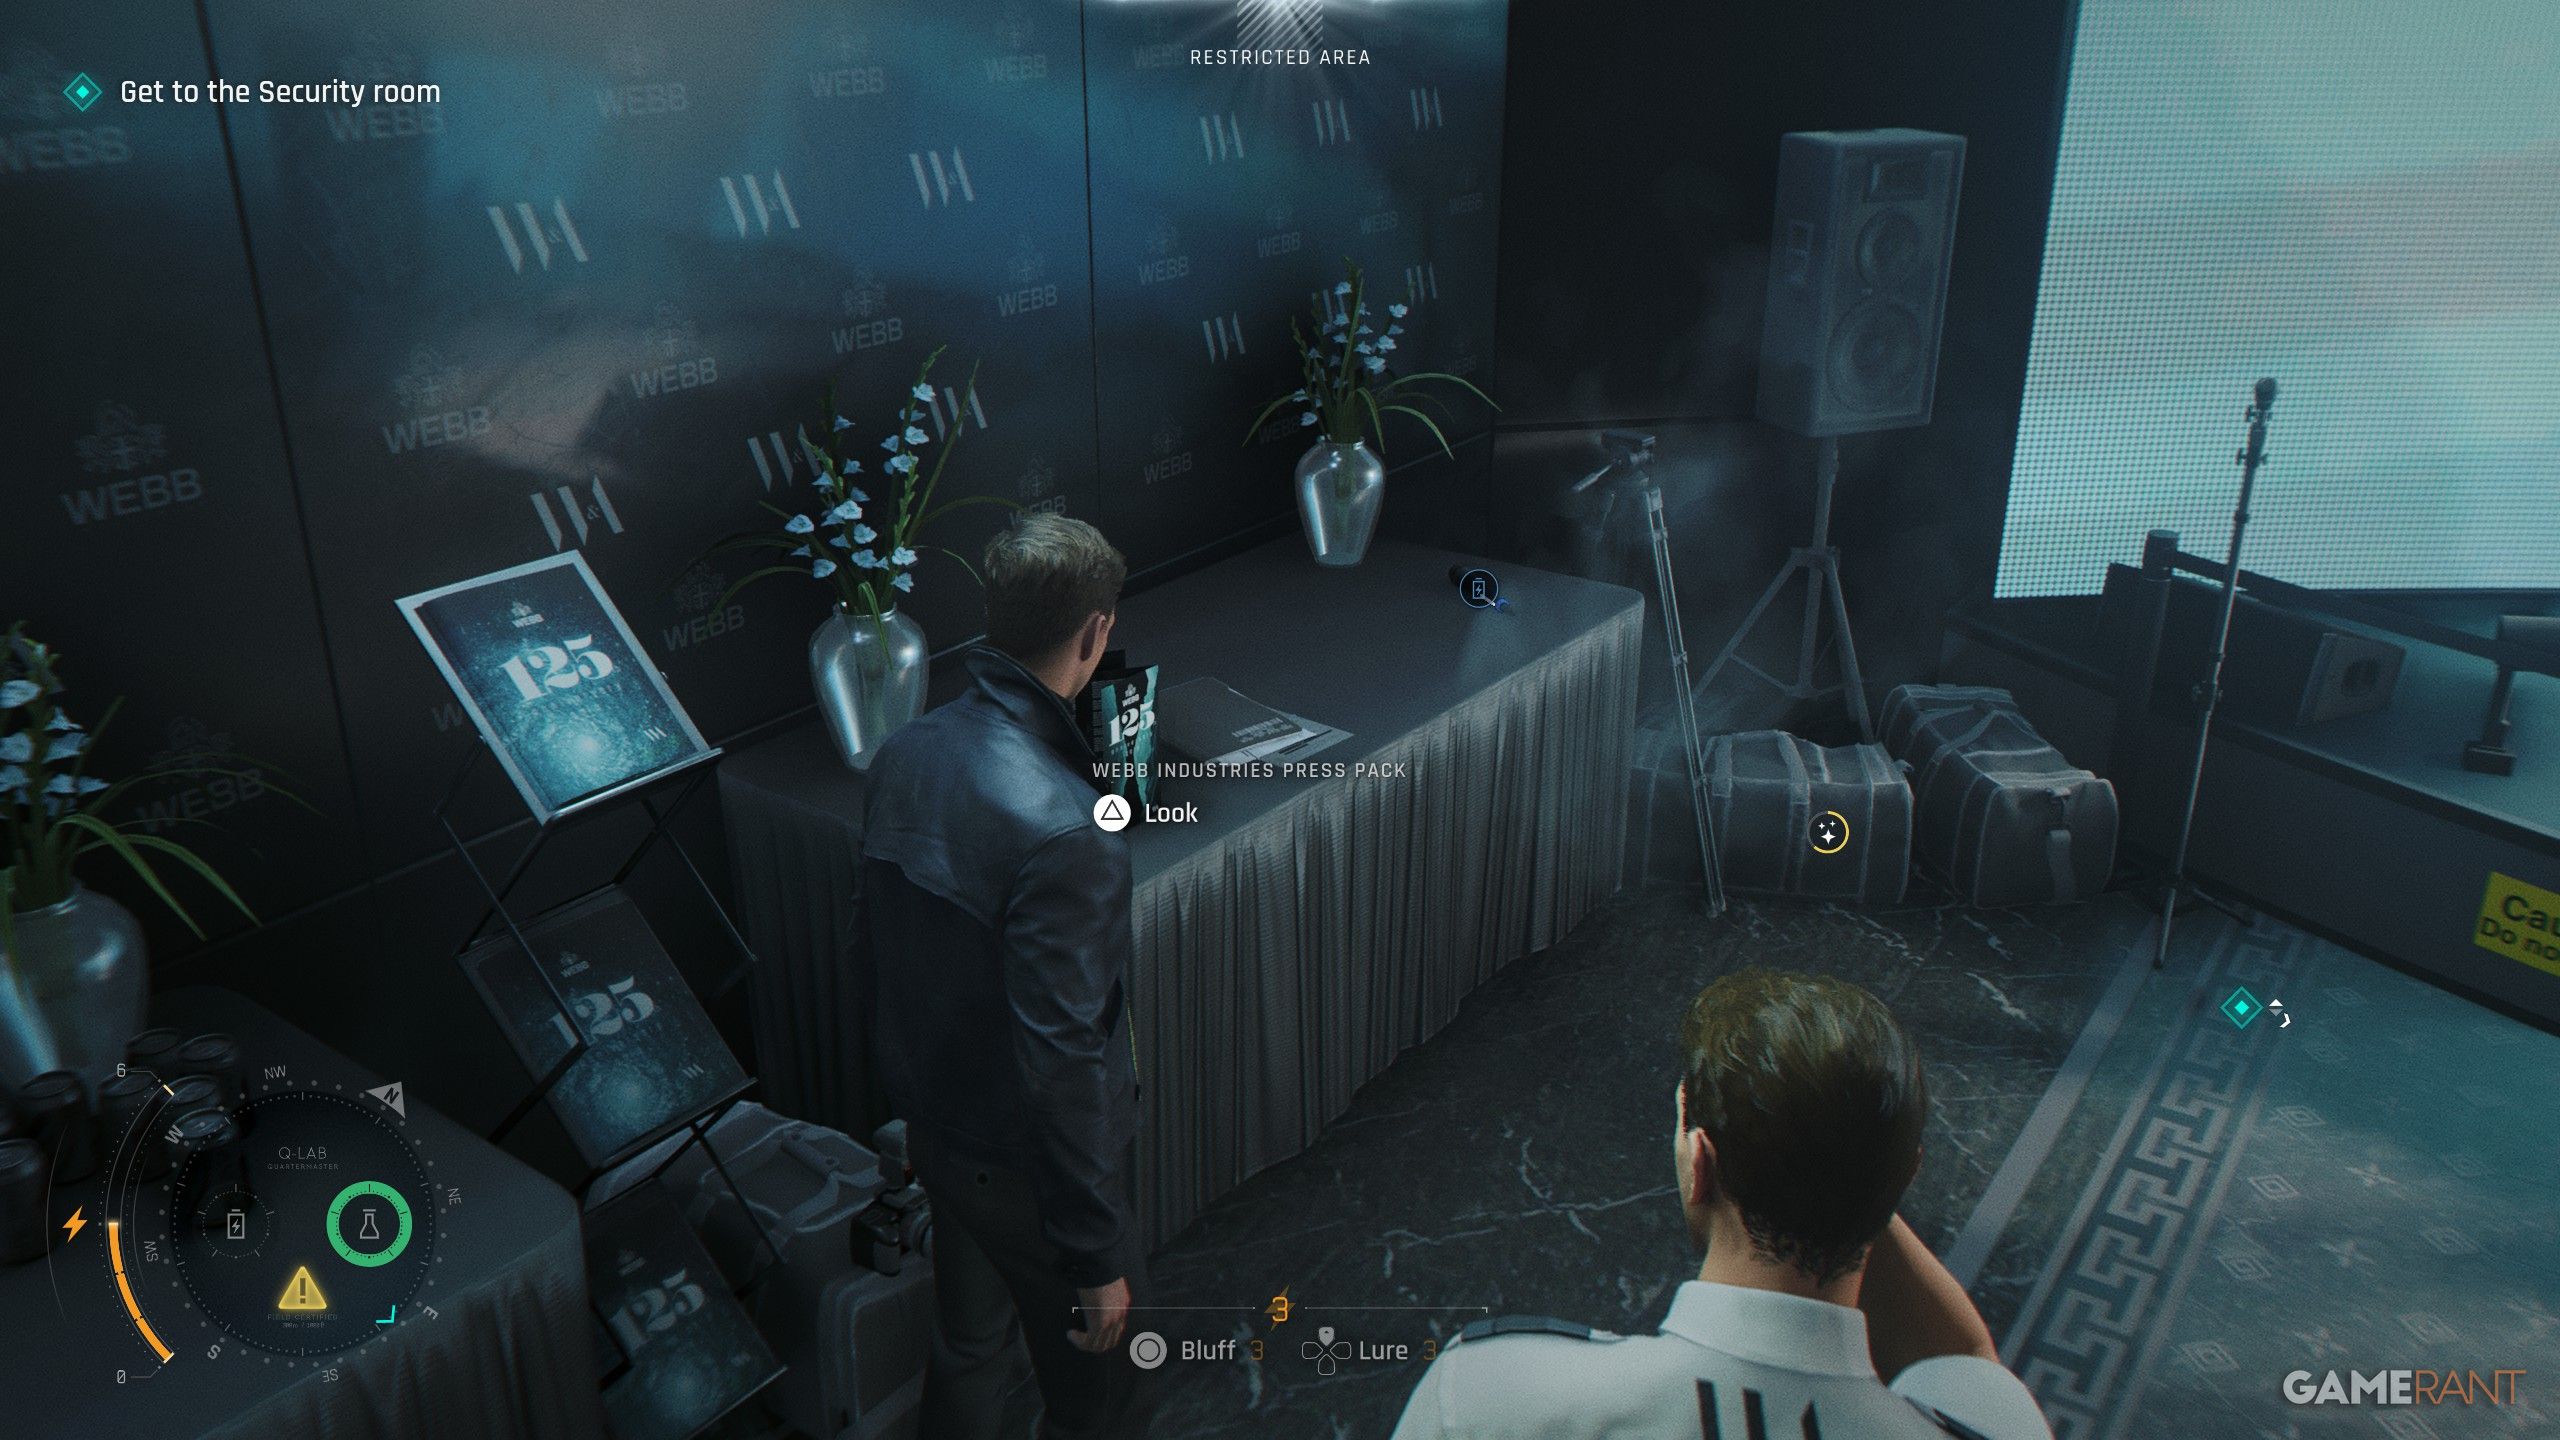
- Checkpoint: Get Upstairs
Once you’re inside the Webb Industries Gala, go through the room on the left to reach the press room. You’ll find the Intel you need on a table guarded by a security officer. To get into the small, guarded area, distract the guard using the Laser Strap, Phone Dart, or Q-Watch.
Intel #12: Security Notice | Stephen Bright (Uninvited)
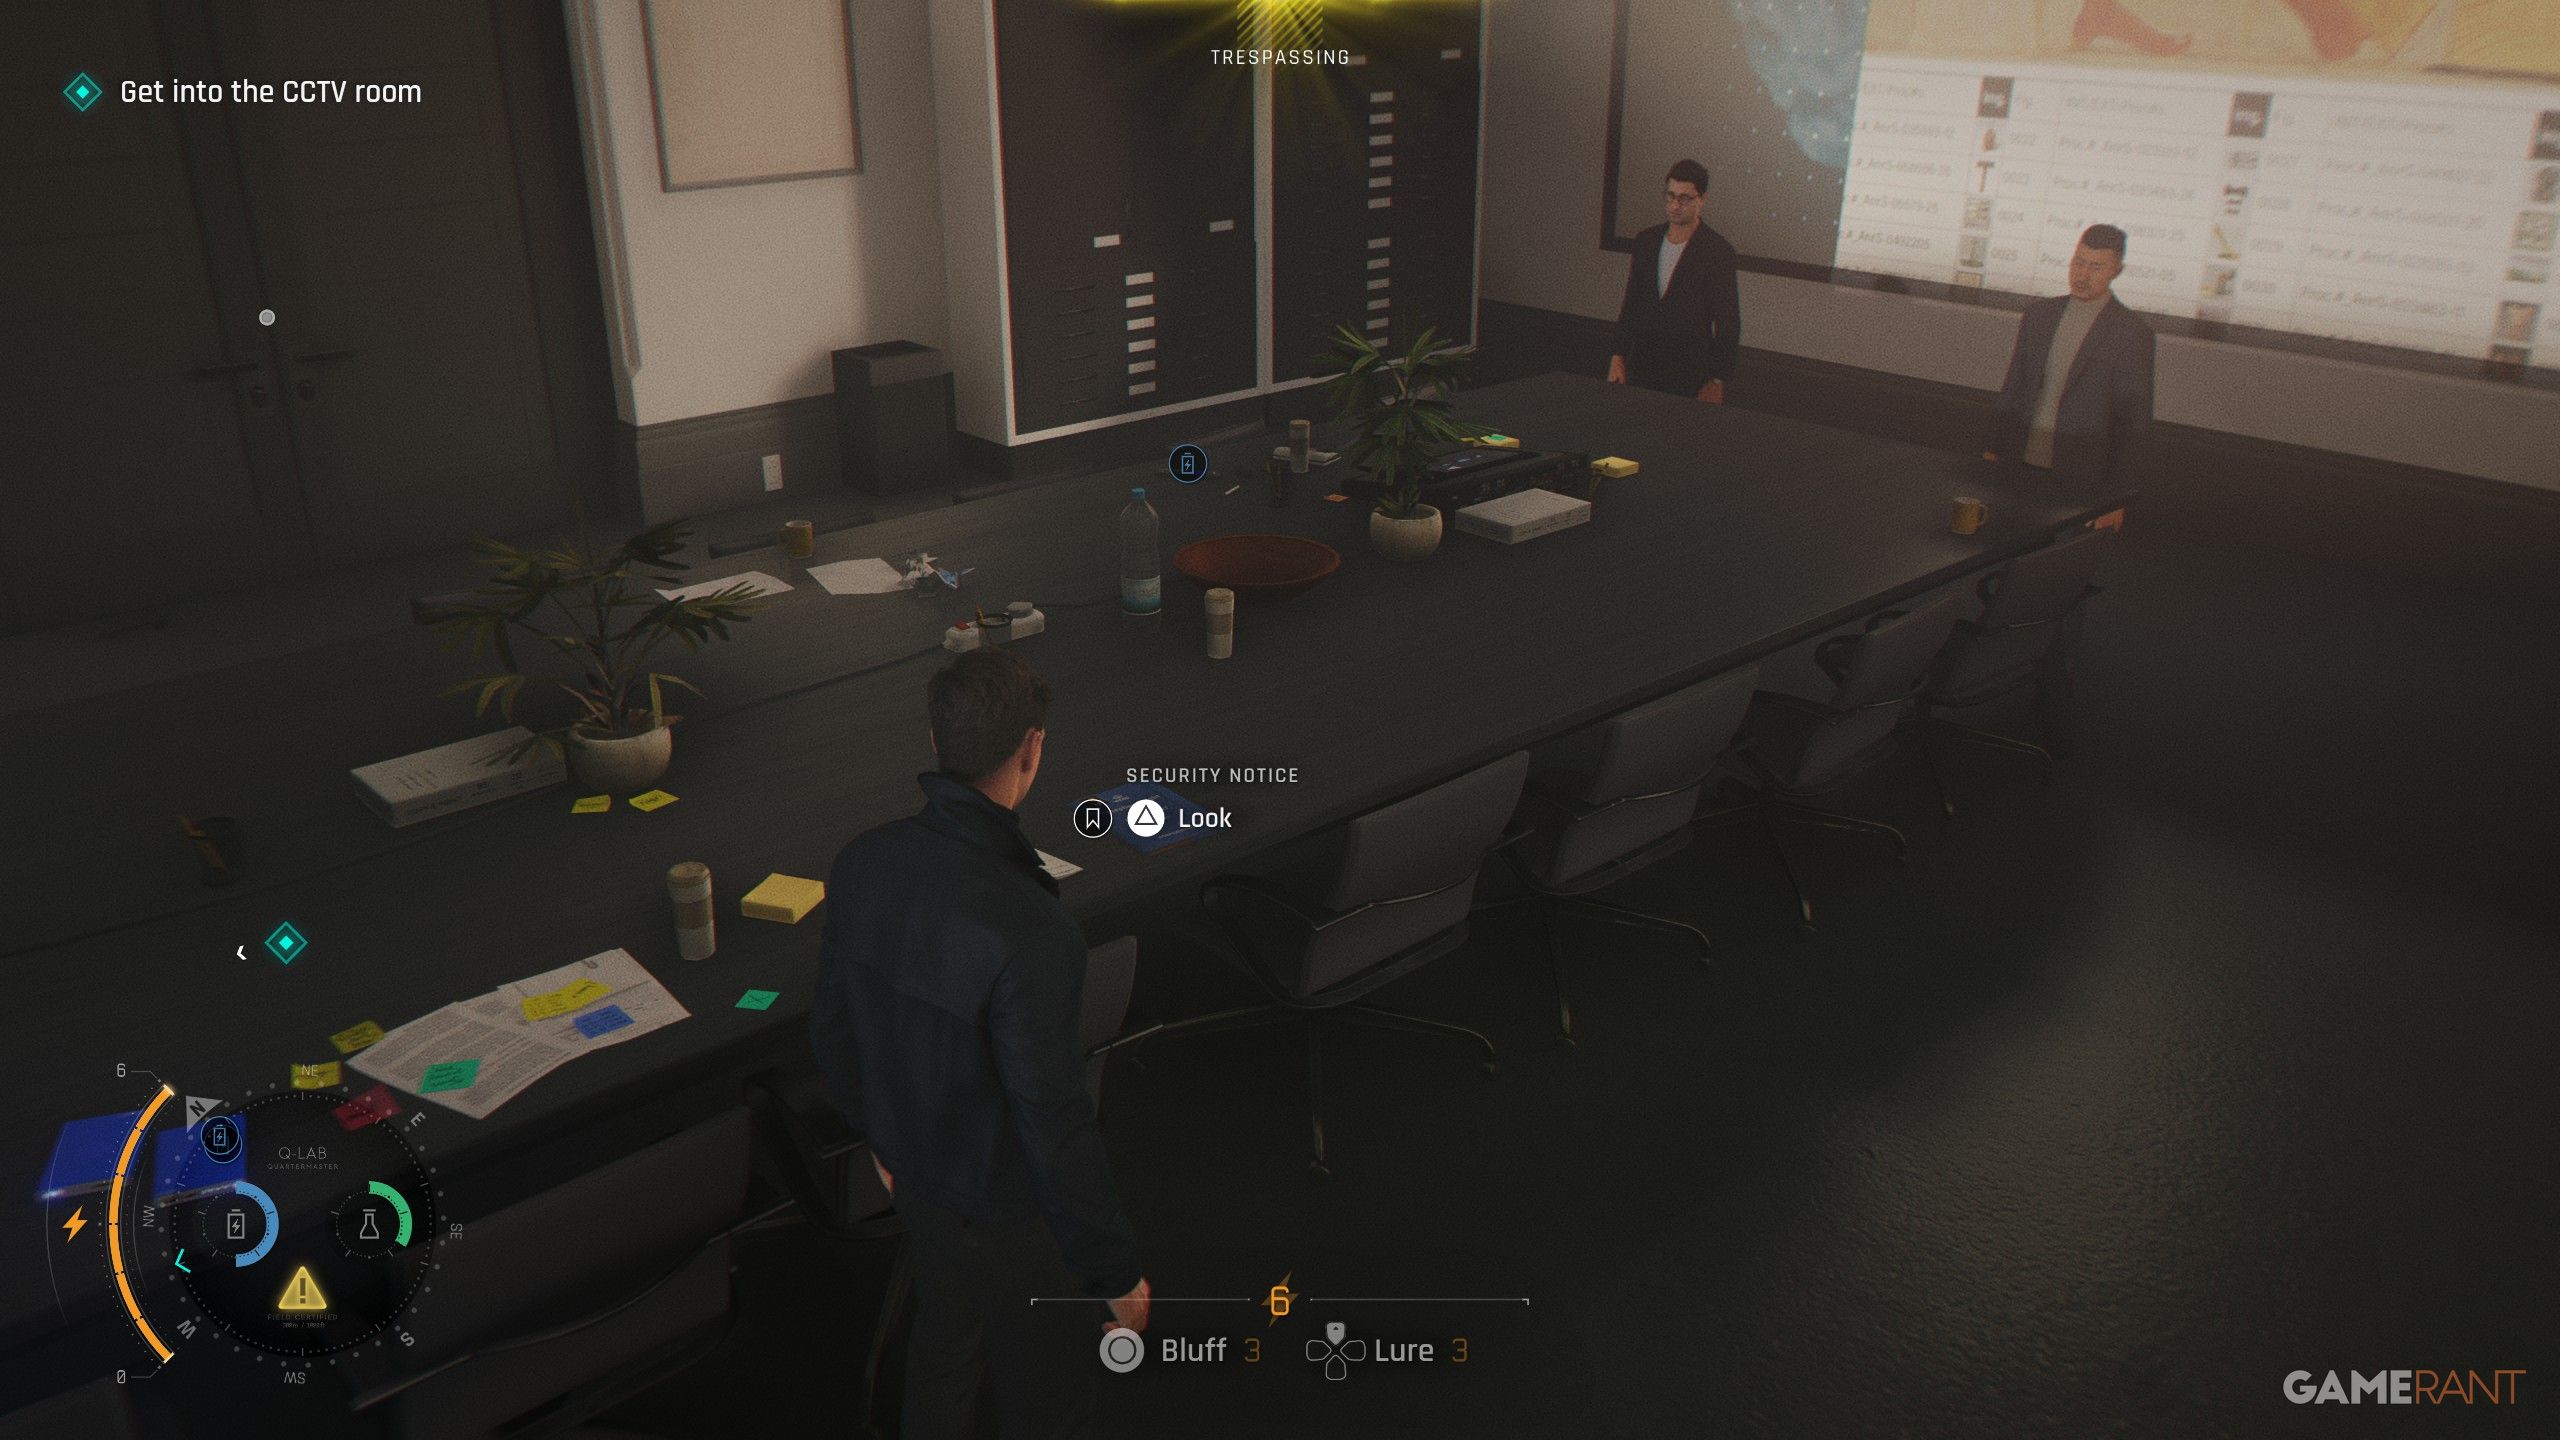
- Checkpoint: Security Office
After you enter the Security Office, go to the room on the right. You’ll see two characters talking, and the information you need is on the table behind them.
Intel #13: Wooden Spoon | Roger Finch (Knightfall)
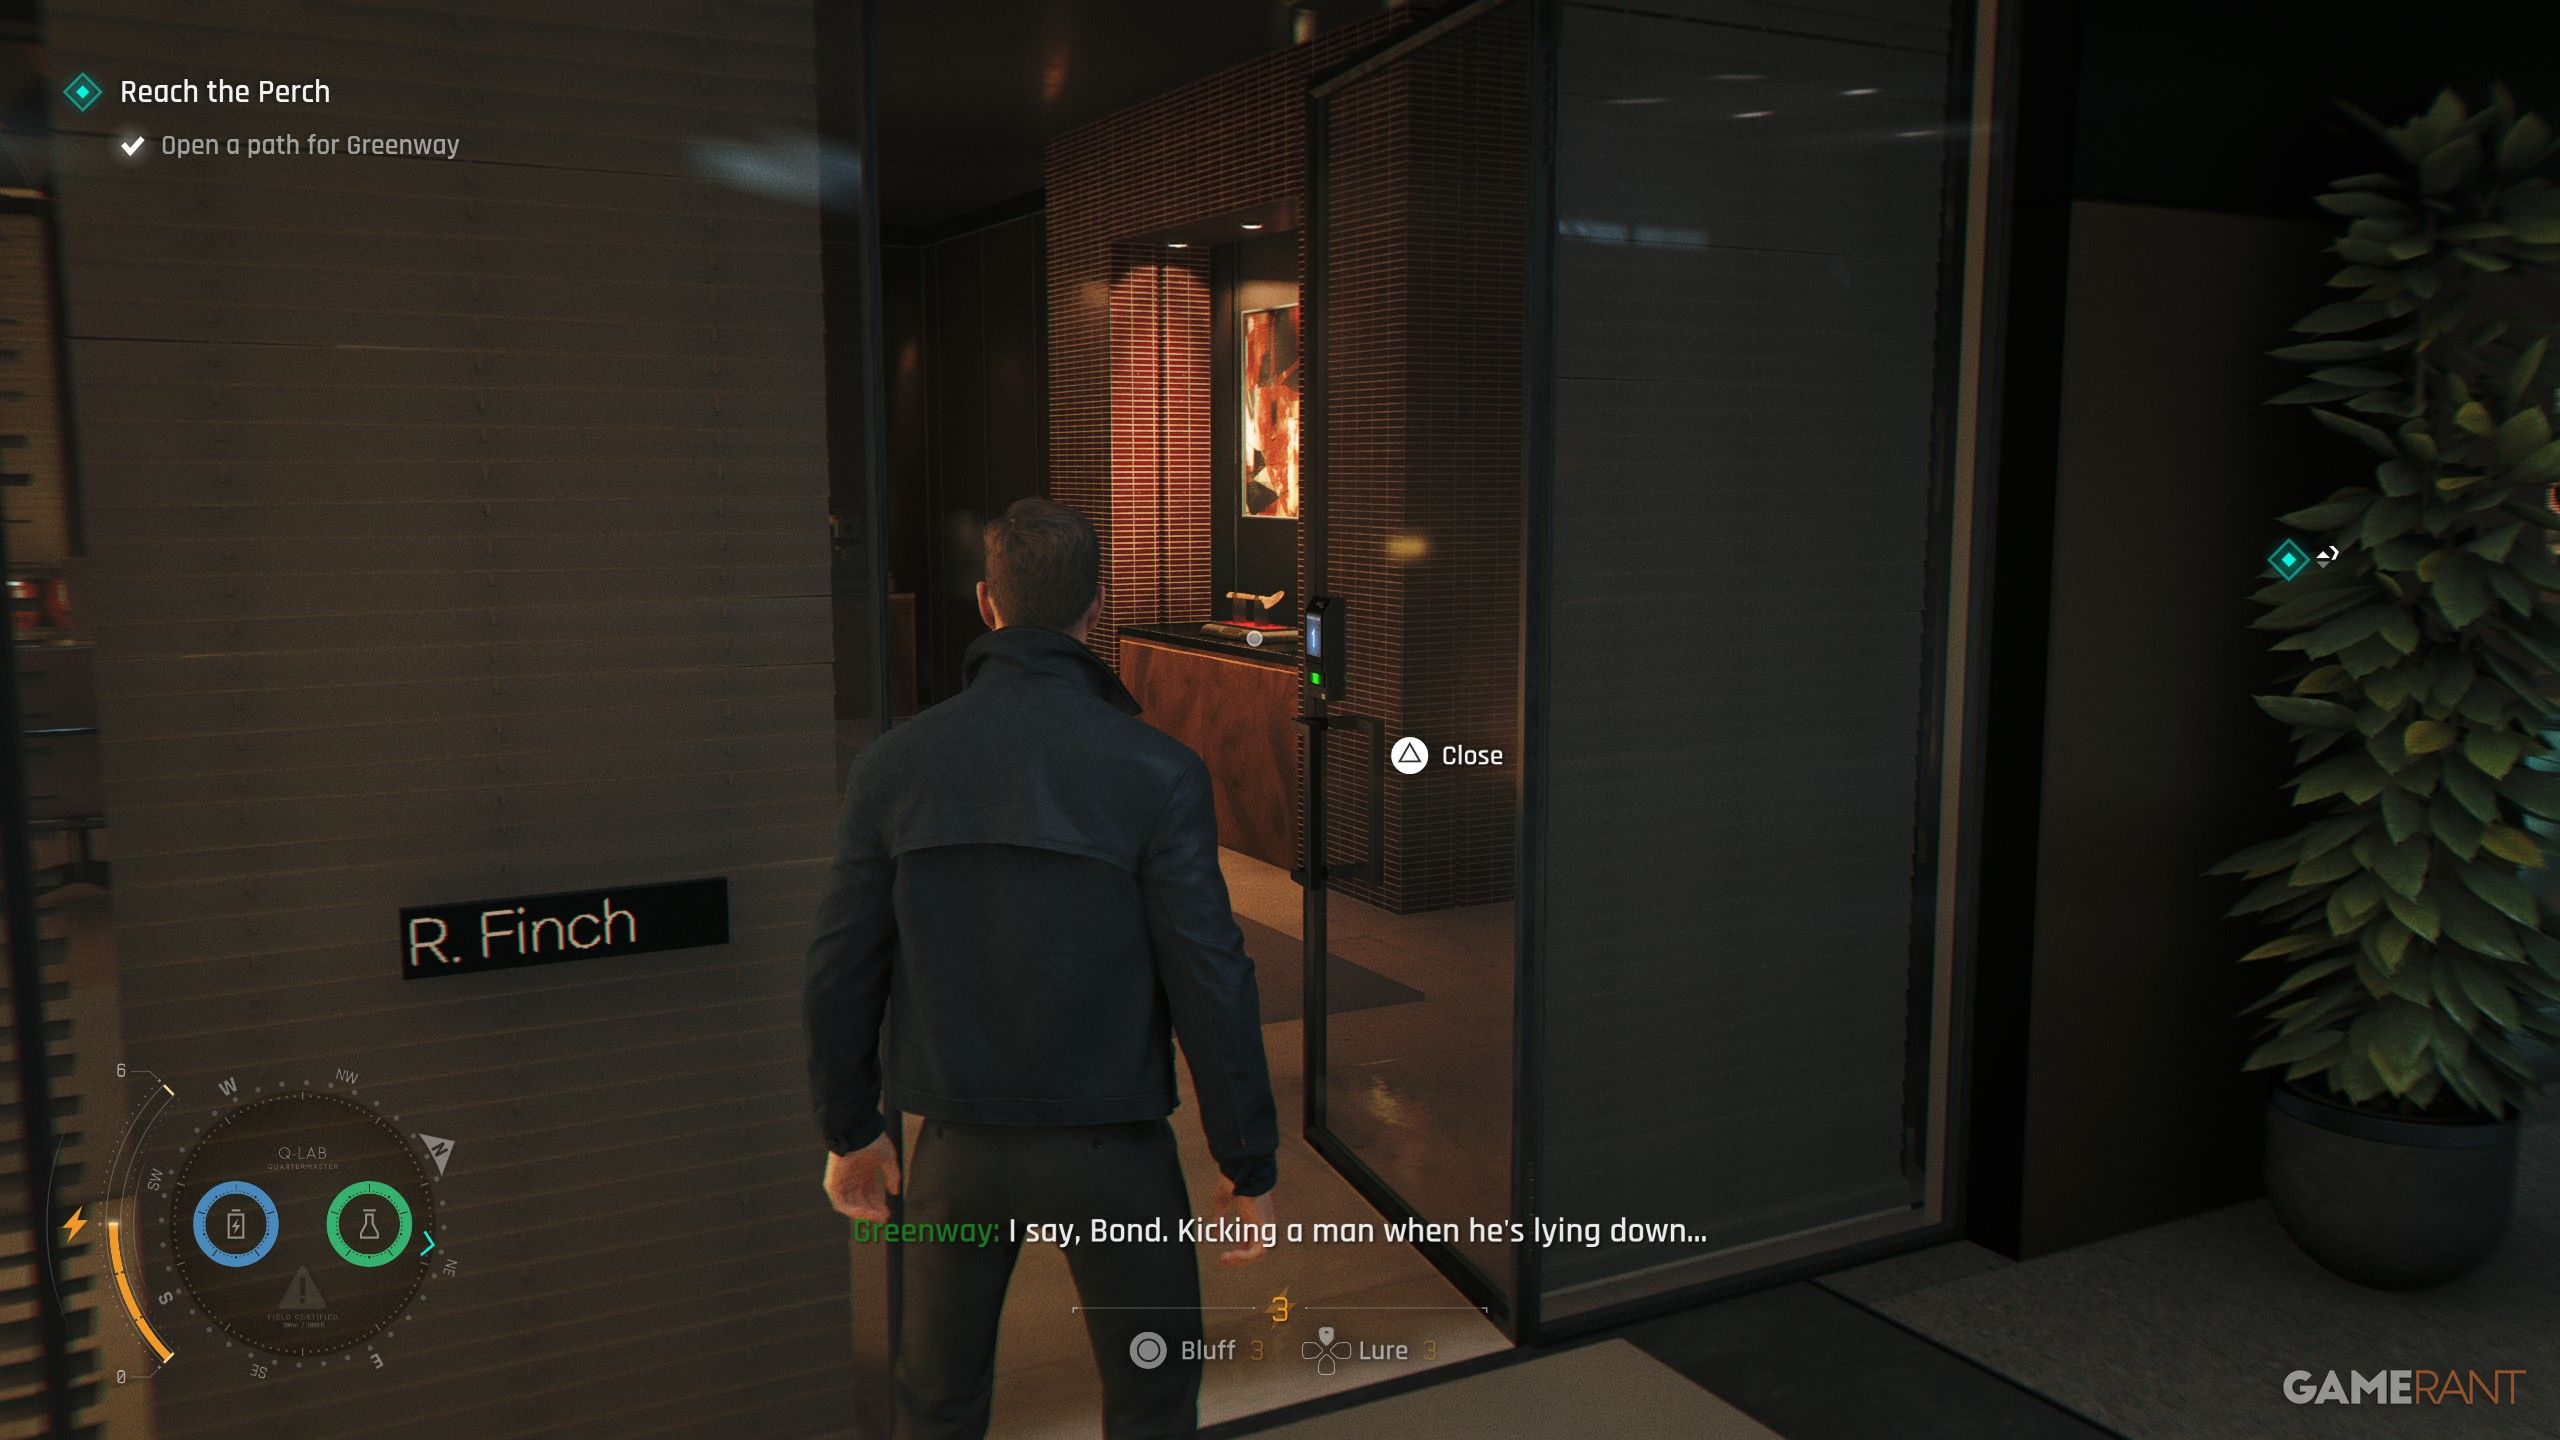
- Checkpoint: Executive 1st Floor
You can use a boosting cube near Greenway to reach a balcony and get inside. Once you’re in, go to the bathroom and kick the door open to find a Keycard. Then, on the first floor, look for an office marked “R. Finch” on the left – you’ll find a wooden spoon inside.
Intel #14: Employment Contract | Isola Vale (Knightfall)
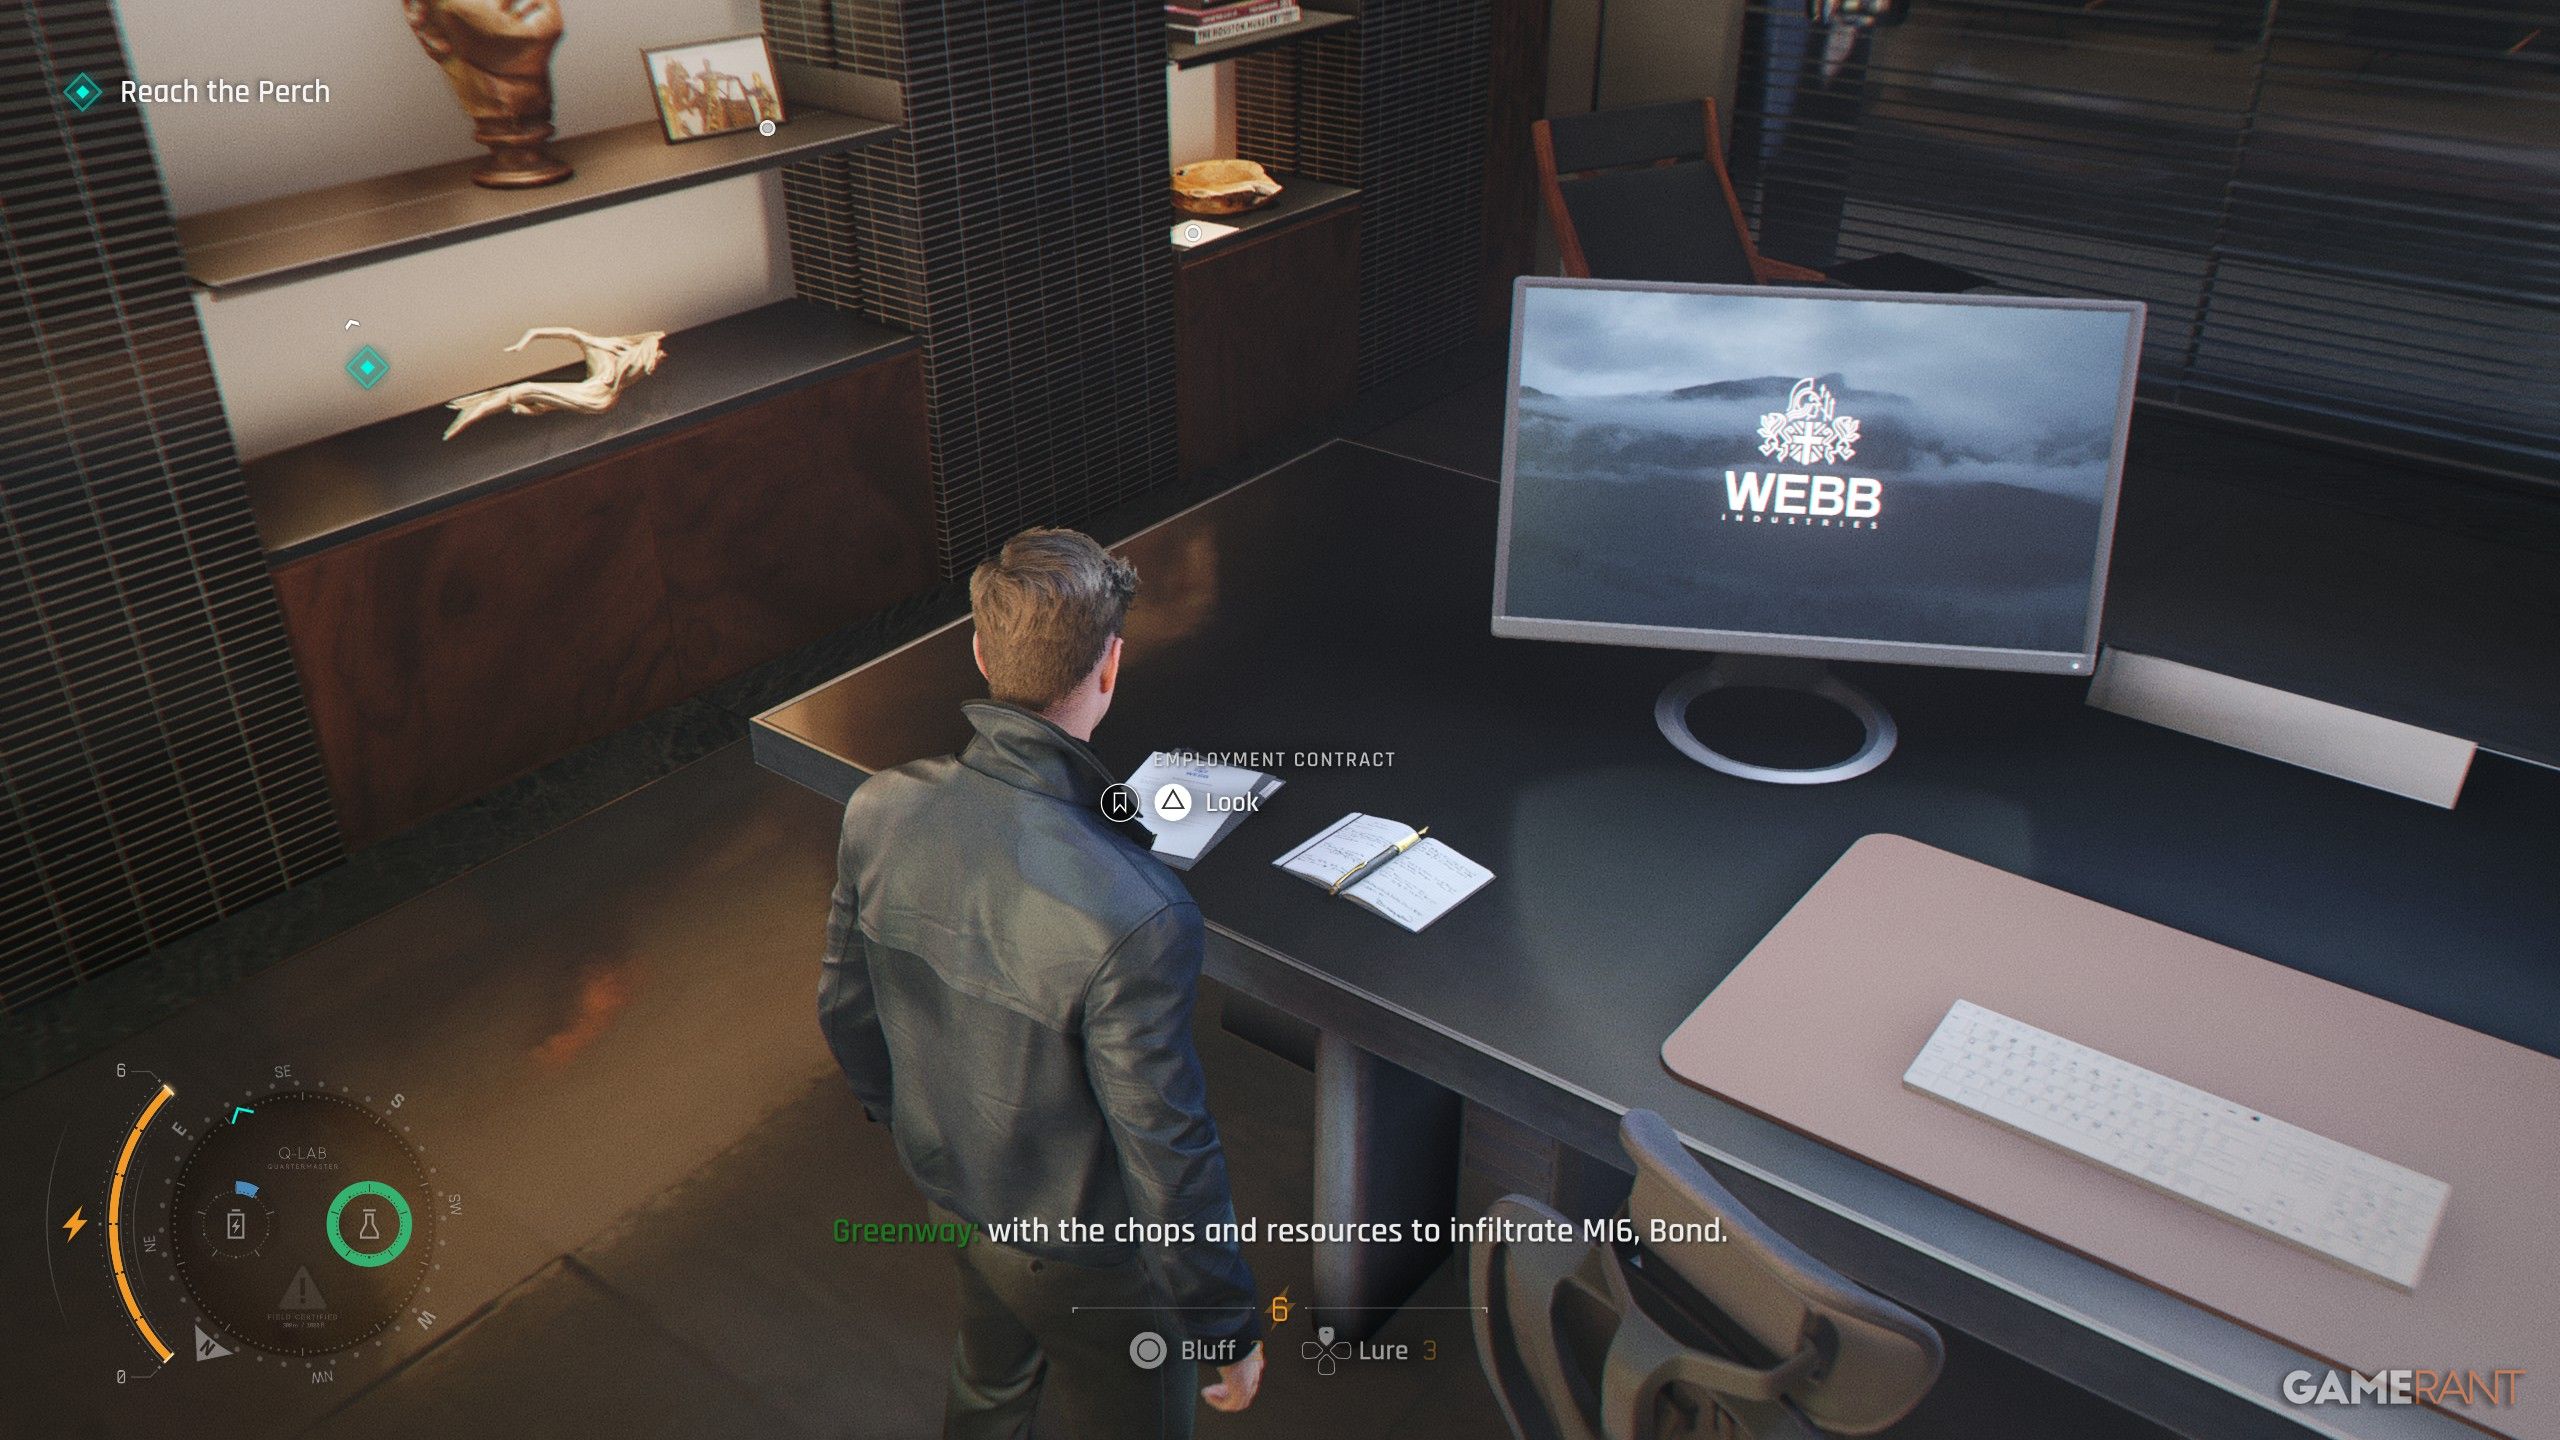
- Checkpoint: Executive 1st Floor
Later on, you’ll need to navigate a hallway with lasers. Go right and move the obstacle to reach a vent. Continue straight ahead – don’t turn left – and you’ll discover an office where you can find important information on the desk.
Intel #15: Psych Profile | Damien Webb (Knightfall)
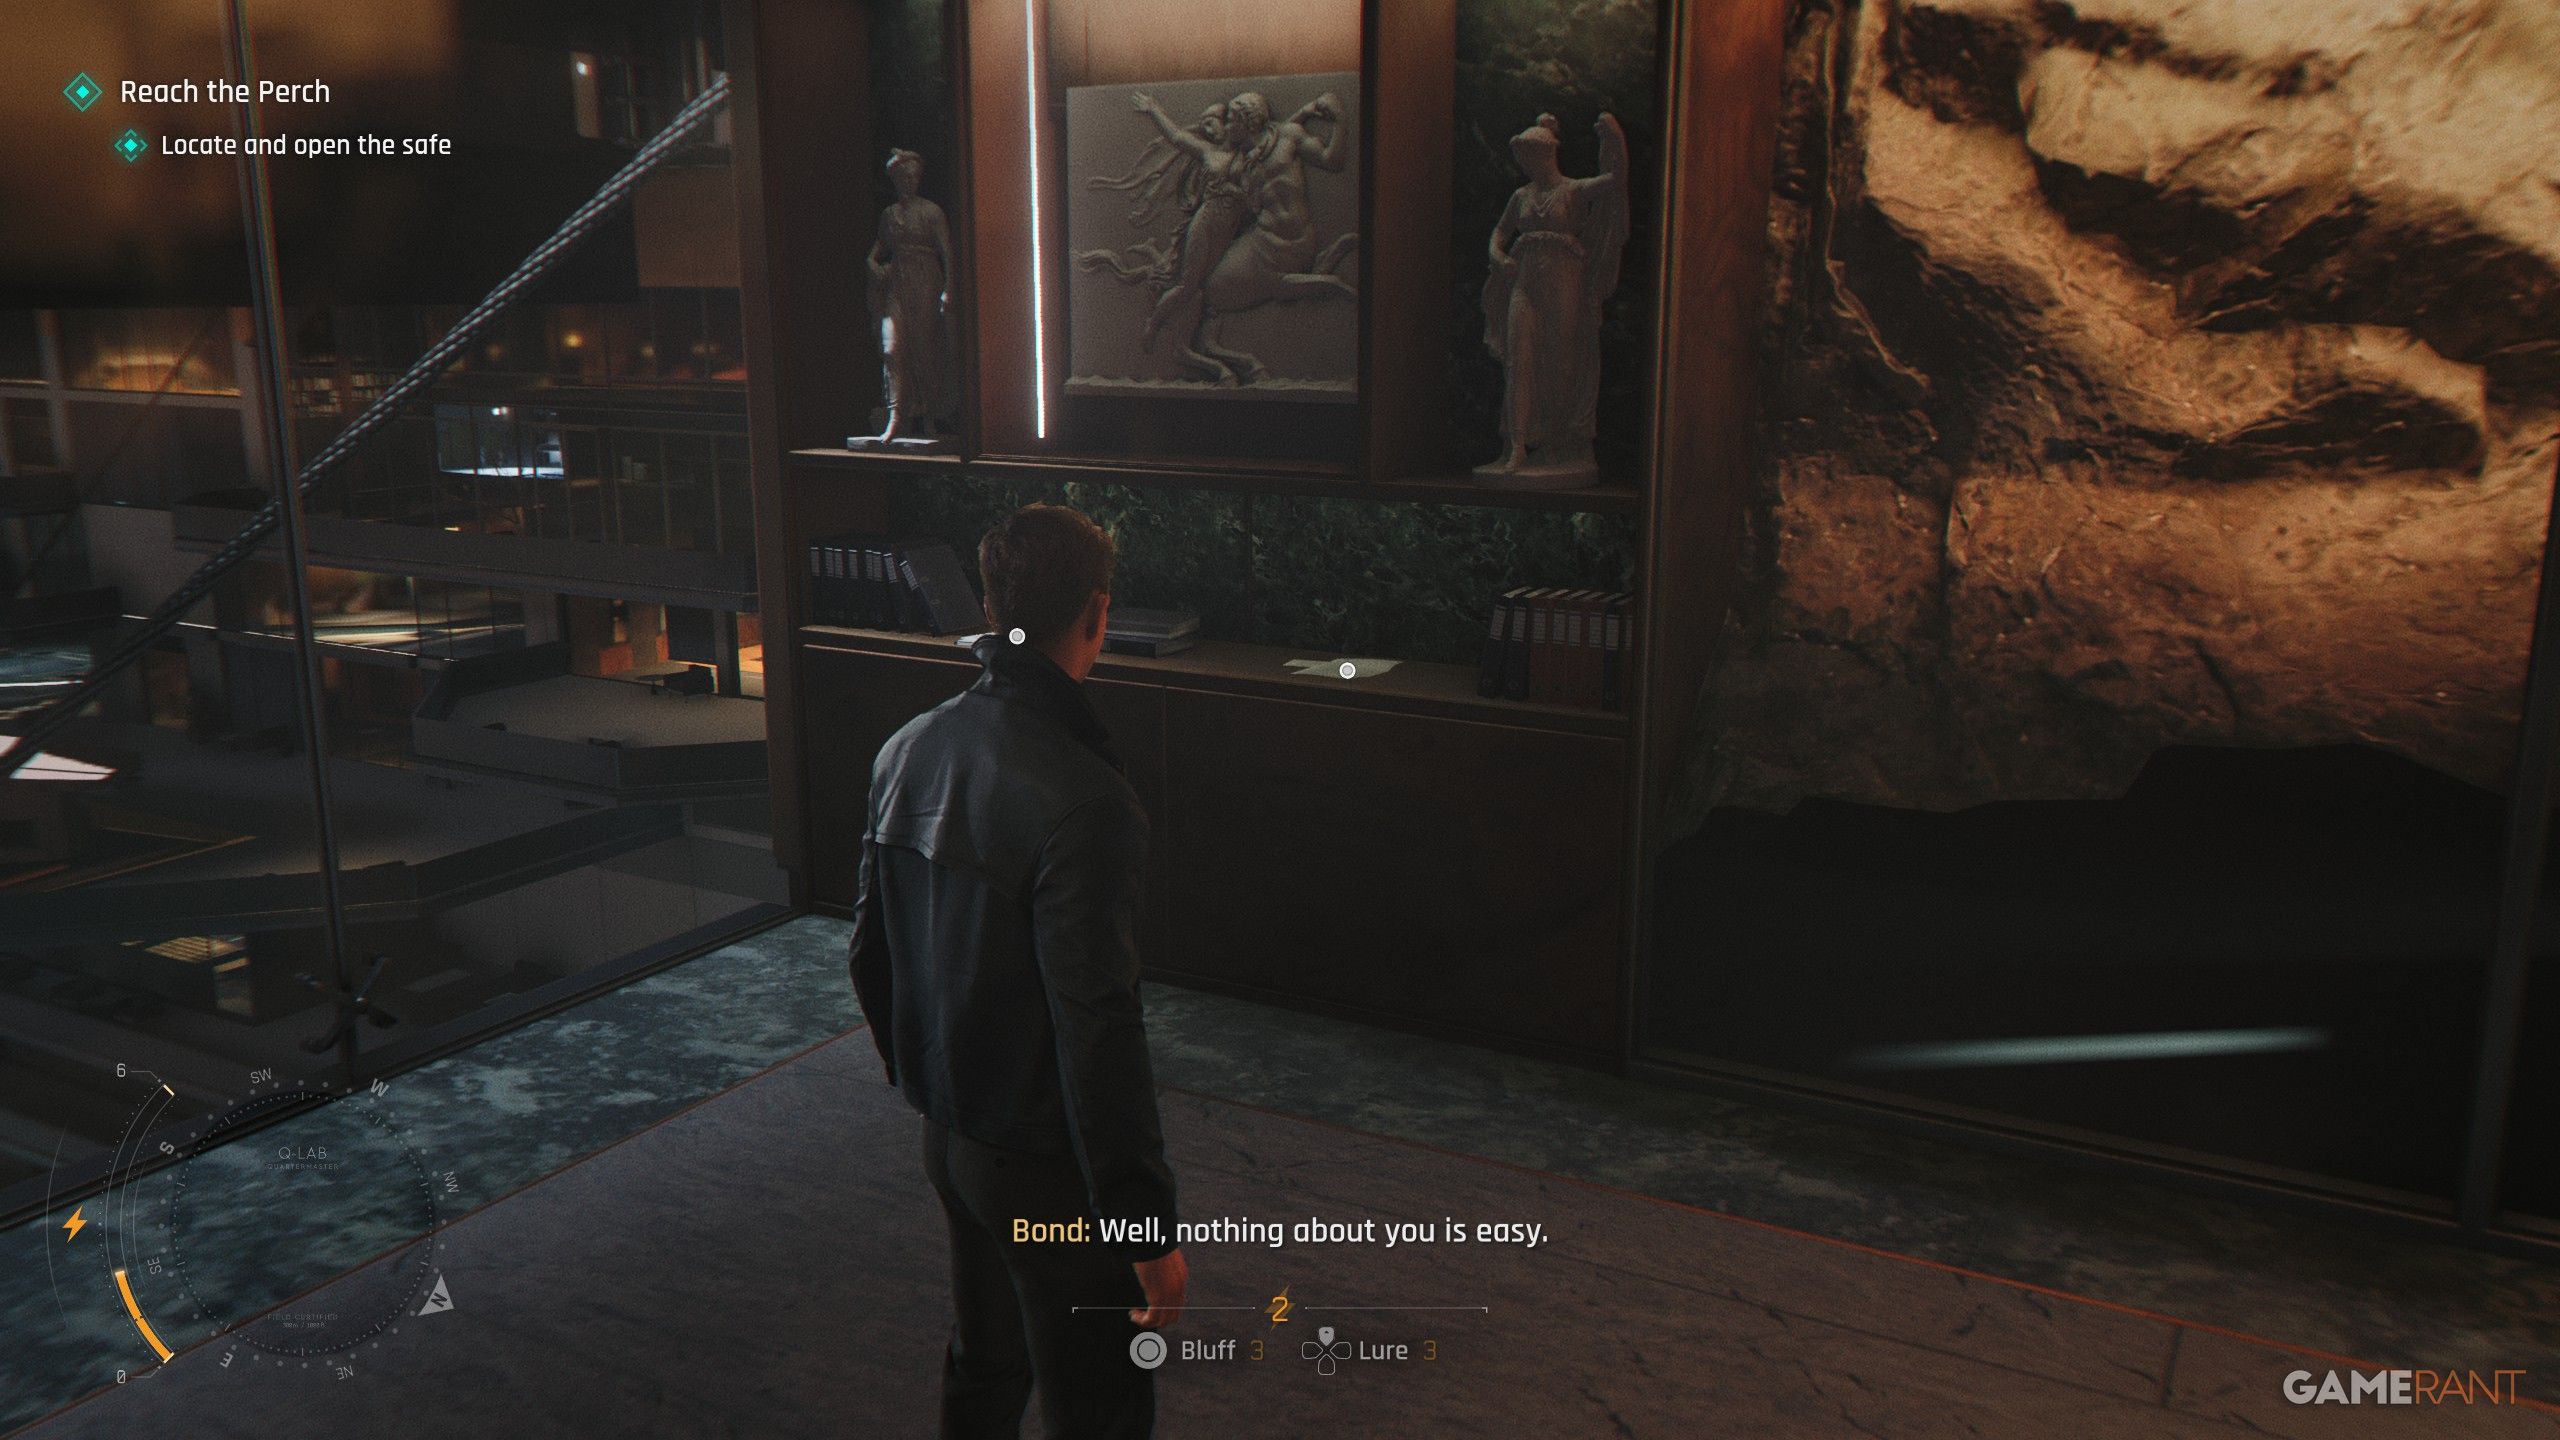
- Checkpoint: The Penthouse
To open the safe, check the shelf with the statues in the back-right corner of the penthouse – you’ll find the information you need there.
Intel #16: Driving Gloves | Q (Going Old School)
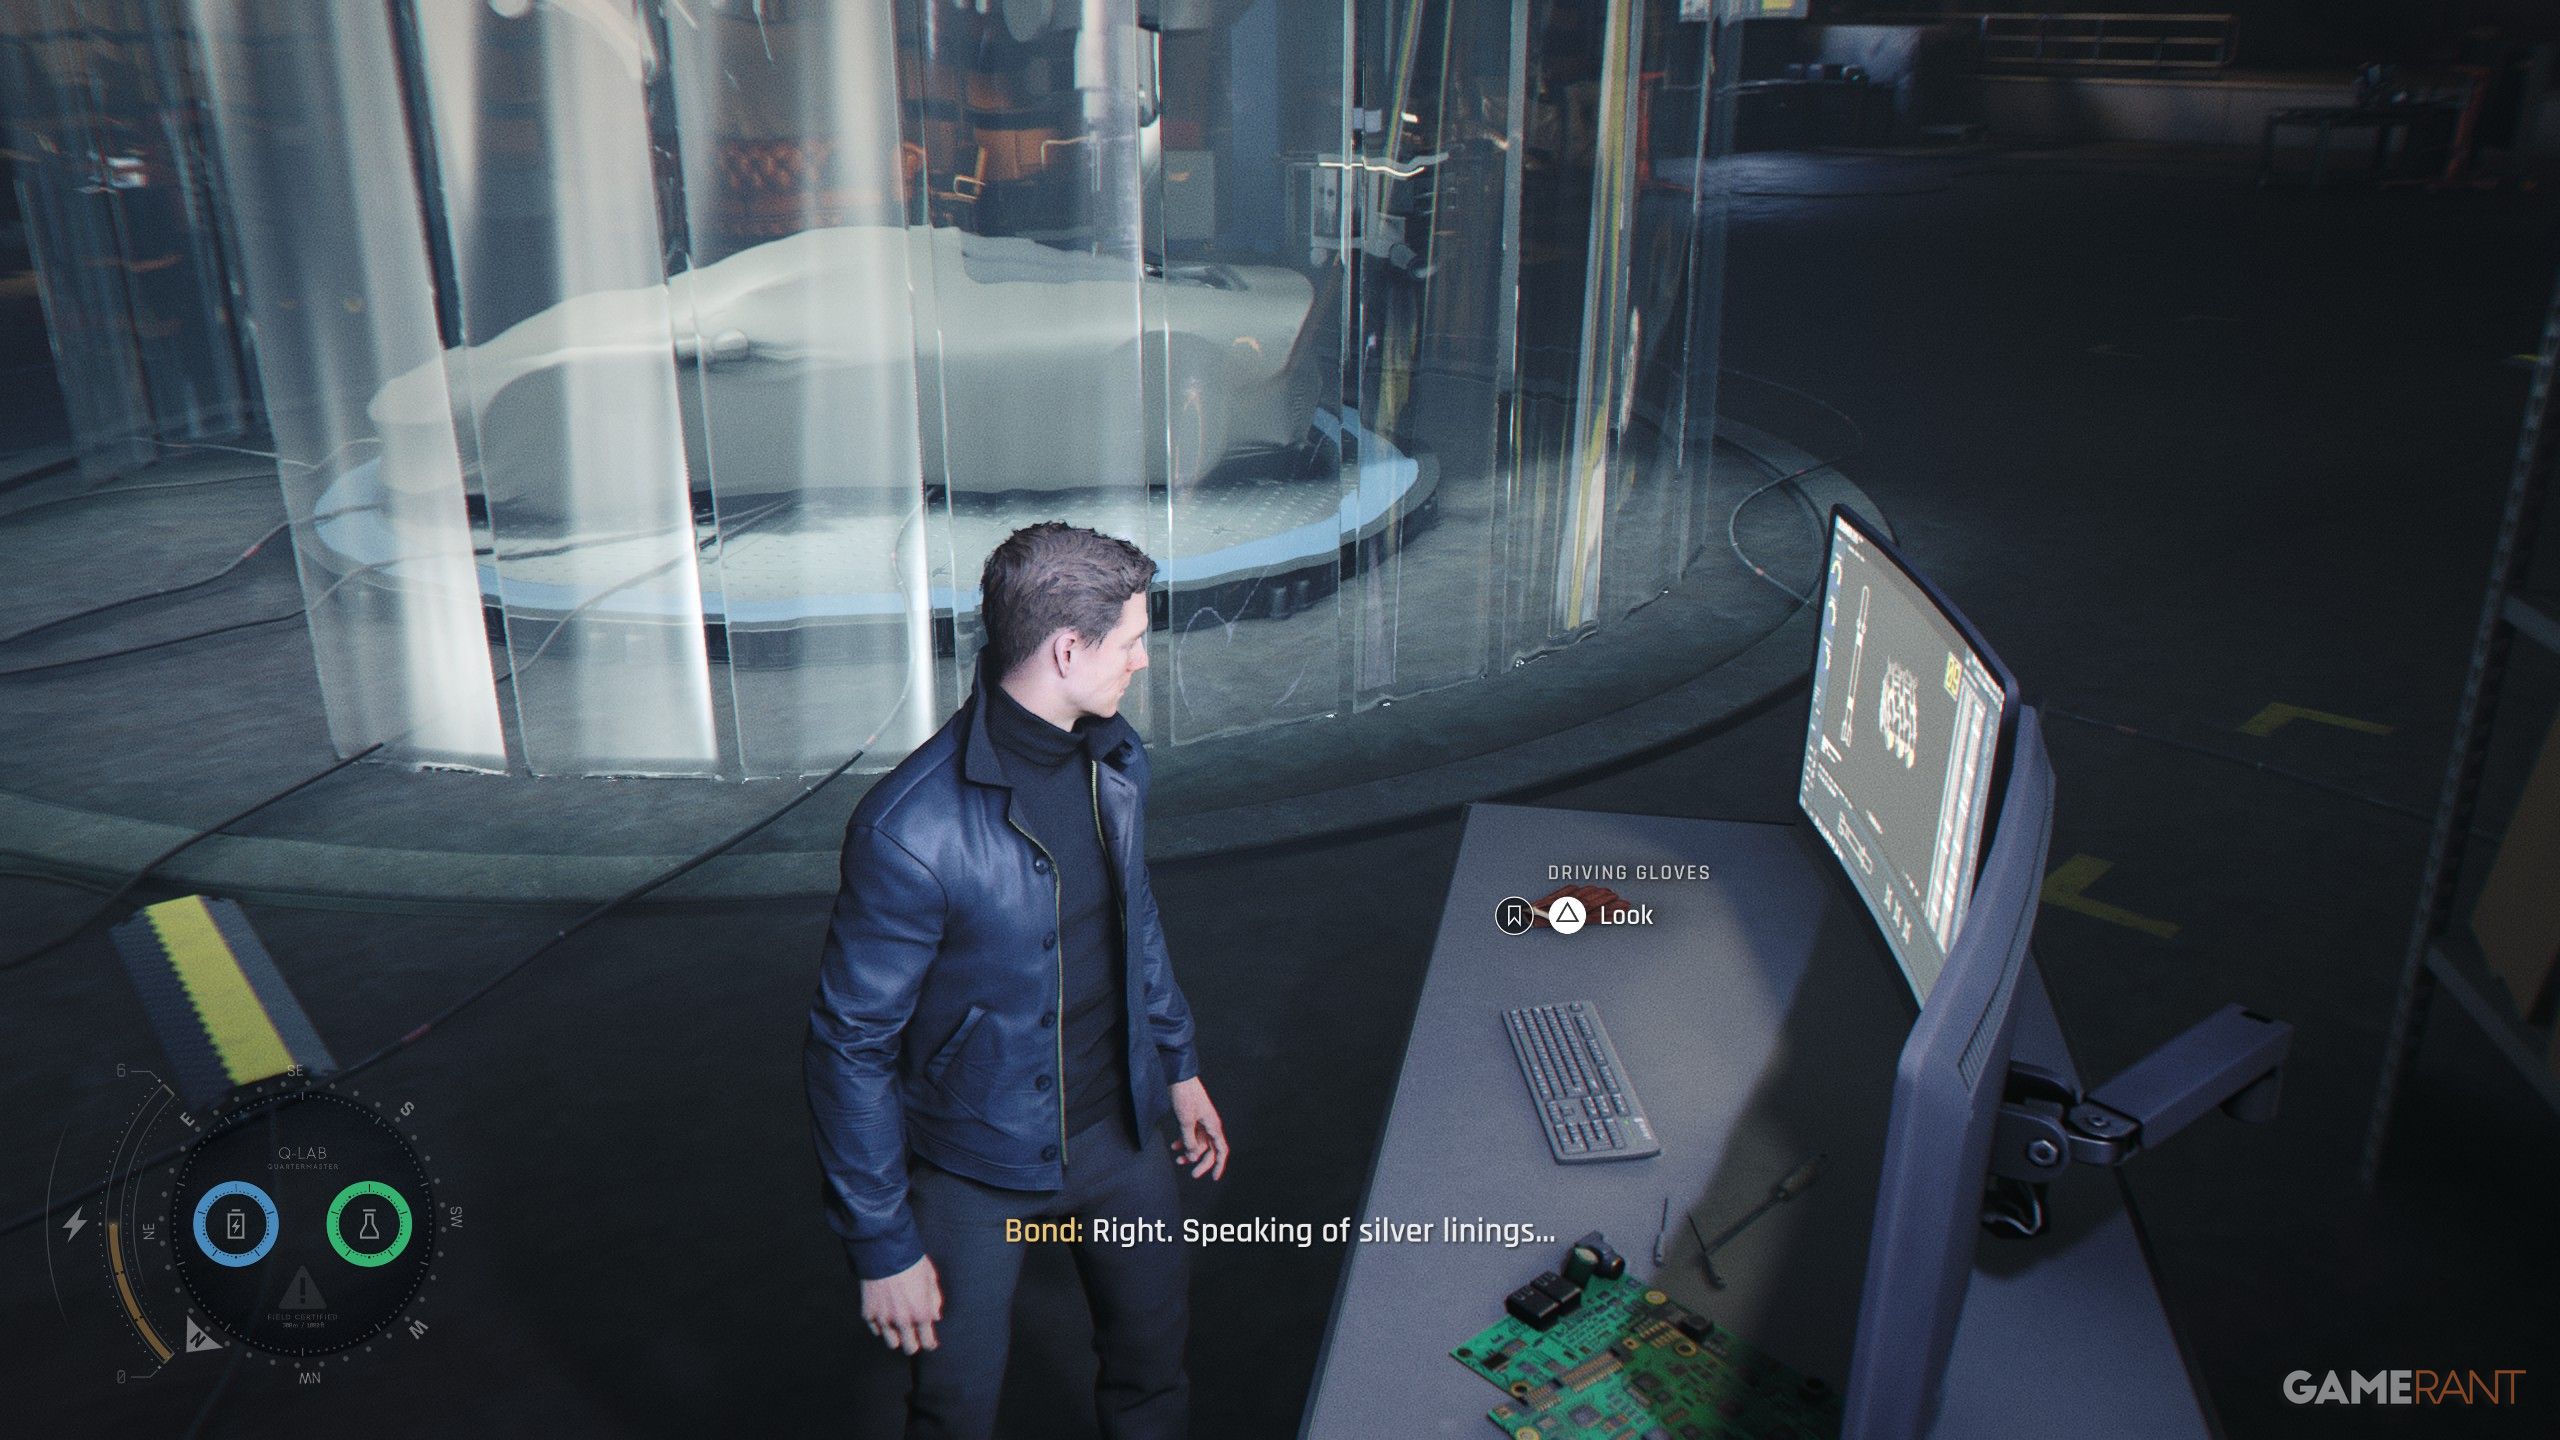
- Checkpoint: In the Zone
When you go to Q-Lab to get field equipment, check the desk to the right, near the covered car.
Intel #17: Keynote Presentation | Theresa Lorca (Time to Die)
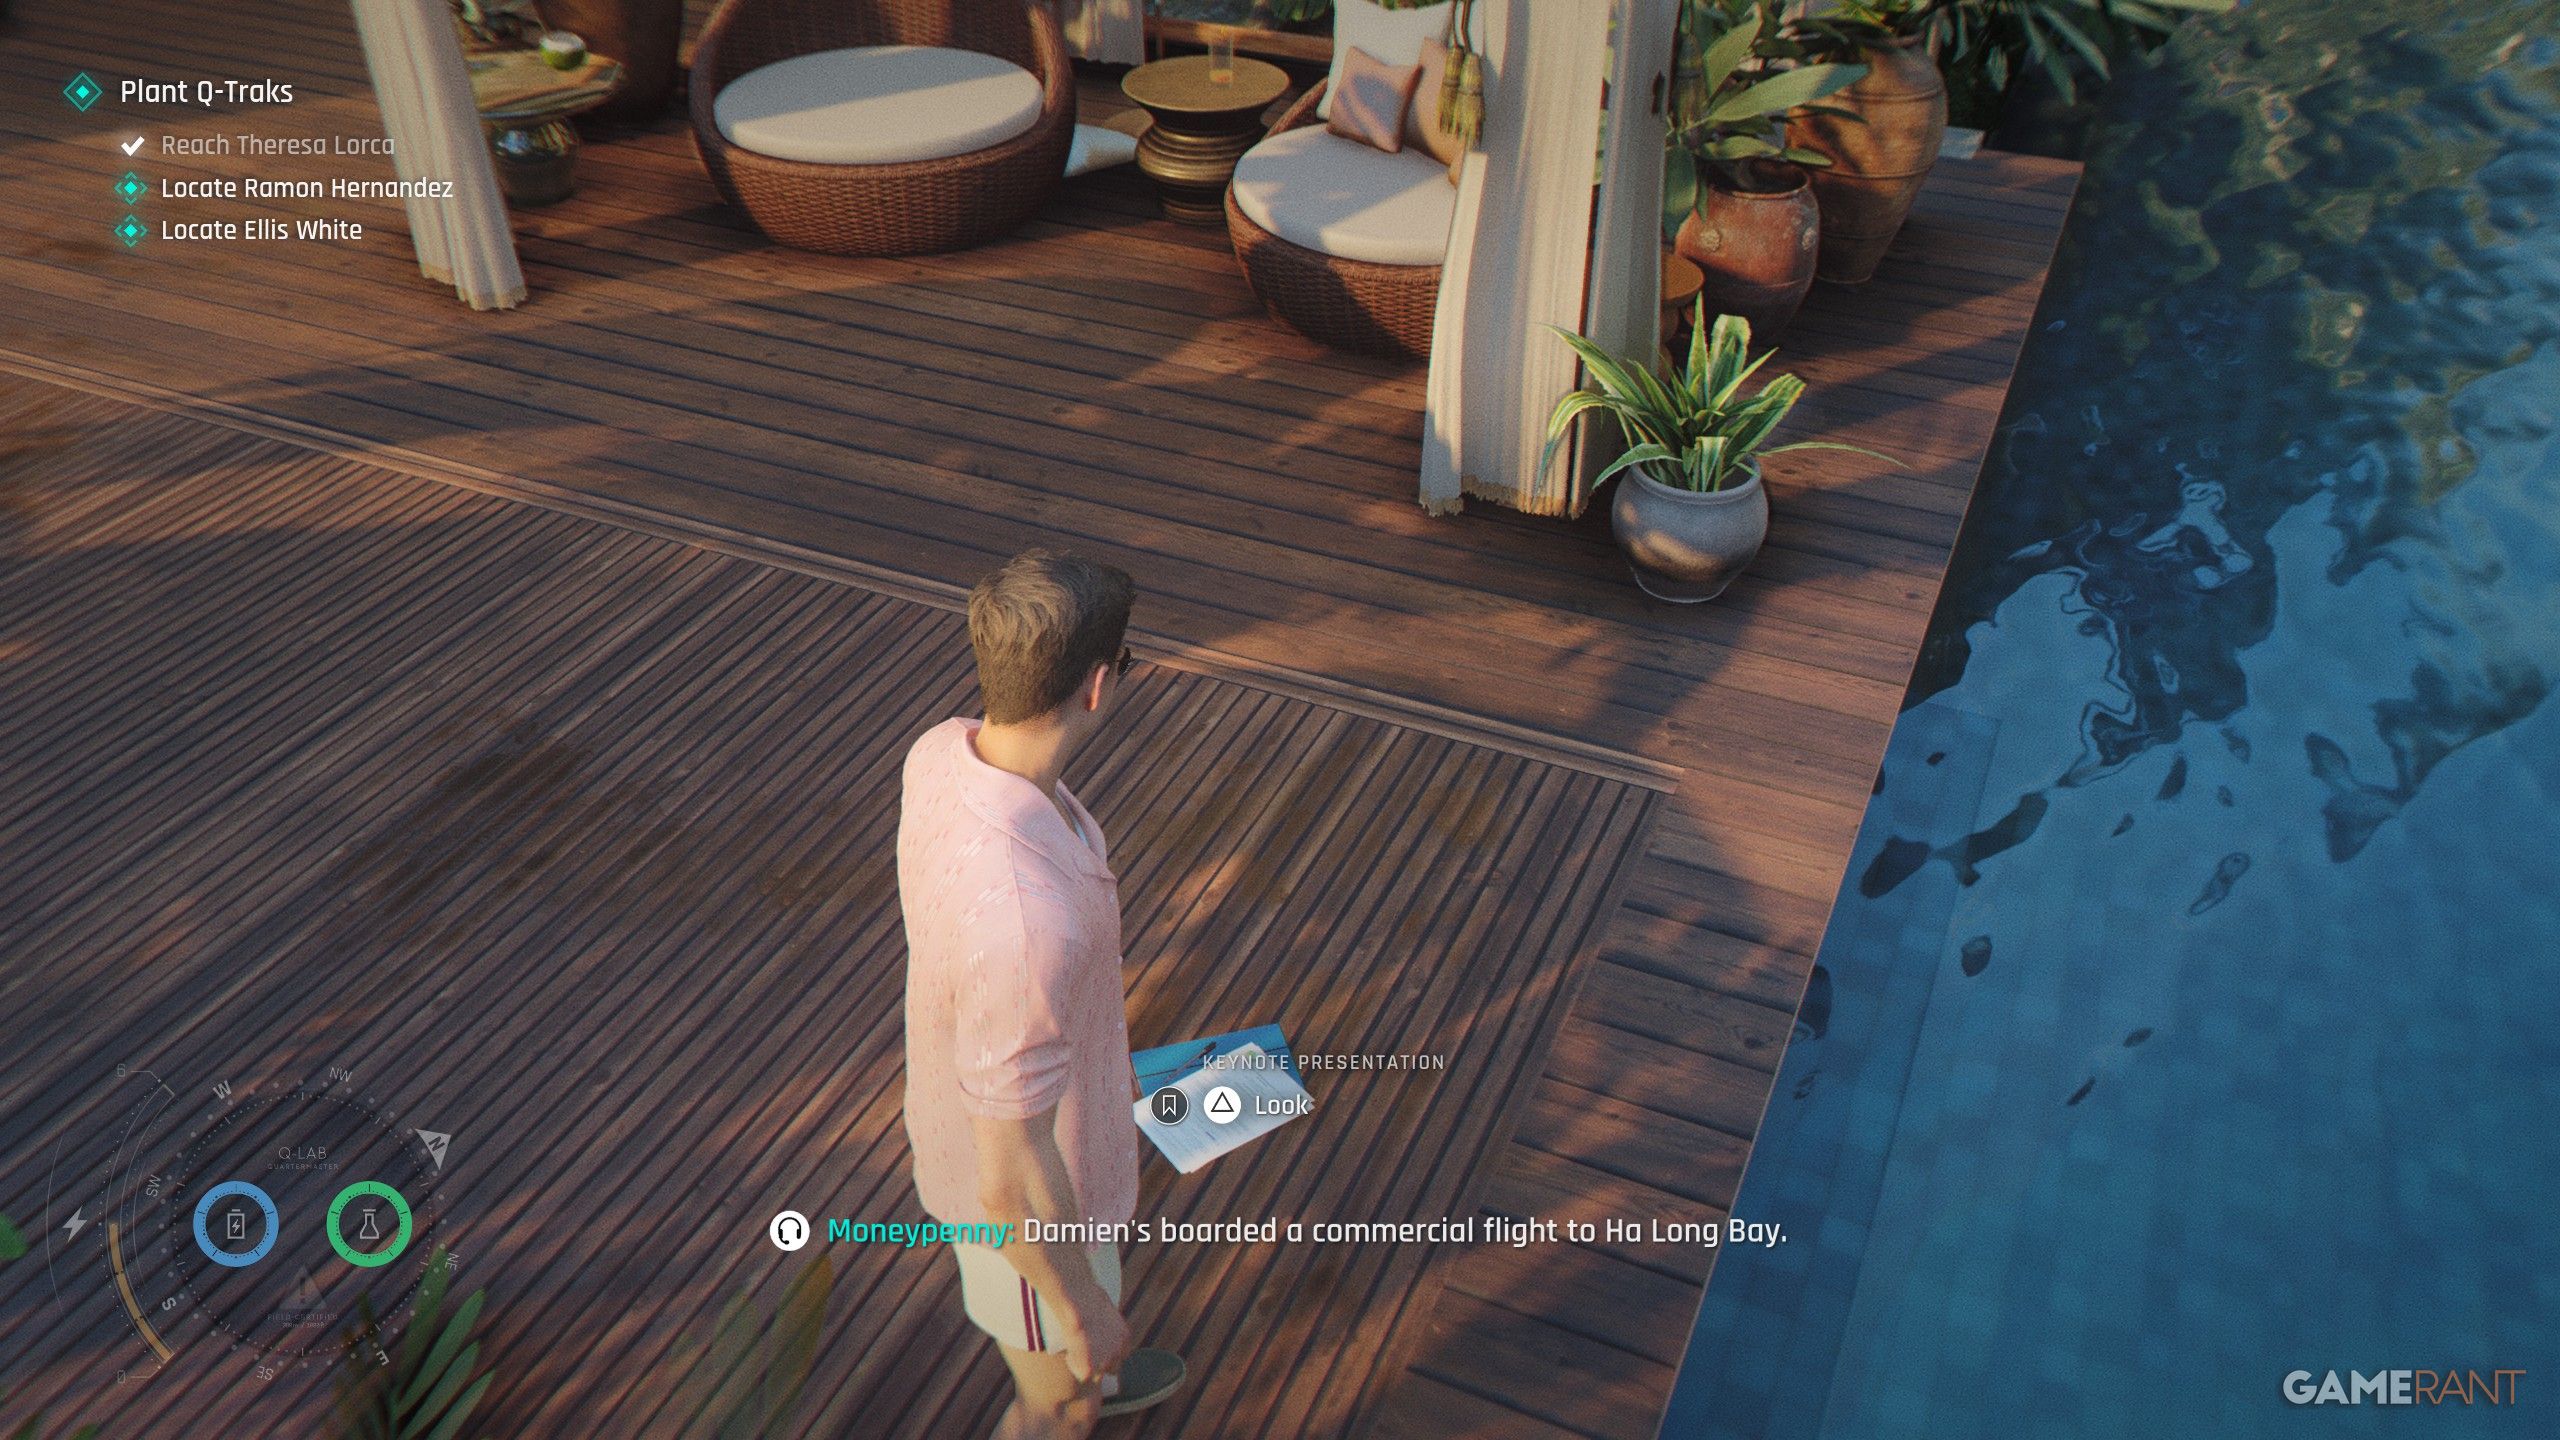
- Checkpoint: The Three Targets
Okay, so I talked to Theresa Lorca, and then I turned to my right and spotted a pool. There was a note lying on the floor right next to it, all damp from the water!
Intel #18: Caliban Profile | Caliban (Time to Die)
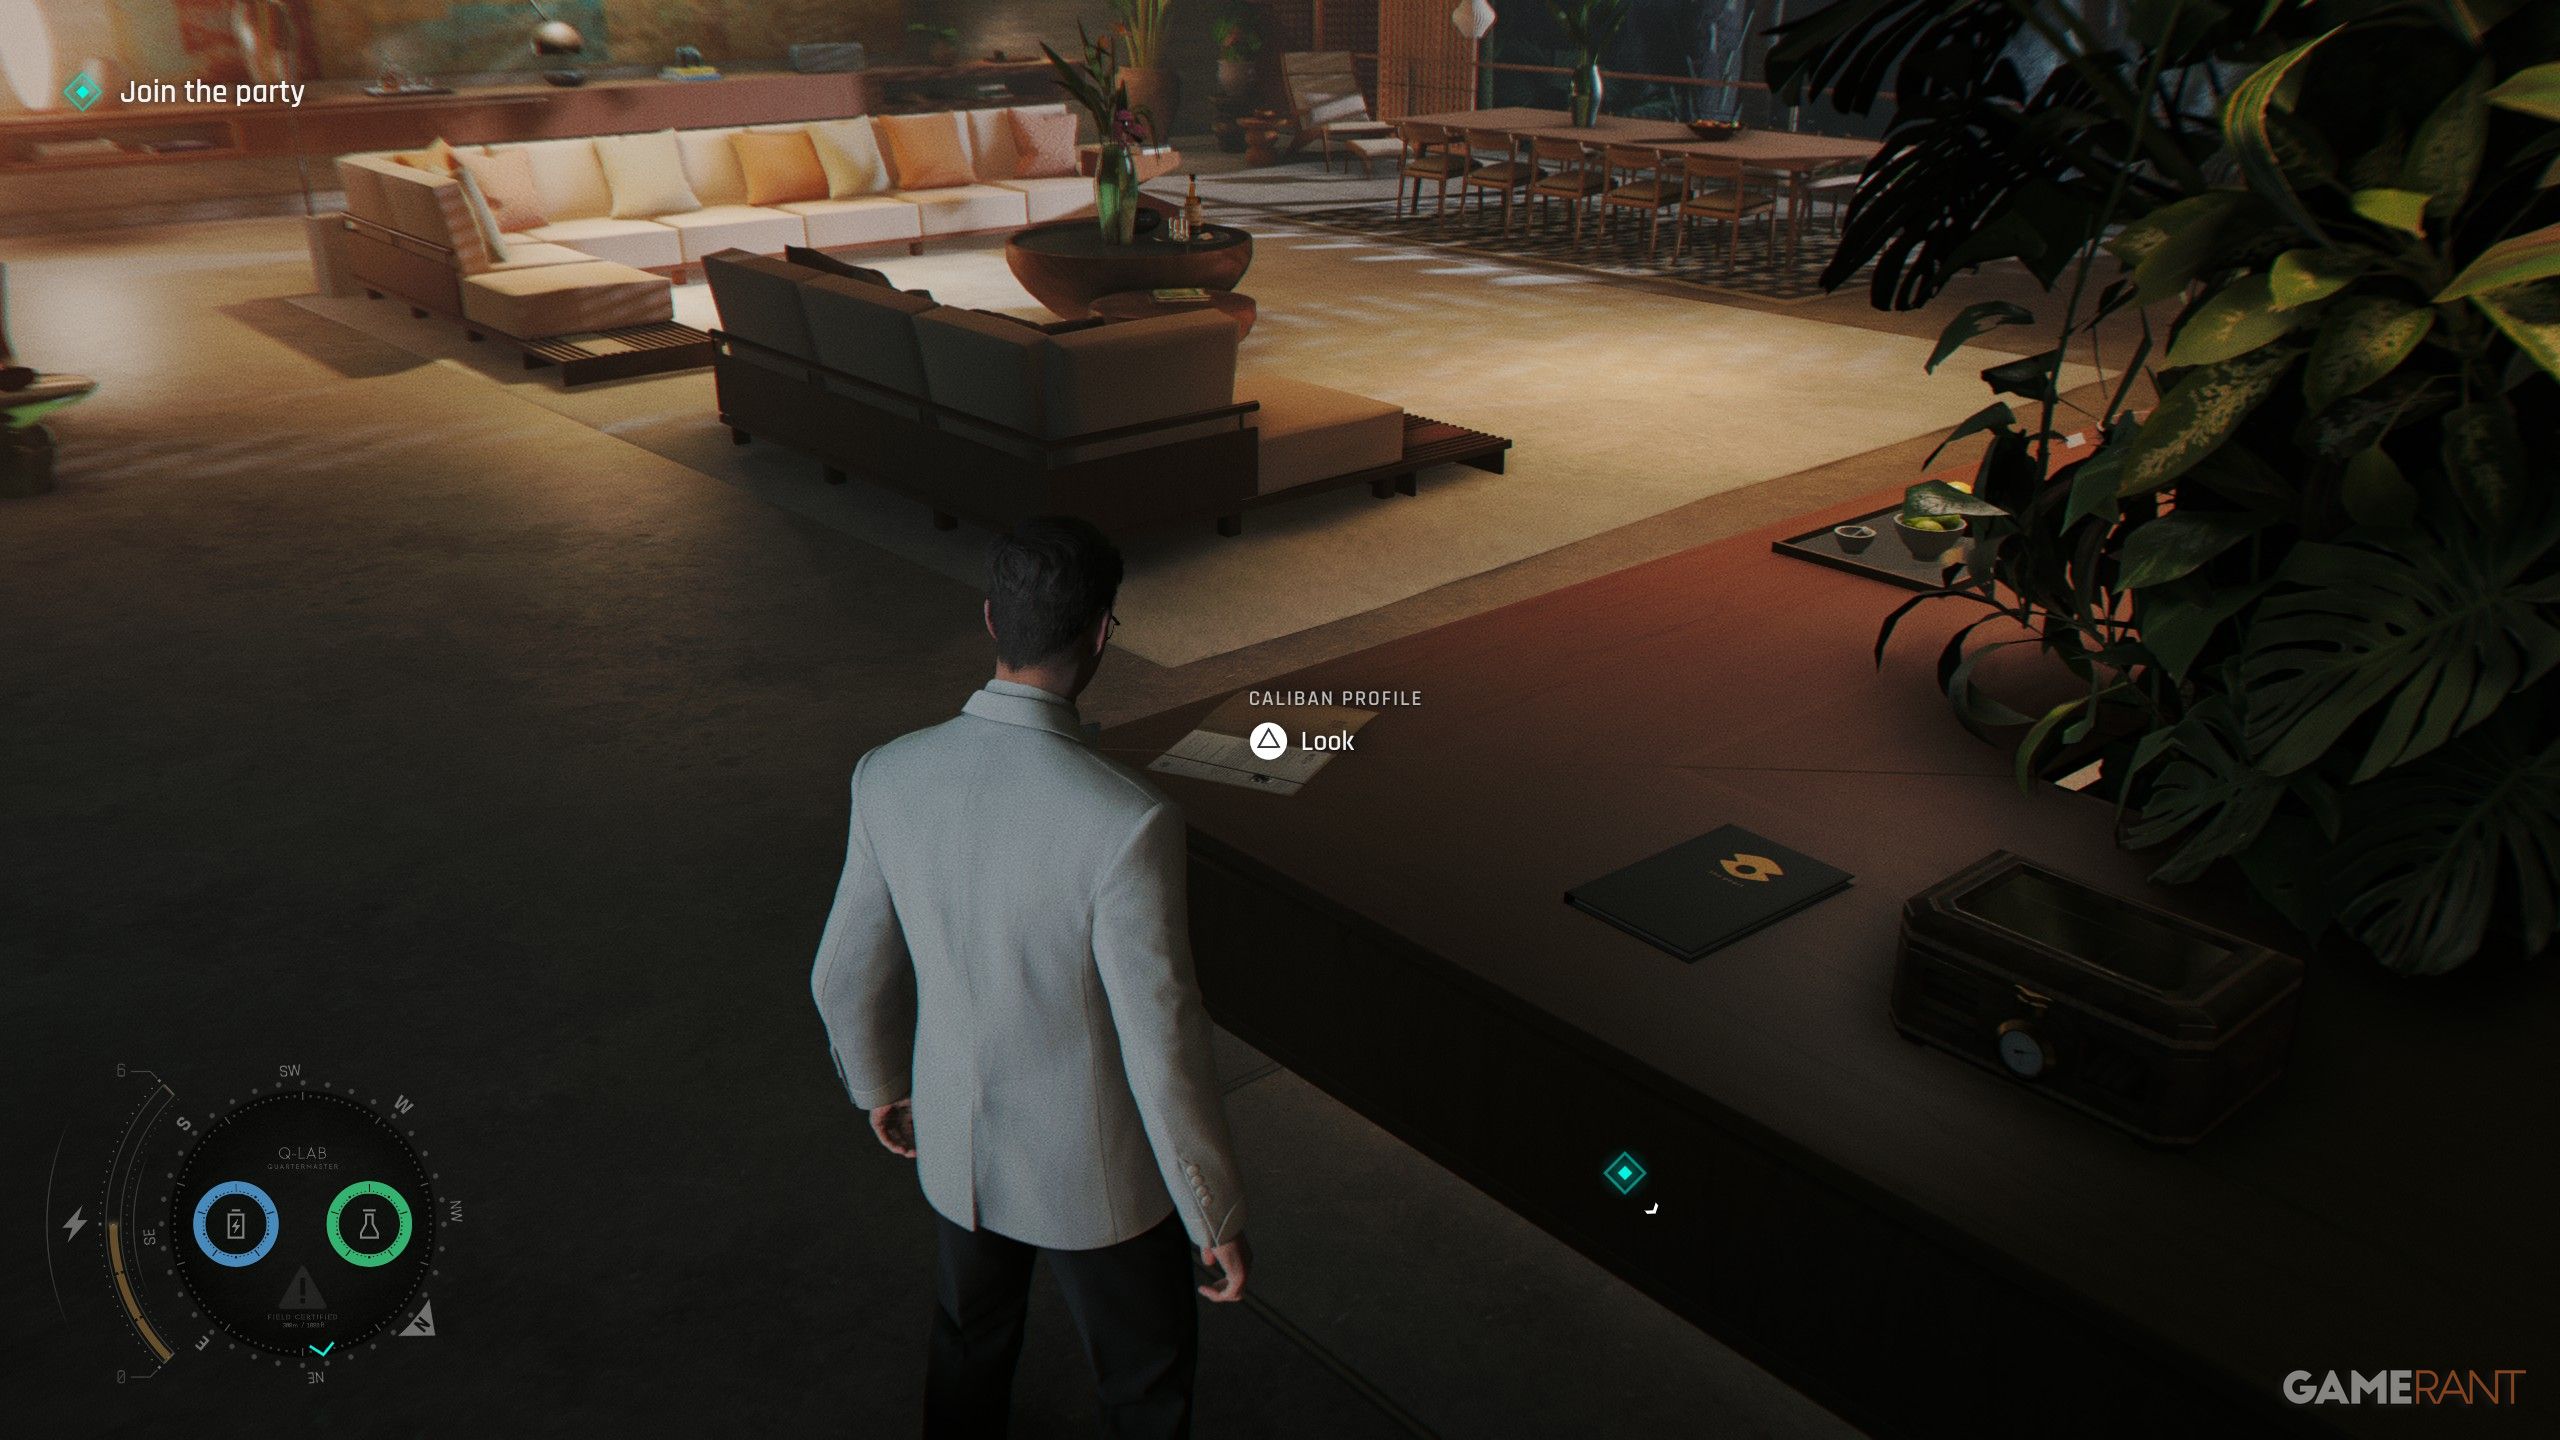
- Checkpoint: Suit Up
Once you’re ready for the party, check the living room. You’ll find this note on the table with the fruit.
Intel #19: Gun Case | Riptide (Time to Die)
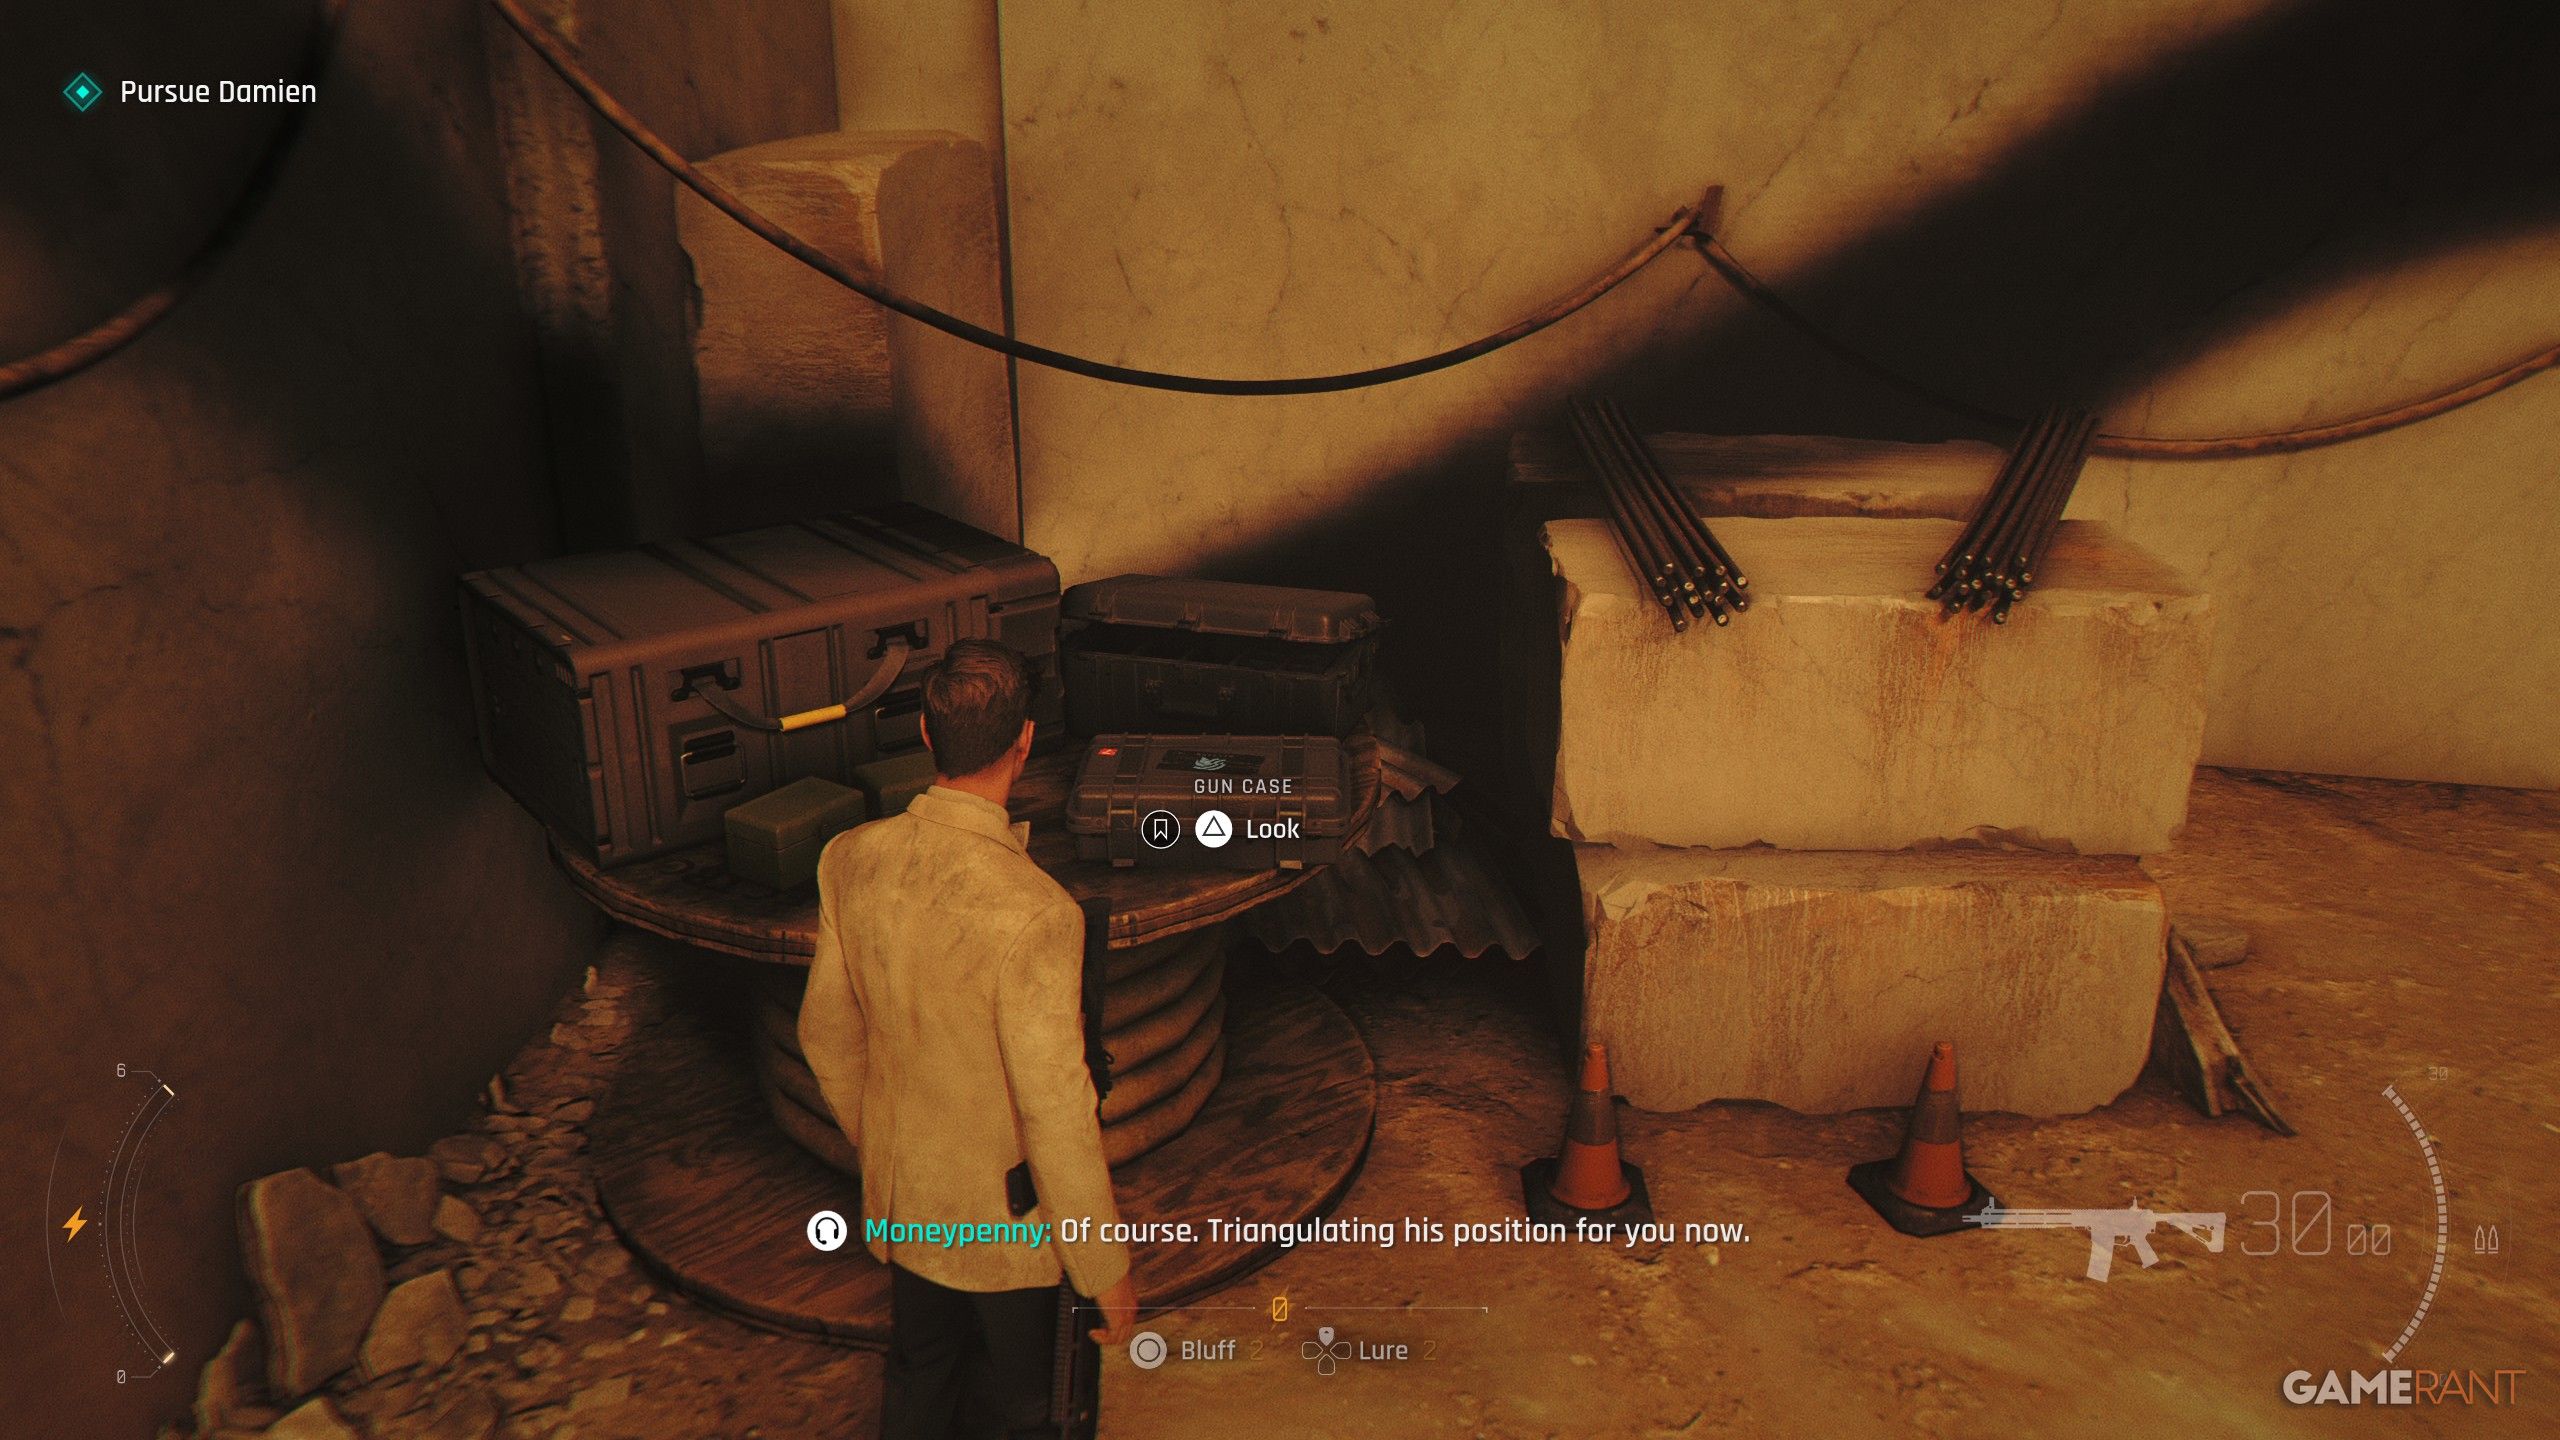
- Checkpoint: Tracking Damien
After you’ve been rescued and freed from the handcuffs, turn to your right to find the Gun Case resting on a wooden barrel.
Intel #20: Q’s Photo | Rhys Beckett (Man of the Hour)
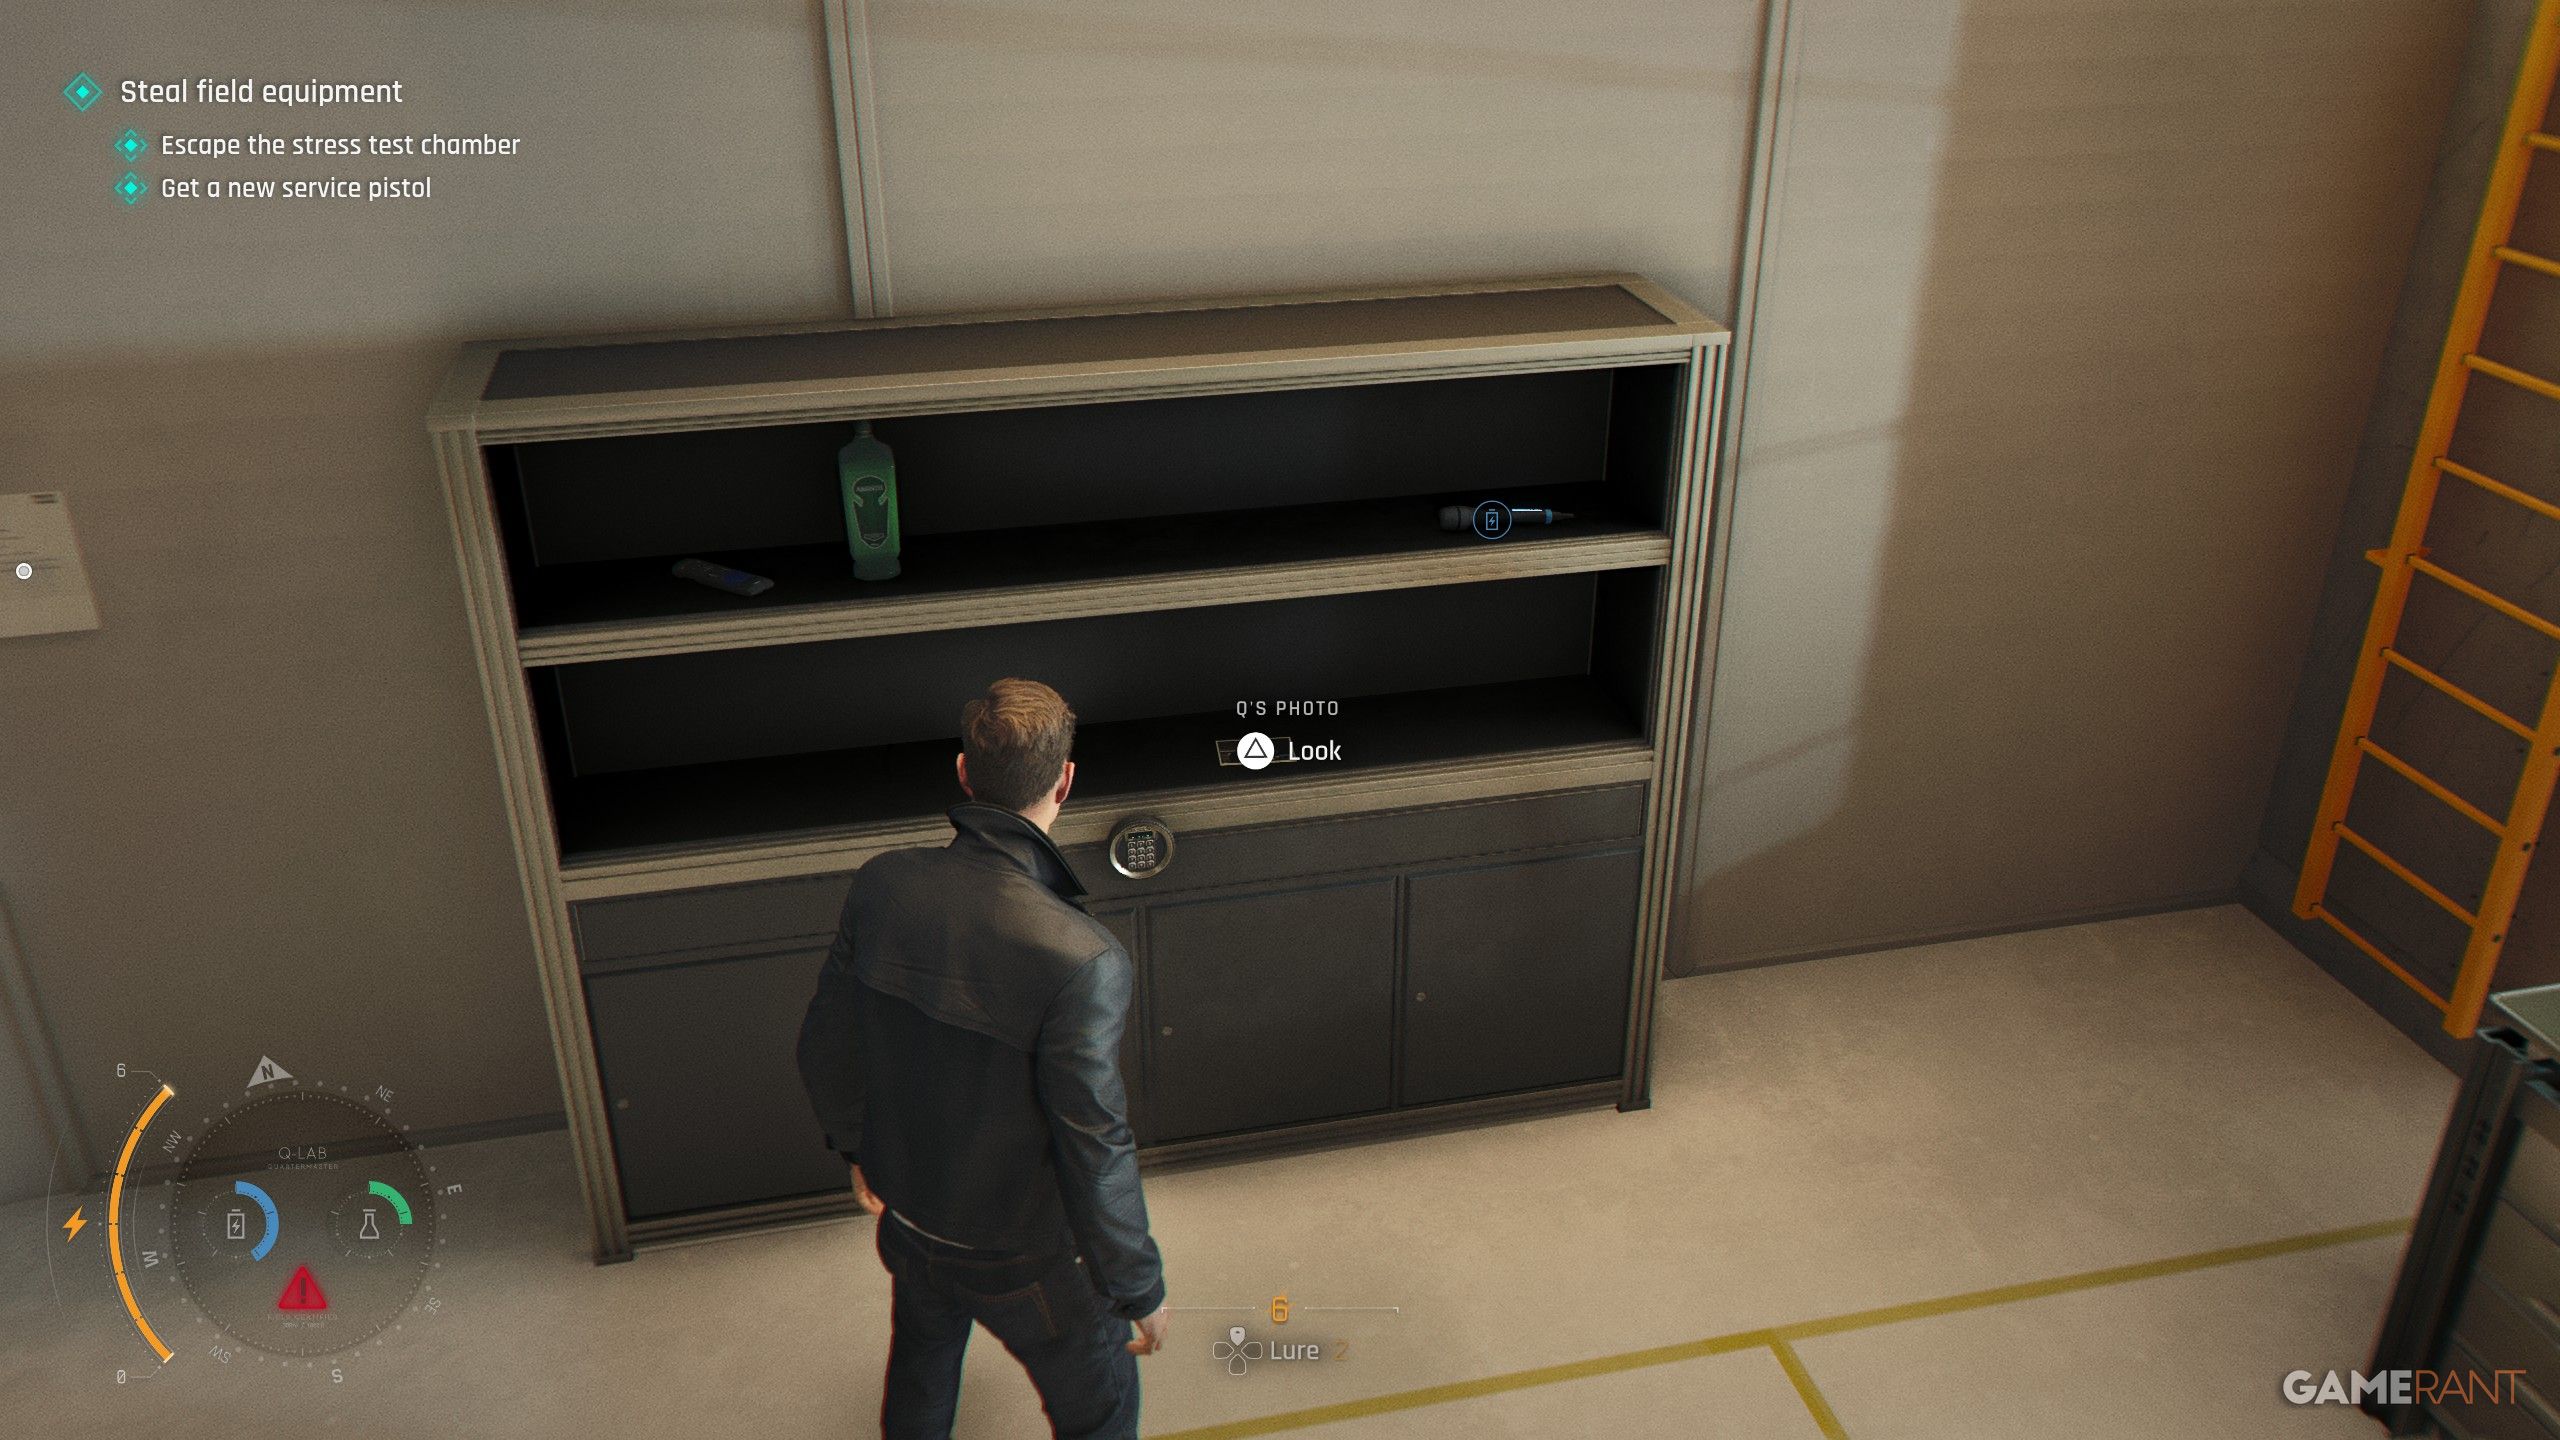
- Checkpoint: The Betrayal
Okay, so to get into Q-03 Stress Testing, you first need to grab three fingerprint scans from Q – there’s a guide that can help with that. Once you’re in, head left and you’ll see a locked cabinet. The code to open it is 4397.
Intel #21: M Profile | M (Wave of the Future)
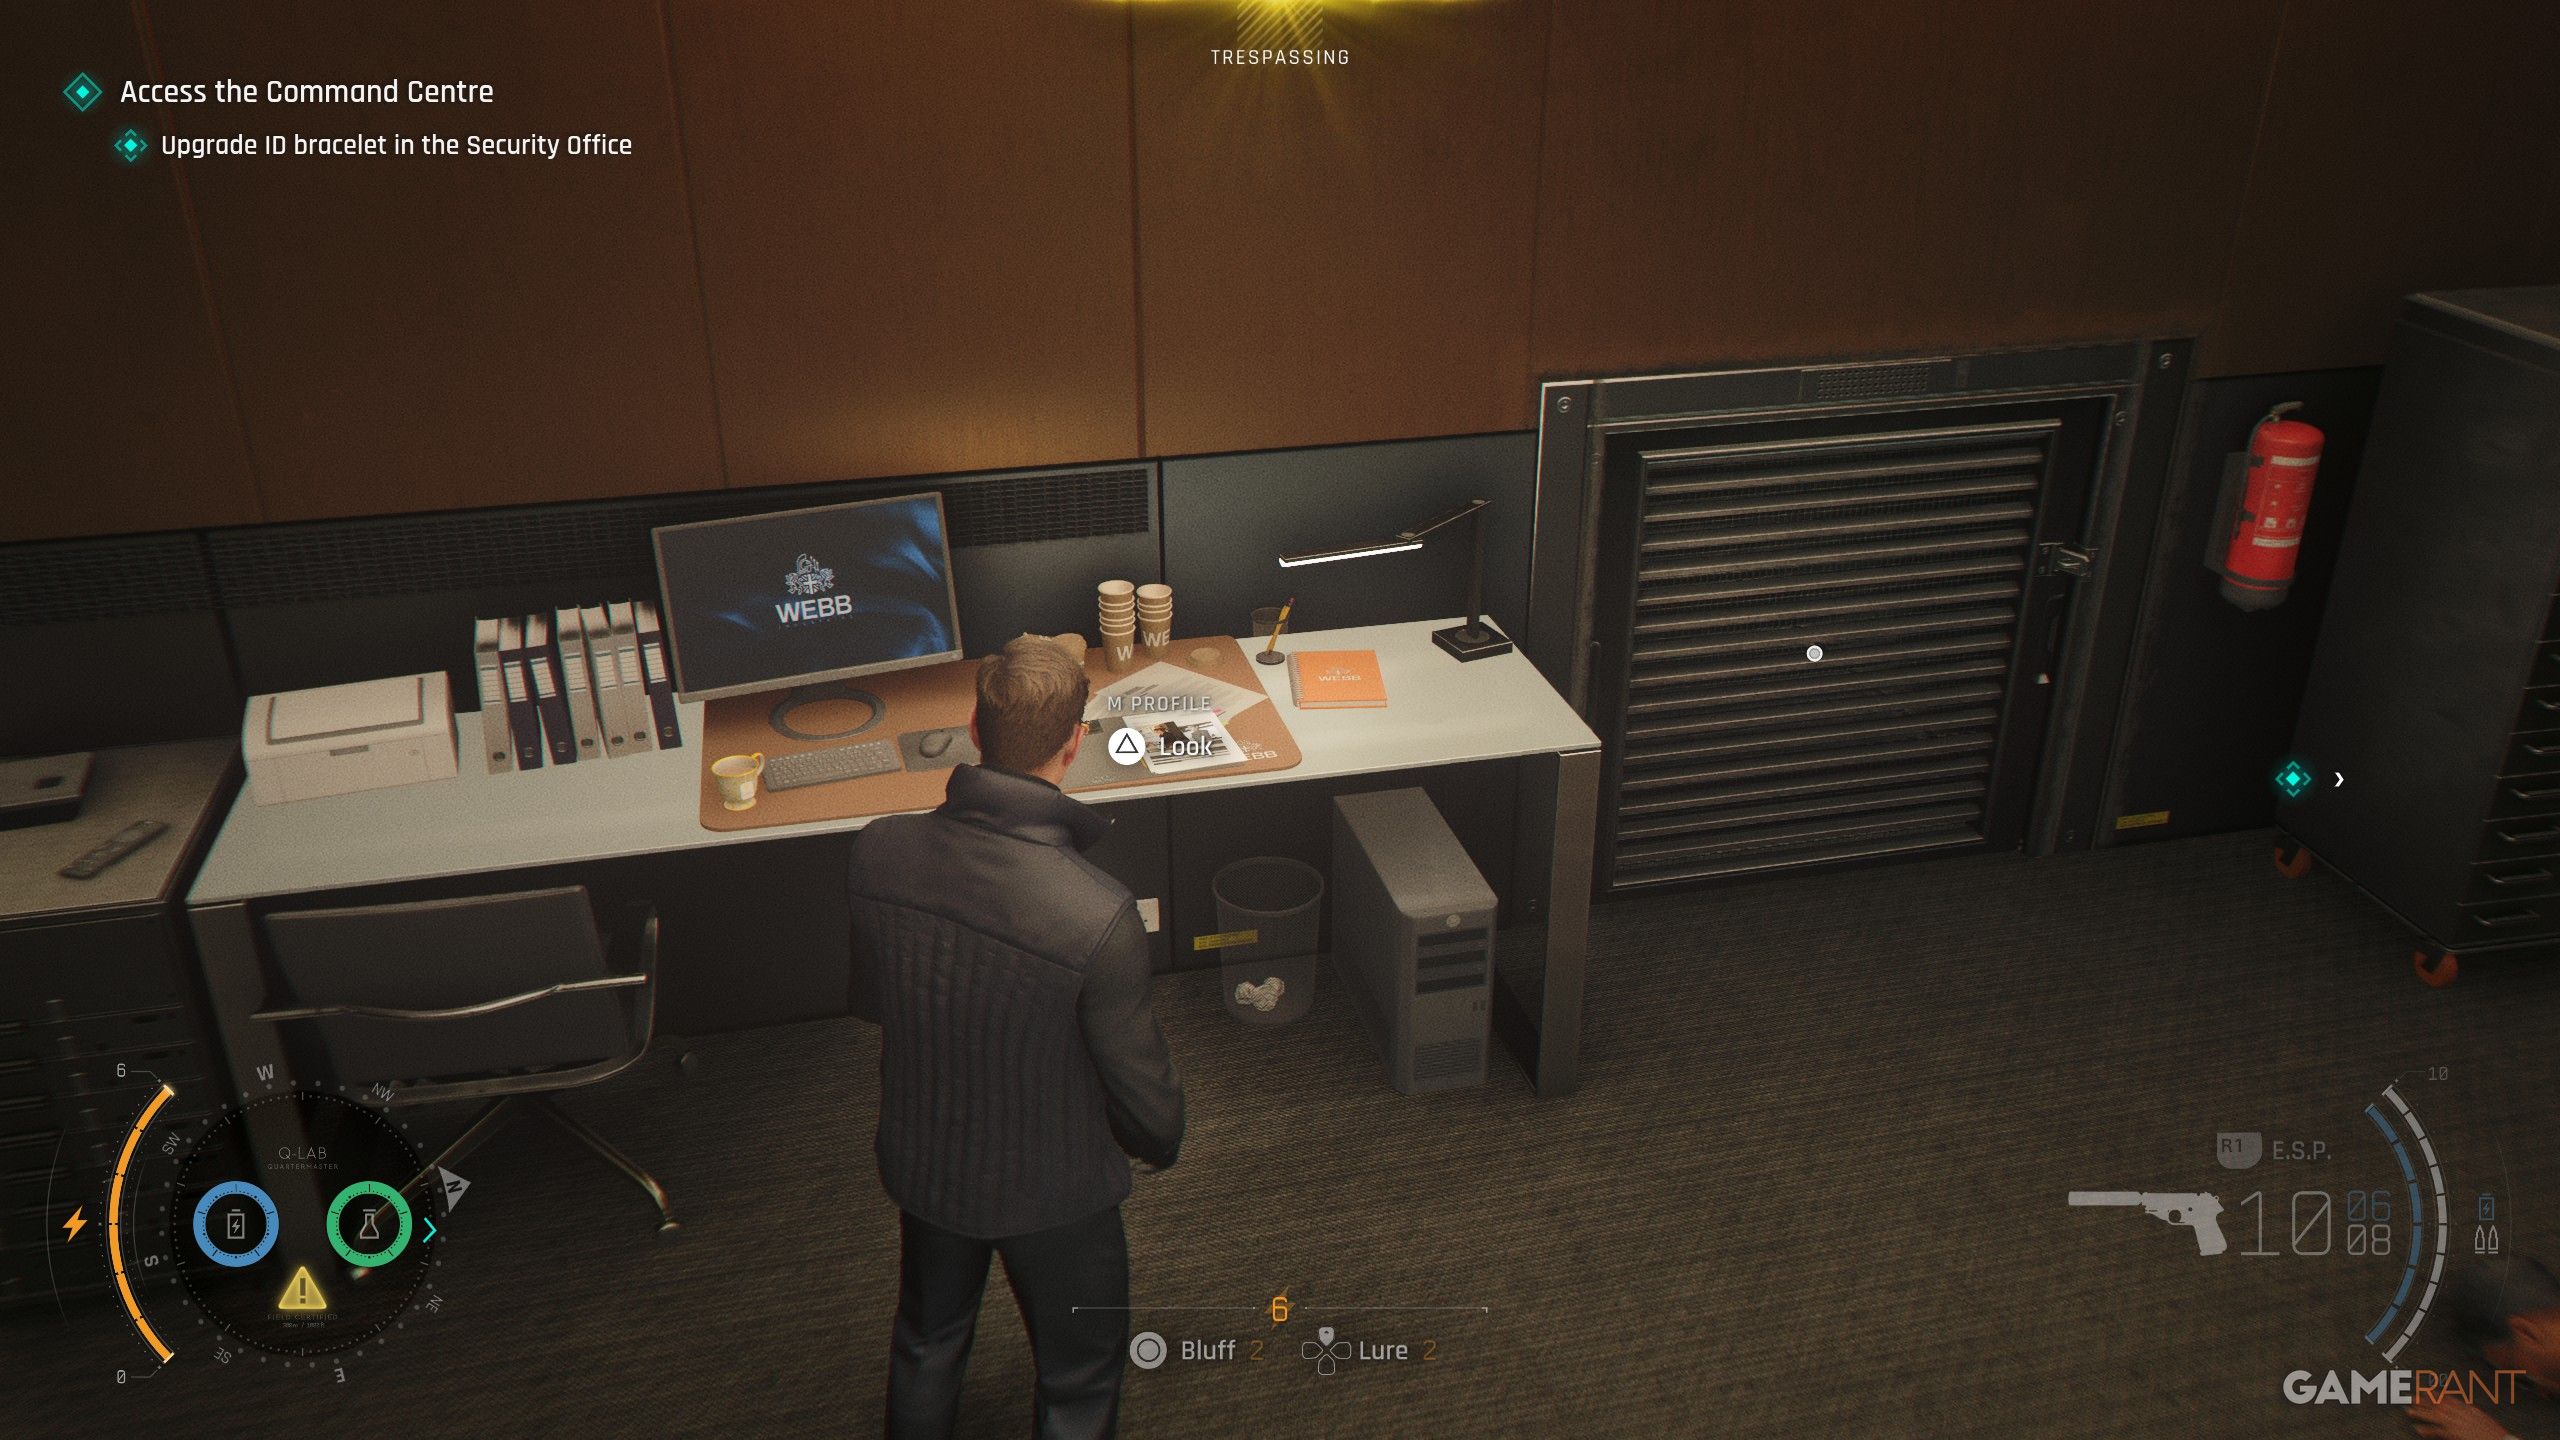
- Checkpoint: Operations Department
To upgrade the ID bracelet, head to the Archive room and enter the code 1864. Then, go through the vent to reach the Security Office and find the file on one of the desks.
Intel #22: Webb’s Manuscript | Sir Nicholas Webb (Wave of the Future)
Checkpoint: Operations Department
To get into the Command Center, you need to turn a rock statue of a cat. But before you do that, be sure to check the information on the chair.
Intel #23: Wallet | Eve Moneypenny (For England)
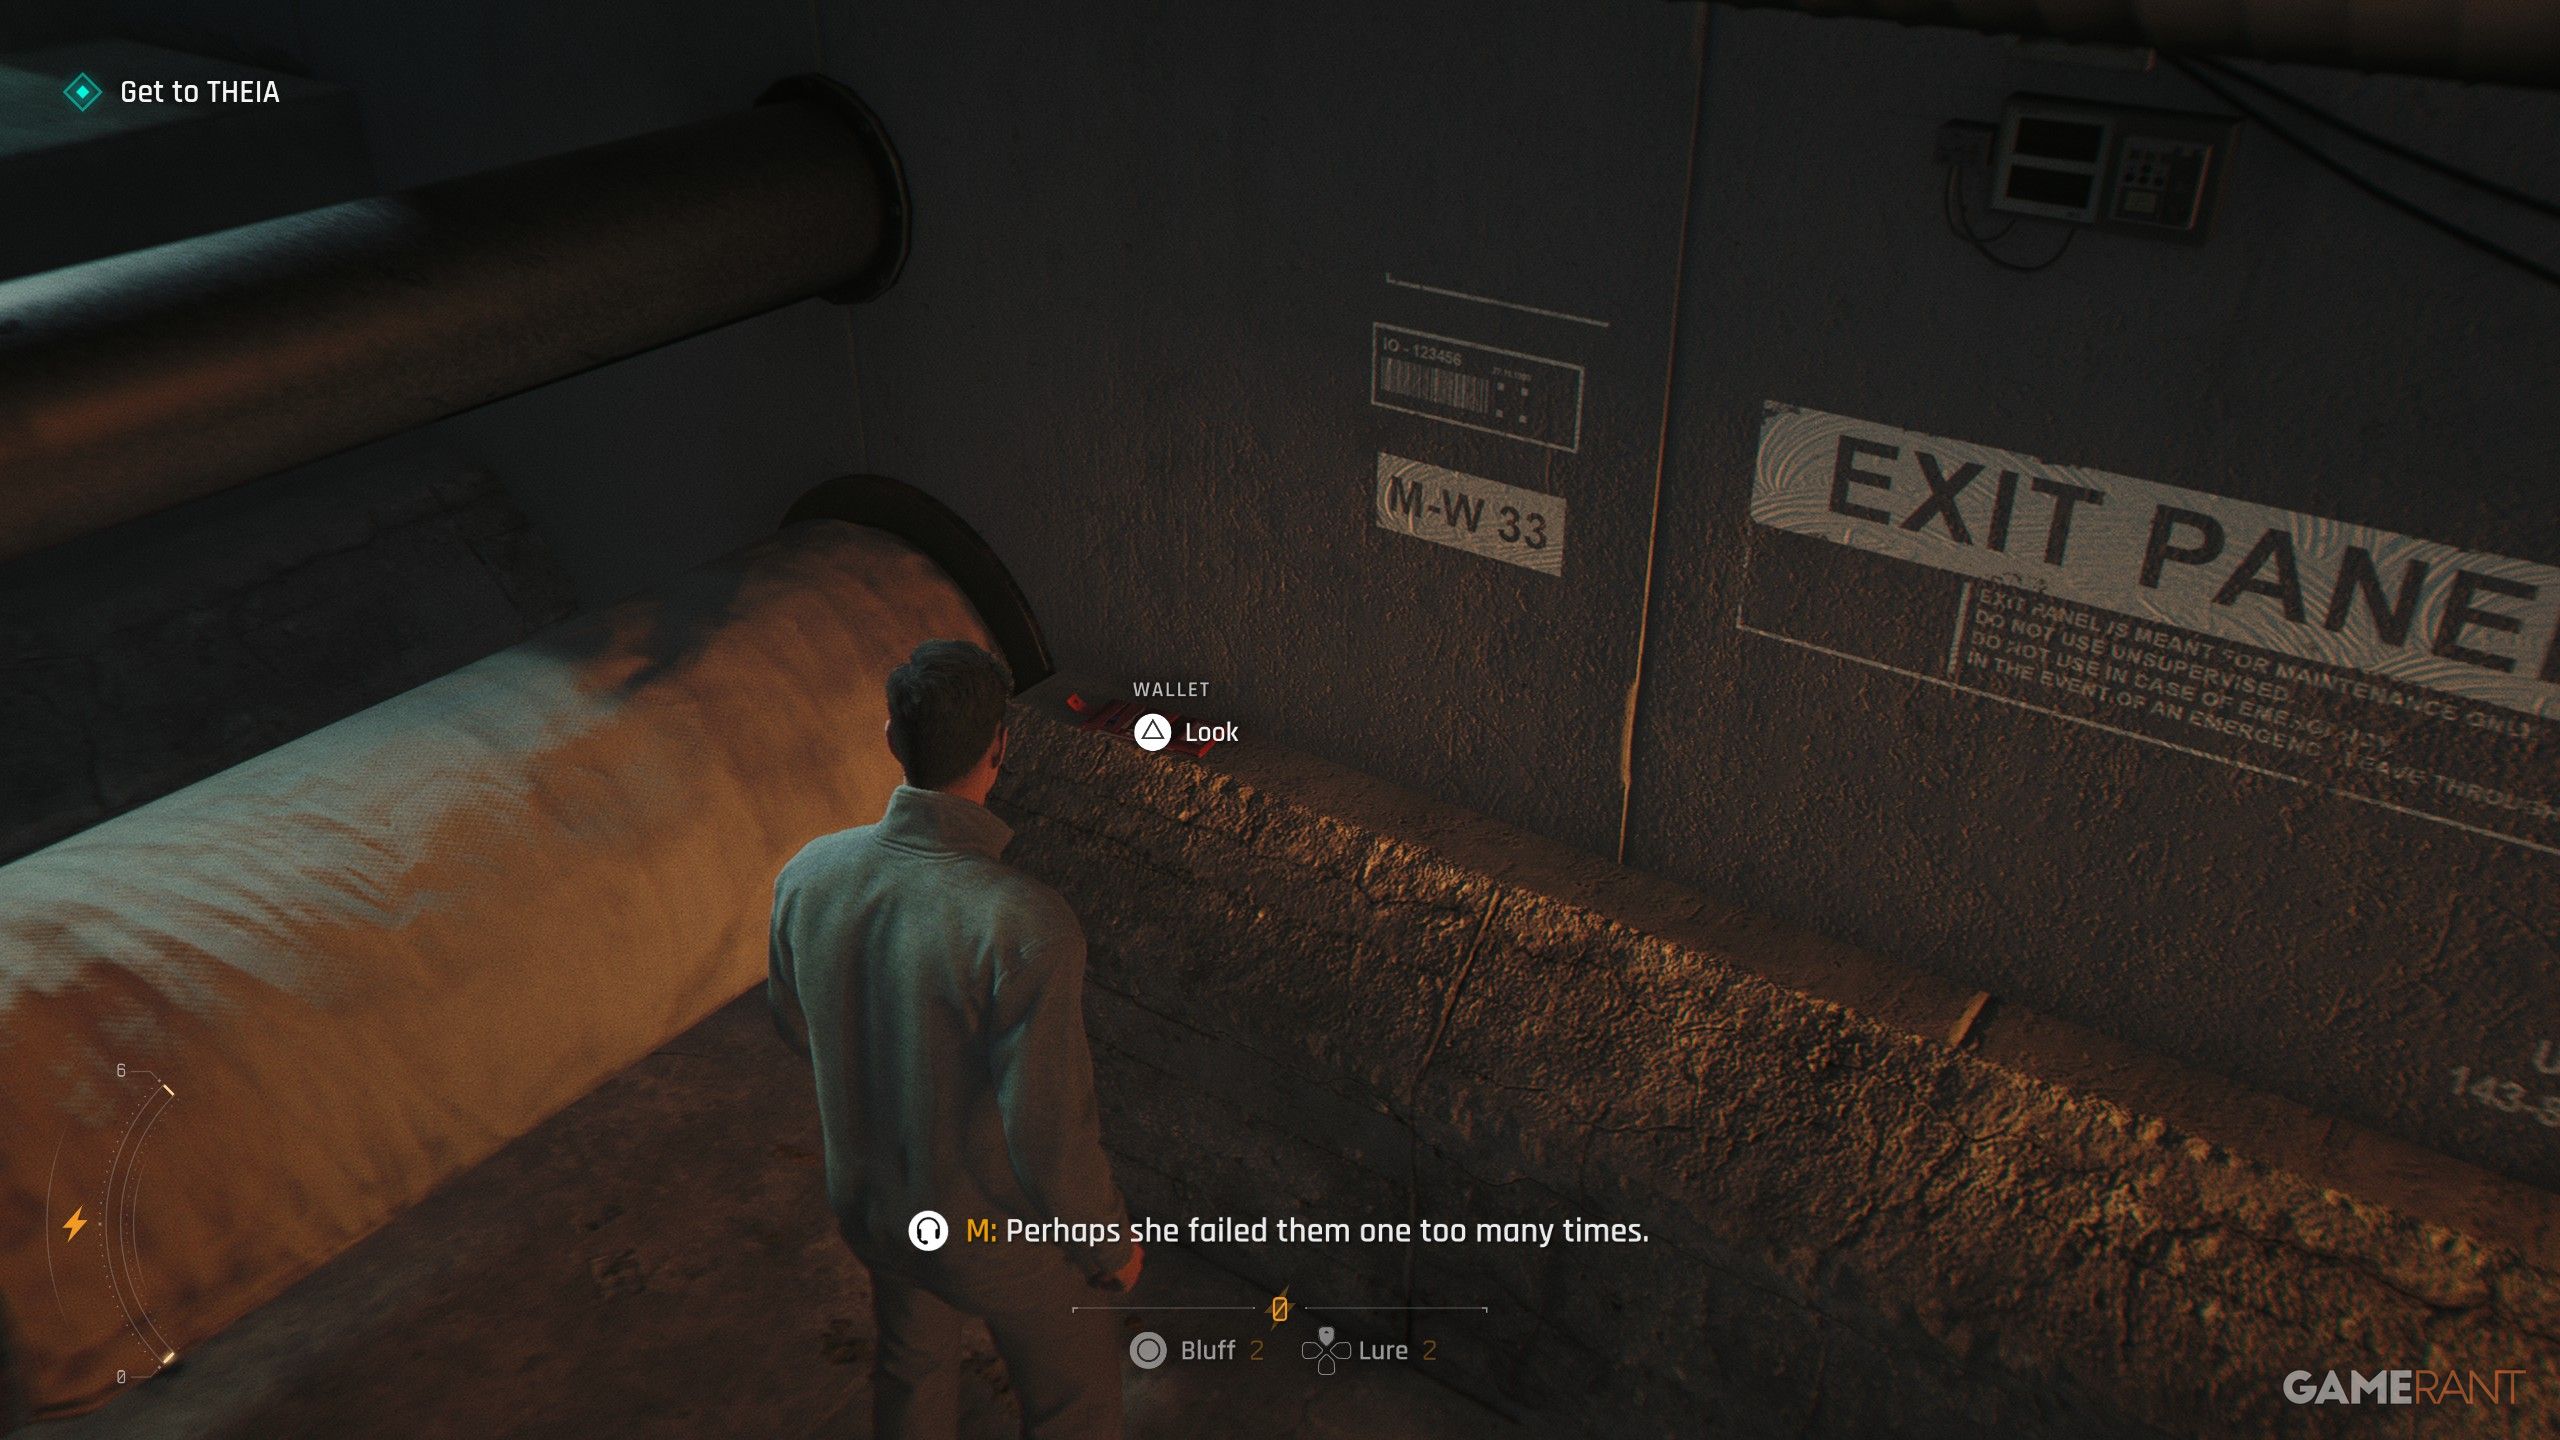
- Checkpoint: Utility Tunnels I
Once you’ve taken out the two snipers, head into the tunnels and turn off the fan. After you go through the fan, look for a wallet attached to the wall right before you climb down the ladder.
We’re gathering all the collectibles so you know exactly where to find them!
- All Legacy
- All Postcards
- All Mementos
- All Playing Cards
Read More
- Forza Horizon 6: Find the Ohtani Treasure Chest Location
- LEGO Batman Legacy of the Dark Knight Batcave Minikits & WayneTech Caches
- NTE Drift Guide (& Best Car Mods for Drifting)
- Diablo 4 Best Loot Filter Codes
- USD CNY PREDICTION
- USD RUB PREDICTION
- Cookie Run Kingdom Timeline of Fate Update Guide
- PS Plus Monthly Games for June 2026 Wish List
- GBP CNY PREDICTION
- CNY RUB PREDICTION
2026-05-28 22:37