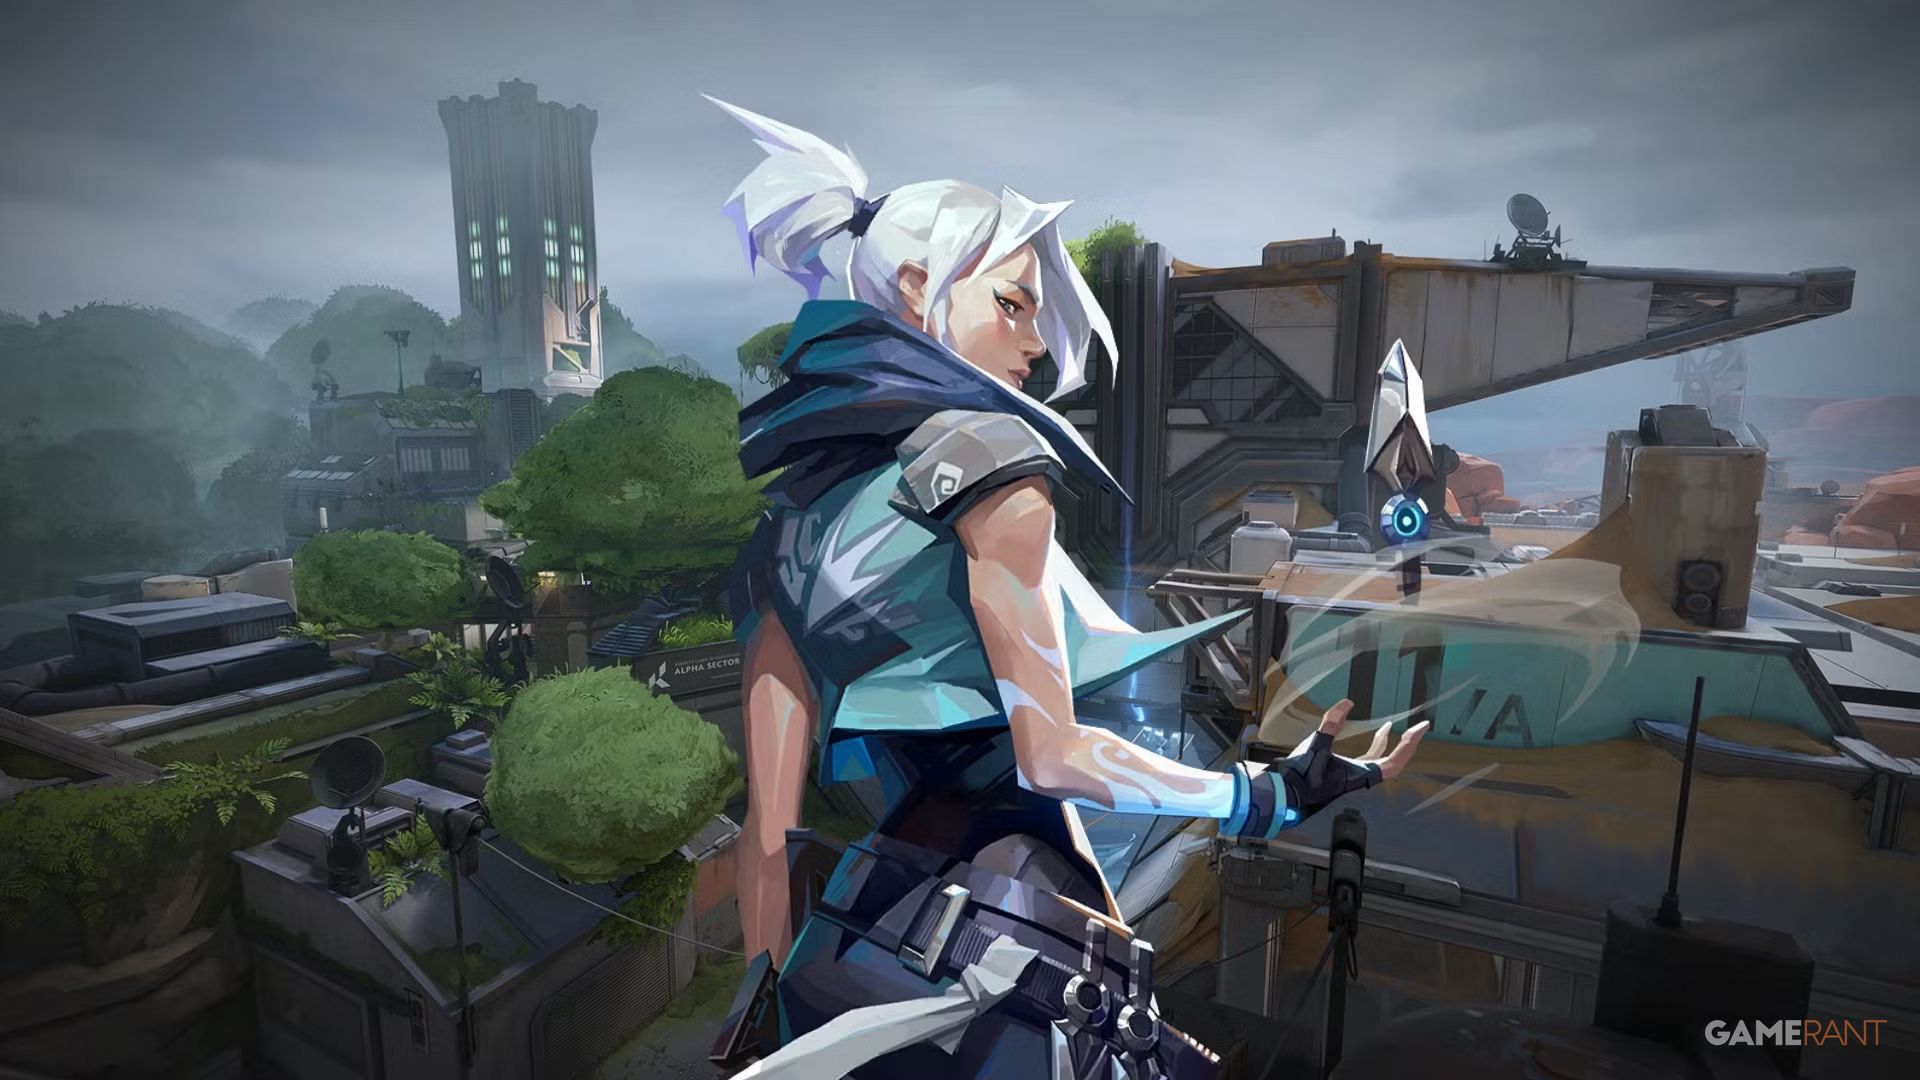
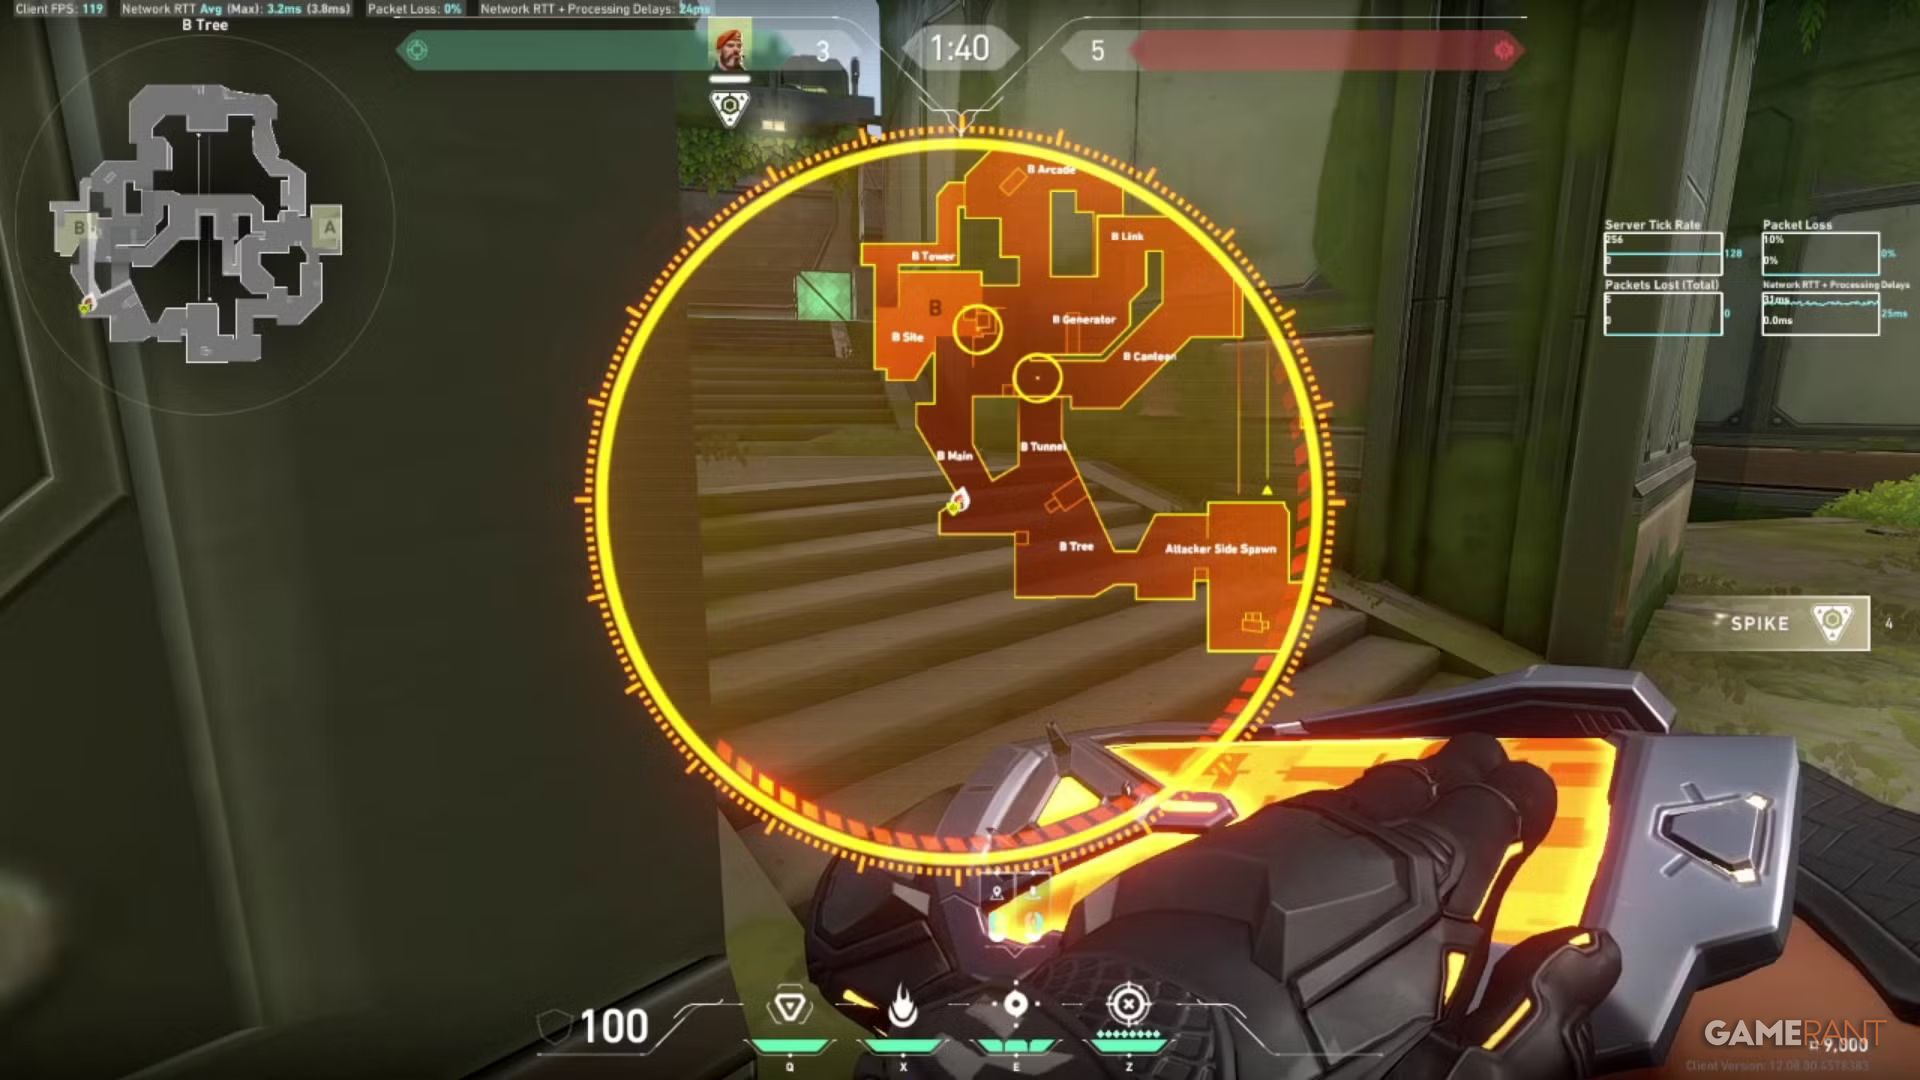
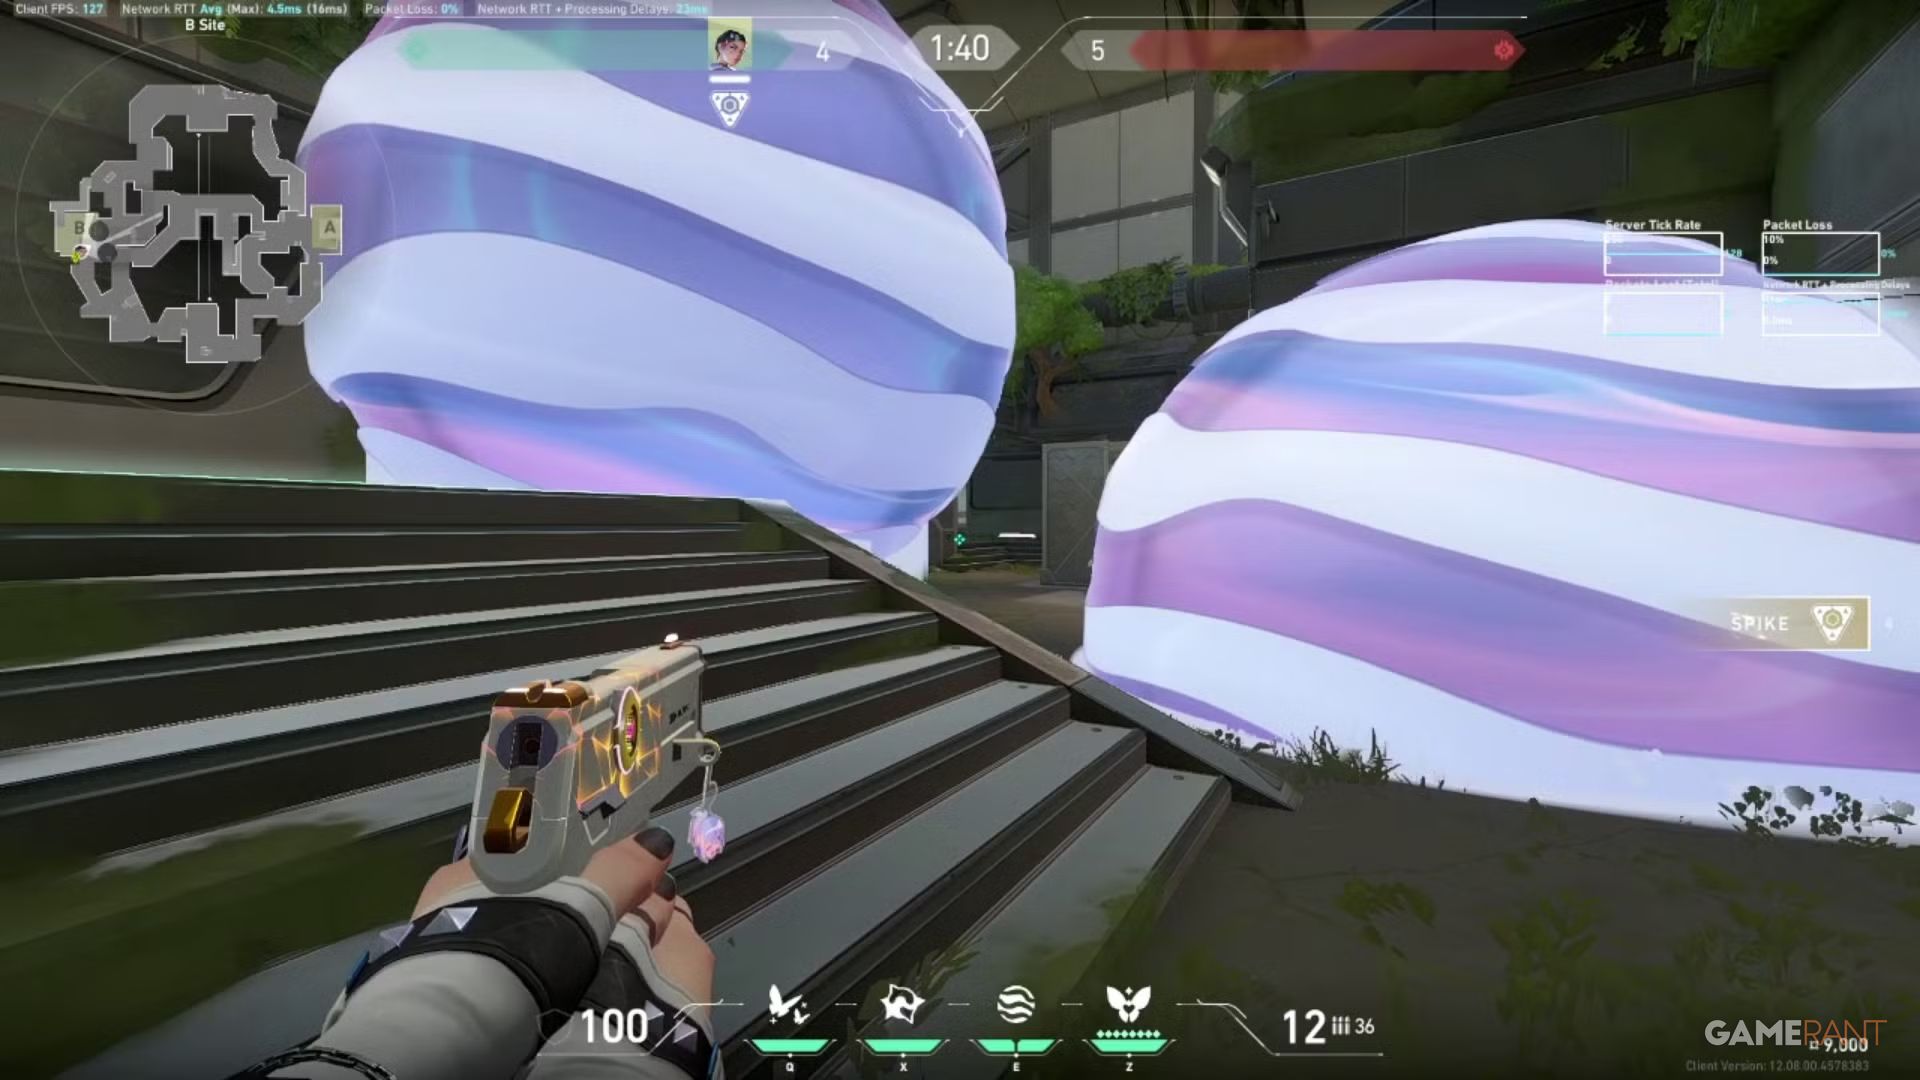
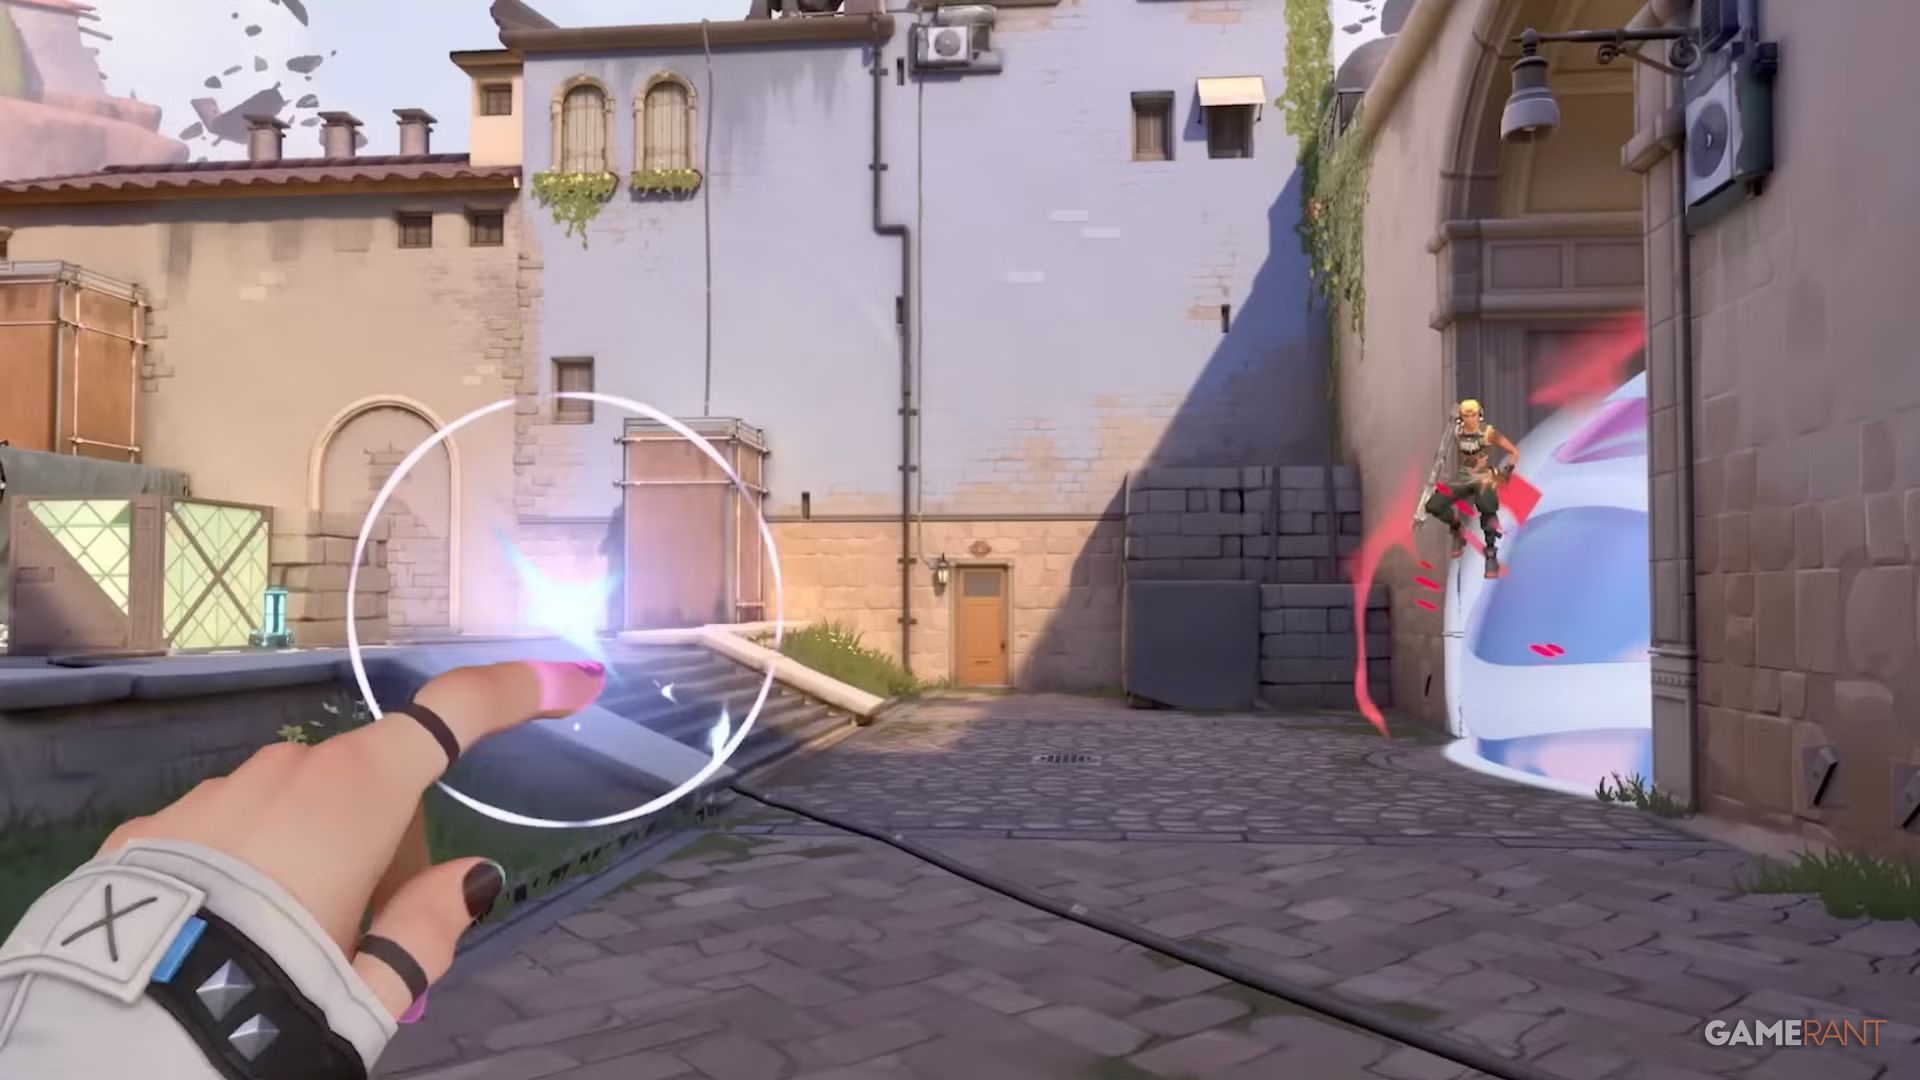
Fracture is a distinctive map in Valorant, set in New Mexico and originally designed as a forgotten radianite research site. What makes it stand out is its layout, divided into four main sections connected by a central tunnel. This makes Fracture one of the largest maps in the game, offering lots of options for both long-range engagements and close-quarters combat. Because of its complexity and spread-out areas, choosing the right Agents for Fracture can be tricky – you’ll want to pick characters whose abilities work well with the map’s unique design and challenging angles.
Fracture, when it launched with the Breach map, was known for its small, enclosed spaces, many good spots to aim from, and layouts that suited Breach’s close-combat abilities. Now that Neon has been temporarily removed for balance adjustments, there aren’t many effective Duelist agents who can quickly enter and exit sites. With one agent gone and another temporarily unavailable, what other agents can players rely on to consistently win on Fracture?
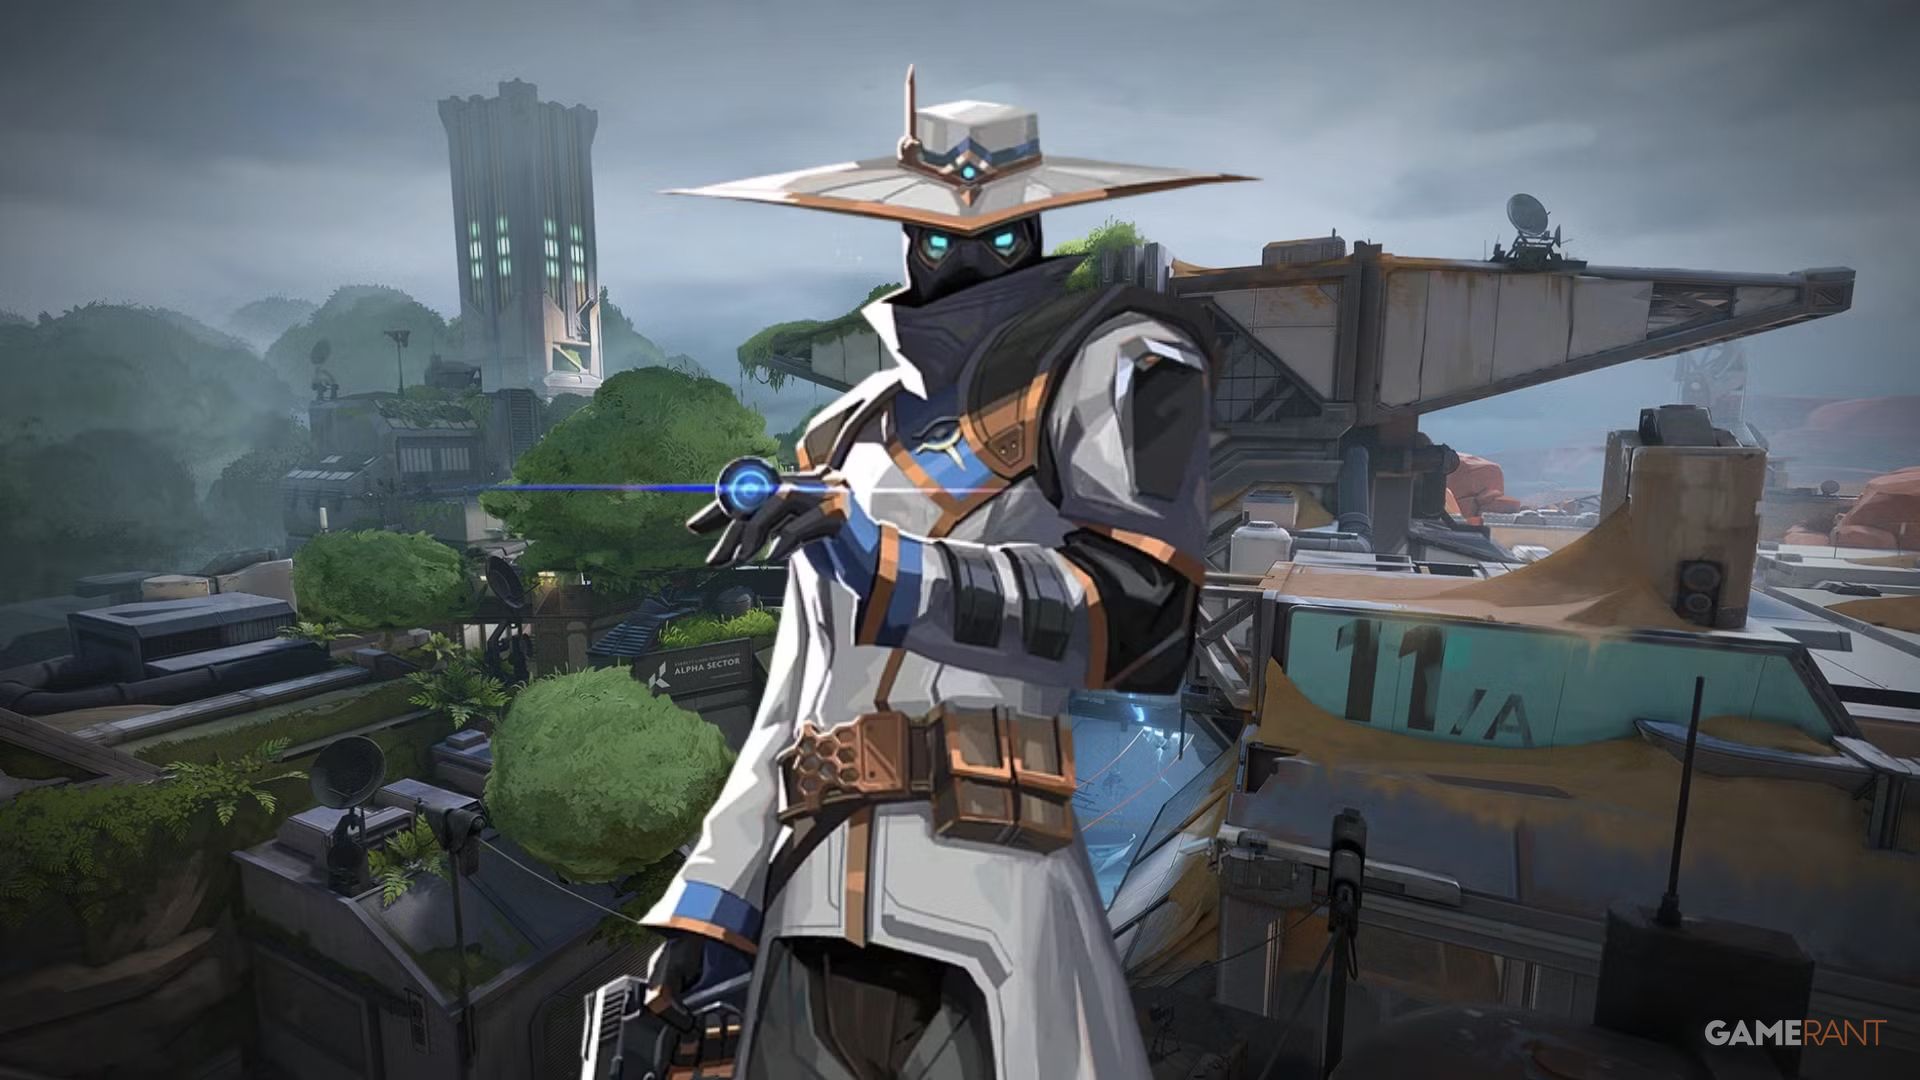
10. Cypher
A One-Man Surveillance Network To Cover Both Sites At Once
| Role | Sentinel |
| Basic Ability | Trapwire: Create up to two translucent and destructible trapwires that span a line across one wall to another. If the trips aren’t destroyed, those who pass are Slowed and Revealed for a short while |
| Basic Ability | Cyber Cage: Throw a cyber cage in front that creates a cylinder glitch zone that blocks vision and releases an audio cue if enemies pass |
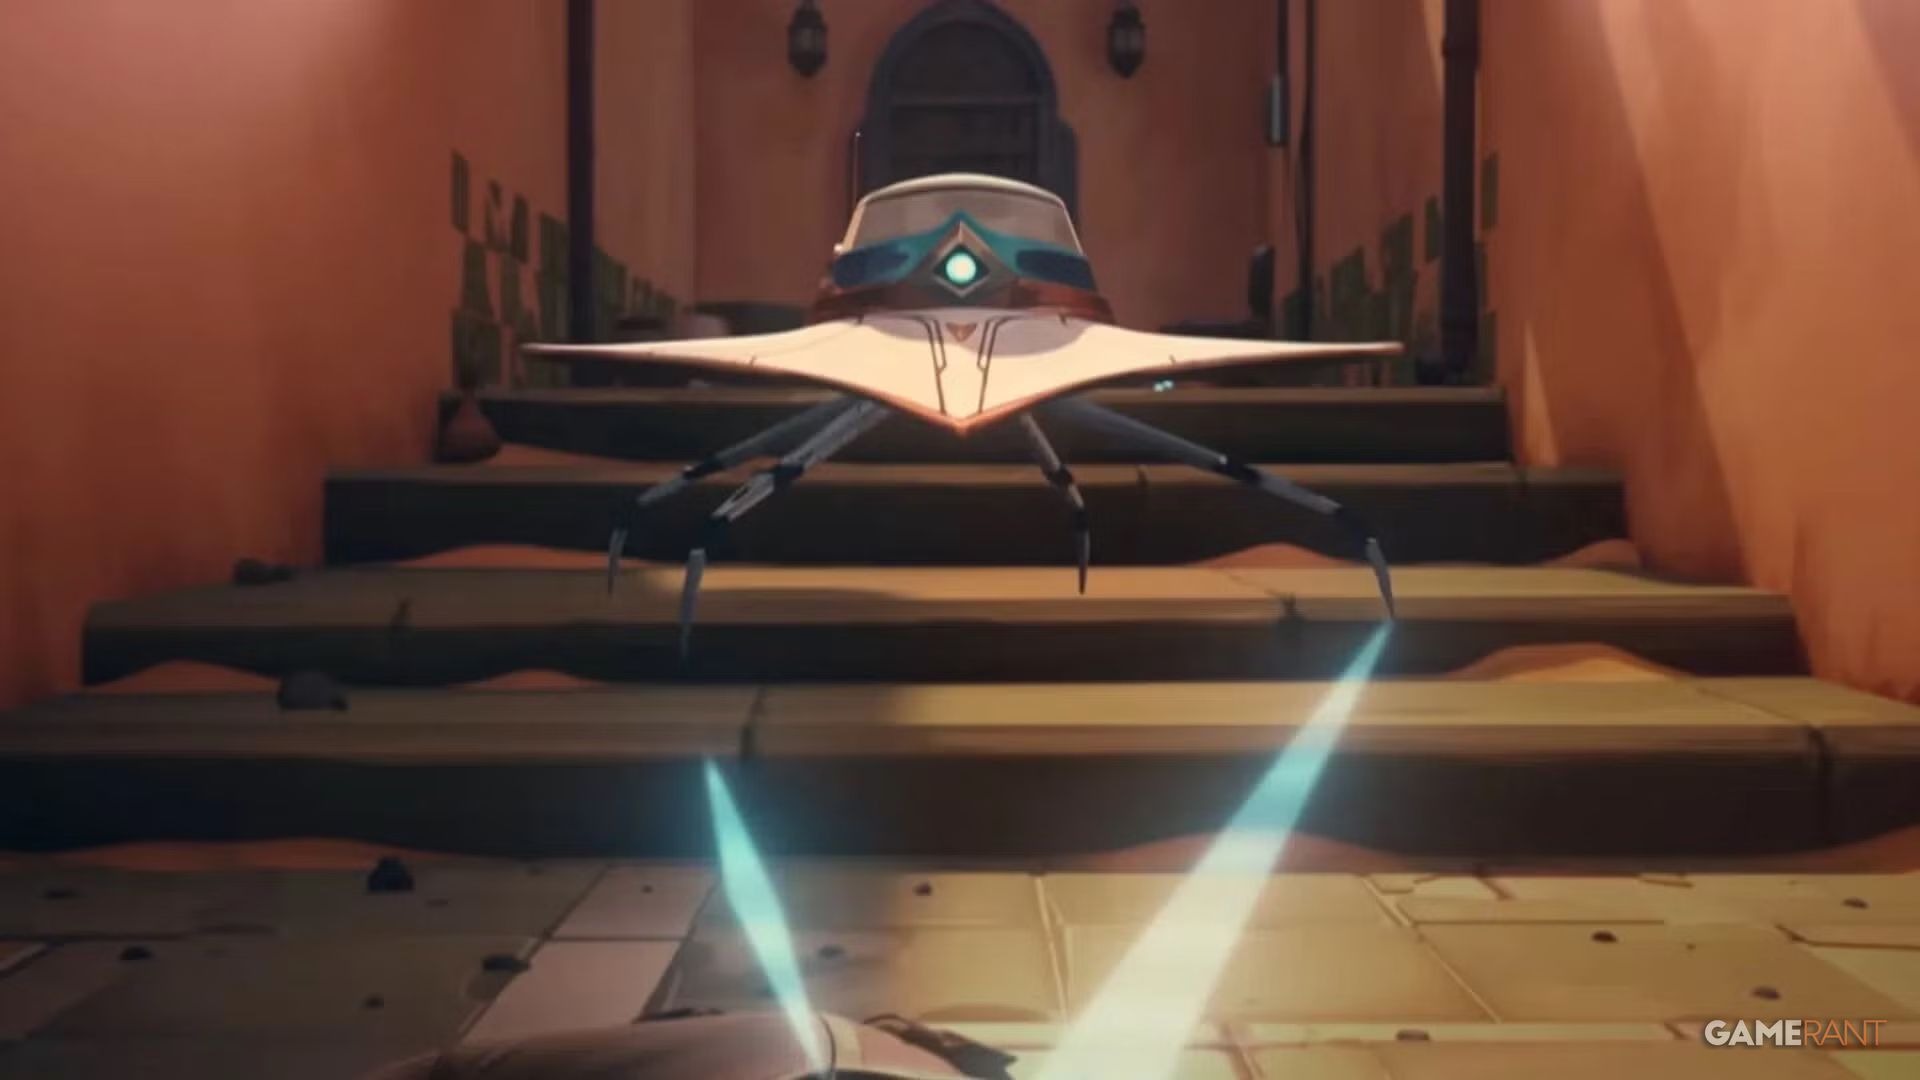
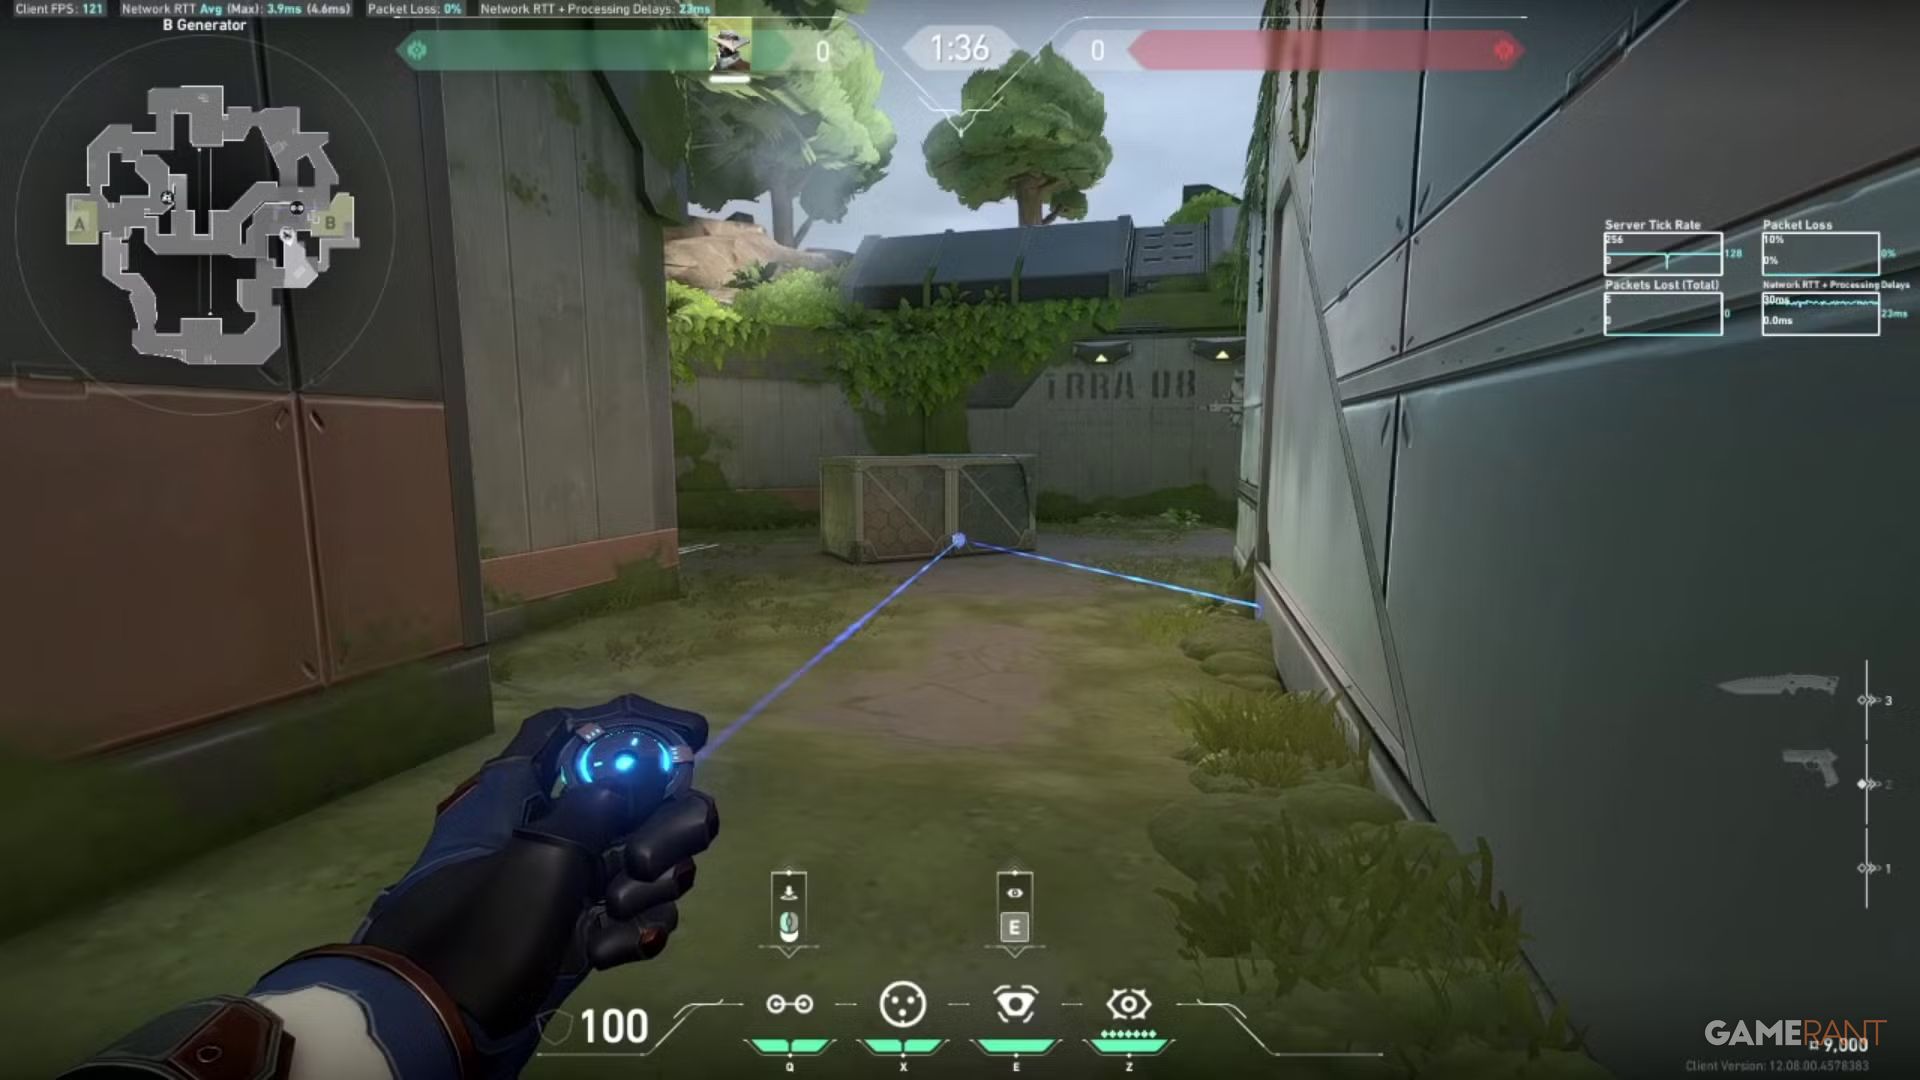
| Signature Ability | Spycam: Release a spycam at the target location, which can be controlled to look at its view. Cypher can fire a marking dart that Reveals the player stuck, unless they remove the dart |
| Ultimate Ability | Neural Theft: Activates with an enemy corpse nearby, where still images of all other enemies are Revealed twice across a short duration with a pause |
Because Killjoy’s turrets can’t watch distant parts of the Fracture map, Cypher is still the best Sentinel for getting overall map awareness. His Spycam lets him scout ahead, and during the pre-round setup, he can place it on one site while quickly setting up a Trapwire or two on another. The sound of a tripped Trapwire immediately alerts him to an attack. Plus, the distinct sound of his gadgets being destroyed tells him exactly where enemies are entering, giving him plenty of ways to stay informed about what’s happening across the map.
Cyber Cage (Basic) is useful when attacking or defending a site, as it can block enemies effectively or create enough distractions to allow your team to prepare a counter-attack. When fully charged, Neural Theft (Ultimate) lets you see if an enemy kill is genuine or if more enemies are nearby, helping you make informed decisions.
Using Cypher In Fracture
Cypher, like other Agents who depend on setup, needs to adjust his gadget placement on Fracture to effectively defend. Because his abilities don’t move, he’s generally stronger on defense, especially after the opposing team plants the Spike. While a well-placed Trapwire can help prevent flanks on either site, where you place his Spycam largely determines the rest of your setup. For example, a Spycam covering A-Link allows for flexible Trapwire placements around B-Site (like B-Link, B-Generator, and B-Main). Conversely, a Spycam on B-Generator buys you time to set up trips around A-Site (such as A-Drop and A-Door).
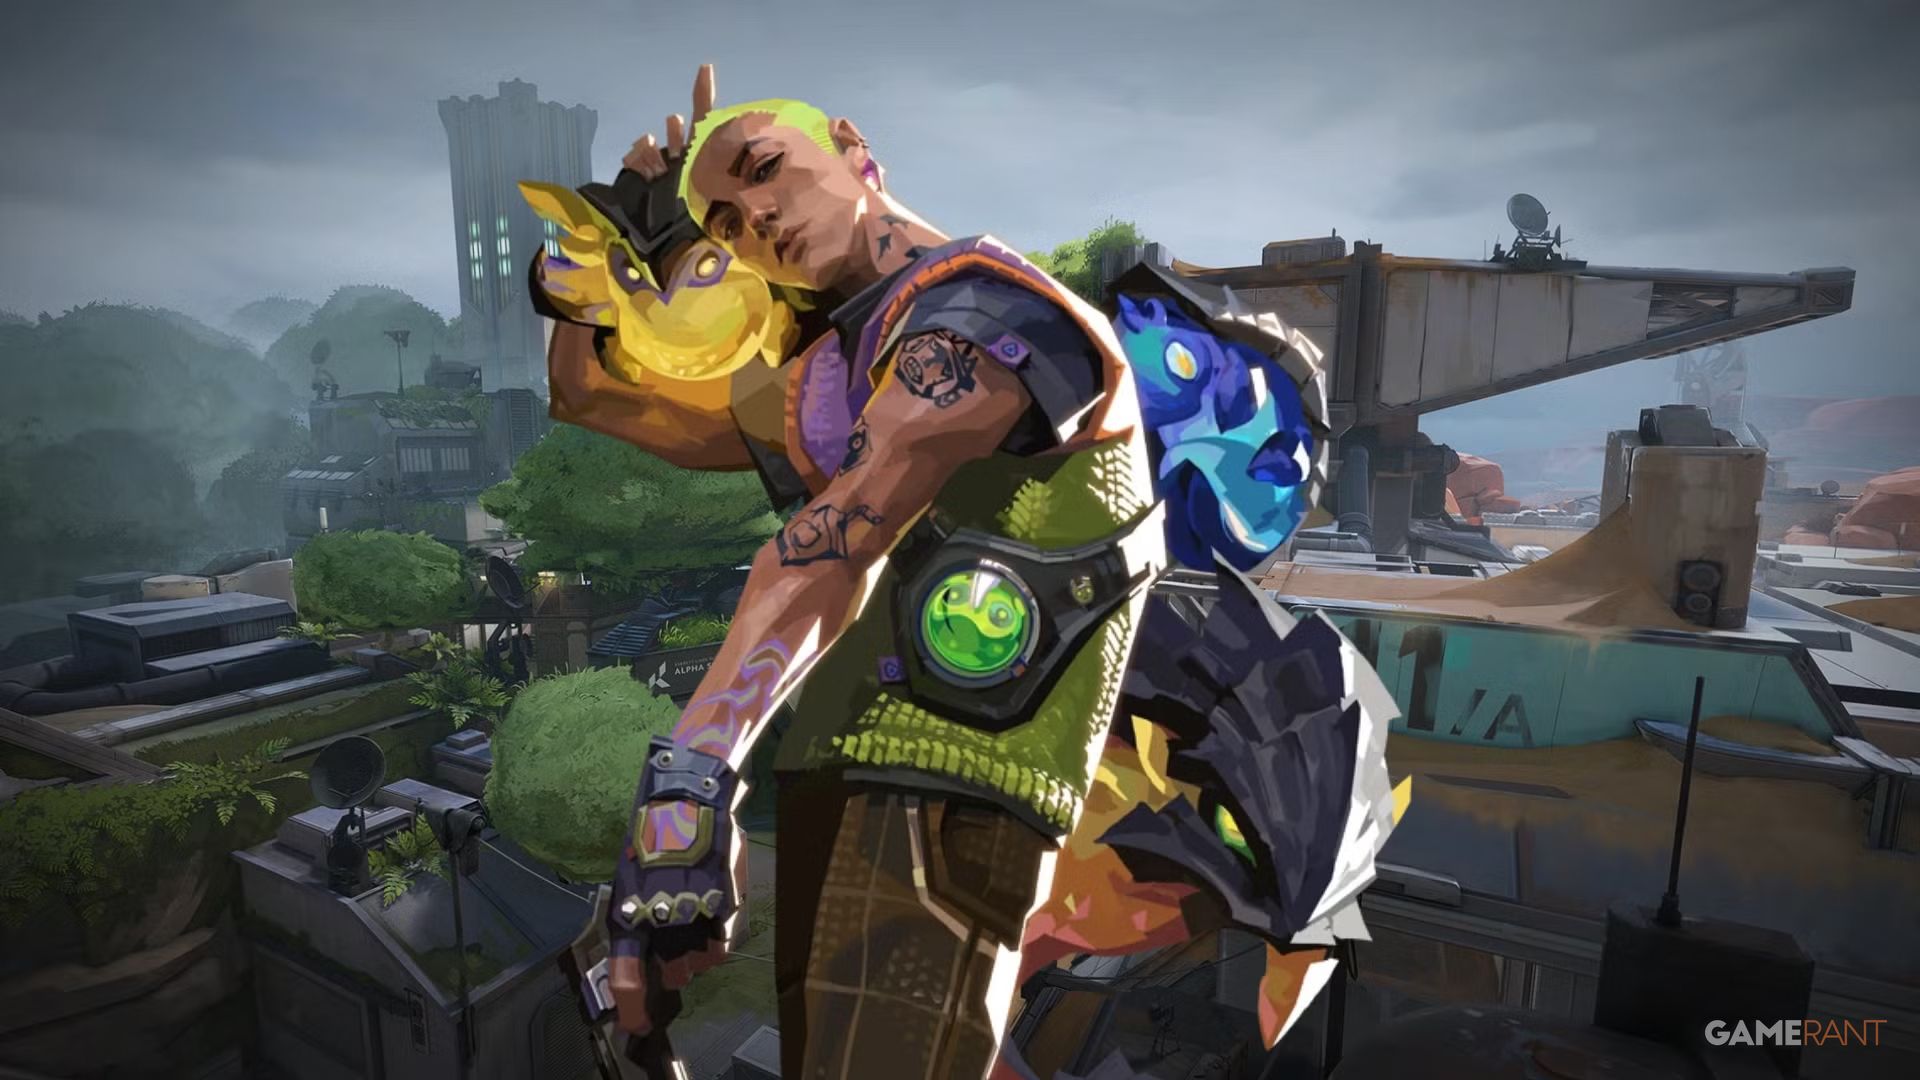
9. Gekko
Reloading Pick-Me-Ups Adds A Lot Of Flexibility
| Role | Initiator |
| Passive | Globules: Abilities become dormant Globules after activation and can be retrieved for another use after a cooldown. Thrash can only be retrieved once |
| Basic Ability | Mosh Pit: Throw Mosh that explodes in an area and deals damage over time before exploding |
| Basic Ability | Wingman: Send Wingman to either seek the first enemy in range for a Concussive blast or to plant/defuse the Spike on a viable location within its path |
| Signature Ability | Dizzy: Throw Dizzy to float in the air for a bit and blasts enemies in range, Blinding them temporarily |
| Ultimate Ability | Thrash: Control Thrash and steer her. Activate to jump and explode to Detain all players in its radius |
Gekko is a consistently strong Initiator in Valorant thanks to his versatile abilities, which can be used repeatedly during a round. He’s capable of scouting, starting engagements, and helping his team fight back when needed. Unlike some Initiators who excel at one specific task—like Sova’s recon or Breach’s aggressive pushes—Gekko offers well-rounded support, making him a reliable choice for any team.
When scouting ahead, use Dizzy’s ability to automatically blind enemies within its view, or control areas with Mosh Pit, which damages tight spaces. Wingman is still a reliable option for planting or defusing the Spike, and also stuns opponents. Thrash remains a powerful area-of-effect stun. Because Gekko can deploy multiple abilities simultaneously, it feels like having two extra teammates. While enemies can destroy Dizzy, Wingman, and Thrash by shooting them, doing so often reveals enemy positions, making them useful for quick reconnaissance.
Using Gekko In Fracture
Fracture’s tight corners and narrow passages make Gekko’s Dizzy and Mosh particularly useful for revealing enemies. Dizzy and Mosh can check corners, while Gekko provides support fire, and Wingman can help with the Spike. However, to get the most out of Gekko, you need to place Dizzy and Mosh carefully. If you throw them too far, they become unusable for the rest of the round, wasting valuable resources. Learning how to throw Mosh effectively on Fracture is a good idea, but it takes practice to master the best throws for different situations due to the map’s size.
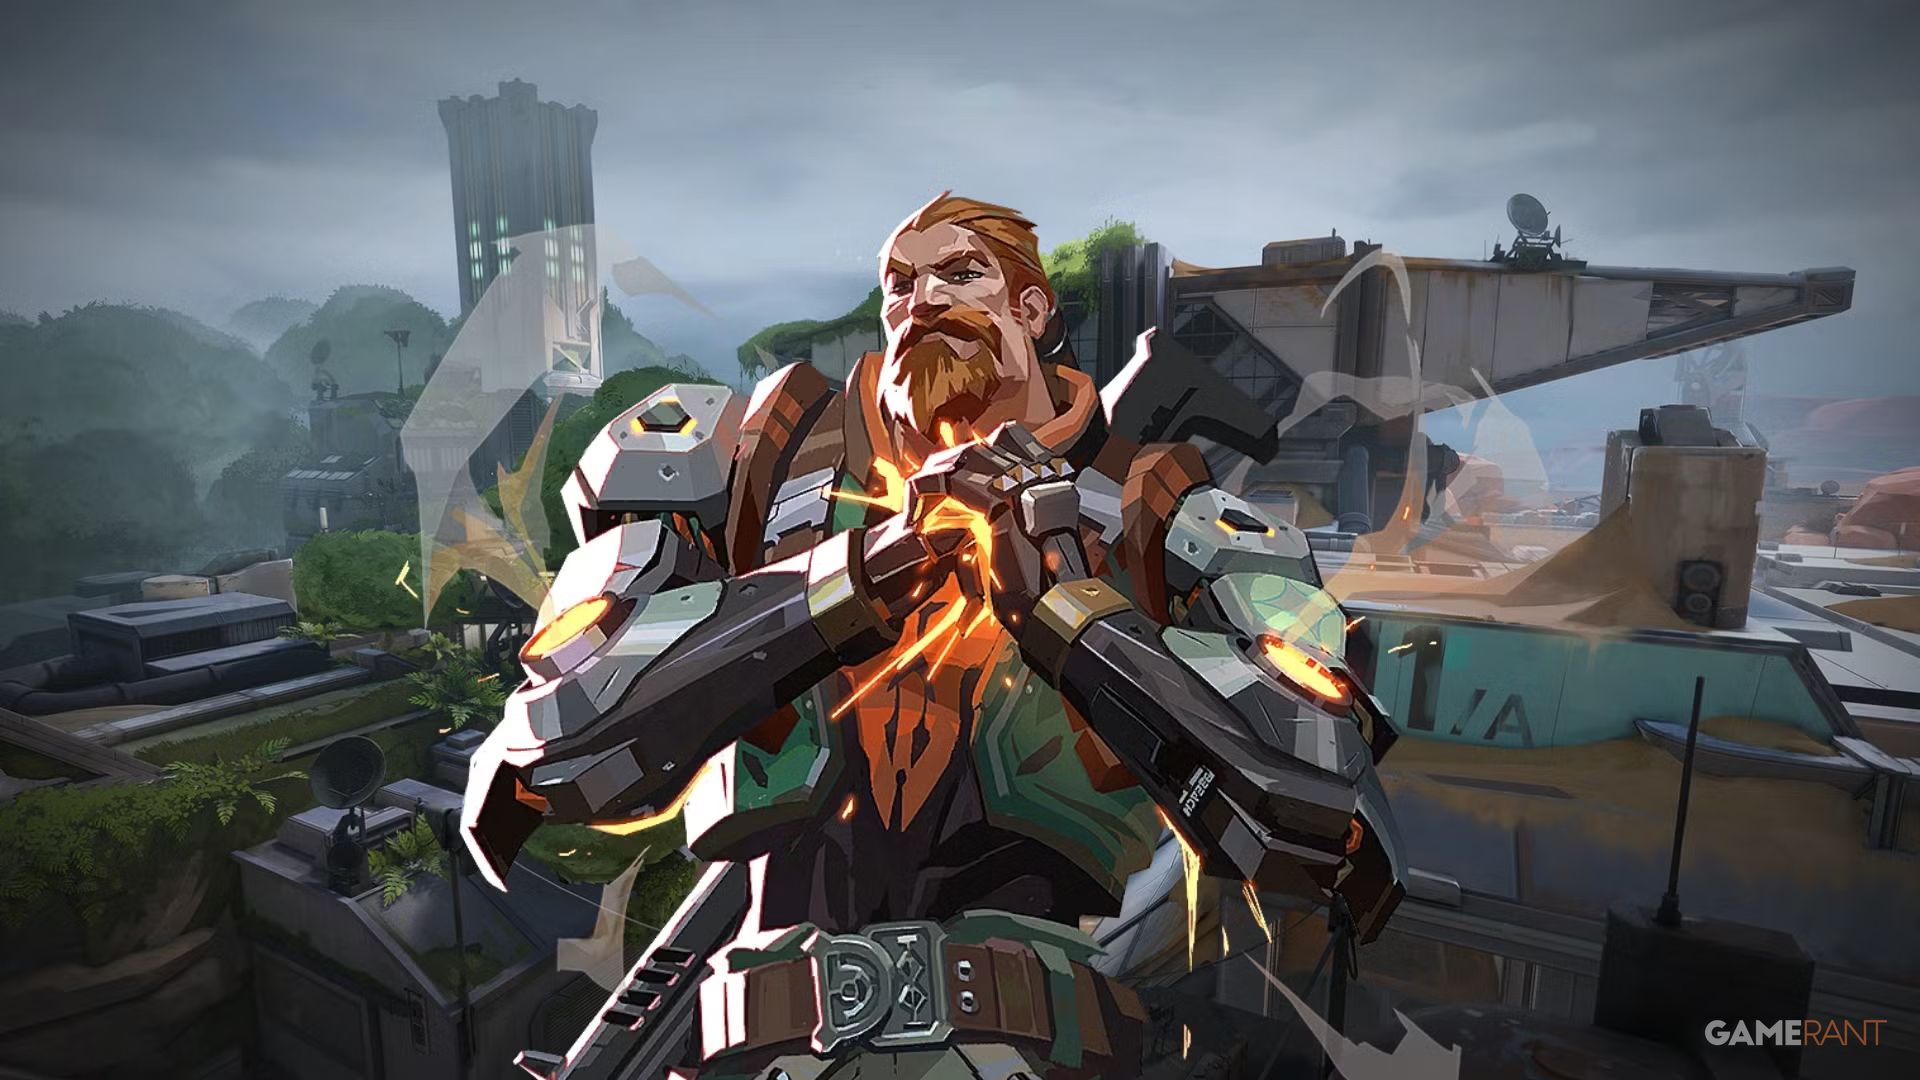
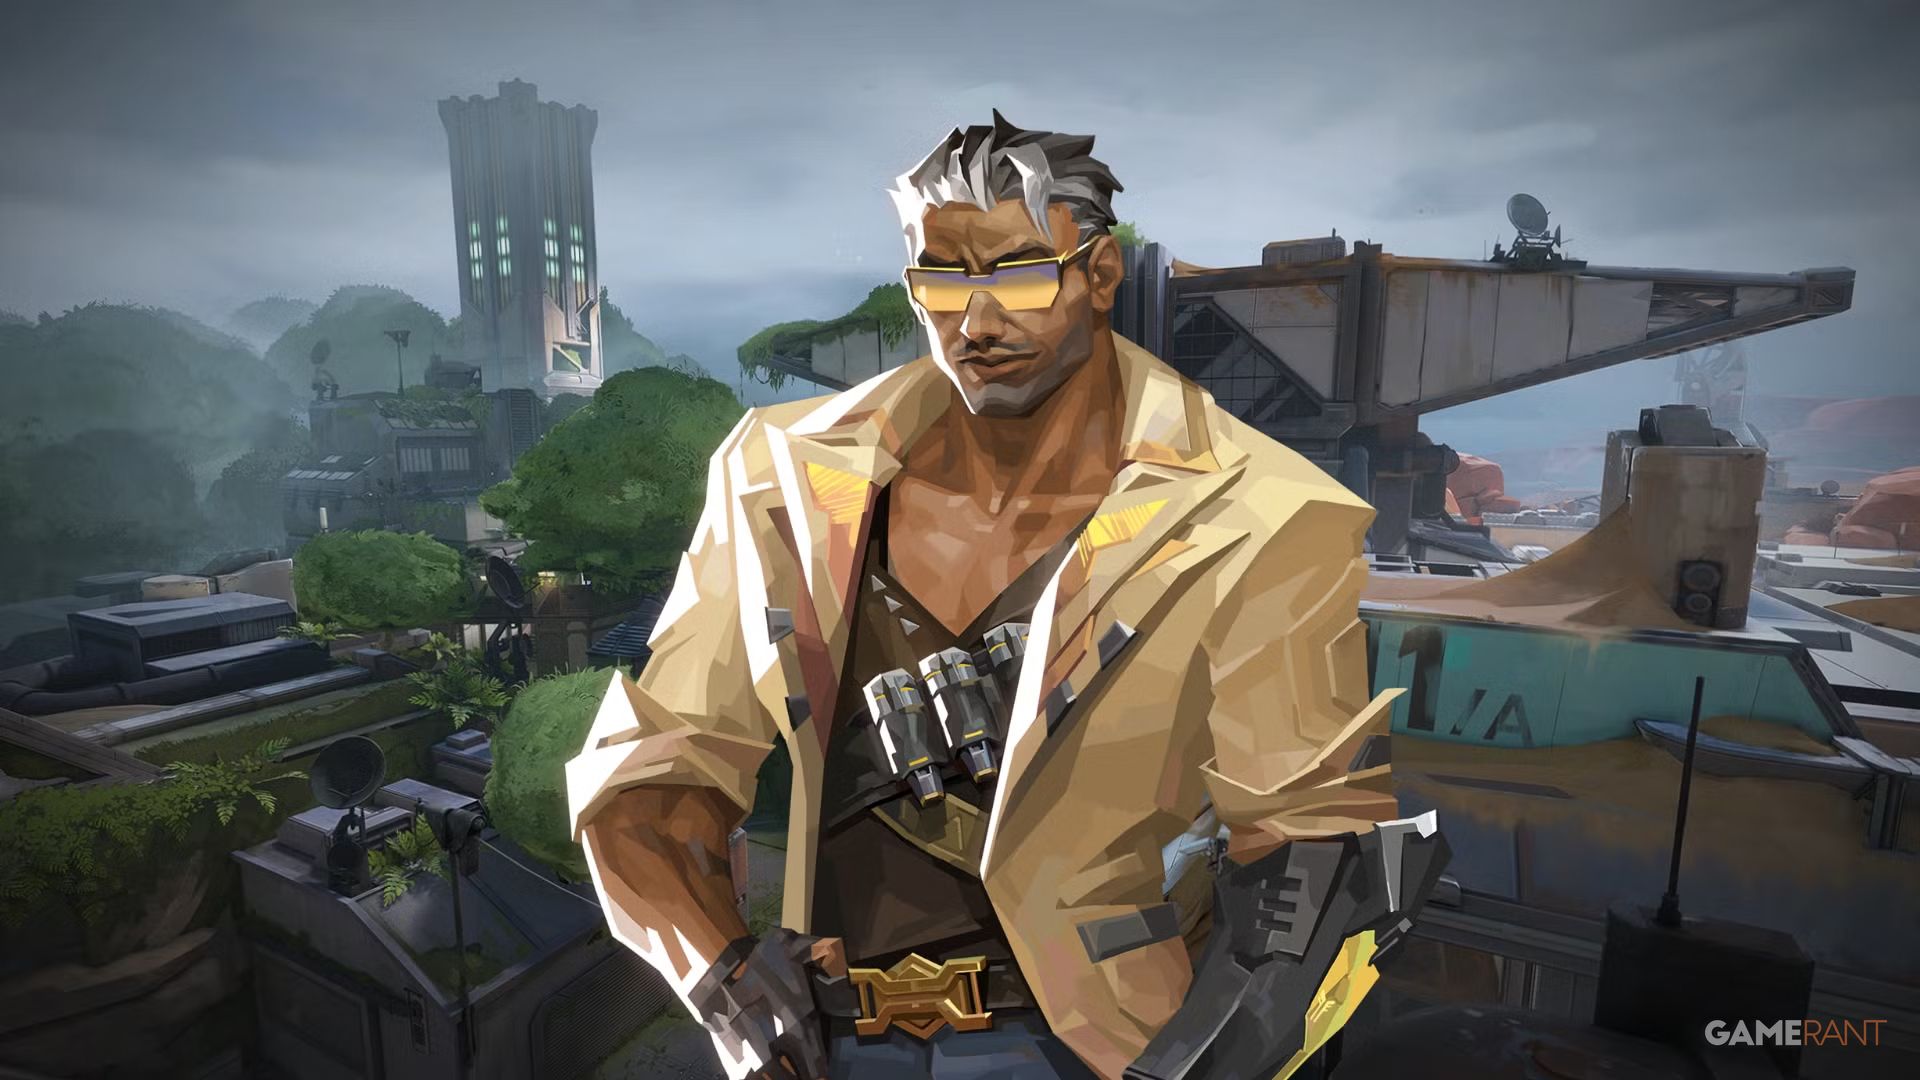
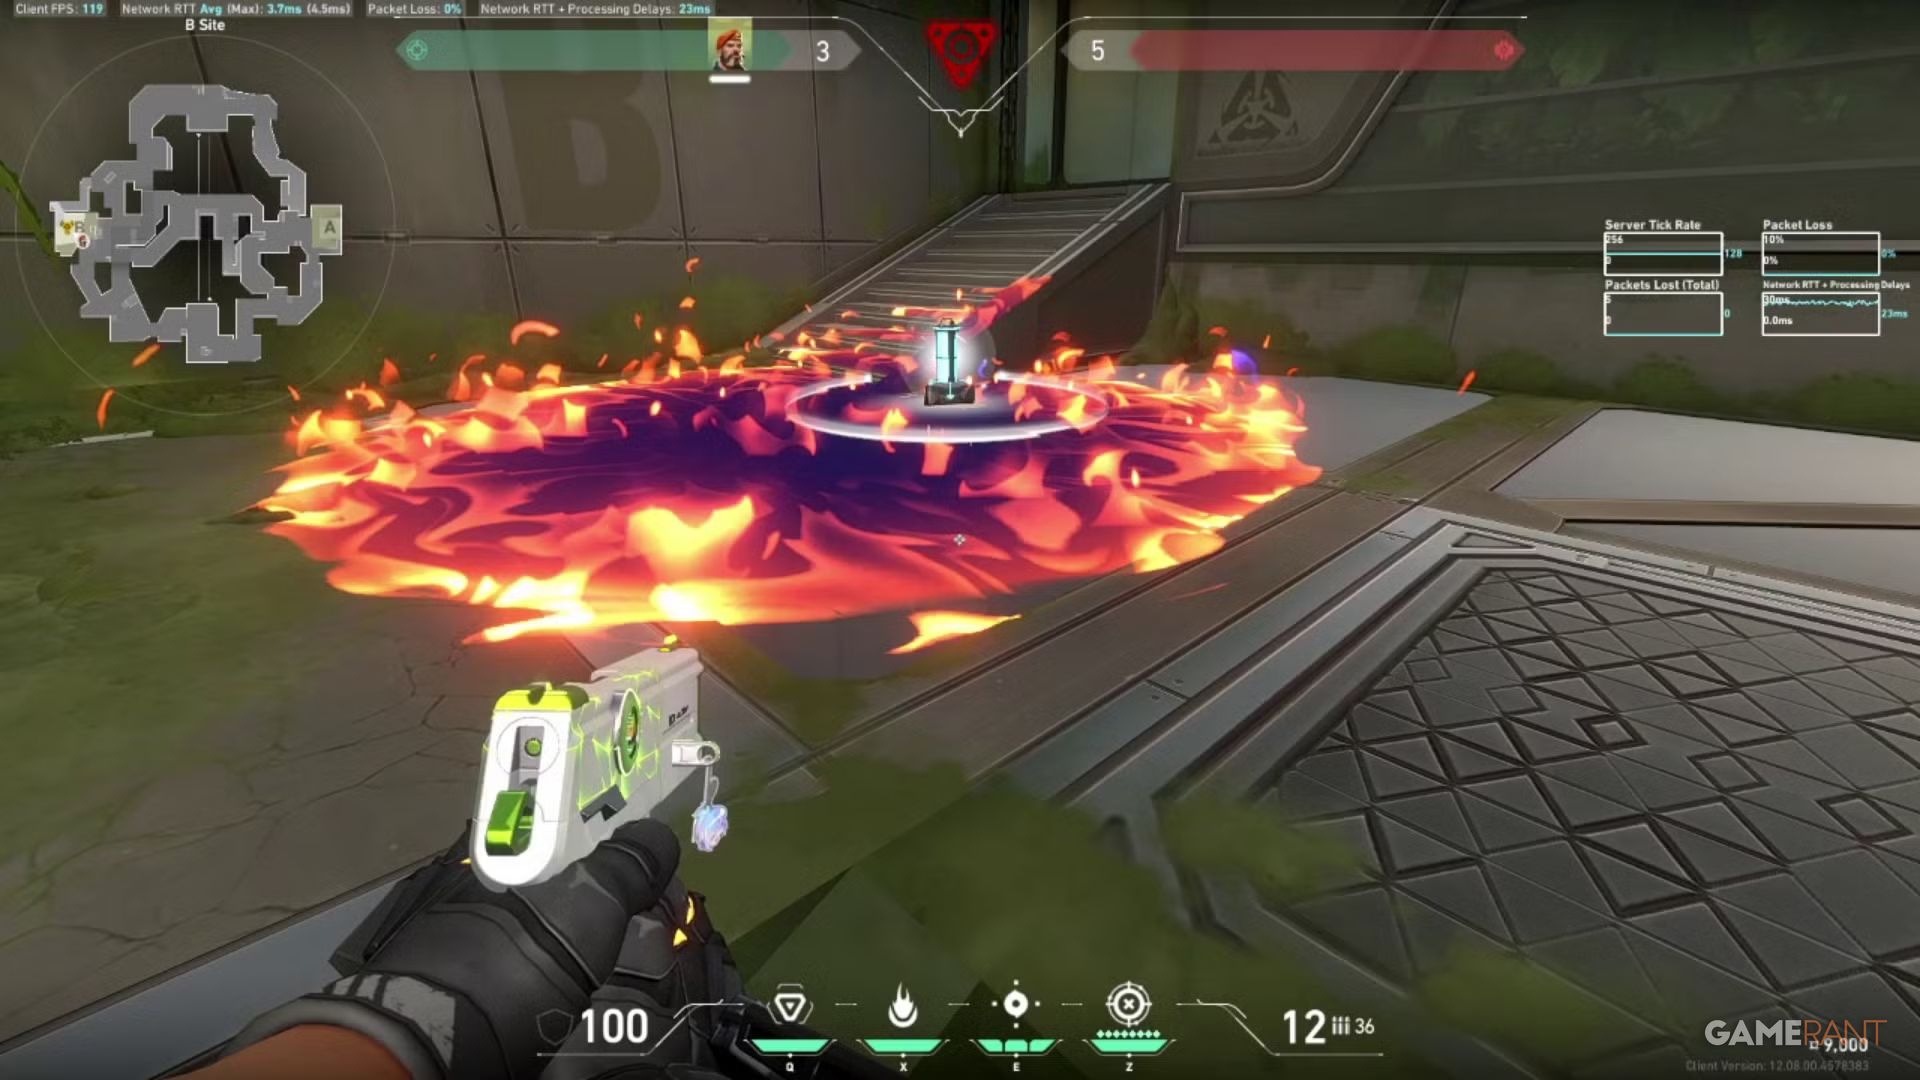
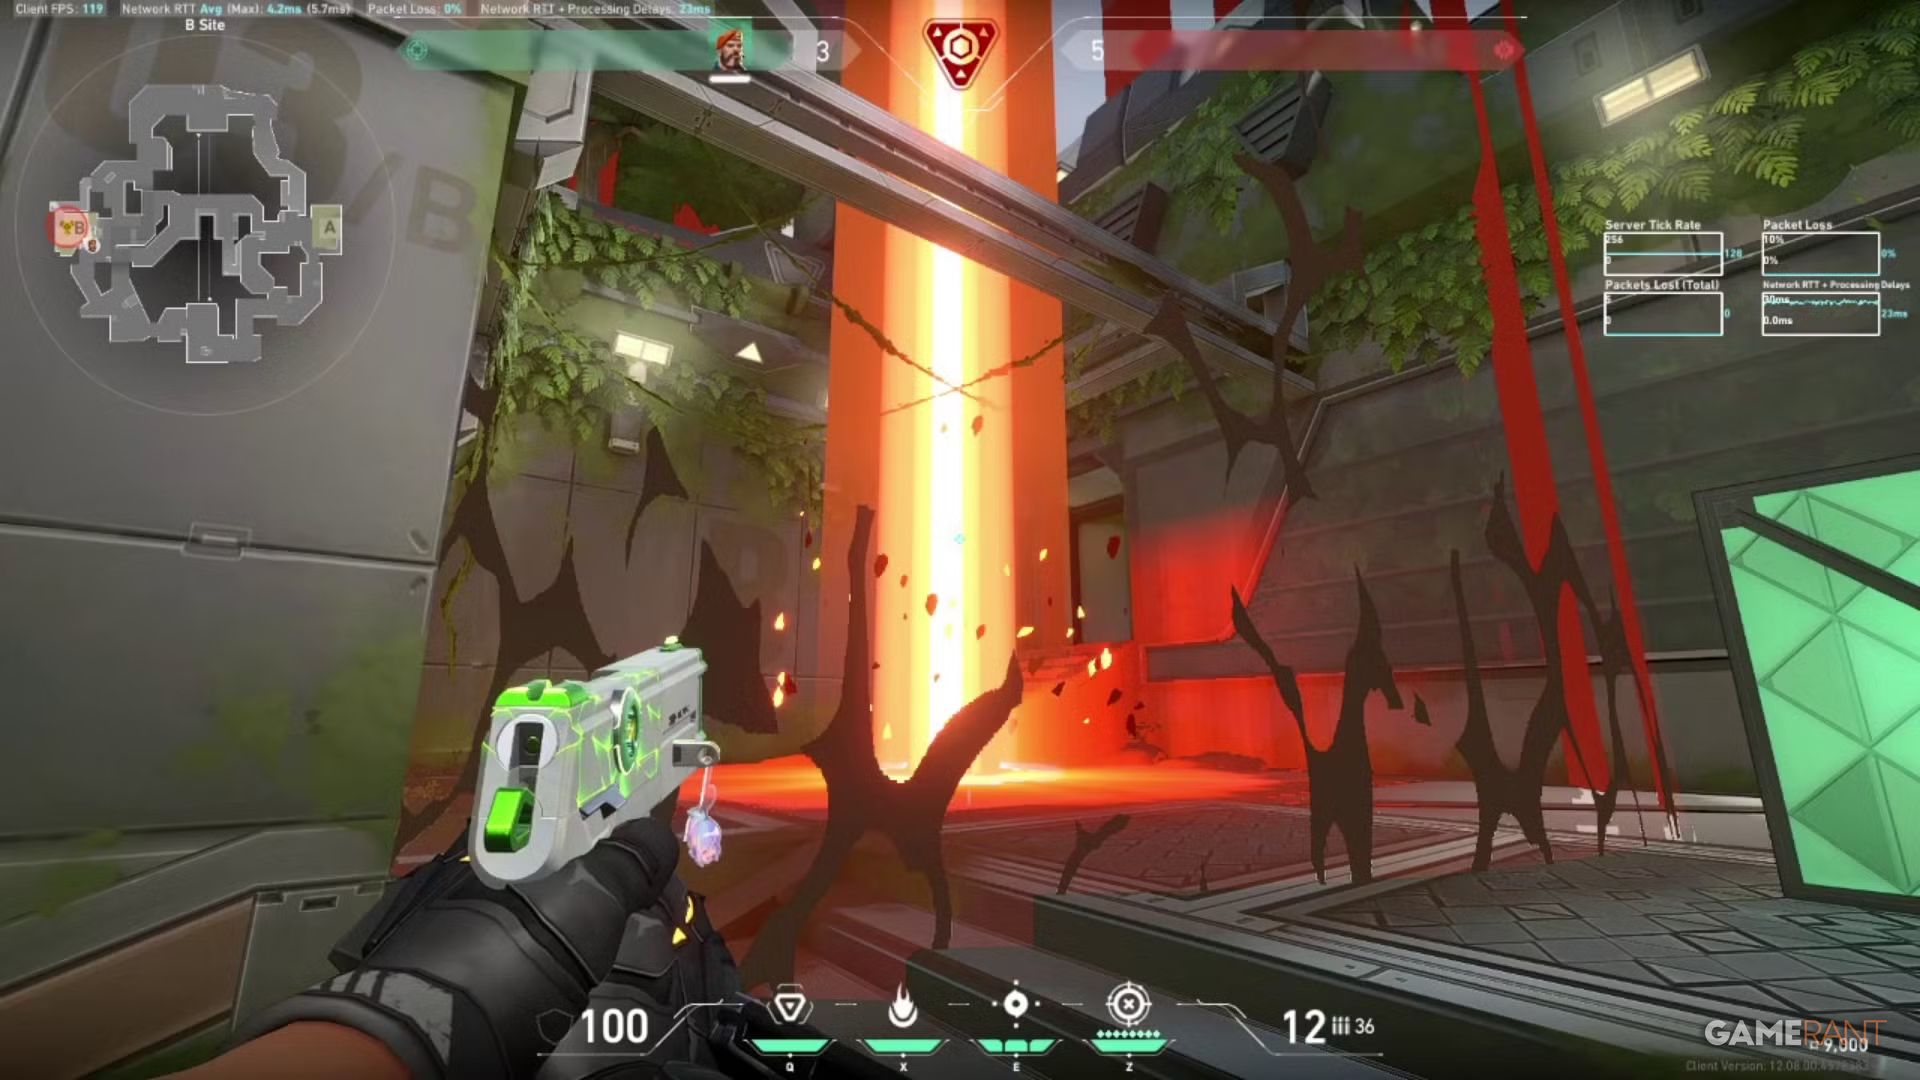
8. Breach
Dominate Short-Range With Disruption Abilities
| Role | Initiator |
| Basic Ability | Aftershock: Fire a slow-acting burst that heavily damages anyone on the other side |
| Basic Ability | Flashpoint: Fire a fast-acting burst that passes through walls, Blinding all players that look at it |
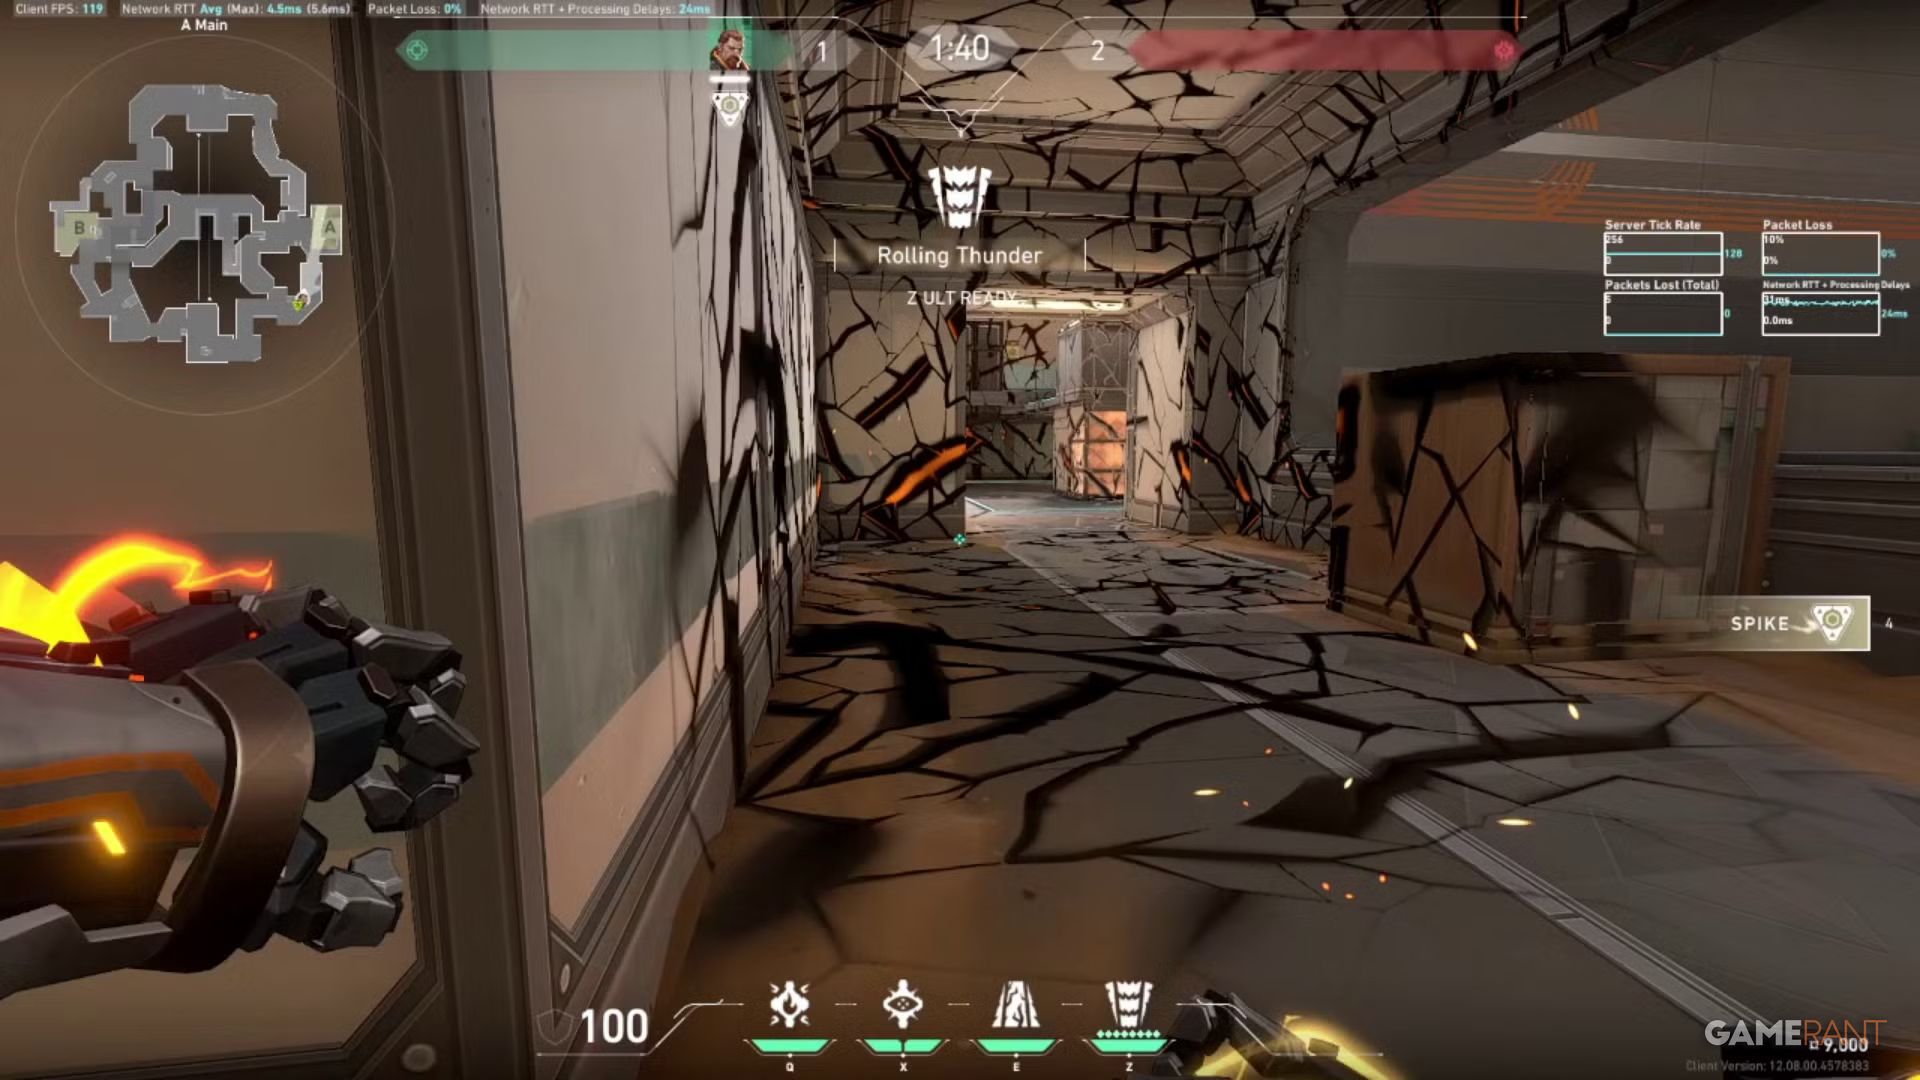
| Signature Ability | Fault Line: Release a quake across a distance that can Concuss all players inside the zone |
| Ultimate Ability | Rolling Thunder: Fire a cascading quake through terrain that covers a large range. Everyone hit will be knocked back and concussed |
Since Breach launched at the same time as the Fracture map, he’s a natural choice for top players on that map. His abilities are best used at close range to force enemies out of hiding, protect tight spaces, and quickly clear corners—all common features of Fracture’s sites. While he isn’t strong at long distances, Breach excels when playing aggressively, making him great for attacking and retaking sites.
Breach excels at quickly taking or retaking control of areas thanks to his versatile abilities. His Flashpoint is a dependable way to blind enemies around corners, and he can either damage or disorient opponents behind cover with Aftershock or Fault Line. When combined with an aggressive Duelist like Jett, Neon, or Raze, Breach can create incredibly effective strategies.
Using Breach In Fracture
When playing Breach on Fracture, understanding the map is crucial. Most of his abilities can only be used once, except for Flashpoint, which has two charges and no recharge time. A good strategy is to start an attack with a Flashpoint, save the second charge for after planting the spike, and then use Fault Line to stun enemies, making them easy targets for your team. Following up with Aftershock is a great way to finish off opponents or at least create space, even if they try to escape.
7. Tejo
Damaging Recon Kit Perfect For Long-Range Punishing Scouting
| Role | Initiator |
| Basic Ability | Stealth Drone: Throw a controllable spider drone that, when activated, will jump up, release a pulse, and Reveals and Suppresses enemies hit |
| Basic Ability | Special Delivery: Launch a grenade that sticks to the first surface it hits then explodes, damaging and Concussing targets in the blast. It can have one or two bounces |
| Signature Ability | Guided Salvo: Select up to two target locations on the map, then fire missiles to the location with repeated blasts. Its smoke traces its location back to Tejo |
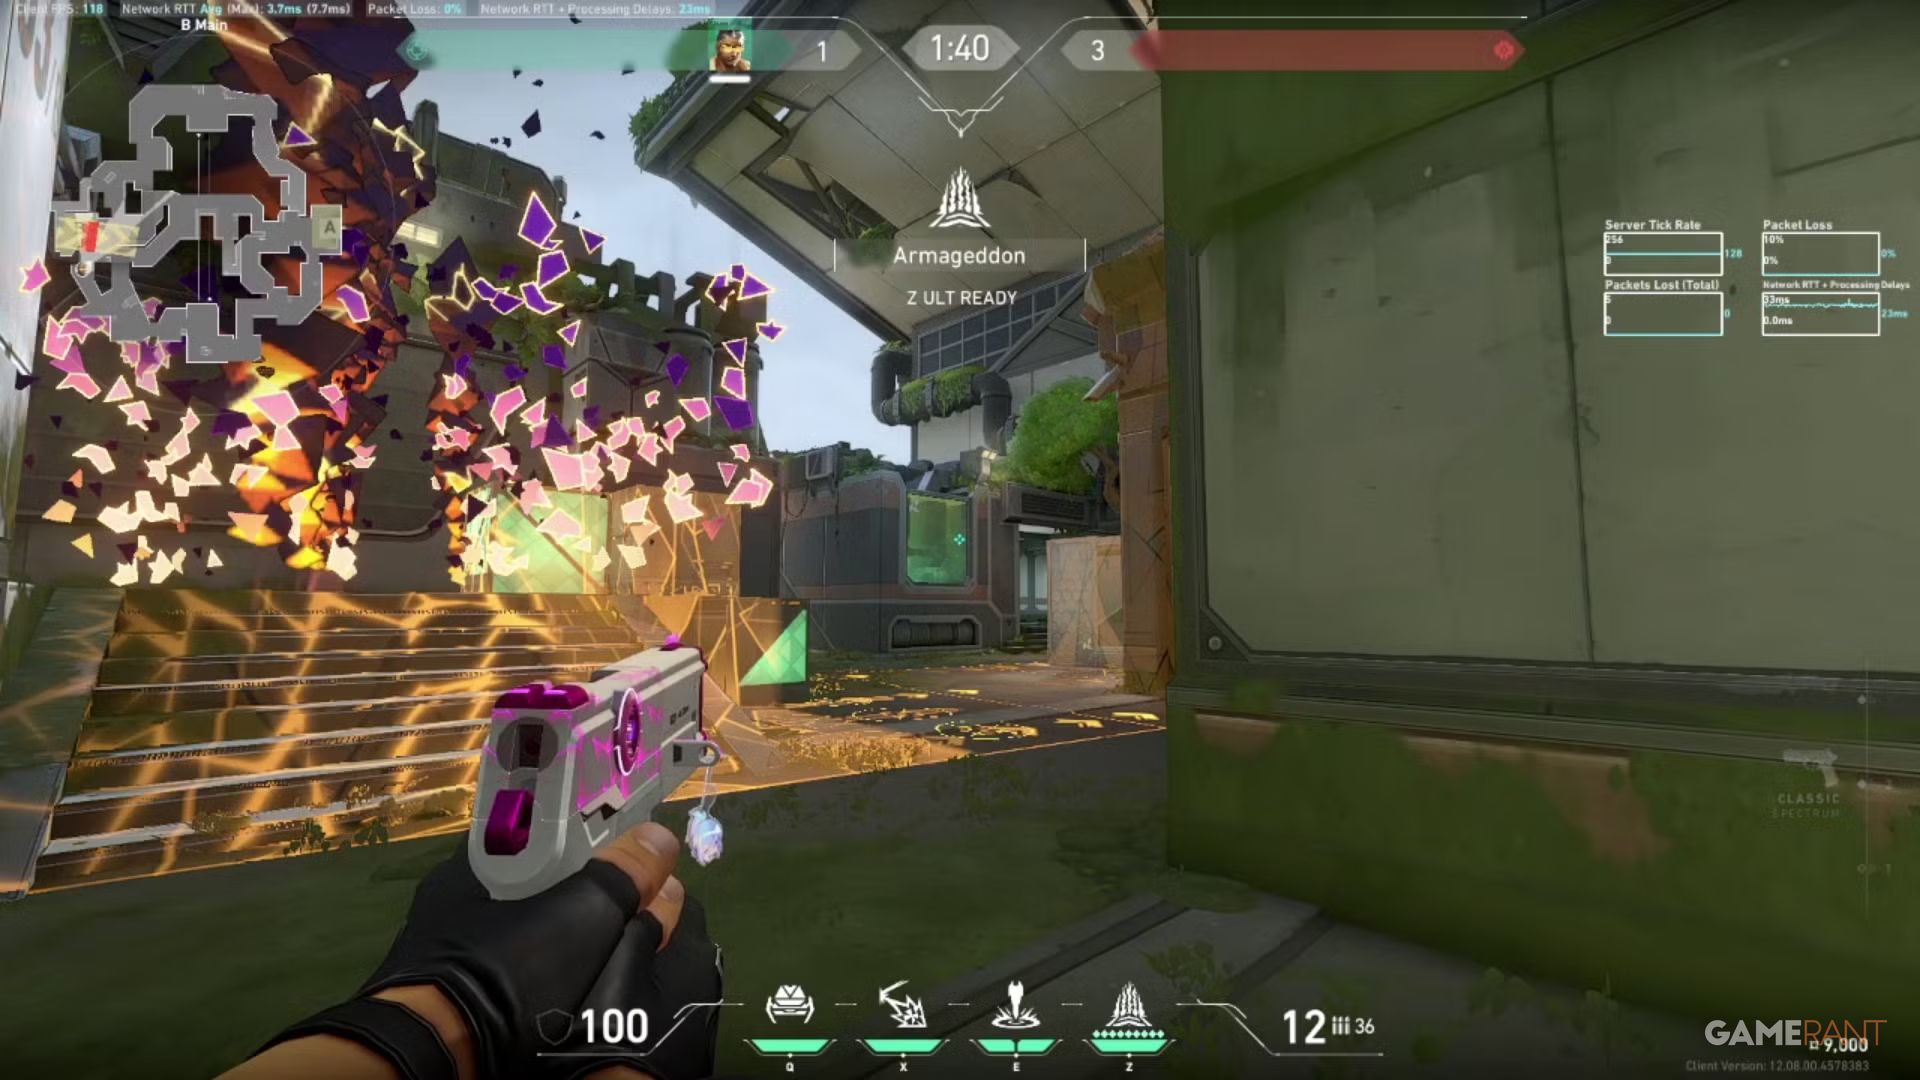
| Ultimate Ability | Armageddon: Select an origin point, drag to the desired end point, and select to trigger. This releases a cascading wave of explosions along the strike path, from last point to origin |
If you like Raze but prefer not playing as a Duelist, Tejo is a great option, especially because of his explosive abilities. He’s well-suited for the tight angles and layout of the Fracture map, offering more direct combat potential than many other Initiators. Instead of relying on typical reveals or blinds, Tejo’s basic ability, the Stealth Drone, can suppress enemies, creating opportunities for a fast attack.
His greatest strength is his ability to control areas and deal damage. His signature ability, Guided Salvo, can effectively clear corners and reveal enemies with its missiles. Special Delivery is a useful flashbang that can be used before pushing into a site or retaking it. His ultimate, Armageddon, is a strong tool for stopping defuses if used accurately, though it doesn’t cover as much area as Brimstone’s ultimate.
Using Tejo In Fracture
To get the most out of Tejo on Fracture, it’s important to understand the map’s common hiding spots and tight areas. His Special Delivery ability is excellent for quickly hitting enemies lurking around corners on A-Site, A-Door, B-Arcade, B-Gen, or near B-Main. Meanwhile, Guided Salvo can reach opponents in difficult-to-access spots like B-Tower, B-Site, A-Drop, A-Link, or A-Rope, discouraging them from holding those long-range positions.
6. Miks
Support-Oriented Controller Perfect For Sustained Assaults

| Role | Controller |
| Basic Ability | M-pulse: Throw a device that either Concusses foes or Heals allies in range |
| Basic Ability | Harmonize: Provide a Combat Stim to either Miks or Miks and a targeted ally that refreshes on kill |
| Signature Ability | Waveform: Set Smokes at selected locations |
| Ultimate Ability | Bassquake: Release a Sonic Radiance that knocks back, Slows, and Deafens players |
Miks is a promising Controller for the Fracture map, especially when played alongside teammates who like to push forward. His abilities are designed to support an aggressive playstyle, both when retaking sites and during quick attacks. His basic ability, M-Pulse, reveals enemy locations and can briefly stun them. Aside from Waveform, which creates smokes like Brimstone, all of his abilities complement a fast-paced team composition.
As a player, I’m really excited about M-pulse! It’s awesome that it can heal teammates too, because we’ve been needing another good healer besides Sage and Skye for ages. And Harmonize is a really cool addition – it’s a Combat Stim that gives you a nice boost to your firing, equip, reload, and recovery speeds. Plus, getting a refresh on kills is amazing, especially for Duelists like Iso who can really take advantage of those extra buffs with his shield!
Using Miks In Fracture
Miks excels at using Fracture’s open spaces to activate his Harmonize ability before engaging enemies. He can then use Smokes and a single M-pulse to push opponents into favorable positions for gunfights. This becomes even more powerful when combined with his ultimate, Bassquake, which knocks enemies back, slows them down, and disrupts their audio, making them easier to defeat.
![]() Find all 10 pairs
Find all 10 pairs
Results
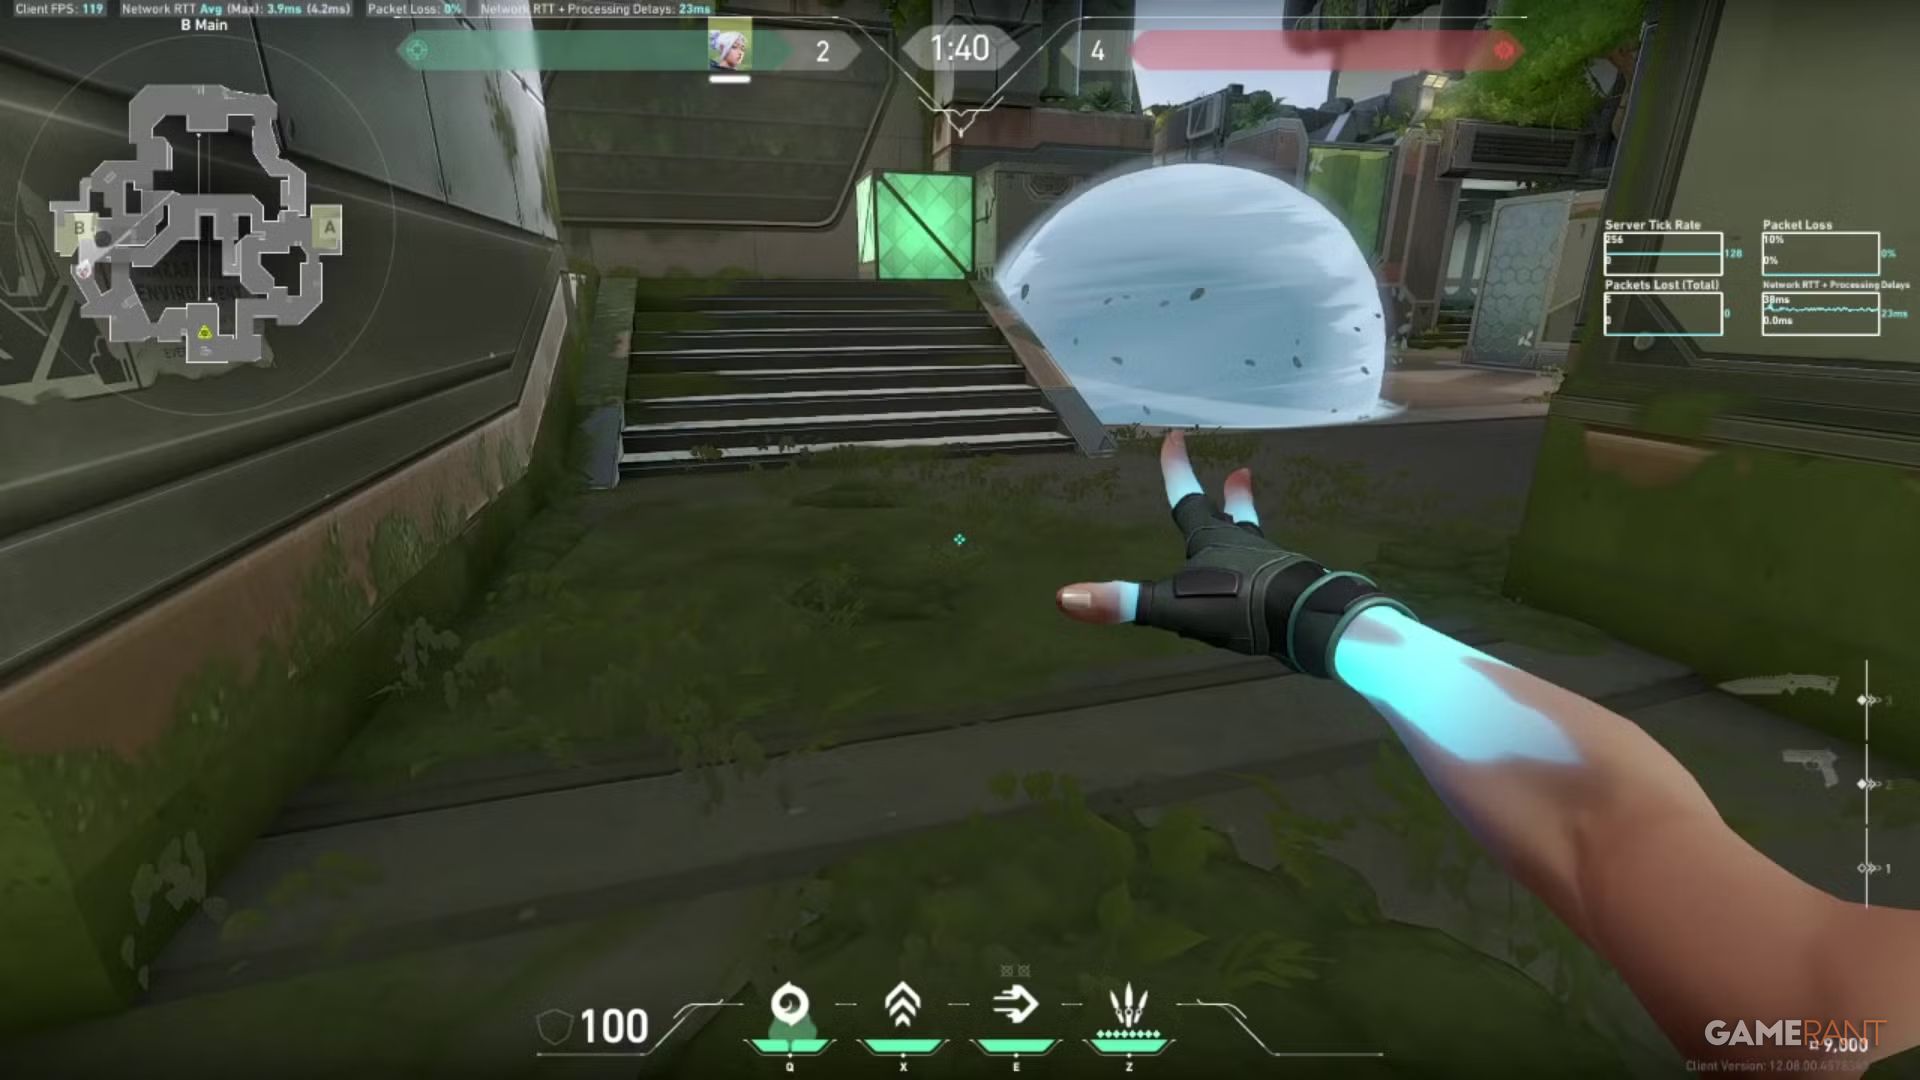
5. Sage
Walls Make For A Perfect Defense
| Role | Sentinel |
| Basic Ability | Barrier Orb: Create a wall that fortifies itself after deployment |
| Basic Ability | Slow Orb: Release an orb that detonates on a surface, Slowing and reducing the dash of those on it |
| Signature Ability | Healing Orb: Activate a heal-over-time on an ally or Sage herself, albeit the latter is weaker |
| Ultimate Ability | Resurrection: Revive an ally to full health after a brief animation, of which the channeling leaves the target vulnerable |
Even though Sage is often joked about online, she’s still a very reliable defensive character with a truly special set of abilities. No other agent can bring teammates back to life with her ultimate, and her quick healing ability is the best in Valorant. But what really makes Sage stand out is her ability to create walls. These walls can change the battlefield, giving her team access to surprising positions and disrupting the enemy’s plans.
Sage can be a powerful player on any team when used effectively. A skilled player can use her to control areas and support aggressive teammates, letting the Duelist focus on direct combat. Even with a more cautious player, Sage remains valuable through healing and her Slow Orb, as long as they position her wall strategically.
Using Sage In Fracture
Because of how versatile Sage’s walls are on Fracture, the team can use them in many ways to control the map. The main idea is to block common entry points, forcing opponents into more predictable and easier-to-defend areas. For instance, blocking B-Main pushes them towards B-Link and B-Arcade, while blocking B-Arcade funnels them back into B-Main. Similarly, cutting off A-Dish sends them all the way to B, and blocking A-Main directs them to A-Door, and vice versa. Beyond these setups, quick thinking is key – players need to react and use walls to disrupt the enemy’s movements, like placing a wall along the fence on top of A-Site to make it incredibly difficult to defuse the spike from the upper level.
4. Jett
Dominate Verticality By Taking Advantage Of Blindspots

| Role | Duelist |
| Passive | Drift: Hold jump to glide while falling |
| Basic Ability | Cloudburst: Throw a projectile that expands into a smoke upon surface impact. Hold to curve the smoke instead |
| Basic Ability | Updraft: Get Jett up in the air |
| Signature Ability | Tailwind: Prepare a gust of wind that can boost Jett to the direction she is moving, with forward the default if she is standing still. Gets a recharge every two kills |
| Ultimate Ability | Blade Storm: Summon throwing knives. Every kill recharges one knife. Can throw all knives, but no recharge on kill. Each knife has very high accuracy |
Players who can quickly ‘flick’ their aim have a big advantage in eliminating opponents before they can take control of an area. This makes Jett particularly effective, as her ability to move quickly up and down makes her very difficult to hit with standard aiming techniques. Now that Neon is no longer frequently played, no other agent matches Jett’s speed. Her signature ability, Tailwind, lets her quickly escape after a kill, making her hard to track. She also has Cloudburst, which allows her to create smoke screens in two different locations – ideal for setting up an aggressive push with Tailwind, or for escaping after securing a second kill with Tailwind.
Jett excels at quickly changing her position using her Updraft ability, letting her surprise enemies, particularly when combined with smoke and attacking from above. If opponents try to shoot her while she’s airborne, they won’t be expecting a teammate following up. When Jett is playing well, the precision of Blade Storm allows her to eliminate distracted enemies very quickly.
Using Jett In Fracture
On Fracture, Jett is most effective when she surprises enemies with her smokes (Cloudburst), then quickly attacks using her dash (Tailwind) or uses her updrafts to change her positioning. Approaching sites from unexpected angles – like A-Drop into A-Site or B-Main into B-Site – makes her difficult to deal with, as her passive ability helps her maintain accuracy while airborne. This forces opponents to decide whether to focus her down, risking a trade, or ignore her and deal with potential teammates. Elsewhere on the map, Jett can use tight spaces like A-Door, A-Hall, B-Main, and B-Tower to quickly peek corners, dash in, and then safely retreat, whether she’s on offense or defense.
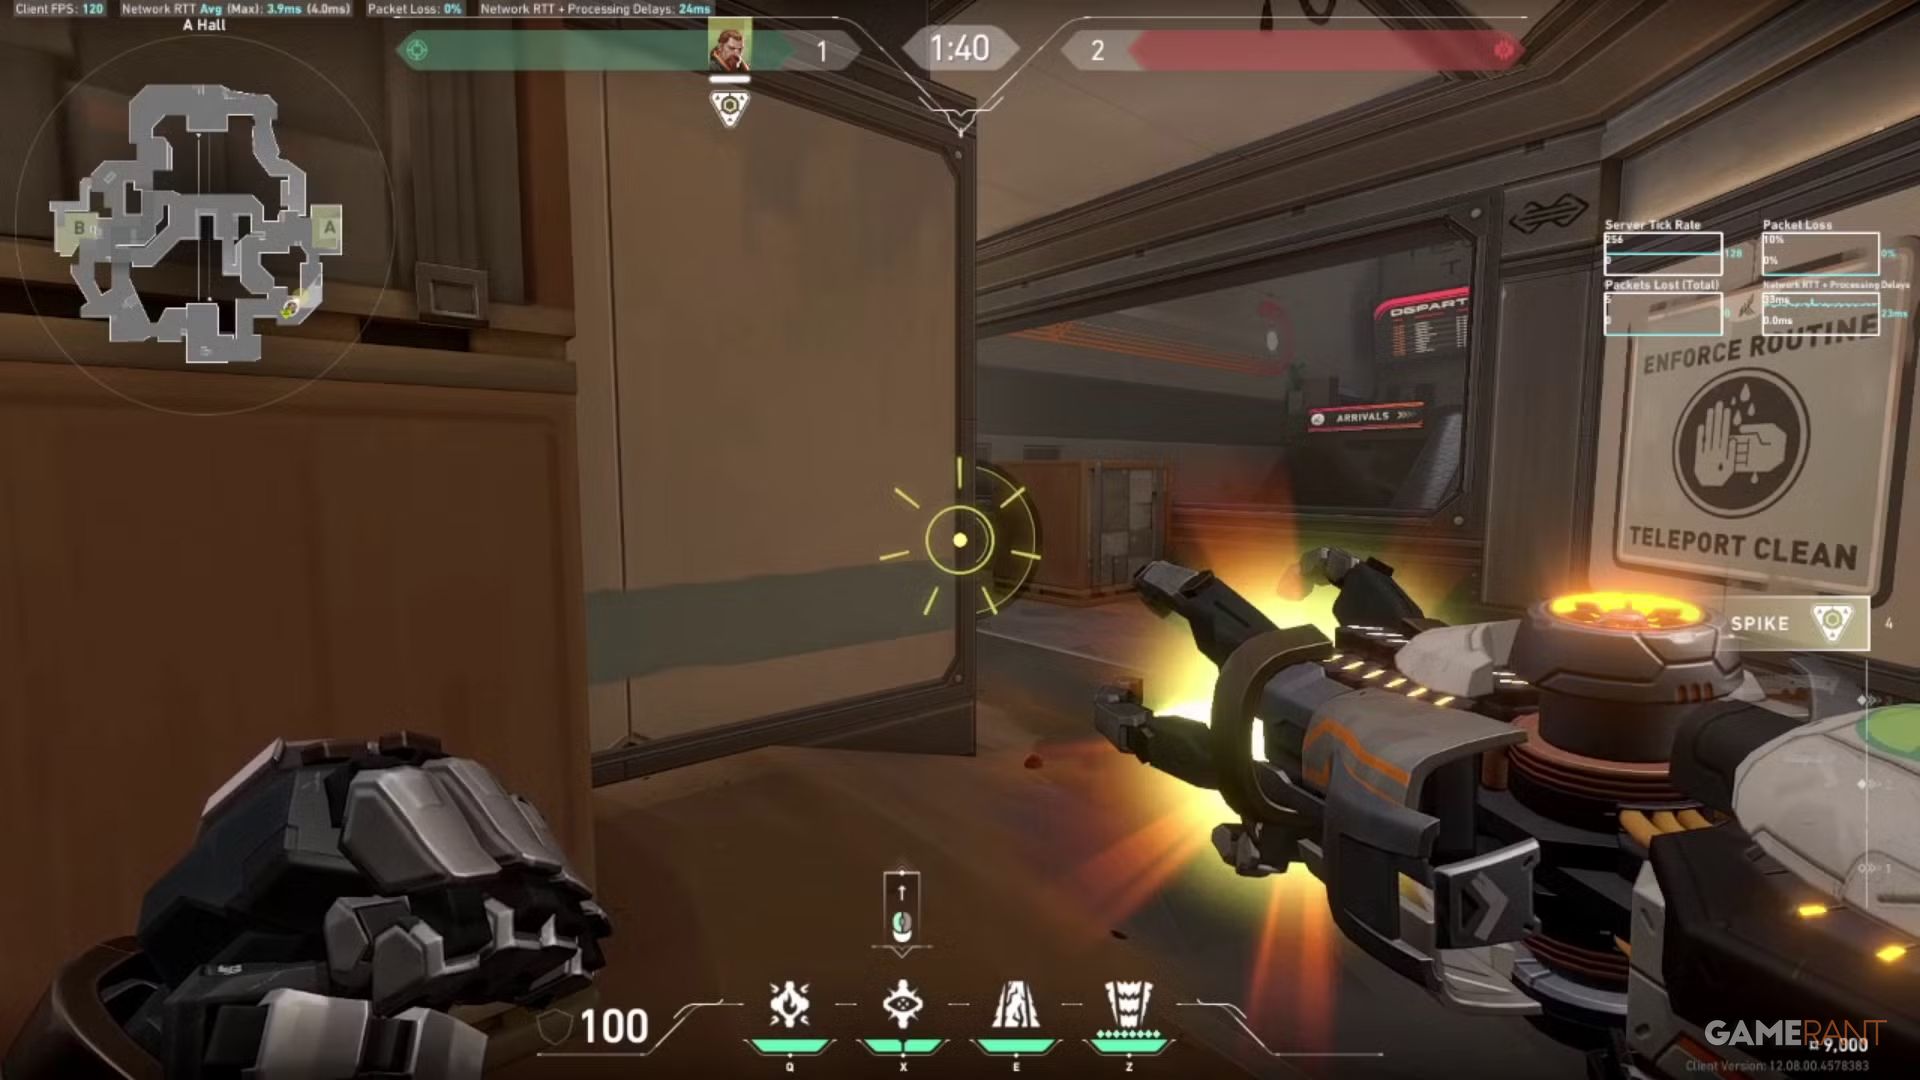
3. Killjoy
Dominate The Security Of Any One Site

| Role | Sentinel |
| Basic Ability | Alarmbot: Deploy a translucent Alarmbot to a location. It activates when it detects an enemy in range then explodes on contact, applying Vulnerable to enemies in its radius. Can be recalled, and destroyed when spotted early |
| Basic Ability | Nanoswarm: Deploy a translucent Nanoswarm. Activate to deploy a swarm of nanobots. Can be recalled, and destroyed when spotted |
| Signature Ability | Turret: Deploy a turret that fires at targets in a 100-degree cone. Can be recalled, and destroyed if its HP is depleted |
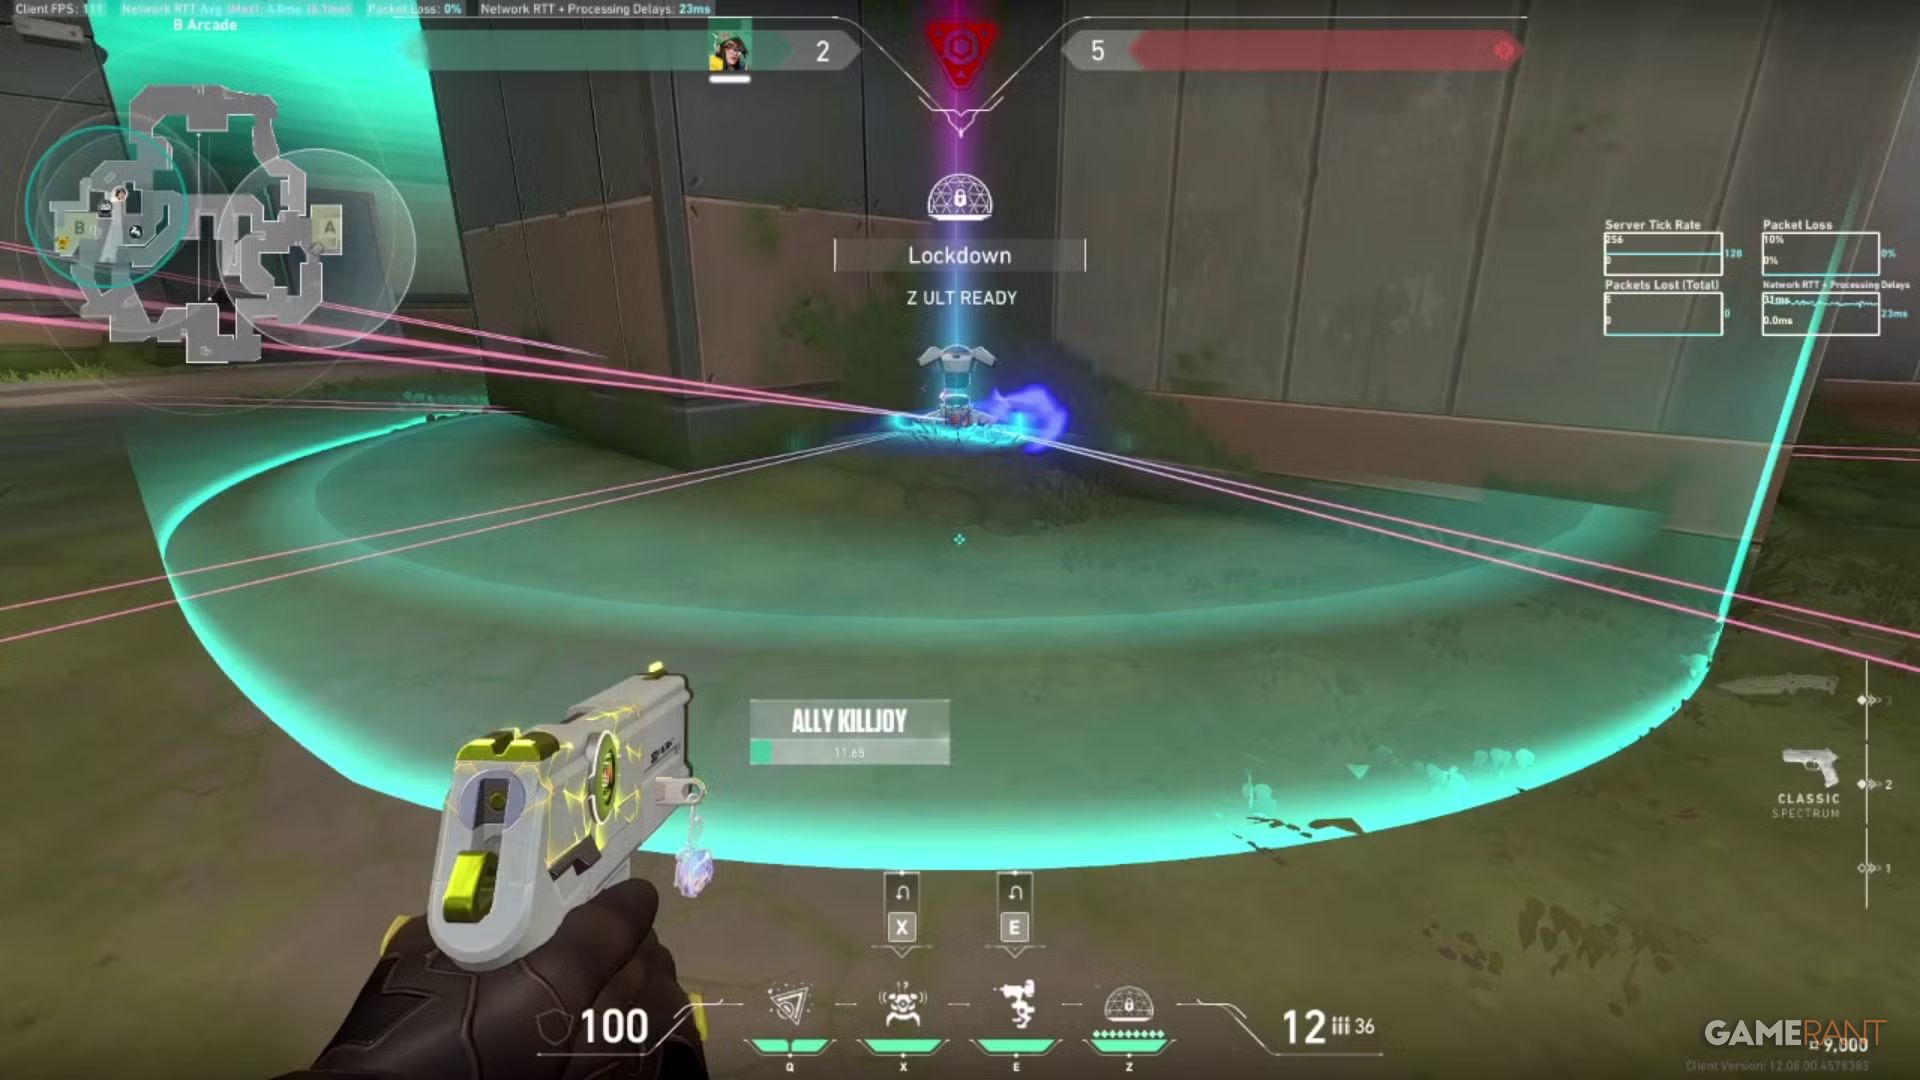
| Ultimate Ability | Lockdown: Deploy a device with a long windup, after which it Detains all enemies in the blast radius. Can be destroyed if its HP is depleted |
Even though recent changes have slightly reduced the range of Killjoy’s abilities, this actually makes her ideal for defending on the Fracture map. Her kit allows her to lock down a single site and cover all its important angles. She can use her Turret to both spot enemies and provide covering fire while she takes them down. Opponents will be so focused on finding the Turret that Killjoy can easily catch them off guard.
Killjoy’s Alarmbot (Basic) can cover areas where turrets can’t reach, or even watch an entirely separate entrance. She can also use Nanoswarms (Basic) to block off the Spike planting zone or save them for when the enemy tries to take the site back. If things get tough, her Lockdown ultimate is a powerful tool to slow down enemies or force them to move from a specific location.
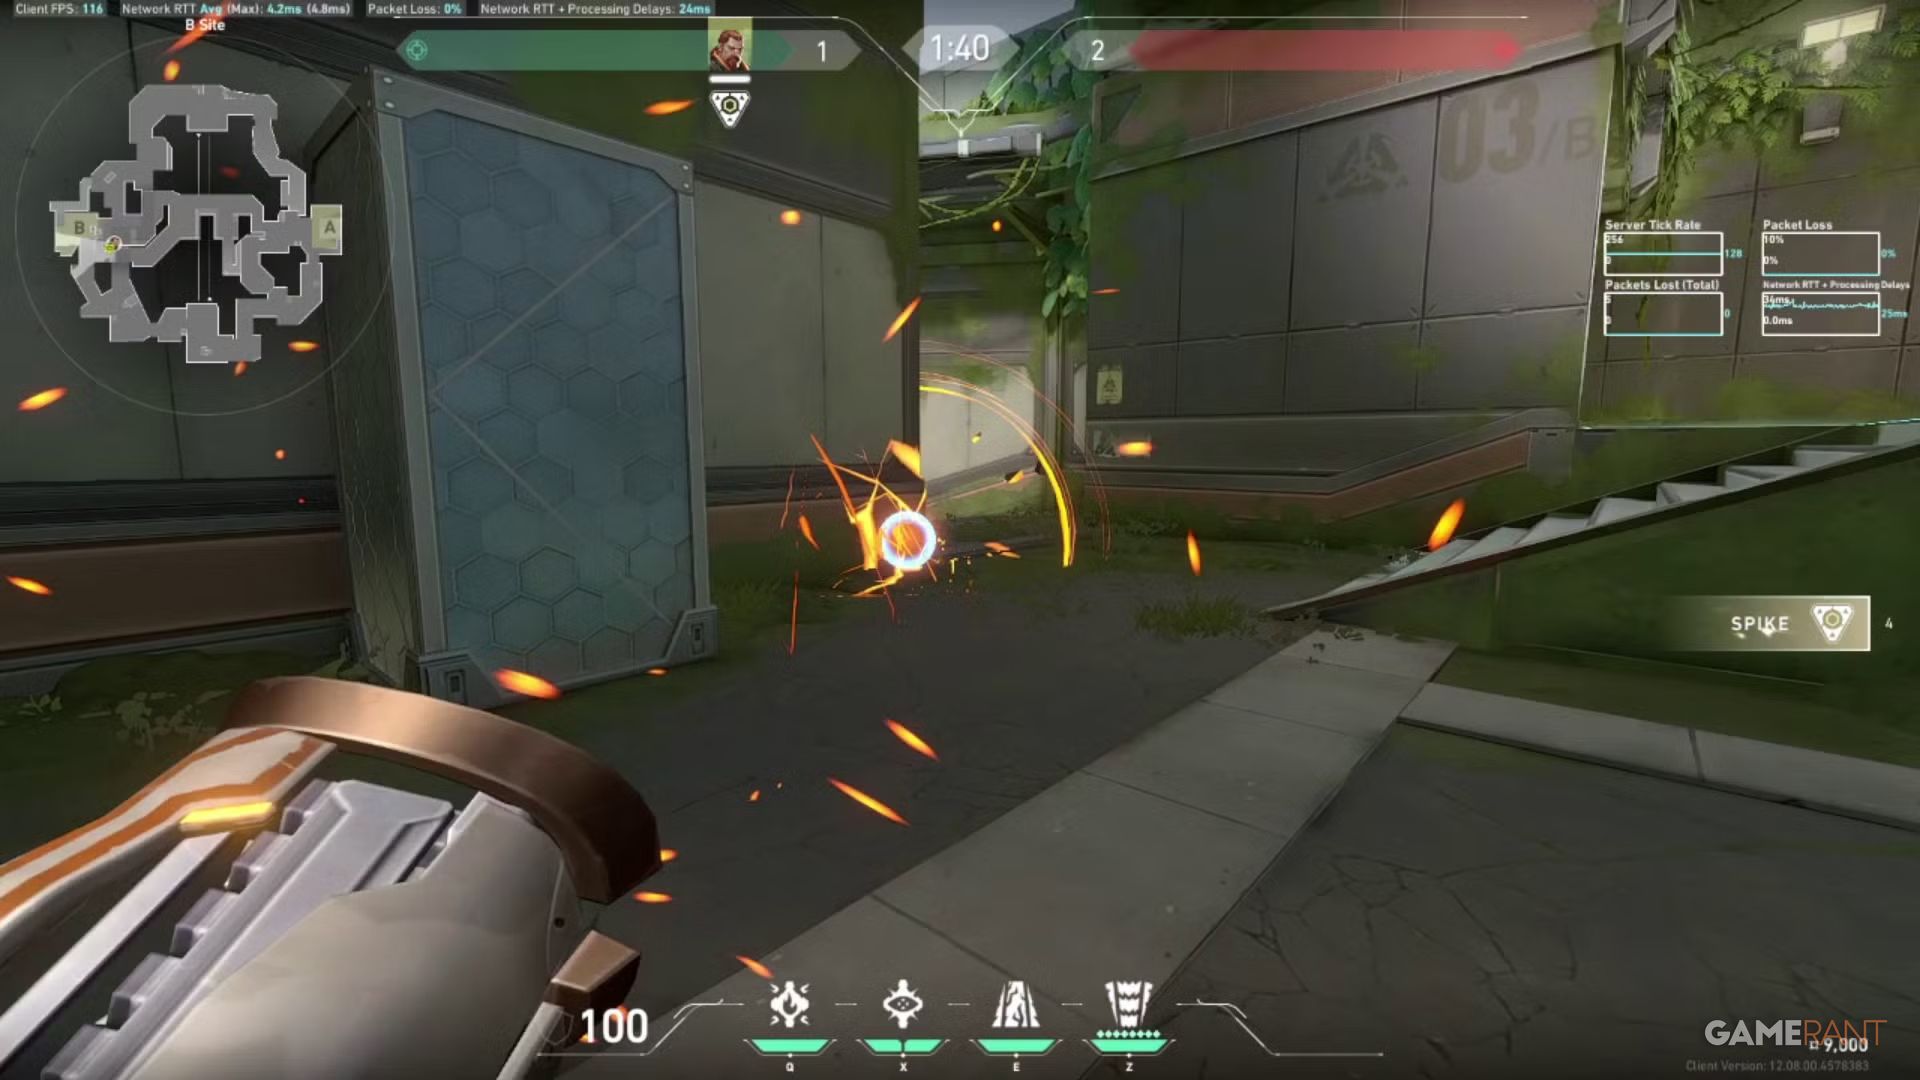
Using Killjoy In Fracture
On Fracture, Killjoy’s defensive strategy usually focuses on how aggressively she wants to play. When defending alone, she typically places her Turret covering Mains while she watches another entry point. With teammates, she can bait enemies into destroying the Turret first. She often sets up her Alarmbot and Nanoswarms in areas she can’t directly watch, using the sound of them being destroyed as an early warning system. This setup allows Killjoy to effectively defend a site with only one or two players, instead of the usual two or three, which is helpful if the enemy team favors a specific site, or if some of your teammates want to go for a flanking maneuver. While Killjoy does rely on taking control of a site as an attacker, her strong defensive abilities still make her a valuable asset.
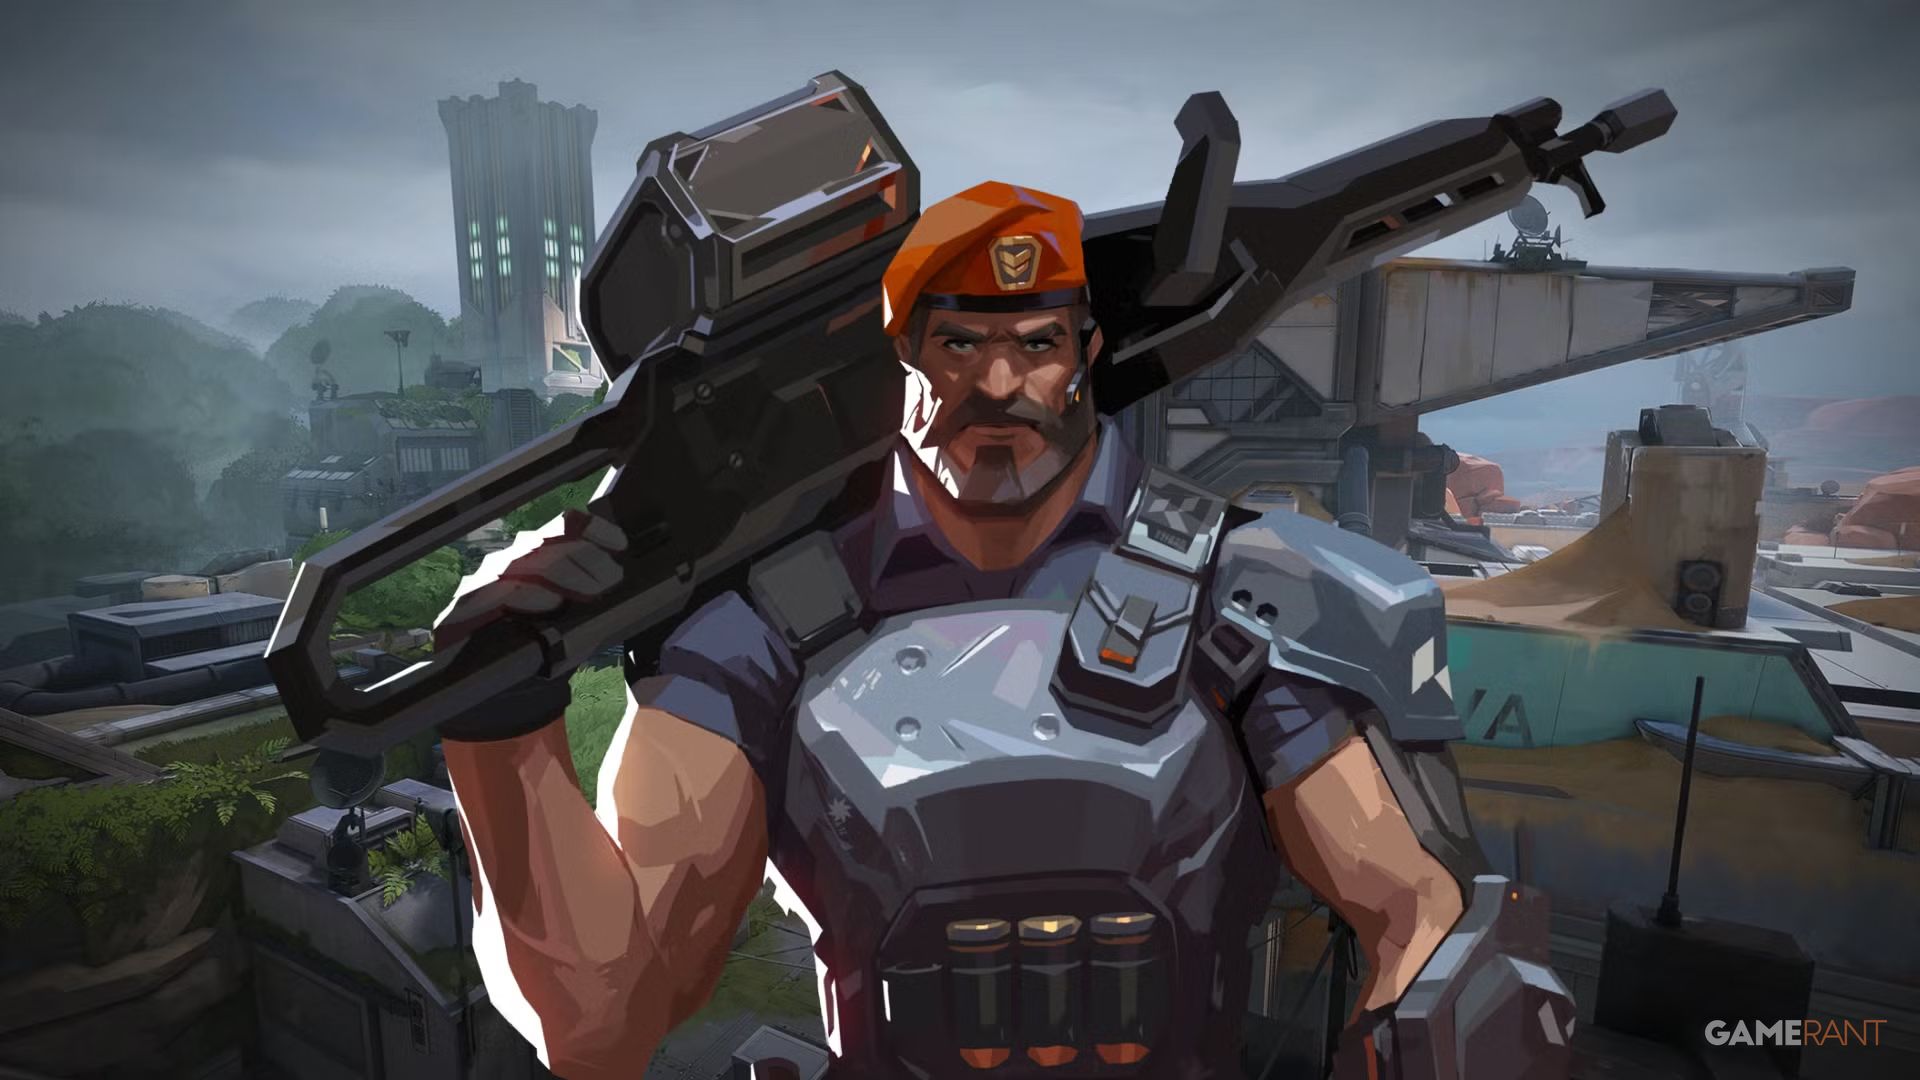
2. Brimstone
When In Doubt, Smoke And Support
| Role | Controller |
| Basic Ability | Incendiary: Launch a grenade that detonates after making full contact with a surface, creating a fiery damage over time |
| Basic Ability | Stim Beacon: Deploy a stim beacon that creates a Combat Stim field (+10% equip, reload, recovery speed, and overall speed +10% firing rate) |
| Signature Ability | Sky Smoke: Fire up to three smokes after pointing at locations in a tactical map. |
| Ultimate Ability | Orbital Strike: Release an orbital laser strike at the location, which encompasses a large AOE. |
Okay, so everyone knows Omen is the smoke king, but I’ve been finding Brimstone is amazing for quicker, more aggressive plays – especially on maps like Fracture where there are tons of angles to watch. He really relies on his team coordinating and focusing on one area at a time. Just his Stim Beacon alone gets us all ready to push, and his Sky Smokes are a game-changer. Getting three smokes that recharge? That means I can reliably block off sightlines when we’re attacking and when we’re trying to hold a planted spike. He’s a solid pick for both!
Brimstone excels at controlling areas after the Spike is planted. He can use his Incendiary to block off access, or his powerful Orbital Strike to either prevent enemies from defusing or force them to move from cover.
Using Brimstone In Fracture
Successful Brimstone play usually comes down to good smokes and precise incendiary lineups. When setting up lineups, start by working backwards – find the nearest spot that allows you to throw Incendiaries to cover key areas of the site. For smokes, focus on blocking off chokepoints. This clearly shows your team where enemies are likely to come from and gives the opposing team very little time to react.
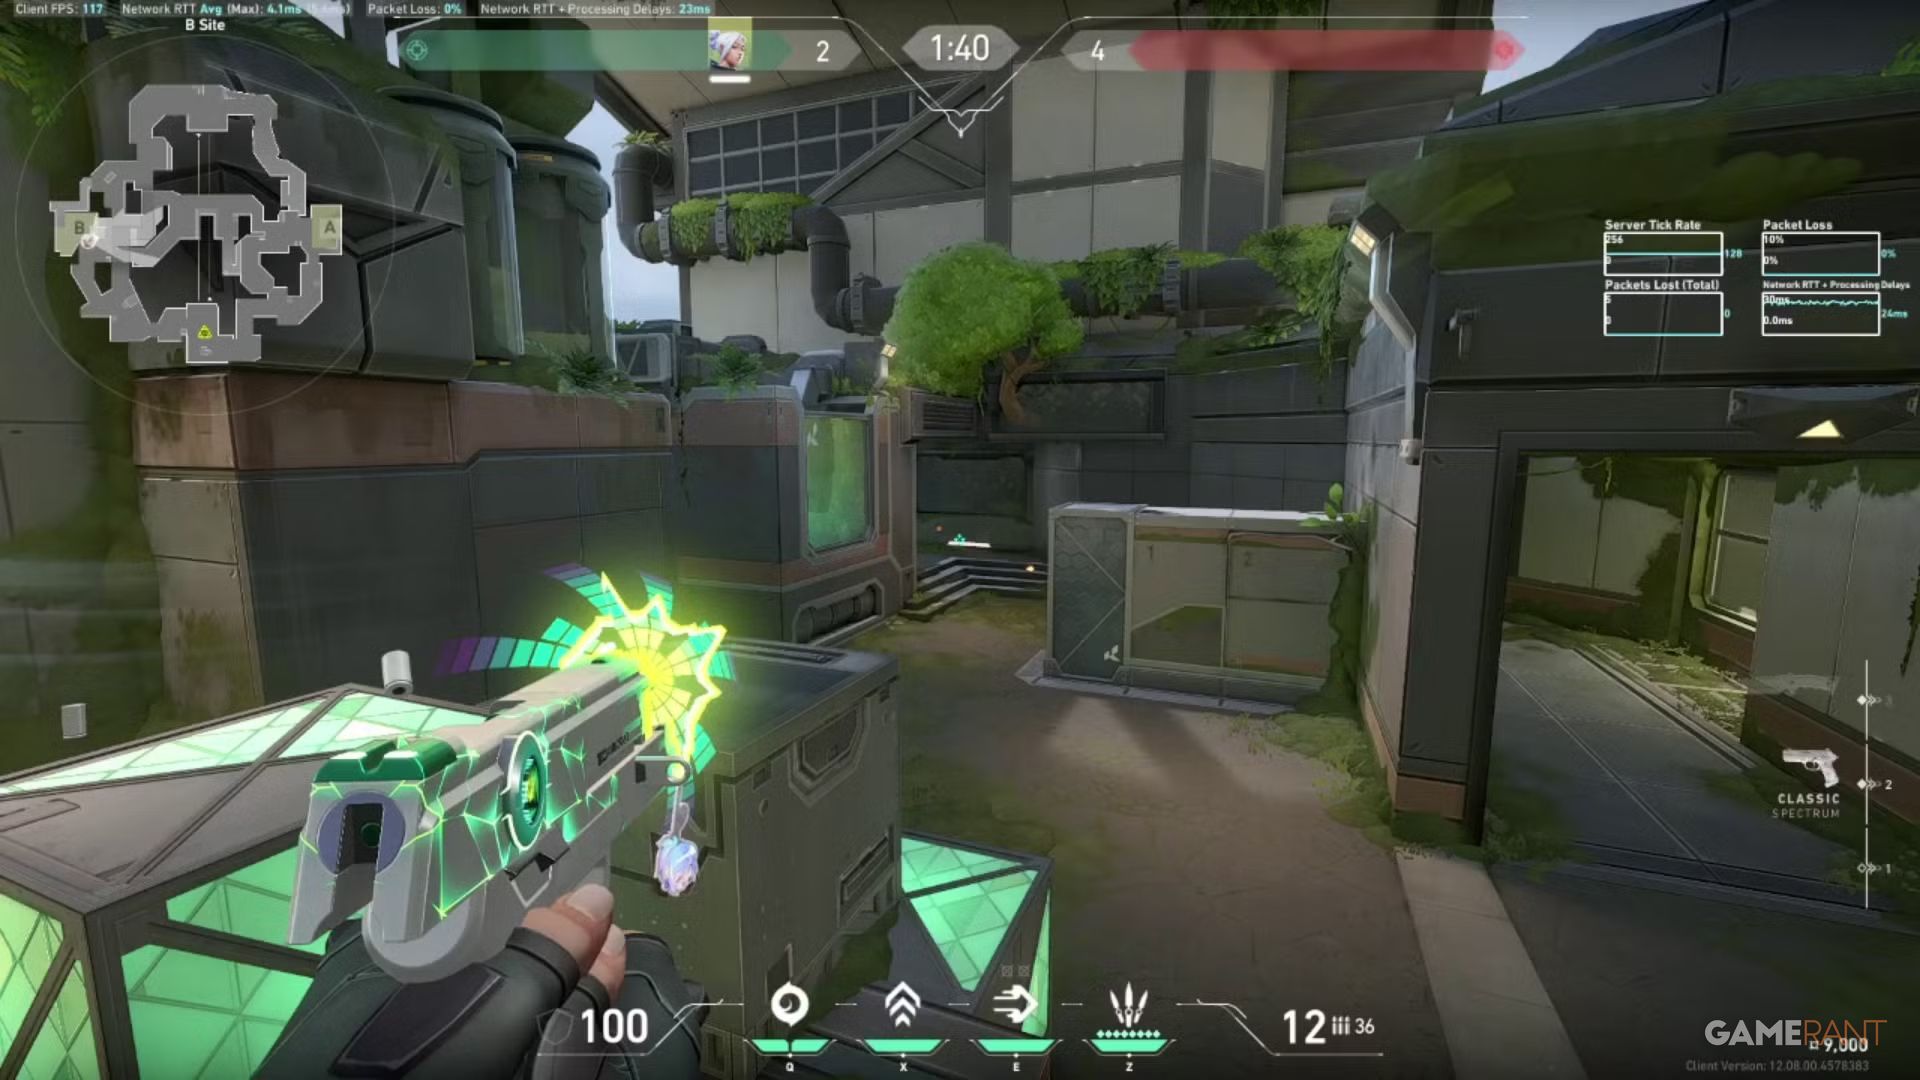
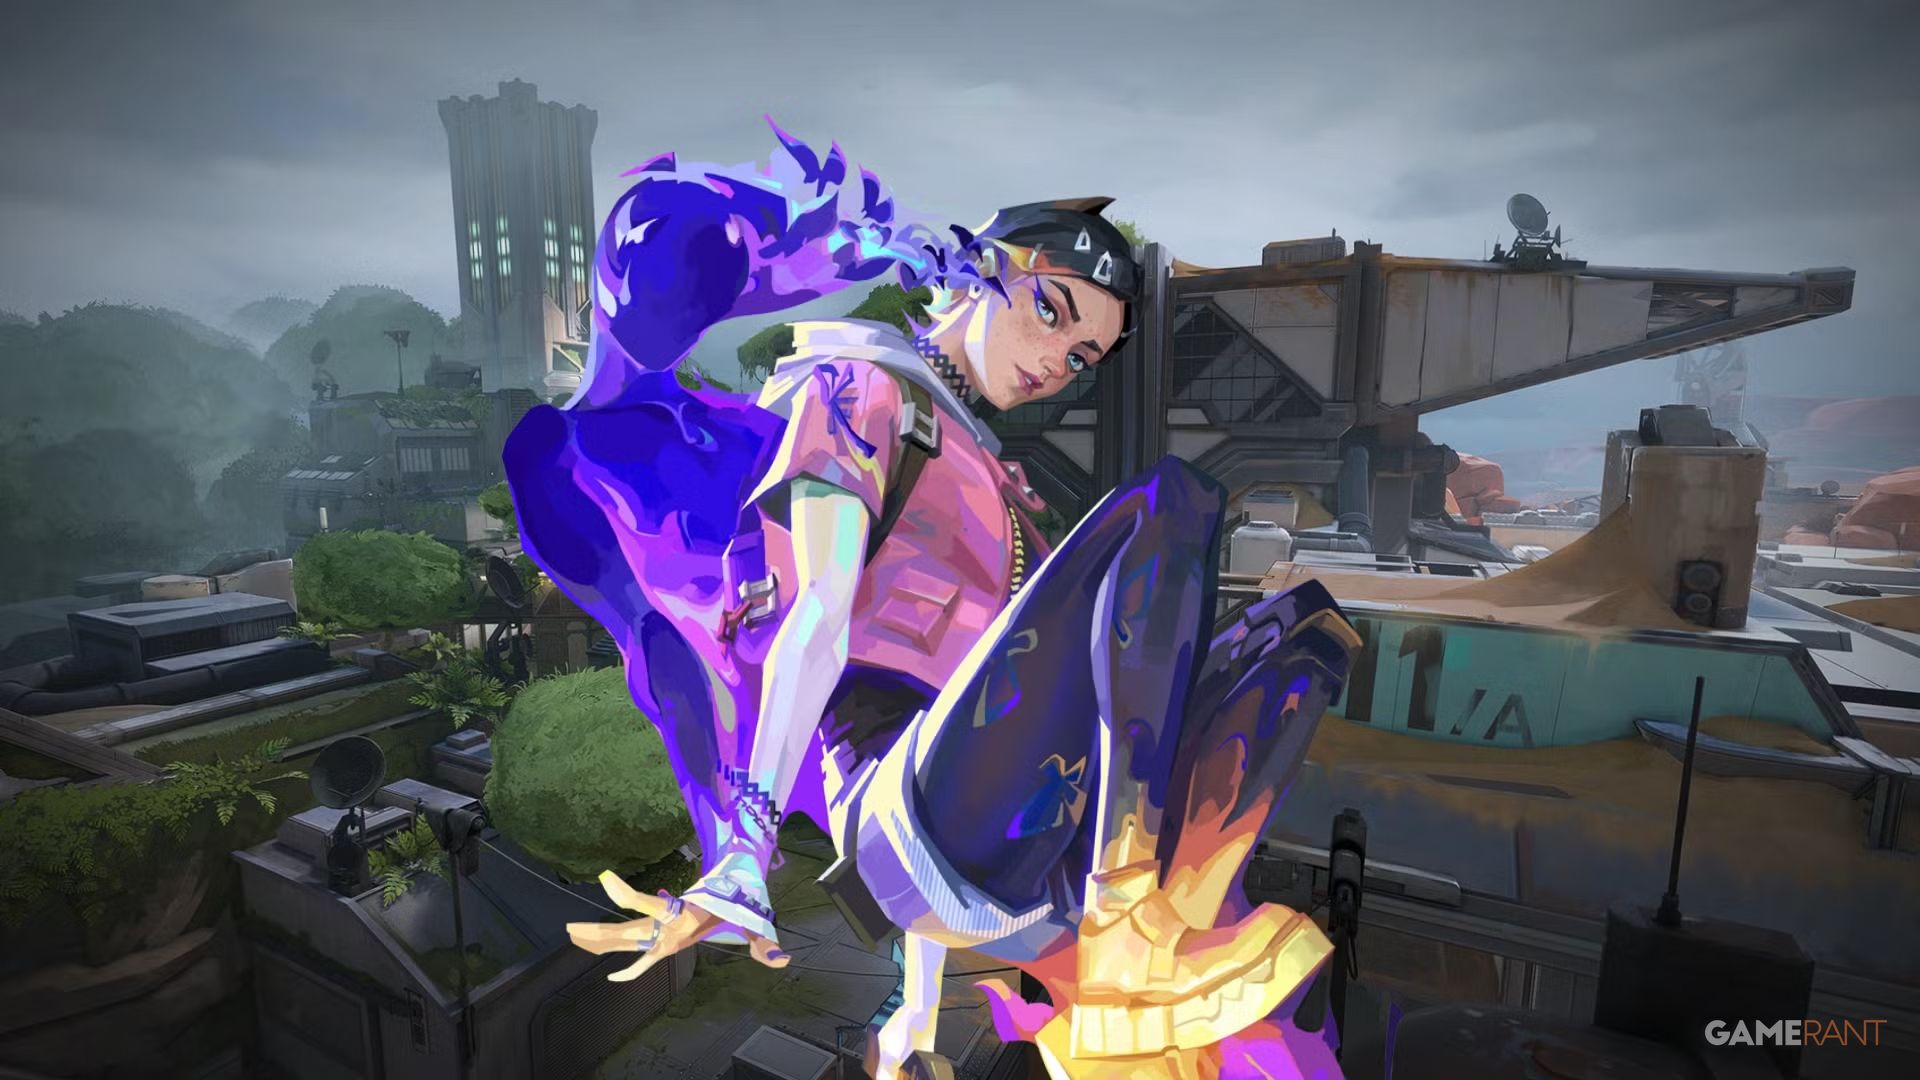
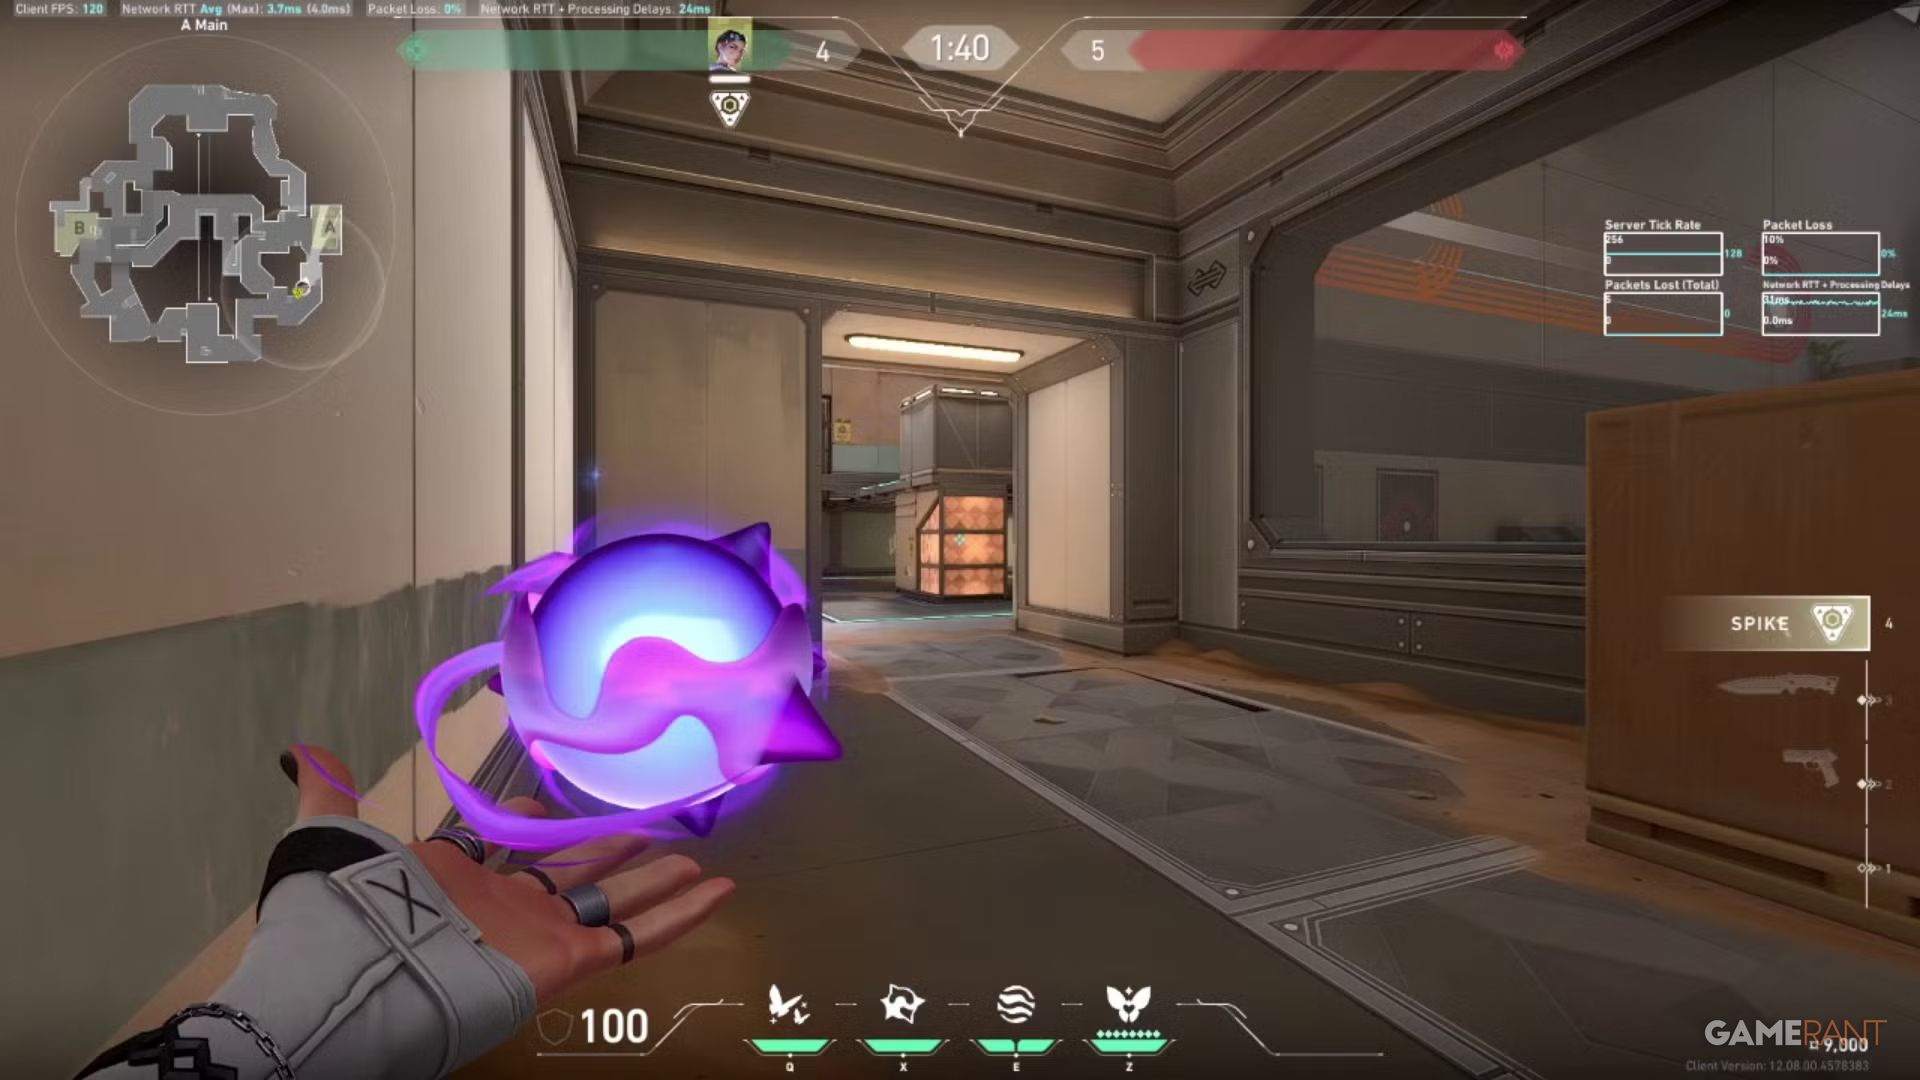
1. Clove
Aggressive Smoking Perfect For A Distracting Map
| Role | Controller |
| Basic Ability | Pick-Me-Up: Get haste and temporary health from an enemy that Clove either killed or got an assist from |
| Basic Ability | Meddle: Throw a molly that gives a temporary Decay to all targets caught in the explosion |
| Signature Ability | Ruse: Set locations on a map from which smokes will appear. Clove can use this after death from their corpse, assuming it has charges |
| Ultimate Ability | Not Dead Yet: Resurrect temporarily, then make it permanent once Clove kills or gets an assist in the duration |
Clove, though not a smoke specialist like Omen, combines Controller abilities with a Duelist’s aggressive playstyle. She can create enough smoke to cover her area while staying close to the action to push fights and finish opponents. When starting a fight, Clove uses her Meddle ability to force enemies out of tight spaces, making them easier to target. Her Pick-Me-Up ability then gives her a quick health and speed boost, effectively making her a mobile fighter with smokes, similar to Reyna.
Clove’s primary ability, Ruse, functions like a standard smoke grenade, obscuring vision, but remains active even after Clove is defeated. This allows Clove to still help the team reclaim a point or maintain an attack from a useful location. Additionally, Clove’s ultimate, Not Dead Yet, allows them to temporarily revive when defending or if teammates are still alive. To fully revive, they need to secure a kill or assist.
Using Clove In Fracture
On a map like Fracture, with its important central area and multiple entry points, Clove’s abilities are very flexible. They can quickly adapt to confusing your opponents with fake attacks, setting traps, or fully committing to a push. As a Controller who plays aggressively, Clove’s smokes are most effective when they block vision from only one side – a common tactic achieved by placing them on higher ground. Although Clove has some Duelist qualities, they perform best when entering a site last. This allows them to use smokes to control not only the immediate area, but also key entrances and exits, making them excellent for both retaking a site and maintaining an attack.
Read More
- Forza Horizon 6: Find the Ohtani Treasure Chest Location
- NTE Drift Guide (& Best Car Mods for Drifting)
- LEGO Batman Legacy of the Dark Knight Batcave Minikits & WayneTech Caches
- Sega’s “Super Game” is Said to Release Next Month, But Nothing is Known About It
- Skyblivion Gets Encouraging Development Update
- How to Open Locked Door in Tenryu River in Nioh 3 (Dirty Key)
- God of War Shadow Drops New Game and Confirms Greek Trilogy Remake
- New Steam Game is Like Pokemon If It Were a Sci-fi Shooter
- Dead as Disco Best Songs (Clear Beats & Stable BPMs)
- Asmongold reveals shocking detail about how much money he makes
2026-05-10 00:21