Okay, so Chapter 4 of Deltarune is completely different in tone from the wacky TV show stuff in Chapter 3. It gets pretty serious, but don’t worry, there’s still tons to find! You can wander around Kris’ town, see how your Castle Town is doing, and explore this brand new, creepy Dark World. Seriously, there’s so much to see and discover, it’s awesome!
Near the end of Chapter 4, a hidden boss fight awaits those who solve a secret puzzle. Defeating this boss rewards you with a powerful new weapon for Susie and reveals important story details about what’s to come for the group, making it a worthwhile challenge if you’re up for a detour. This complete guide to Deltarune Chapter 4 will help you experience everything the chapter offers.
Going to Church
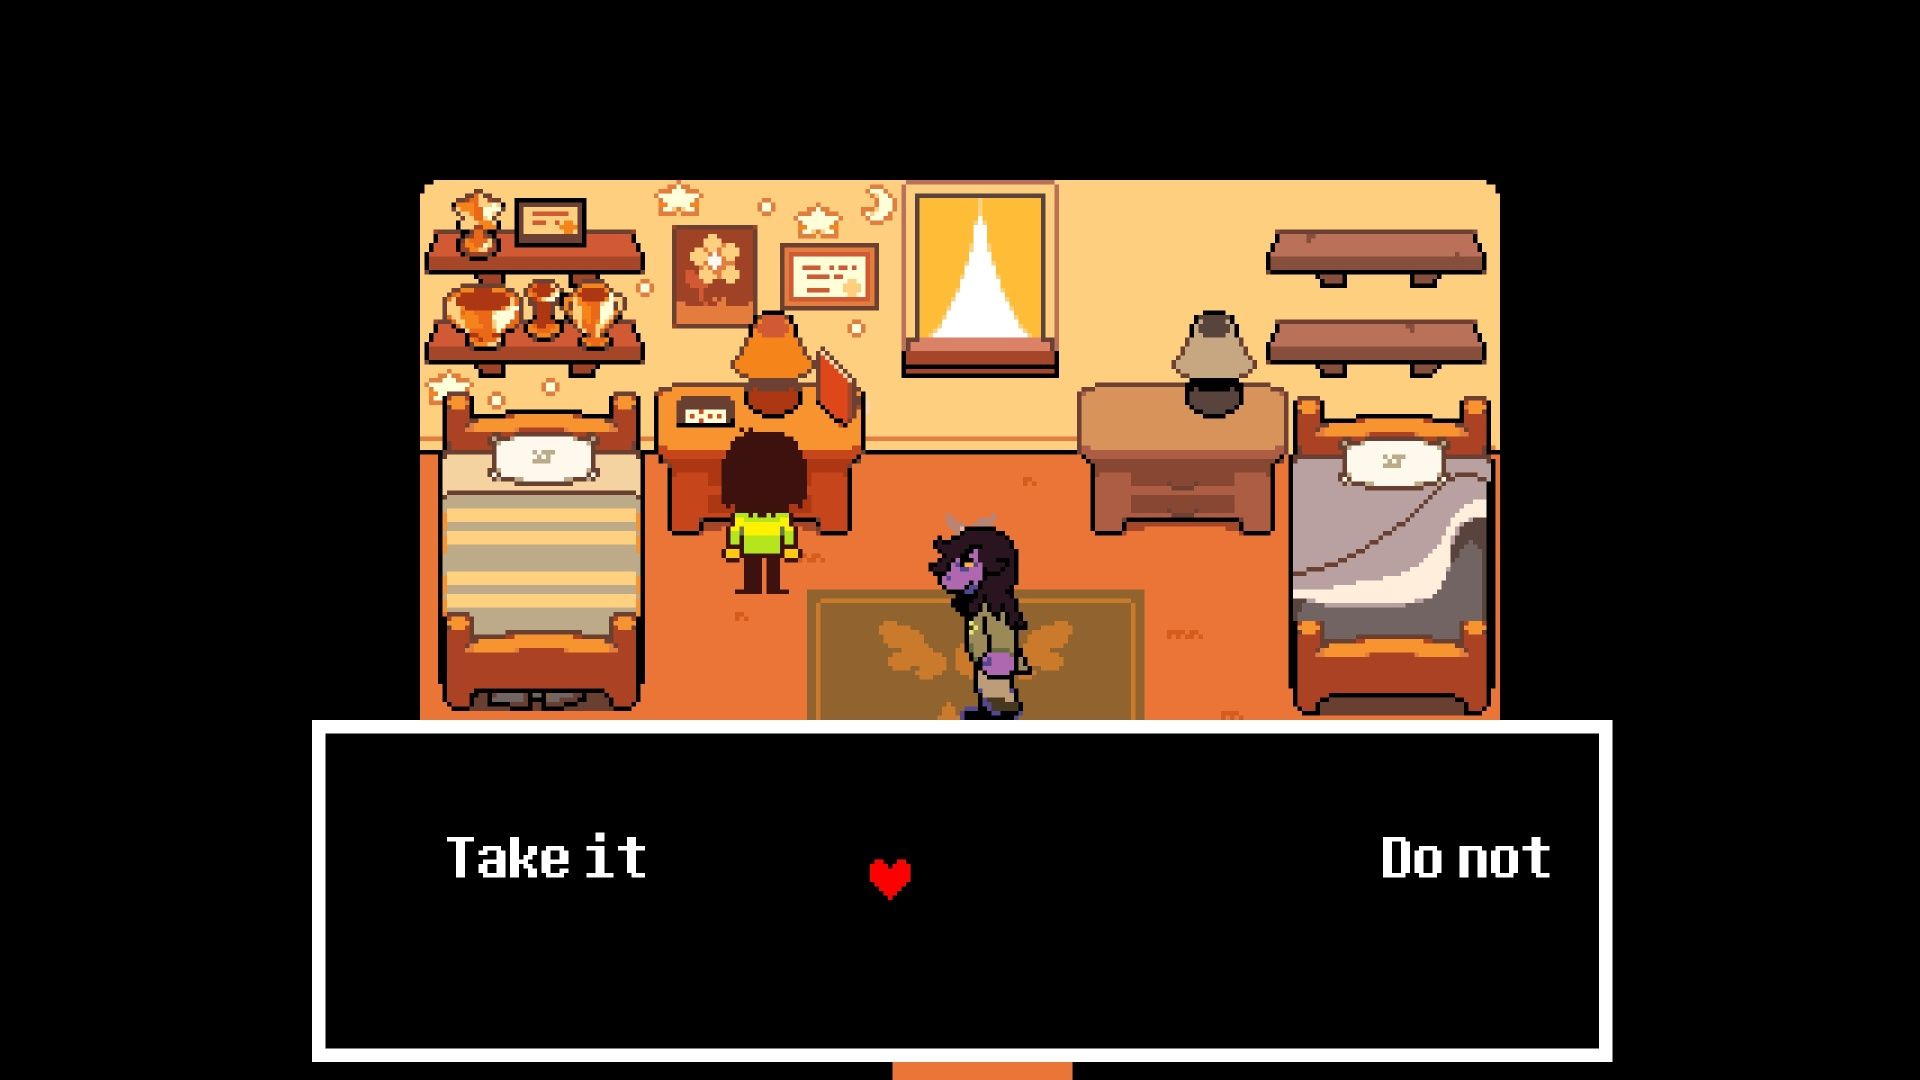
This chapter begins with Susie and Kris waking up after their journey through the TV World. Toriel has made pancakes, but it’s a trick to get Susie to come to church with them. Before leaving, you can explore Kris’ room upstairs and enjoy some funny moments with Susie.
After this, the church service begins. You can interact with Susie during the service, but your choices there don’t affect the story. The game truly starts when you control Kris. Your initial goal is to learn about the shelter and discover the code needed to enter.
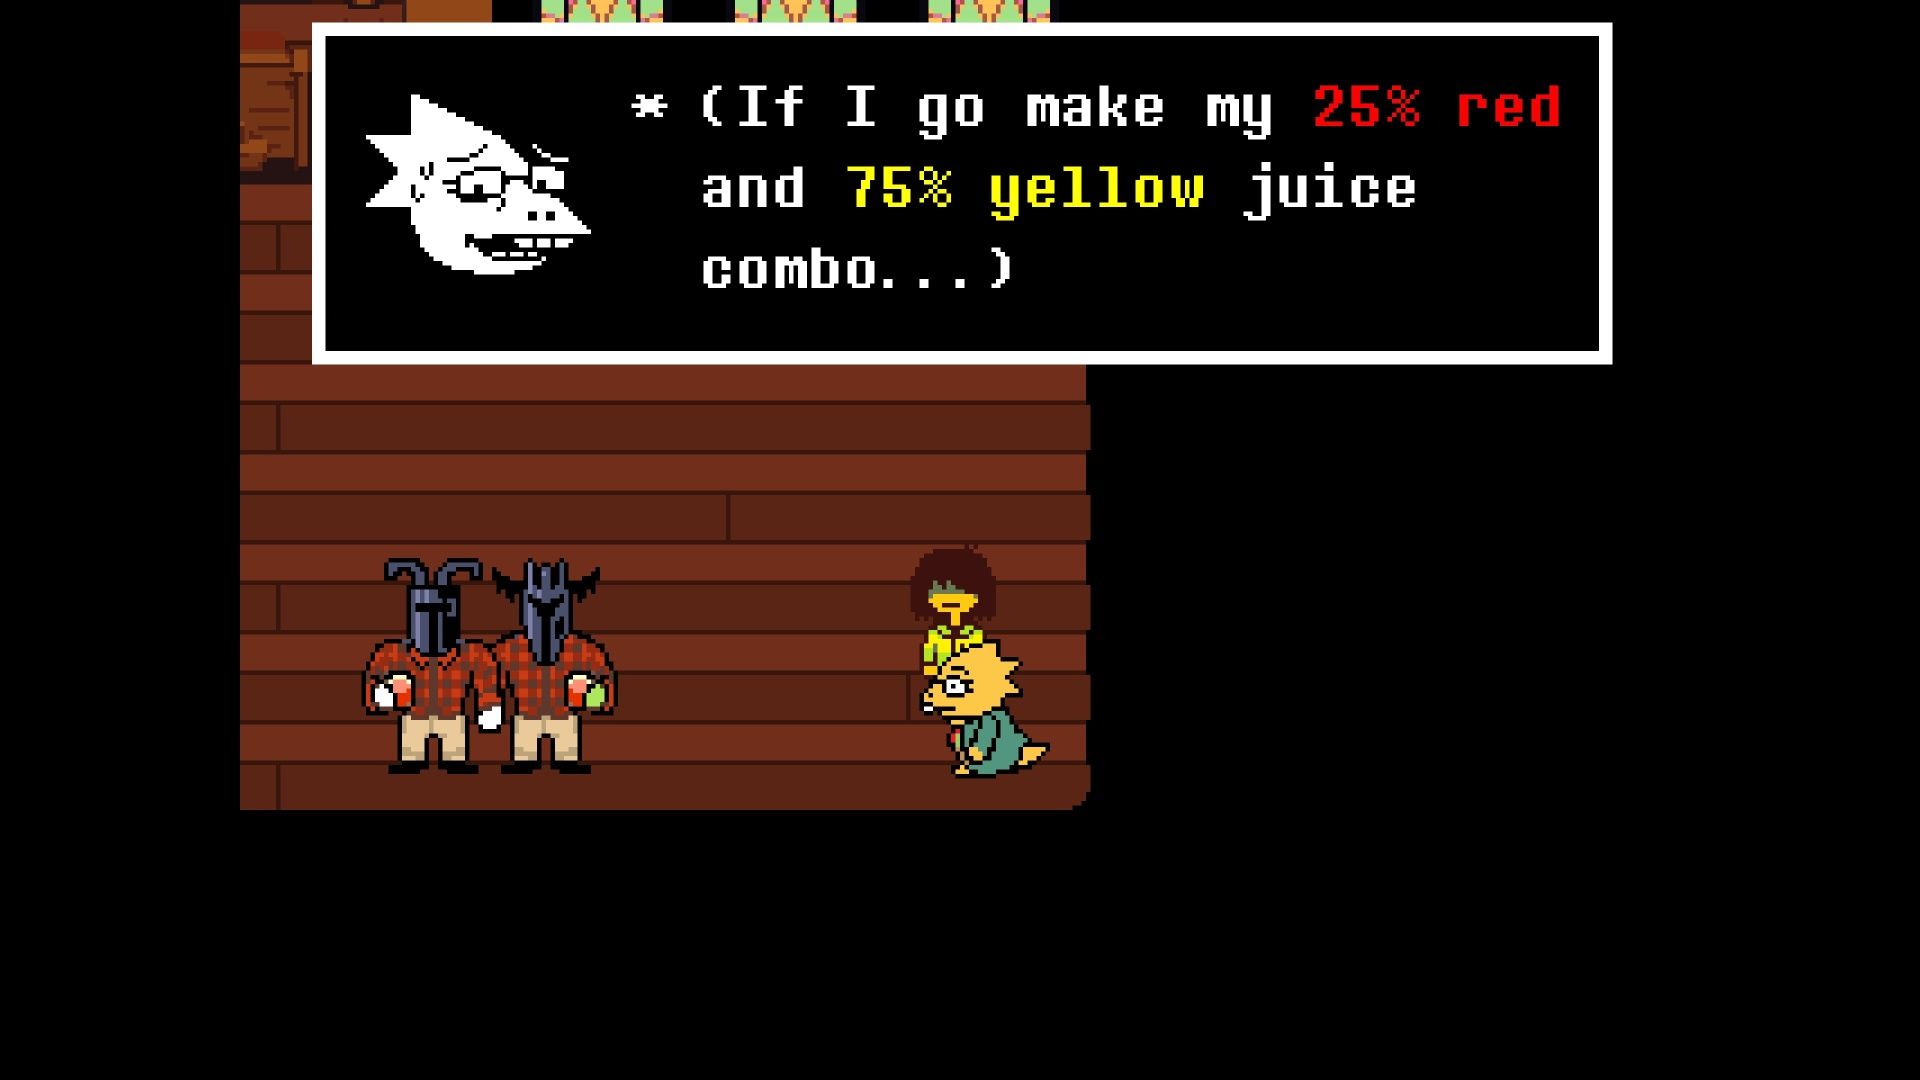
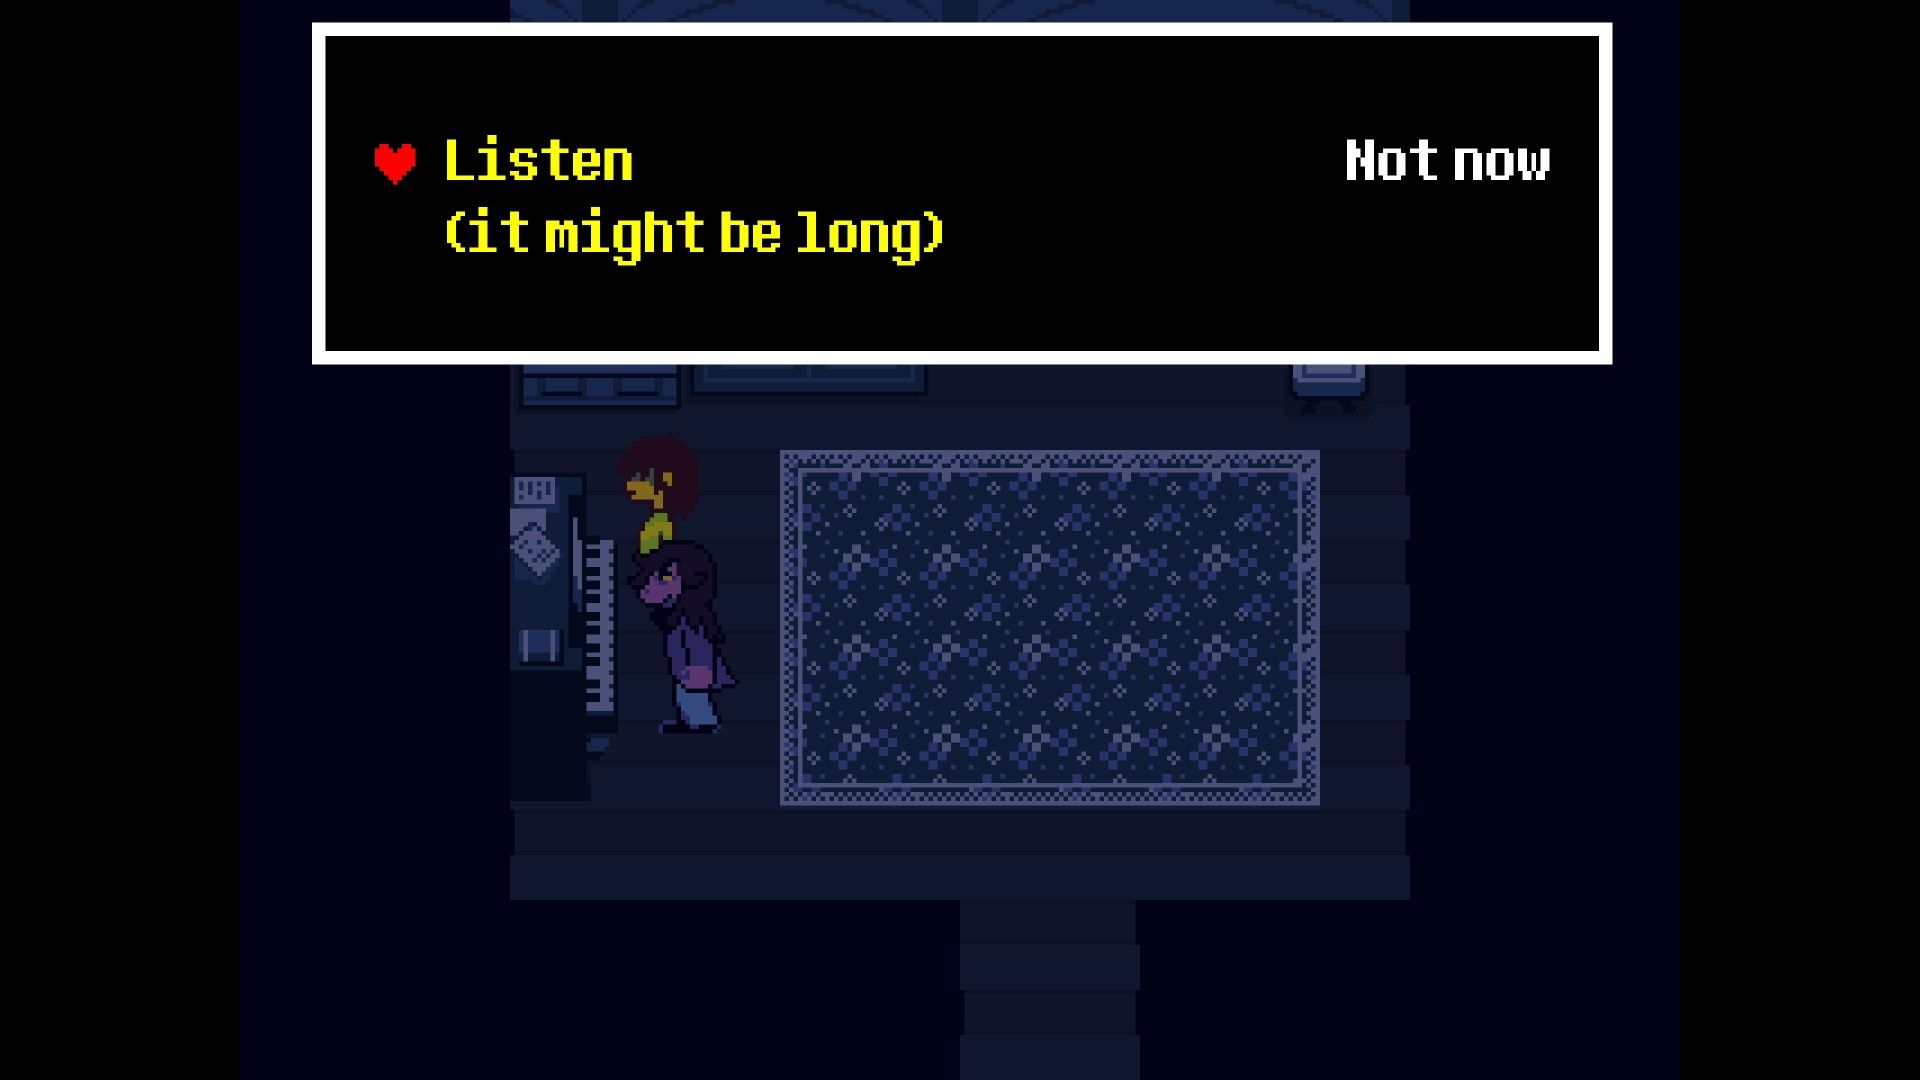
You can chat with lots of people, but talking to Noelle is all you need to progress the main story. Feel free to talk to everyone for extra fun conversations! Before you leave, be sure to make Alphys’ special juice – 25% red and 75% yellow – at the punch bowls to unlock a new conversation with her. When you’re ready to go, find Susie and tell her what clues you’ve found.
Once you’re done at church, feel free to wander around town. Susie’s right – it’s the weekend! While Noelle’s house is where you ultimately need to go, it’s more important to check on Ralsei first by going to the school and entering the Dark World. There isn’t much to do in town besides chatting with people like Sans, so head to the school to find Ralsei now.
If you have some time, you’ll really enjoy listening to Kris and Susie’s lively chat at the diner.
Castle Town
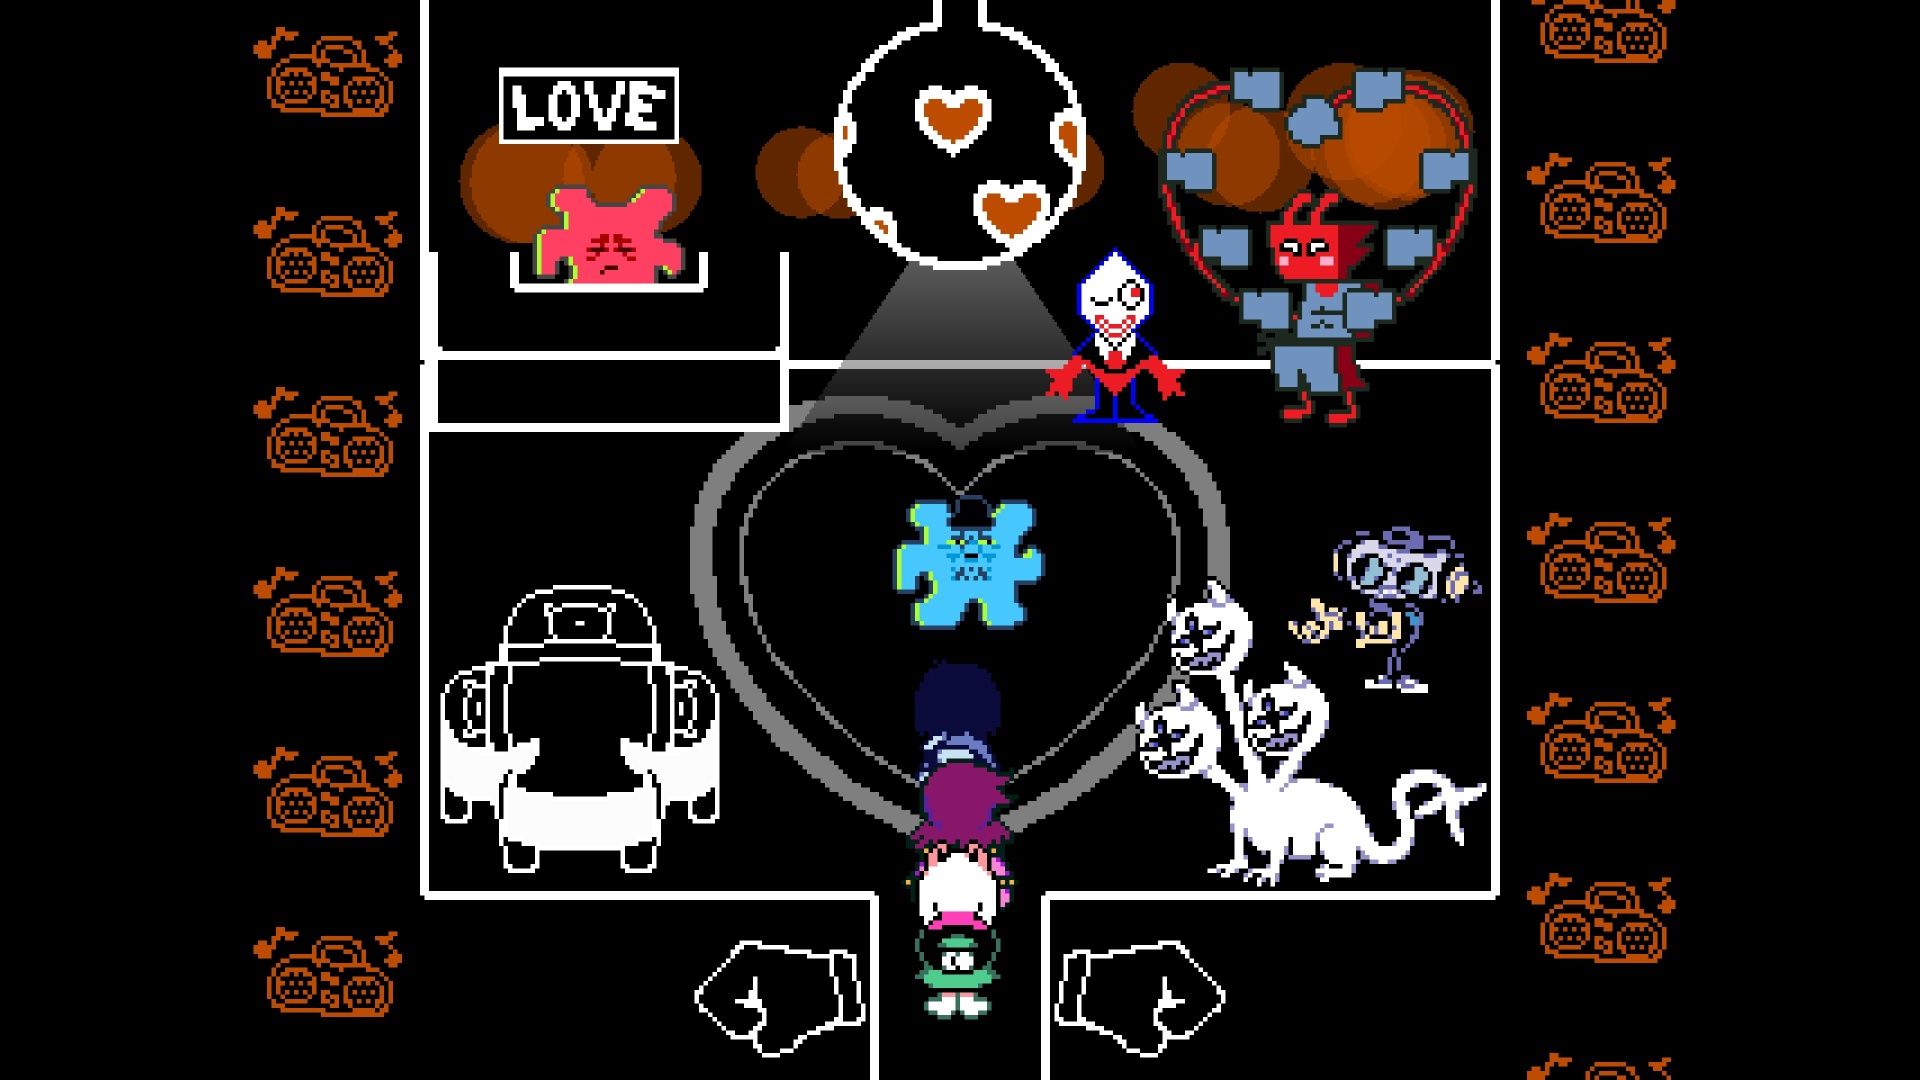
When Kris and Susie return to the Dark World, Ralsei is thrilled to see them! Castle Town has changed and grown, with new Darkners moving in depending on how many you helped in Chapter 3. Be sure to explore and chat with the new residents. You can also revisit the Party Dojo – it’s been decorated with a romantic theme – and challenge Lanino and Elnina to a rematch.
If you’re looking for a tough fight, you can find the secret boss Motormouth Mike inside the TV building in Chapter 4.
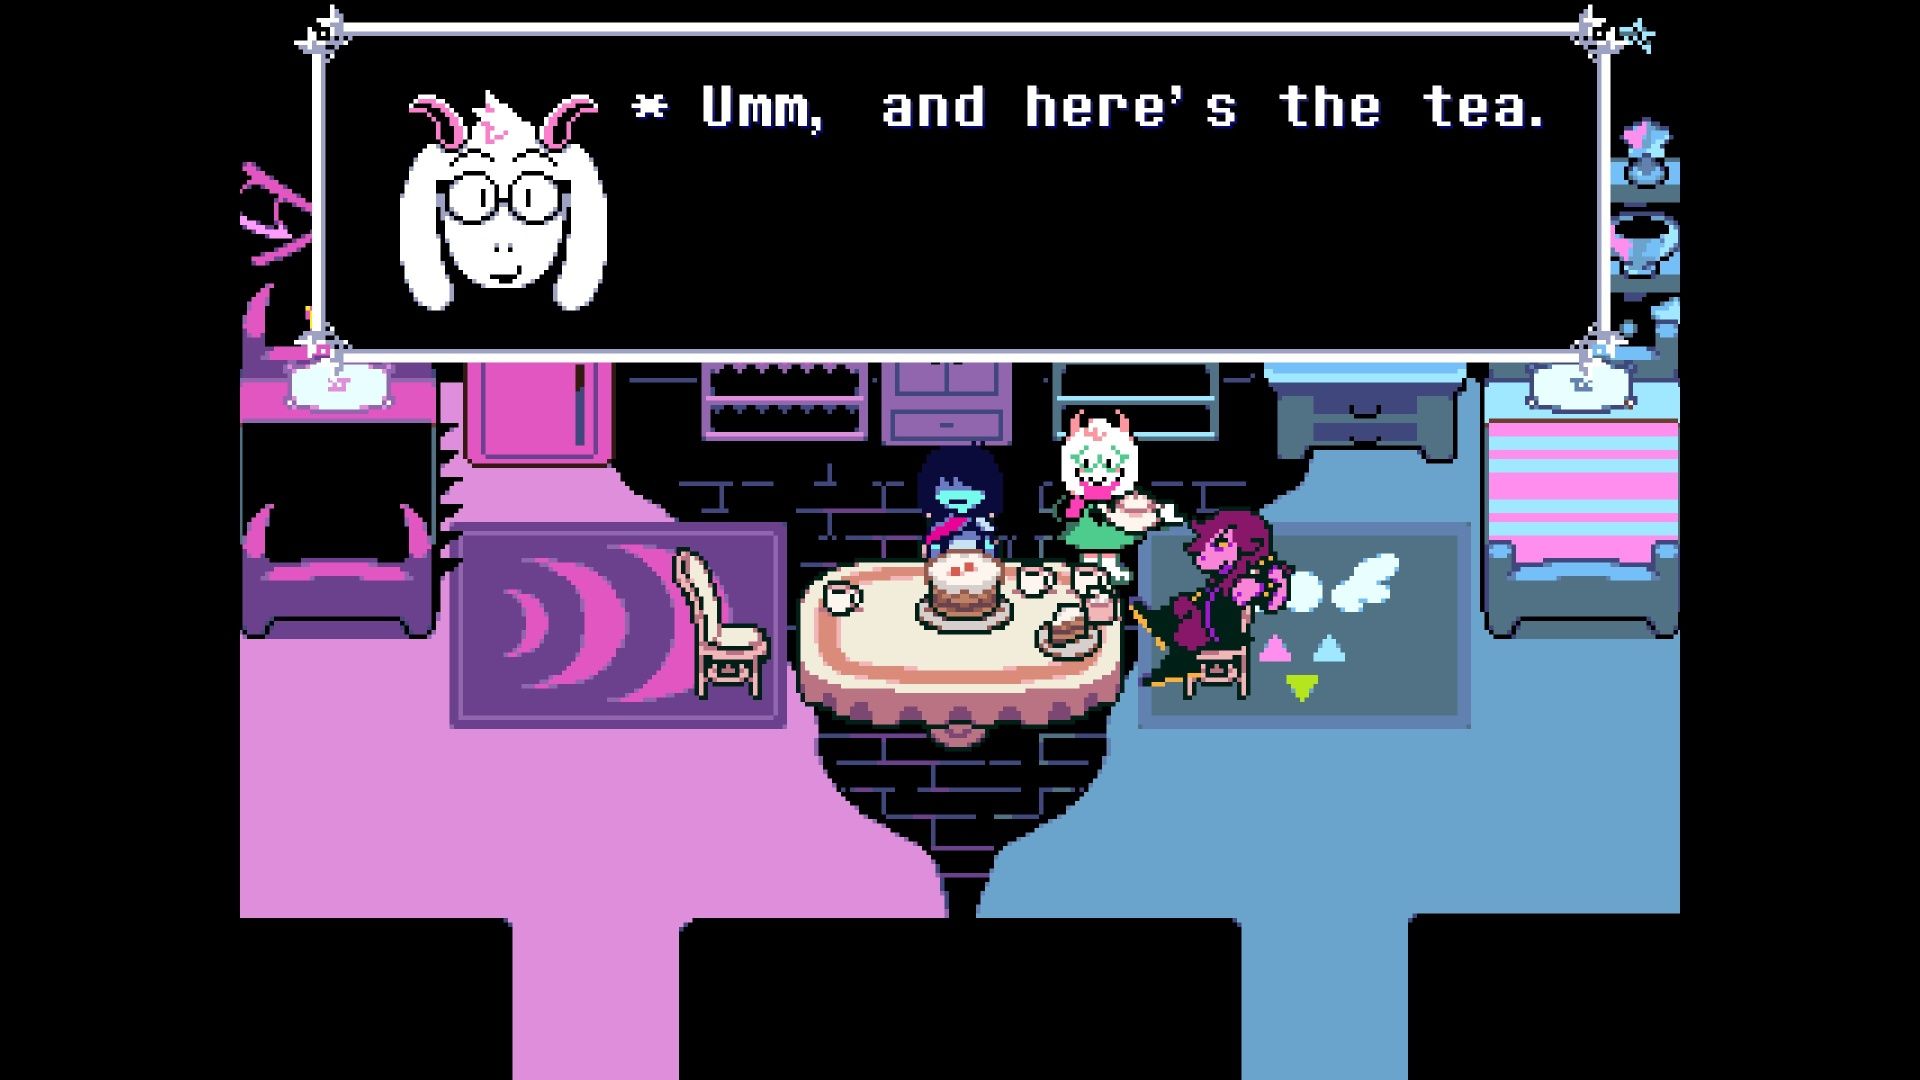
When you’re ready, go north into the castle and upstairs to Kris and Susie’s rooms. Ralsei has prepared a tea party for the three of you, so feel free to enjoy it! Afterwards, follow Susie to Ralsei’s room. It’s currently empty, but you’ll be able to find some nice furniture for him as you continue playing.
You’ve seen most of what Castle Town has to offer for now, but don’t forget to check in on the villains before you go! Lancer and Queen are getting into trouble as usual, and if you rescued Tenna in Chapter 3, he’ll have his own room. Tenna actually has a request: he wants you to find him a new owner! You can give him a home by knocking on the crooked house on the street below Kris’ house – it’s right next to where Sans is grilling. Or, if you want to see a secret scene, you can take Tenna to the King in the castle dungeon before you leave.
Noelle’s House
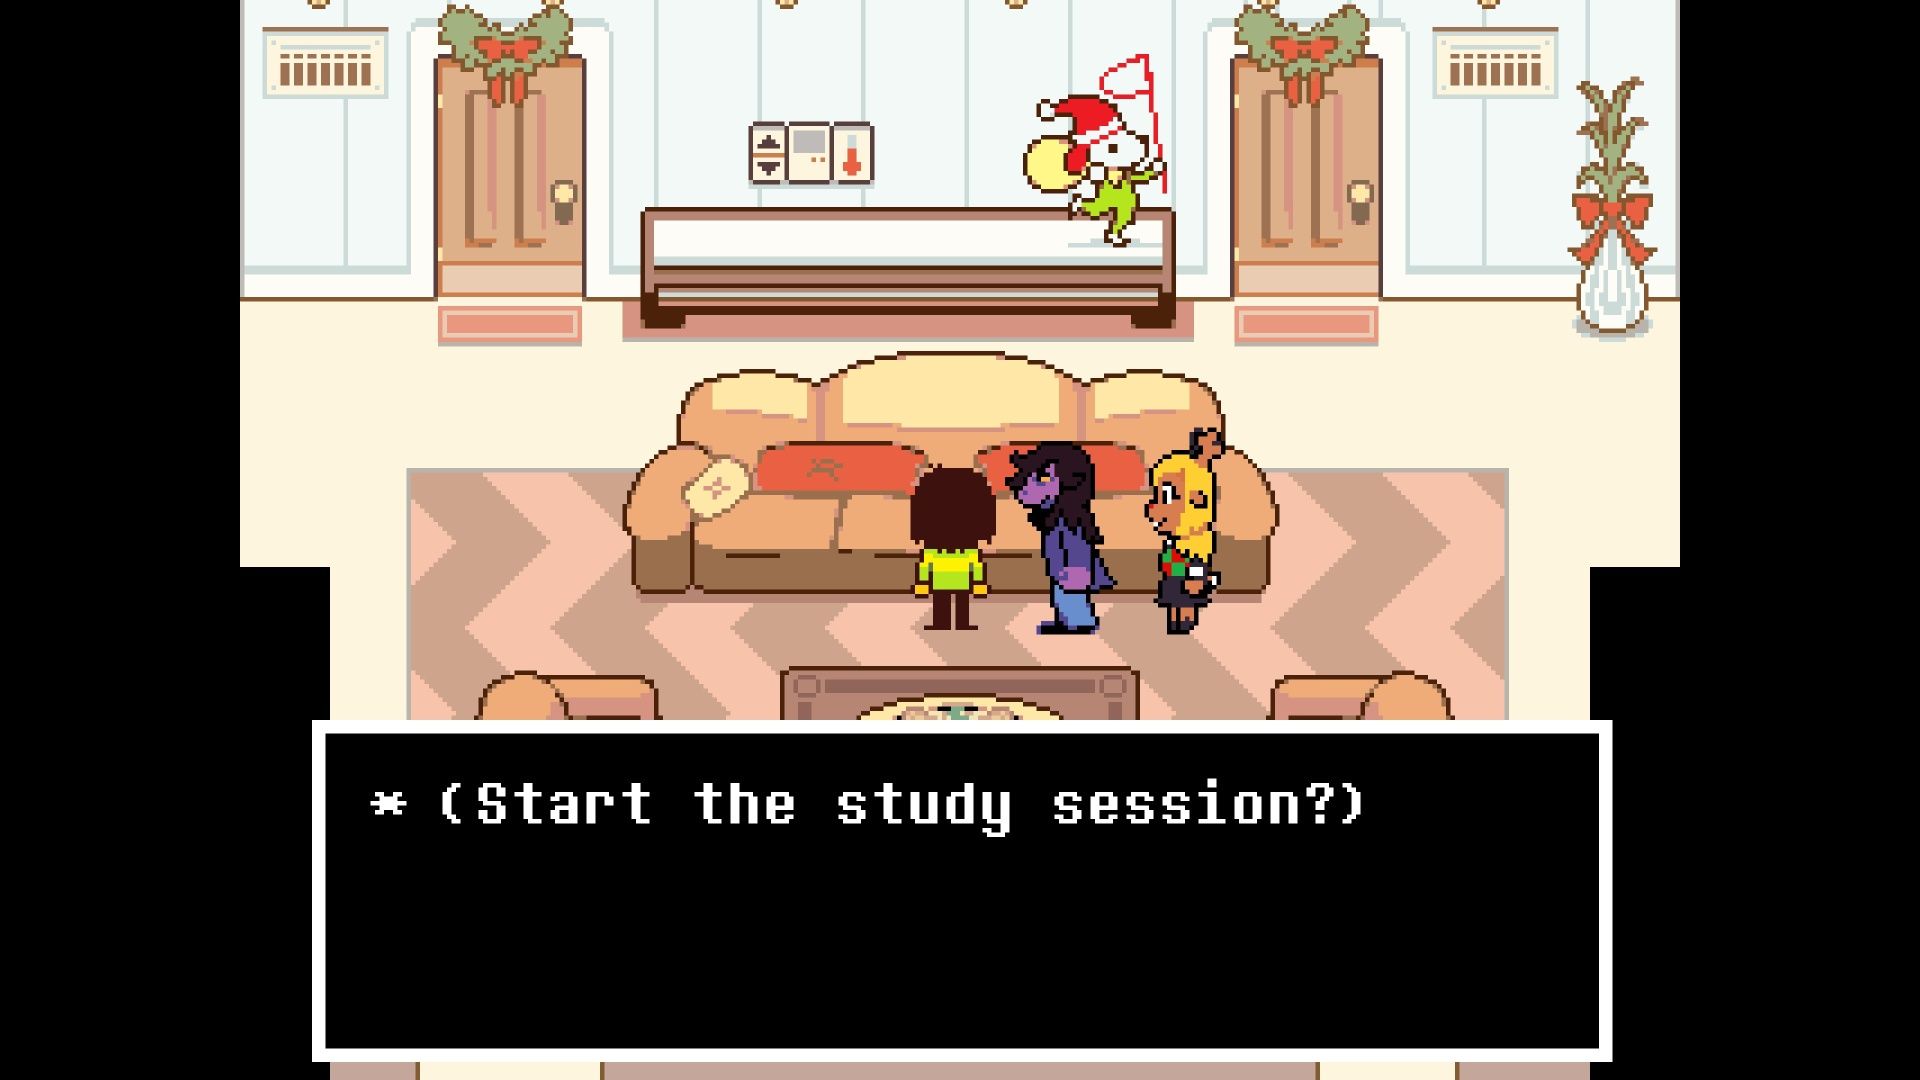
Chapter 4 really gets going at Noelle’s house, which is on the west side of town and behind a large gate. Be prepared – the study session there is where things start to happen!
Okay, so Noelle’s house isn’t super interactive right now, but definitely check out her bedroom! I found a pencil on her homework desk, and you can play around on her computer to learn a bit about her. The cool thing is, when her study session starts, Berdly shows up and distracts her, letting me explore without her around. Then I headed upstairs to Dess’ room. I was trying to find the shelter code, and I spotted it hidden in her red guitar, but something happened and stopped me from reading it just then!
Soul Stealth

Kris tears the Soul from their chest and hides it inside an empty gift in Noelle’s closet. Now, they need to sneak through the air vents. Move the large present out of the way to get to the vent opening. It’s dark inside, but the vents match the layout of Noelle’s house. If you remember the rooms, you should be able to find your way.
Focus on getting to the basement. Stay away from Kris – if you encounter them, you’ll likely be trapped in the closet again. After navigating the air ducts, look for a powerful gust of wind. That means you’re on the right track! Follow the airflow and exit at the southwest corner to reach the basement. Once there, turn off the power to draw Susie and Noelle to your location.

Those two will try to capture you and lead you to the living room. Escape and return to Dess’ room to find the code. Kris will lock you in a closet, but you can get Susie and Noelle to notice you by playing the guitar. Make noise with the Santa toys – Kris will try to silence them, creating an opening for you to grab the guitar.
The Dark World
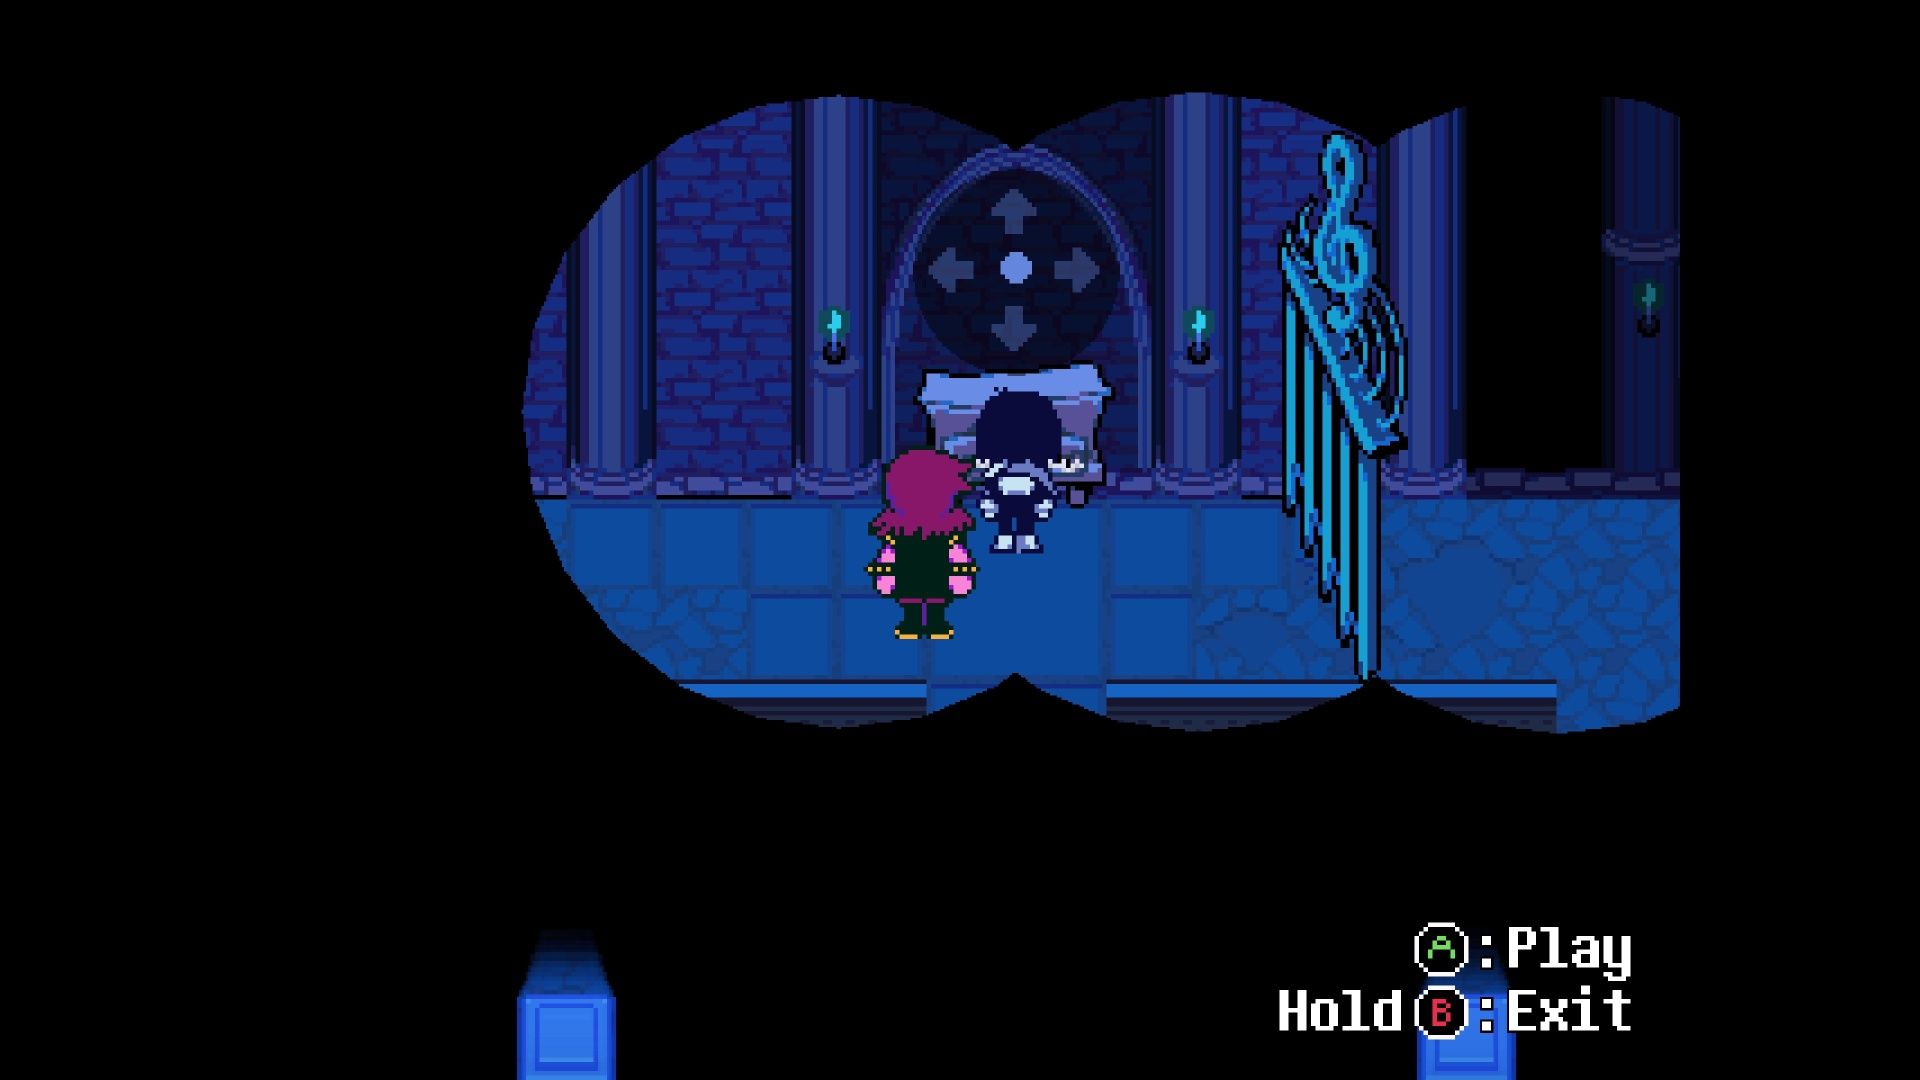
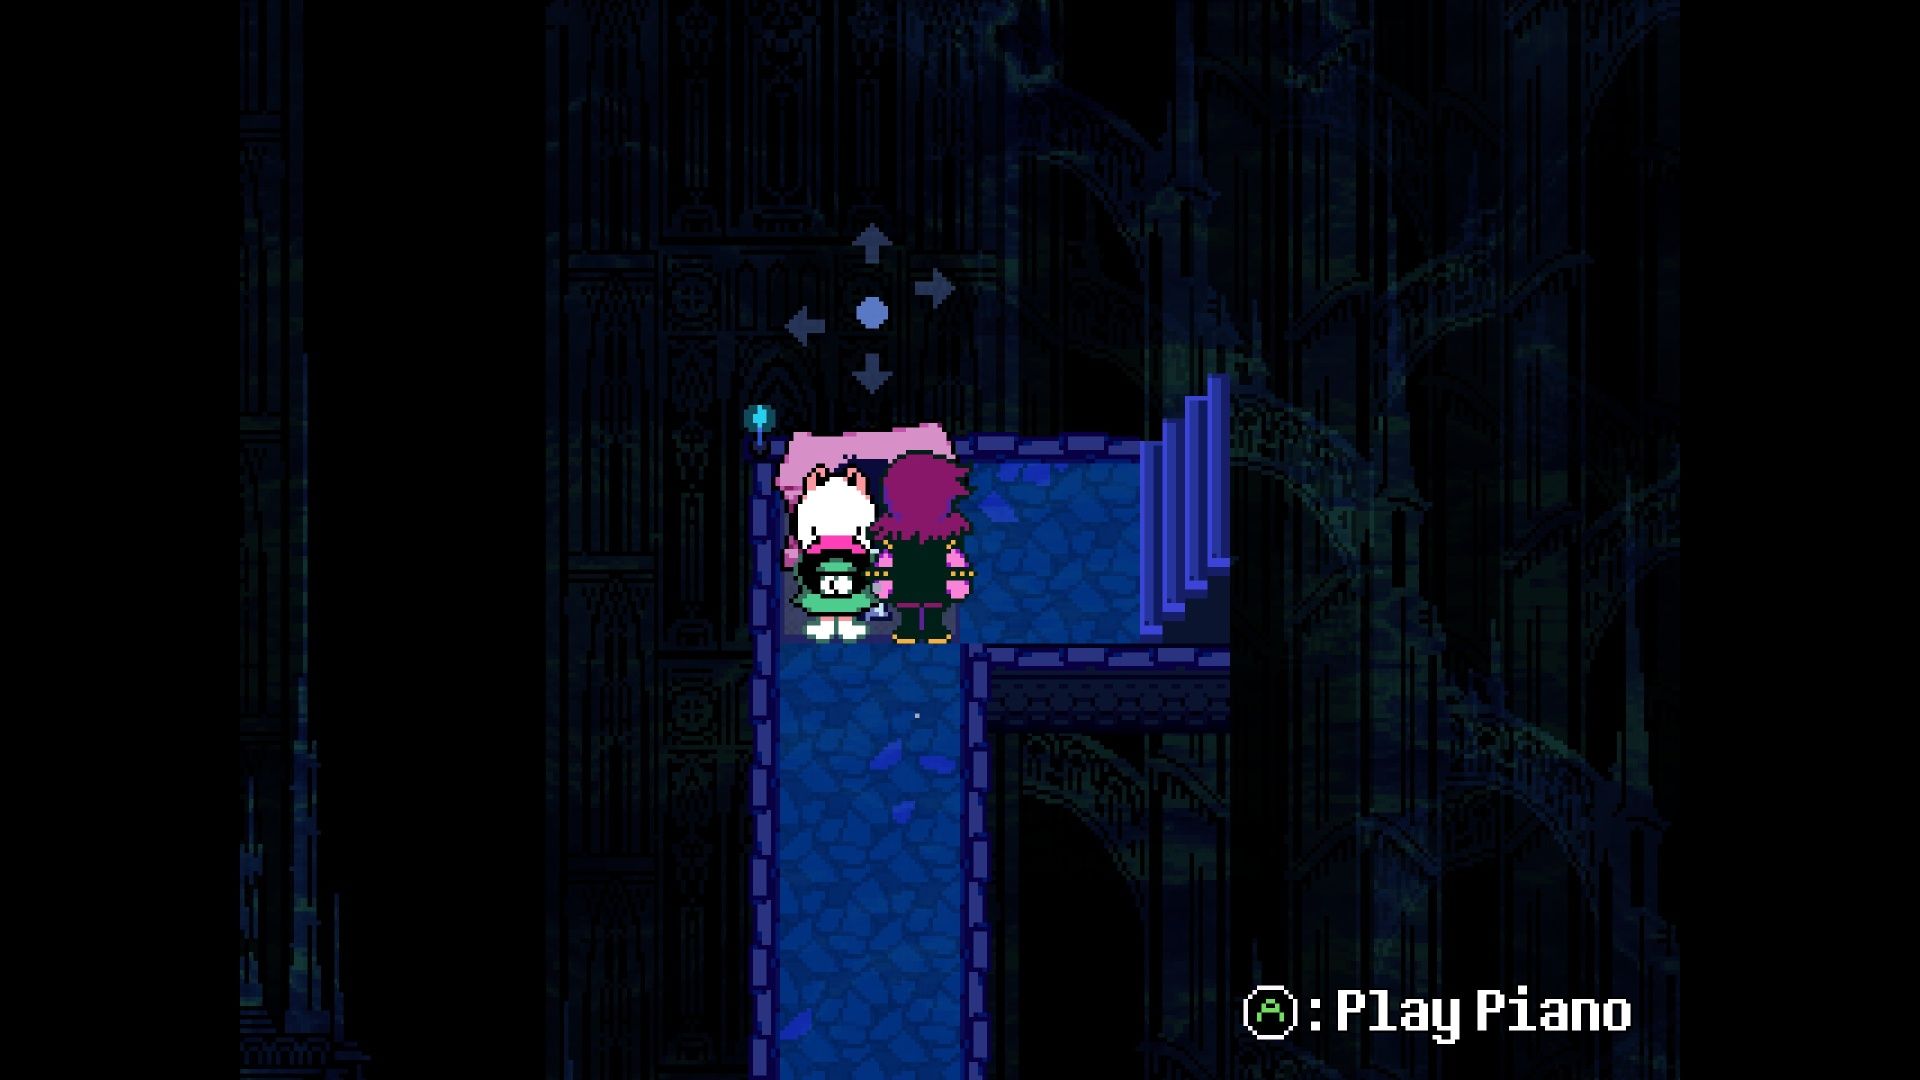
Following the dramatic events at Noelle’s, the story leads back to the church. However, a mysterious and dangerous realm has opened up inside, turning it into a dungeon to explore. You’ll start in a shadowy cathedral and, as you progress, you’ll come across a piano.
Pianos are key to progressing in this chapter. You’ll use them to unlock gates by playing specific tunes. The notes for each tune are hidden close by – look just below the first piano to find the notes you need. Once you play the correct melody, the gate will open.
There are some climbable rock walls around, but don’t worry about them yet. You’ll get the equipment you need to climb them later.
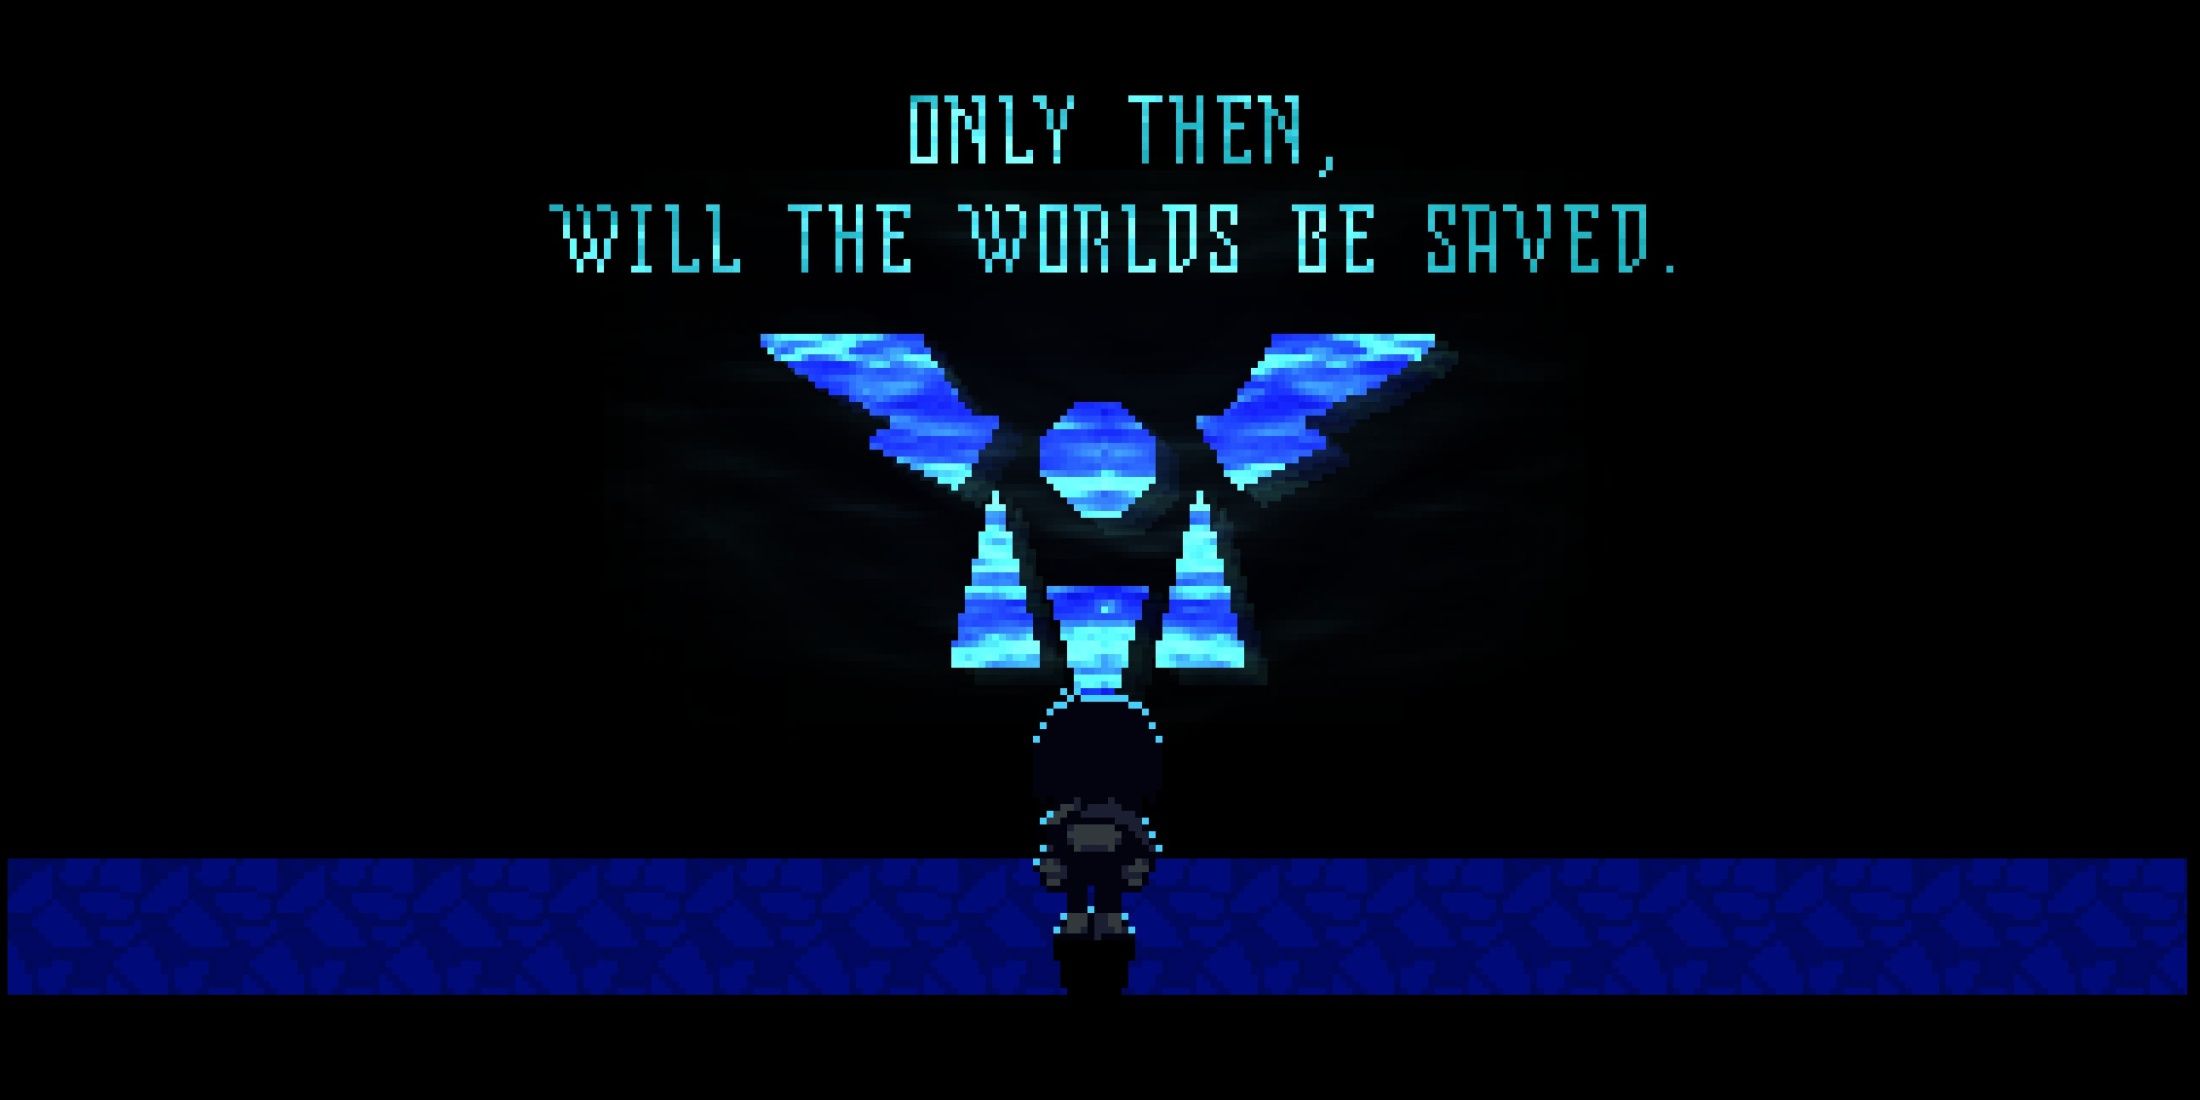
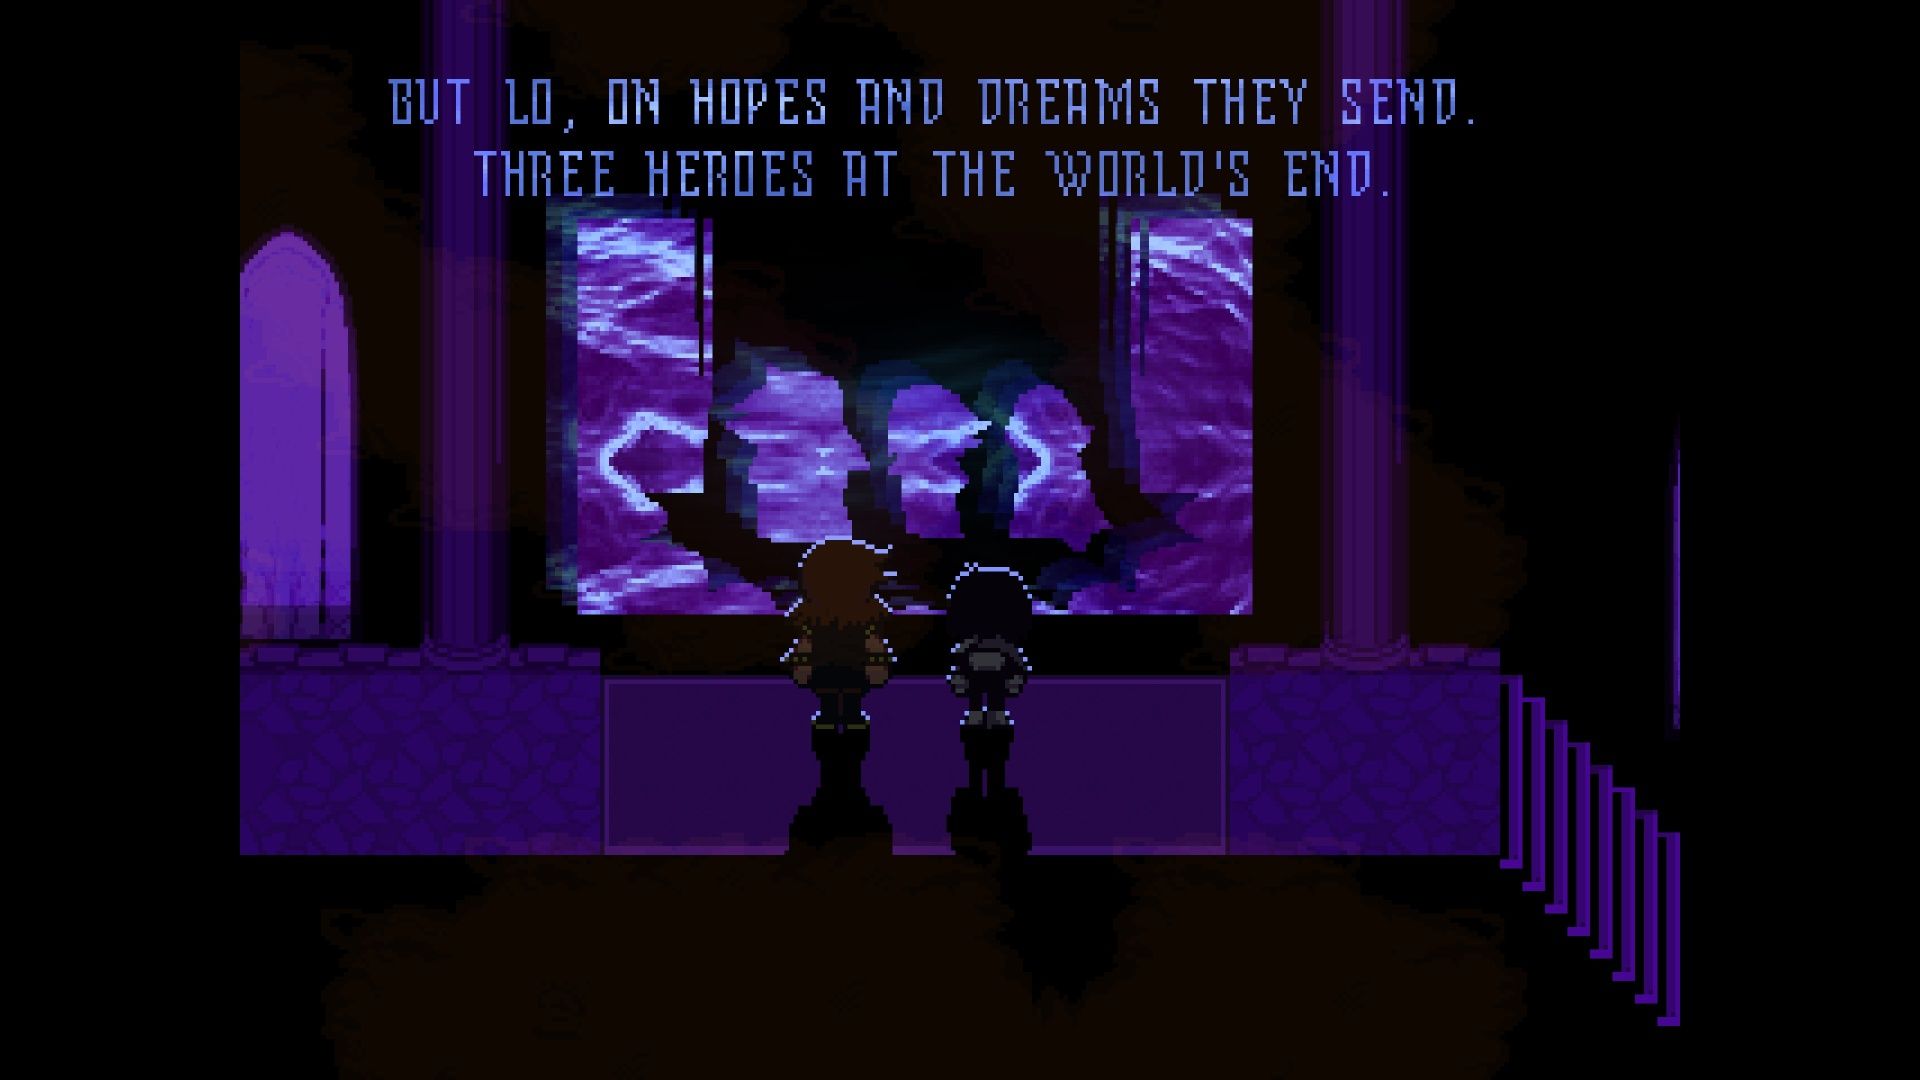
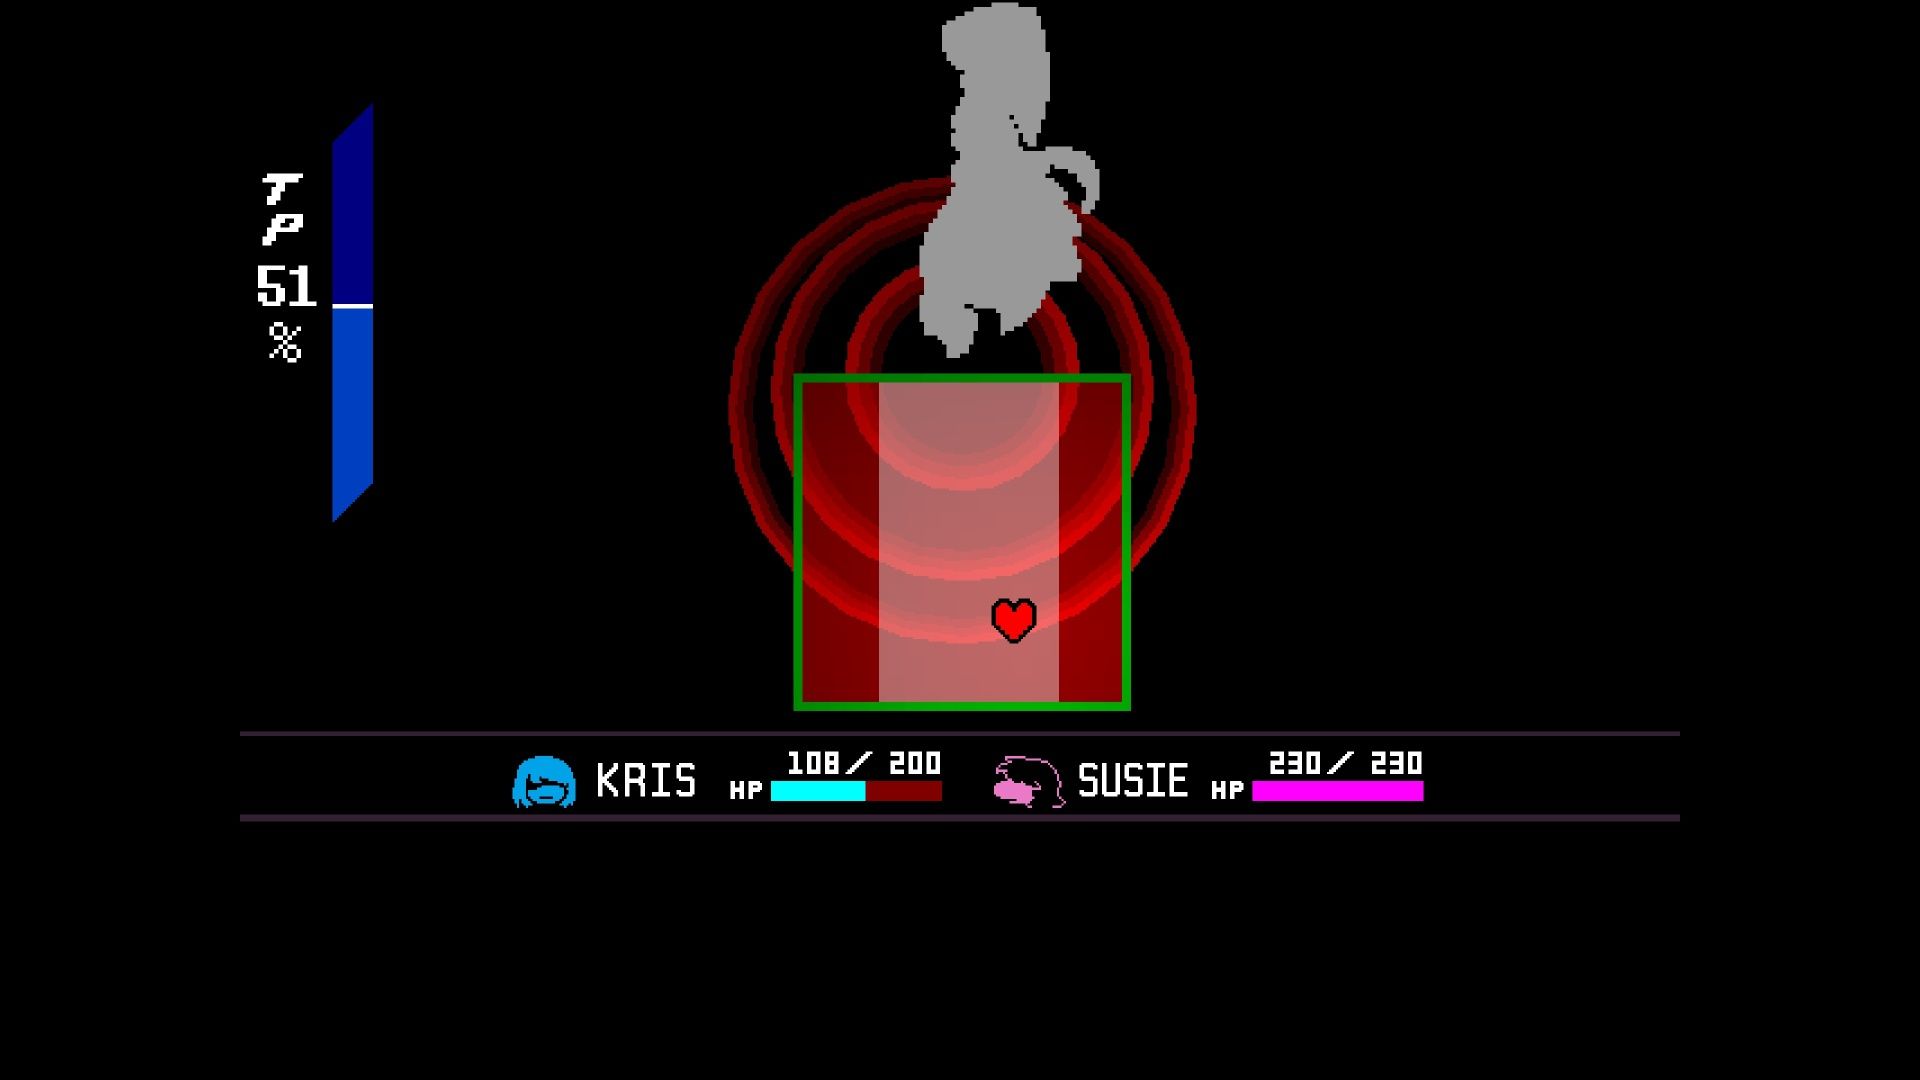
Okay, so next up is a pre-planned fight with the Roaring Knight! You can try to avoid its stuff, but honestly, it throws SO much at you that eventually Kris is going down. Thankfully, after getting knocked out, Kris and Susie find Ralsei again! We keep moving forward hoping to finally figure out what this whole prophecy is about.
You’ll soon face your first opponents. You can beat them by using the Exercism action on them, which will tire them out. Then, Ralsei can use Pacify to finish them off.
Next, you’ll face a dark and confusing maze. Enemies follow set paths within it, and stepping on buttons will briefly light up your surroundings. You can find a character in the southeast corner to talk to, but they won’t give you any items. Right after speaking with them, you’ll discover a secret room containing a piece of the prophecy – it says, “Jockington grows the beard.” Simply take the Rhapsotea from the chest inside and continue forward.
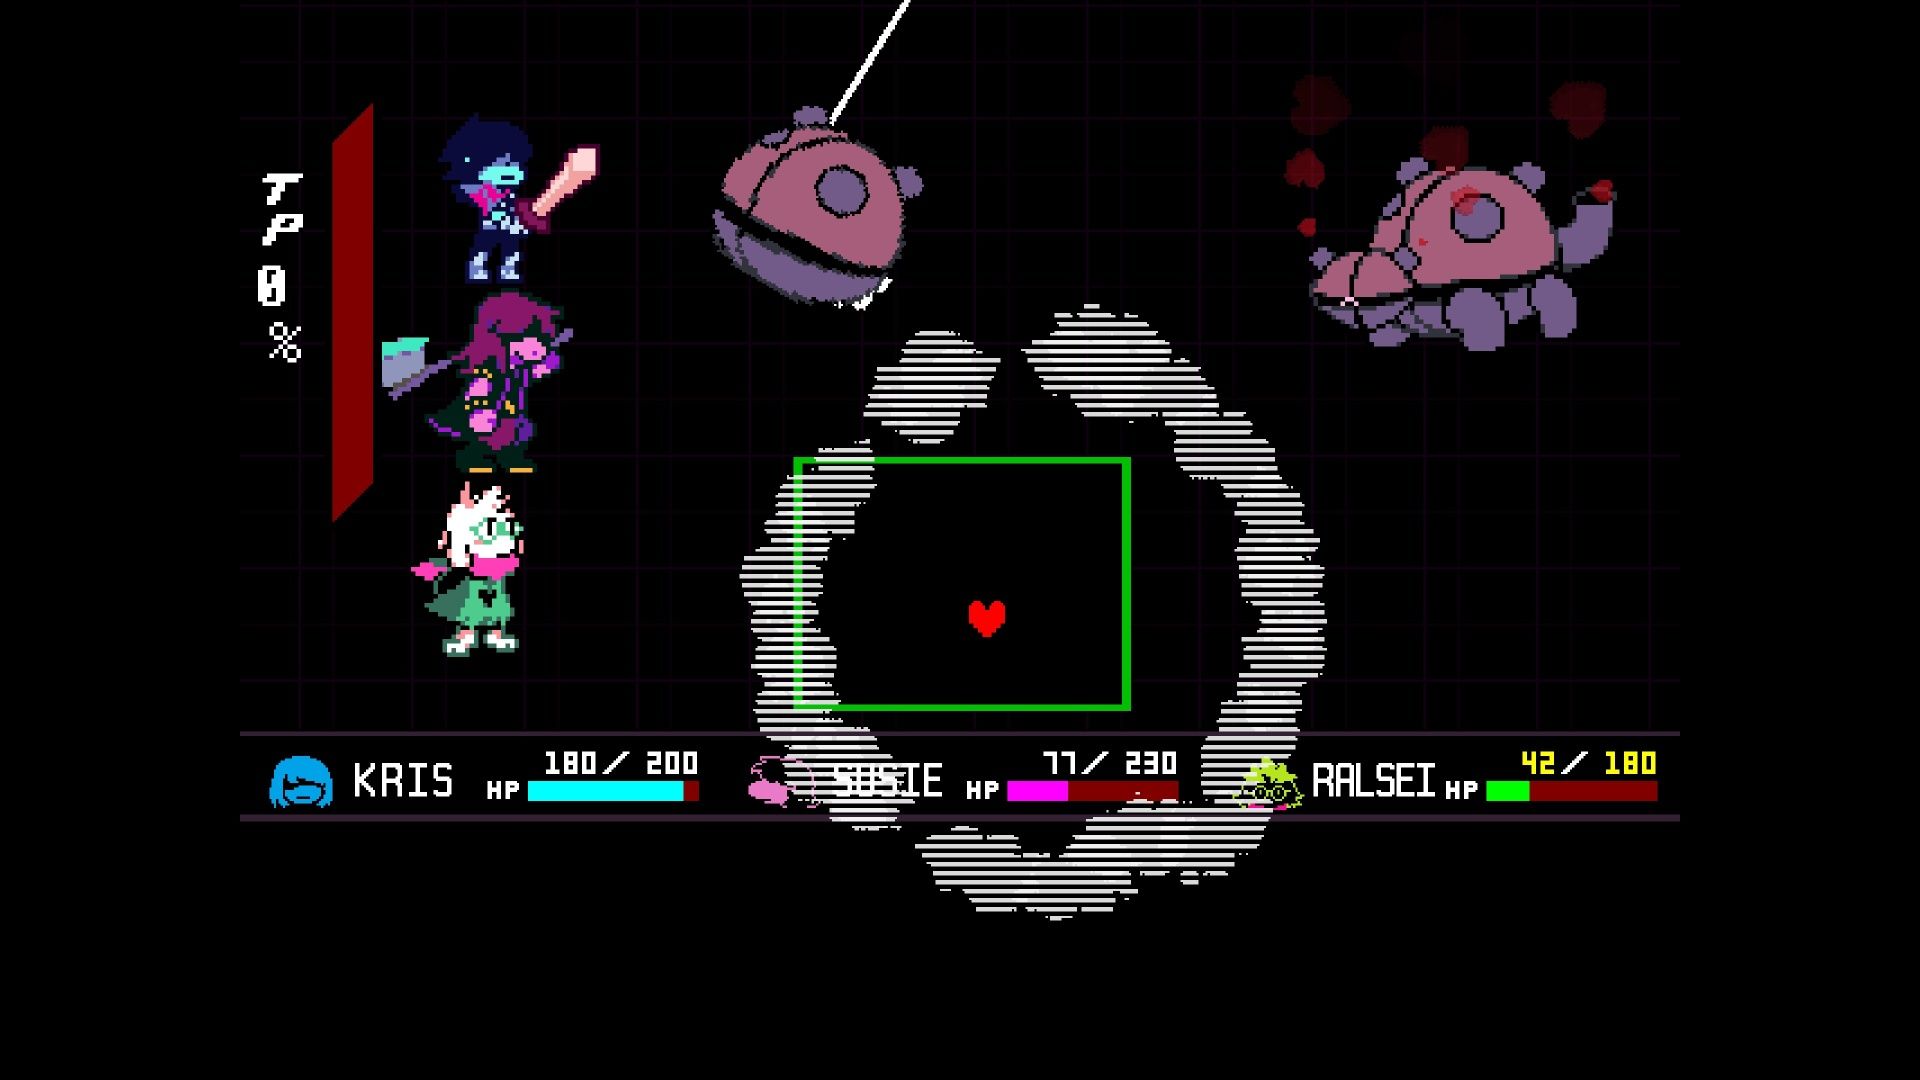
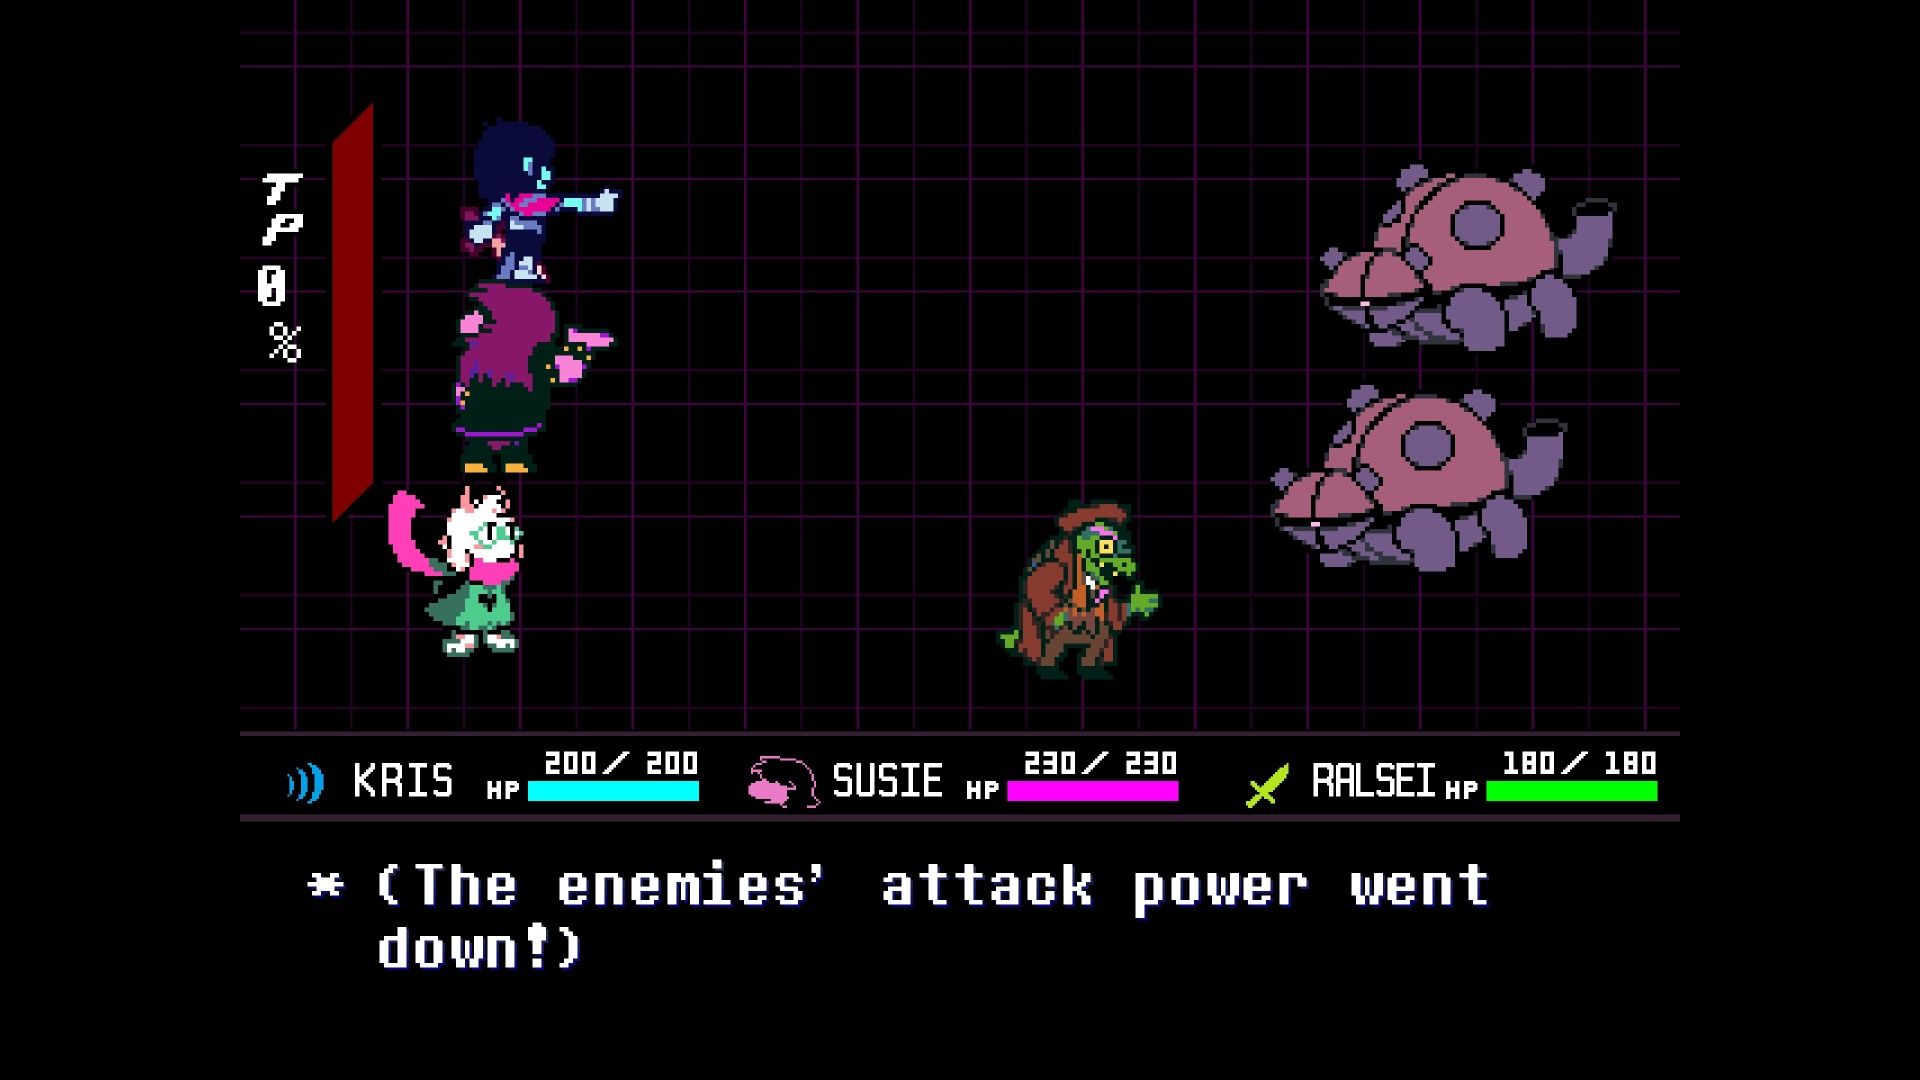
Keep going forward and you’ll come across a locked door and a green book, but don’t worry about them yet. Shortly after, you’ll encounter two Balthizard enemies. You can beat them by shaking them, but be warned – shaking will make their attacks stronger.
Once the battle is over, you’ll enter a completely dark maze. You’ll need to listen to the echoes of your footsteps to find your way. Stick close to the walls to help you see new paths as they open up, and step on the yellow buttons to make bells ring and reveal more of the maze. There’s also a Scarlixir chest hidden somewhere inside. Be careful – a dangerous red wave will block your path at the north end, so if you see it, turn around and go back the way you came.
The Old Man
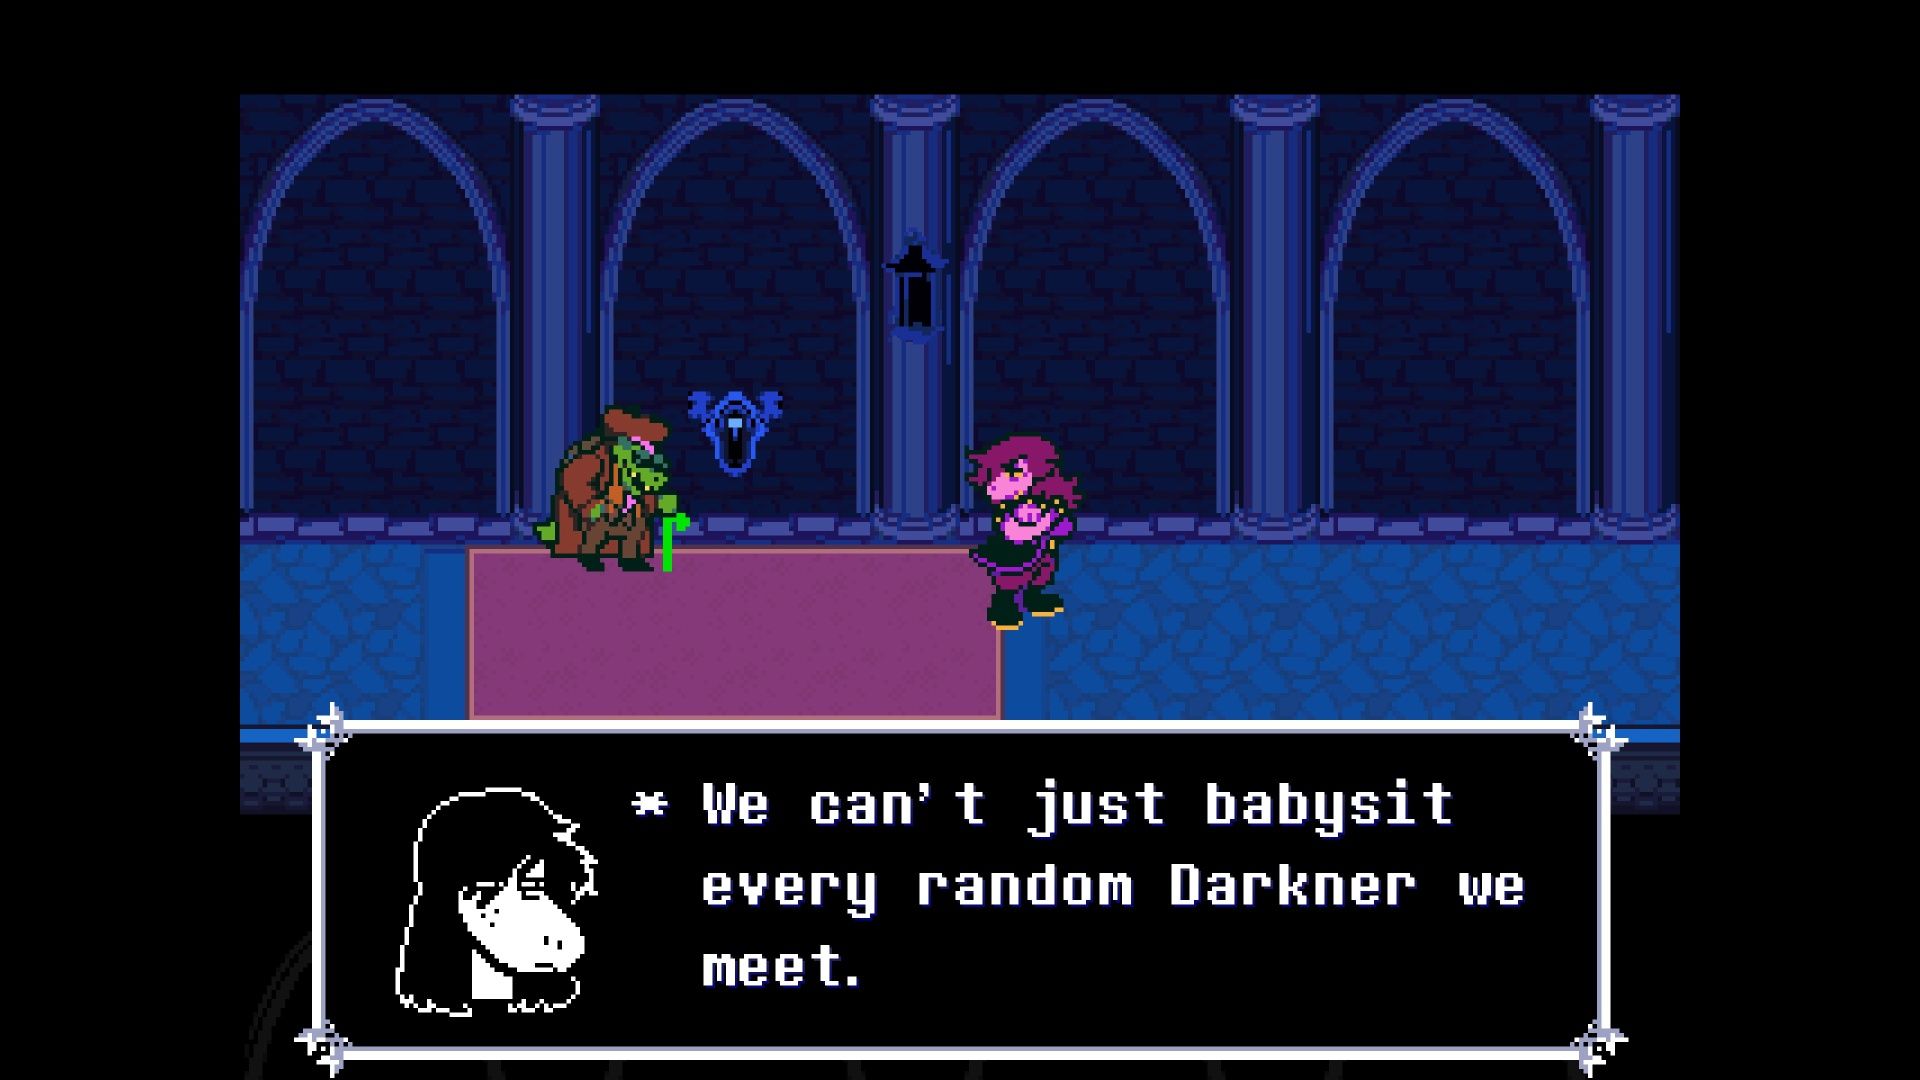
Turns out the strange sounds weren’t a threat! It was just an elderly man who needs our assistance. He’s lost and wants to return to his study, so let’s go back the way we came.
The Old Man is a helpful ally in battles, offering support through healing and weakening enemies, so feel free to include him in your party. When you return to the area with the green book you found before, a cutscene will trigger and unlock the next path. You’ll find Ralsei has fallen, and you can choose to comfort him by lying down beside him.
The next room has another piano puzzle. The group will separate, and the Old Man will ask you questions – answer honestly or not, it’s up to you. If you follow Susie and Ralsei, you’ll find a bowl of candy. Take one piece to get a Darker Candy, but be careful – taking more will cause the bowl to spill! Susie might even eat candy off the floor. You should now have both parts of the piano melody. Play the notes to proceed.
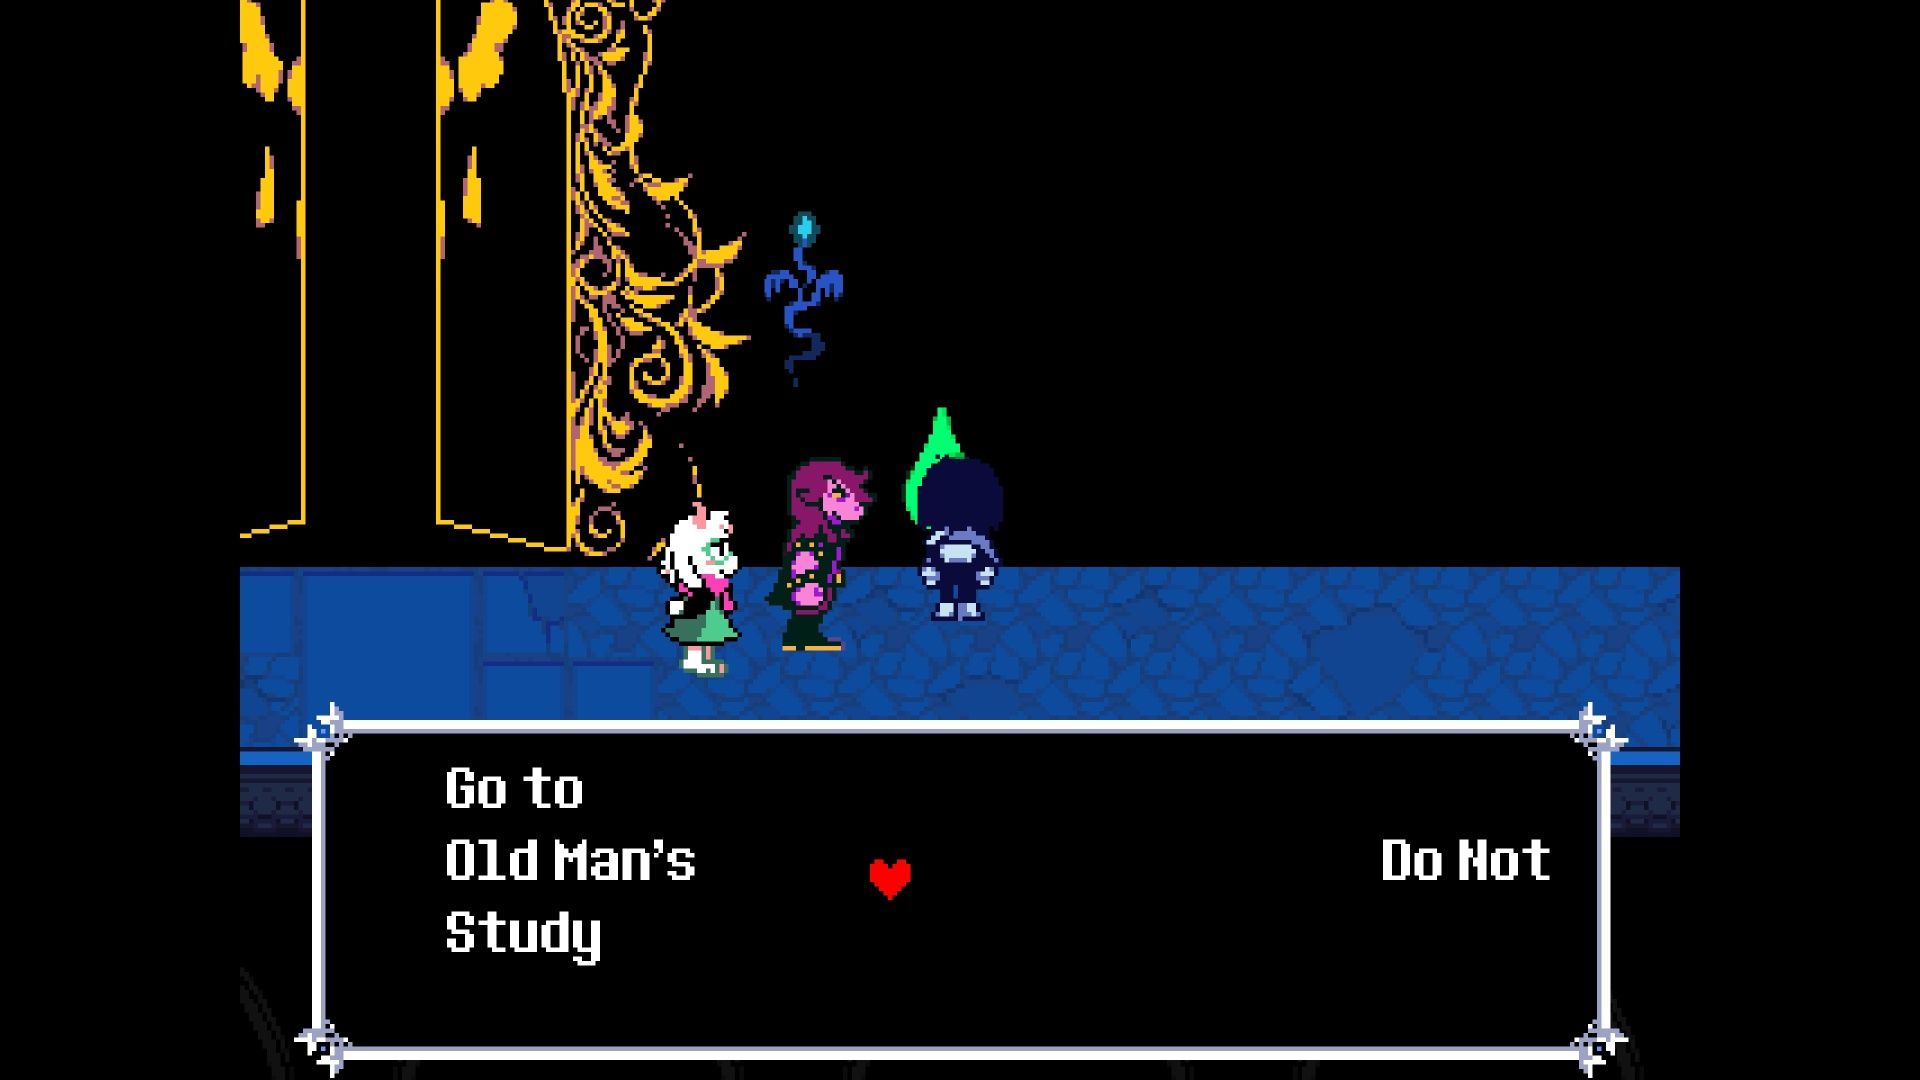
The Old Man’s Study
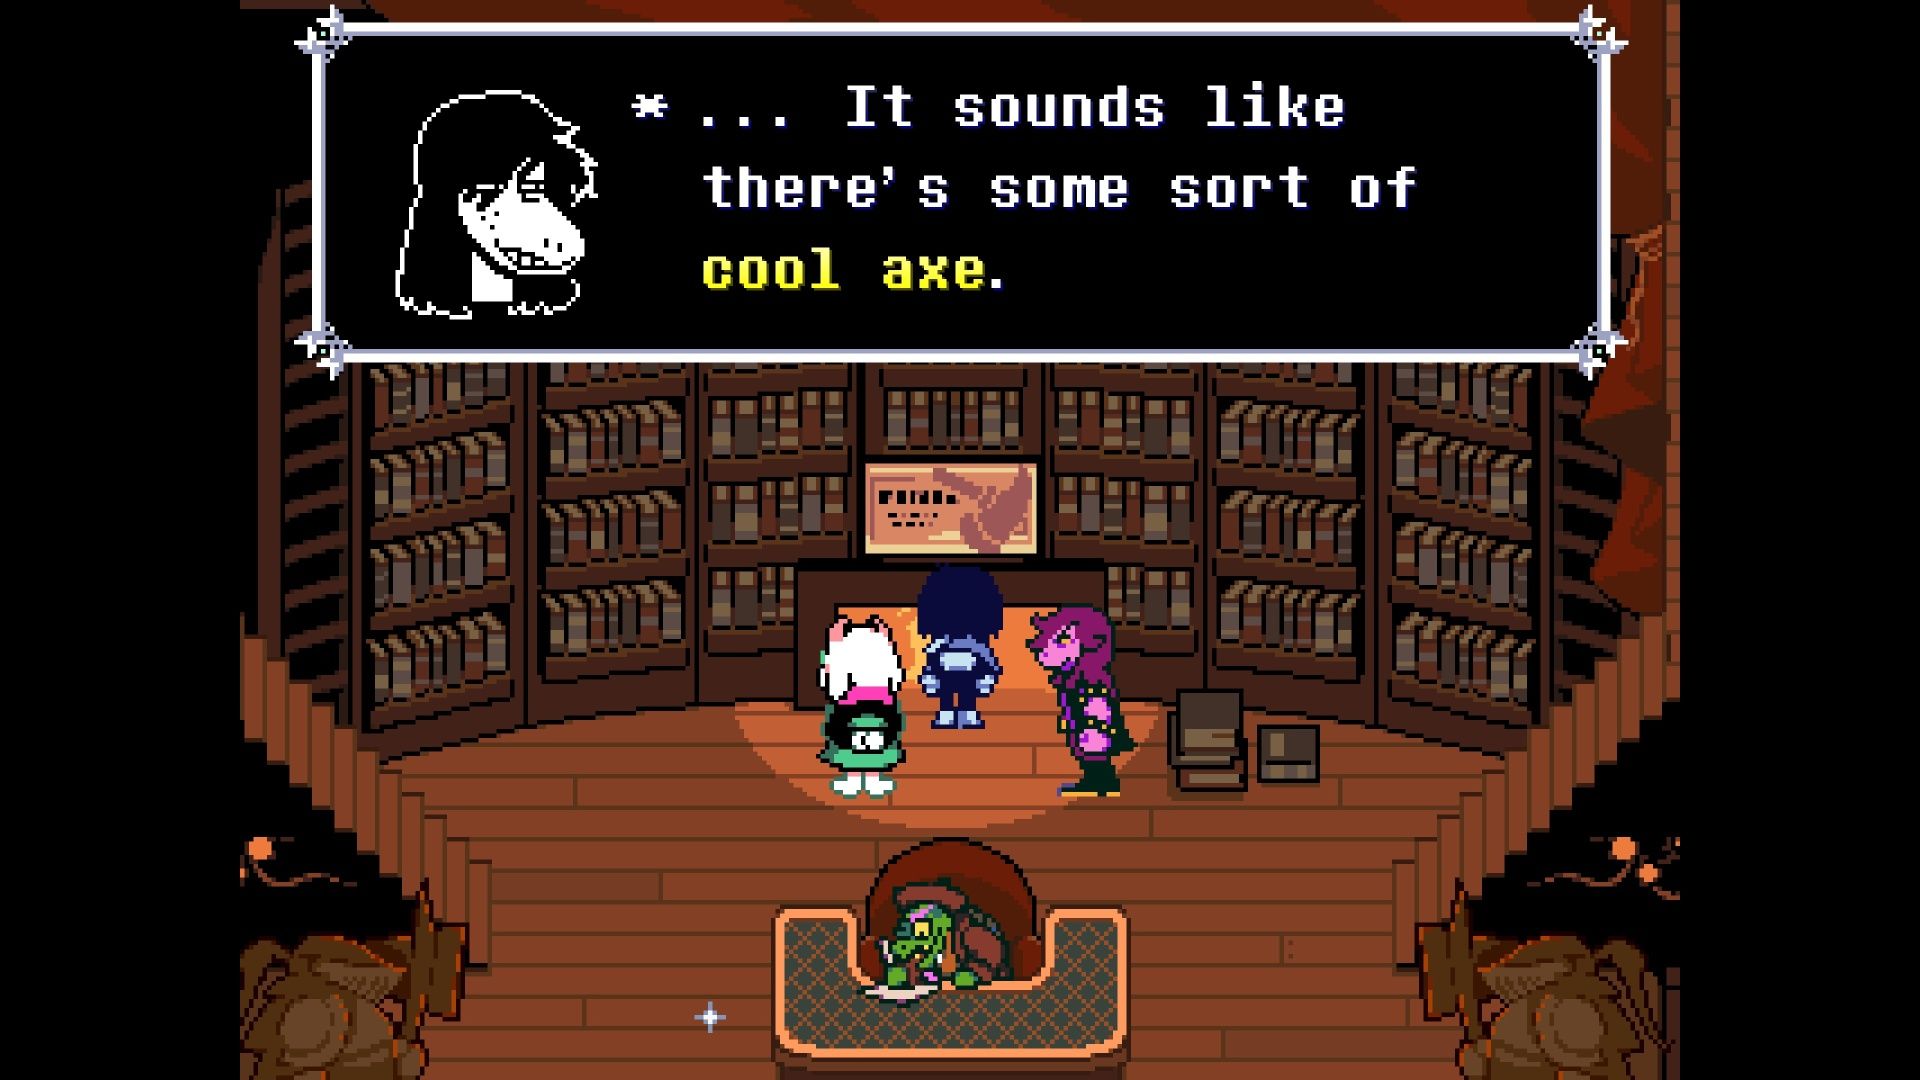
The library is a central location in Chapter 4. Here, you can purchase health potions from the Old Man. You can also sell items by using the fountain located upstairs behind him. He suggests heading to the East Belltower to unlock the Dark Fountain, but you’ll first need to gather some tools from the Northwest Library.
Take a look behind the Old Man at the fireplace – you’ll discover how to get a neat axe in this chapter. Finding it is the first thing you need to do to unlock a secret boss in Chapter 4.
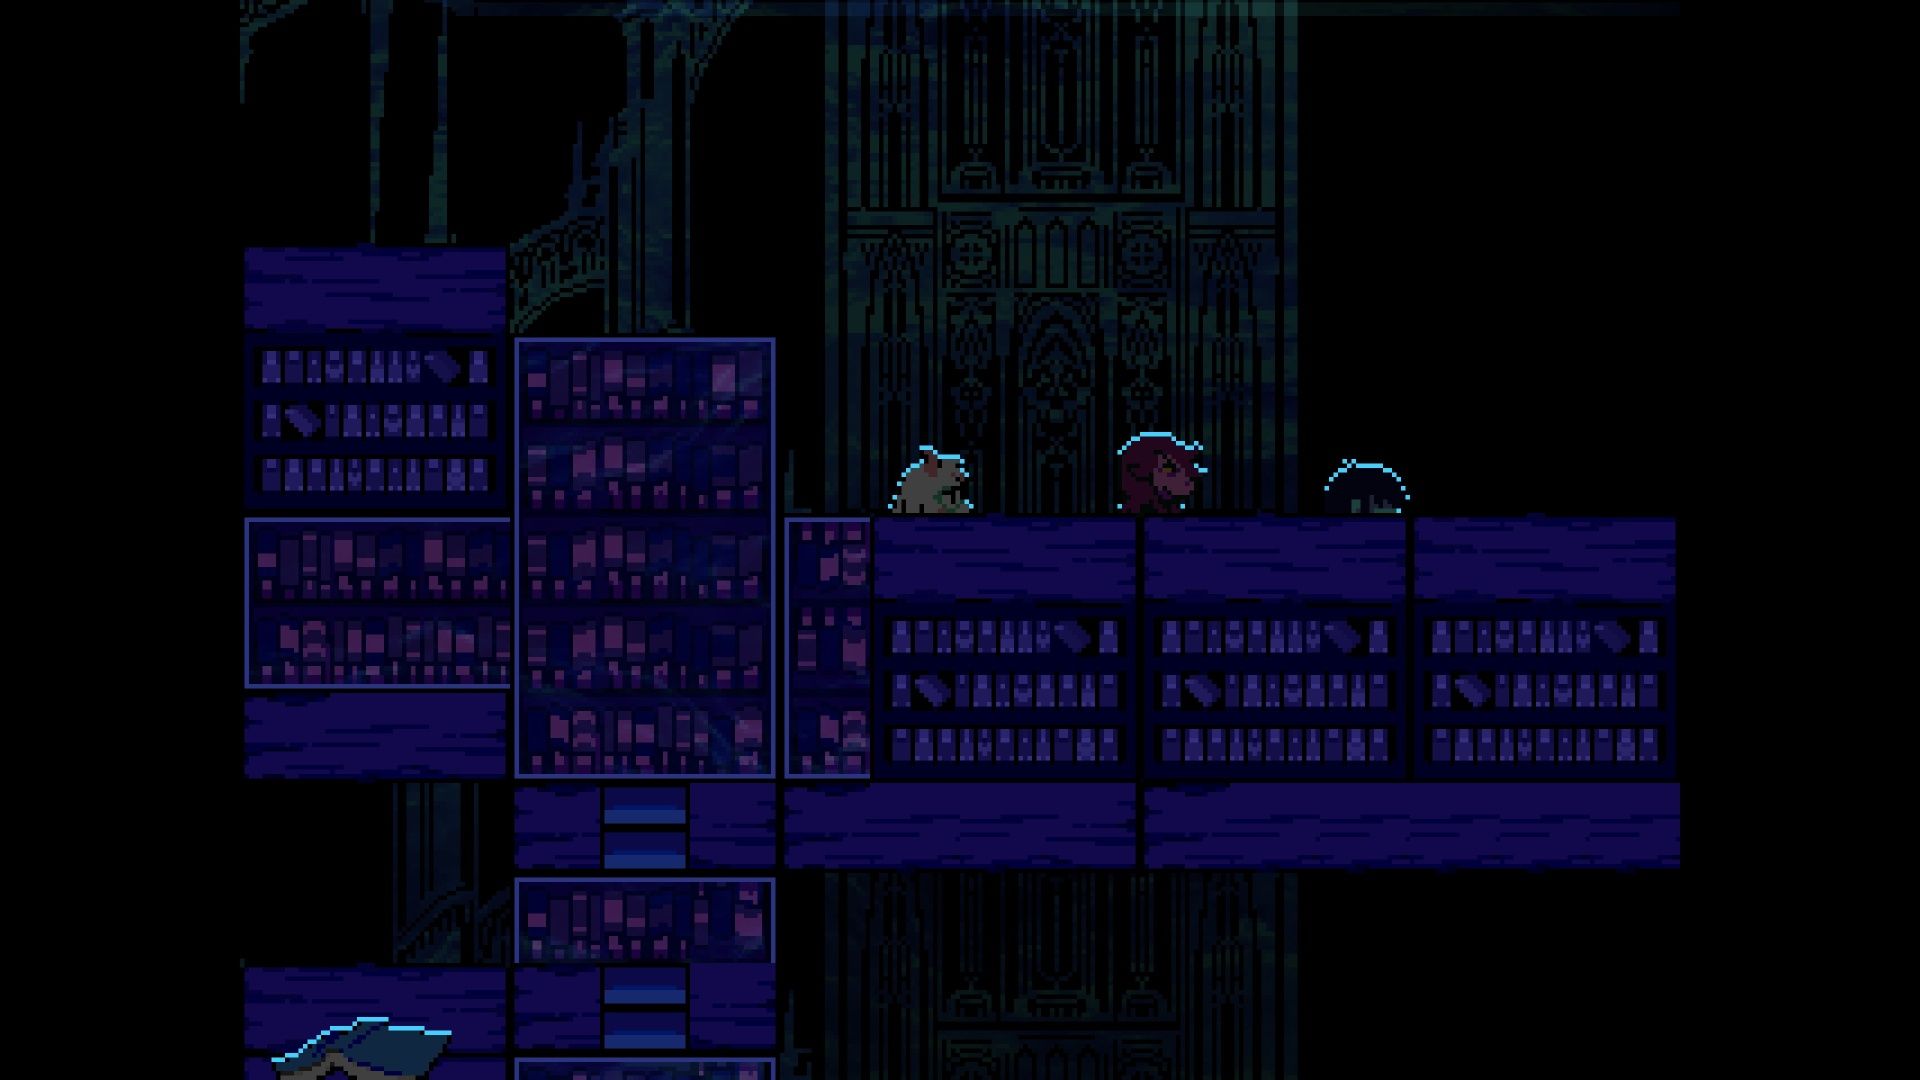
The Northwest Library
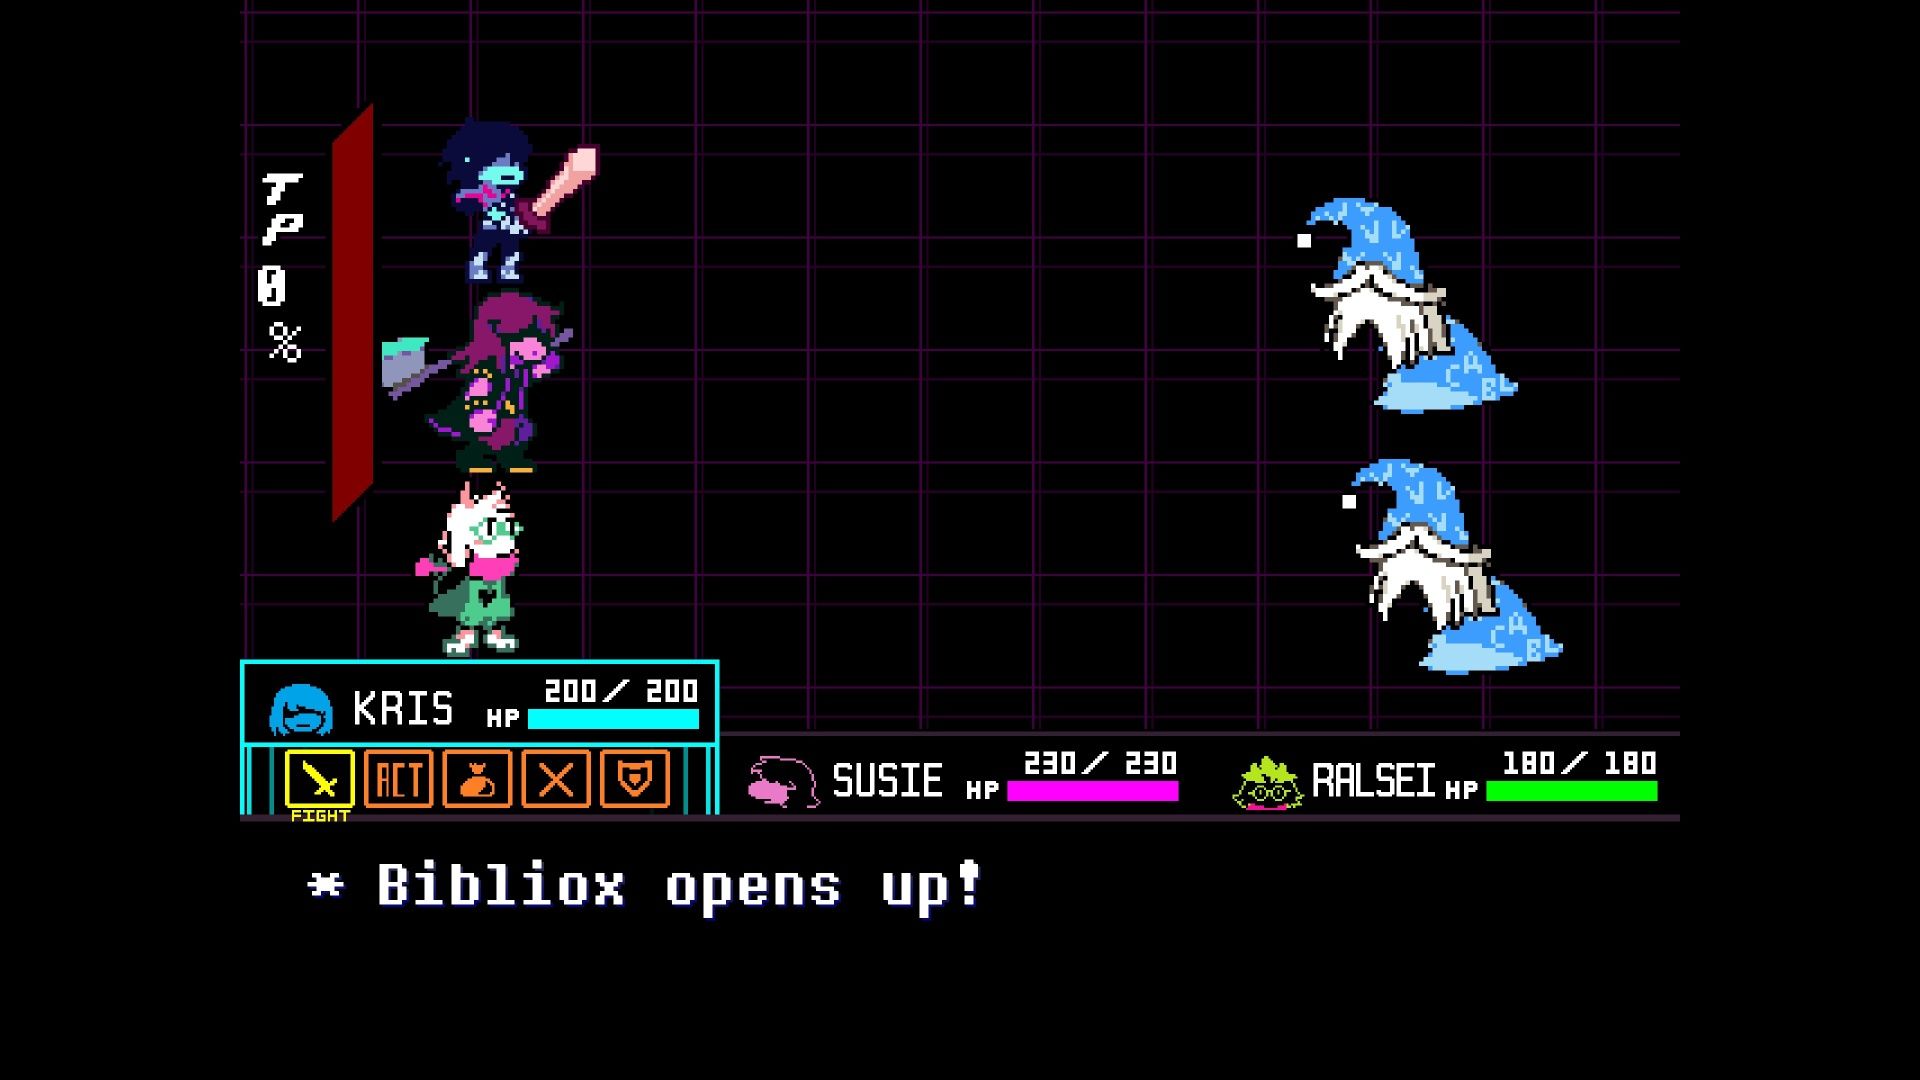
Go through the door behind the Old Man to enter the library. As soon as you do, a book will attack, starting a fight with two Bibliox enemies. You can choose to spare them by using the ‘Proofread’ action, which asks you to correctly spell a word.
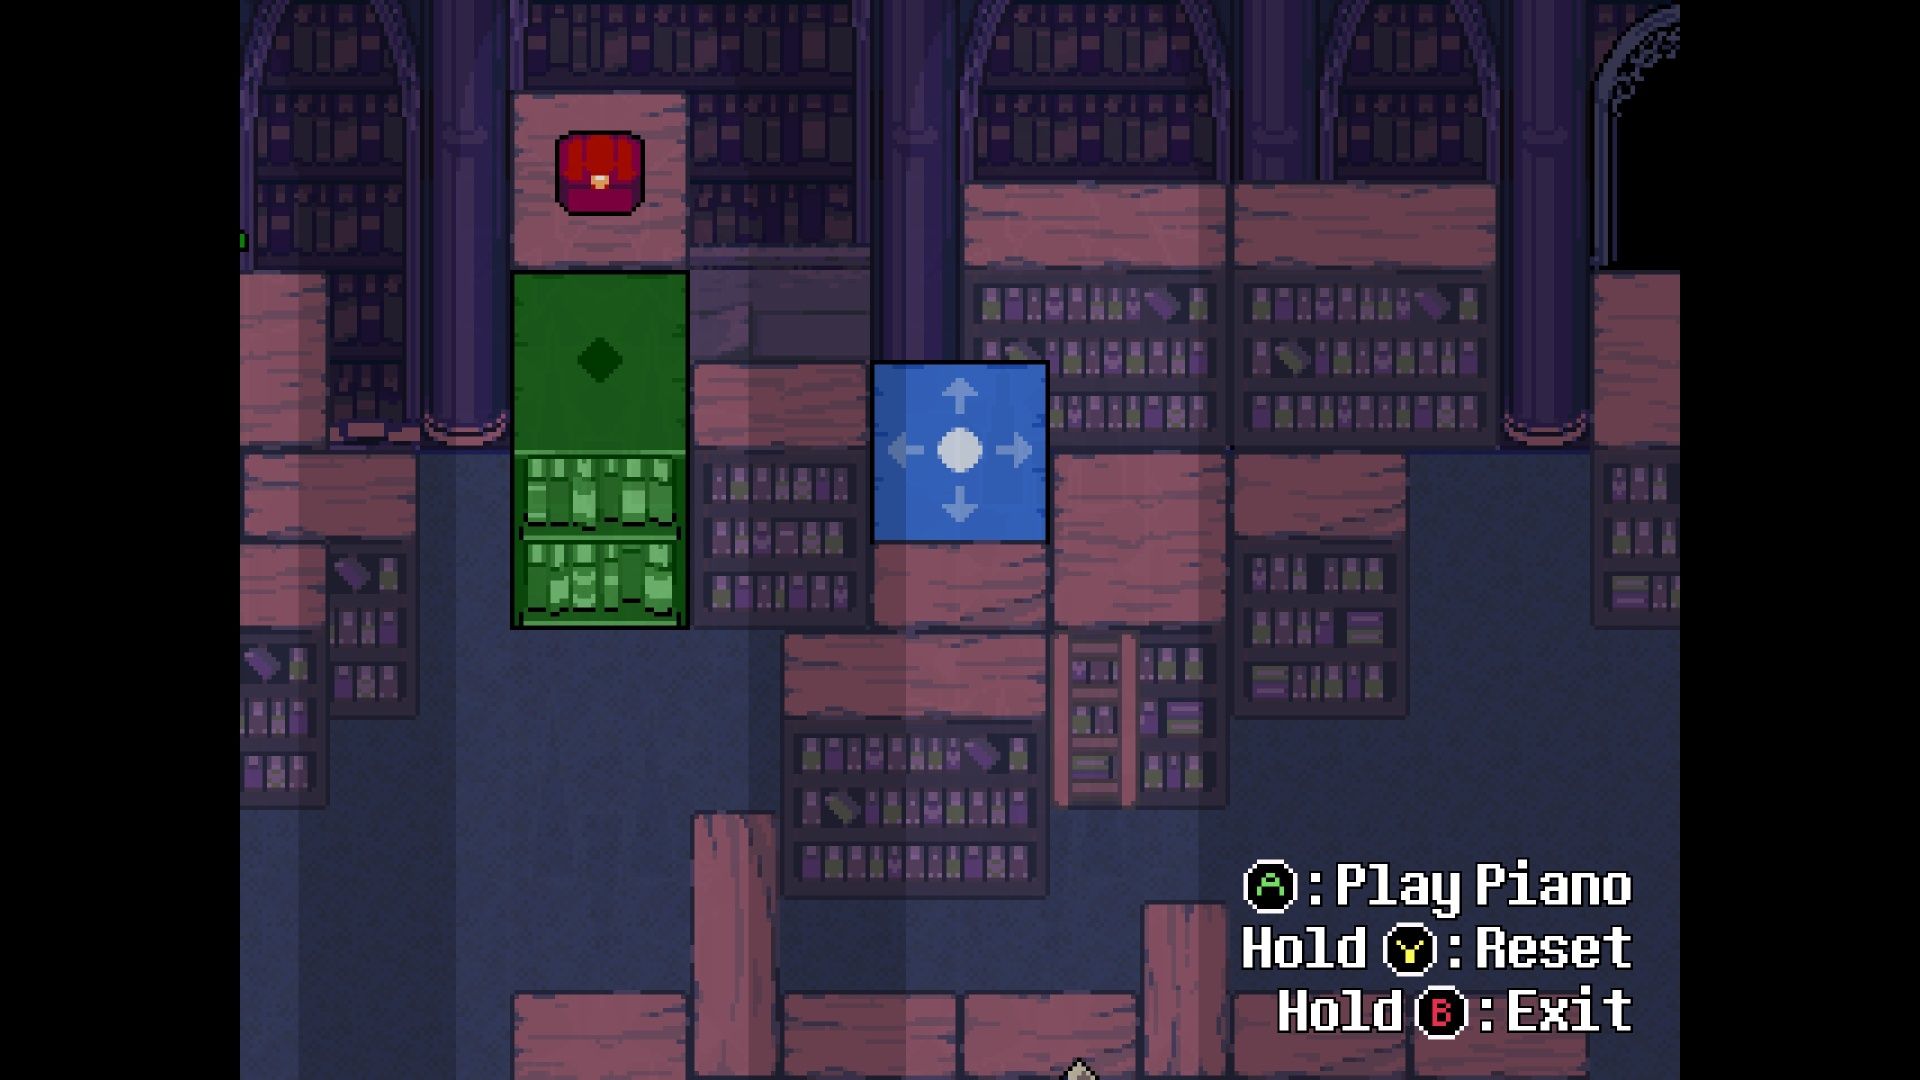
To continue exploring the library, head through the northern door. Once inside, look to your right at the ladder – Susie will point out it can help you reach Ralsei’s room. This room contains two pianos that move color-coded bookshelves. Use the blue and green bookshelves to create a bridge and access the chest, where you’ll find the AbsorbAx for Susie. Don’t forget to check the secret room on the left – you’ll find a MysticBand there.
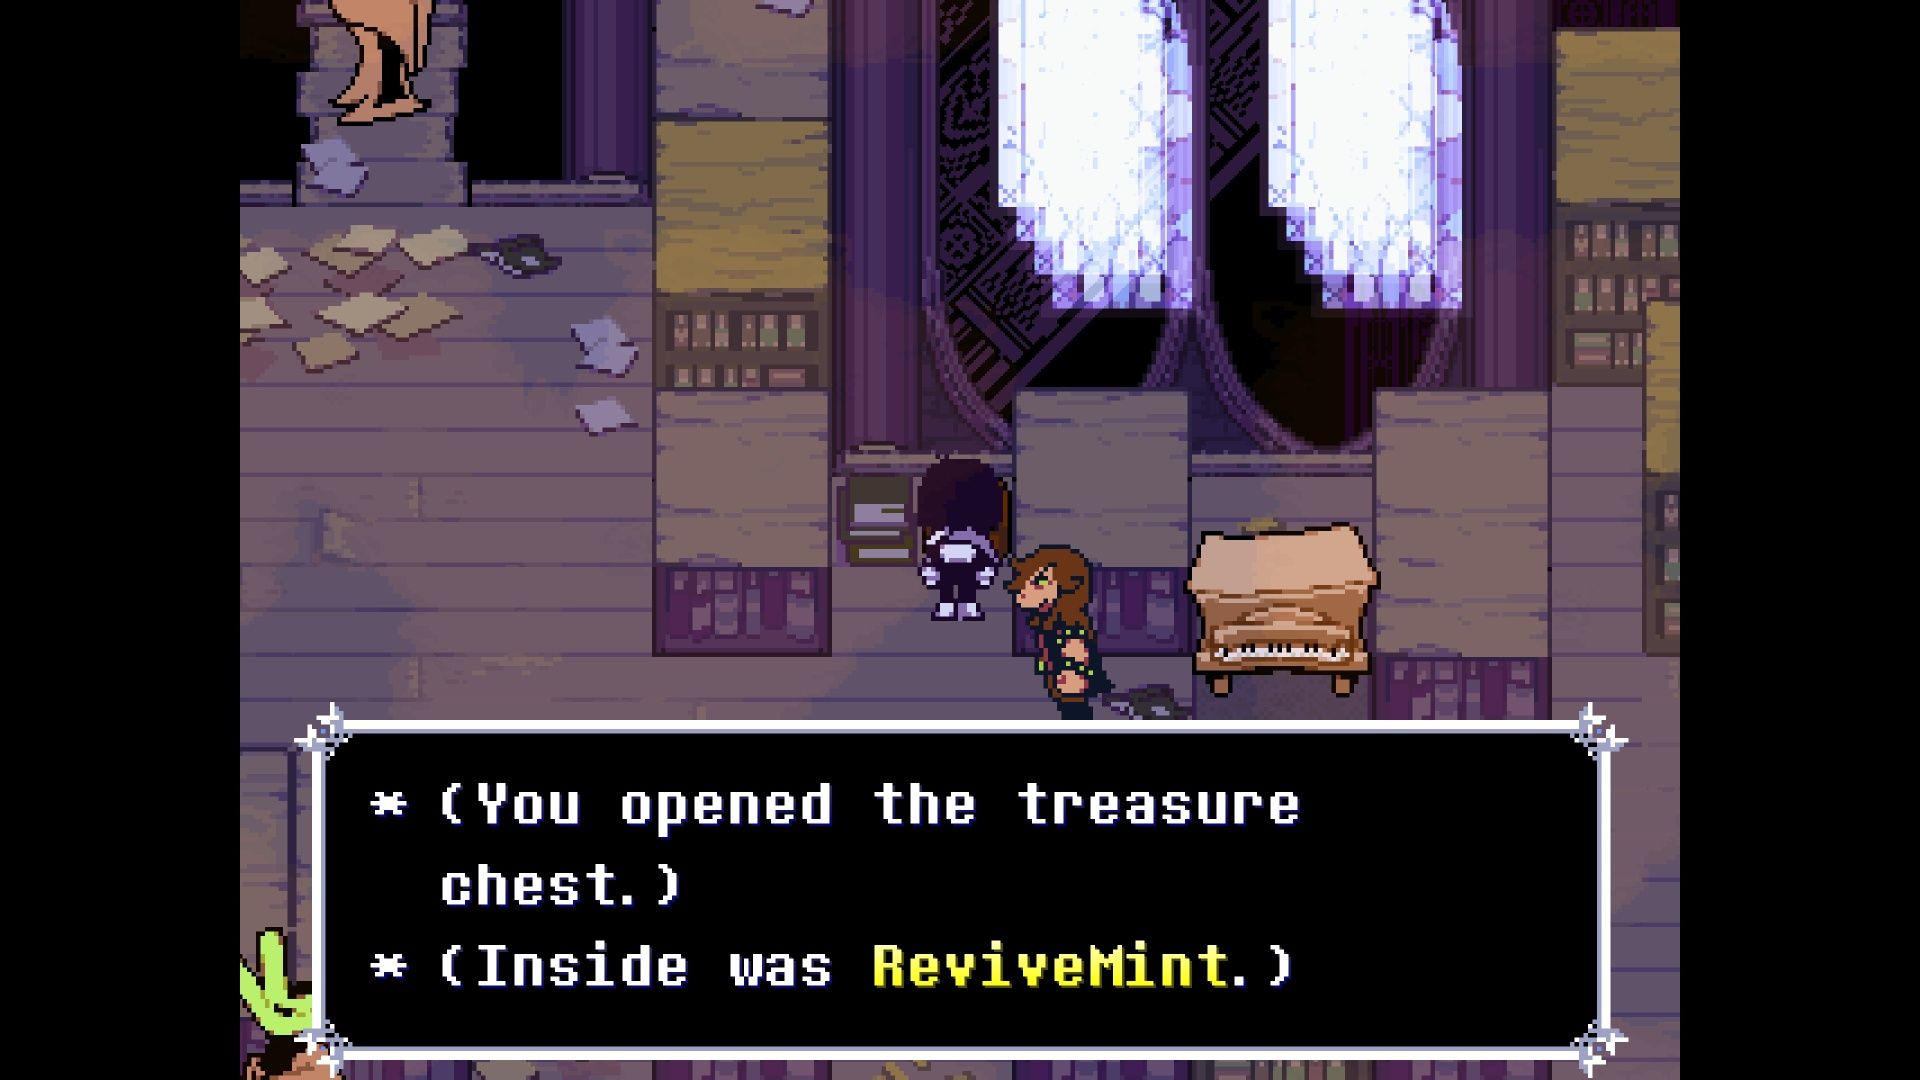
Once you’re ready to continue, use the blue shelf to get to the door on the north side. You’ll enter a hallway – turn right to find another sliding shelf puzzle. Don’t forget to check the couch to find another furniture item for Ralsei! This puzzle is a bit harder than the last one, but you’ll see white outlines on the floor showing where the pieces go. Before you solve it, though, use the shelves to reach the chest at the bottom of the screen – it contains a ReviveMint. Completing this puzzle will give you “A conundrum’s last four tones,” which is the second part of the song you’ll need for the next piano puzzle.
Return to the hallway and go down the left side to reach another dark maze. You’ll find a chest containing a Scarlixir in the northwest corner, but that’s all there is to discover here. Locate the first part of the piano tune, then go back to the door in the middle of the hallway. Play the notes you’ve found to open the gate and proceed.
Boss Battle: Jackenstein
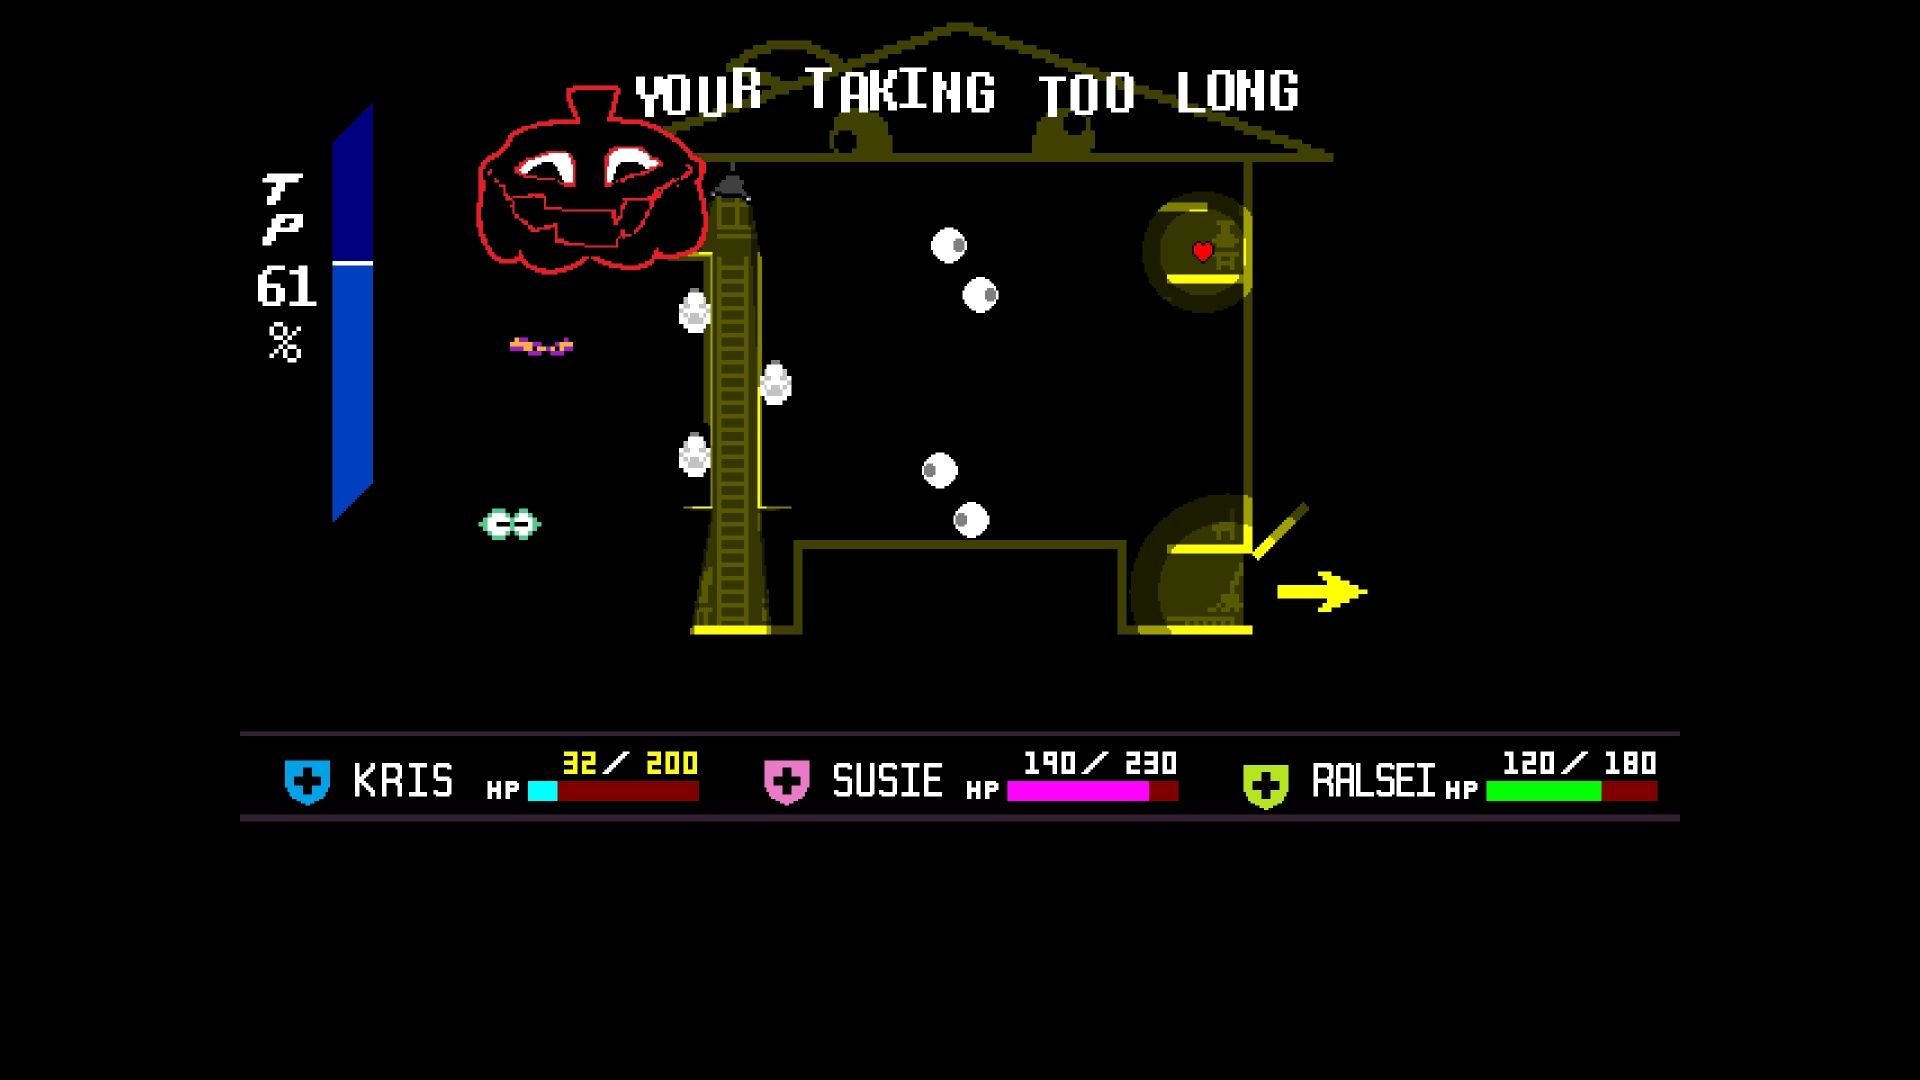
A major boss awaits you in the darkness, so be ready! Jackenstein is a challenging boss who significantly limits how much TP you earn unless you collect treasure during his attacks. He traps you in eerie mazes, and you’ll need to find the key and escape before he catches you.
These mazes require speed! If you take too long, Jackenstein will come after you. Collect treasure to earn TP, then use your Unleash ability to damage him with light. Do this three times to win!
We strongly suggest investing a few Training Points in special abilities for Kris, Susie, and Ralsei before this battle. Kris’s ability will help you move faster through the maze, Susie’s expands how much treasure you can collect, and Ralsei brightens up the area. If you’re struggling with Jackenstein, check out the rest of this guide for more helpful strategies!

After you defeat Jackenstein, he’ll give you ClaimbClaws, which let you climb bookshelves in the library and the rocky pillars you’ve seen before. Check the bookshelves near where you fought Jackenstein – you’ll find a chest with 500 Dark Dollars. Then, go back to the Old Man’s study to save your progress and restore your health.
Golden Piano Puzzle and Secret Boss
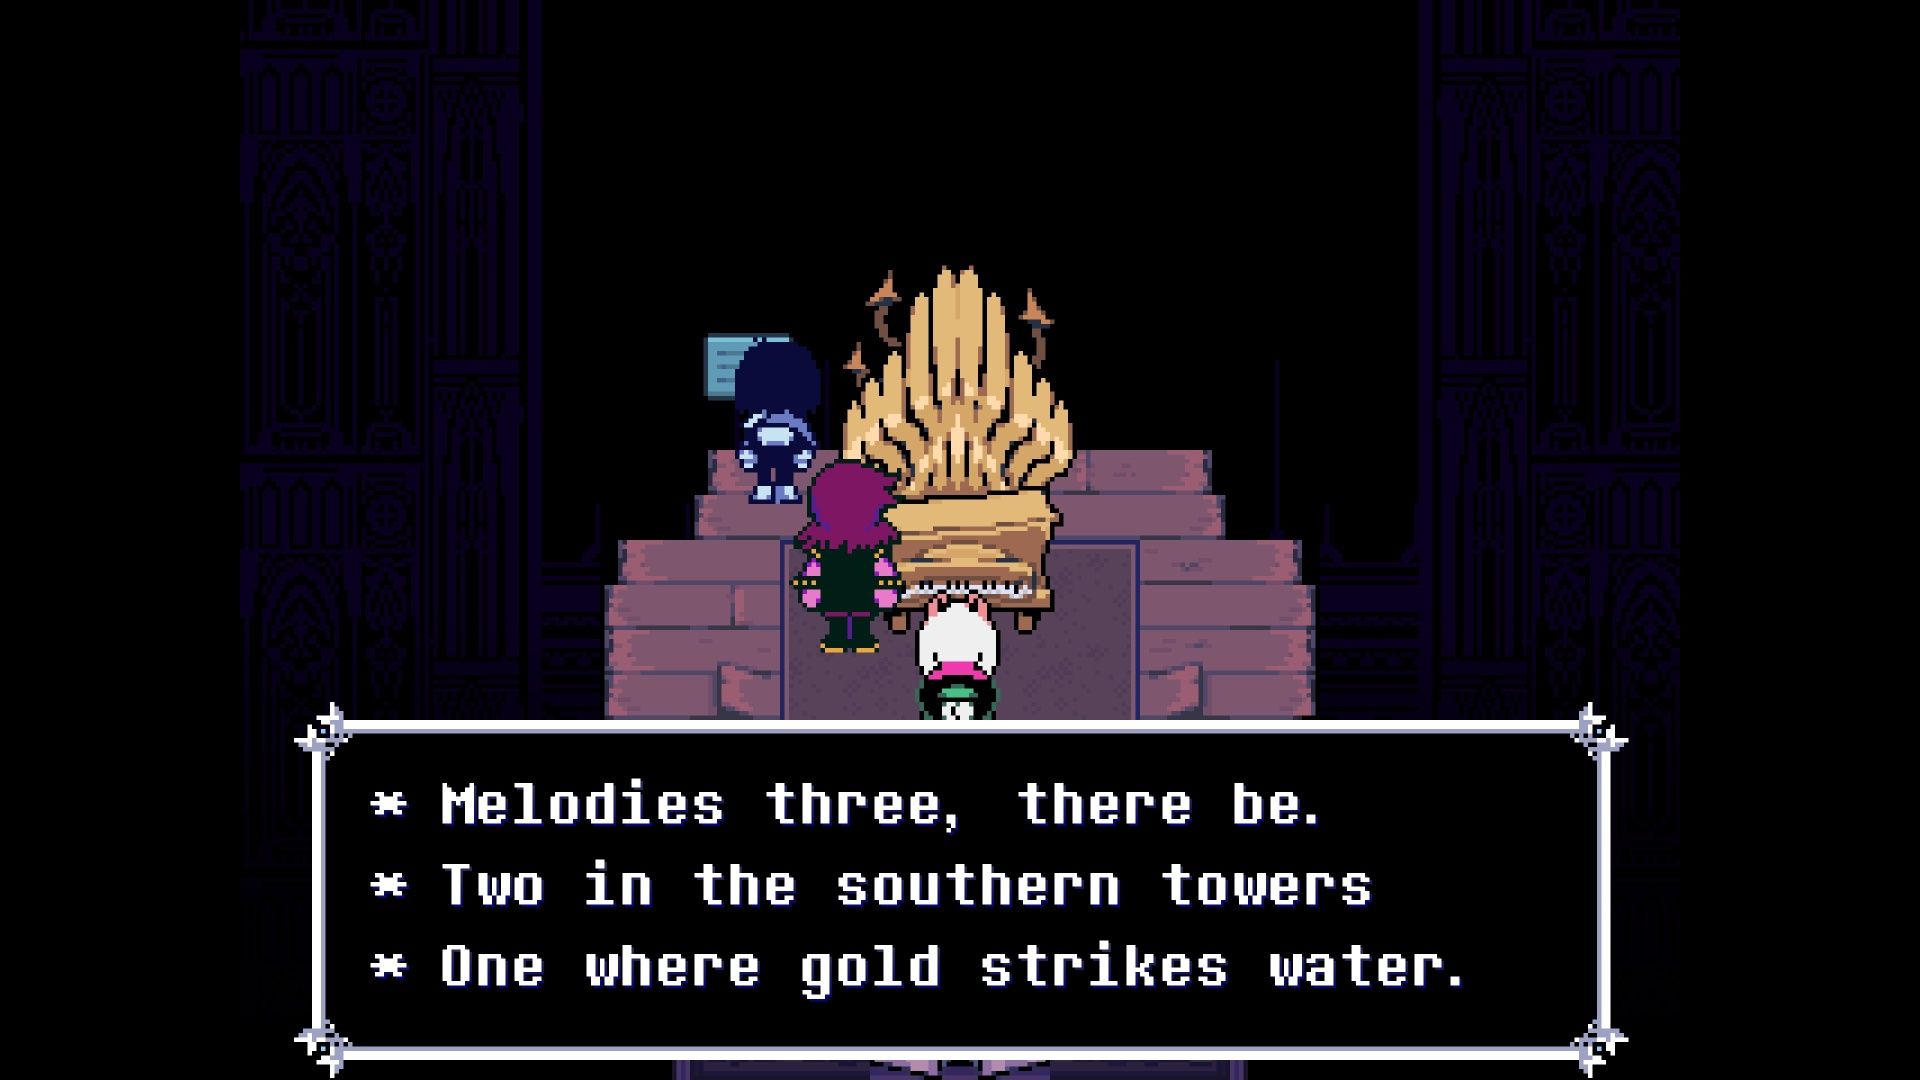
Using the ClaimbClaws, you can go back and collect musical notes to create a tune for the golden piano in the library. You’ll find the piano by climbing the bookshelves near the study entrance. A message on the piano says you need three melodies: two are in the southern towers, and one is where gold meets water. You’ll need to explore areas you’ve already been to, but luckily, they’re not too far away.
The first note is found by retracing your steps along the lower-left path, overcoming waterfalls and a mini-boss called the Water Cooler along the way. The second note is hidden on a darker path to the right, requiring you to navigate a shadowy area and reveal a secret passage by activating a switch. The last note is located deeper within the study, behind a waterfall, leading to a maze filled with switches.
Once you’ve gathered all three music notes, go back to the Golden Piano and follow the on-screen arrows to play the right tune. Successfully playing the melody will unlock a hidden room in the study, where you can battle the Hammer of Justice – the secret boss for Chapter 4.
This guide will help you find all three pieces of the piano melody. While you’re there, remember what the donation fountain says about reaching the ‘other side’ – it’s important later! Don’t forget to donate at least $9,999 Dark Dollars to receive the Gold Widow armor. Finally, you can revisit the Jackenstein boss arena to talk to the pumpkin.
Finding the Puzzle Solution
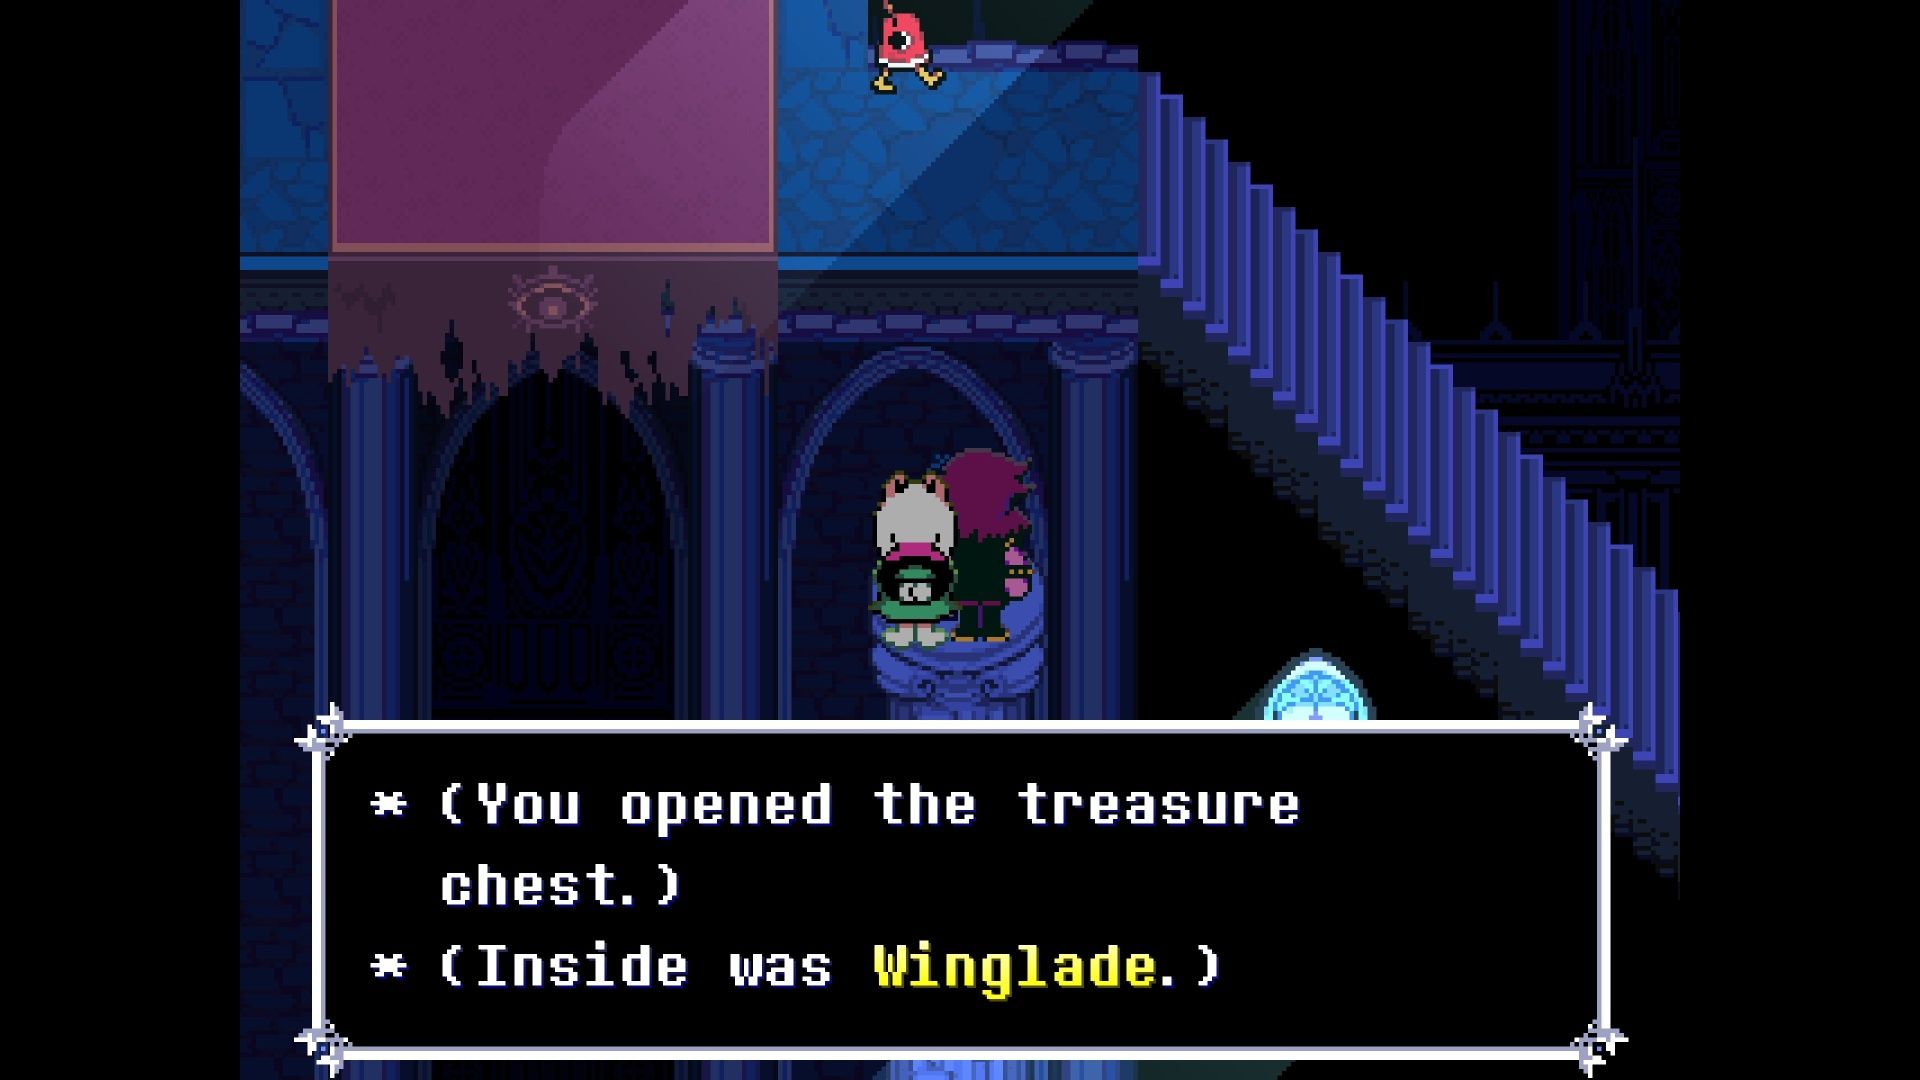
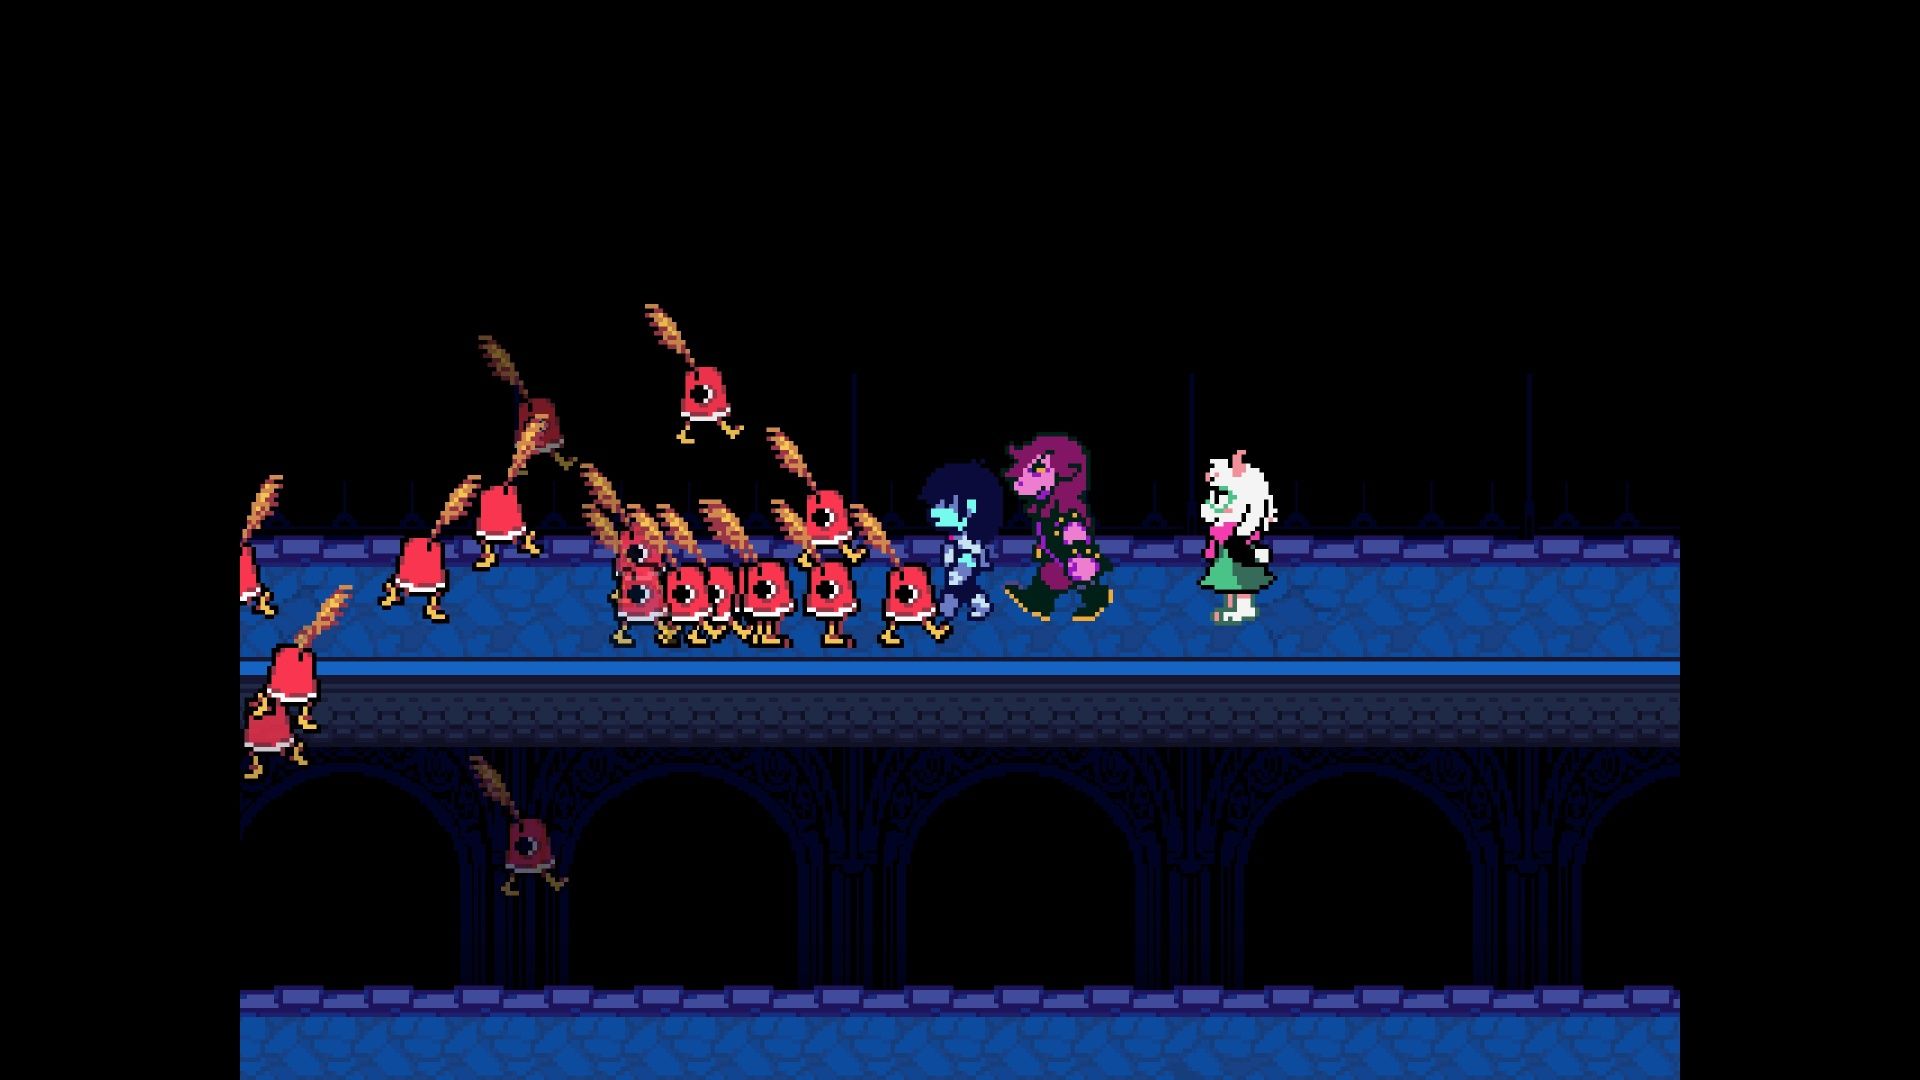
As you move forward, you’ll encounter several small, red enemies. The main path is the pillar in the center, but be sure to open the chest at the bottom first – it contains the Winglade weapon, which you’ll need before climbing.
You’ll find water coolers on the right, and some Mizzle enemies to fight. You can wear them down using the Embezzle, Nuzzle, and Lullaby actions, which will make them vulnerable to Ralsei’s Pacify spell. Keep heading right to discover an optional piece of the prophecy about the Queen, and when you’re ready, climb the central pillar to continue your journey.
This section features a long climb, and you’ll need to use the charge jump to build speed and stay ahead of the falling water. Don’t head to the very top just yet – climb to the right instead to discover a hidden area with another climbing puzzle. You’ll notice some small red creatures struggling to reach their queen, but you’re more than capable of making the climb.
When you reach the peak, small enemies will appear, but you can simply walk through them to continue. Defeating them will reward you with a PowerBand found in a nearby chest. After collecting it, head back to the main climbing path and proceed to the door at the top.
The Piano and the Knight
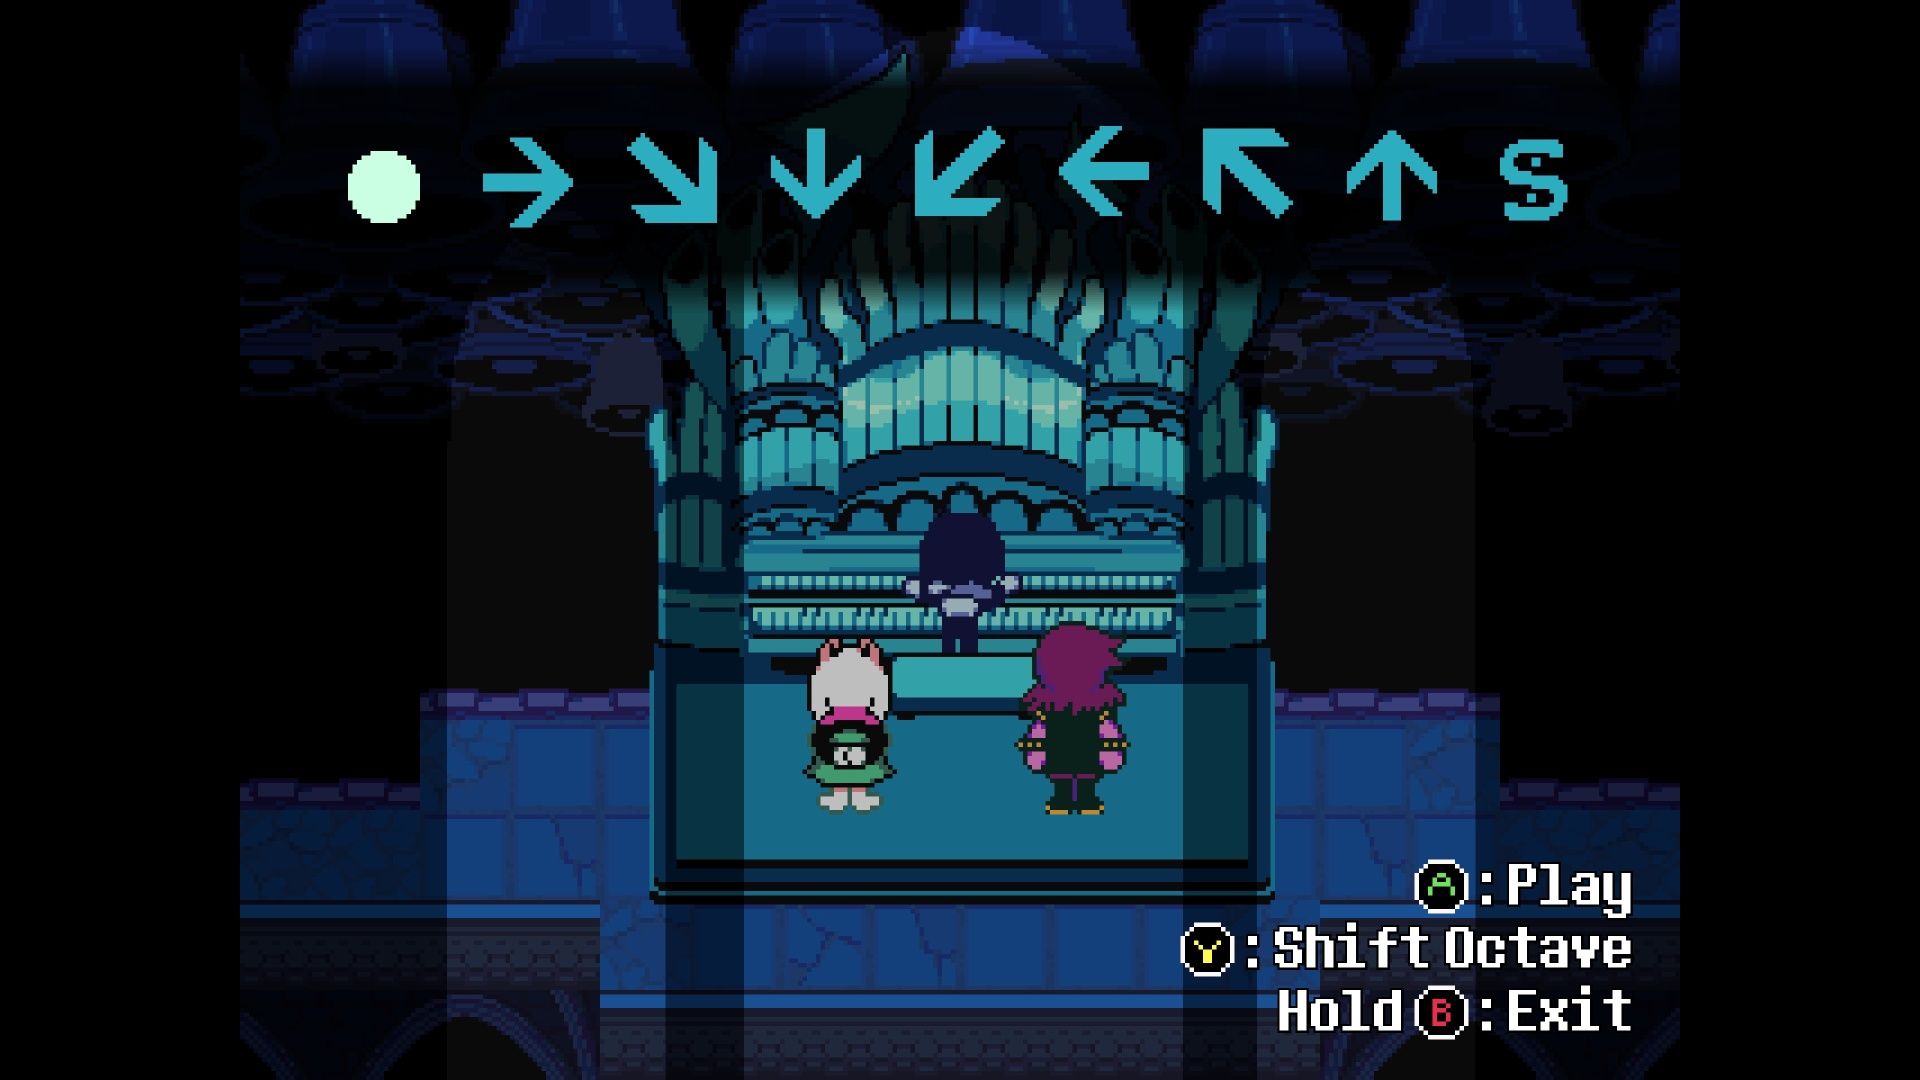
A huge piano sits on top of the pillar, and playing its song will unlock the path to the Dark Fountain. To find the piano’s notes, go to the right, past the water coolers. Susie will show you a green book, which she’ll use to open a door. You can choose to close your eyes with Ralsei and visualize what Susie’s doing, or simply watch.
It’s best to close your eyes for a moment, as a quick cutscene with Susie is playing in the next room – you don’t want to miss it! Once you’ve remembered the tune, return to the piano and play it. This will unlock the door in the study, so go back and get ready for what’s coming next.
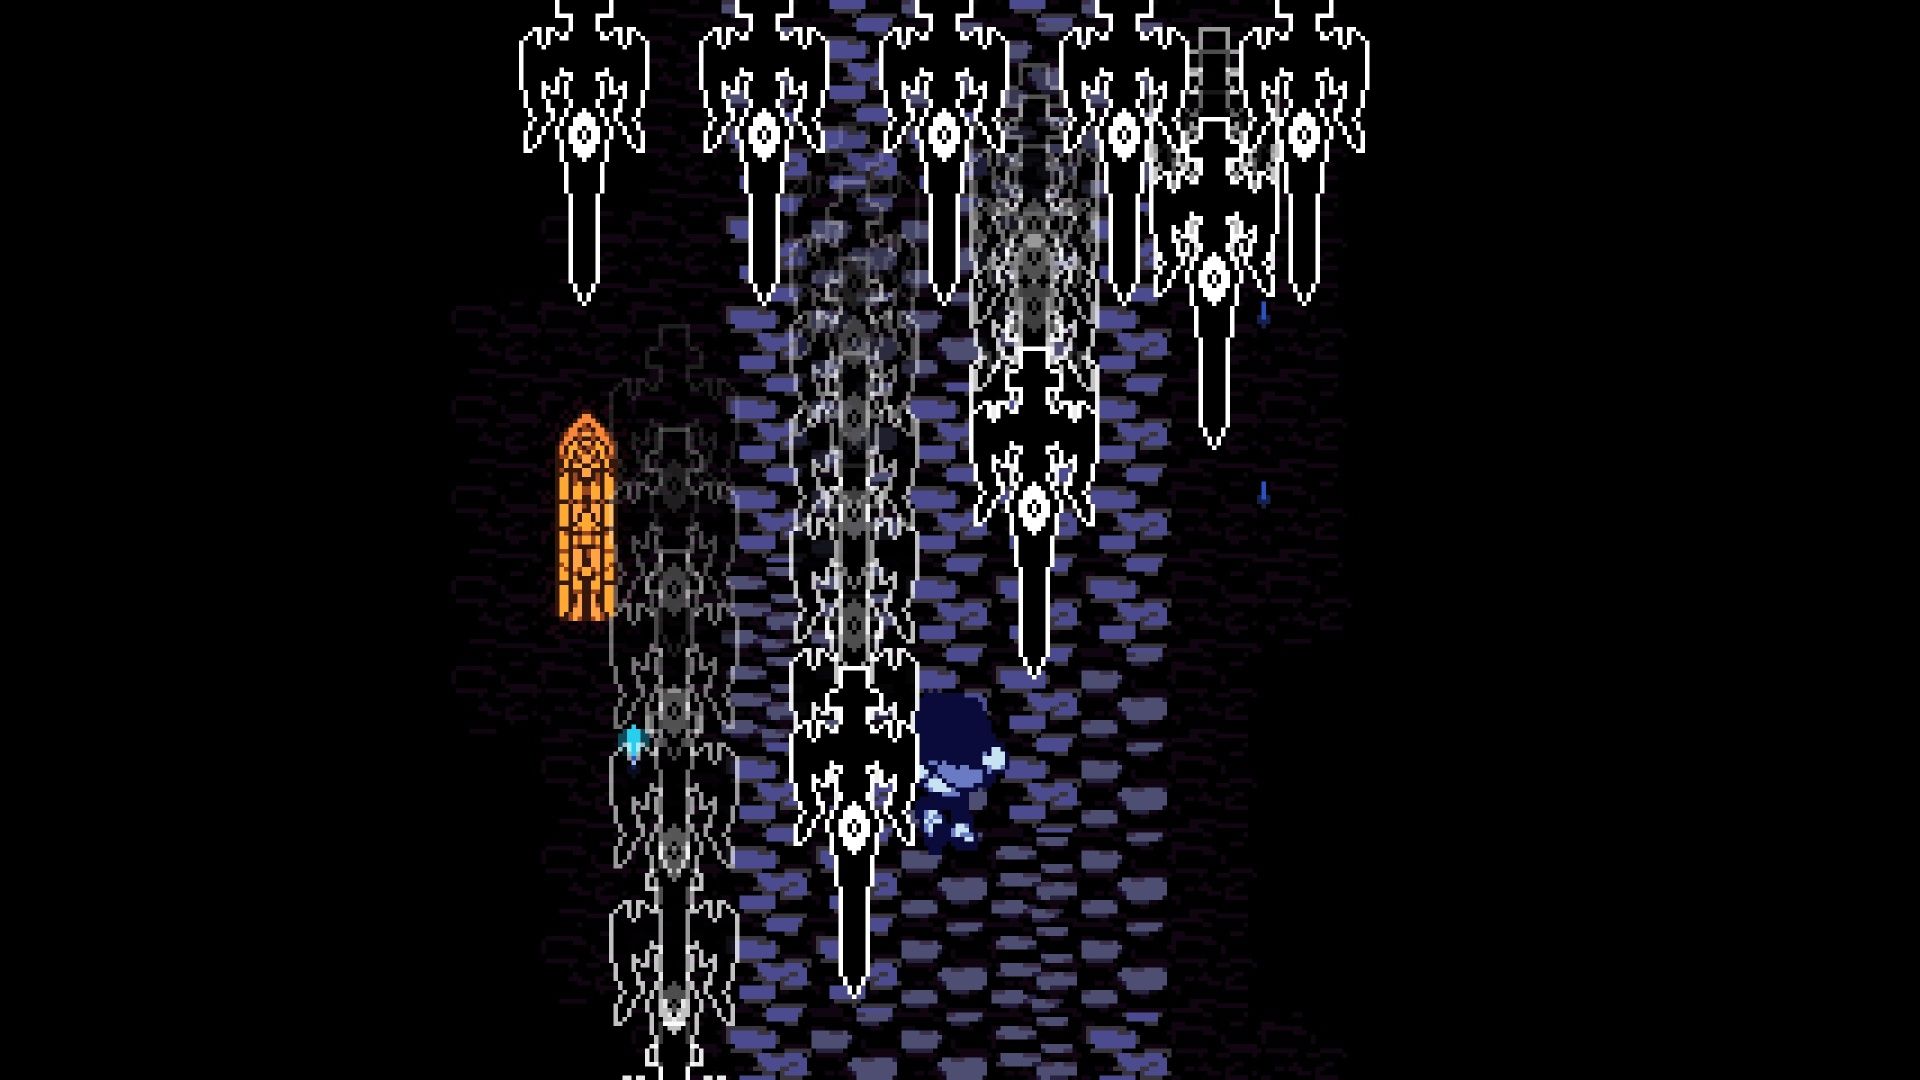
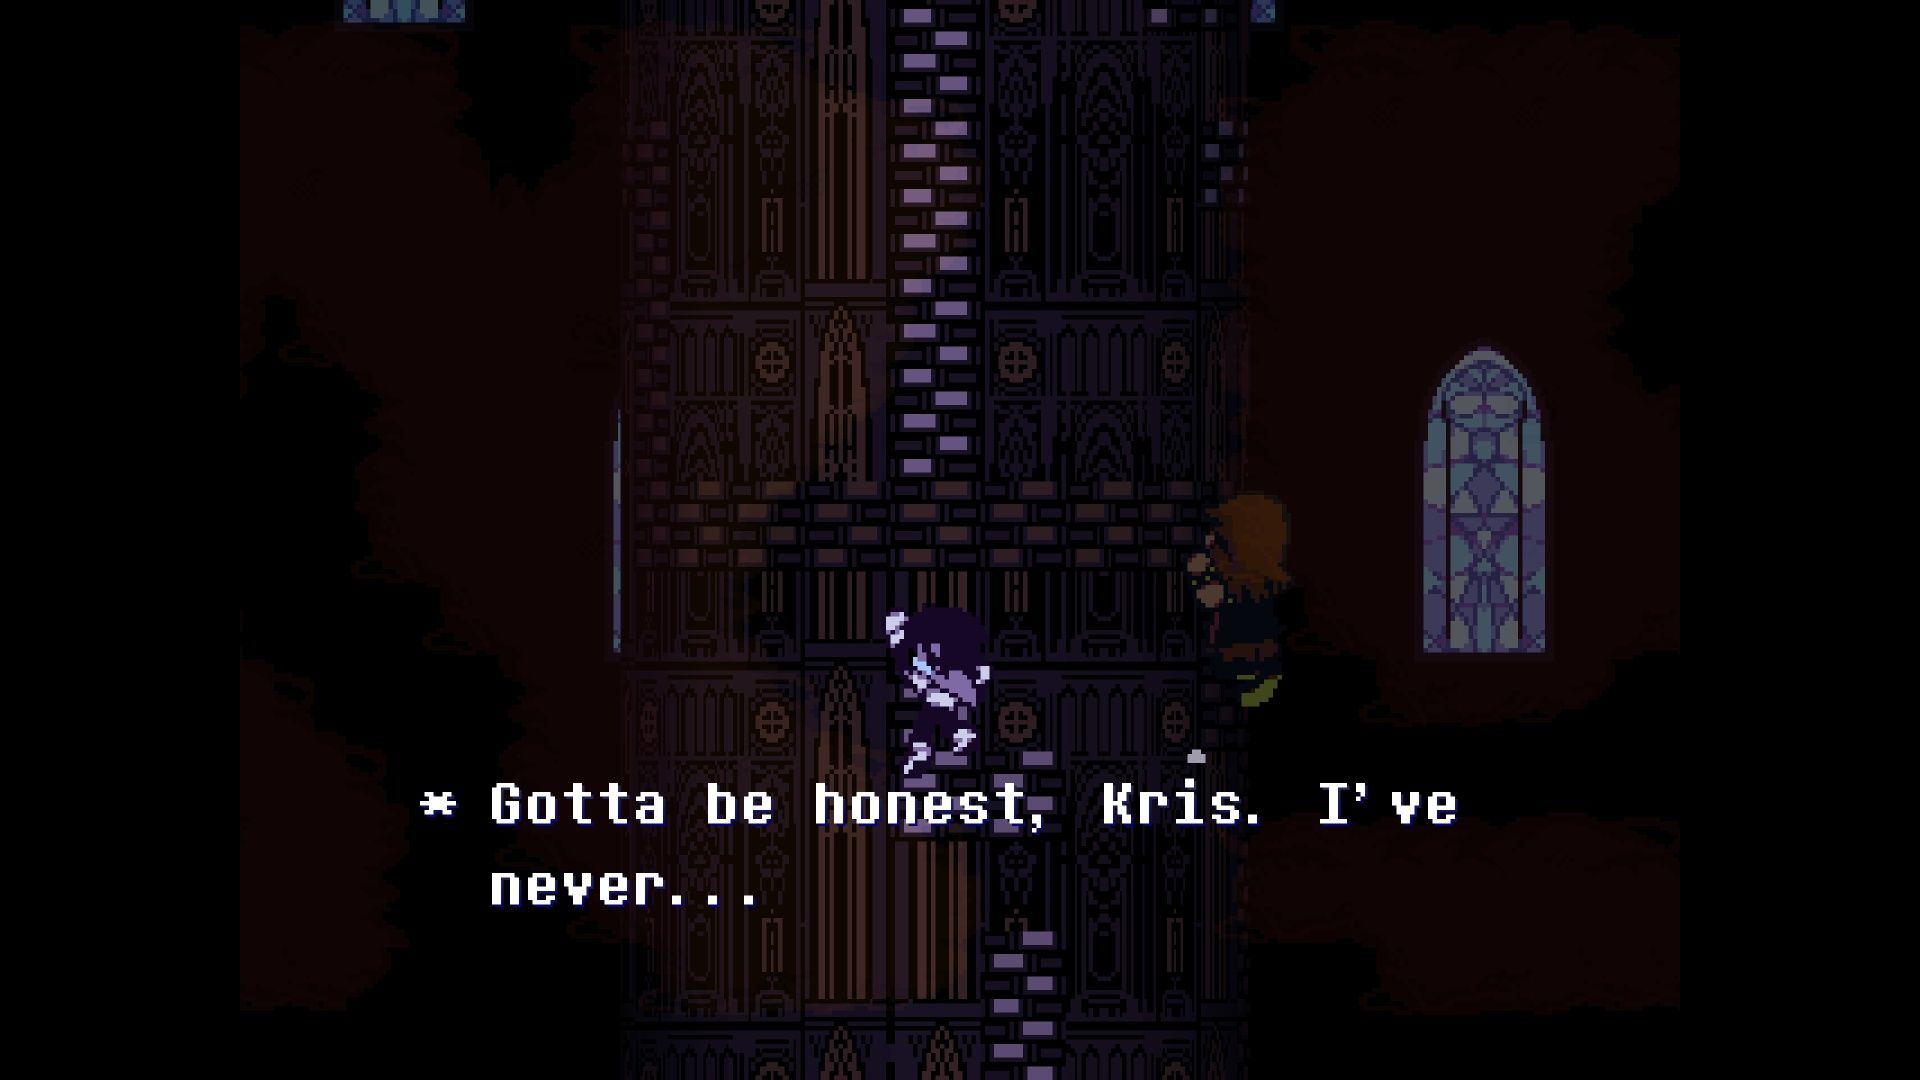
You’ll need to climb a long path to reach the Dark Fountain. A Knight will constantly throw swords at you as you climb, but you can avoid them by jumping at the right moments – now’s the time to use those climbing skills! Once you’ve sealed the Dark Fountain, Susie and Kris will go back to the normal world. However, things still don’t feel right, so Susie comes up with a new idea.
Returning to Church
Smoke is still coming from a locked door in the church, meaning you need to find a way to get inside. Be sure to talk to everyone and investigate thoroughly – especially in both side rooms. Exploring the left room will lead to a touching conversation with Susie and reveal Jackenstein’s true identity, while searching the right room will advance the main storyline.
Be sure to look around the entrance hall, especially at the candle shelf. You’ll also have a chance to say a prayer for someone you choose – it’s a touching scene. When you’re ready to continue, speak with Susie by the locked door. She’ll decide to create another Dark Fountain to seek guidance from the Old Man, which means you’ll be going on a short quest again.
The Second Sanctuary
Something feels strange in this new Dark World, but you don’t have time to dwell on it. Go right and you’ll encounter Winglades, which you can defeat using the Spin attack. After learning more about the prophecy, you’ll enter a library and face another piano puzzle.
In the Dark World, instead of the bookshelves moving when you play the piano, the piano itself will move! Use this to break through the bookshelves and open up new paths. You can find a ReviveMint in a chest behind where the piano starts, and head northeast to discover a piece of Tenna’s prophecy. Destroying the bookshelf blocking the ladder will allow you to climb up to a room with a circle of statues and an Organikk enemy – use the statues to easily defeat it.
Head east and climb the bookshelf to progress the story. Take time to chat with the characters you meet – they have some interesting things to say! You’ll then encounter a short climbing challenge, followed by an easy-to-find chest containing a Rhapsotea. Be prepared to deal with more Organikks – you can either fight them or find a way around. A save point is just ahead, so you can record your progress shortly after.
Go south from where you saved the game, and you’ll find a fountain similar to the one where you made a donation before. This time, an Organikk enemy will attack, and the treasure chest nearby will contain a reward based on how much money you previously gave.
Okay, so when you’re done here, go east and climb that tower with Susie. You’ll run into someone who asks about something called ‘hyperlink blocked,’ but honestly, it doesn’t matter what you tell them. Just answer however you want and keep going!
This climbing area introduces a new challenge with its three-dimensional design. Watch out for the waterfalls, use the charge jump to move quickly, and grab Susie’s hand when she offers it to help you climb higher. Once you reach the top, Susie will share more of the prophecy before running ahead on her own.
Don’t follow Susie. Instead, turn right and you’ll see a long hallway. You can find the egg and moss for Chapter 4 there.
As you continue along the bell path, you’ll meet Wicabel, a new opponent. Instead of fighting her, you can choose the ‘Tune’ action to spare her – it even uses the same animation as the game Undertale!
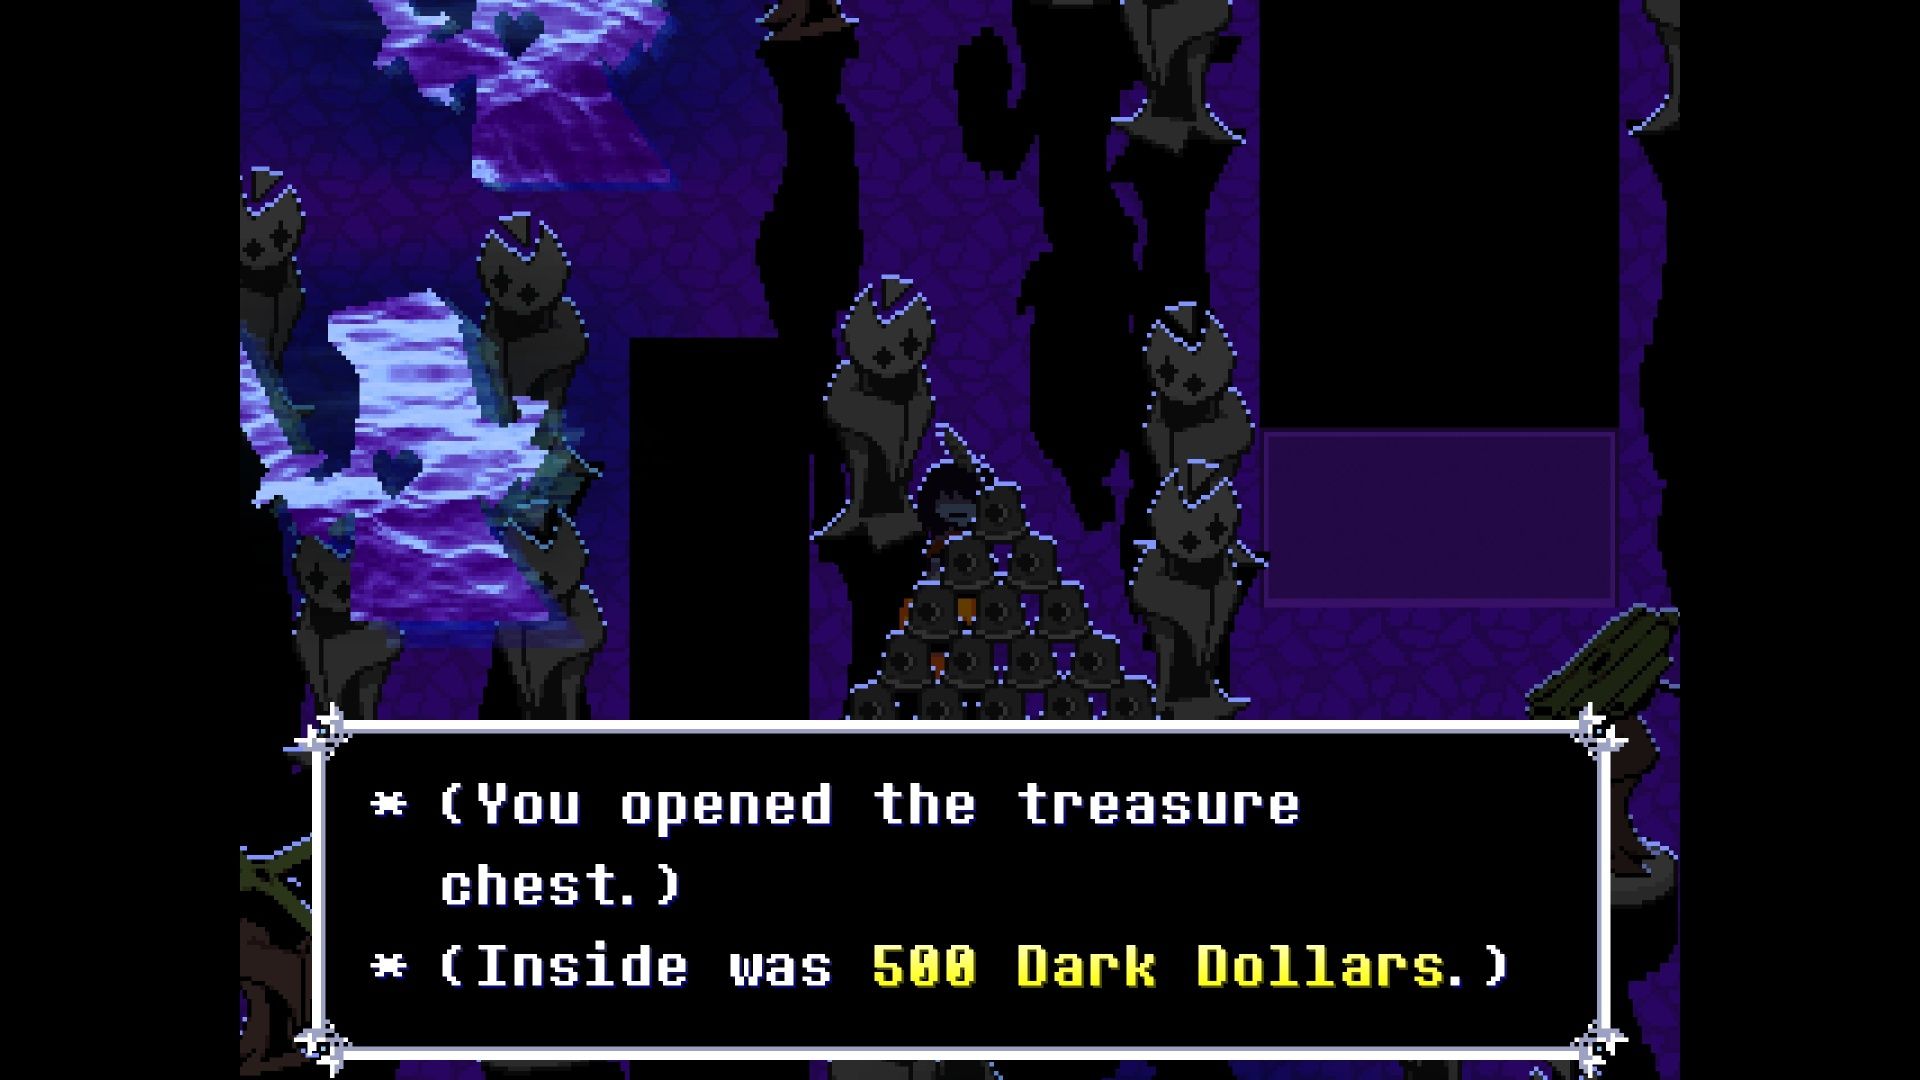
The Gallery of Ancient Faces
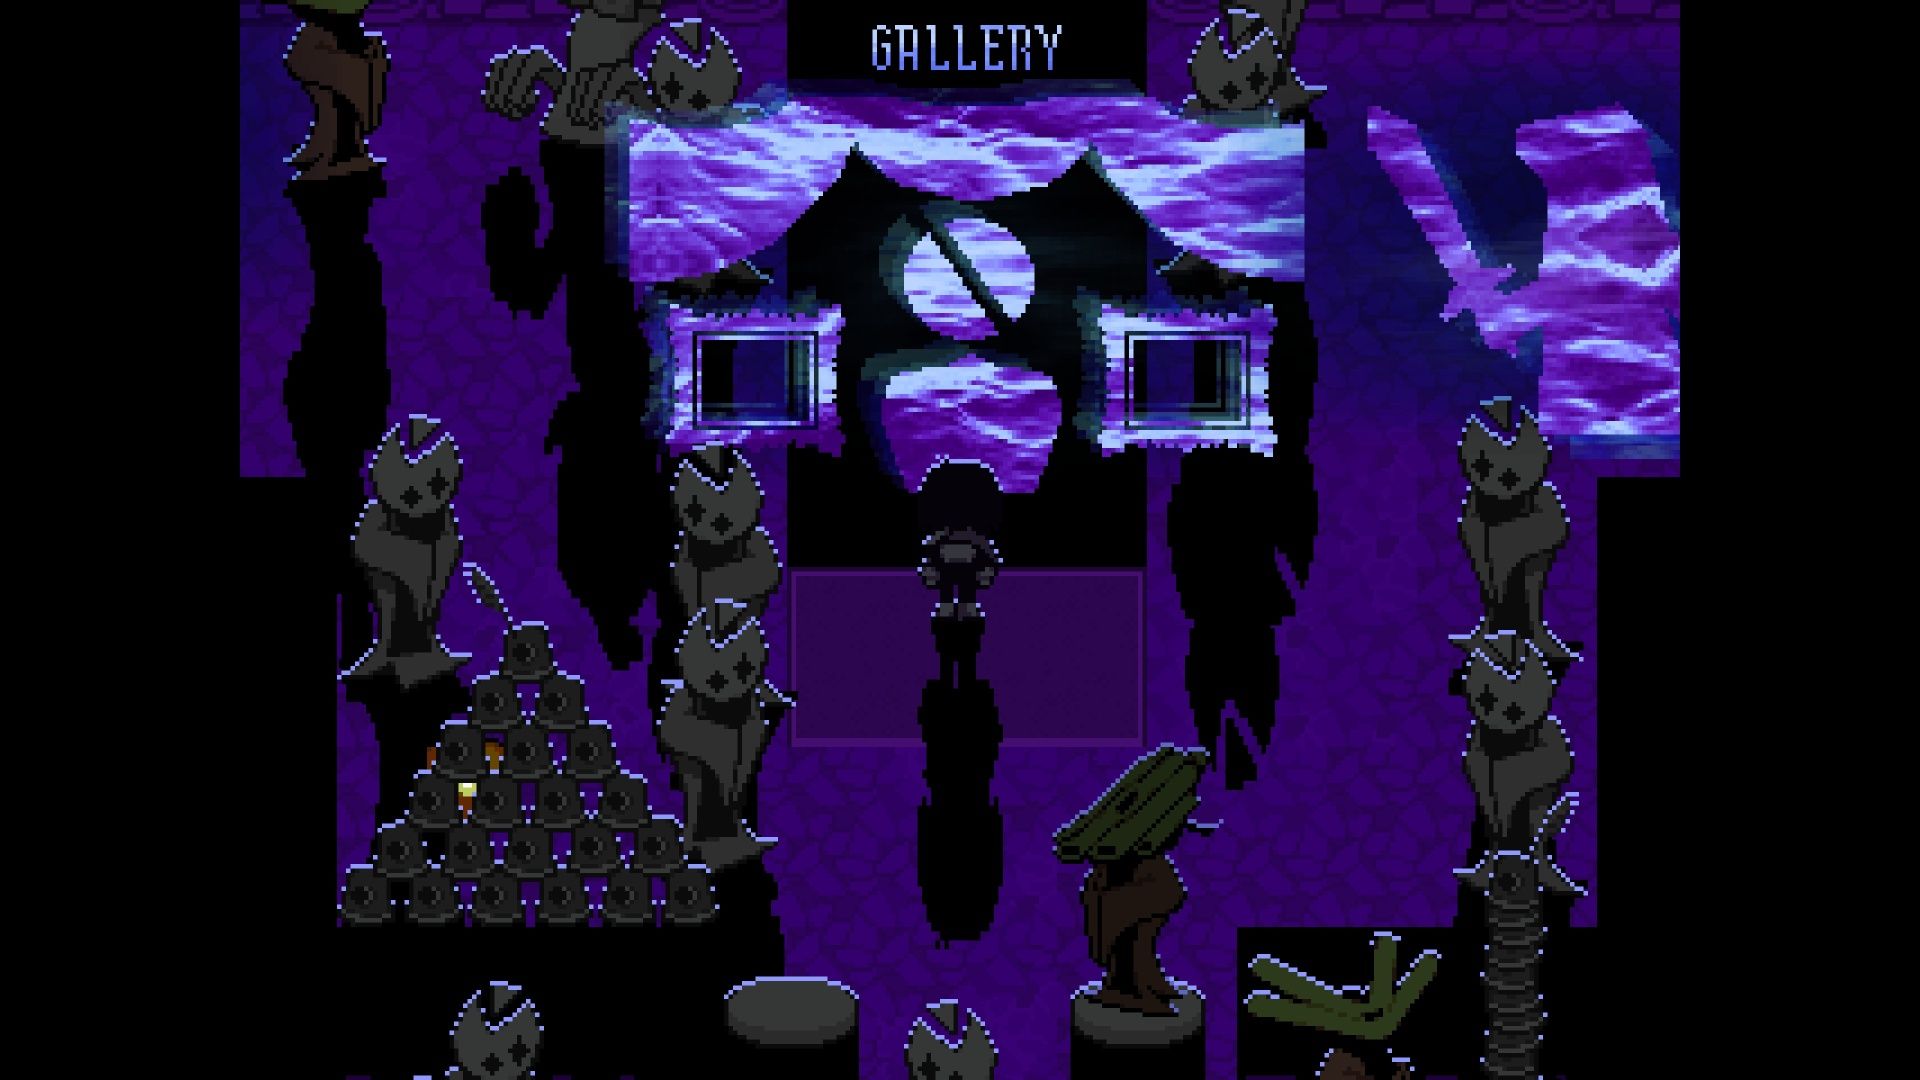
Okay, so I just entered this statue maze, and it’s kinda cool, but there are some nasty Organikks and Wicabels running around, so I’m being careful. I was checking out all the statues when I noticed a chest hidden behind one that’s made of those little red creatures we saw before. Jackpot! It had 500 Dark Dollars inside, which is awesome.
Continue following Susie and you’ll soon reach a new climbing area. Watch out for the dark cloud trailing behind you! Use the charge jump to climb quickly, and remember that jumping can also defeat enemies. Don’t forget to help Susie if she needs it. Once you finish climbing, you’ll be back in the Old Man’s study.
You can purchase Rhapsotea by interacting with the table. To continue, go through the room located behind the chair. You’ll then encounter another dark maze, and you’ll begin to hear music. Susie will ask about the music – whether you can hear it and where you think it’s coming from – and it’s fine if you don’t guess correctly.
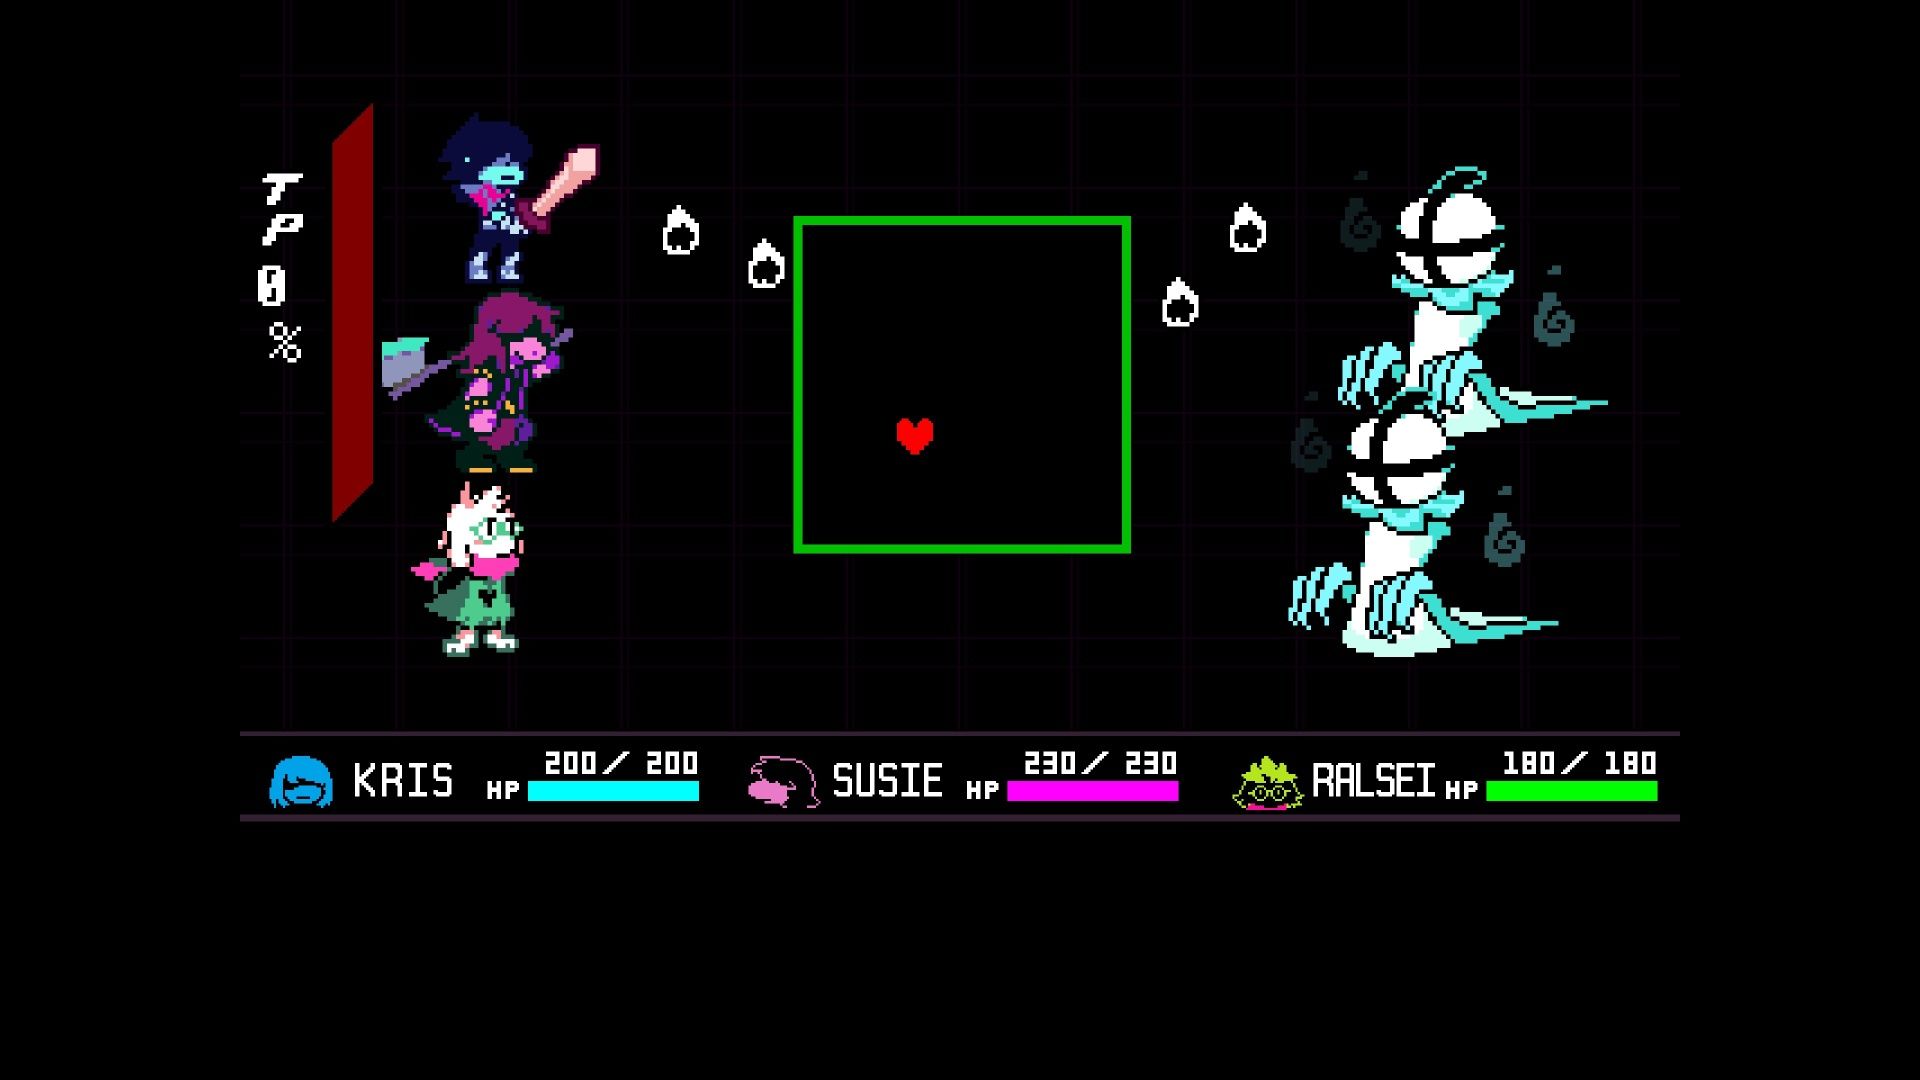
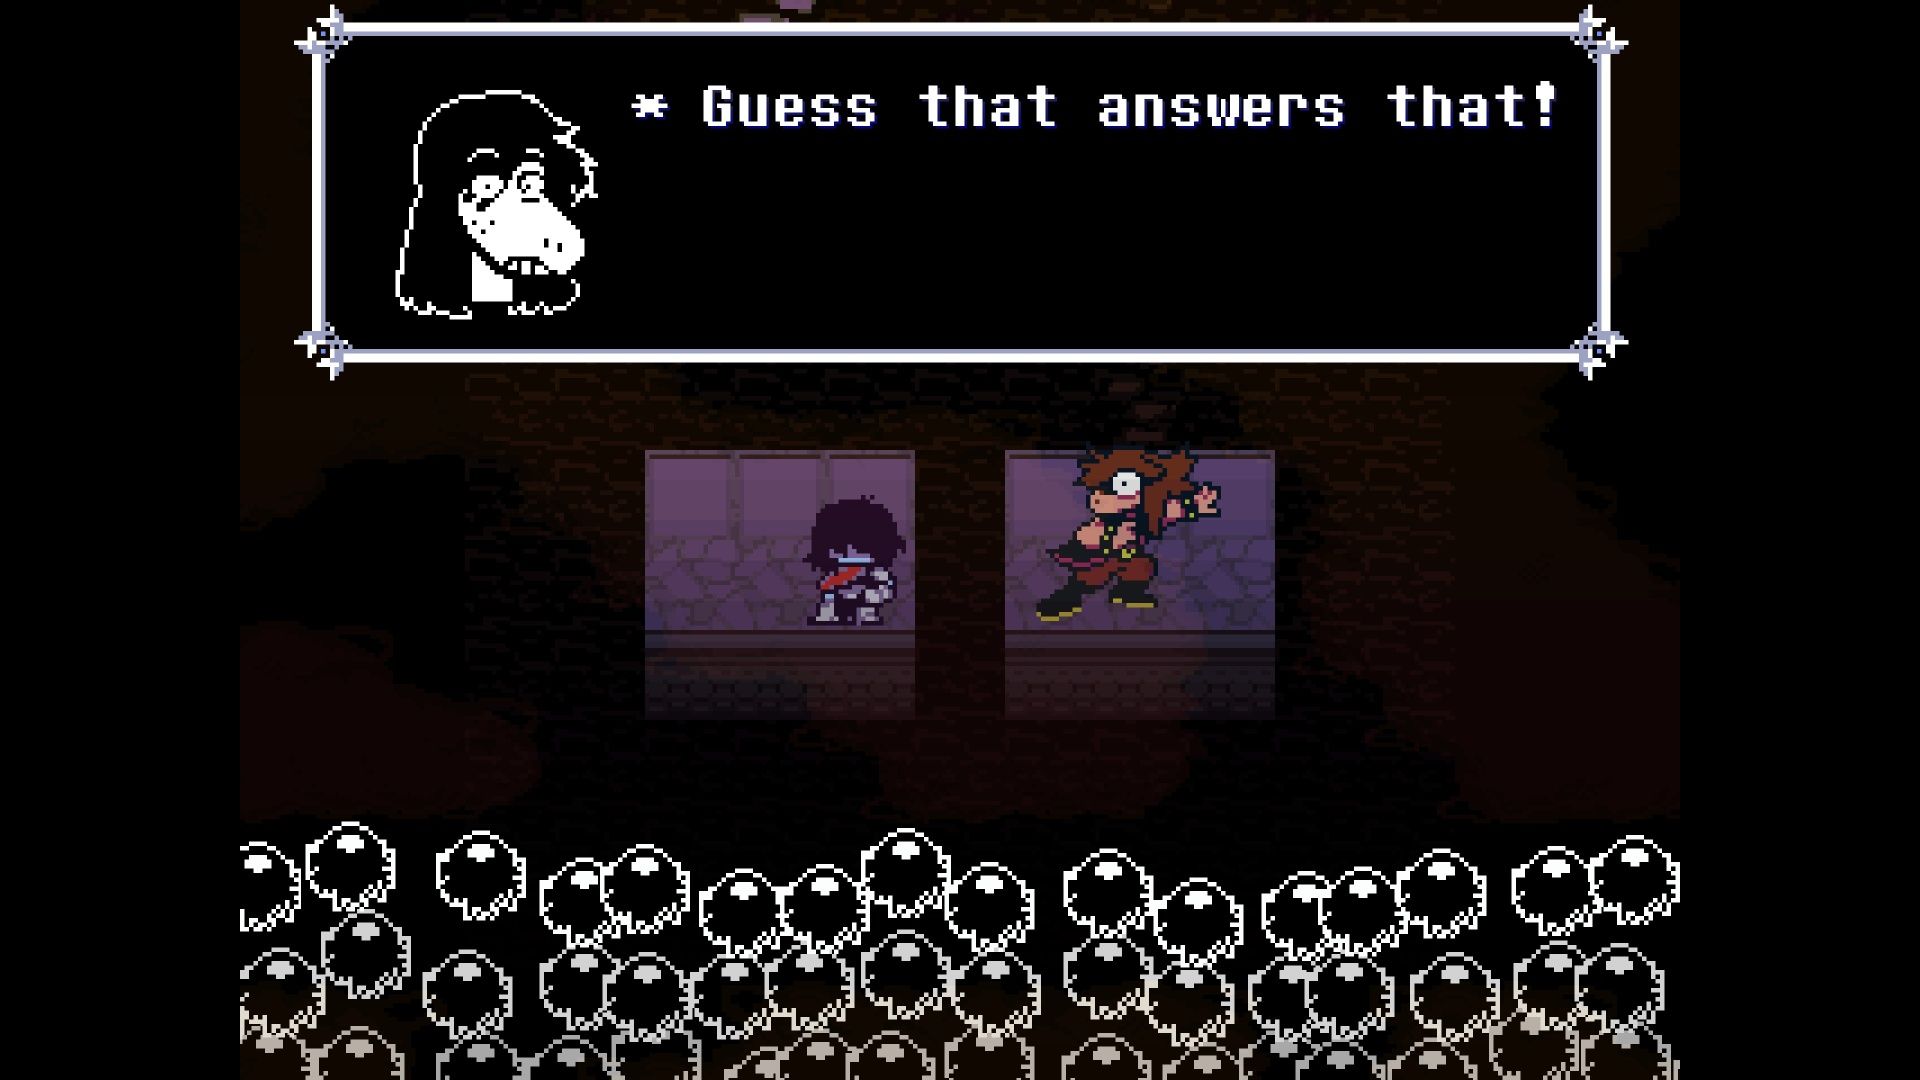
Boss Battle: “Old Man”
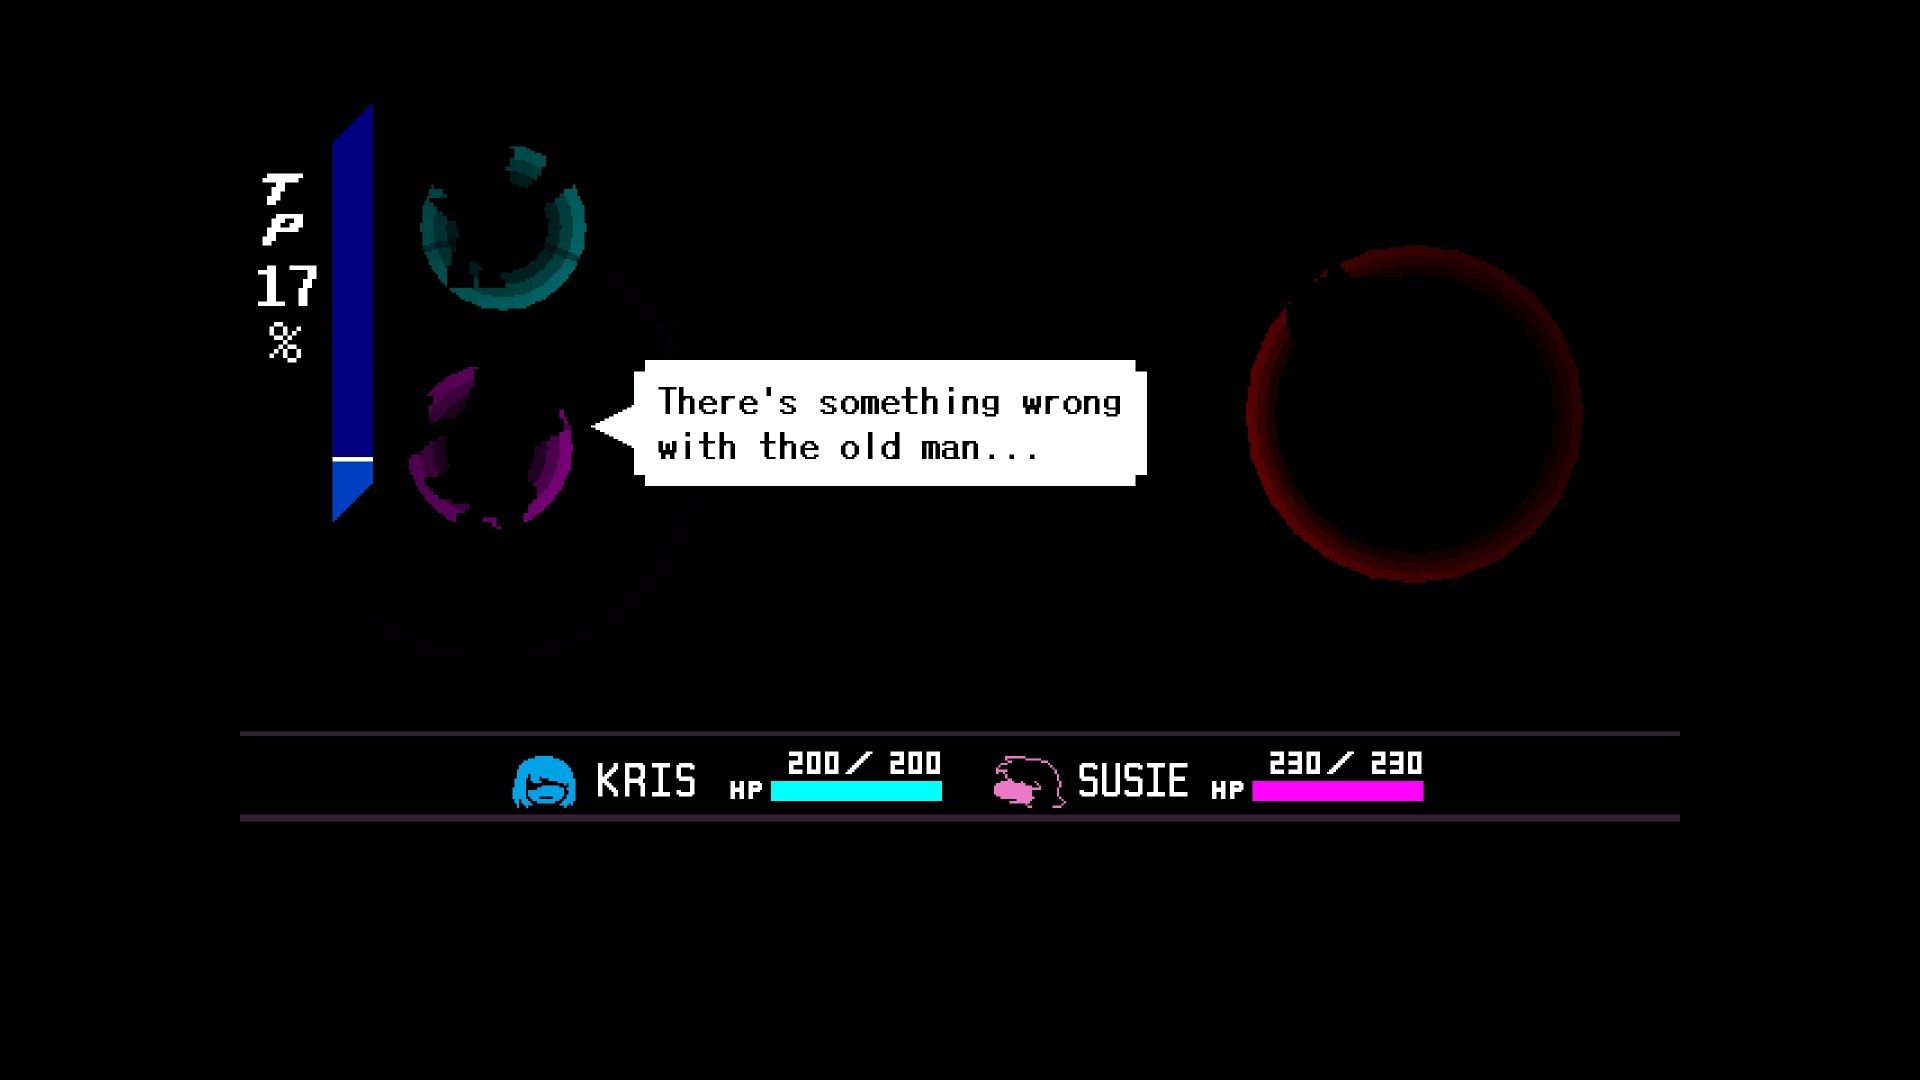
Get ready for a boss fight! Susie thinks the shadowy figure is the Old Man, and he’s about to attack. If you already defeated the Hammer of Justice earlier, this fight should be pretty easy. The battle is meant to be creepy and stressful, mostly because you won’t feel like you have much control.
Before the battle begins, pay attention to what Susie says at the start. If she asks if you can pinpoint where sounds are coming from, your response changes the difficulty. Answering ‘yes’ reduces the on-screen hints, making it harder to dodge attacks. If you’d prefer an easier time, it’s best to say ‘no’.
While facing Susie, you can’t attack – she’ll automatically block everything. Your goal is simply to survive by blocking arrows with your axe and paying attention to where they’re coming from. Watch the edges of the screen – they’ll flash to show you the direction of the arrows. Just be aware that the Old Man will also occasionally attack with his hammer, so you’ll need to stay moving and react quickly.
Eventually, the battle changes, and your SOUL will turn red. This means you’ll have to dodge attacks instead of blocking them. After this change, most attacks will come from above, so simply moving side to side at the correct moments is key to avoiding damage.
Okay, so now that we’ve got the whole group back together, let’s head up the stairs. There’s this guy who tries to talk to you partway up, but honestly, you can just walk right past him. He’ll actually catch up and give you the code to open the door at the top, so don’t worry about missing anything!
The Third Sanctuary
When you reach the third Dark World, you’ll see a large golden door. Before going through it, you can use the green portal nearby to go back to the Old Man’s study and get ready.
Return to the Old Man’s study and enter the door that used to lead to the first Dark Fountain. Inside, you’ll find a hidden challenge: a climbing race against a dog! If you win, you’ll receive a DogDollar at the top.
Once you’re prepared, go through the golden door. The first room is filled with flying books, and you’ll face challenges from Bibliox and Winglade if you get hit. In the northeast corner, you’ll find a hidden passage behind a bookshelf that leads to a climbing area. Cross the gap to discover another piece of the prophecy and a chest with a PrincessRBN inside.
This section of the maze brings back the darkness, but it only happens when you stand on the moon-shaped tiles. Pay close attention to the room before moving forward. You can find a Waferguard inside a chest hidden in the northwest corner of the dark maze. Once you’re ready to continue the story, go east and through the door at the maze’s end.
You’ll see a pink piano with musical notes around it. Keep in mind that pianos in this area move by themselves! Use the piano to drive forward and break down the gate. Then, simply follow the path to reach the final safe zone.
The Point of No Return
You’ll find a save point and a pink flame here that allow you to go back to where you last saved. You’re almost at a crucial decision point. At the bottom of the stairs leading to your goal is a bell, and a fountain nearby lets you craft potions – Scarlixir and Rhapsotea – if you have enough money.
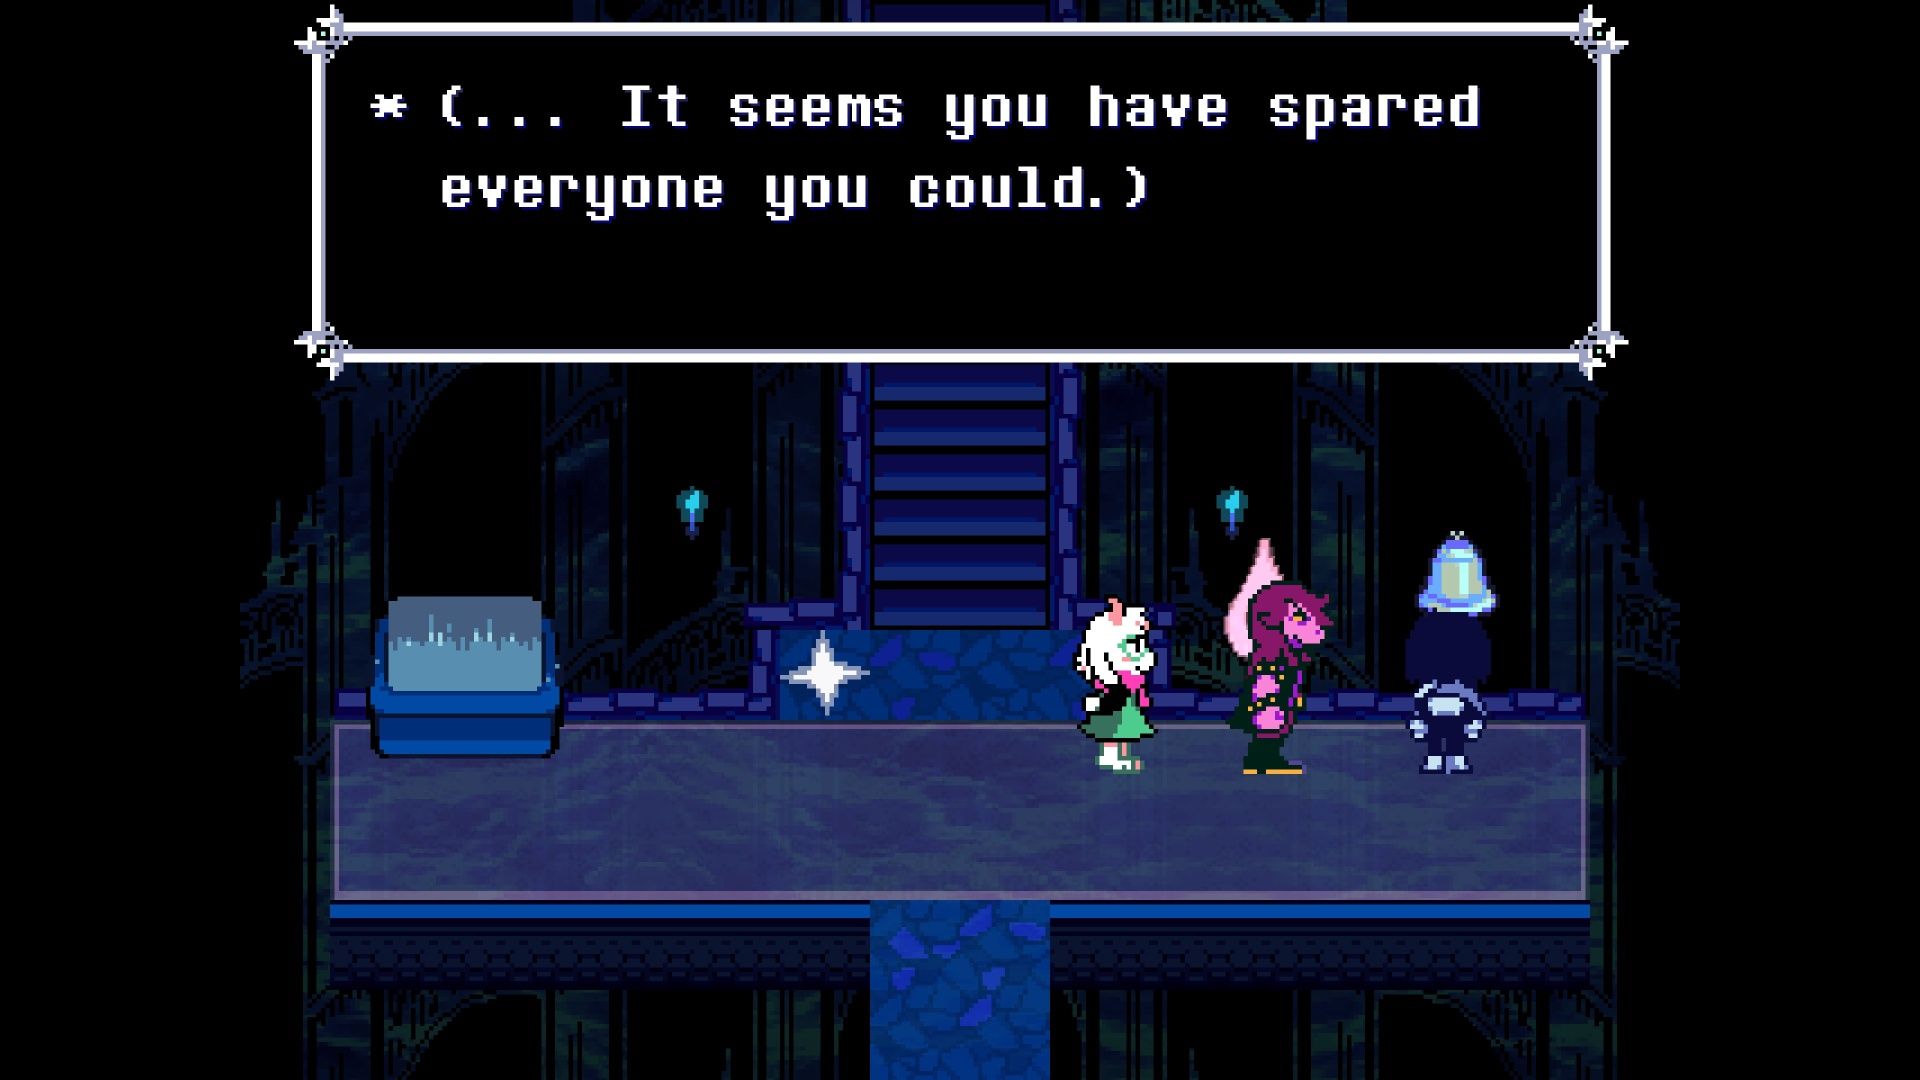
If you decide to use the ‘Judgment’ ability, it will show you how many enemies you showed mercy to during Chapter 4. If you spared all of them, you’ll unlock a special cutscene later on. Once your friends assist you, a sequence will begin where you can’t avoid taking damage – just keep moving forward.
Boss Battle: Titan
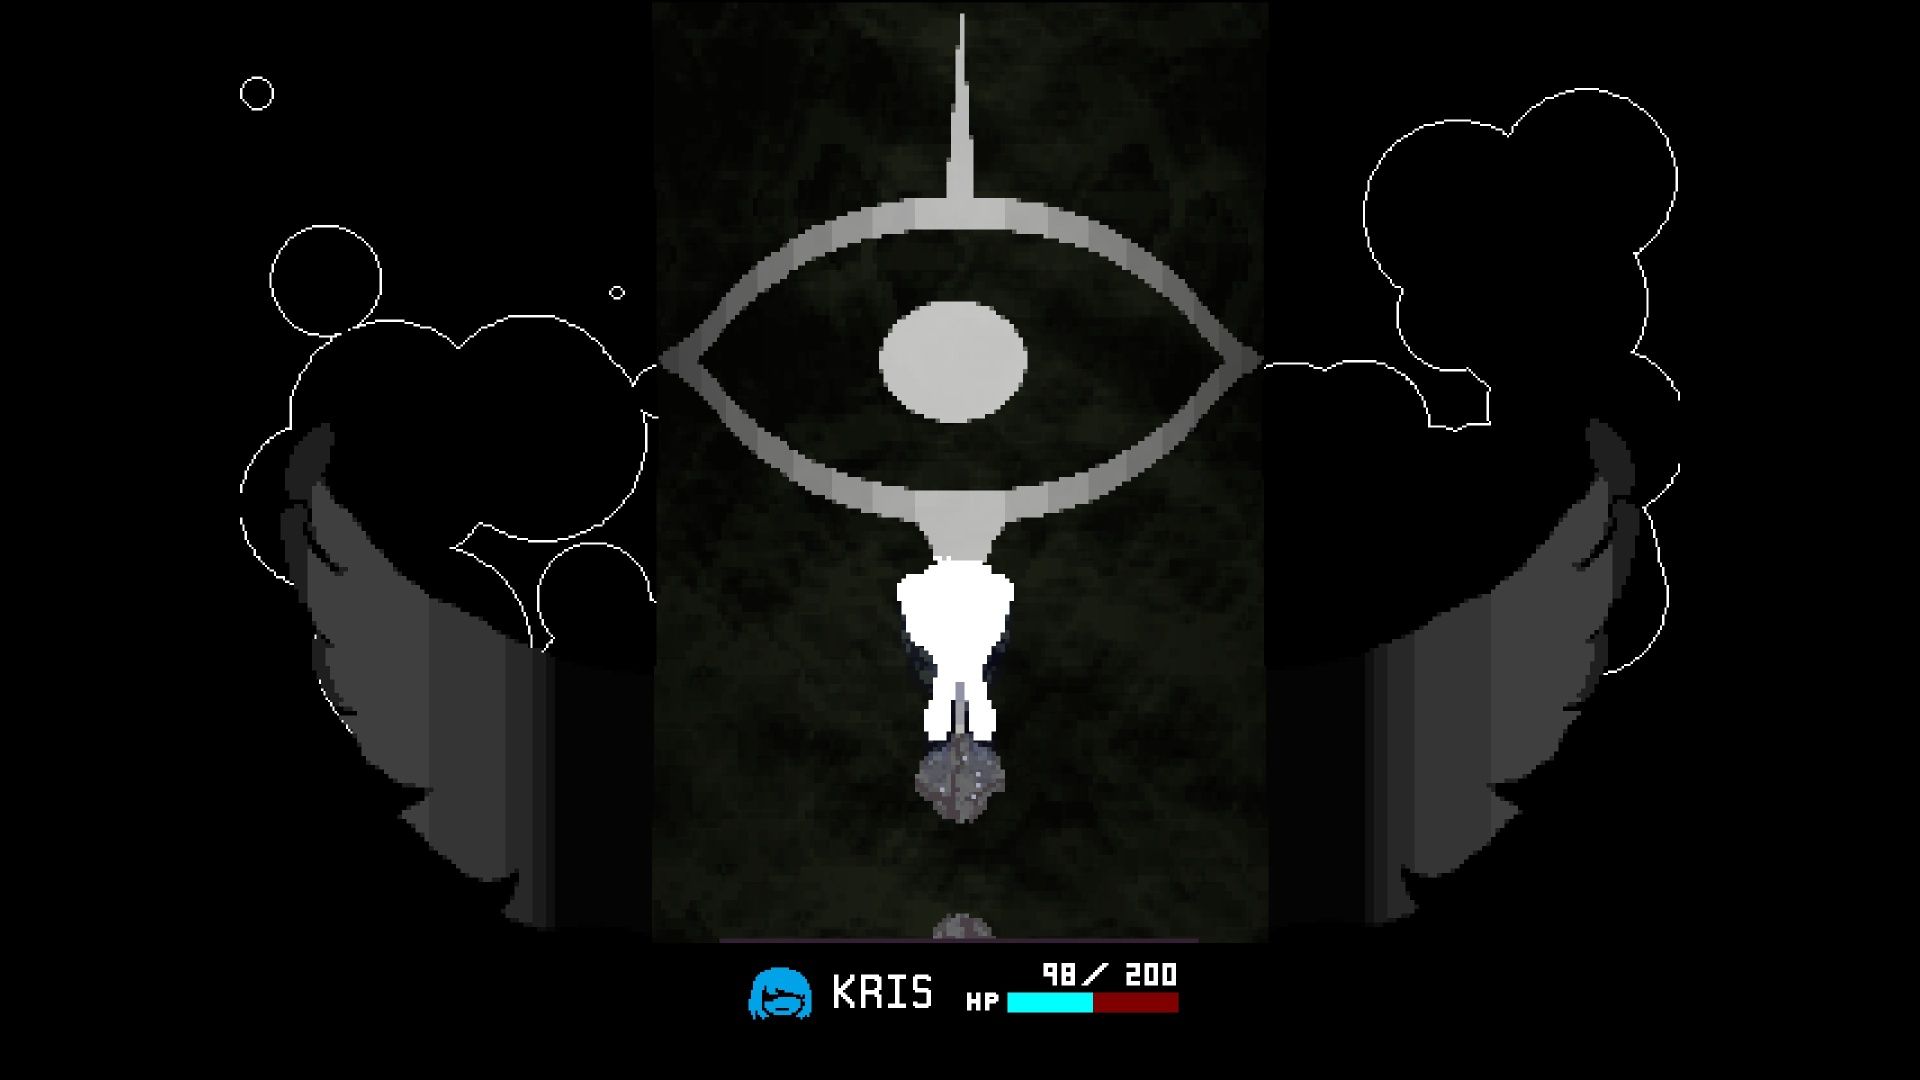
This marks the end of Deltarune Chapter 4. The Knight builds a second Dark Fountain, transforming into a giant Titan.
This section involves more climbing. Use a charged jump to quickly ascend and defeat the shadowy creatures blocking your path. Be careful, as the ground will collapse as you climb. Once you reach the top, jump into the eye to attack.
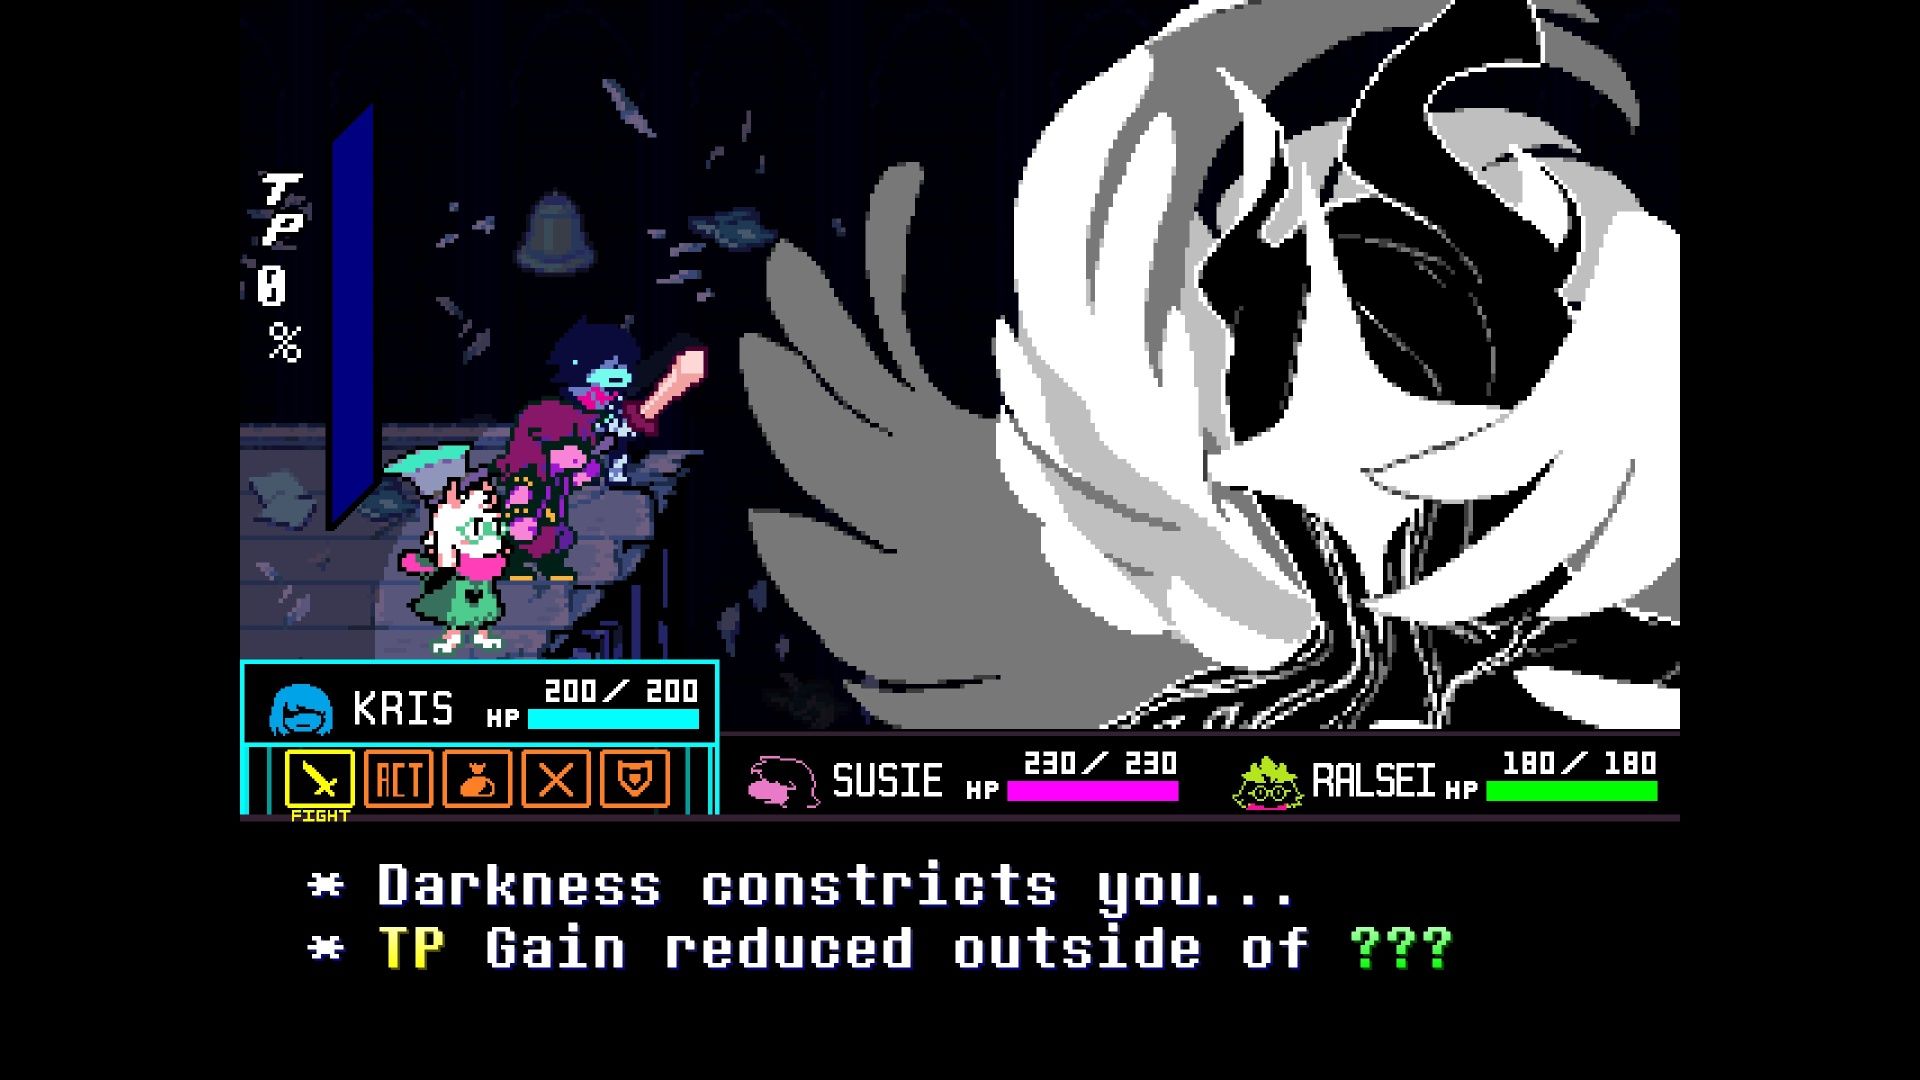
Once you’ve finished the initial climb, head east and jump down whenever you feel safe. Take a moment to heal any injuries you may have sustained. Be prepared – you’ll soon be ambushed by Titan Spawn, and you’ll encounter a new gameplay element called purification.

Similar to the Jackenstein fight, you gain energy (TP) only by gathering yellow pellets. You can attack these enemies without affecting a pacifist run. When they attack you, use your Soul’s light to defeat them and create more yellow pellets. Be careful of the red enemies, and when you’ve collected enough TP, use the Banish ability to win.
Next, you’ll face one last climbing section, but it’s similar to what you’ve already done. Once you reach the top, the real fight against the Titan begins. To win, focus on purification – use the Soul’s light to defeat enemies and collect energy pellets. Be careful to avoid red enemies and the Titan’s attacks. The Titan will also send fingers down into the arena along with shadow orbs, and these fingers are easy to destroy for a quick boost of energy.
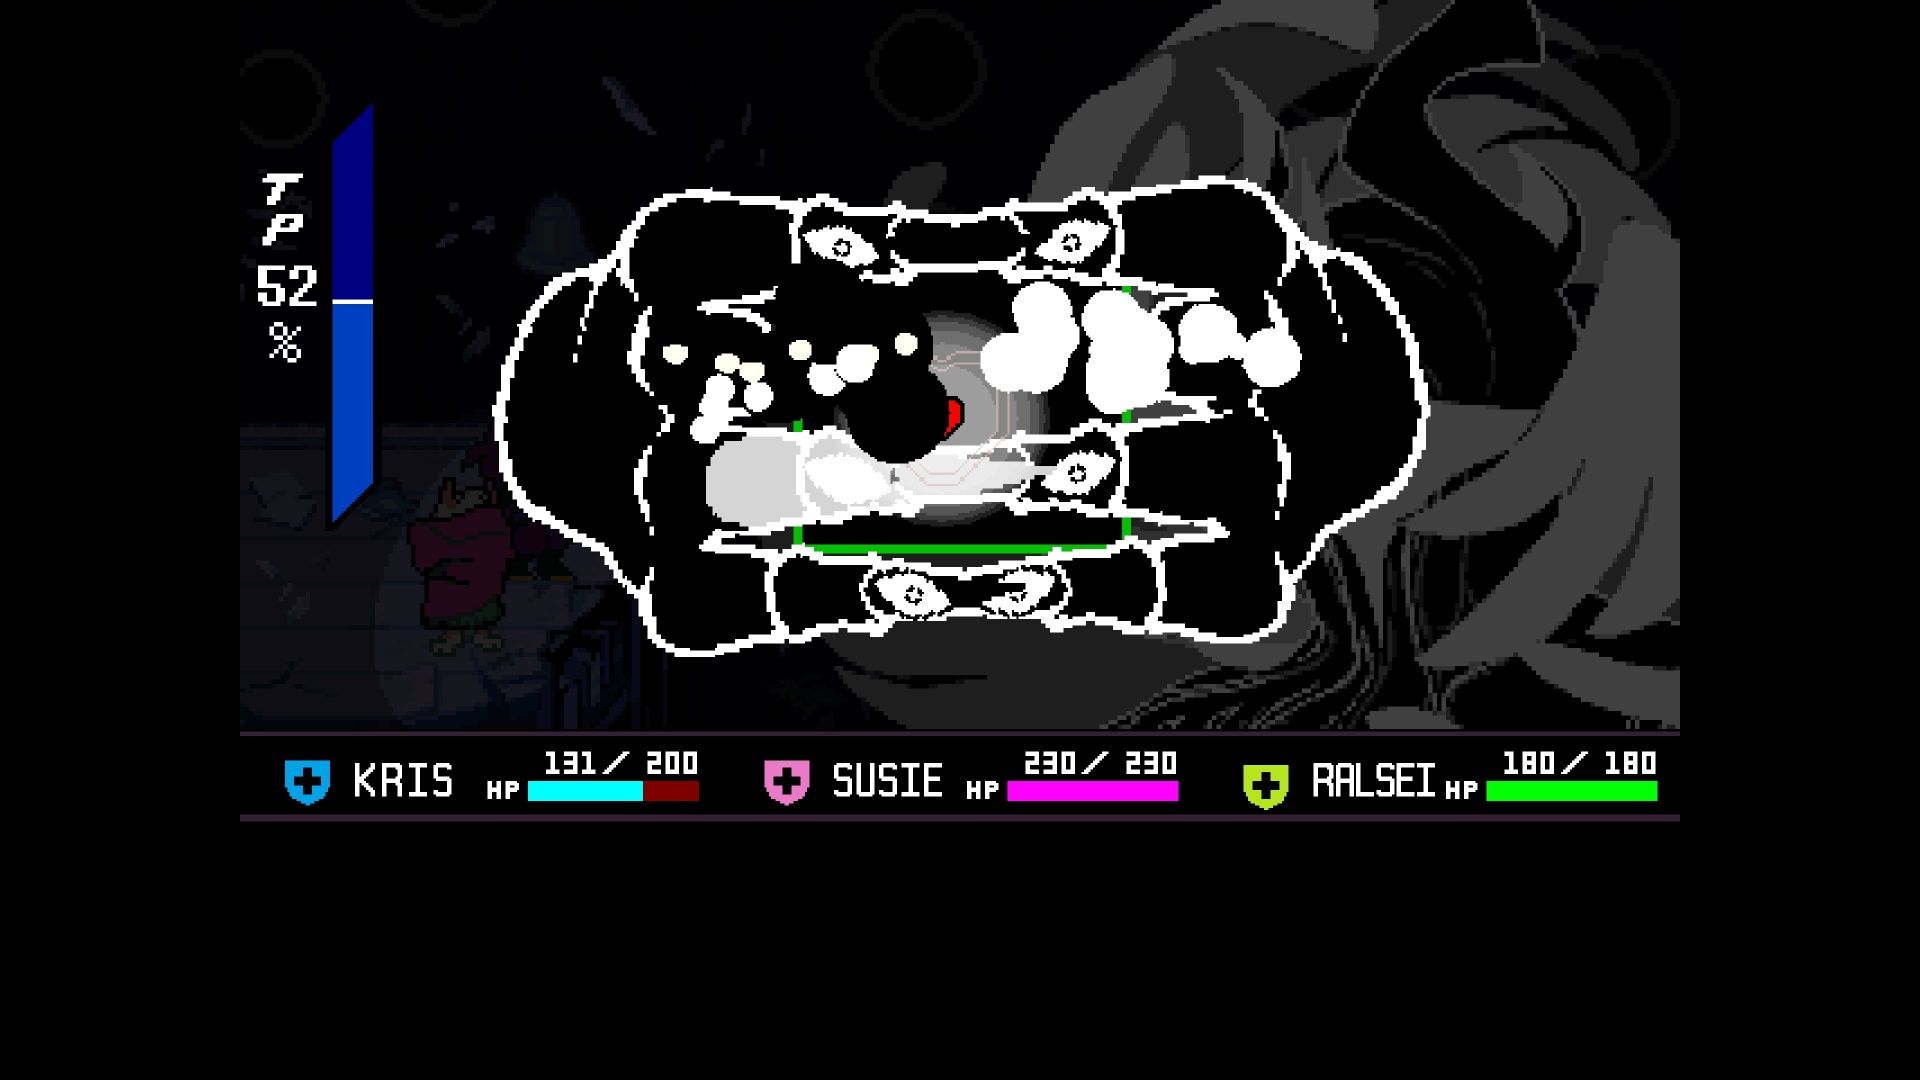
Susie’s now powerful enough to use DualHeal! It uses a lot of TP, but she and Ralsei can completely restore everyone’s health with it. The fight with the Titan can be long, so don’t hesitate to heal up when needed.
Once the Titan’s health reaches 80%, you can use Unleash to break through its defenses and significantly increase your attack power. After using Unleash a few times, a cutscene will begin. The Titan will keep healing, making your attacks seem ineffective. However, with help from the Old Man, you can finally defeat it! Use the new DualBuster ability to have Susie and the Old Man launch powerful projectiles at the Titan.
After playing for a little while, Susie will come up with a plan to finally beat the Titan. Choose “Susie’s Idea” from the ACT menu to finish the battle.
Epilogue
Once the Titan is defeated, Susie will move forward and encounter the prophetic events Ralsei previously mentioned. By following these predetermined scenes, you’ll ultimately return to the Light World.
You can wander around town with Susie, but she repeatedly wants you to return home. Most of the houses are either locked up tight or completely empty, though you might find a few things to do before you decide to go back.
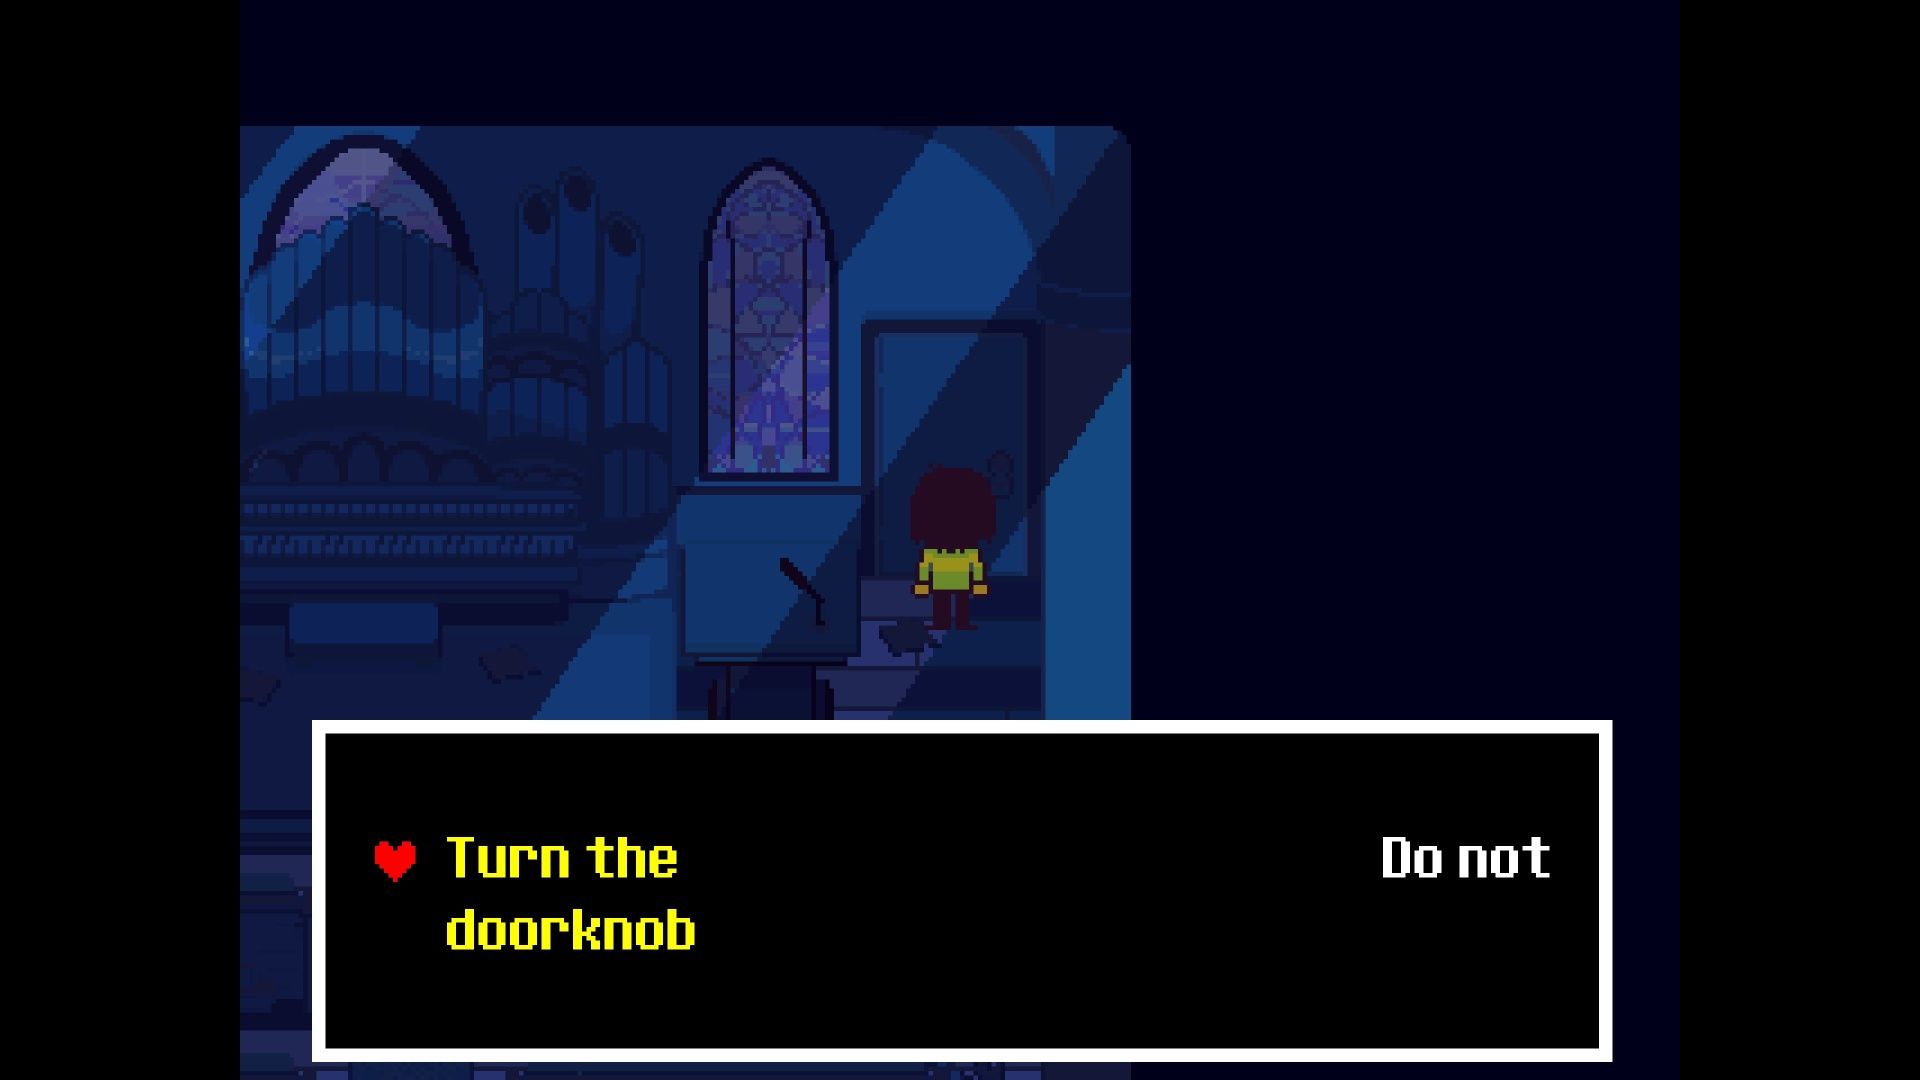
Inside the church, look for a strange doorknob on the door in the upper-right corner. Then, go outside and head west to find a small graveyard. Examine the headstone with a hammer on it – reading it will give you some background on the Old Man. Once you’ve done that, return to Kris’ house to complete this chapter. And that’s all for now! We’ll see you again in a few years with Deltarune Chapter 5.
Read More
- Forza Horizon 6: Find the Ohtani Treasure Chest Location
- LEGO Batman Legacy of the Dark Knight Batcave Minikits & WayneTech Caches
- NTE Drift Guide (& Best Car Mods for Drifting)
- Diablo 4 Best Loot Filter Codes
- USD RUB PREDICTION
- USD CNY PREDICTION
- Cookie Run Kingdom Timeline of Fate Update Guide
- PS Plus Monthly Games for June 2026 Wish List
- Top 10 Must-Watch Isekai Anime on Crunchyroll Revealed!
- GBP CNY PREDICTION
2026-04-15 00:49