With the release of the third act in the Episode Heresy for Destiny 2, we are moving towards the conclusion of the Light and Dark Saga’s ending, which precedes Frontiers launch later in the year.
Or:
Now that the third installment of Destiny 2’s Episode Heresy has been unveiled, it leads us to the final chapter of the Light and Dark Saga before the arrival of Frontiers later on this year.
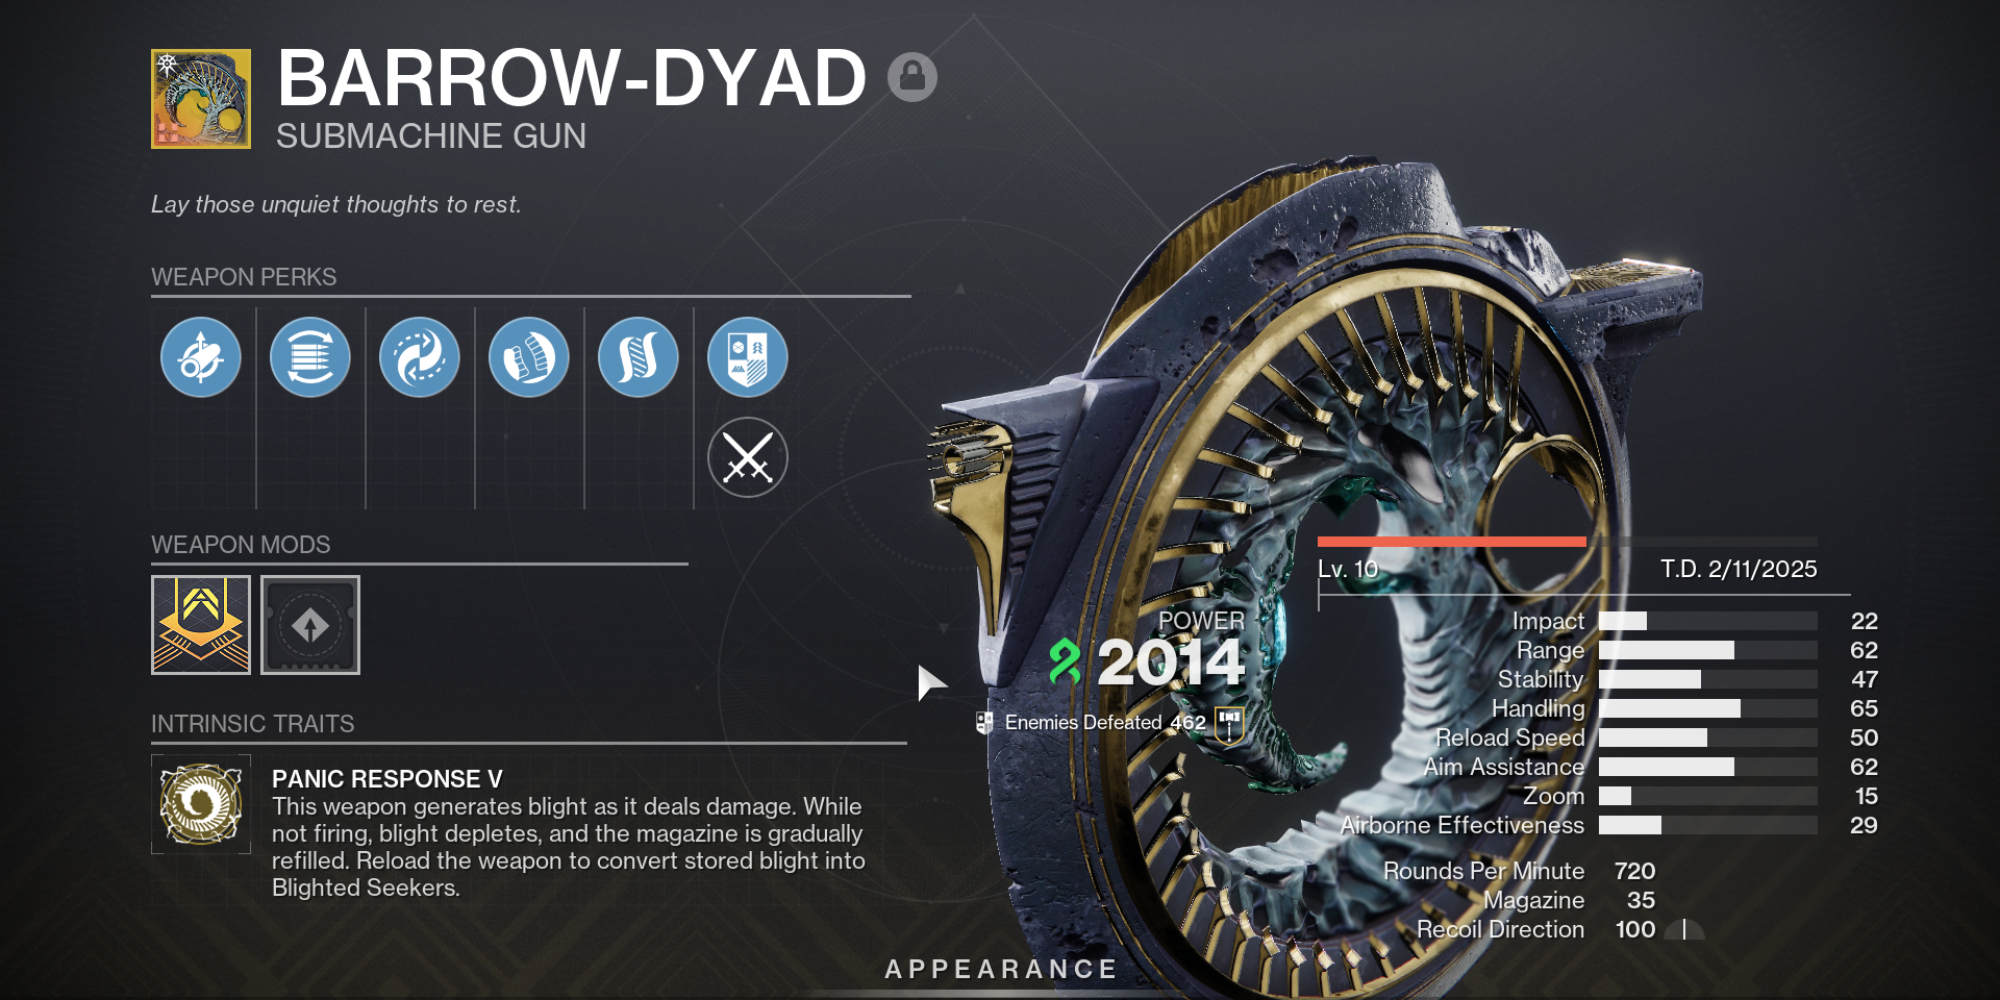
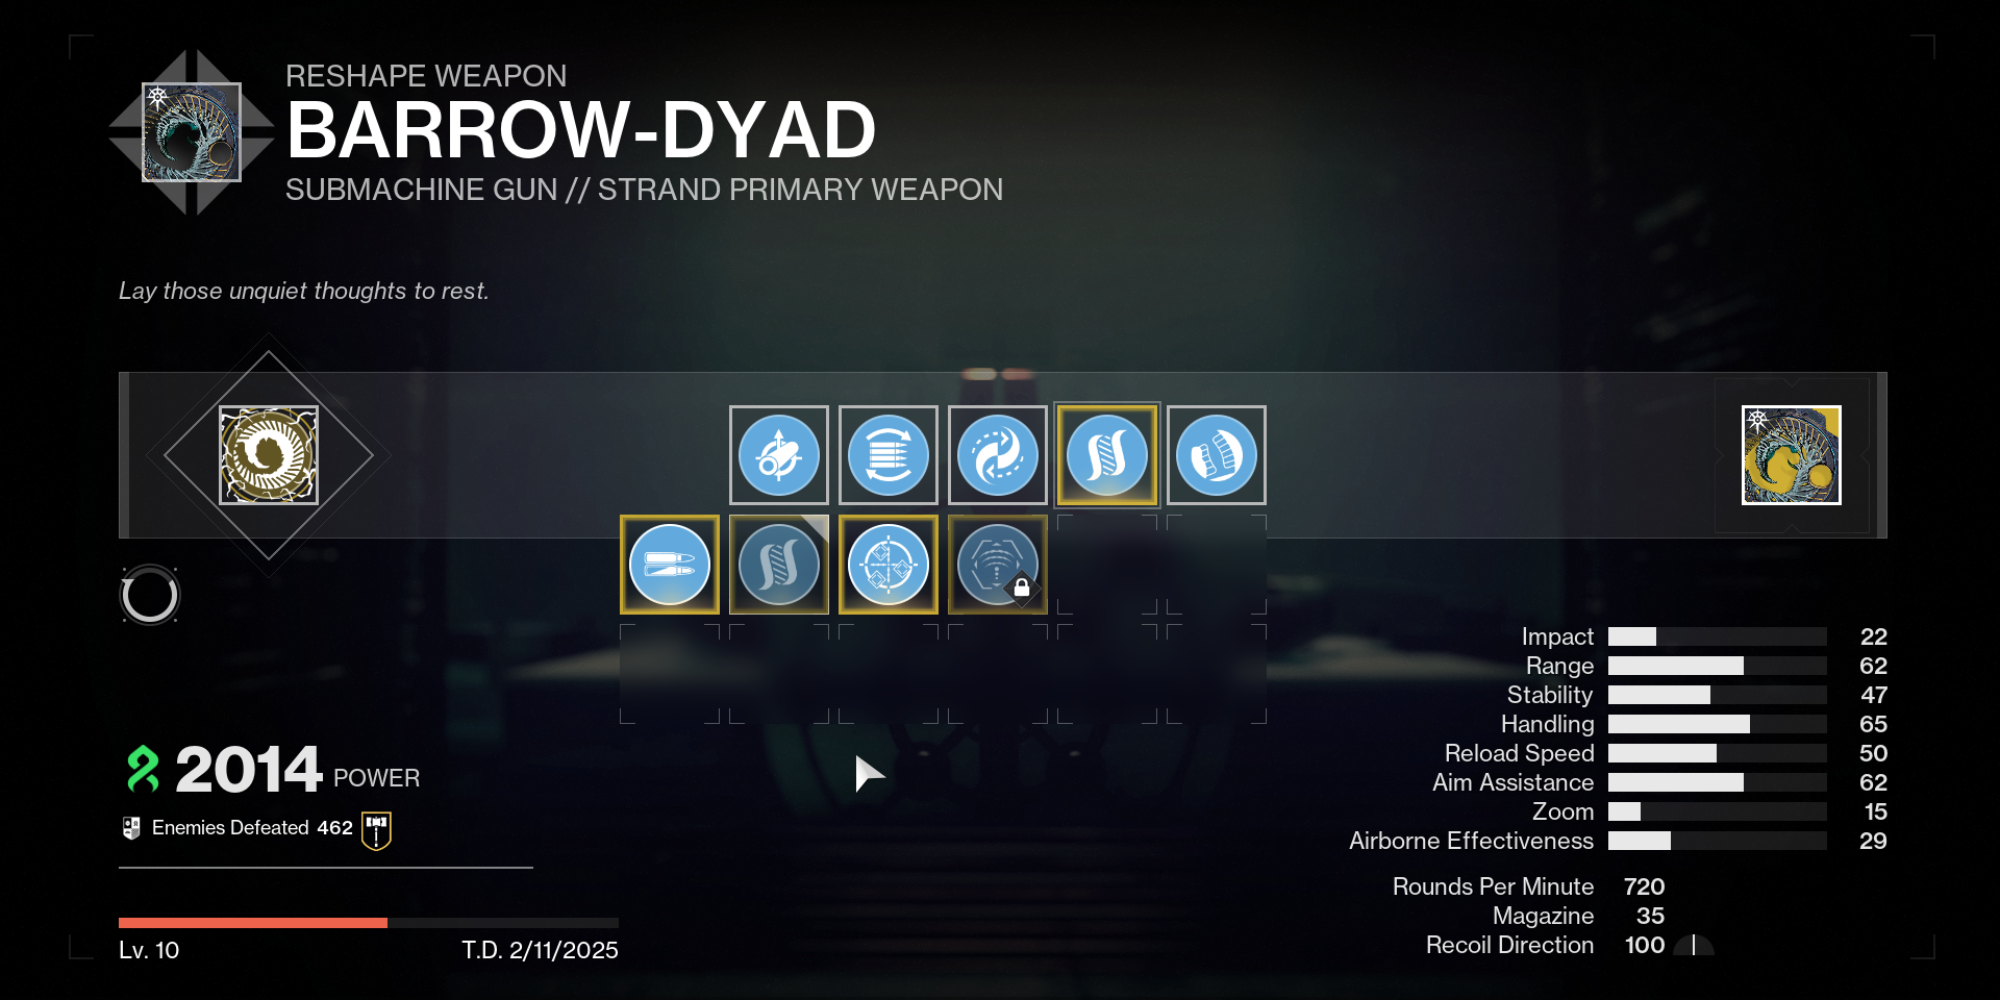
In addition to the climactic scene involving the Hive God siblings and our ultimate showdown with Xivu Arath, we are introduced to two fresh Catalysts for Barrow-Dyad. This new Exotic, which has significantly increased in power from Act 1 and Act 2, is generating quite a buzz due to its remarkable abilities in clearing additional enemies and delivering high damage per second (DPS).
Rather than encountering a direct path immediately, you’ll have to uncover the new methods on your own, an endeavor that calls for detective work, hard work, and a dash of random chance.
Our goal is to guide you through discovering these latest missions, allowing you to maximally enhance the Barrow-Dyad in Destiny 2.
Overview
Previously, we delved into the mystery of the Barrow-Dyad revelation from Act 1. Since that time, it has evolved into an unstoppable force for wiping out obstacles and dealing massive damage.
Among weapons introduced after the Final Shape episodes, Barrow-Dyad stands out as a notable contender, outperforming heavyweights such as Choir of One and Slayer’s Fang.
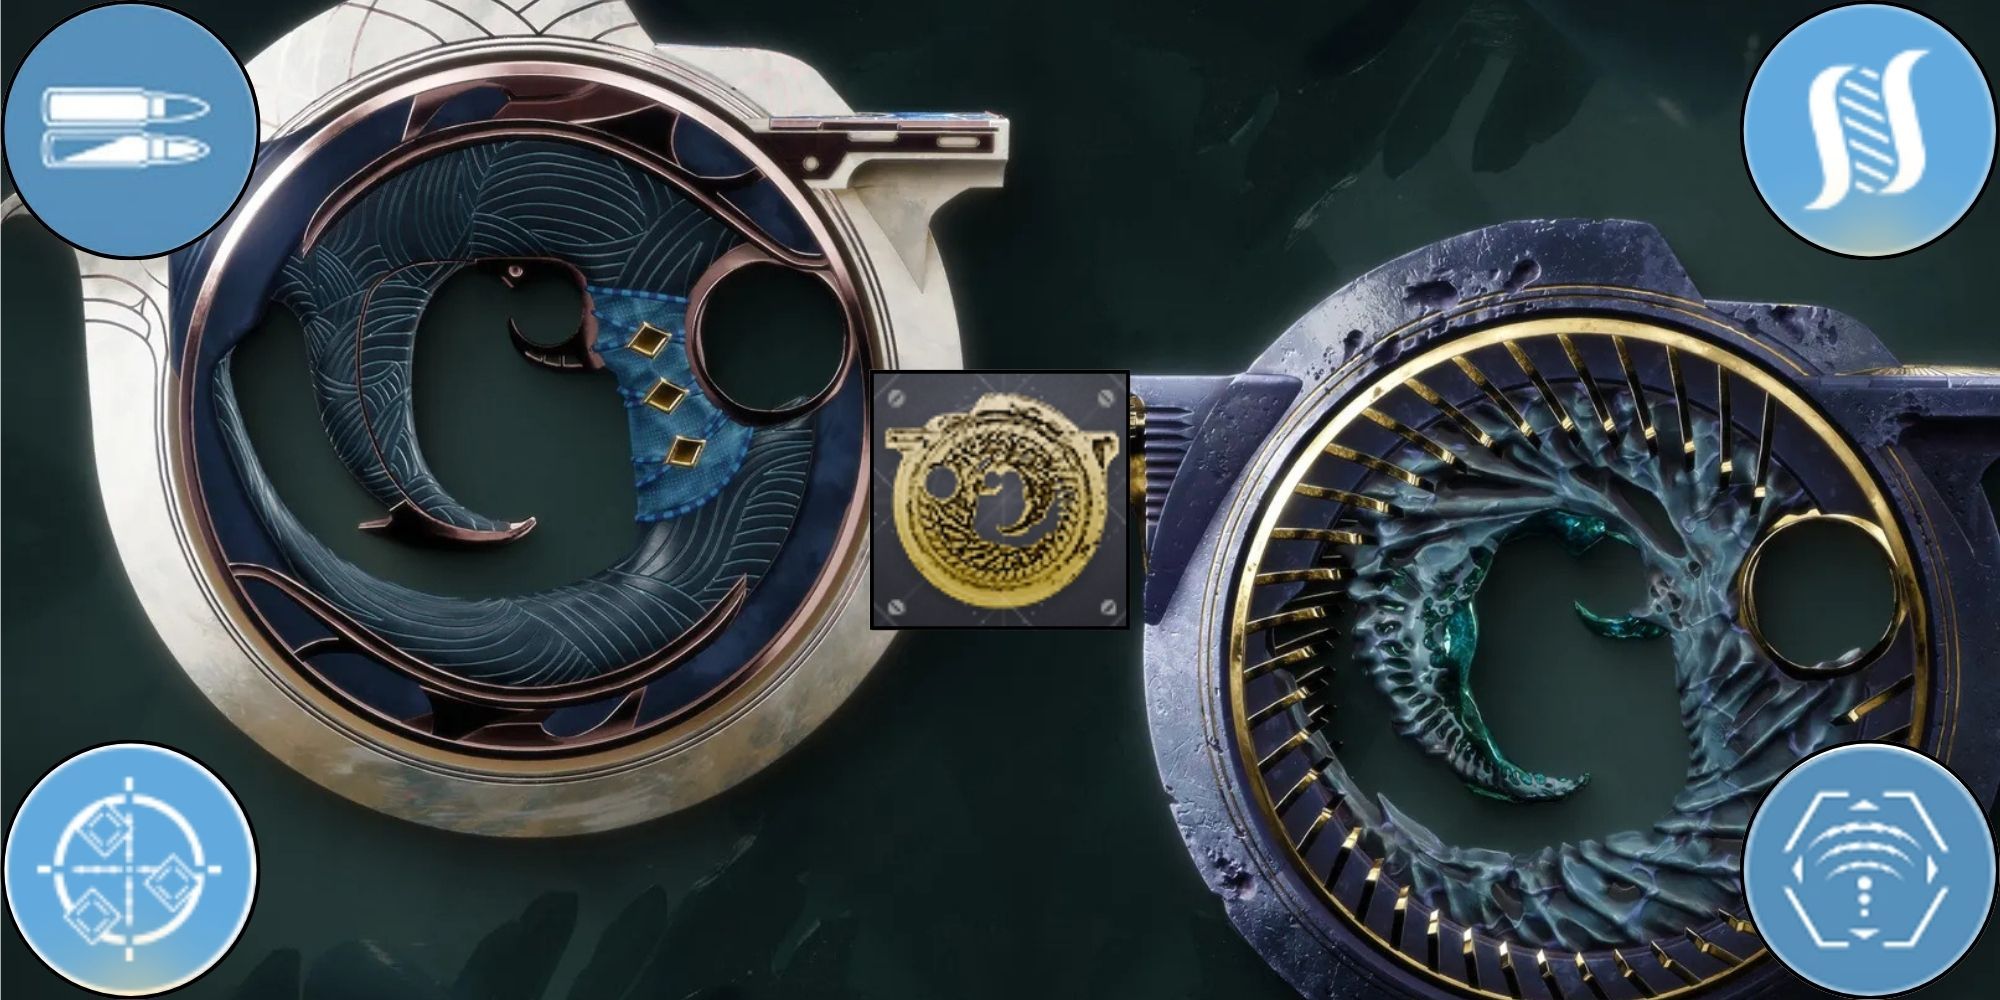
Each catalyst provides a unique twist to how you can wield Barrow-Dyad, and they’re all valuable additions to your arsenal. Moreover, the path you’ve chosen as a Taken also subtly influences the weapon’s performance.
Once the Episode Heresy concludes, the sole method to alter the weapon’s performance is by molding it in the workshop within the Enclave.
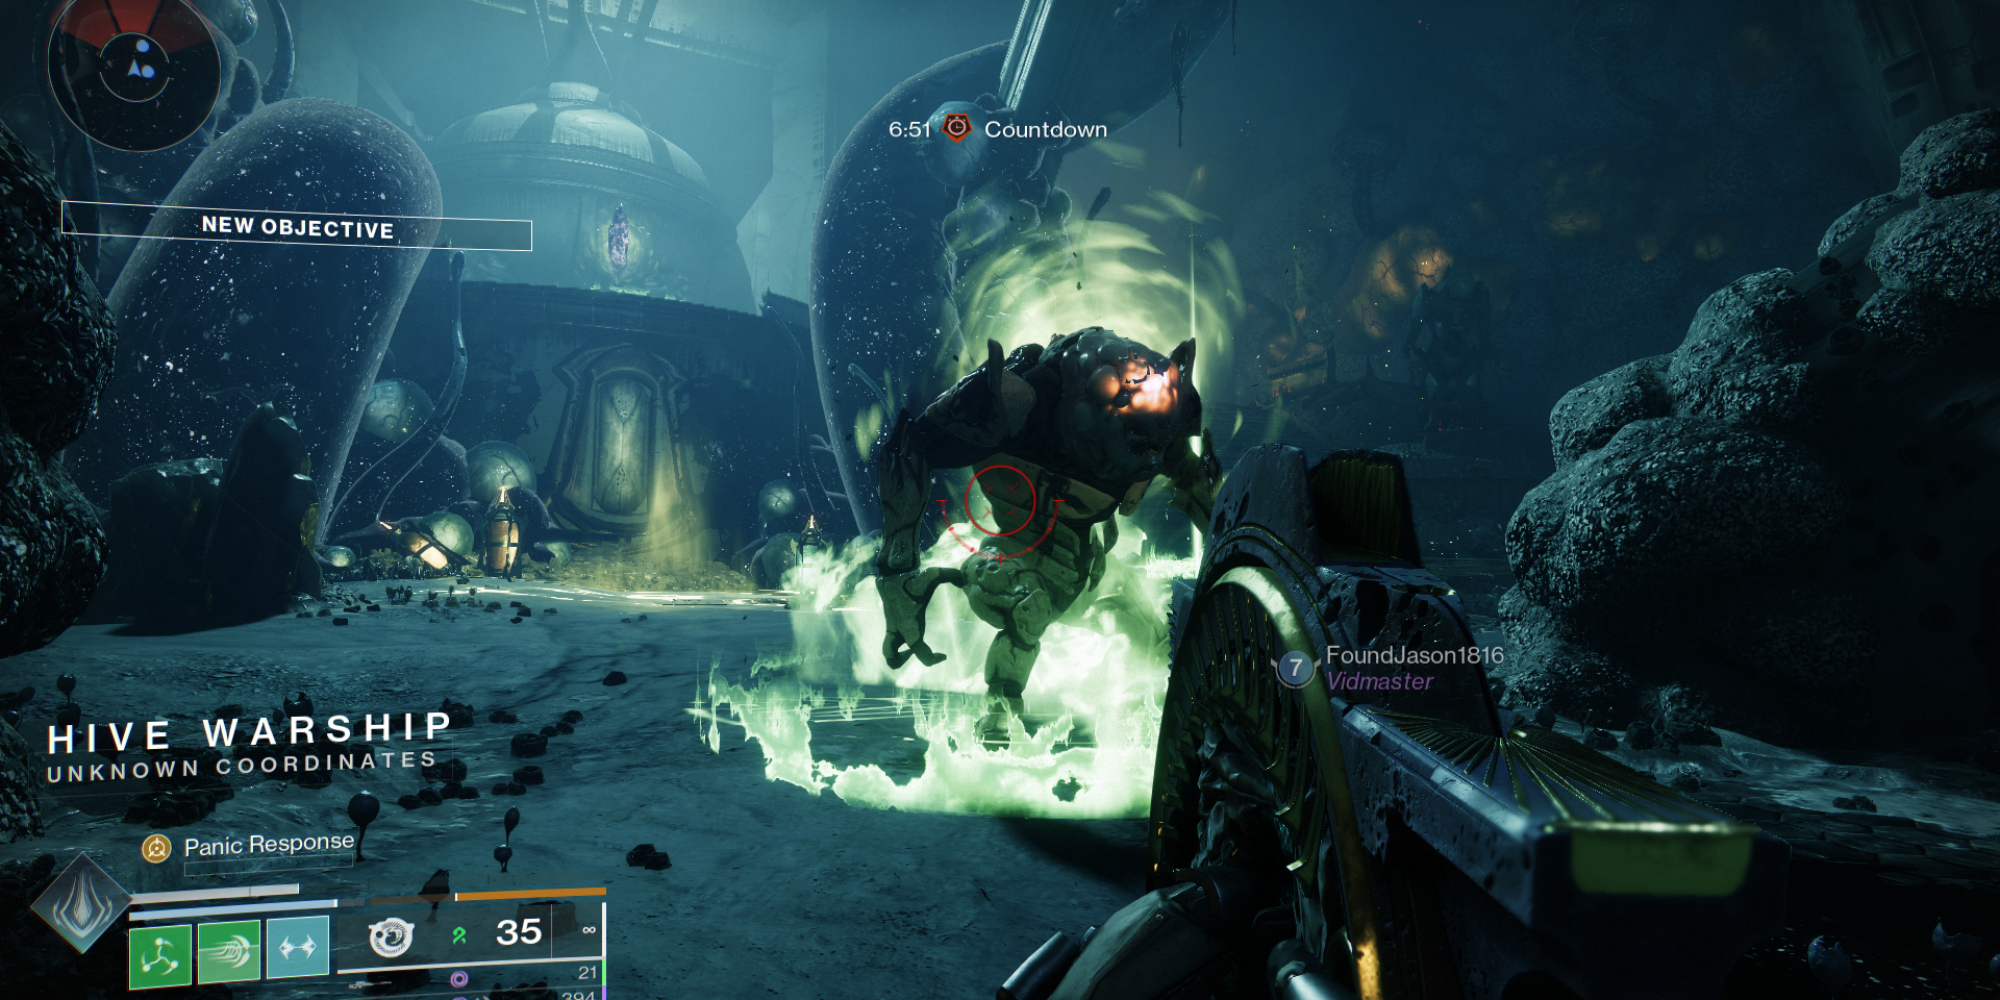
To carry out most tasks related to Heresy, it is essential to outfit the Barrow-Dyad. This action will trigger a quest sequence that ultimately reveals the location of the catalyst.
If you’d rather utilize your preferred arsenal, you can accomplish the task using your chosen equipment, and then easily switch to the Barrow-Dyad just before the activity concludes.
Additionally, you’ll have to gather all 18 Taken Bone Pieces for the Dyadic Ascension mission in order to completely enhance your Intrinsic Ability to level it up to “Panic Response V.
There are 12 fragments in the Nether and six in the new Sunless Cell strike.
High Impact Reserves
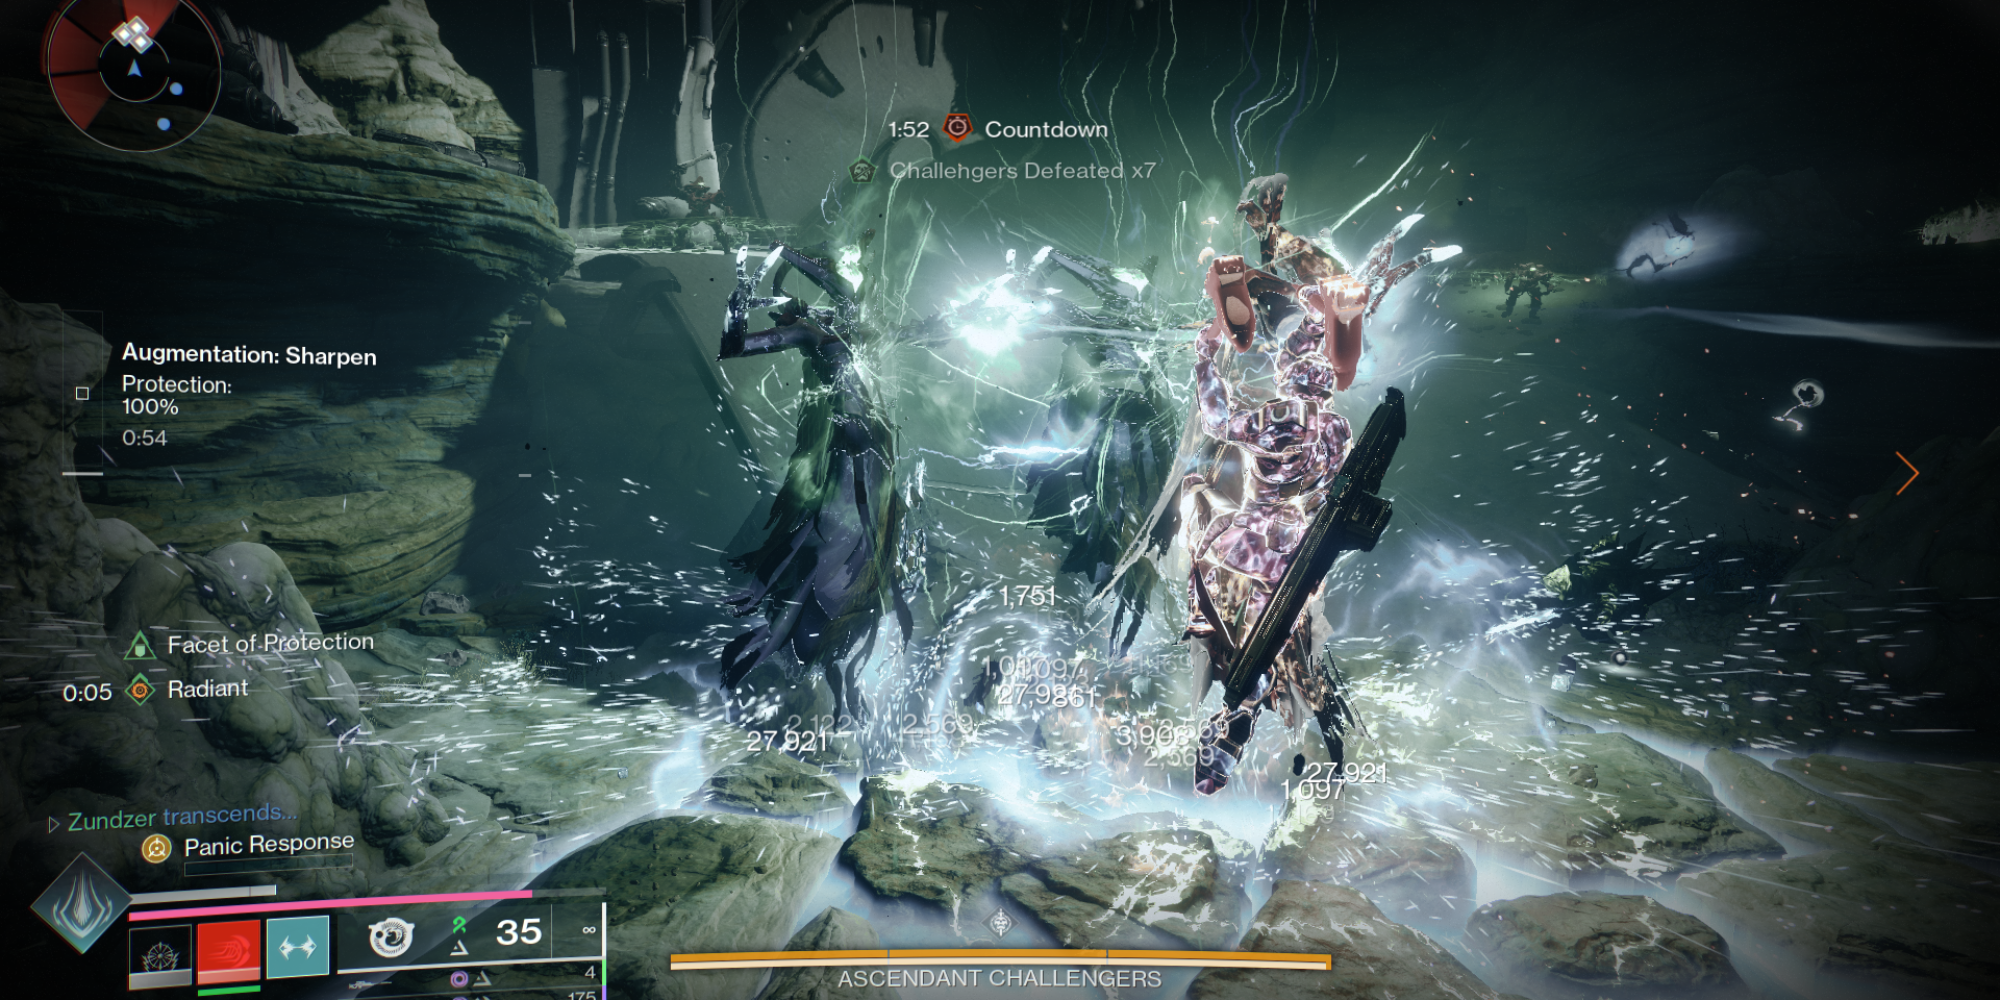
To set off on your initial boosting opportunity, you need to accomplish the “Expert Court of Blades” challenge while having the “Barrow-Dyad” equipment in your inventory. The quest can then be accessed.
In this scenario, you will get hold of the Sharp Osseous Spine and then need to bring it back to the Shaping Slab to receive the “A Needle’s Path” quest.
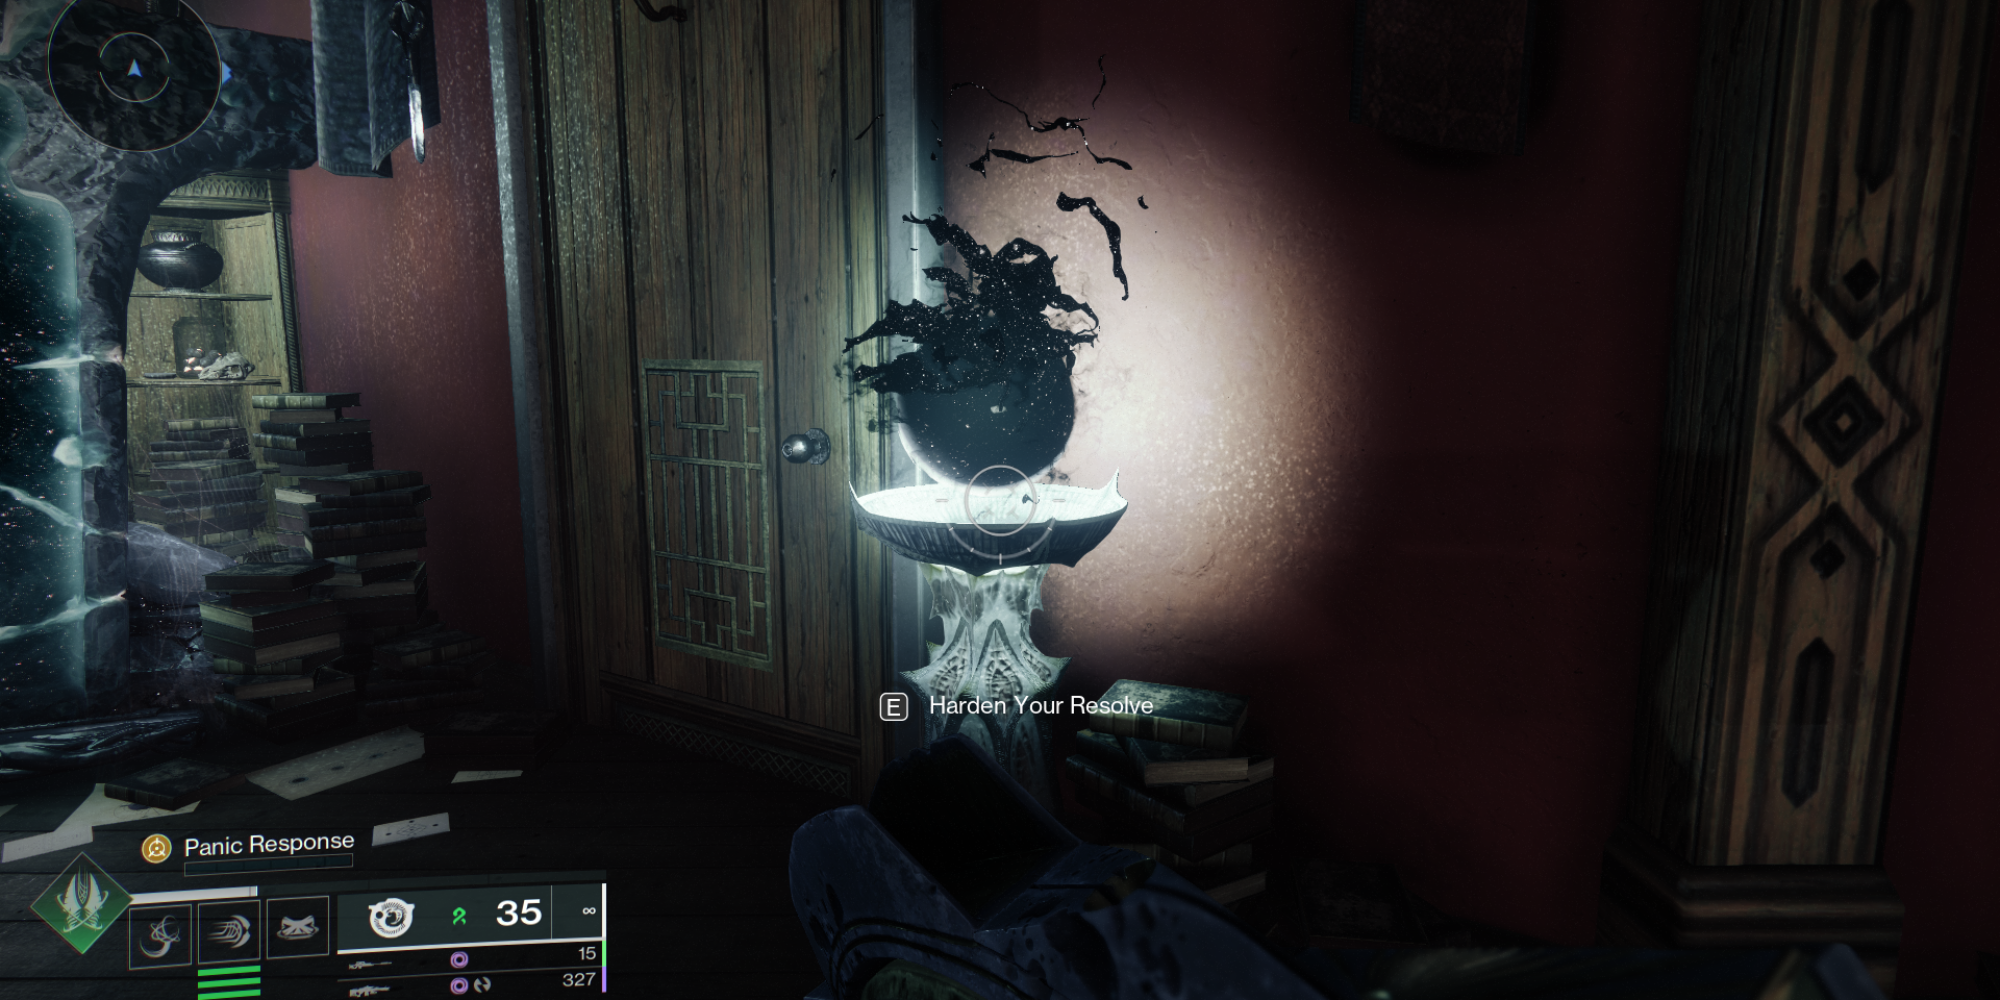
Initially, you should focus on “becoming proficient along the Path of Resolve,” which translates to elevating your Shaping Slab to Rank 12 and obtaining the required enhancements. There are various tasks to accomplish to boost your Shaping Slab’s reputation.
To verify you’re on the correct track, remember to switch the Taken orb next to the Shaping Slab to make it a dark, starry black. Similarly, you’ll know you’re on the Path of Resolve when defeating enemies leaves behind small balls that reward you with Sigil Shards.
Instead of just suggesting that you could use any setup for the task, I strongly advise you to try out the Barrow-Dyad in your arsenal. This presents an excellent opportunity for you to hone your skills with it and push its boundaries.
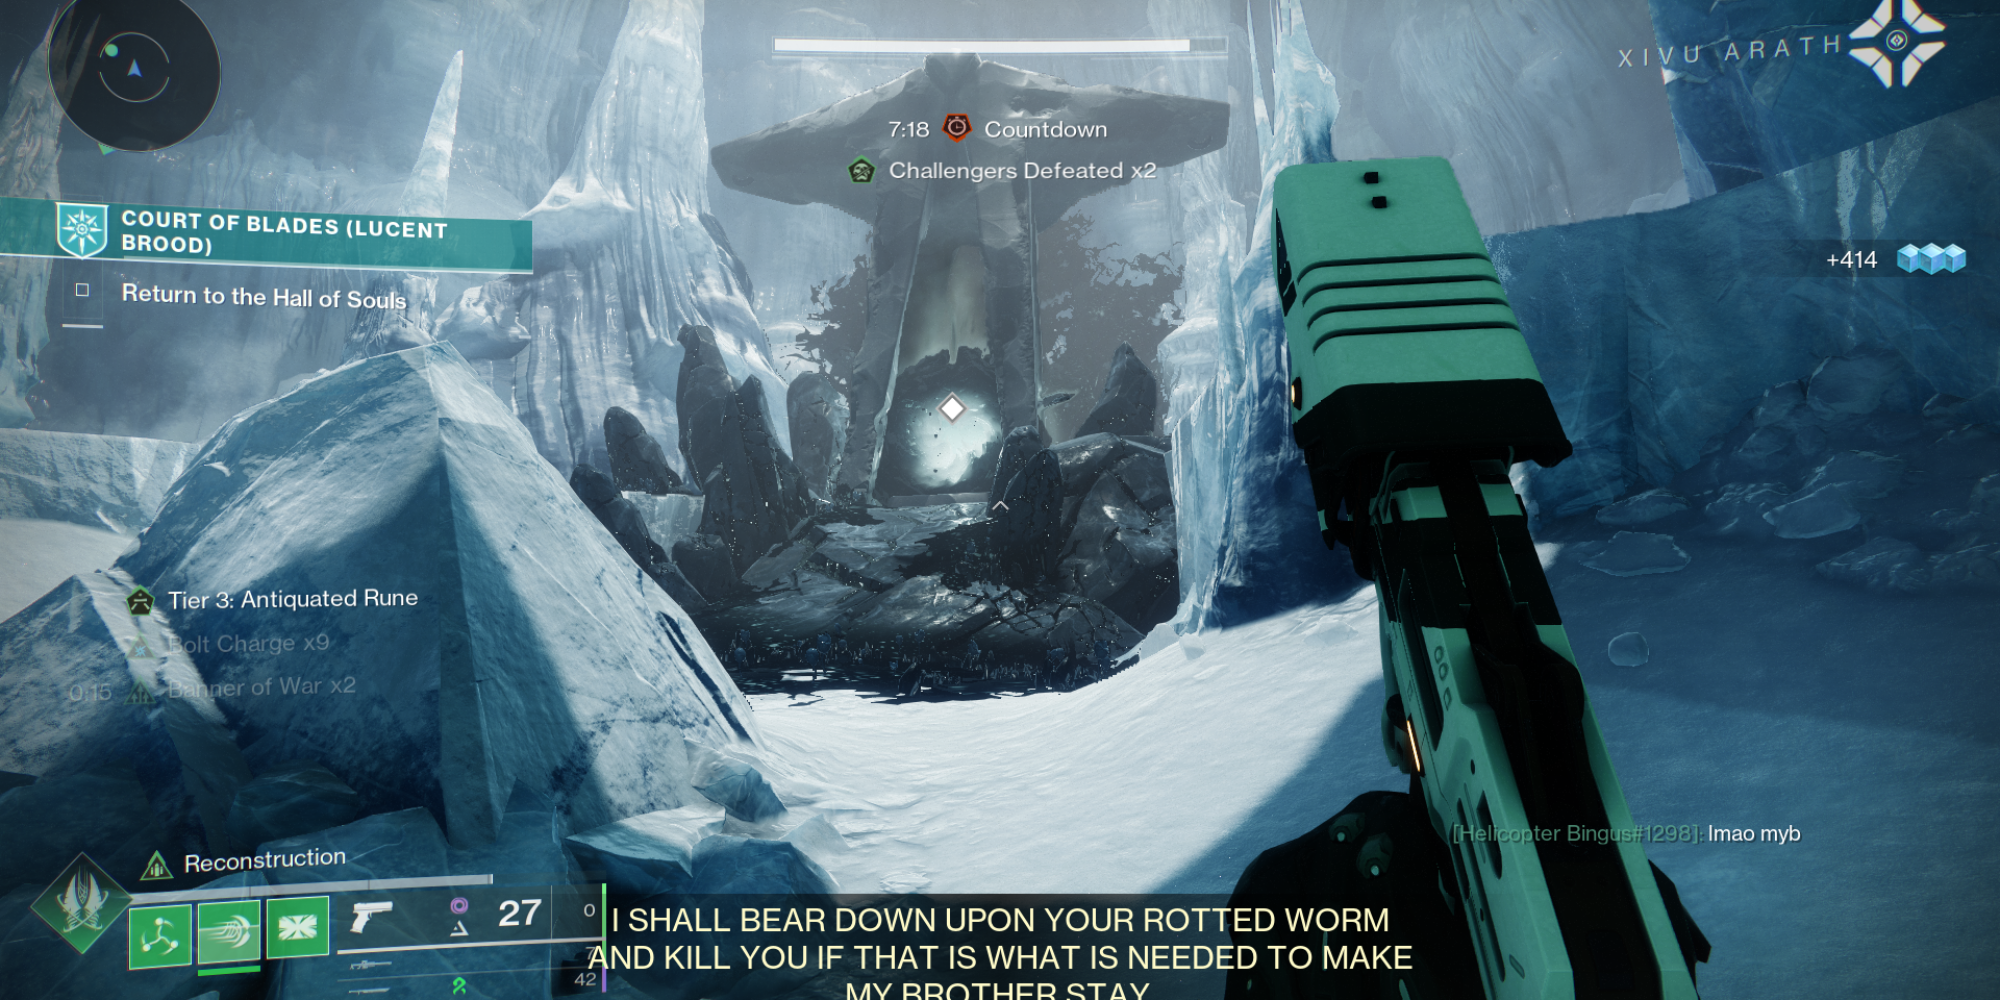
To finish “A Needle’s Path,” you should redo the Expert Court of Blades mission. However, this time around, it’s not only about using the Barrow-Dyad. Instead, you’ll need to employ long-range weapons such as Scout Rifles, Linear Rifles, or Sniper Rifles for the task.
Certainly, you have the option to finish this task traditionally, which involves accomplishing goals, defeating adversaries, and working together effectively as a well-equipped team.
You can, of course, carry out this activity in its standard form by successfully completing tasks, vanquishing enemies, and doing so with a fully operational squad at your side.
In fact, it’s feasible to accomplish this task singlehandedly. All you need to do is launch the activity, navigate to the initial boss room, and then let the 10-minute timer run its course. The game will interpret this as a final round, concluding the activity once you defeat the boss.
After the activity concludes, you will receive the High-Impact Reserves Refit as a reward, which you can then attach to your weapon.
Starting from now, you’ll see that these tasks demand the employment of specific weapons in conjunction with the Barrow-Dyad. To prevent having to perform these actions twice, I advise you to arm yourself with those weapons as exotic items on your initial run so that you can bypass this step.
Hatchling
The hatchling is the next character you can upgrade, and it’s particularly favored by those Strand Warlocks seeking a gameplay style more centered around the hatchling.
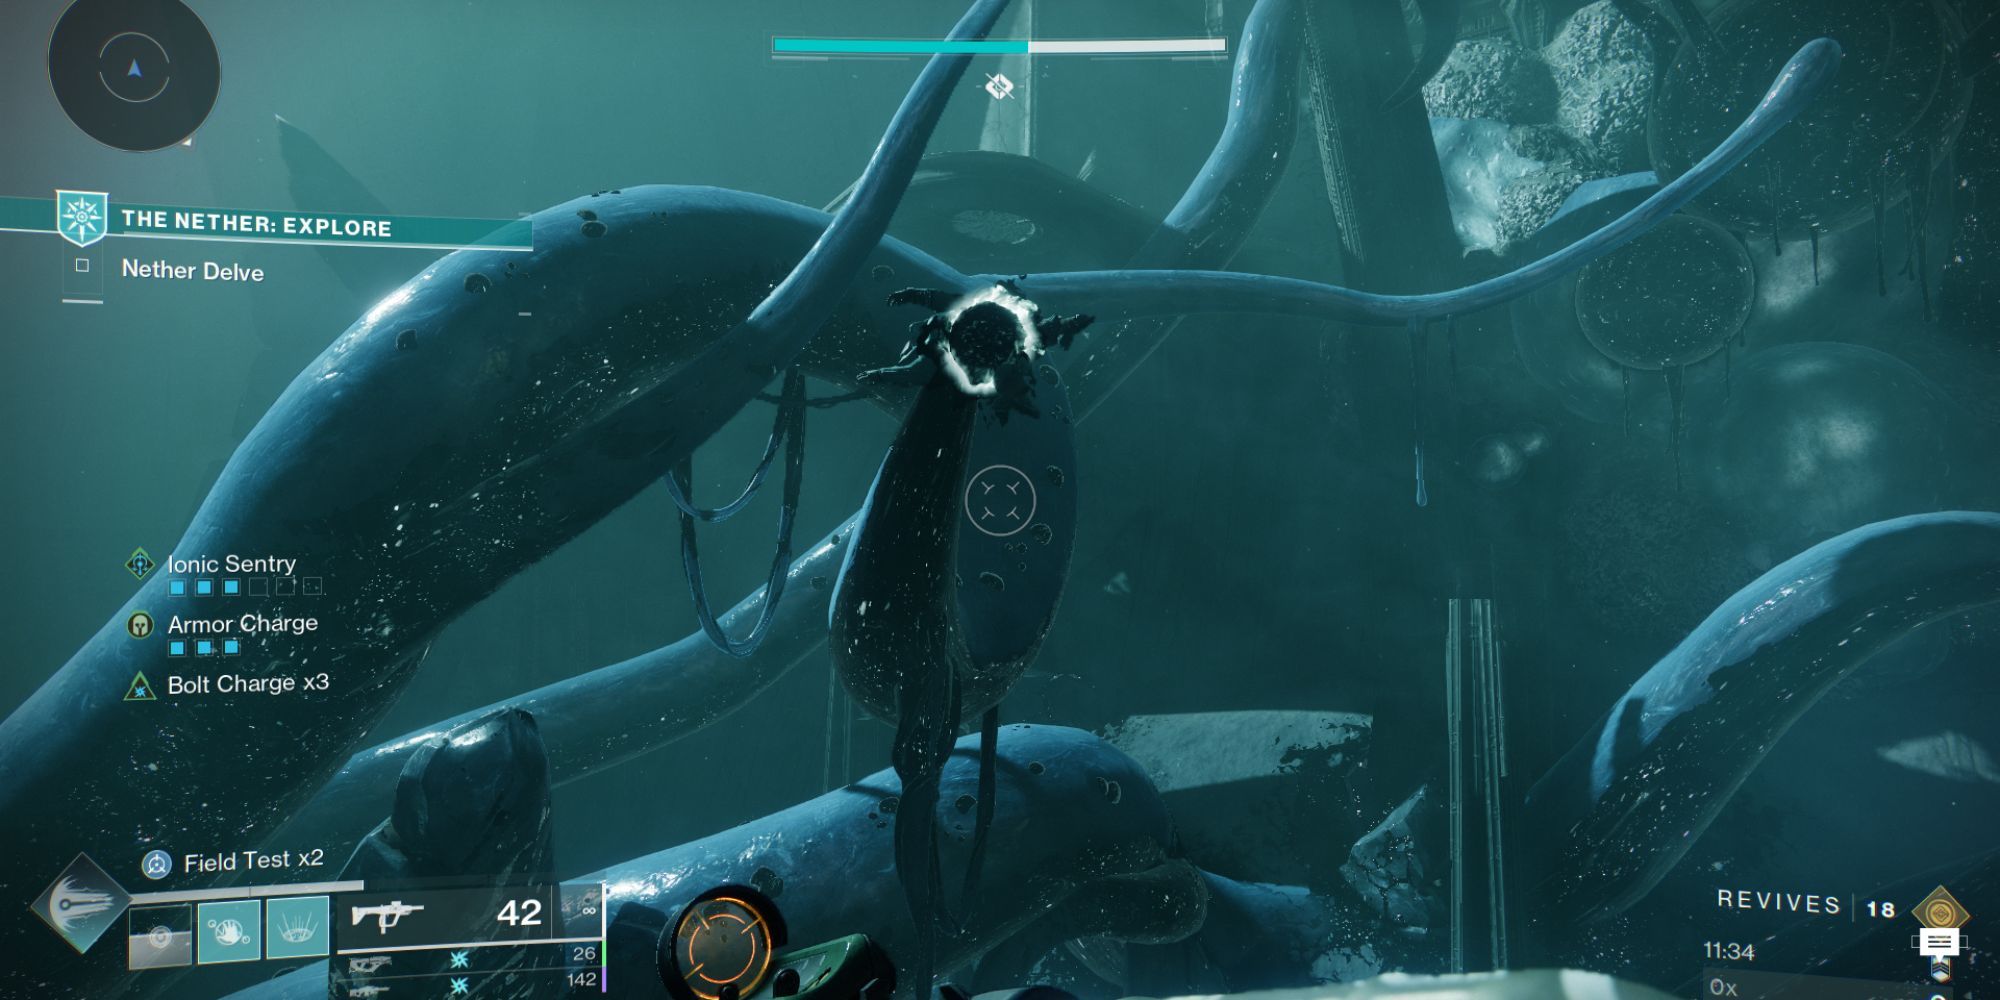
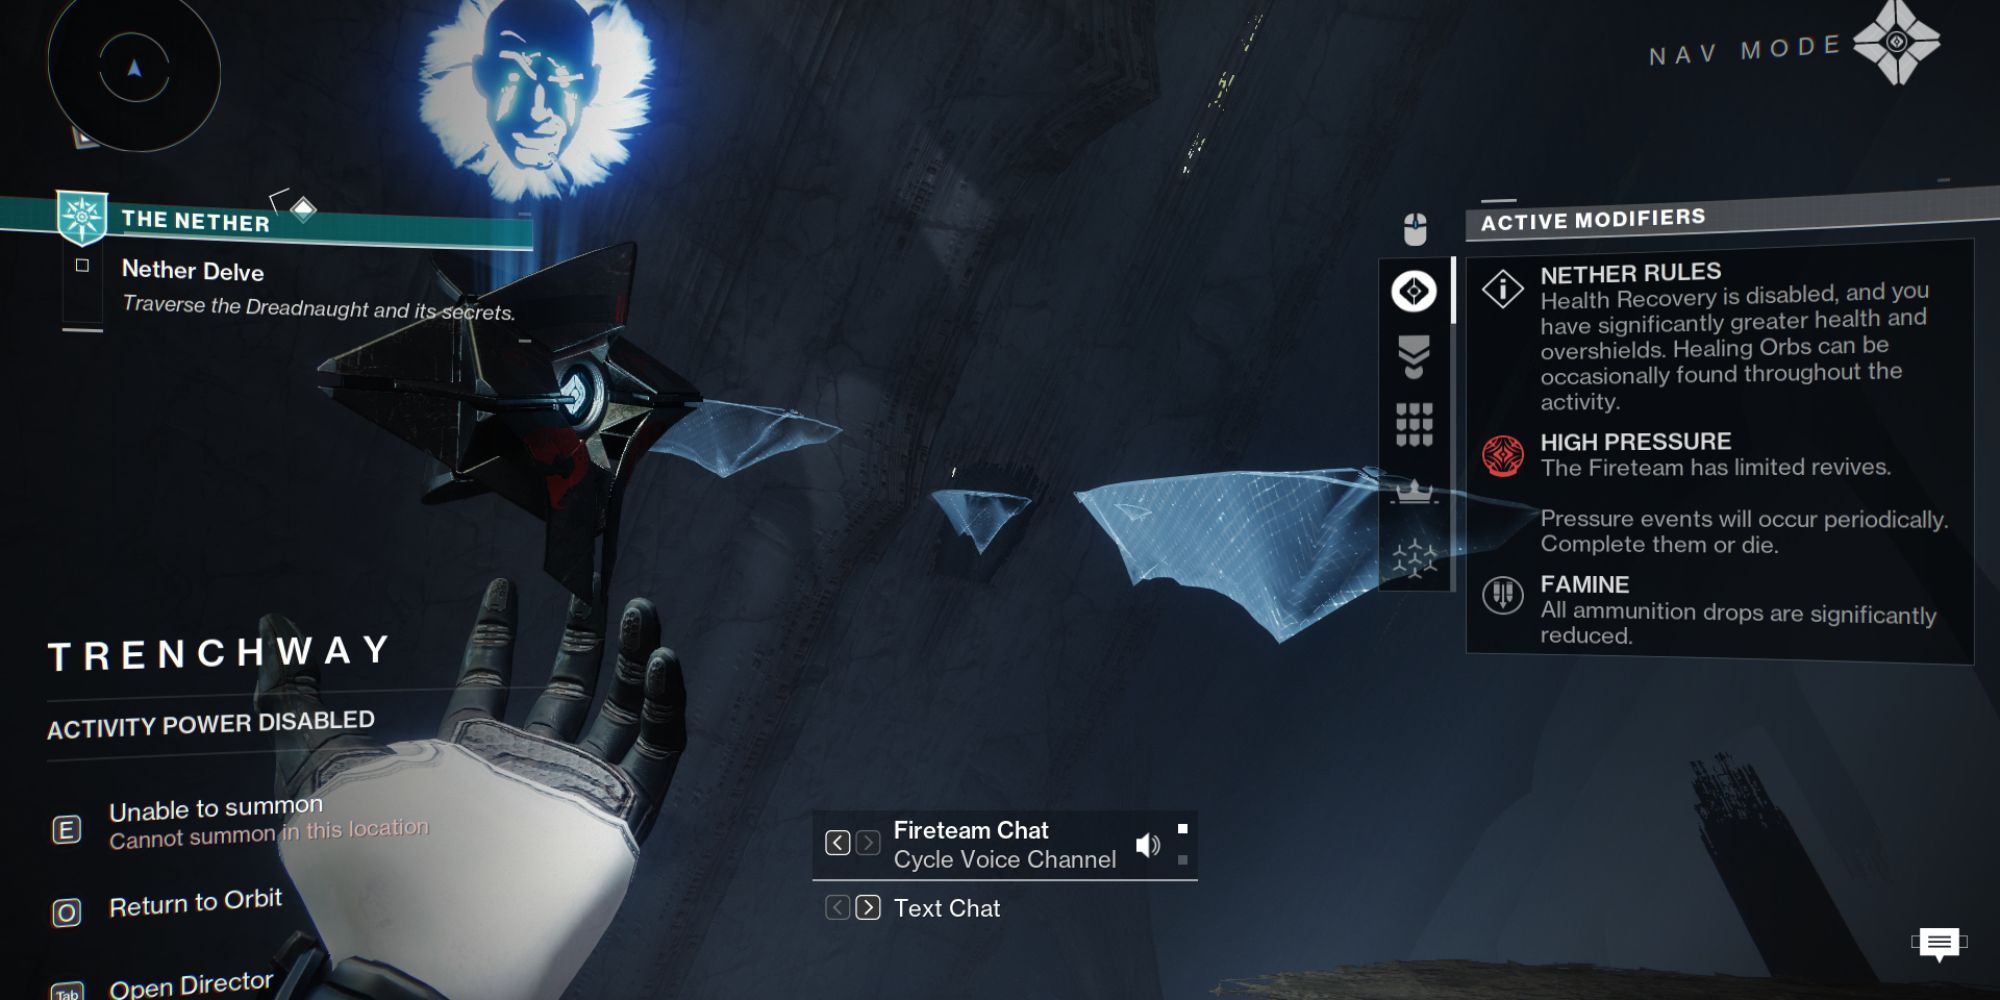
Before moving on to the quest, you must accomplish a few necessary tasks initially: Track down and conquer hidden adversaries in three different parts of the Nether – specifically, in Trenchway, Hall of Souls, and Mausoleum.
In the Nether, The Trenchway, Hall of Souls, and Mausoleum are the initial places where your character appears automatically. If you don’t arrive at your intended destination, you can easily restart the activity to respawn there.
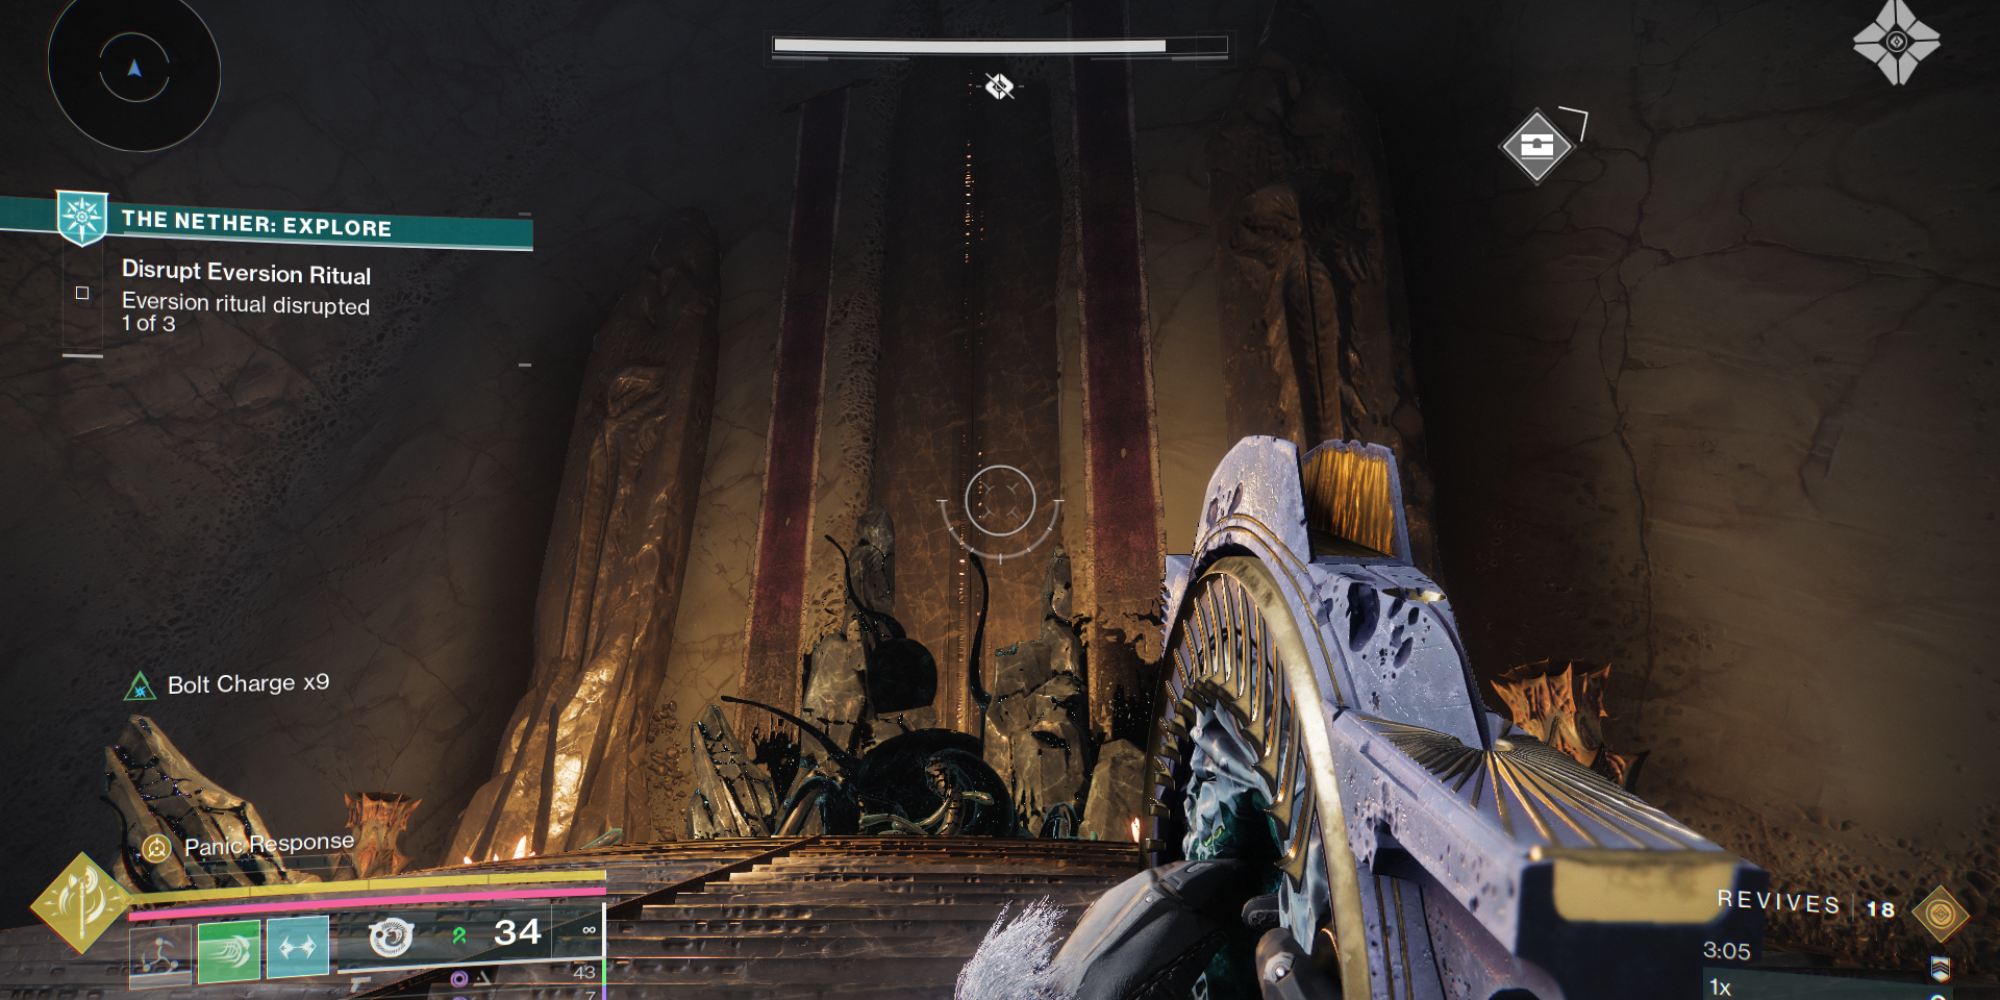
At the location known as Trenchway, you’ll come across a formidable mini-boss, a Taken Ogre. Inside this area, there’s a substantial door located in the furthest right corner, should you start from the spawn point.
Light up the three braziers located on the ledge and next to the entrance. Once they’re lit, an Ogre will appear, giving you a chance to battle it.
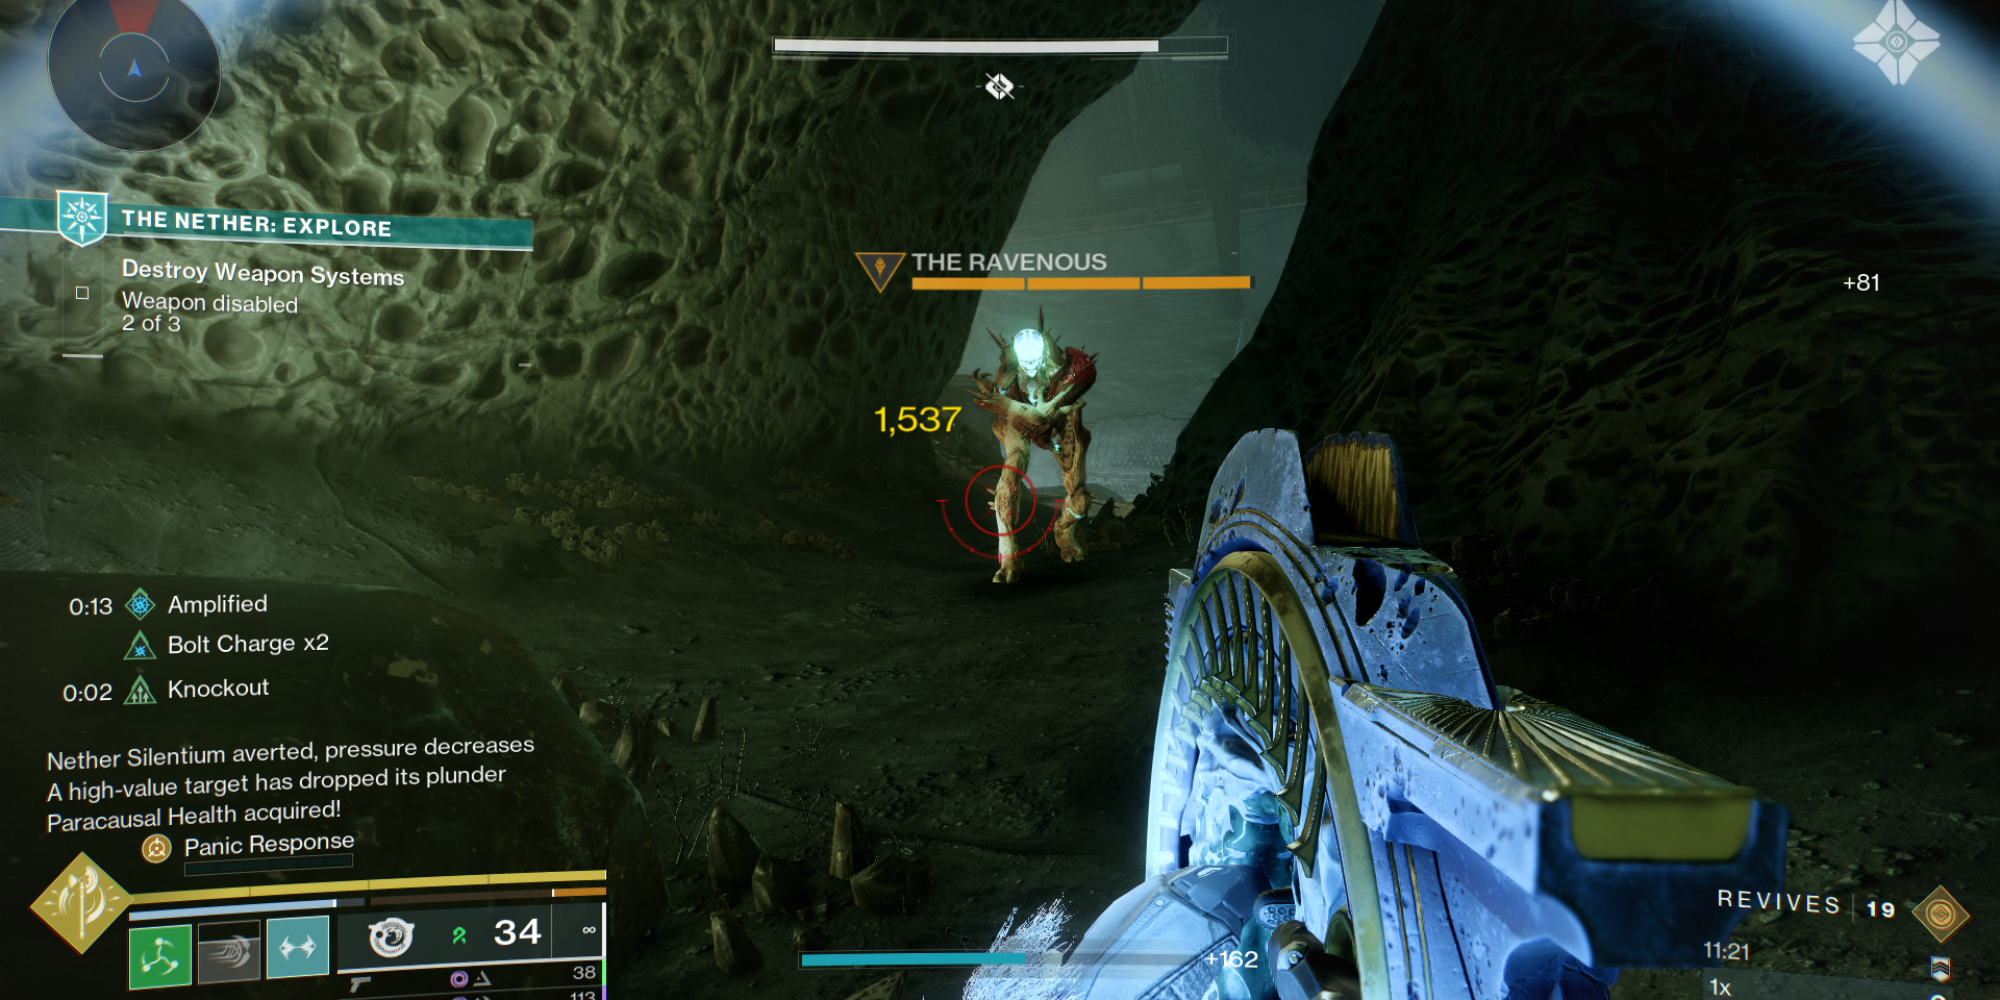
The next secret can be located within the Hall of Souls. There, you will encounter a wretched servant known as the Ravenous, who is feeding voraciously amidst a vat of sludge filled with Hive creatures.
Approach cautiously without causing it to explode, or you’ll have to begin anew. The aim is to transform the Ravenous into its ultimate evolution, similar to how a Pokémon evolves.
Afterward, the Hungry one will proceed toward another body of water. Go ahead and let it feed; once it does, it’ll metamorphose into a Servant. It’s best to steer clear of its notice this time, or else it might challenge you to fight.
Follow it to the next pool, where it’ll evolve into a Knight, which you can finally defeat.
1. The third secret, the last one, can be found inside the Mausoleum.
2. Scattered around the area where you battle the Taken Ogre boss are four deceased Cabal Phalanxes, suspended or stuck on some tiny Taken blights.
Destroy the pests to summon the Phalanx troops, which will later metamorphose into Taken Phalanxes. Overcome all four of these.
Completing all three secrets will award you the Coalescence of the Deep Sky.
If you haven’t done so already, feel free to linger at the Mausoleum and make your way to a location where you can trigger a portal. By exploring the chests, you’ll find the Coalescence of the Deep Sky as a reward.
Return towards the Grand Canyon and head left (if you start from there). Once there, use your Ghost to uncover hidden ledges that will guide you upward into a recess on the canyon wall.
As a fan, I can tell you that if you meet all the necessary requirements, you’ll come across a message saying “Your Rites of the Deep Tithe have been deemed Worthy.” On the other hand, if you’re missing some prerequisites, you’ll see “Unfortunately, your Rites of the Deep Tithe are Found Lacking.
As a thrilled enthusiast, I’d eagerly guide you to open the mystical gateway. Inside, you’ll find treasure chests brimming with rare loot – specifically, the Coalescence of Sorrow and the Heavy Bony Vertebrae!
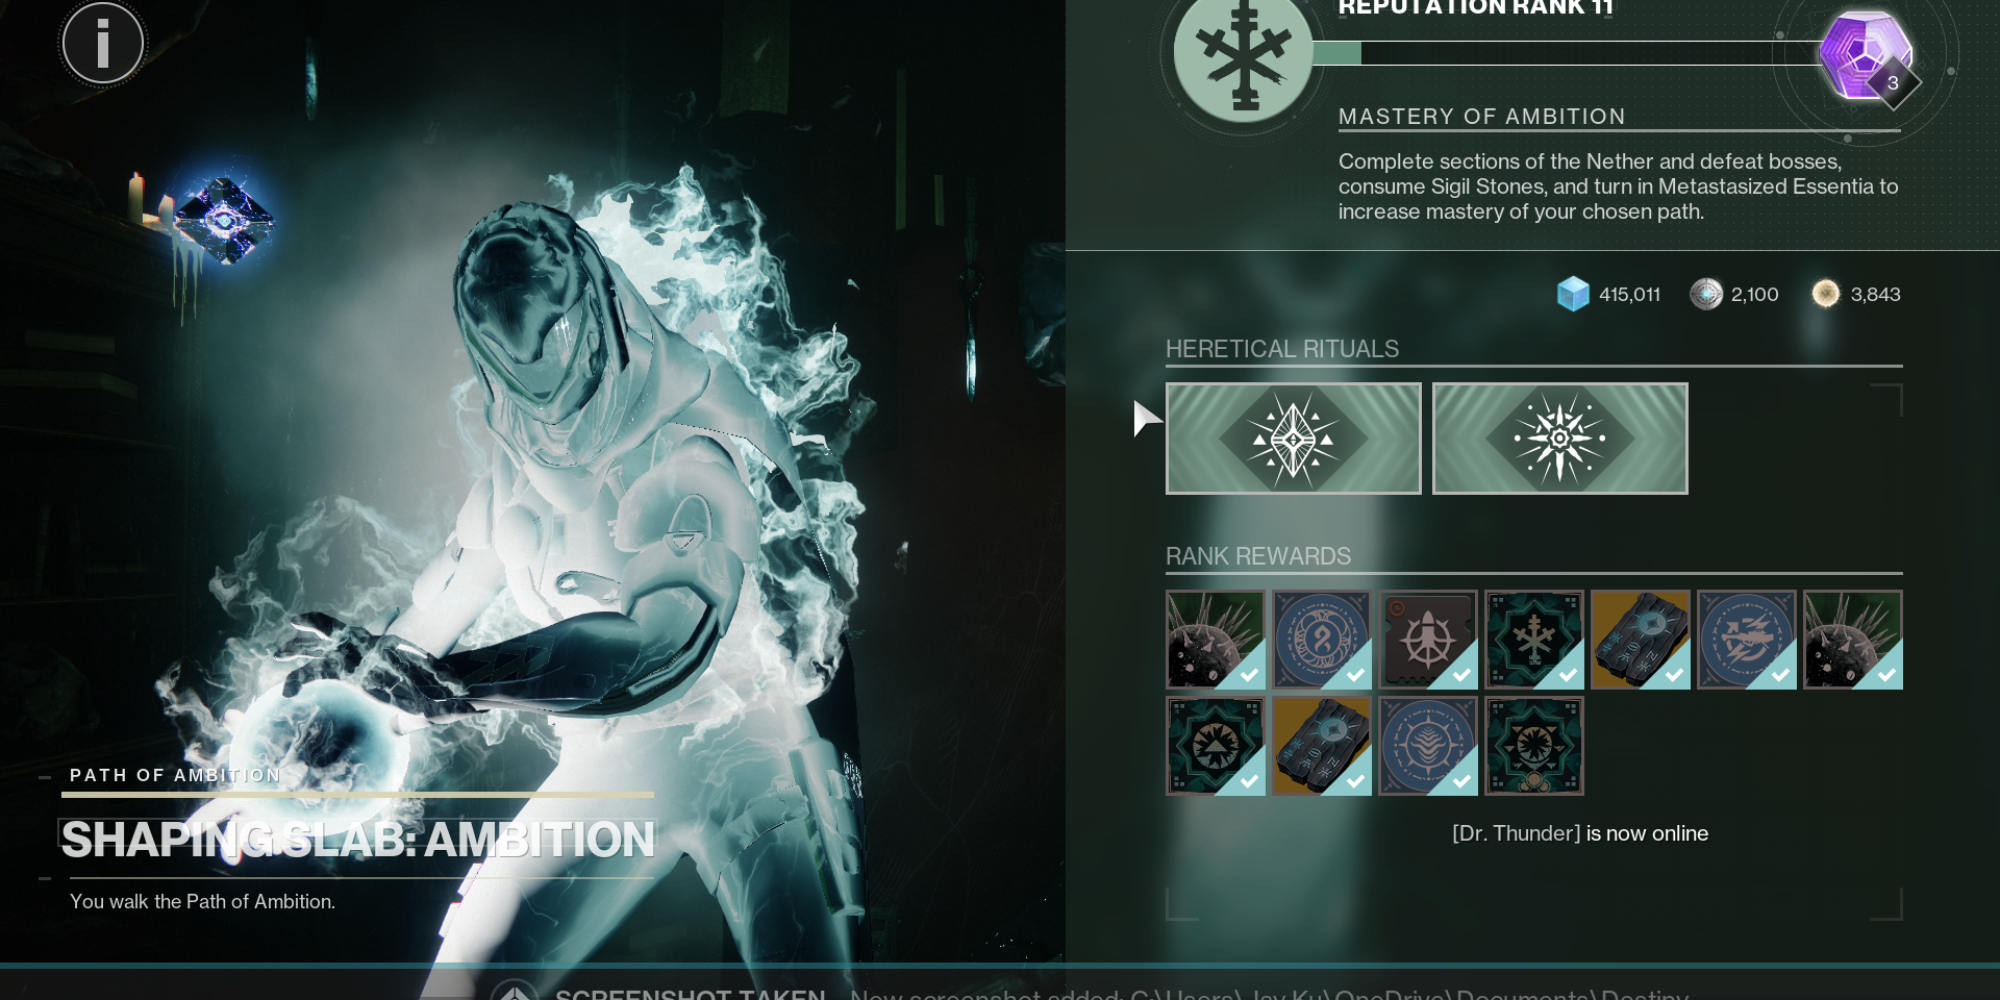
Go back to the Forming Stone and swap the Bony Backbone for the “Way of the Hammer” mission, a task that involves boosting your Influence on the Path of Ambition to Rank 12 in order to obtain the required upgrades.
After finishing that task, you should proceed to accomplish the Nether challenge at Expert level while using the Barrow-Dyad and weapons suitable for short range such as shotguns, glaives, or swords.
Similar to the prior item, feel free to exchange those armaments as needed, so you won’t feel limited by your current equipment setup.
One For All
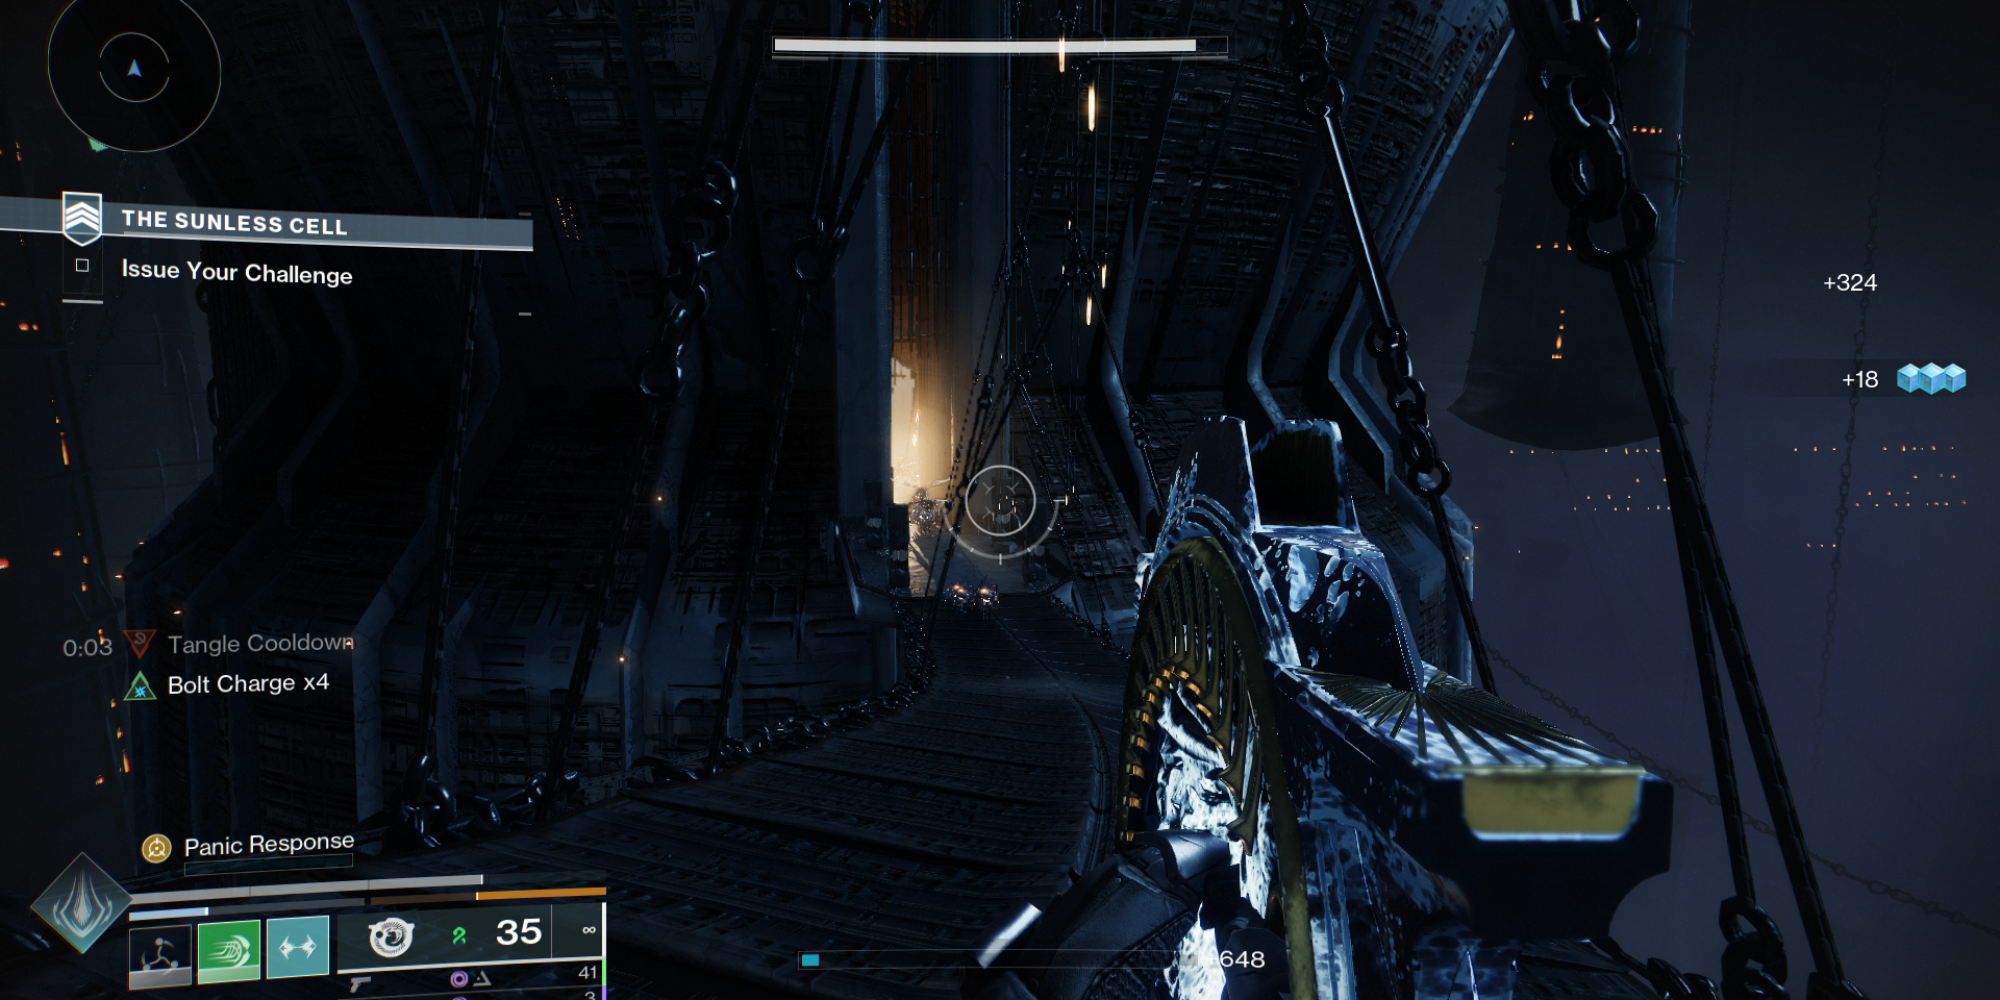
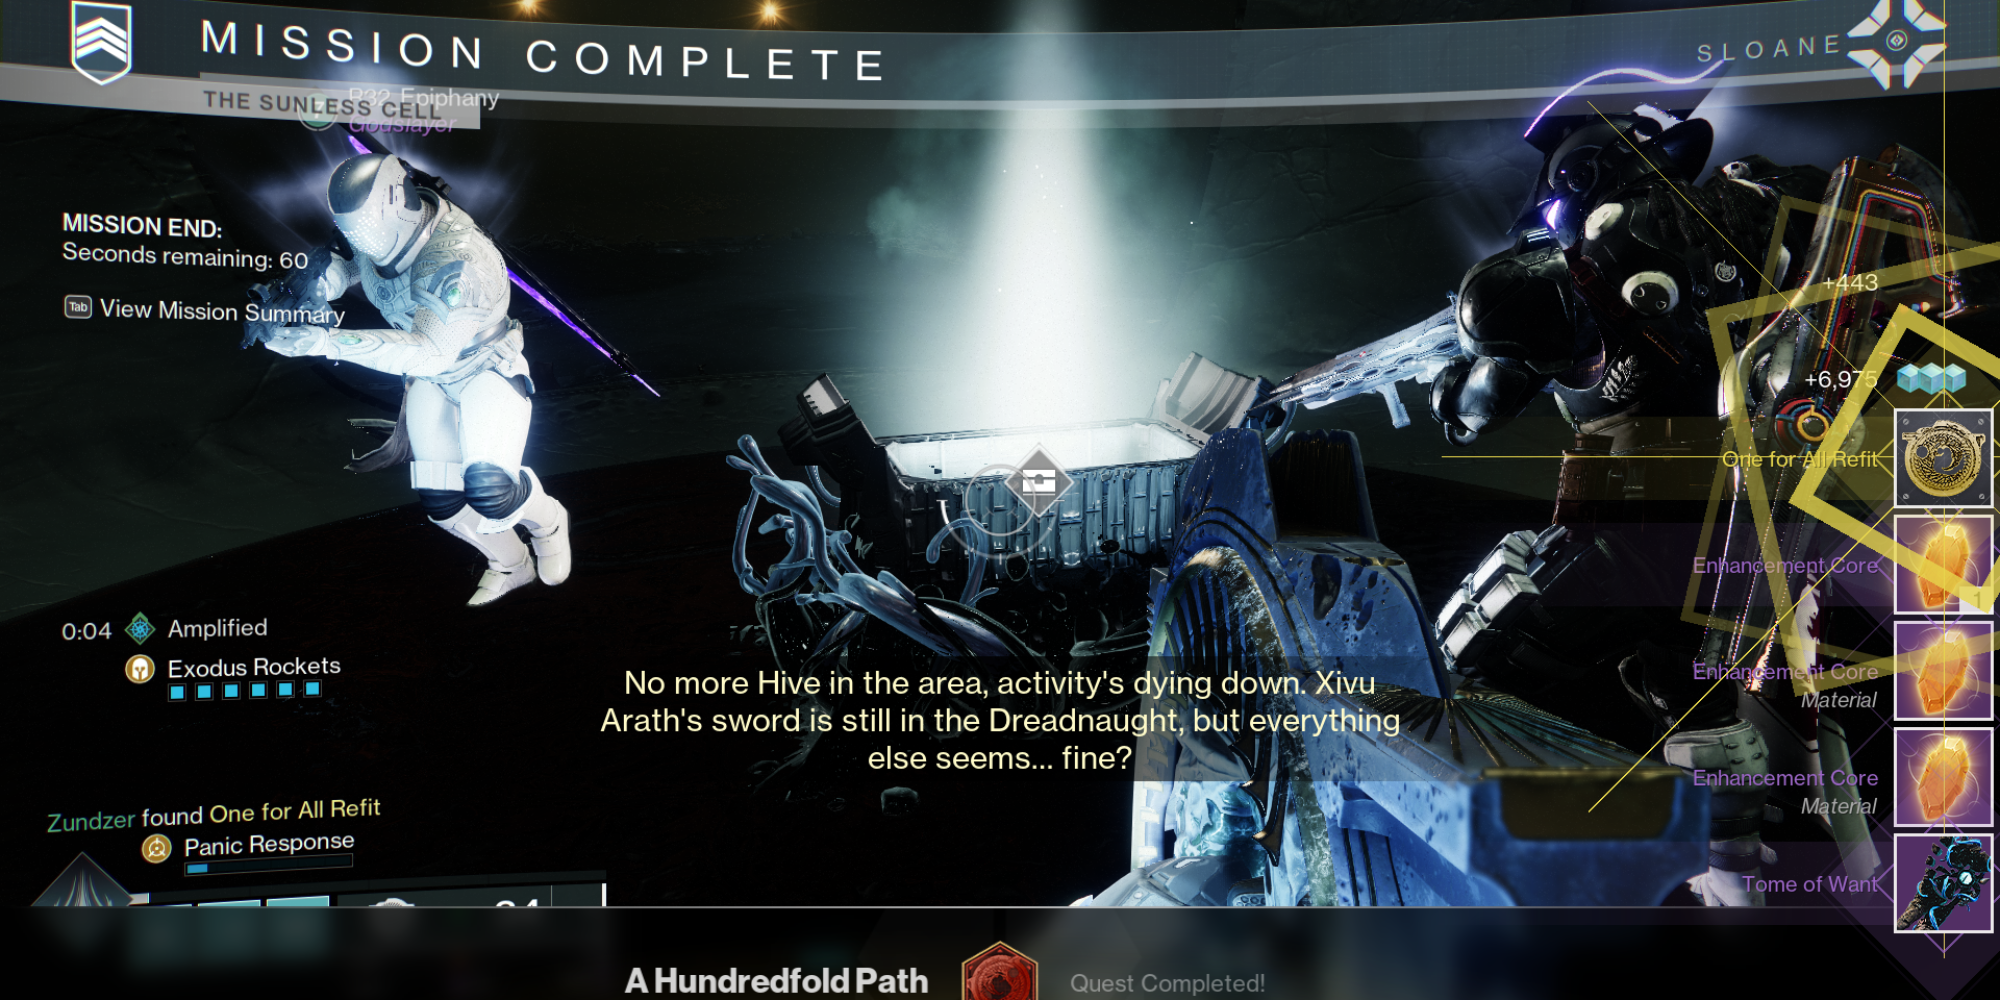
As a dedicated player, I’m thrilled to share that the Heresy Act 3 update has brought back the beloved Taken King strike, The Sunless Cell, in Destiny 2. This time around, the terrifying Alak-Hul has been replaced by Obak-Hul!
As I traverse through the strike, I’ll uncover six elusive Taken Osseous Fragments. You’ll spot three of them right from the get-go, while the remaining pair can be found in the area where you obliterate two Taken Blights. One more remains before encountering the Shrieker room.
As a gamer, to get my hands on the One For All, I’ve got to conquer The Sunless Cell while sporting the Barrow-Dyad gear. This daring deed will earn me the Trembling Osseous Spine, a prized item that I can swap at the Shaping Slab for the “A Hundredfold Path” quest.
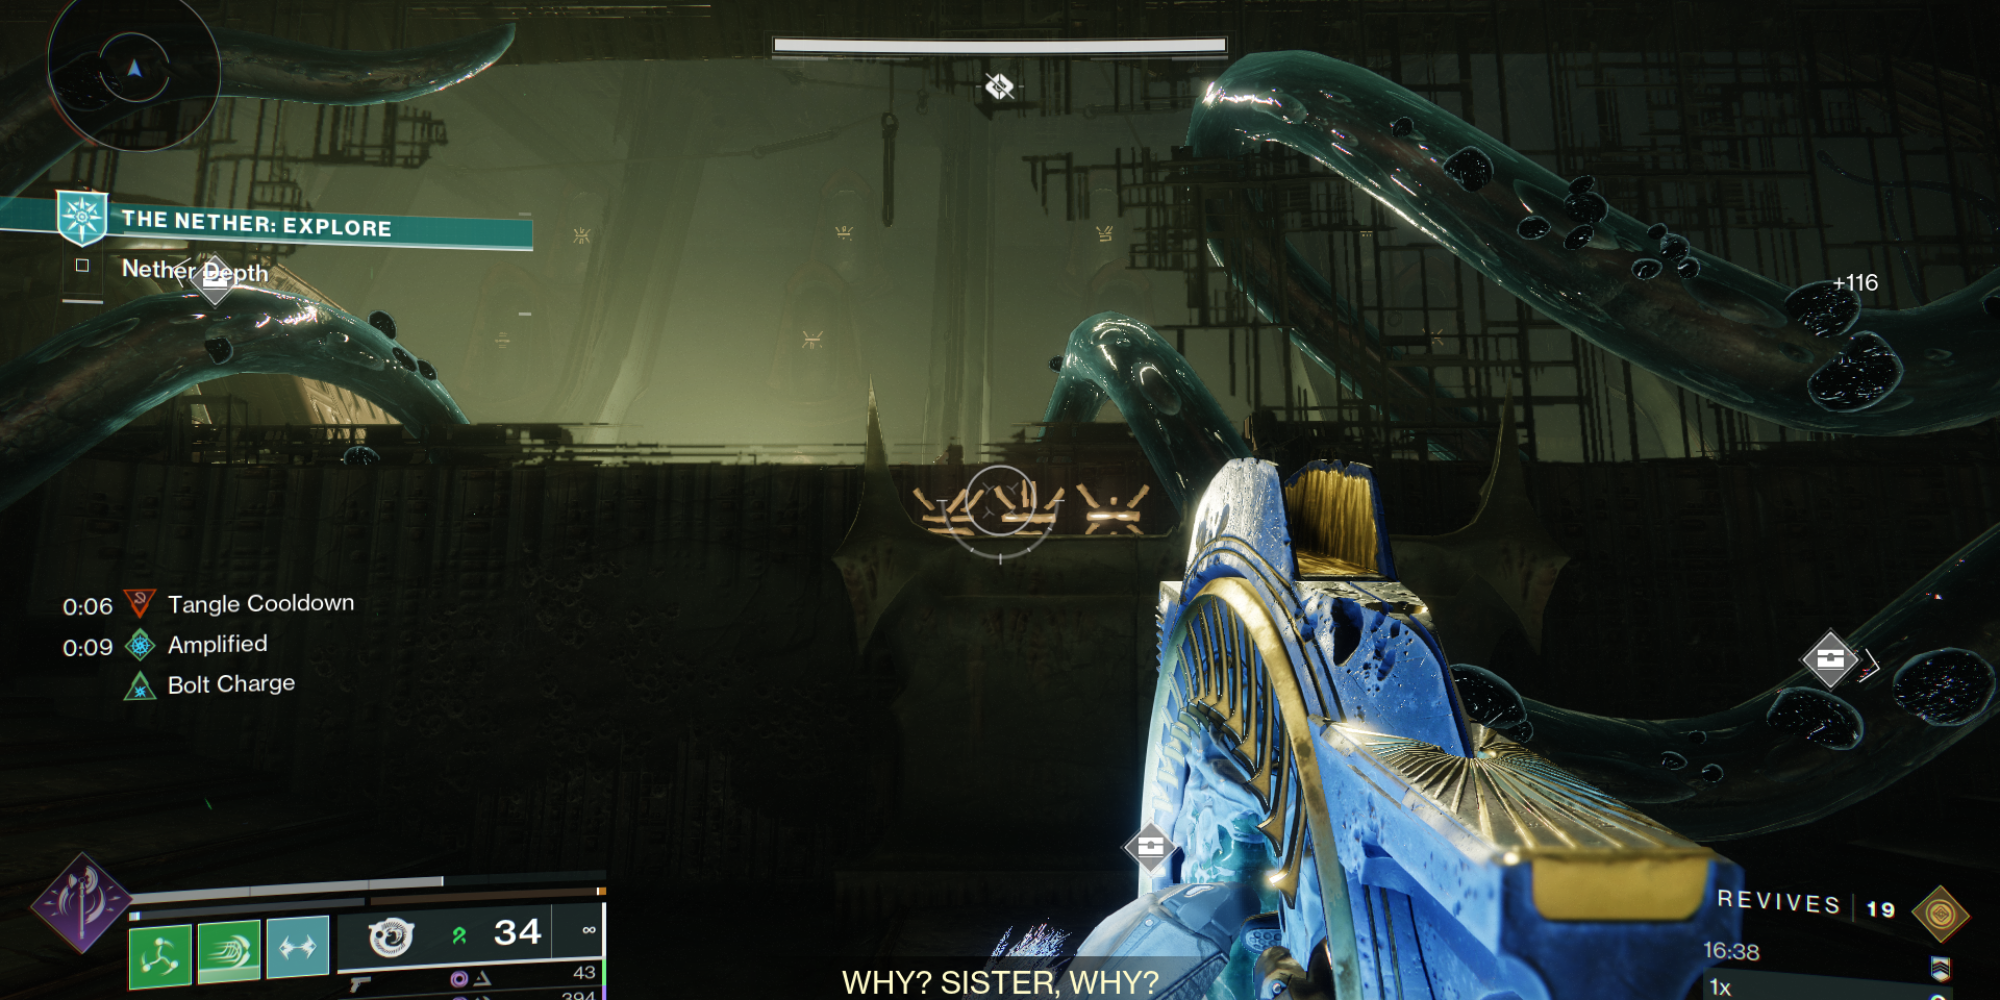
Next, you’ll need to find 10 Tithing Wormspawns. They pop up if you are on the Path of Ambition.
In each section of the Nether, including the recently added Hull Breach area, you’ll find a total of two Tithing Wormspawns. Be sure to watch your minimap carefully to locate them.
Although they are somewhat concealed, you can spot them if you look slightly beyond the corners of your vision, in places that are easily visible from there.
To successfully finish the Sunless Cell mission, make sure to accomplish it alongside the Barrow-Dyad while primarily utilizing Submachine Guns, Assault Rifles, or Heavy Machine Guns. Got it down pat!
Target Lock
To get the quest, you need to ensure that Target-Lock is your last catalyst to activate. However, there are certain requirements you must fulfill before you can embark on this quest.
Advance with the plot and finish the missions outlined in the Act 3 Dossier. Afterward, solve the Hive Runic enigmas within The Founts.
Different from the other three spots, The Founts and Hull Breach aren’t starting points. In fact, they are the second and third places you’ll arrive at, making them a bit of a trek to get to.
To solve the initial Hive Rune puzzle, locate three Hive emblems on the wall to your left as you stand before the locked gate, which is The Founts. Beyond this wall lies a chamber filled with rows of symbols, which you can target and fire at.
Move along the path from left to right, where it will create a treasure chest for you to gather and finish the initial challenge.
These two puzzles share a common characteristic – they’re random number generator (RNG) dependent. If you want a better chance at encountering these puzzles, consider setting up a personal “Exploration” mode within the Nether.
After that, locate the second Hive Rune on a nearby pillar beside the chest. Firing this rune will unlock a door, leading you through some passages where you’ll encounter and eliminate a tiny Taken Blight.
You’ll also be accruing stacks of Suffocating Terror while inside, but it doesn’t matter as much.
Opening the chest gives you the “Coalescence of the Knife” item, a crucial piece for the upcoming stage.
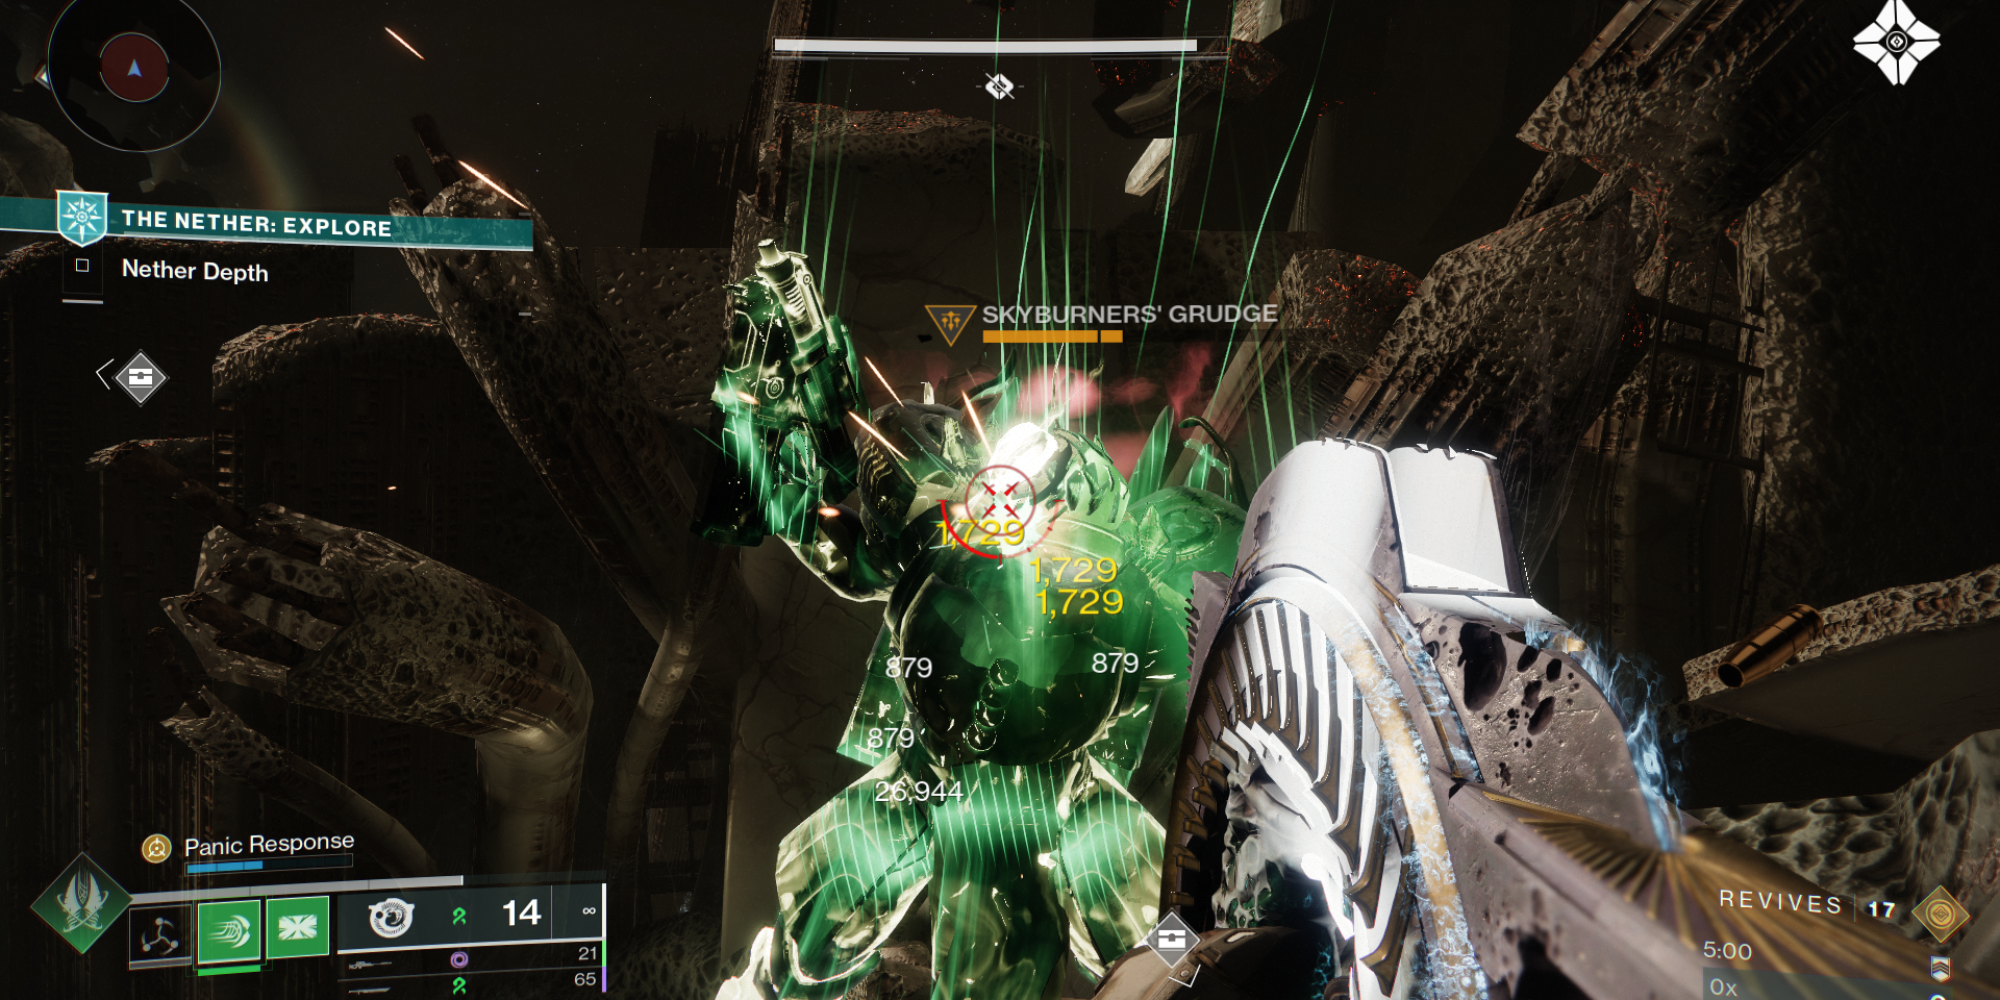
As a dedicated Destiny player reminiscing about the good old days, the next location on our journey is none other than the Hull Breach – a place that stirs memories of my first encounter with the Dreadnaught during the Taken King era in Destiny 1.
There seem to be differing accounts that suggest the Toland ghost appears under various circumstances. Therefore, keep in mind that there may be discrepancies.
At the border of the area, there are some Cabal crates containing a ghost resembling Toland that appears to be Taken. Scan this ghost and it will summon an enemy from the Taken faction. Defeating this enemy will reward you with a Skyburner code, which can be used to activate a forcefield beneath the platform where you’re currently standing.
Open the treasure chest, and inside you’ll discover another Coalescence of the [Knife]. After that, you will be able to unlock the gateway for the catalyst mission, which is located beyond this region.
Unlock the gateway and discover the treasure chests within. You’ll find the Warped Bony Spine as your reward, which can be traded for the “A Silken Path” mission.
This time, you’ll have to locate ten Hungry Nether Creatures, which emerge throughout the Nether while you’re on the Path of Decision. Similar to Tithing Creatures, two of these will appear in each section of the Nether.

Once complete, you’ll need to finish the Derealize Exotic Mission with the Barrow-Dyad equipped.
After that, you’ll finally acquire the Target Lock catalyst and you have all four catalysts.
Which Catalyst Is Better?
Each Catalyst has its use, and they supplement whatever playstyle you want.
- The High-Impact Reserves gives a maximum of 25% increased damage and procs when you reach less than 50% of your magazine, it might be the least useful Catalyst of the four.
- Hatchling and One For All are great for add-clearing. If you want to optimize Hatchling, I would recommend using this for a Strand Warlock with a focus on Threadlings.
- One For All, on the other hand, would be more suited for general low to mid-tier content where you can shred through mobs of enemies.
- In terms of DPS, Target Lock might be best used for PvP or high-tier content where you might encounter beefier enemies, as you get a 25% (20% in PvP) increase in damage at maximum power when you focus on one enemy.
In my opinion, Target Lock is undoubtedly one of the most valuable perks for any fast-firing weapon, as it excels in various situations.
Read More
- All Skyblazer Armor Locations in Crimson Desert
- How to Get the Sunset Reed Armor Set and Hollow Visage Sword in Crimson Desert
- All Shadow Armor Locations in Crimson Desert
- One Piece Chapter 1180 Release Date And Where To Read
- Marni Laser Helm Location & Upgrade in Crimson Desert
- All Helfryn Armor Locations in Crimson Desert
- All Golden Greed Armor Locations in Crimson Desert
- All Icewing Armor Locations in Crimson Desert
- How to Beat Stonewalker Antiquum at the Gate of Truth in Crimson Desert
- Legendary White Lion Necklace Location in Crimson Desert
2025-04-04 15:41