Now that the dungeon race has concluded, with Biggz’s team triumphantly winning the world first title, the Sundered Doctrine is open for anyone seeking an unrushed exploration of the dungeon, free from the stresses associated with Competitive Mode.
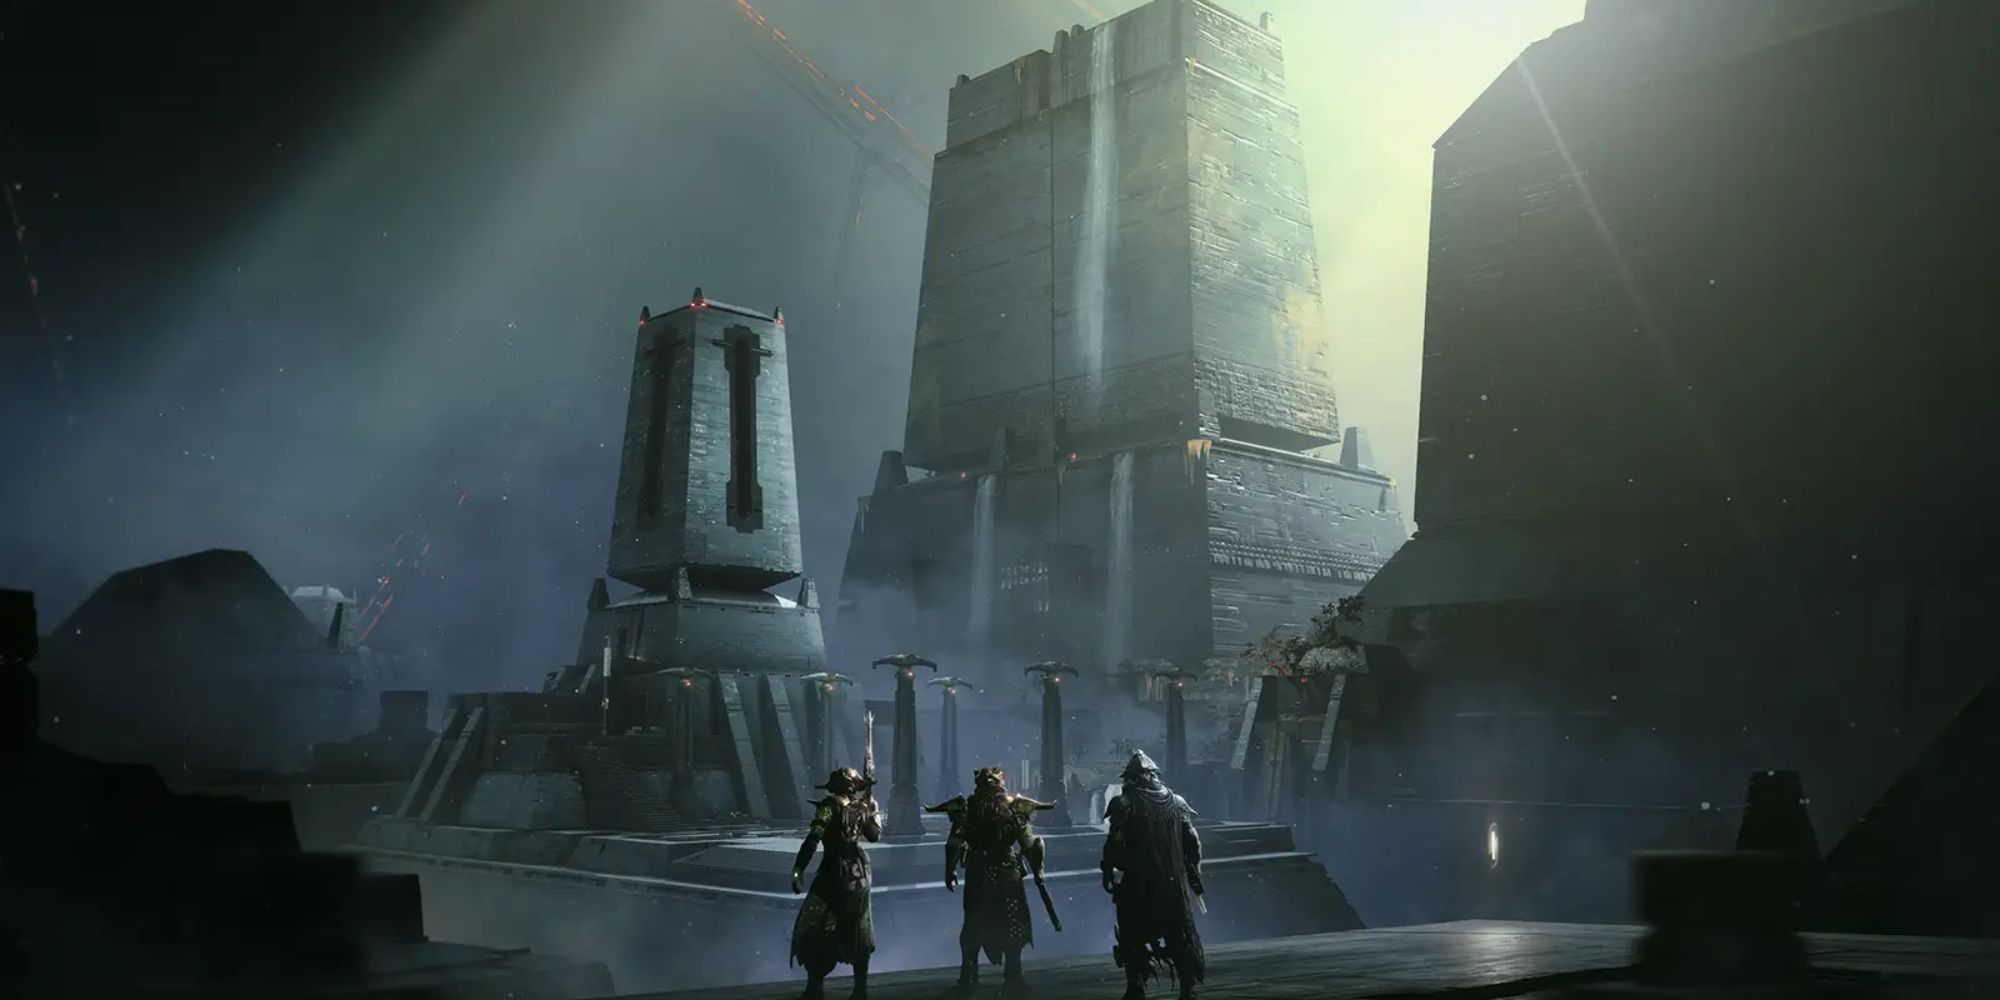
The latest dungeon in Destiny 2’s Episode Heresy journey transports us once more to Rhulk’s Submerged Pyramid, a location familiar from the Vow of the Disciple raid during the Witch Queen expansion.
Just as Vesper’s Host offers new perspectives on its originating raid, Sundered Doctrine also broadens the scope by presenting a unique take on familiar experiences.
As a fervent admirer, let me share my experience: “Sundered Doctrine offers three exciting loot encounters, two of which involve formidable boss battles. Each of these thrilling moments is sandwiched between the intricate labyrinthine chambers and brain-teasing puzzles that test your comprehension of the pyramid’s workings, deepening my understanding of this mysterious dungeon.
Quick Links
- How To Access Sundered Doctrine
-
Preparation – Suggested Loadouts
- Encounter 1: Riddle
- Encounter 2: Zoetic Lockset
- Encounter 3: Kerrev, The Erased
-
Core Mechanics
-
Opening Section
-
First Encounter: Riddle
-
Navigate The Labyrinth
-
Pre-Second Encounter Mechanics
-
Second Encounter: Zoetic Lockset
-
Traversal And Light Puzzle
-
Third Encounter: Kerrev, The Erased
How To Access Sundered Doctrine
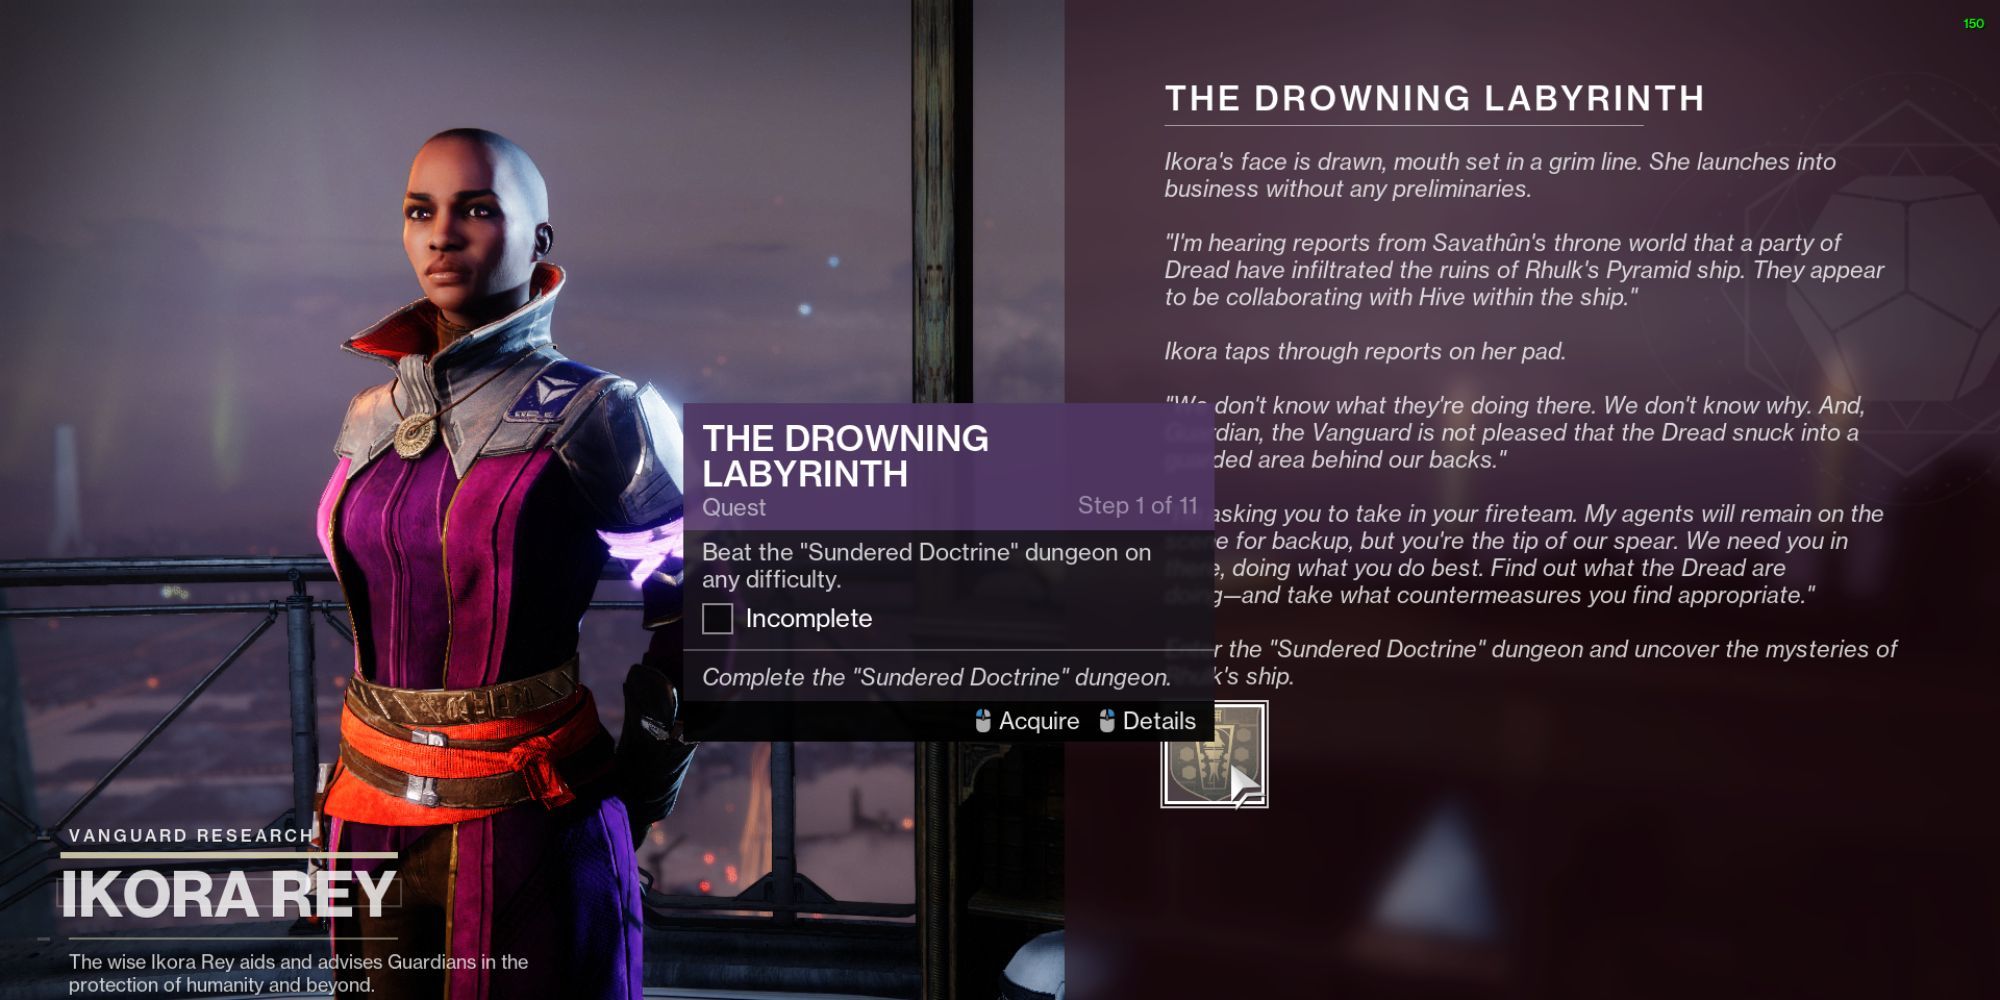
In order to reach the dungeon, you need to start by visiting the Tower and having a chat with Ikora. She’ll provide you with a mission that unlocks the pathway to Sundered Doctrine for you.
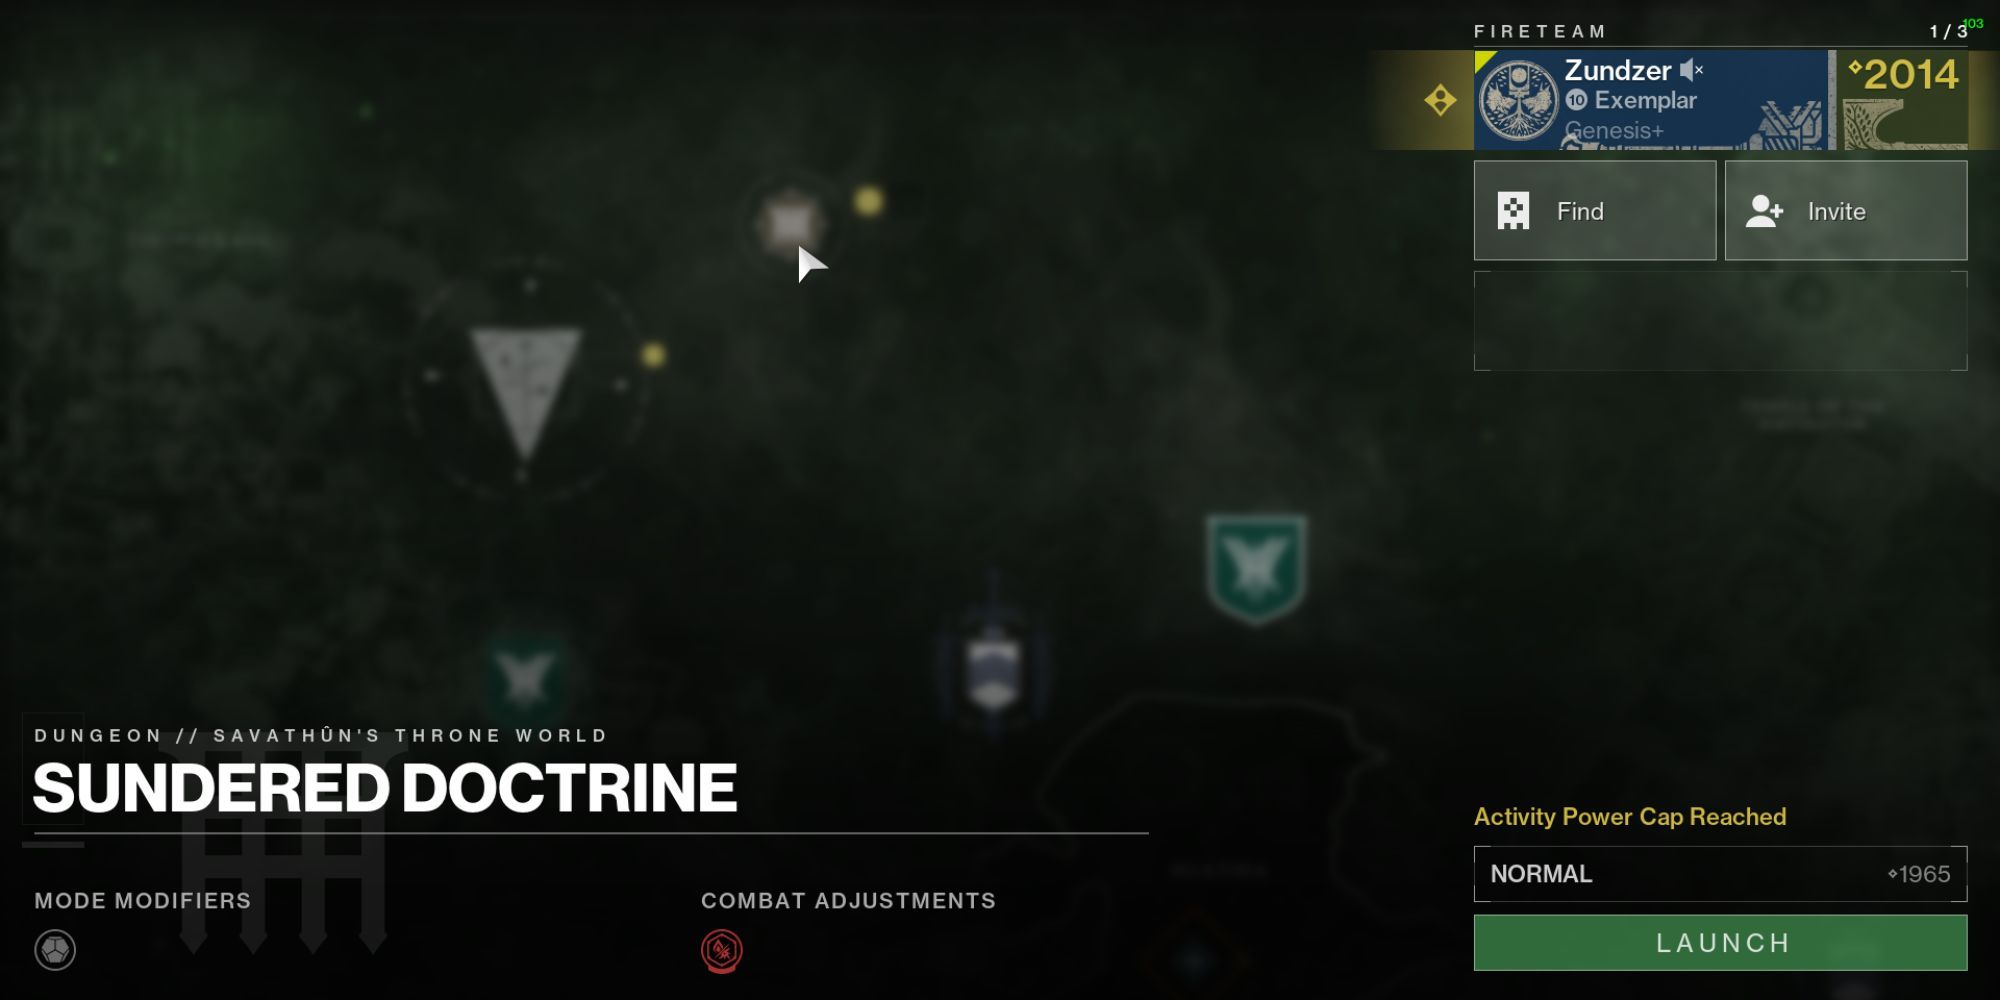
After obtaining the mission, you will then have the opportunity to choose the Savathun’s Throne World dungeon on your map.
Preparation: Suggested Loadouts
In this new guide about Vesper’s Host, I’m going to present a more streamlined strategy compared to my previous one. Rather than providing a single large table with all the weapons and abilities, I will instead share specific loadout combinations that have worked well in each battle scenario.
Feel free to customize the equipment setups according to your preferred gaming approach. In any case, focusing on enhancing survivability should be a priority.
Encounter 1: Riddle
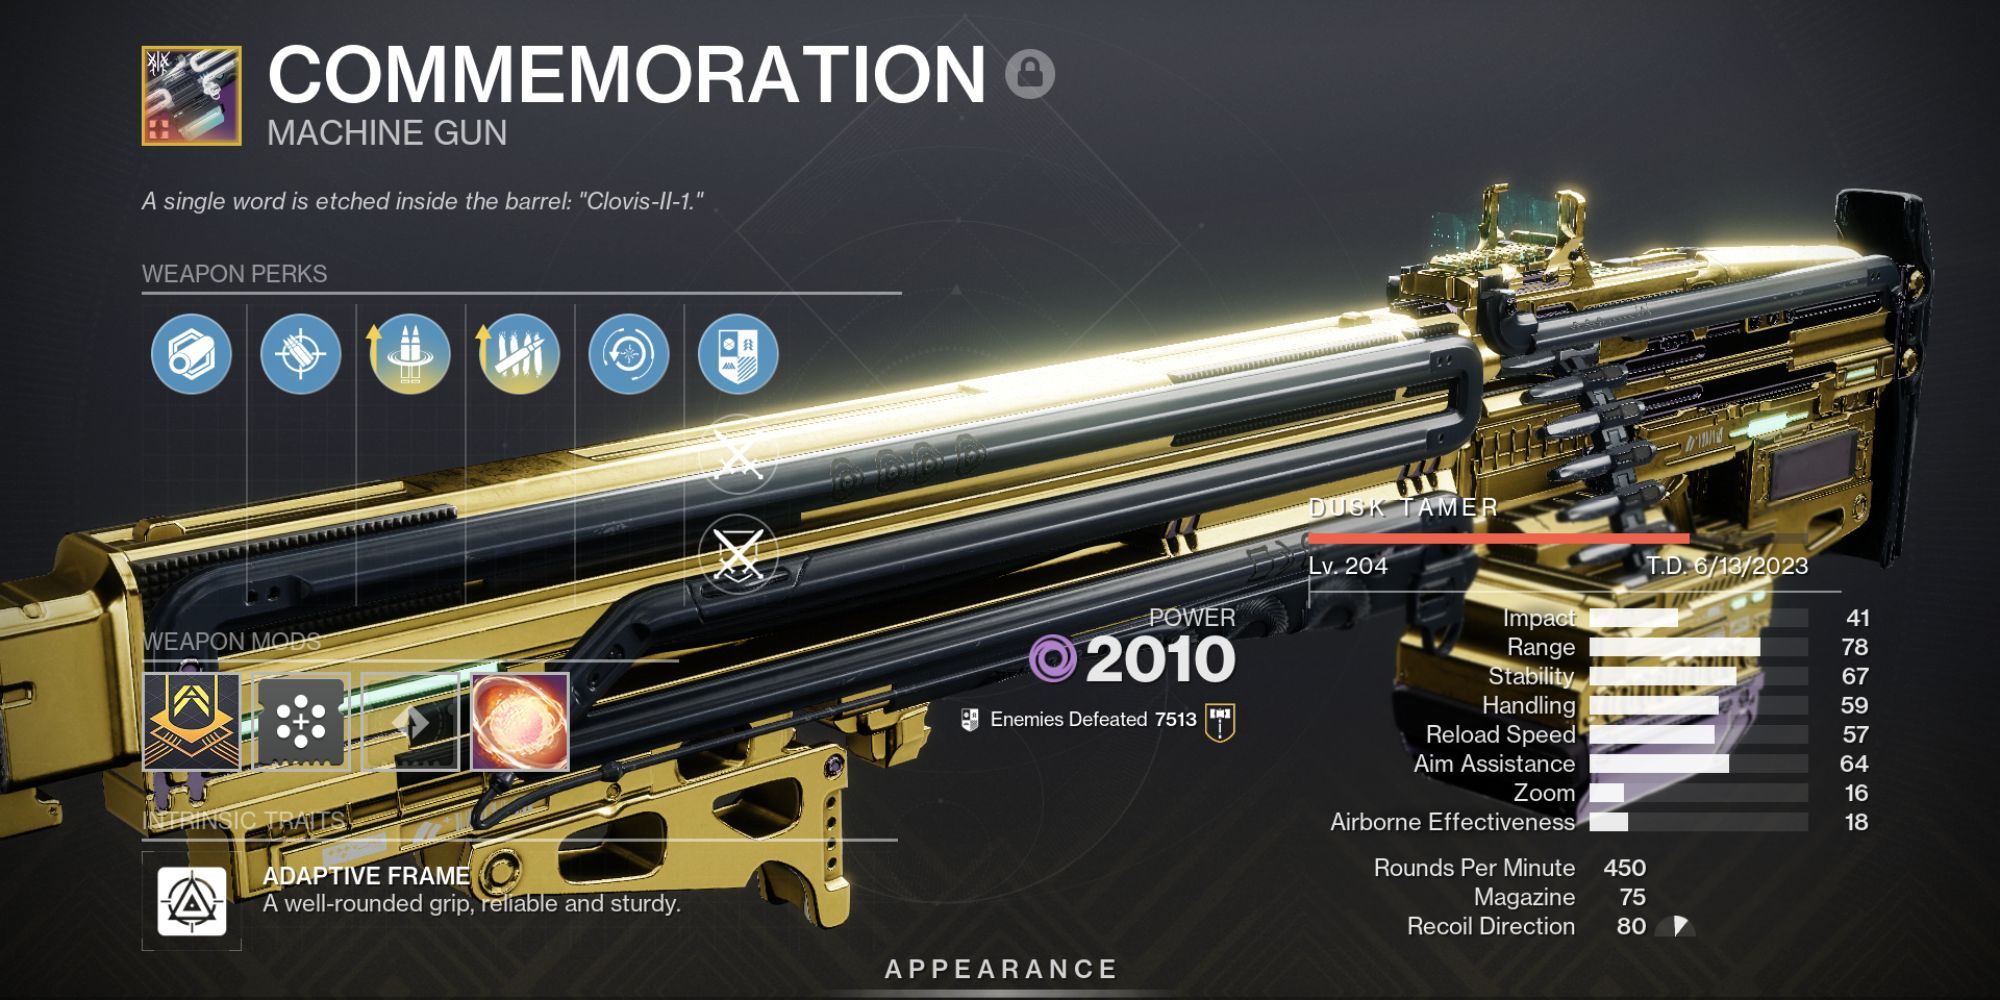
Here, we have a group of powerful enemies known as Subjugators, interspersed with additional tough challenges. Focus on obtaining weapons and skills that allow for the efficient elimination of multiple foes simultaneously.
Swift-firing weapons that inflict accurate damage (assault rifles, machine guns, submachine guns) can make it simple for you to tear apart the vulnerable areas of Husks, thus preventing their wriggling Geists from assaulting you.
| Titan | Warlock | Hunter | |
|---|---|---|---|
| Subclass | Prismatic (Berserker) | Prismatic (Song of Flame) | Prismatic (Silence and Squall) |
| Aspects | Knockout Consecration | Feed the Void Bleakwatcher | Stylish Executioner Winter’s Shroud |
| Abilities | Grenade: Shackle Melee: Frenzied Blade | Grenade: Storm Melee: Arcane Needle | Grenade: Grapple Melee: Combination Blow |
| Exotic Armor | Stoicism (Class Item)
|
Escape Artist (Arms) | Relativism (Class Item)
|
Encounter 2: Zoetic Lockset
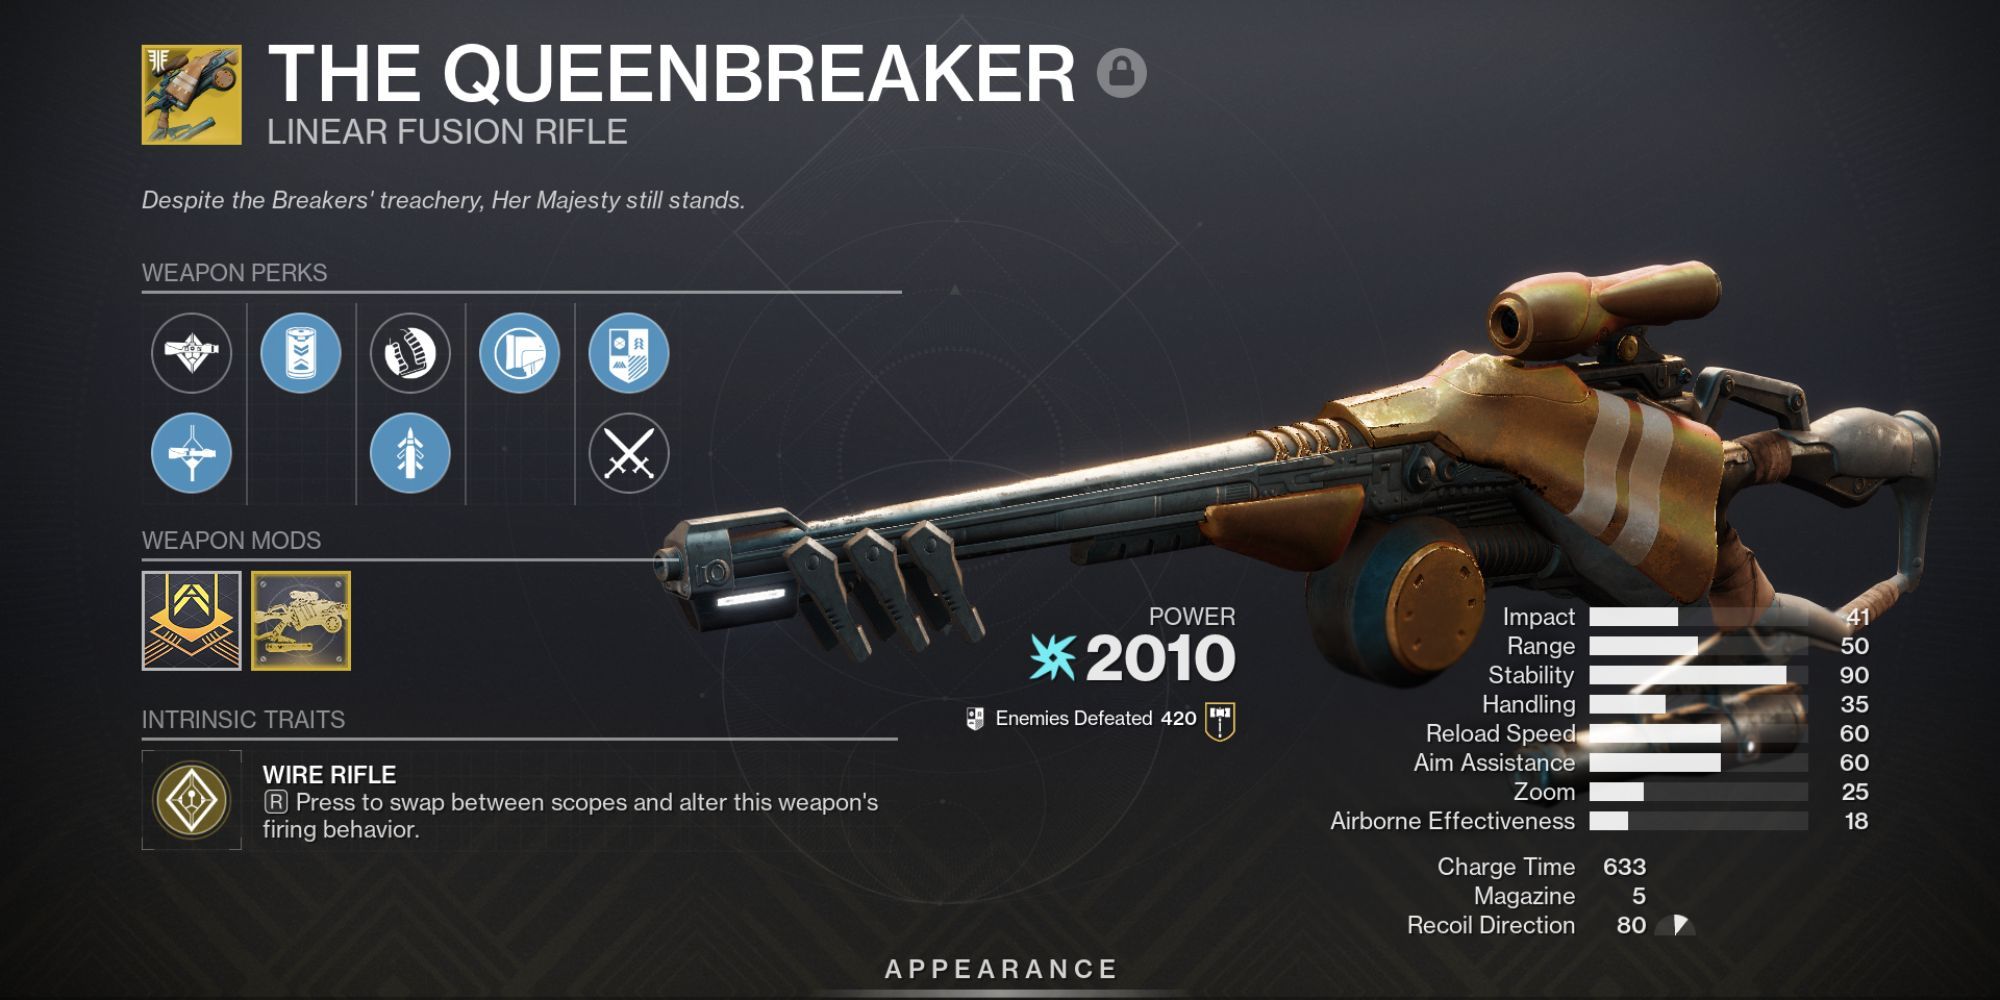
This interaction features extended periods of high damage output, so it’s advisable to use precision weapons that offer good ammunition efficiency, such as sniper rifles and linear fusion rifles.
Or:
The battle has prolonged phases of intense firepower, making it essential to employ weapons with both pinpoint accuracy and economical ammo usage, like snipers and linear fusions.
Since the target area for accurate hits is quite large, you can confidently take cover and effectively inflict damage.
To enhance your offensive capability, don’t forget to equip your armor with appropriate ammunition and damage enhancements!
| Titan | Warlock | Hunter | |
|---|---|---|---|
| Subclass | Arc (Thundercrash) | Solar (Well of Radiance) | Prismatic (Golden Gun) |
| Aspects | Knockout Storm’s Keep | Hellion Touch of Flame | Stylish Executioner Winter’s Shroud |
| Abilities | Grenade: Pulse Melee: Thunderclap | Grenade: Healing Melee: Incinerator Snap | Grenade: Grapple Melee: Combination Blow |
| Exotic Armor | Hazardous Propulsion (Chest) | Speaker’s Sight (Helmet) | Celestial Nighthawk (Helmet) |
| Notable Exotic Weapons |
|
||
Encounter 3: Kerrev, The Erased
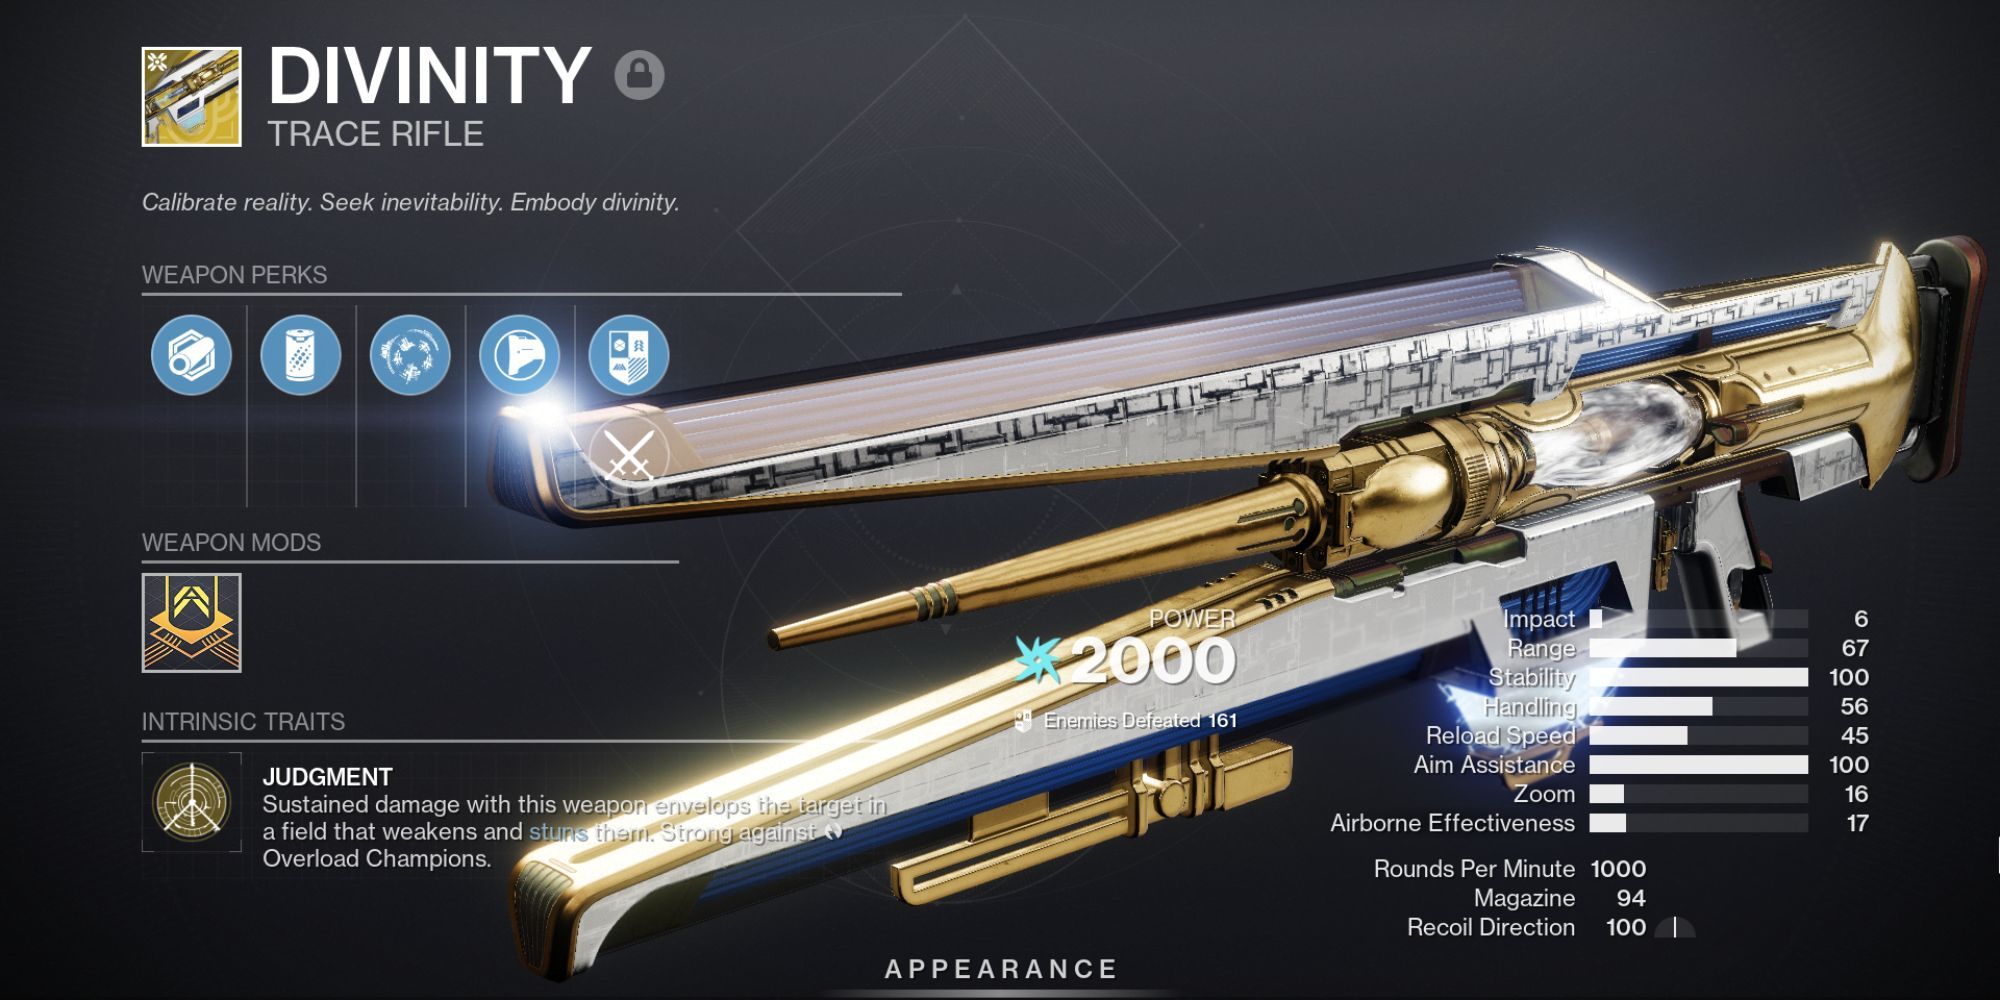
During the damage phase, this boss is quite mobile and has a relatively small area for critical hits. To guarantee regular critical strikes, it might be beneficial to assign one individual the task of continually using Divinity while everyone else focuses on dealing precise, heavy damage.
Twilight Arsenal also weakens the target, so you can deal some extra damage that way.
| Titan | Warlock | Hunter | |
|---|---|---|---|
| Subclass | Prismatic (Twilight Arsenal) | Solar (Well of Radiance) | Prismatic (Golden Gun) |
| Aspects | Knockout Consecration | Hellion Touch of Flame | Stylish Executioner Winter’s Shroud |
| Abilities | Grenade: Shackle Melee: Frenzied Blade | Grenade: Healing Melee: Incinerator Snap | Grenade: Grapple Melee: Combination Blow |
| Exotic Armor | Stoicism (Class Item)
|
Cenotaph Mask (Helmet) | Celestial Nighthawk (Helmet) |
| Notable Exotic Weapons |
|
||
Core Mechanics
The Sundered Doctrine recycles two fundamental aspects from the Vow of the Disciple raid: knowledge (enhanced, overflowing, and brimming versions) and symbolic elements.
If you’re familiar with Vow of the Disciple or the Dual Destiny Exotic Mission, you’ve already got a good feel for what this dungeon is all about.
If you haven’t participated in Vow of the Disciple before, it would be beneficial for you to get acquainted with all 27 symbols used in that raid, along with their corresponding signals or codes (you can come up with your own nicknames if you prefer doing so with your group).
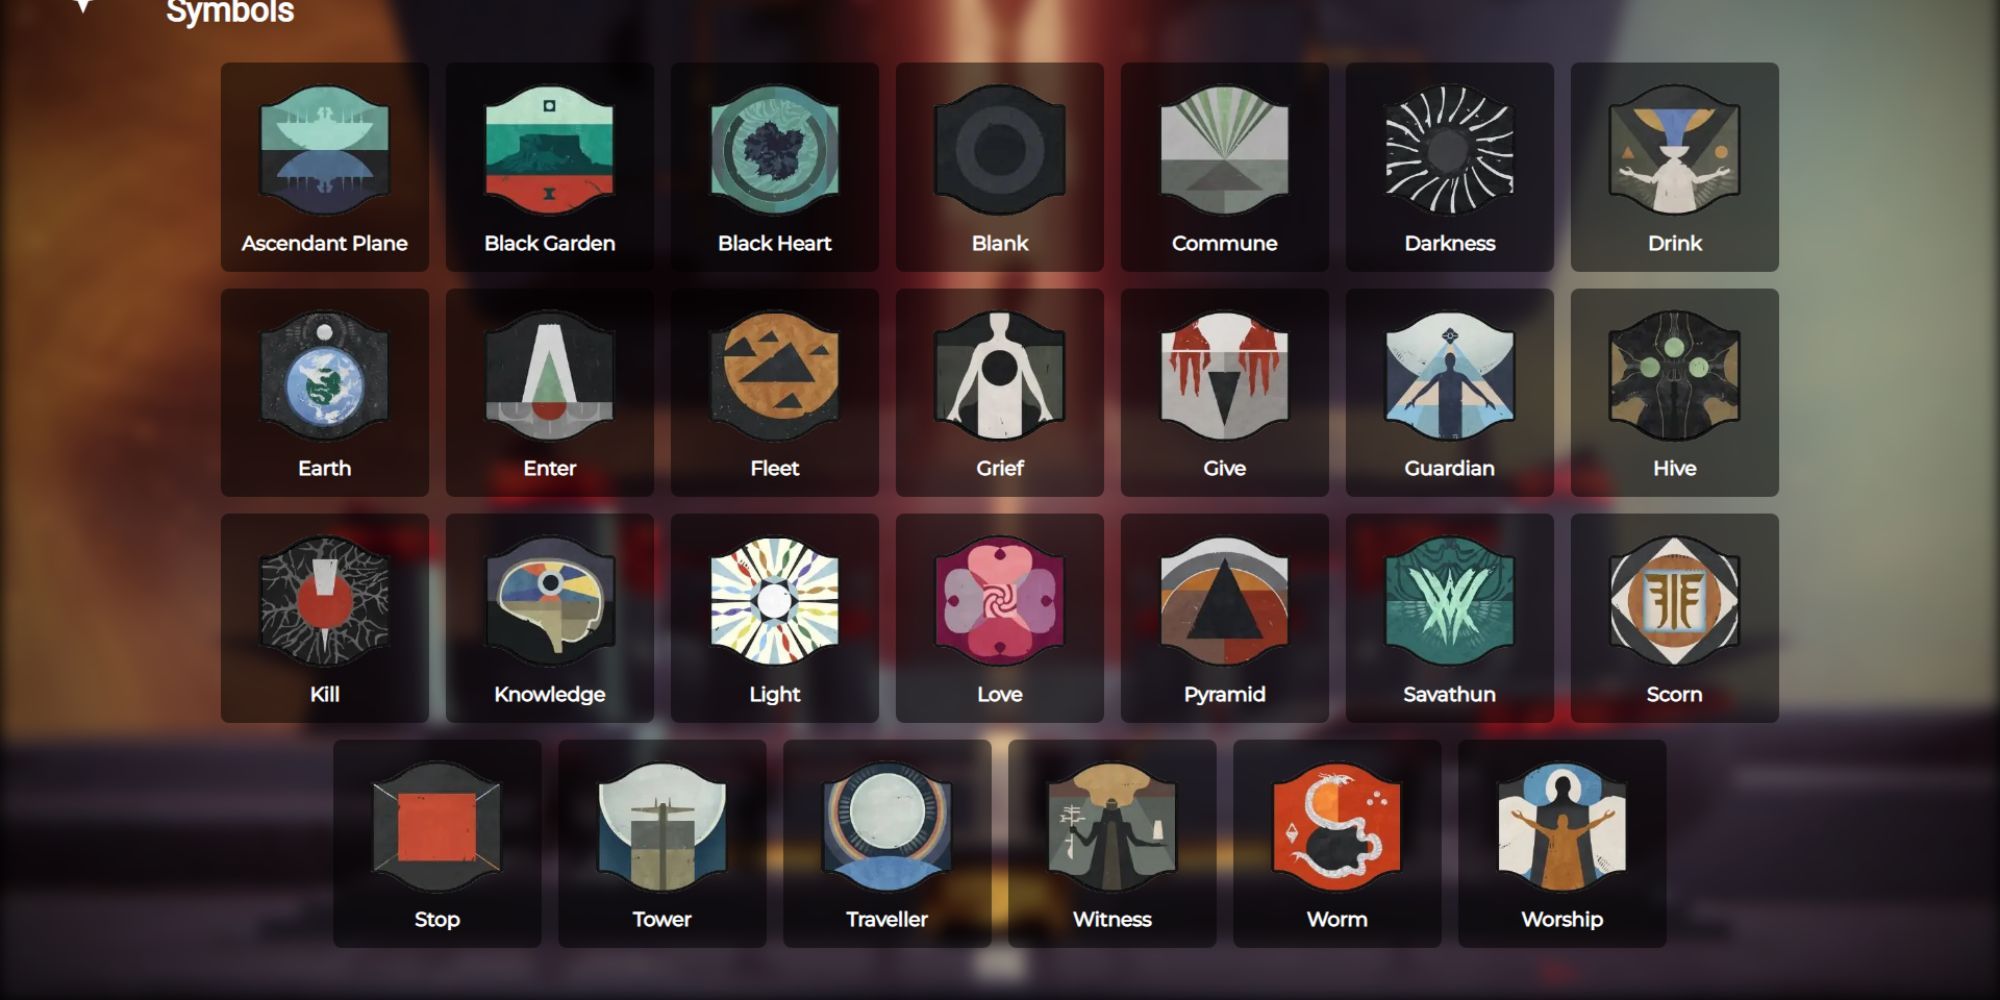
Even though certain symbols aren’t present in this particular dungeon, it could prove beneficial to familiarize yourself with them, as they might show up when playing Vow of the Disciple or appearing in the dungeon at a later time.
Opening Section
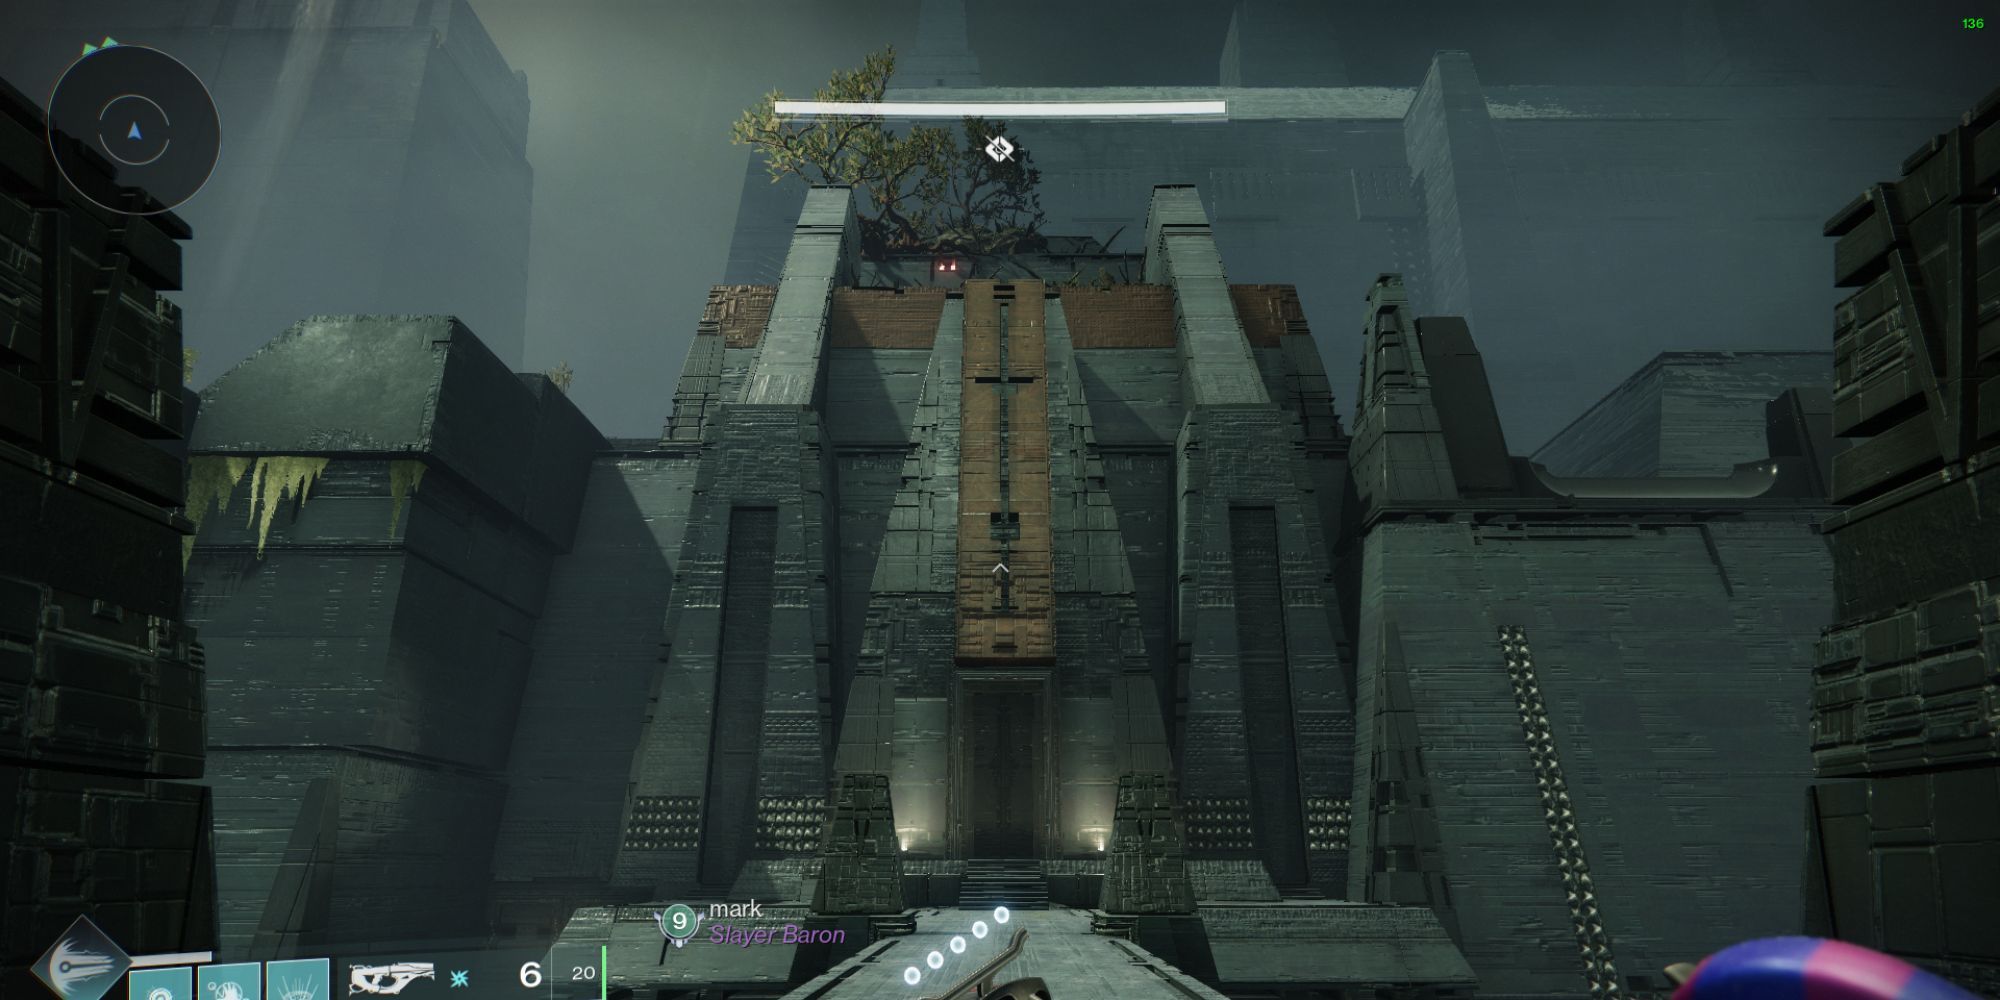
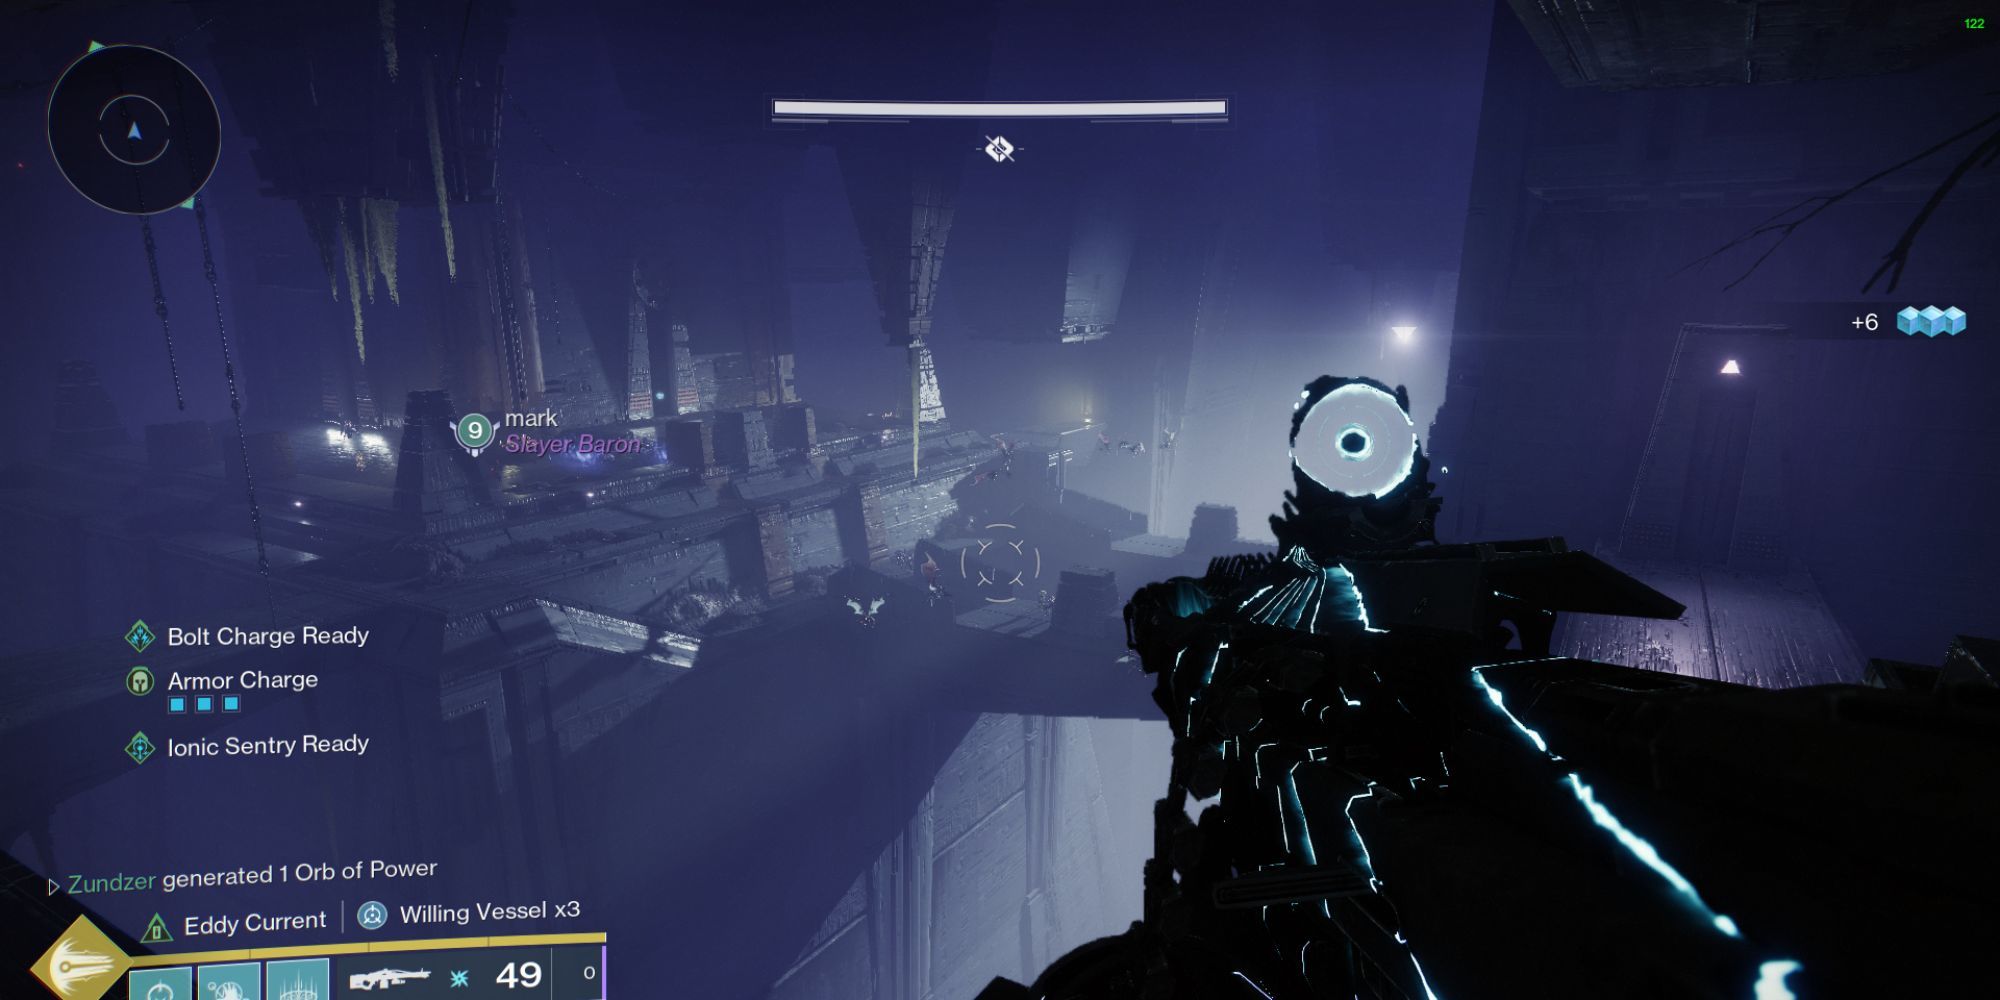
Upon your entry, you’ll be greeted by an awe-inspiring sight – the breathtaking interior of Rhulk’s pyramid. It seems that secret operatives have established a base here, where you can tackle puzzles for the mission. For now, proceed along the bridge.
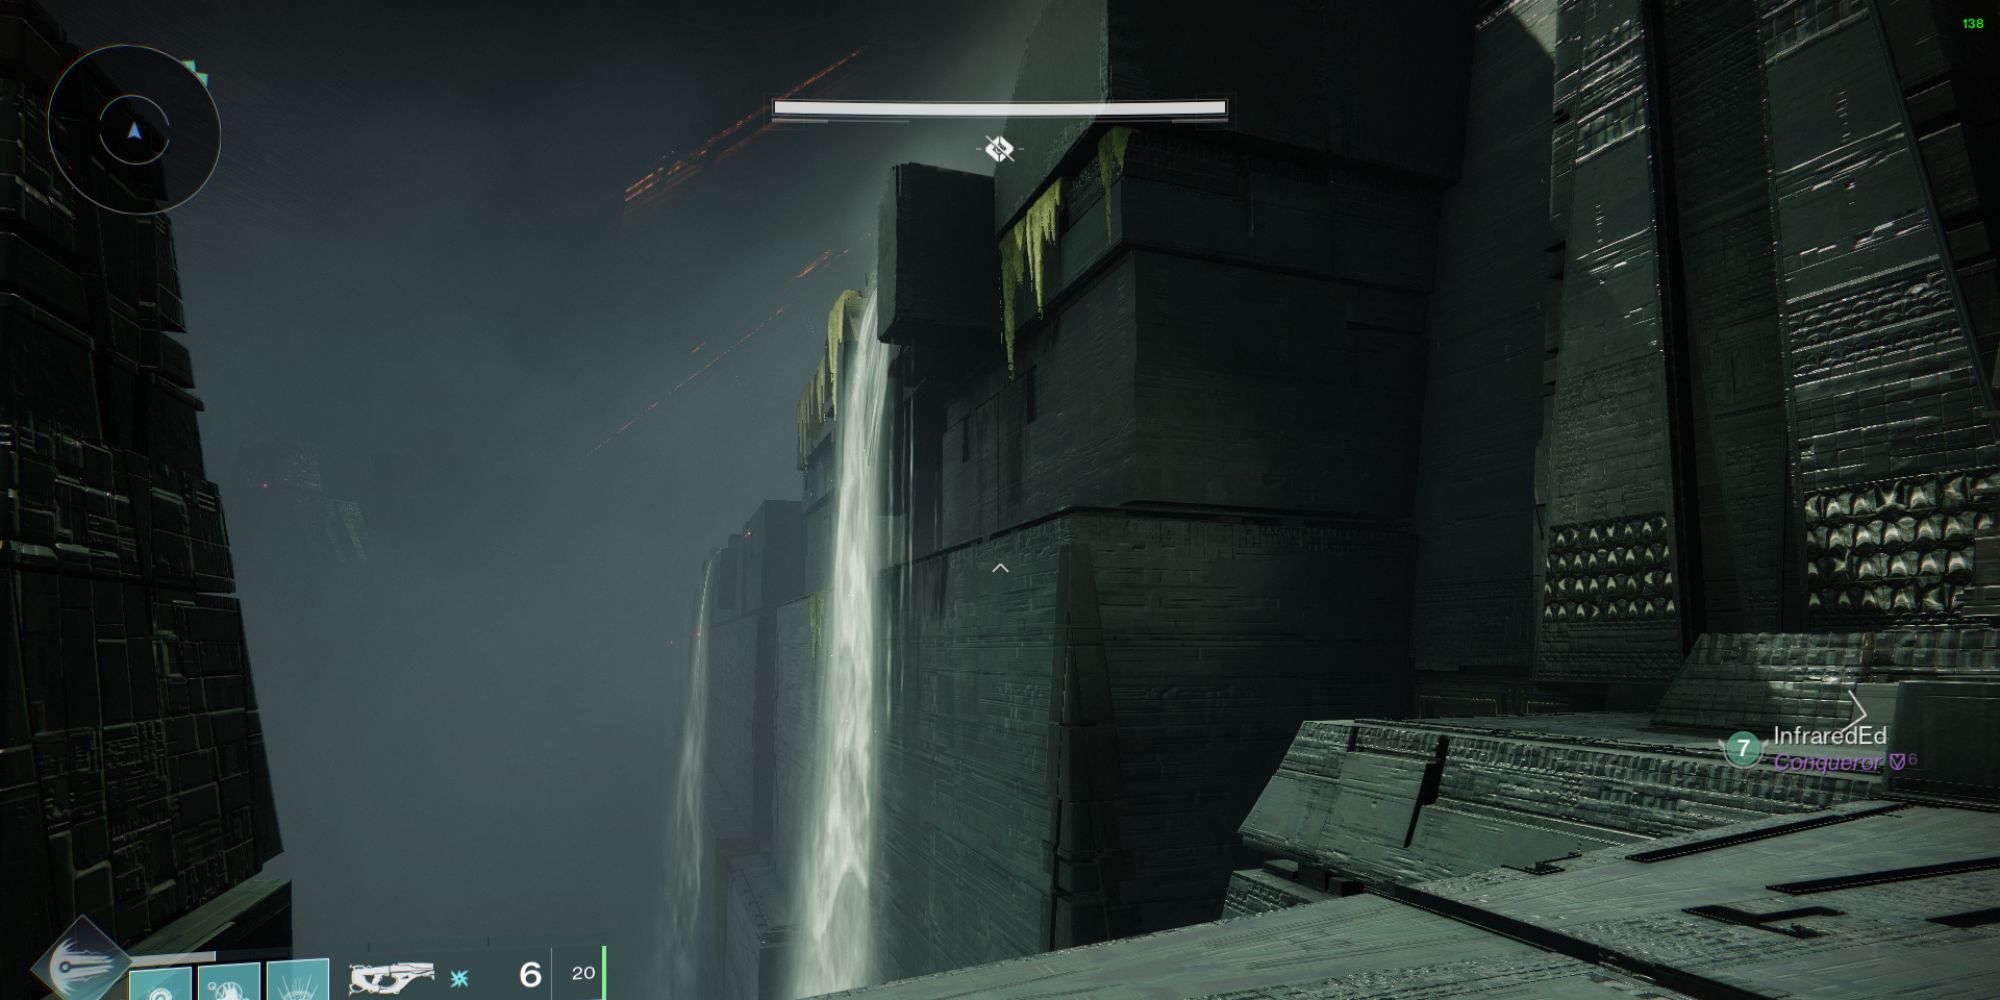
As you get near a massive wall that appears to hide the entryway, head left towards the cascading waterfalls. The hidden alcove concealed by the first waterfall is actually the real entrance to the underground labyrinth.
Navigate along the path and encounter a horde of enemies: Dread along with Grims, Weavers/Attendants, and two mid-tier Subjugators (one from Stasis and one from Strand). Overcome them and carry on your journey.
Or simply:
Follow the path, face off against a group of enemies consisting of Dread along with Grims, Weavers/Attendants, and two yellow bar Subjugators (one from Stasis and one from Strand), then continue ahead.
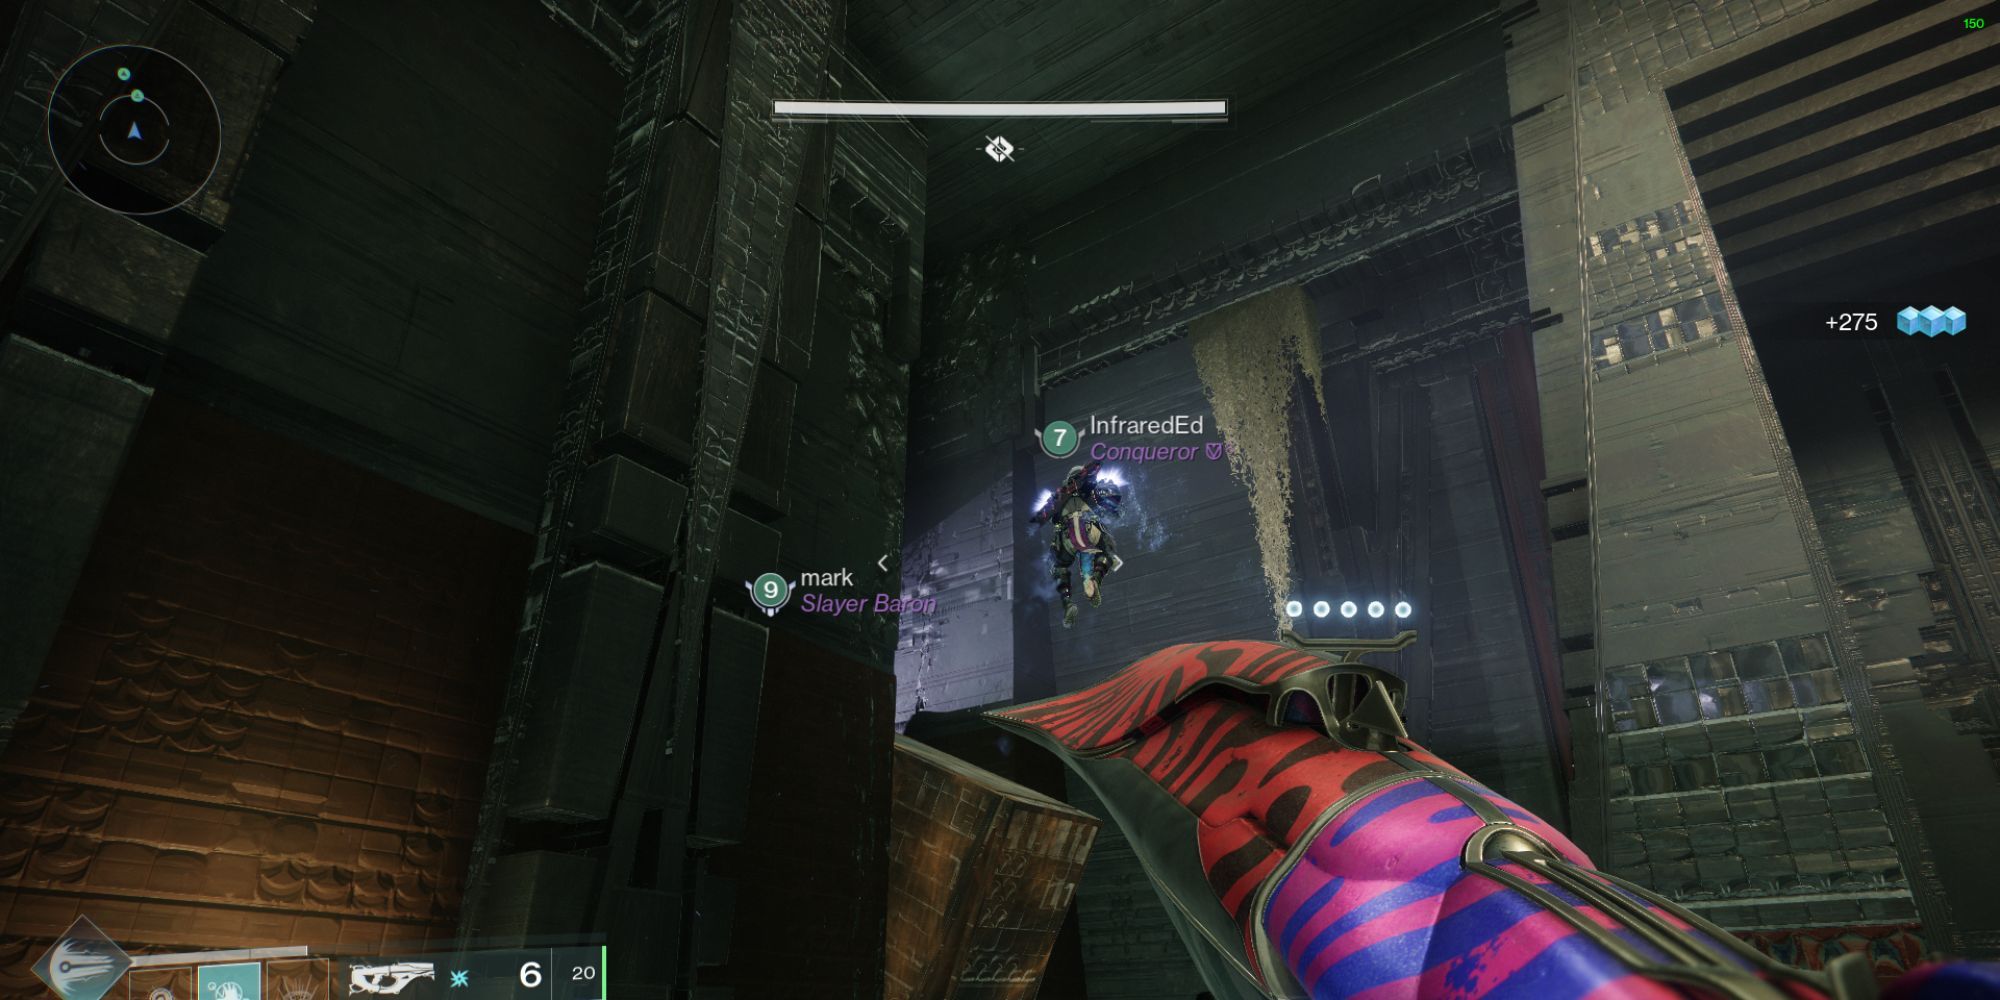
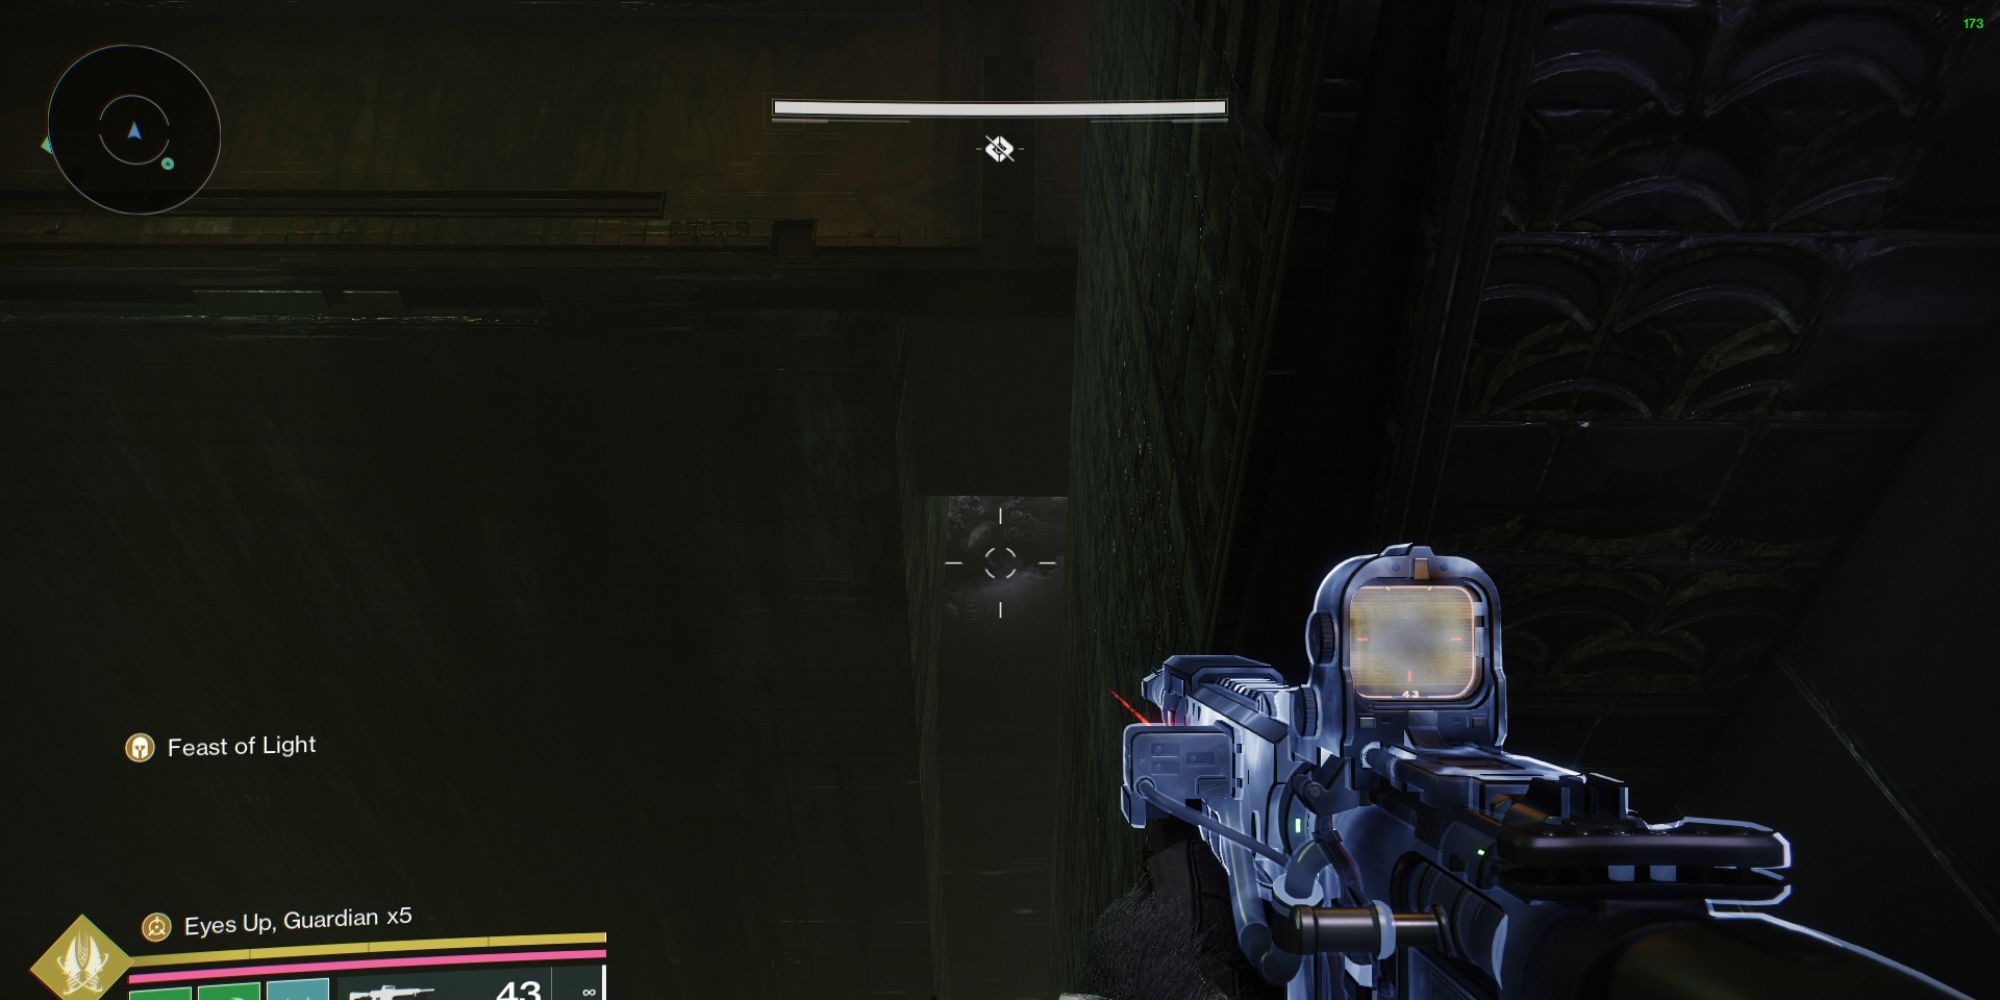
As you reach the end of the room, you’ll spot an unusual sliding platform that can be lowered for you to step onto. Lowering it will create a narrow pathway for your progression. Follow this path, and eventually, you’ll descend into a tunnel. This tunnel leads to another section filled with more obstacles and a lone Stasis Subjugator in a swampy area.
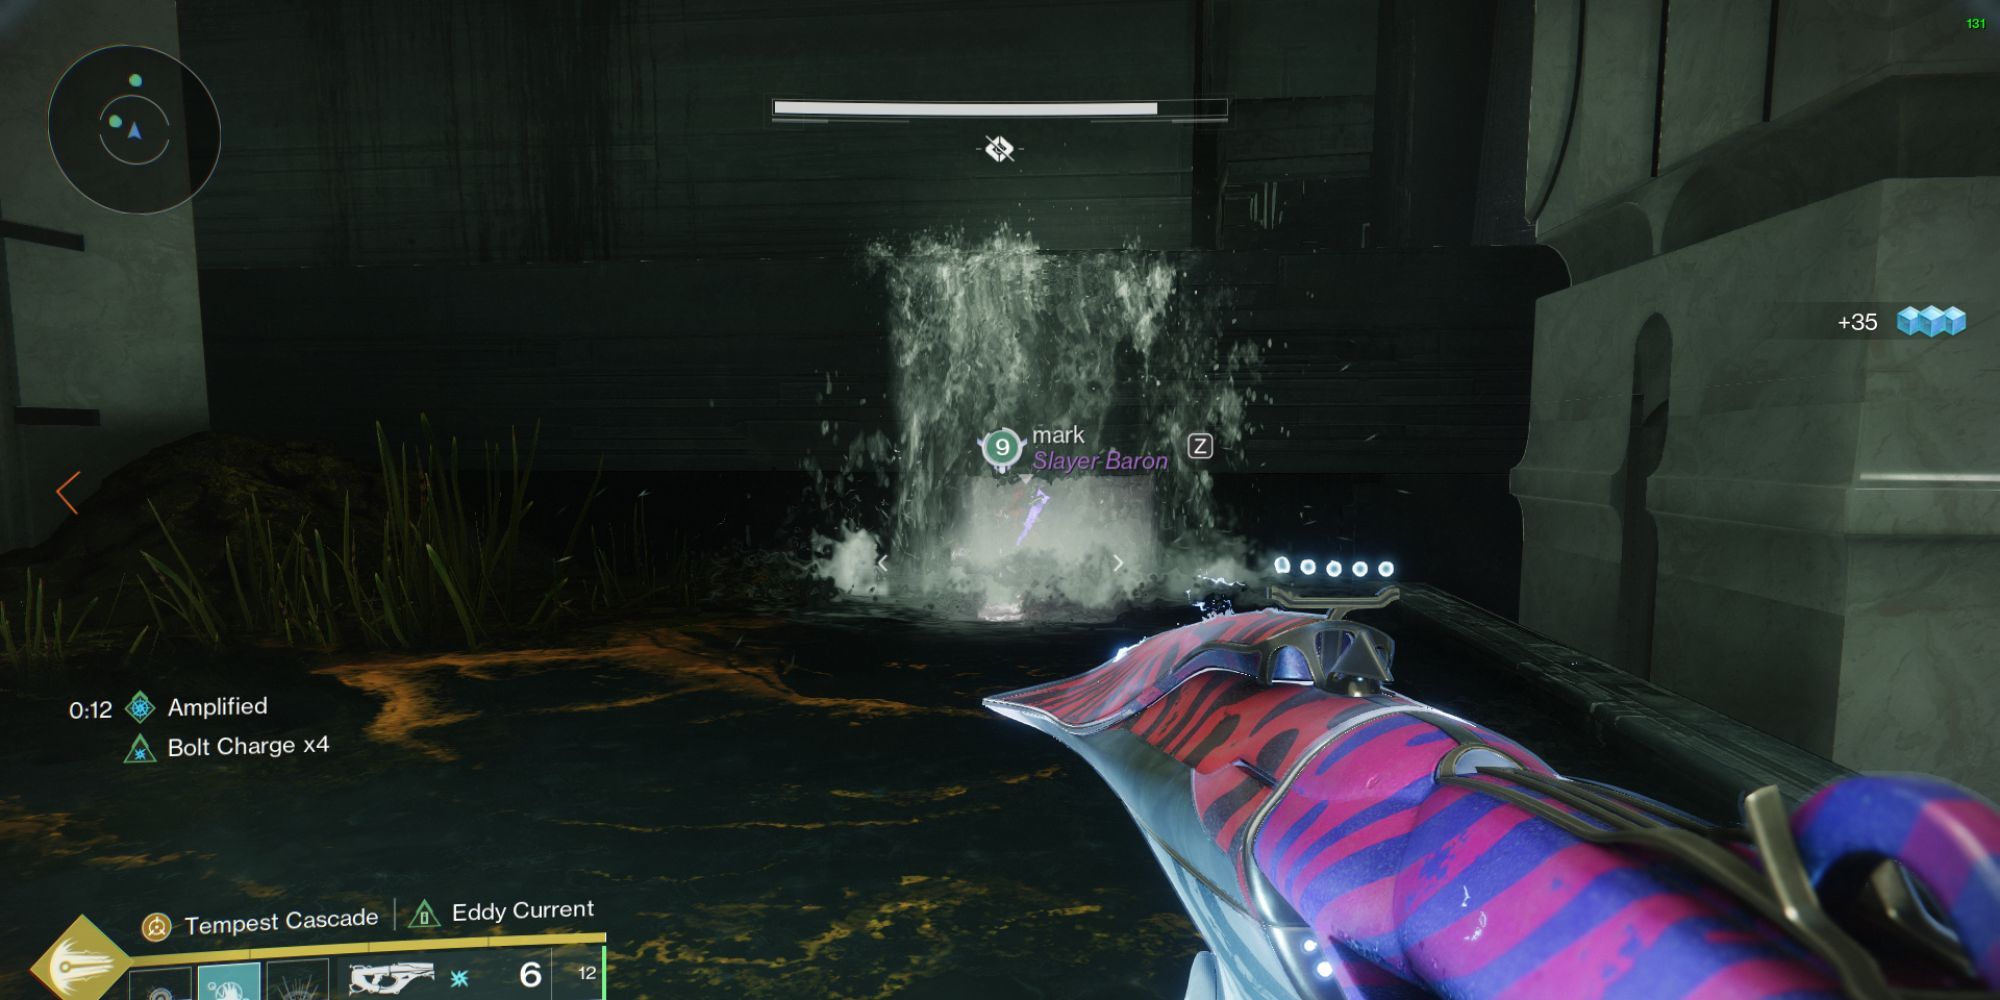
In this part, if you feel a bit disoriented, remember that the way out lies hidden near a petite waterfall towards the room’s right side. After passing through it, you will eventually reach your first meeting point within the dungeon.
As a gamer, I can tell you that you don’t need to engage in combat with any foes to advance (although it could certainly simplify matters). Instead, you can choose to bypass them entirely and effortlessly traverse this labyrinth.
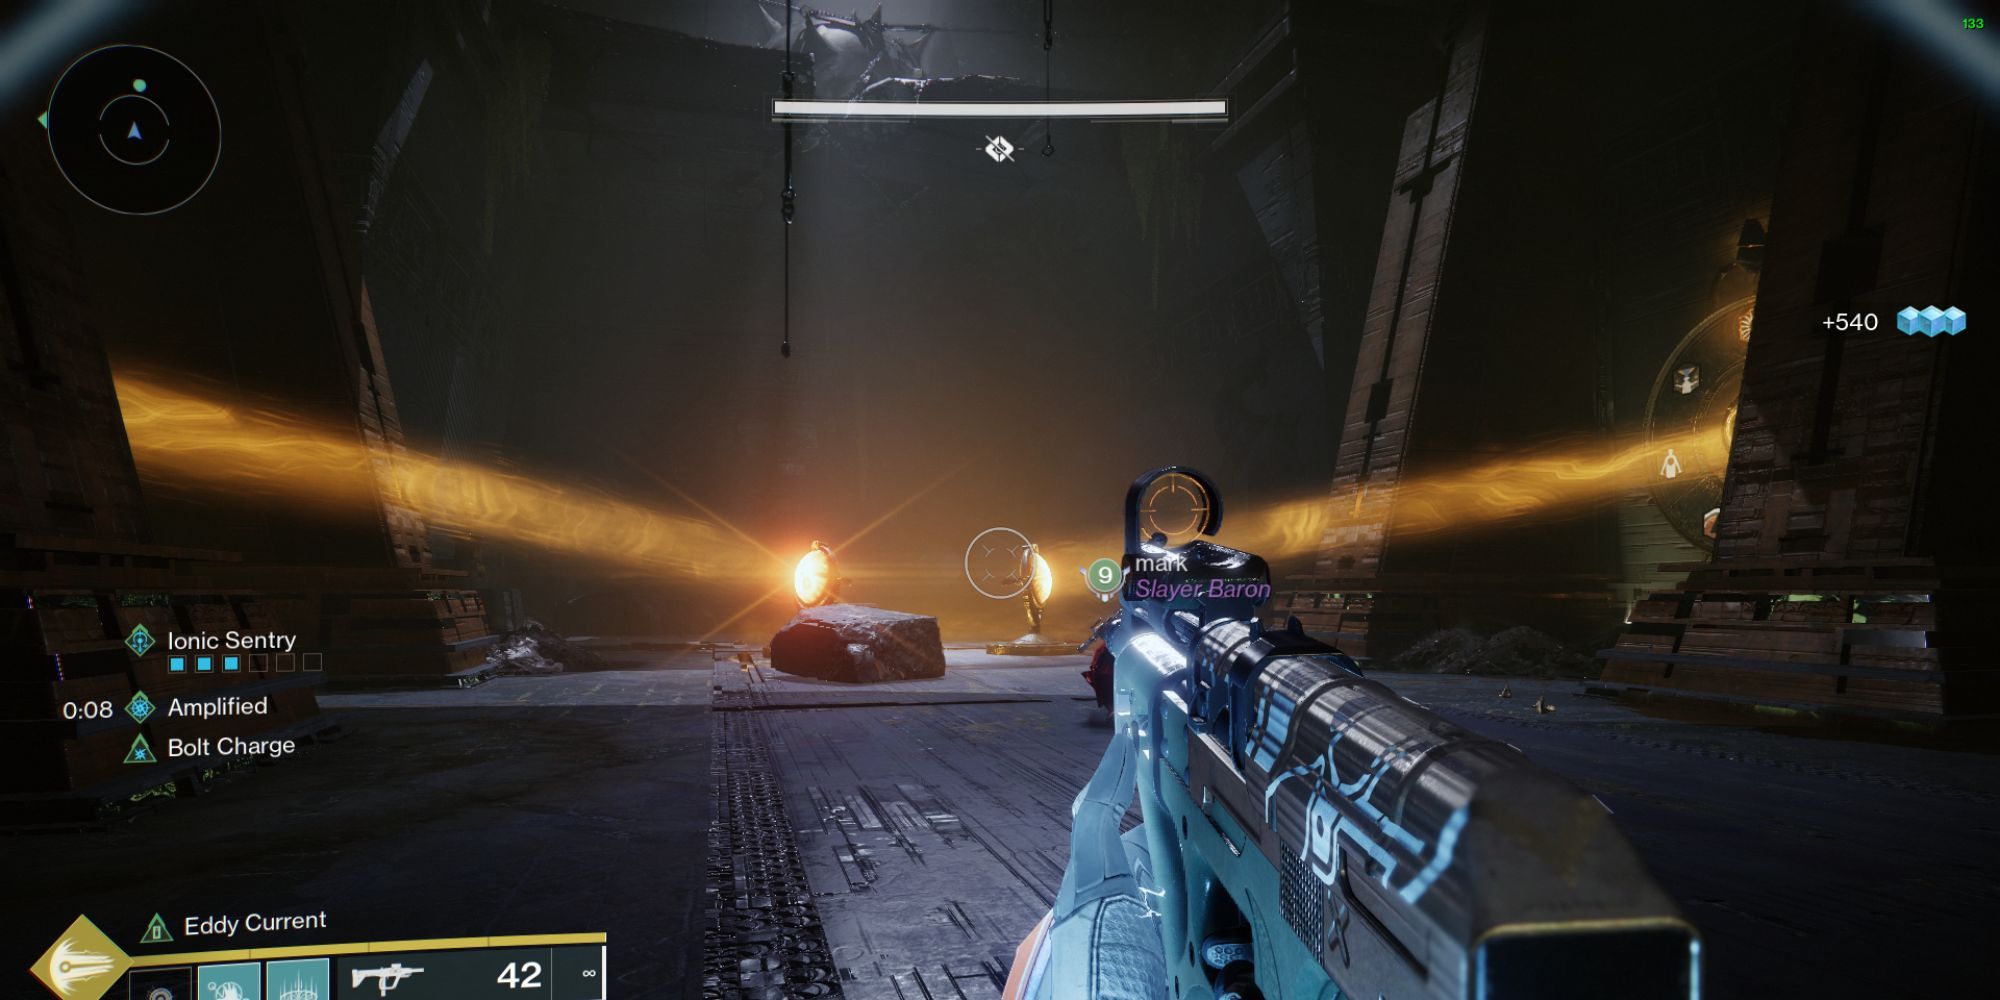
First Encounter: Riddle
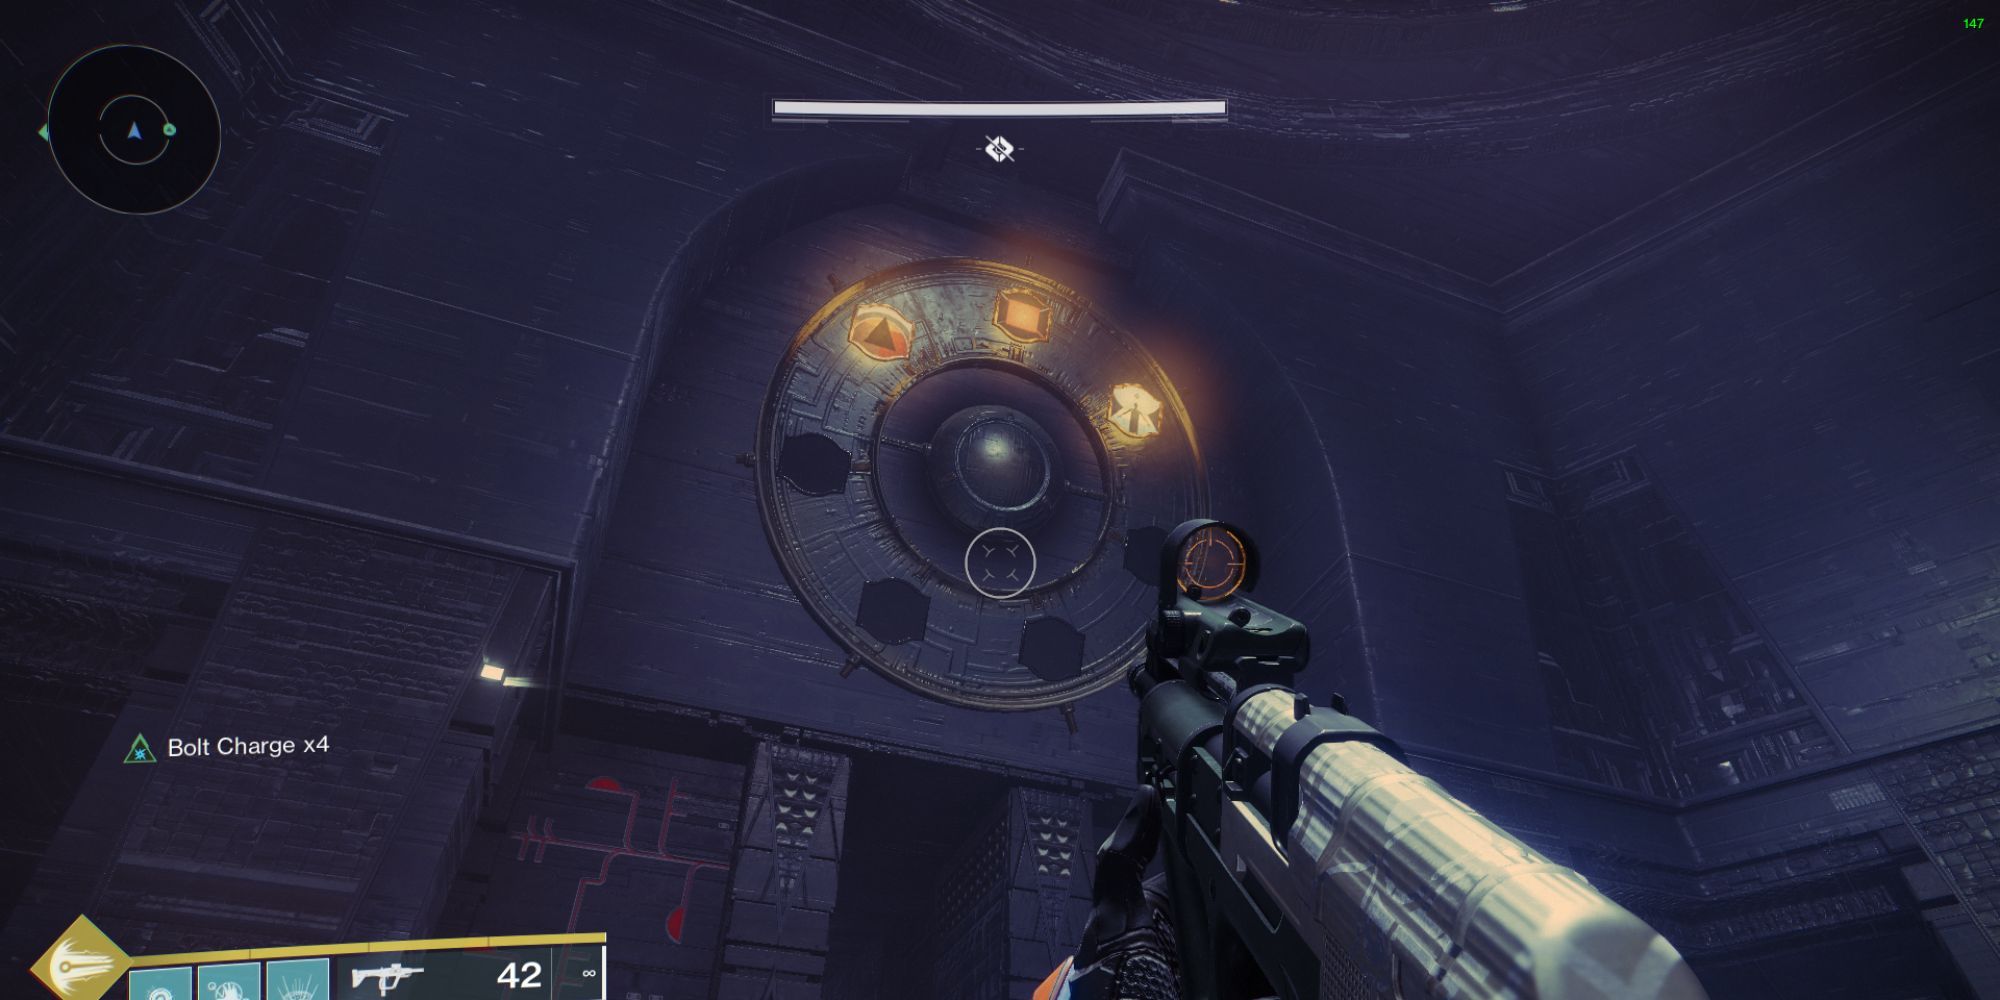
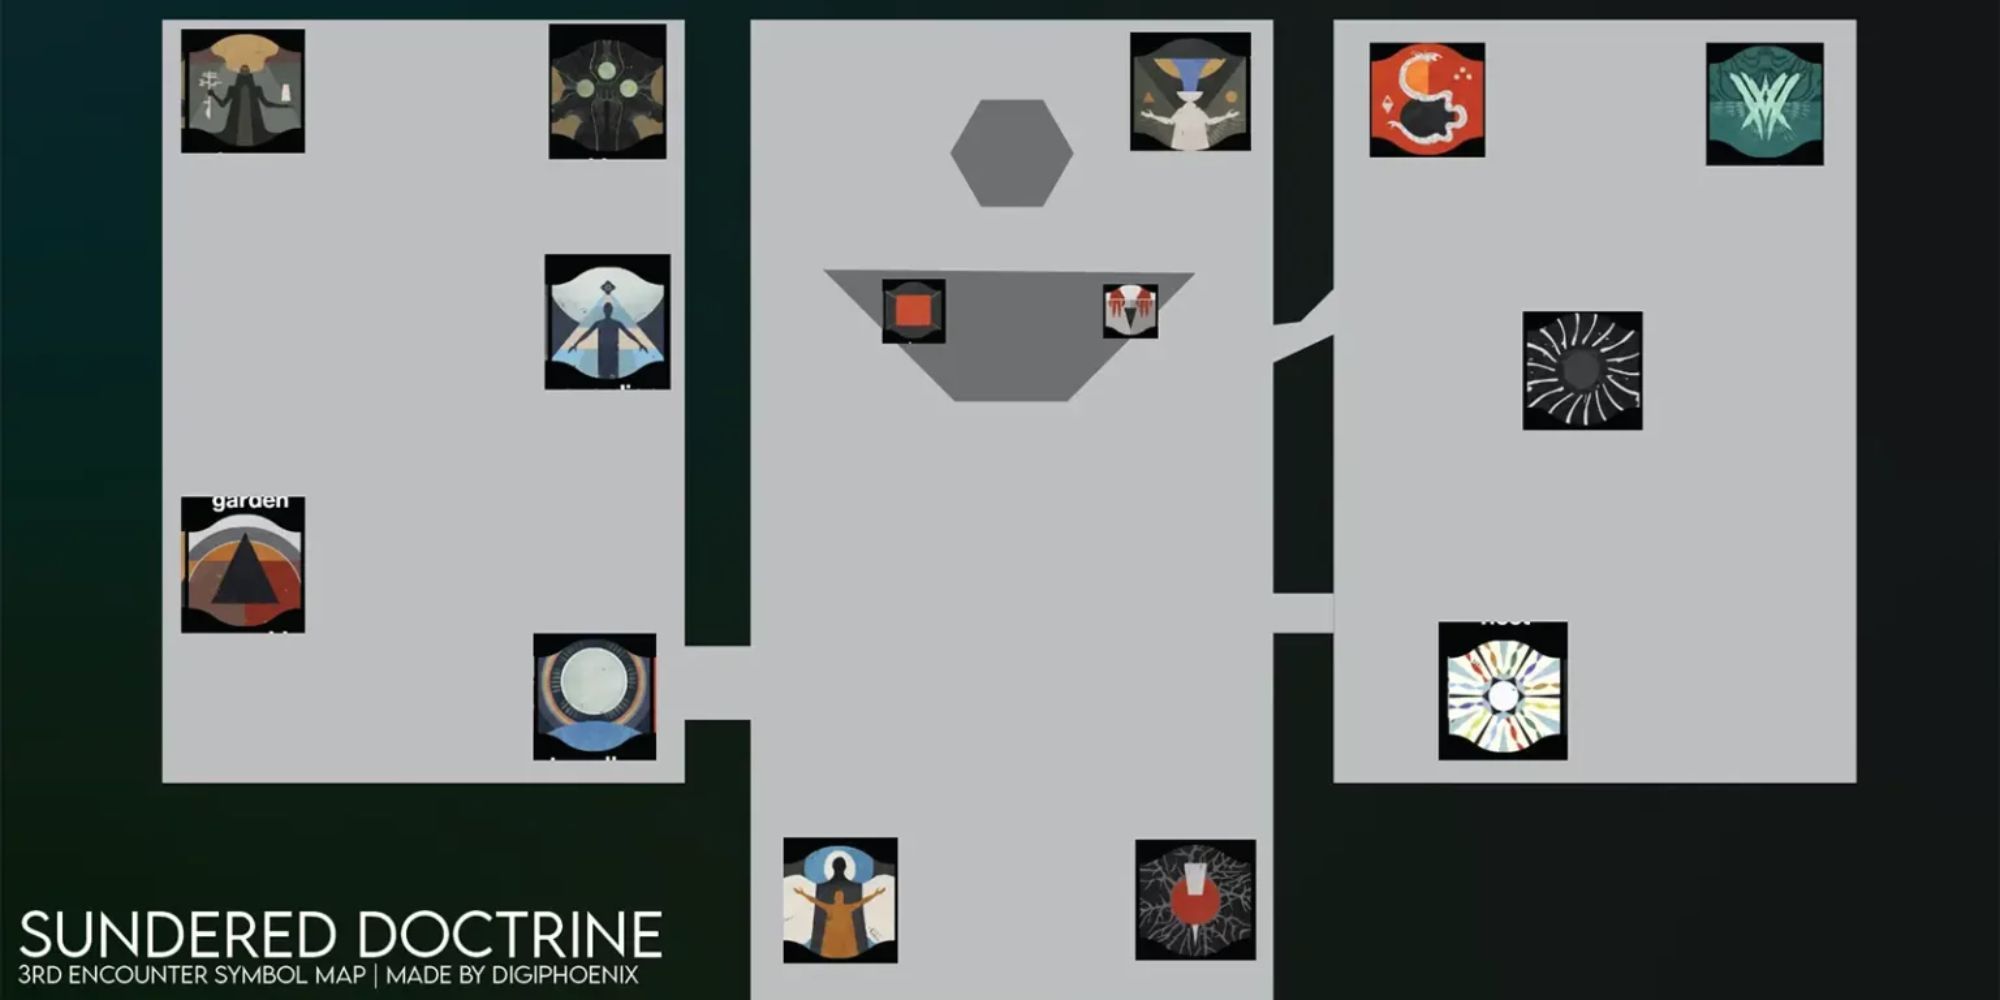
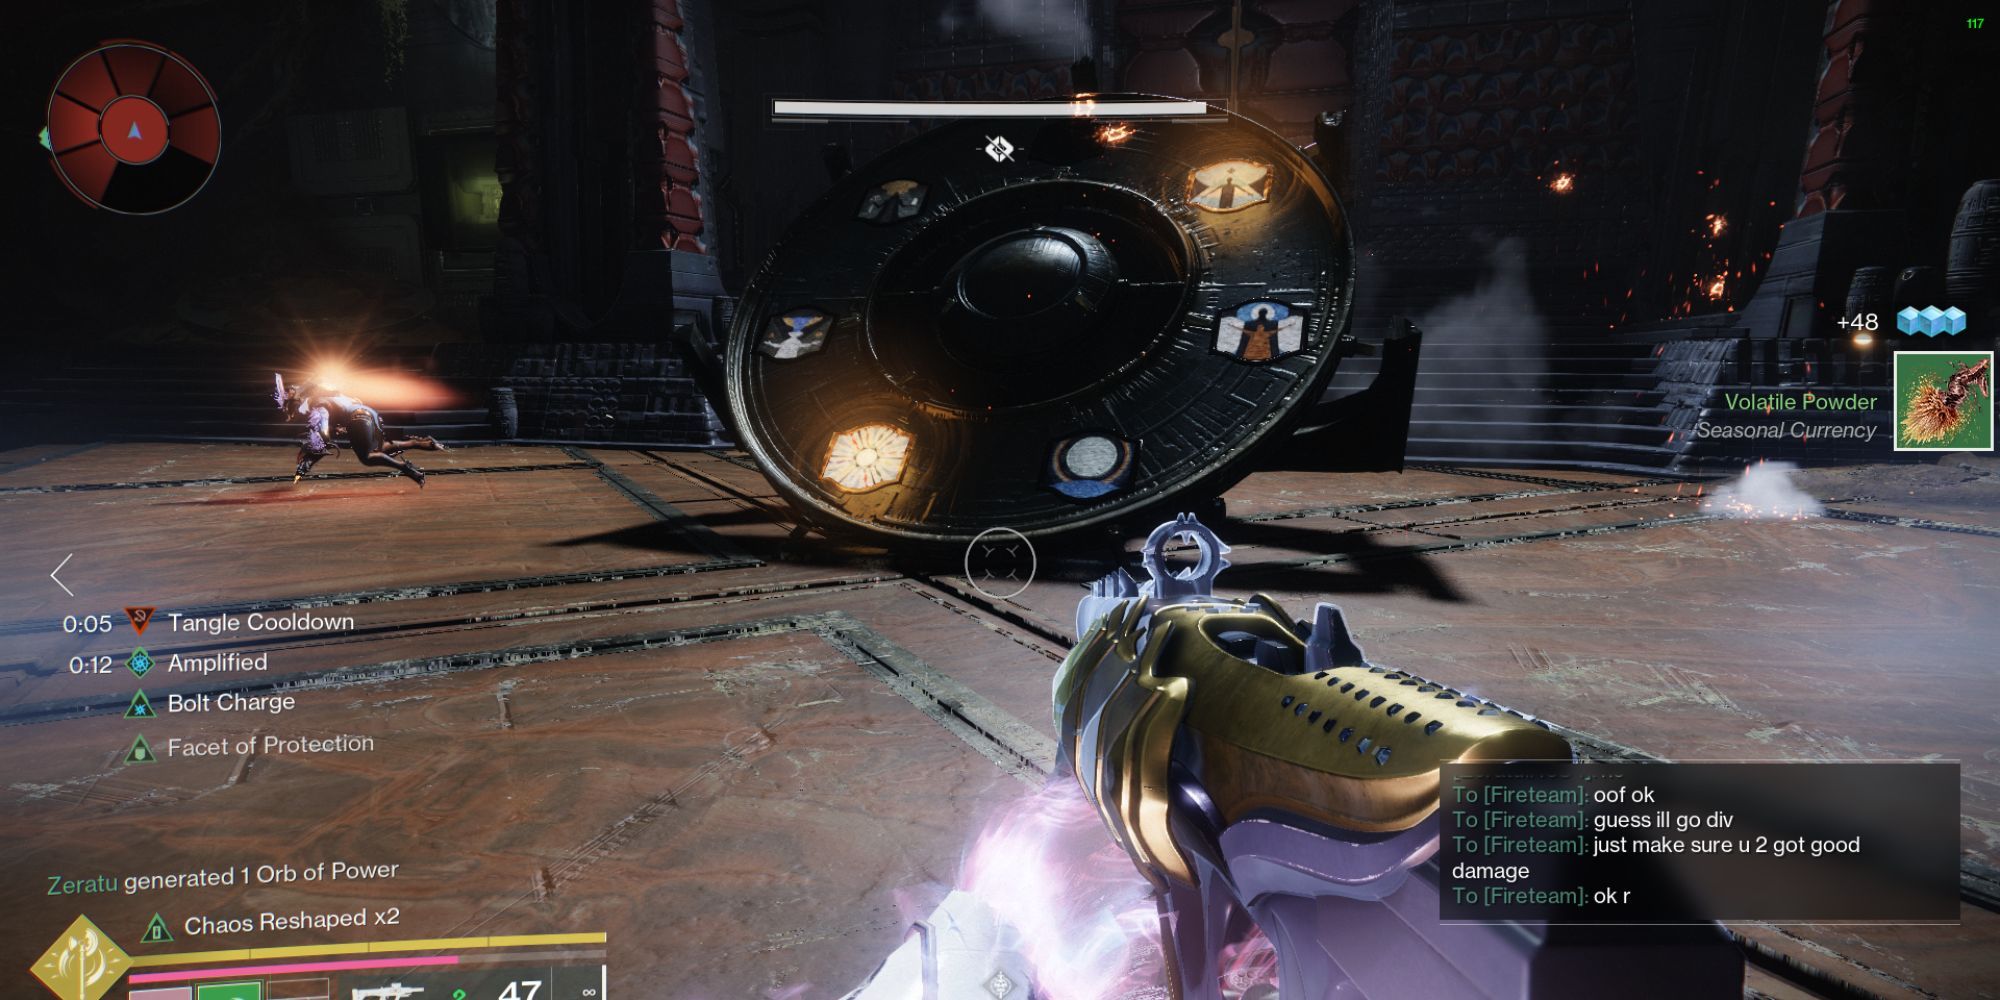
One simple and clear way to describe how this dungeon operates is by saying: “You control the movement of the pyramid by using symbols. Right in the middle of the room, you’ll notice a wheel with seven openings.
During this interaction, please prepare just three spaces for your symbols. These symbols should be arranged in a clear sequence – subject, action, and object – to form a meaningful sentence.
Essentially, what you are doing is expressing ideas using these symbols, and it’s important to note that the pyramid will only approve statements that are truthful.
If you make incorrect assumptions, the pyramid will dismiss them, resulting in a boss-like creature called a Tormentor emerging to attack you. This action resets the symbols and beams within the pyramid.
The task at hand is to focus beams of light from the central room towards one, two, or three of the available four adjacent spaces. For your convenience, you can name these spaces as you prefer; it’s customary to denote them as follows:
1. Room A
2. Room B
3. Room C
4. Room D
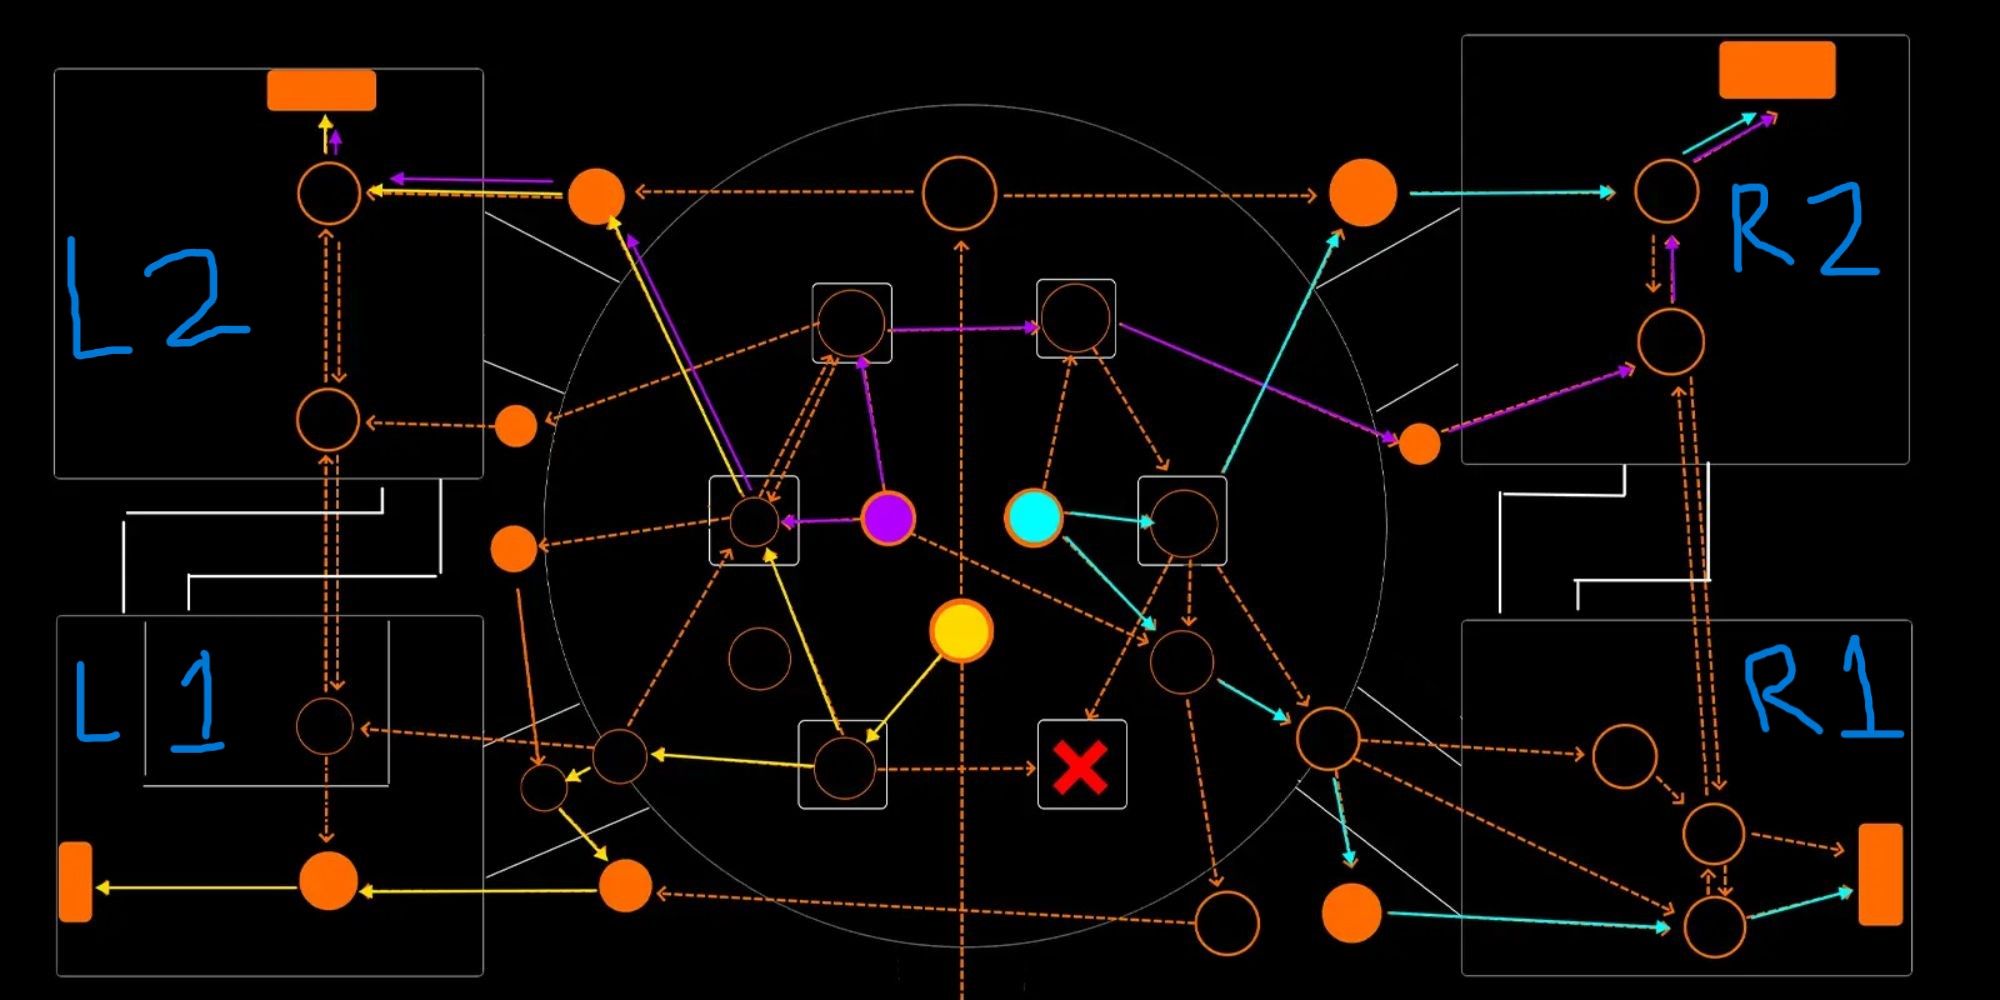
- Bottom Left / L1
- Top Left / L2
- Bottom Right / R1
- Top Right / R2
Prior to our meeting, it would be beneficial if you take a moment to study the arrangement of the room. The community has kindly prepared a map detailing the room’s layout as well as all potential paths to keep the shadows at bay.
You’re aiming for a combination of strong defensive abilities, such as Aegis and evasive maneuvers provided by Roaming Supers like Song of Flame and Berserker. The toughest opponents will be Subjugators, but they can be managed effectively using crowd-control techniques like Suspend or Blind effects.
Or simply:
You need defensive skills like Aegis and evasive moves from Roaming Supers (Song of Flame, Berserker), while the strongest enemies are Subjugators who can be handled with crowd-control abilities such as Suspend or Blind effects.

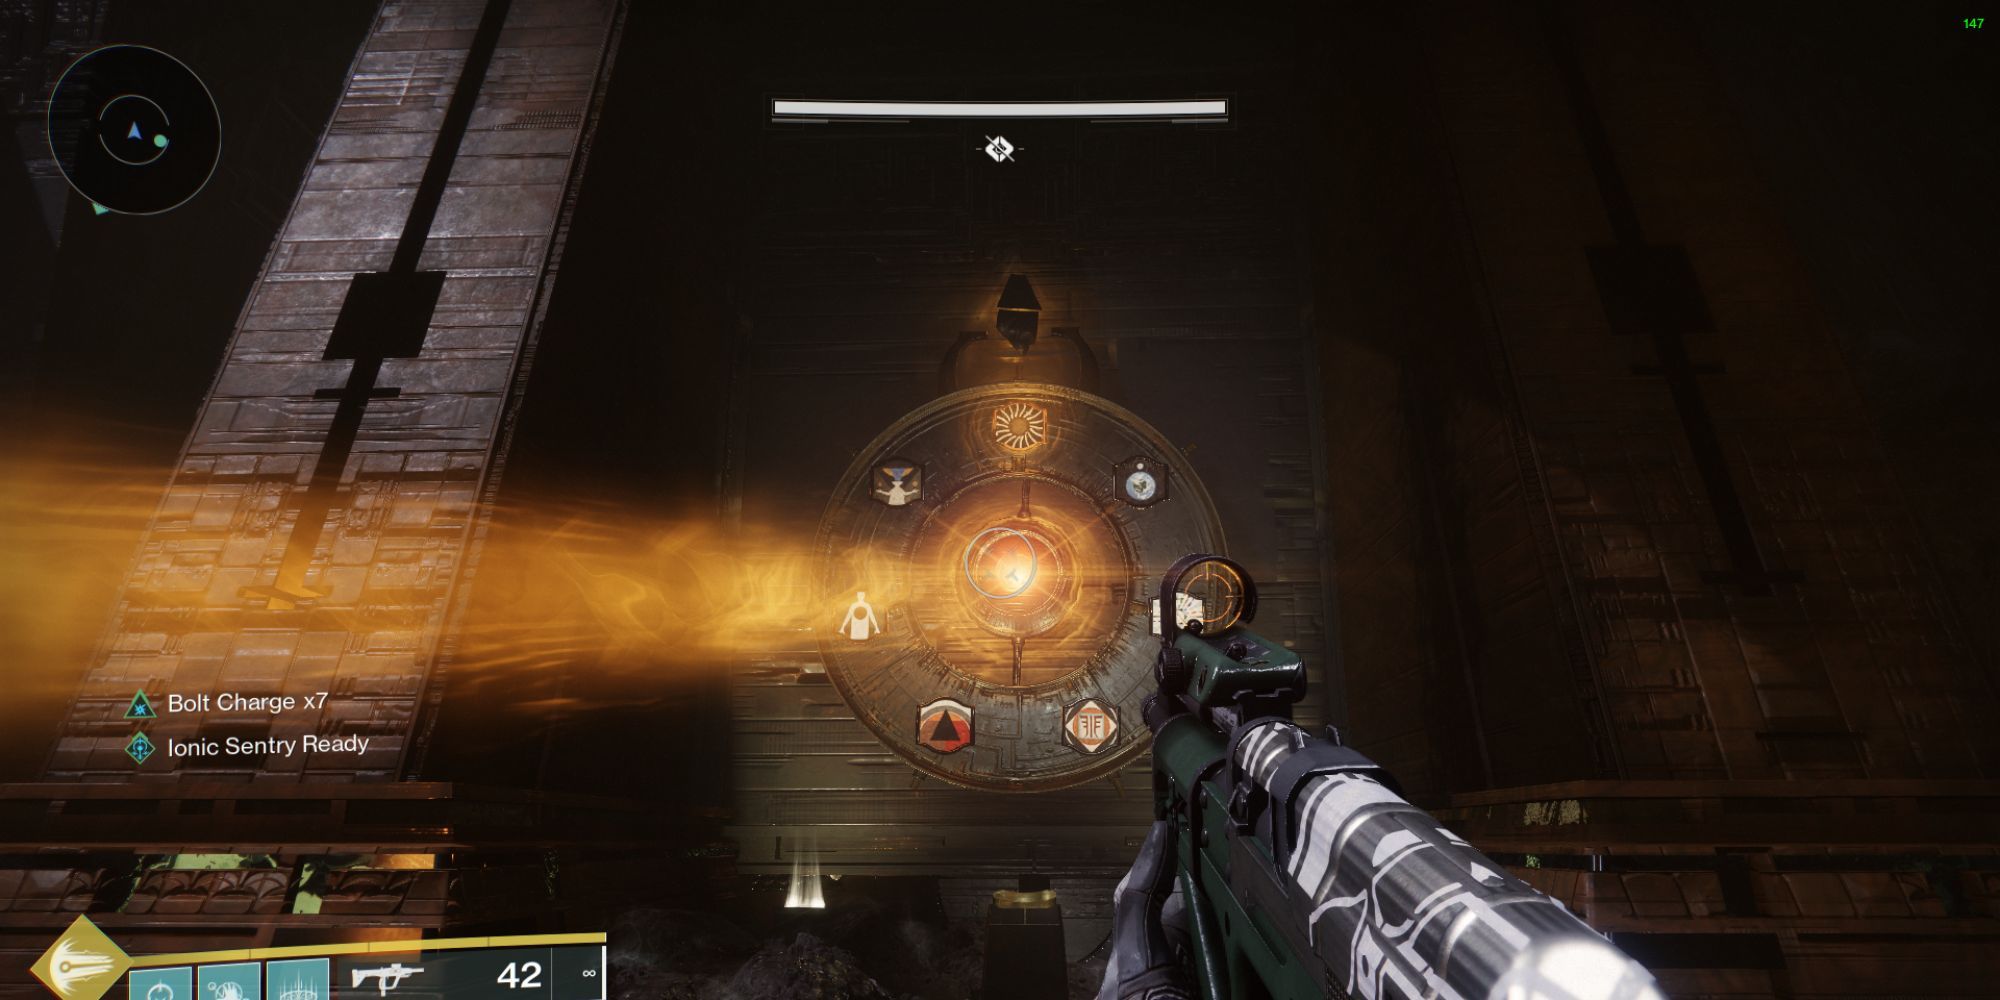
When you’re all set, let’s kick off the interaction by turning the central lens. Darkness nodes will emerge over each initial lens. Firing a node will initiate a beam of darkness towards the associated lens. Each lens is capable of pointing in at least two directions.
As the interaction starts, Husks might intermittently appear throughout the central room, acting as periodic distractions.
1. Visit the other four rooms (or separate if part of a team).
2. In each room, look for an orange bar called Grim, nicknamed the Truthspeaker.
3. Once you find and defeat this Truthspeaker, it will drop a floating symbol.
4. This symbol will show where you should aim the beam.

simultaneously, every room is populated with Dread Psions and Subjugators known as Lens Bearers. Overcoming the Lens Bearer will result in a lens dropping, which you can collect.
Remember that the three symbols on the central wheel form a complete sentence. If the symbols on the left and center are “Traveler” and “Give,” respectively, it could reasonably be deduced that the symbol on the right is likely to represent “Light.
In L2, you eliminated Truthspeaker and acquired the “Traveler” emblem. Subsequently, your objective is to find a room marked with the “Traveler” symbol, which in this case happens to be R2.
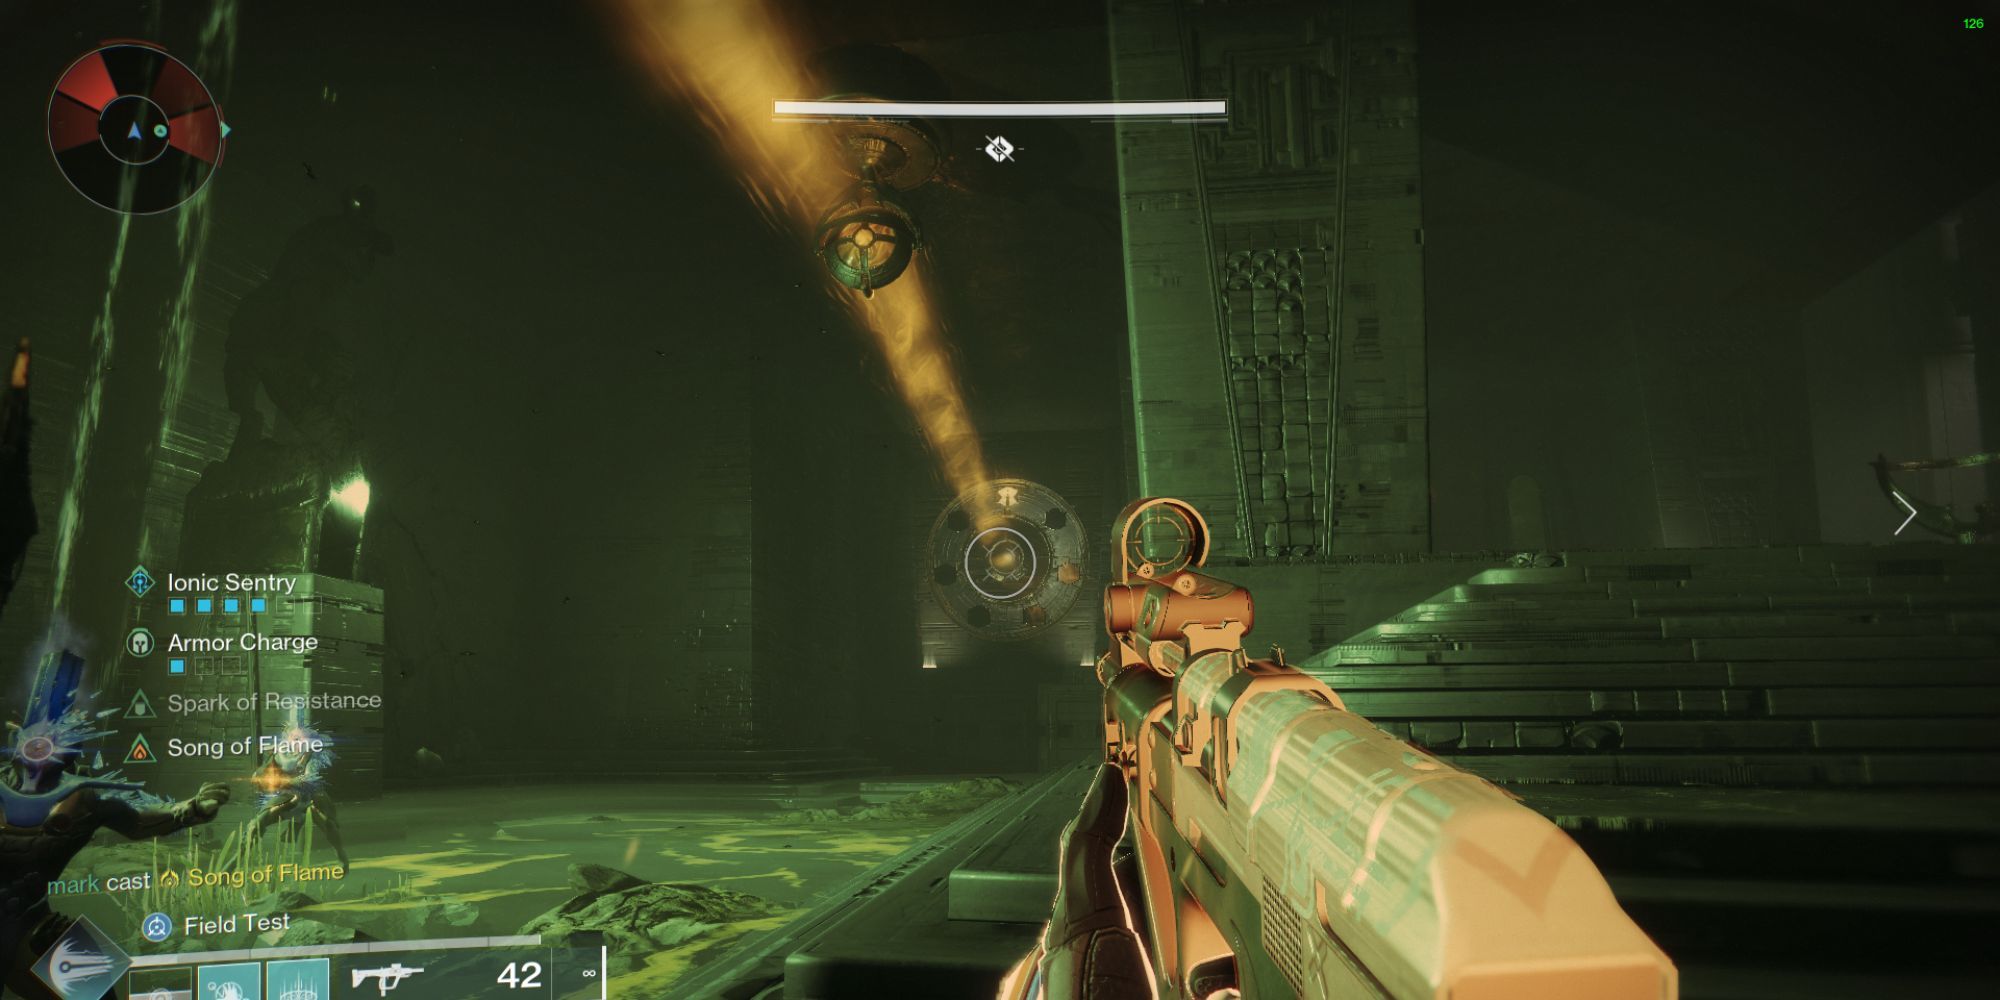
To divert the dark ray from the central chamber towards R2’s wheel, first, engage the ‘darkness node’, then adjust the lenses accordingly. Performing these steps accurately should initiate a dialogue message that reads: “The Pyramid acknowledges a truth.
In Contest mode, you’ll find there’s a set time limit. However, breathe easy as Normal mode allows for an unlimited time span. Just remember, if you make a mistake, a Tormentor will appear.
After wrapping up the initial phase, I’ll tell you that you’ve got to repeat this process another couple of times, each time asking for more glyphs to be activated. In the second stage, you’ll need to finish two energy beams, and in the third and ultimate round, you’ll be required to complete three energy beams.
Because only a single Truthspeaker can appear at once, it’s essential to tackle these beams sequentially. Spend time on each, and if you find yourself in need, refer to the map for guidance.
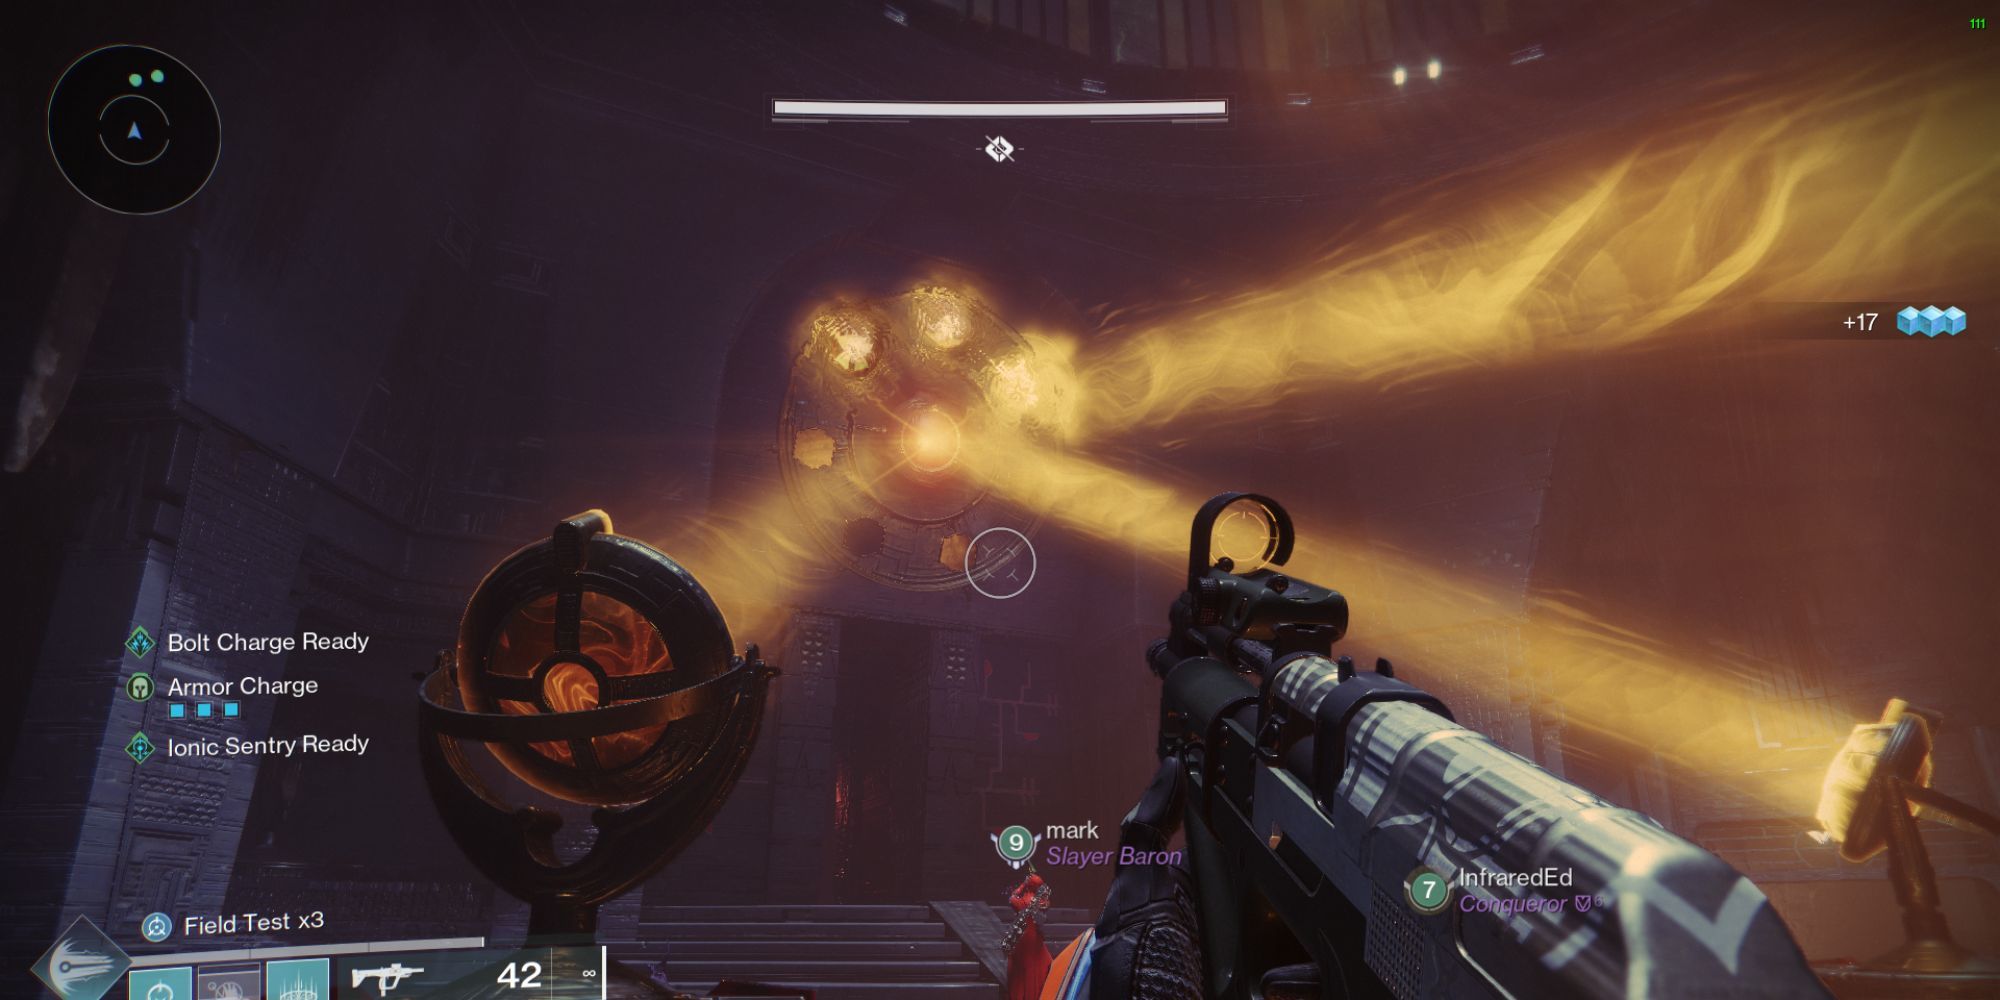
After finishing the third round, the three primary devices will align towards the central wheel in the principal chamber, signifying the end of the encounter. Gather your rewards and venture further into the Pyramid.
Order of operations (Summary):
- Rotate the center lens to start.
- Go around the find the Truthspeaker Grim in one of four surrounding rooms or figure out the missing symbol from the Riddle.
- Defeat Subjugators and pick up the lens dropped.
- Find the correct plate with the symbol needed and figure out the best path back to the center room.
- Try rotating the lens holders before you place the lens. Rotating the lenses 3 times will break them, forcing you to find a replacement.
- Completing a beam finishes phase 1, resetting the beams and symbols.
- Phase 2 requires 2 separate beams from the starting room to 2 surrounding rooms. Two panels will be missing, so you’ll need to find at least one Truthspeaker to figure out the rest.
- Phase 3 requires 3 separate beams from the starting room.
Navigate The Labyrinth
Upon your initial meeting with the chest, a hidden passage will emerge. Stepping inside, you’ll navigate through a dimly lit labyrinth. There’s no set route here, but there are three key intersections where you can fire shots to trigger the appearance of the first concealed treasure chest within this maze.
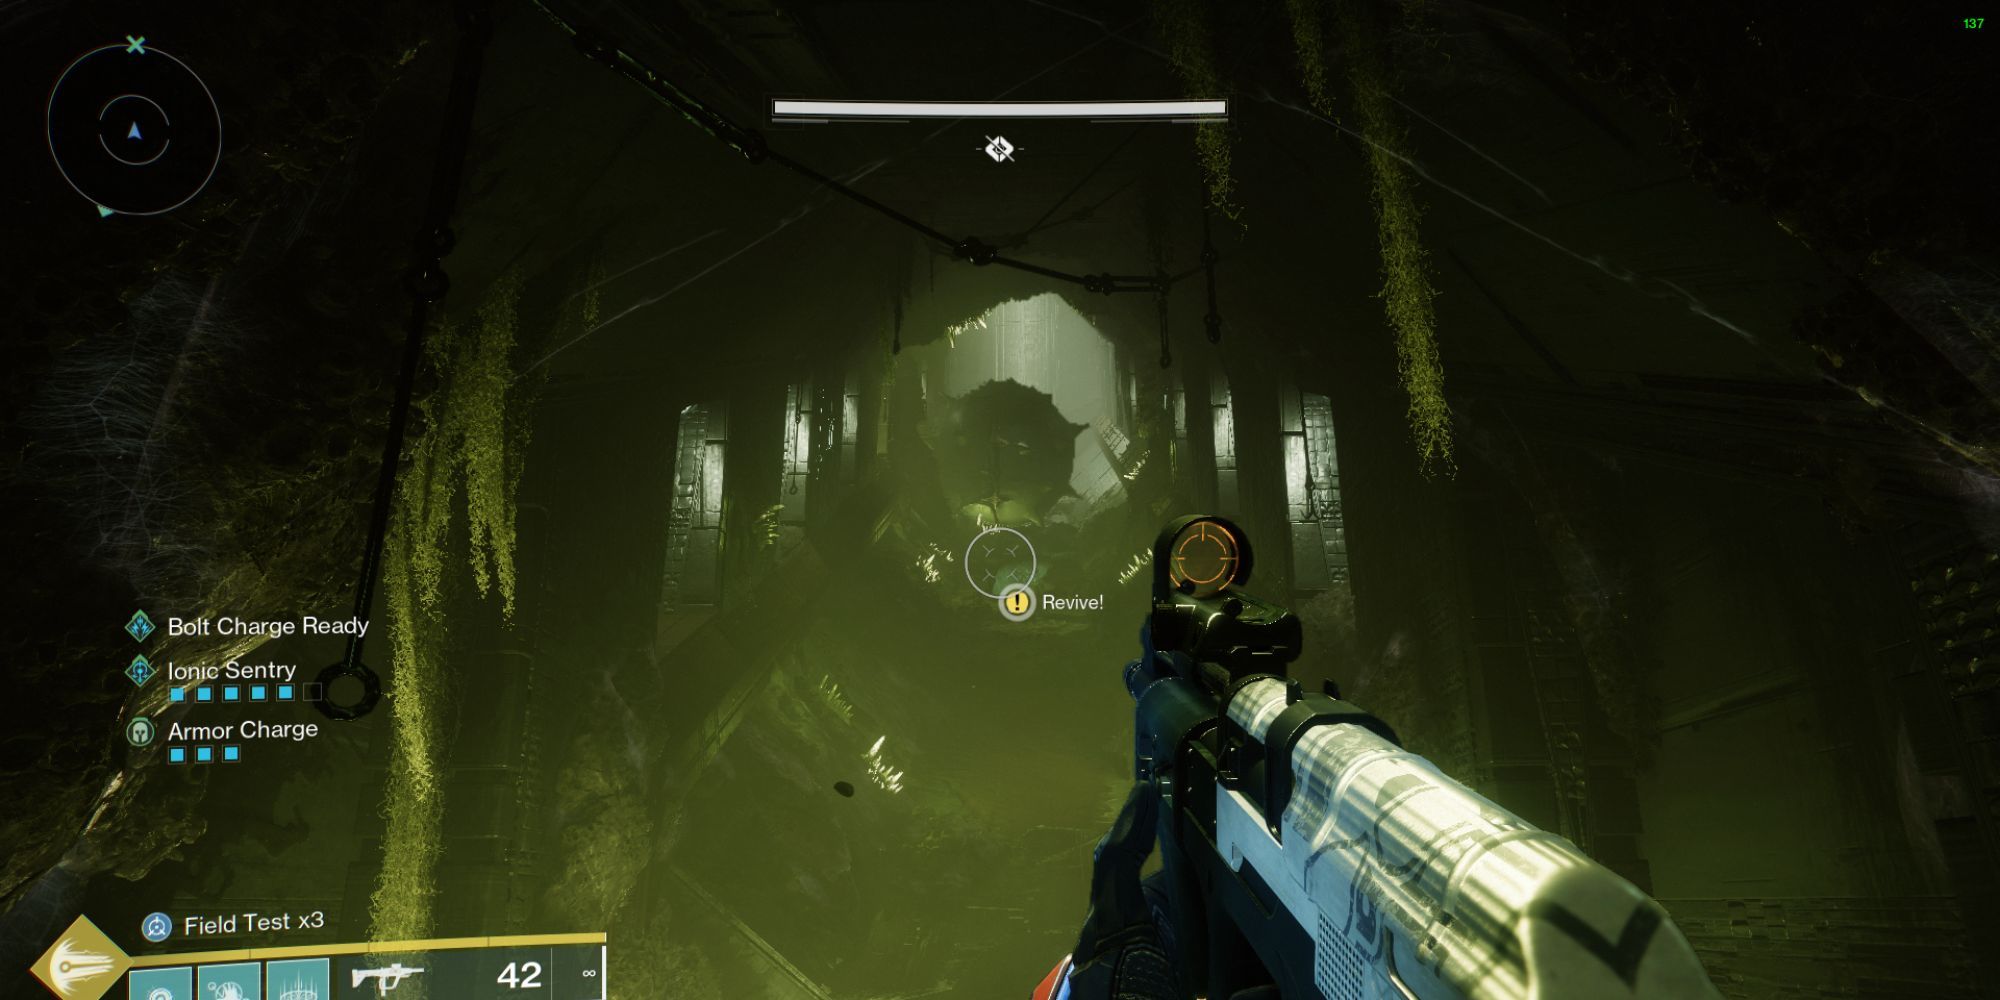
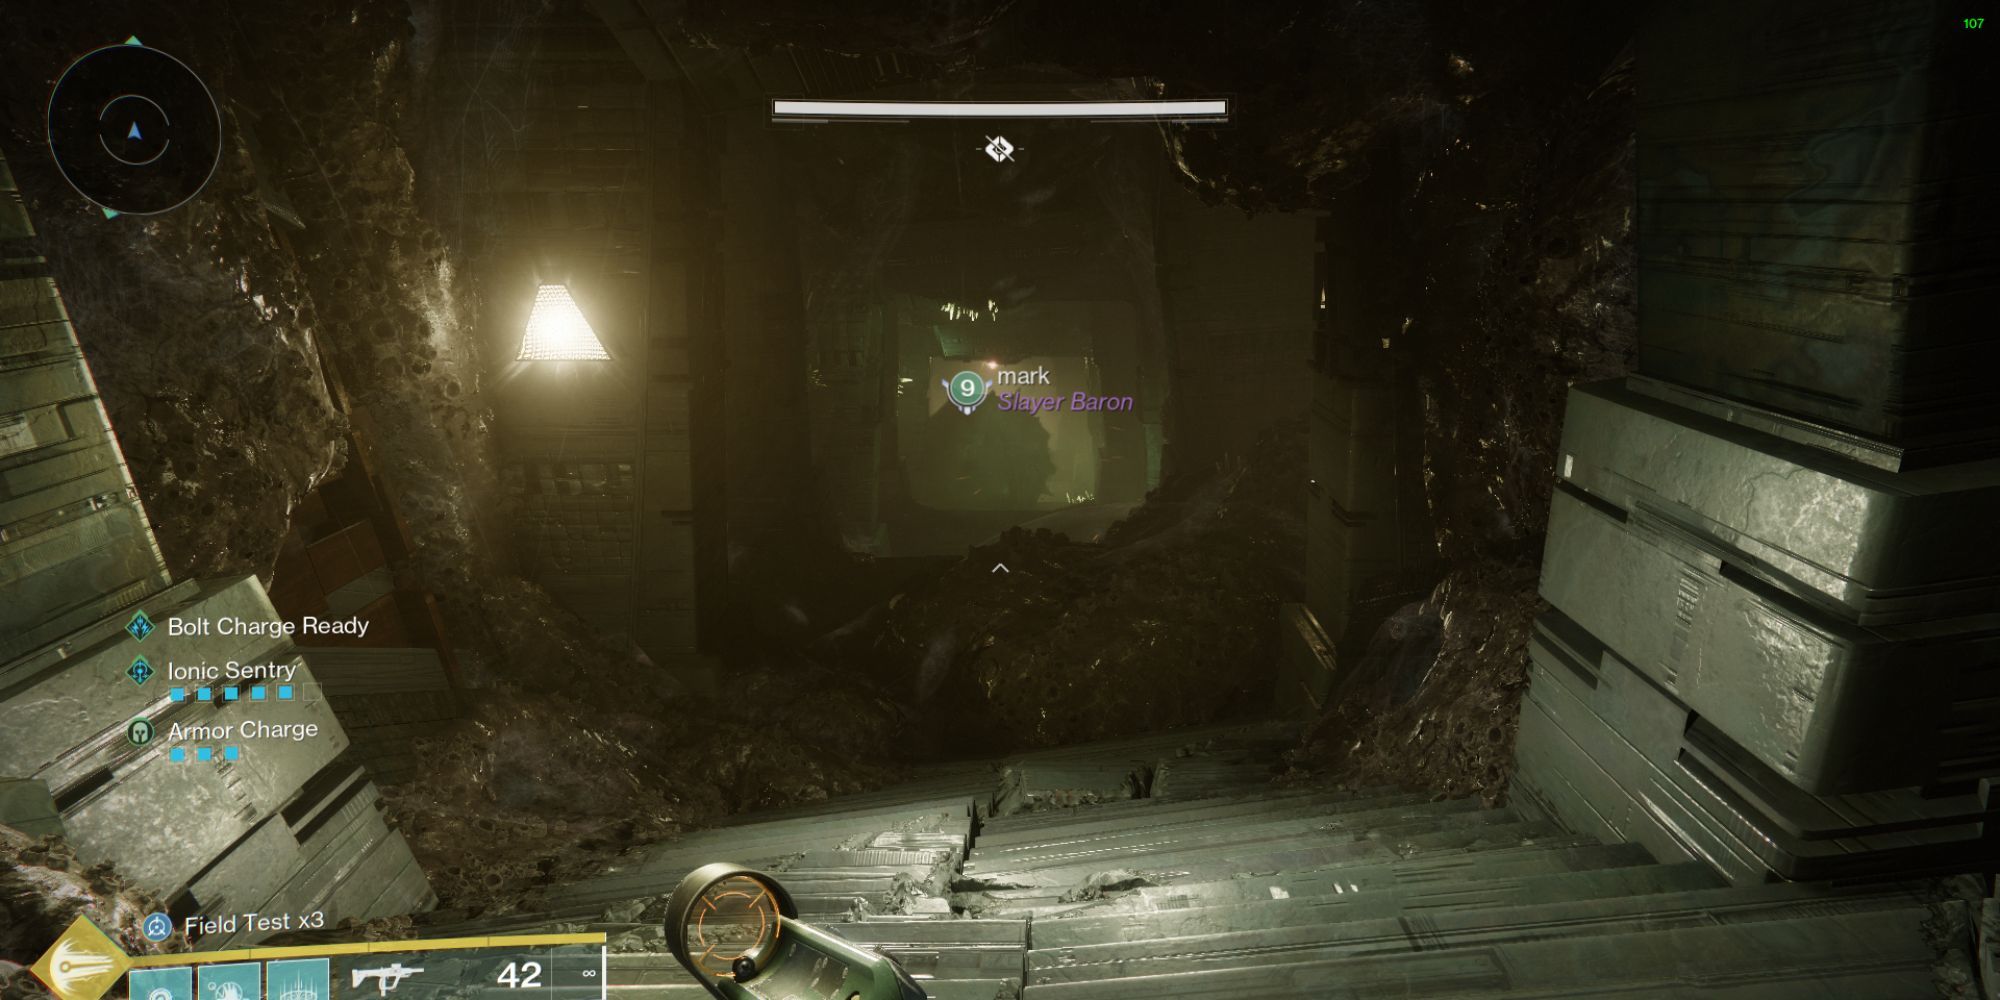
Stepping out of the intricate maze, I find myself in a vast underground chamber teeming with Grims and Psions. The choice is mine: engage them in battle or move past them. At the far end of this cavern lies an entrance to a dimly lit corridor, dotted with small side chambers along the way.
To reach the concealed ledge, proceed by descending through the opening in the room to your left, which will lead you to a crawl space with a vast chasm separating two towering cliffs. Continue along this tunnel until you get to its end, where you’ll discover the secret ledge nestled beneath the cliff on your left side.
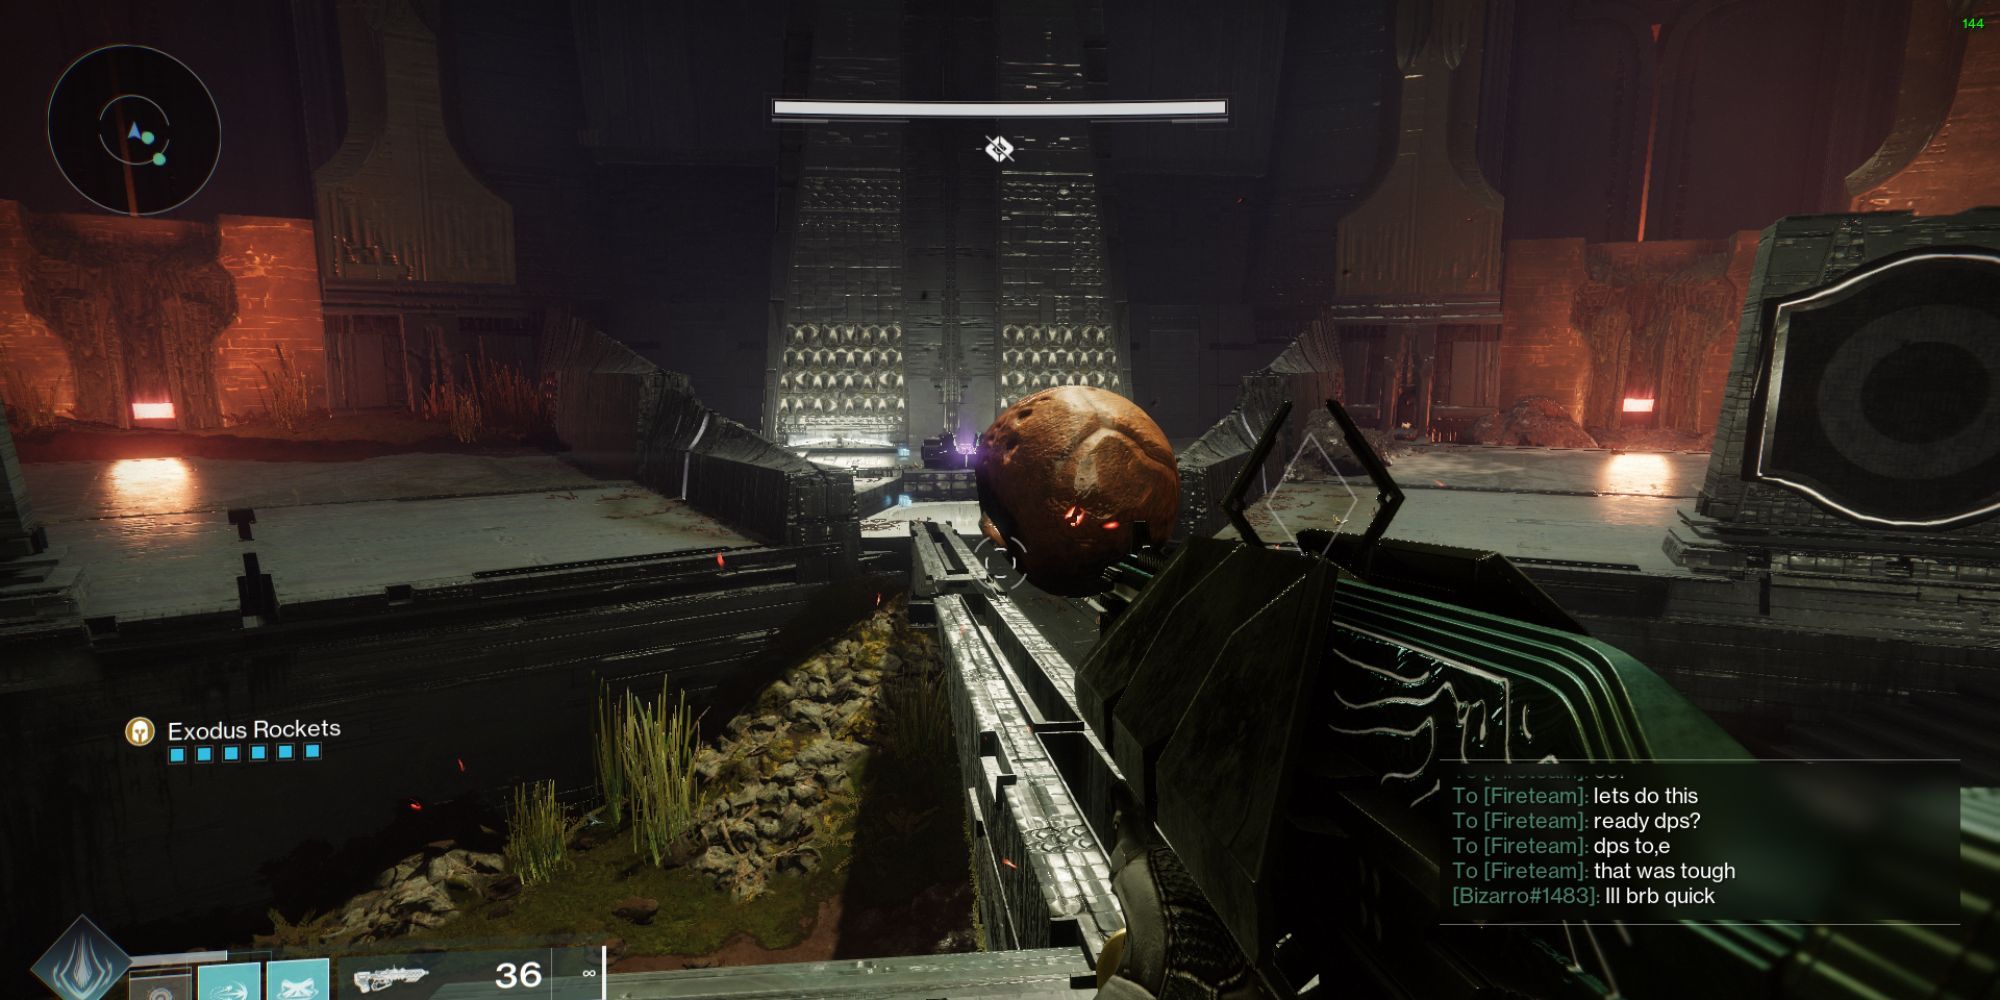
Afterward, you’ll encounter massive spiked orbs cascading down a hillside, much like a scene from an Indiana Jones adventure. Along the side of the hill, there are recesses that allow for a zigzag leap.
Or:
Later on, you’ll find yourself facing rolling large, spiked balls descending a slope, similar to the traps in Indiana Jones movies. The hillside has spaces where you can take a zigzag jump.
Or:
As the next step, you will come across spiked balls tumbling down a hill, much like a trap from an Indiana Jones movie. You can jump sideways in a zigzag pattern along the hill’s sides.
Each of these options conveys the same information but with slight variations in wording and phrasing for better readability.
As a gamer, I always aim to time my leaps perfectly to dodge those pesky bouncing balls. The key is to spot that central opening halfway down the incline – once found, just sail through it and keep moving forward!
You’ll encounter numerous bouncing balls cascading along tracks, which makes it feel like a quick round of Frogger. Keep moving downward and watch out for that wide chasm.
Pre-Second Encounter Mechanics
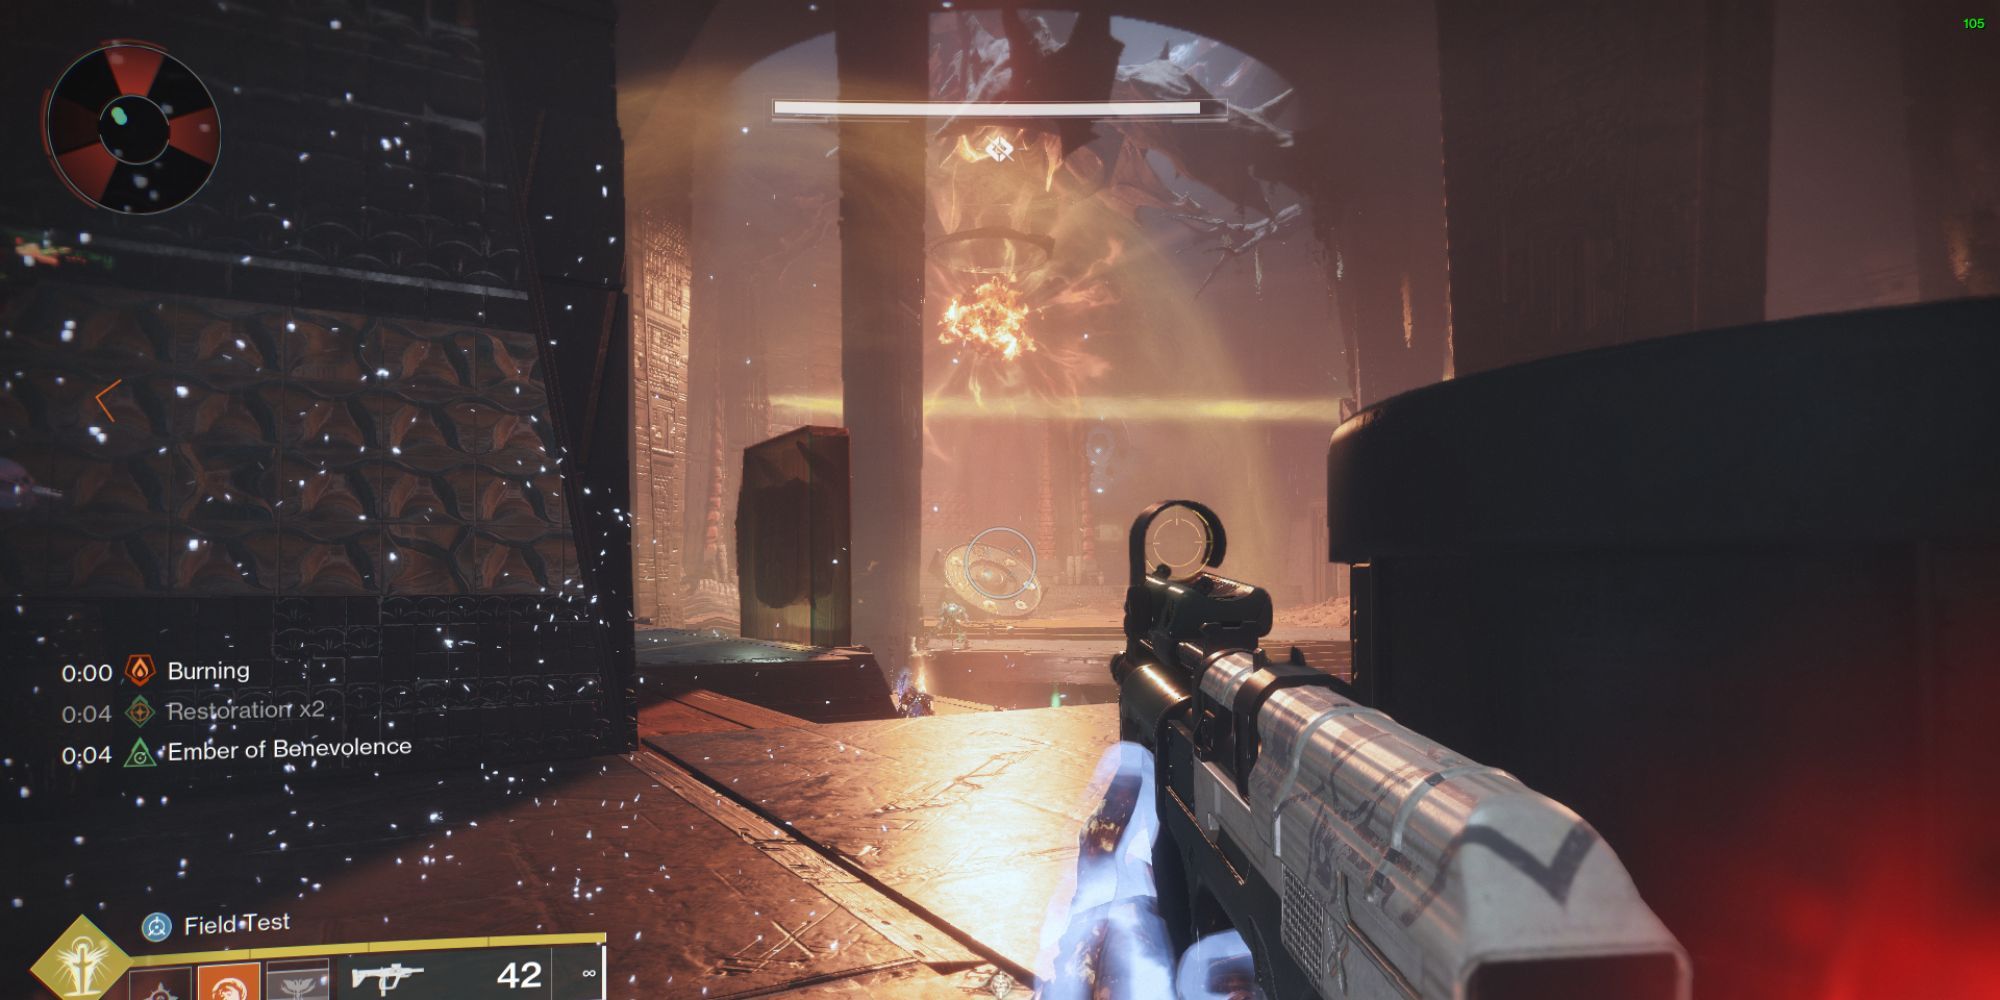
Upon dodging the menacing spike traps, I found myself in a chamber adorned with a set of intricate lenses and rotating wheels. There was also a mysterious locked door bearing two cryptic symbols – the stage for my next challenge.
By being aimed at the corresponding wheels, the active lenses enable them to rotate in opposite directions, either clockwise or counter-clockwise. To alter the direction of rotation, you can fire at the dark node located above each wheel.
As a gamer, you’ll spot one of the mystic symbols flaring up. My mission now is to align the gleaming symbols with those emblazoned beside the enigmatic door.
As a keen enthusiast, to advance further, I’ll have to take down a formidable foe known as the Hive Wizard. Defeating him will reward me with a Darkness Shard. This shard will grant me an upgrade in knowledge, progressing through “Heightened Knowledge” (when I obtain one stack), “Brimming Knowledge” (when I collect two stacks), and finally reaching “Overflowing Knowledge” (when I’ve accumulated three stacks).
As a gamer, I’ll push forward my pile of understanding to make the glowing symbols on the wheel shift one space at a time. I need to keep spinning until these glowing symbols align with the ones I want, which will open the door and let me advance to the next challenge.
Second Encounter: Zoetic Lockset
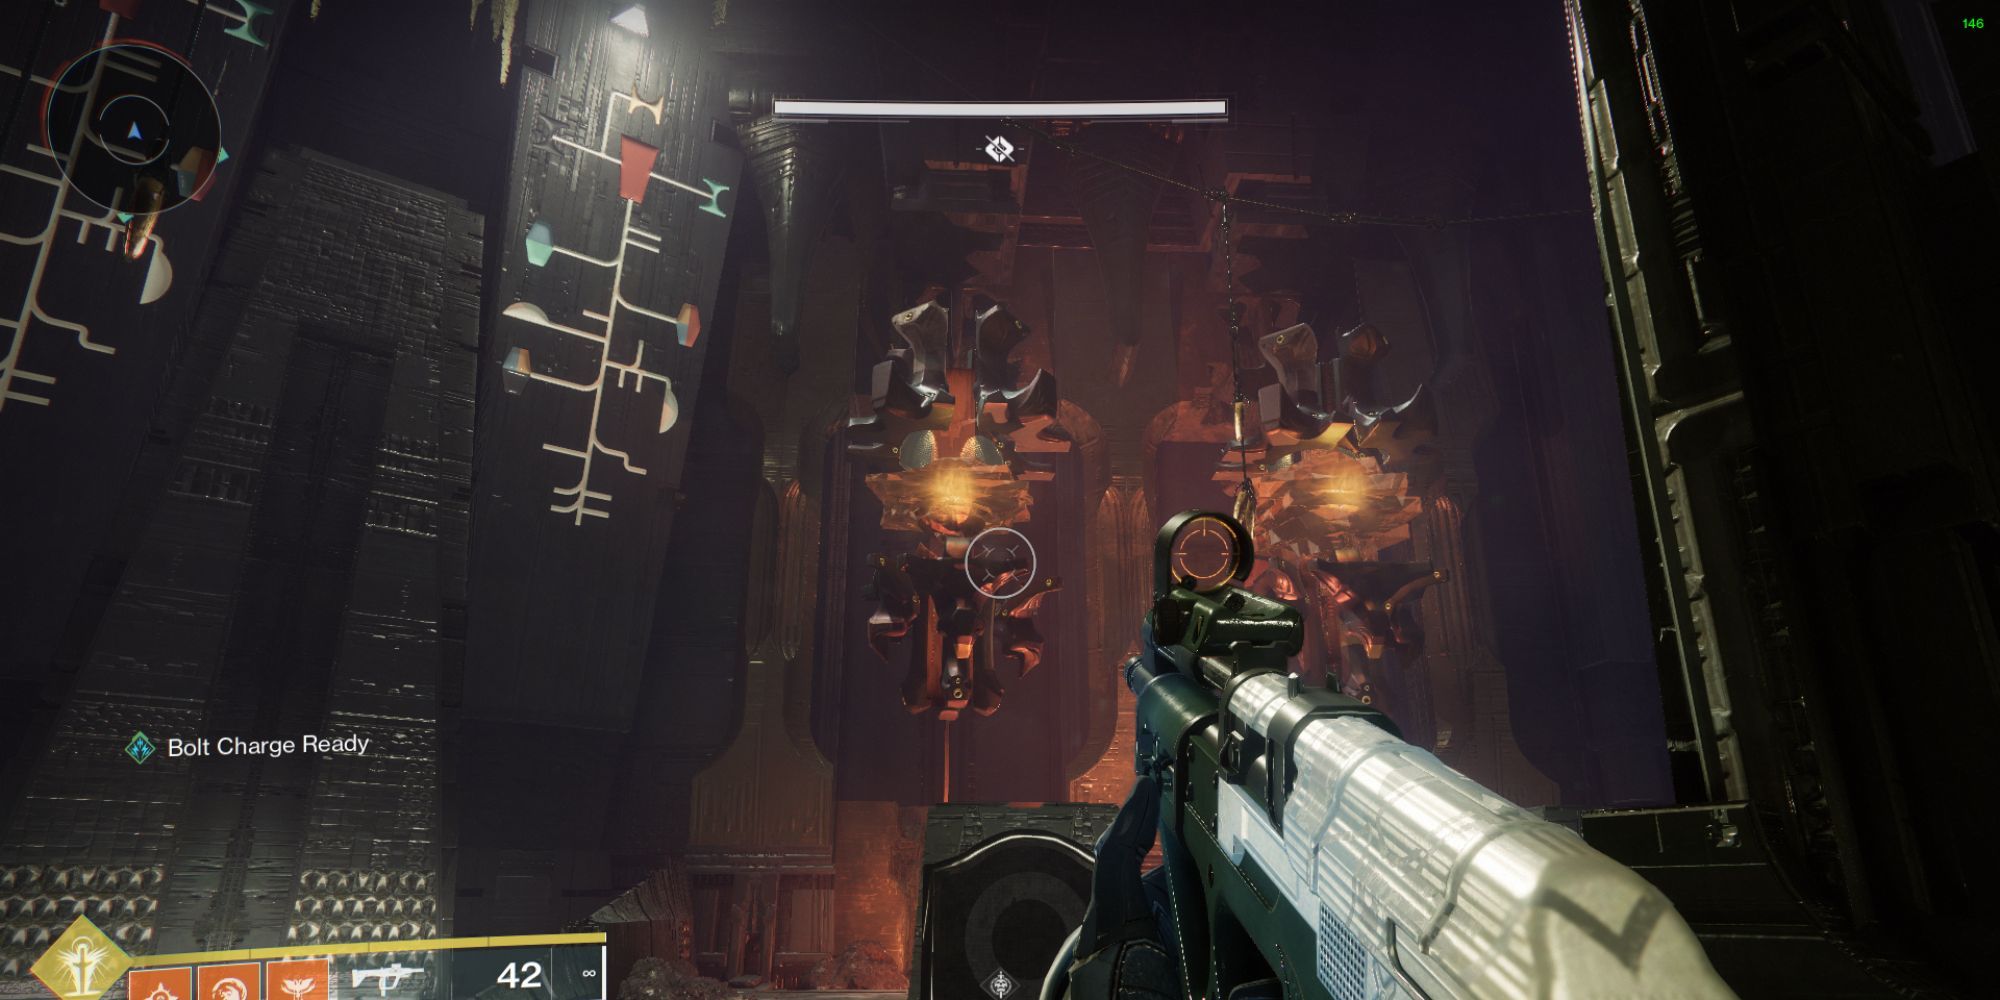
Head towards the indicated flag for your upcoming meeting. Once prepared, descend when you’re ready and you’ll encounter the Zoetic Lockset, which is actually a group of four enhanced Screaming Horrors sharing a single health bar.
In the next area, you will see four wheels similar to those found in the previous space. Each time the Zoetic Lockset examines a glowing wheel, it deciphers its symbolic glyph and triggers one out of five possible effects associated with that symbol.

- Hive: Spawns miniboss Ogres on both sides of the room.
- Knowledge: Spawns miniboss Knights and extra Wizards on both sides of the room (r ecommended if you’re running low on ammo)
- Commune: Shoots large seeker darkness projectiles (often called “bees”) that you can shoot.
- Stop: Stops adds from spawning for a duration.
- Kill: Starts DPS phase.
In this confrontation with the boss, it might take some time during the DPS (Damage Per Second) phase, so focusing on ammo management and durability becomes crucial since the boss repeatedly fires darkness at you. Items like Well of Radiance, rally barricades, linear fusion rifles, and sniper rifles could be beneficial for this fight.
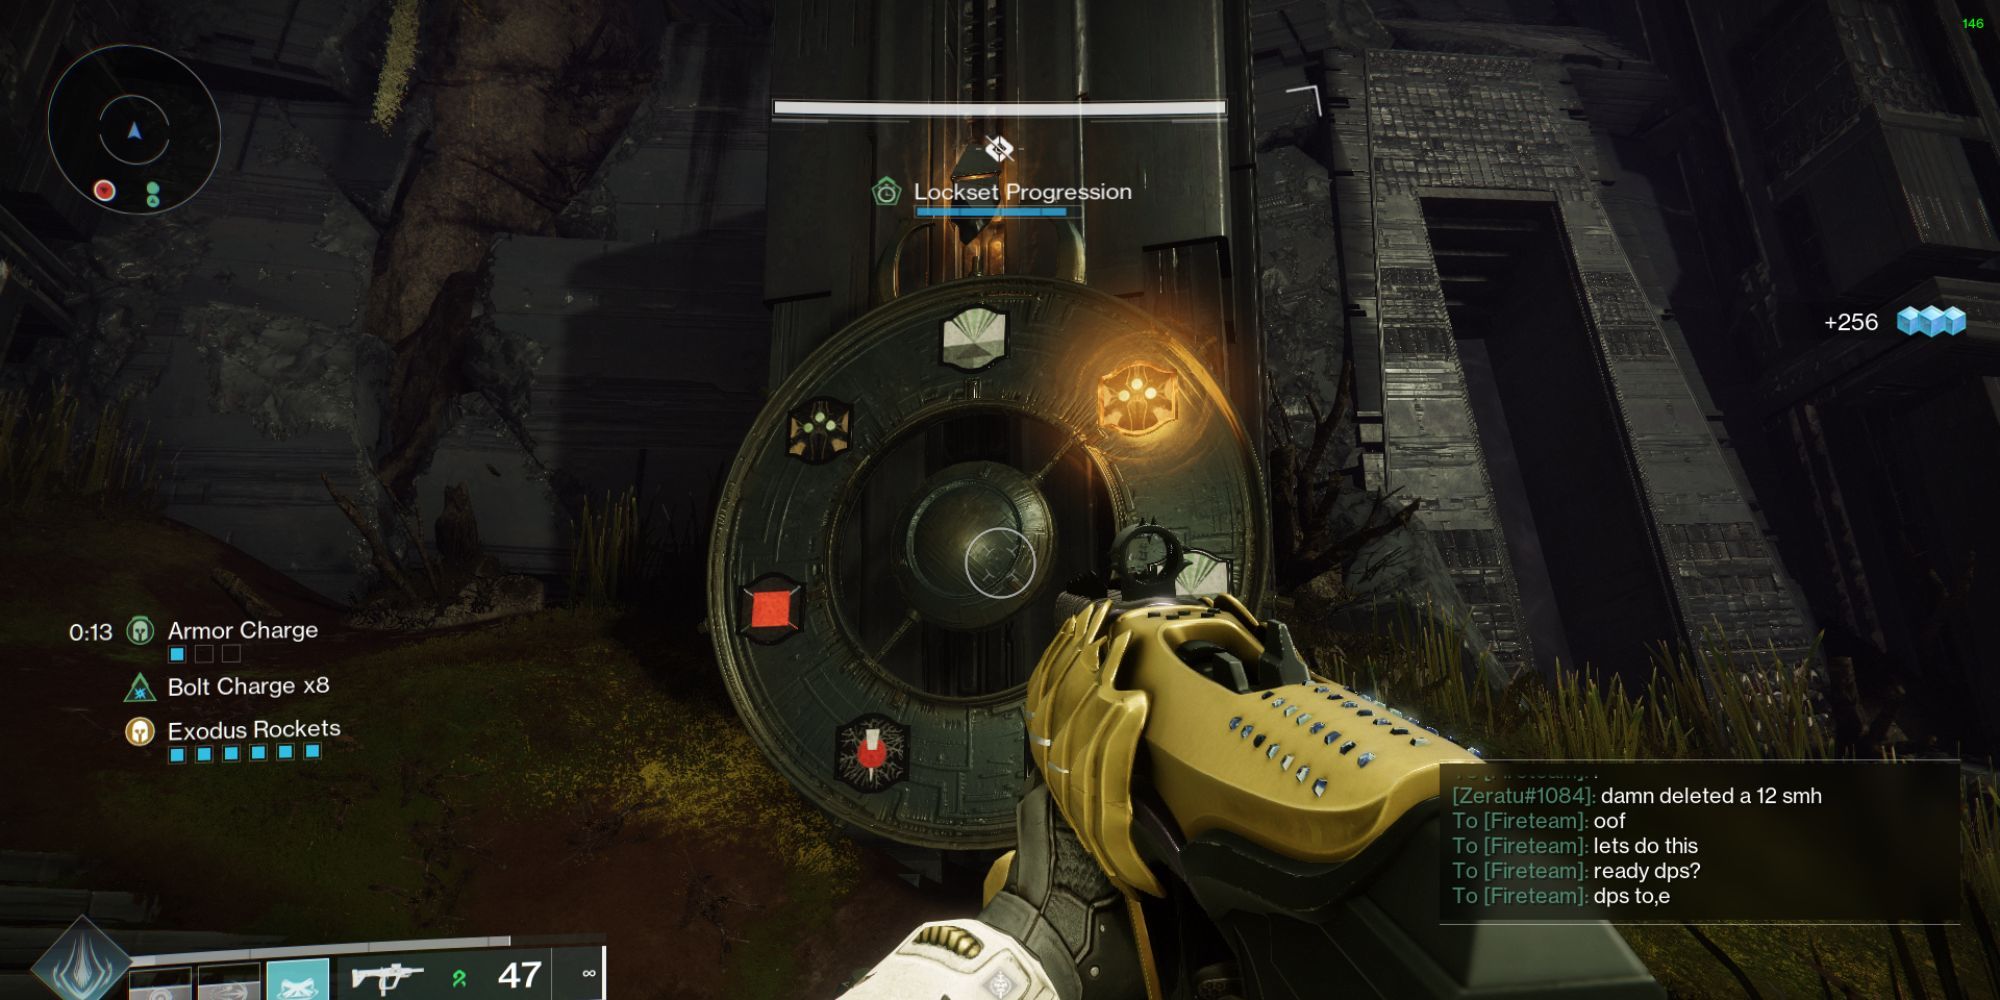
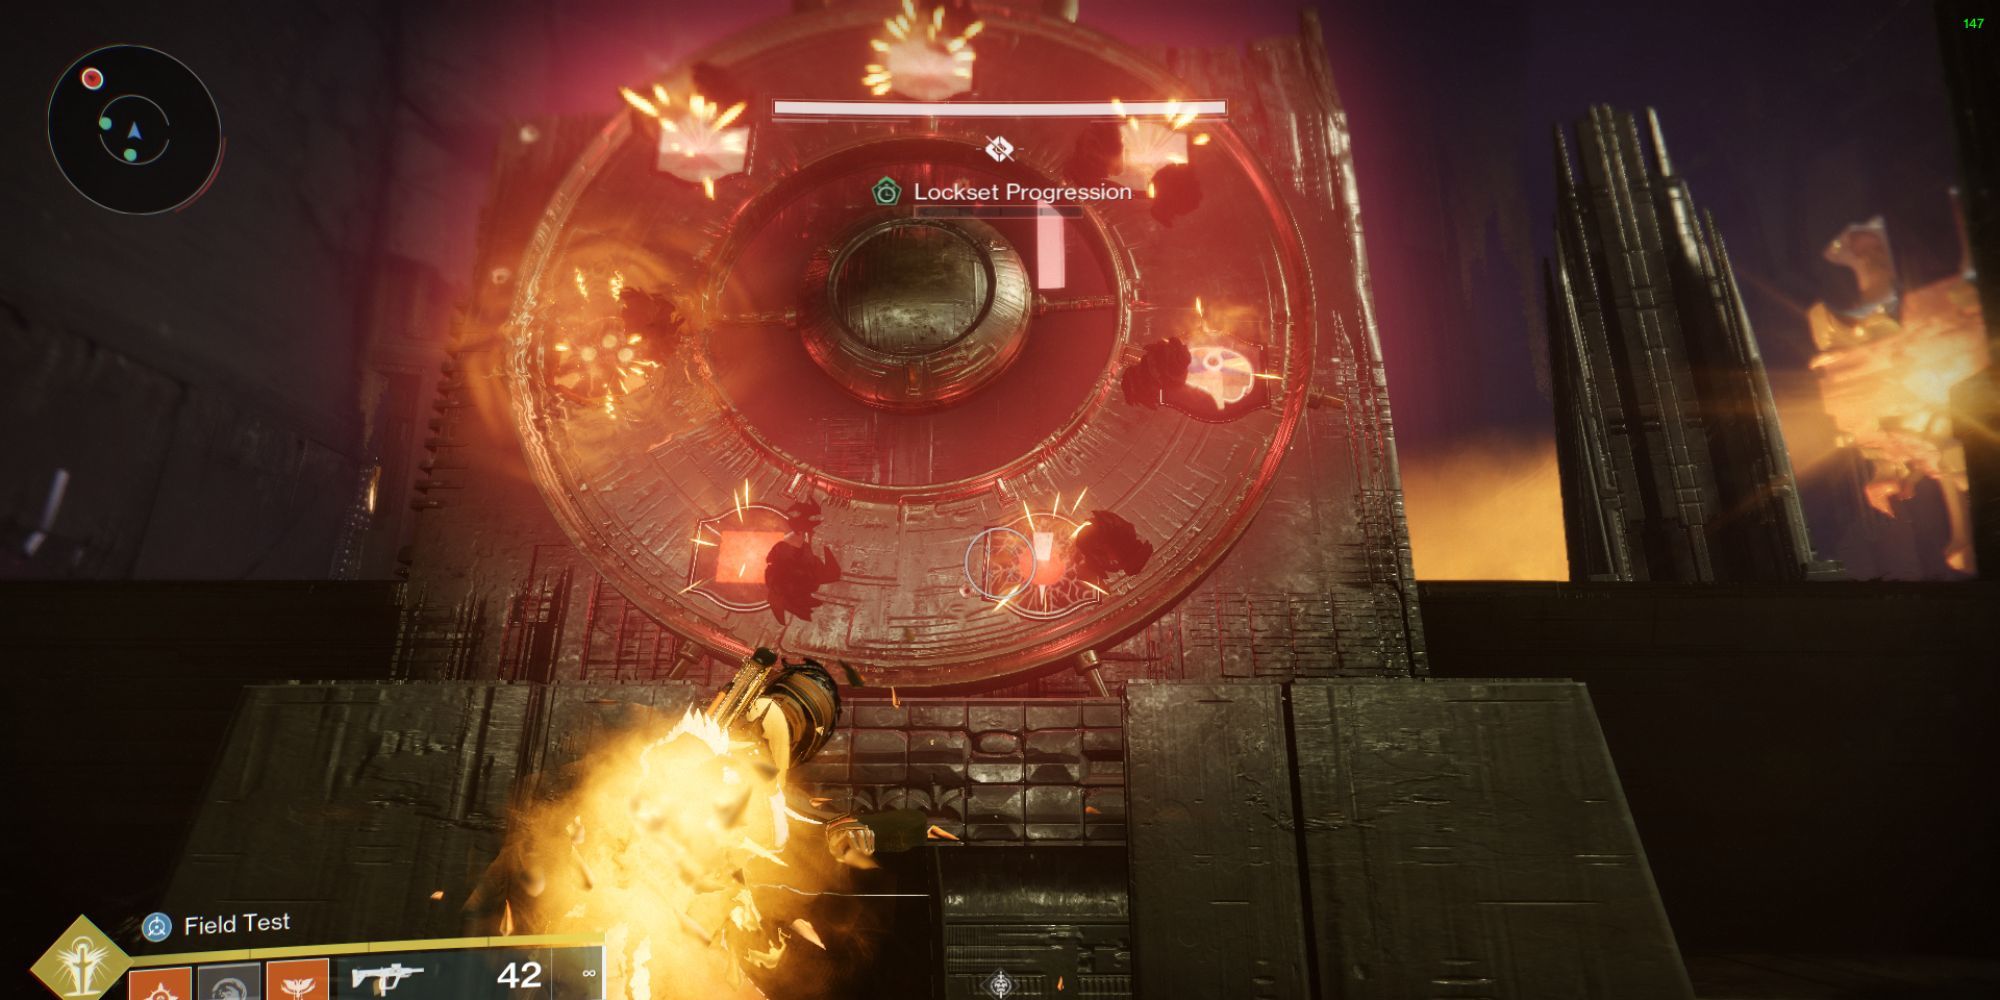
At the top of your screen, you’ll see a progress bar labeled as “Lockset Progression.” On the opposite side of the room, there are four large panels arranged from right to left, which represent the wheels in sequence.
Each time the Lockset Progression bar advances a quarter, I find myself gazing at a circular mechanism that securely fastens the spotlighted emblem onto the panel.
To accomplish this task, you should overcome the Hive Wizards and gather the darkness they drop. Then, immerse these droplets into the wheels to illuminate the chosen symbol.
Or simply:
To complete the mission, you’ll have to vanquish Hive Wizards, collect the falling darkness, and use it to light up the desired symbol by placing it in the wheels.
The Lockset will scan the wheels from right to left for optimal security configuration. To minimize threats, arrange the symbols as follows: “Stop, Stop, Stop, Destroy”. This sequence will lead you smoothly into the Damage Per Second (DPS) phase with minimal disturbance.
Order of operations (Summary):
- Defeat Hive Wizards that drop Knowledge pickups.
- Input appropriate stacks of Knowledge to the podium in front of the wheels. Starting from the right-most wheel, rotate the glyphs to the Stop symbol.
- Input Knowledge to the second right-most wheel to Stop.
- Input Knowledge to the third right-most wheel to Stop.
- Input Knowledge to the left-most plate to Kill, beginning DPS.
- Deal damage to any of the open Shriekers until the DPS phase ends.
- Rinse and repeat until the boss is dead.
Traversal And Light Puzzle
After overcoming the Zoetic Lockset, pick up one of the Shrieker eyes and place it into the round opening in the center of the room. This action will open the door, allowing you to advance.
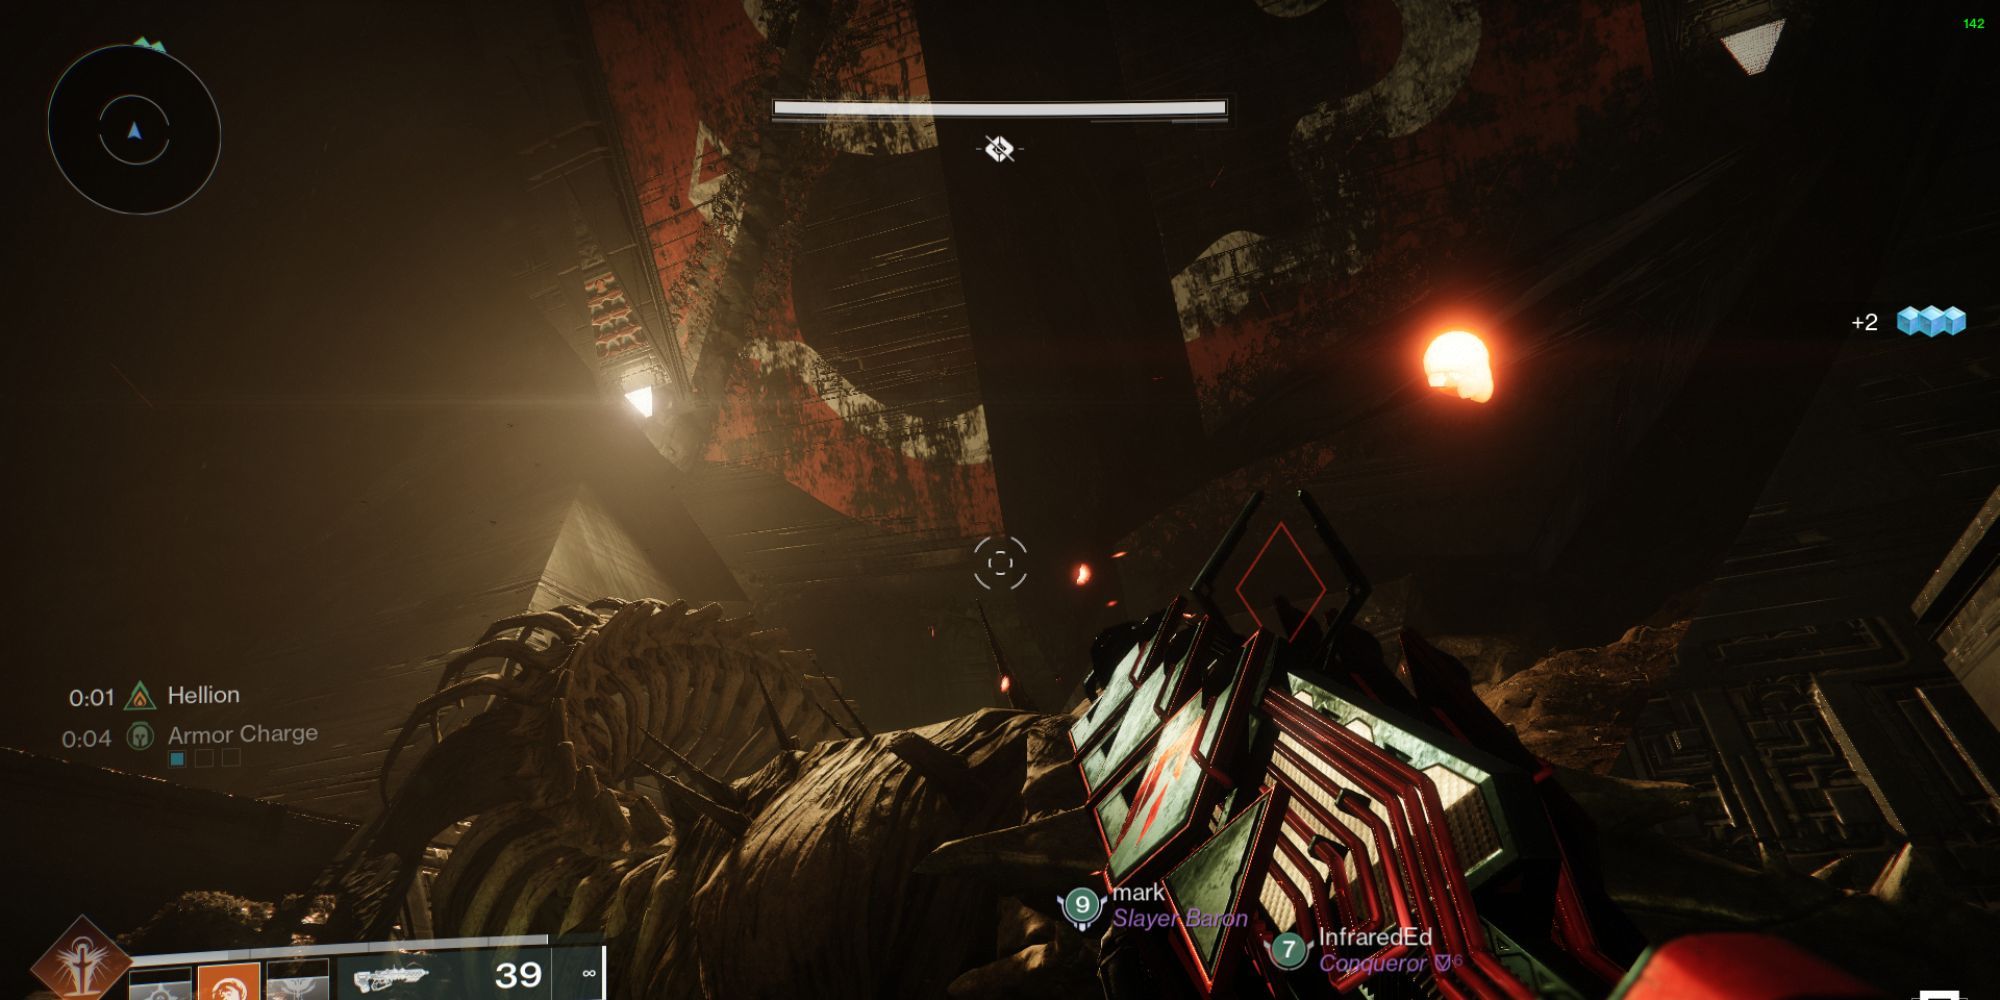
Make your way up the pyramid structure. As you progress, you’ll find yourself inside a chamber featuring an immense skeleton of a worm deity at its center. Here, you’ll face a riddle involving a ‘darkness lens’. Solve this enigma to unlock the adjacent door that leads to the final showdown.
To unlock the door, you need to illuminate the symbols labeled as “Worm” and “Enter”. The “Worm” symbol should be activated from the upper level, while the “Enter” symbol is located at the lower part of the opposite wall within the room. Initiate the process by firing at the shadowy nodes to ignite the beam, which will then divert its path.
Additionally, you might encounter a few lenses stuck in some sticky Hive residue; you’ll have to aim and fire to detach them, after which they can be placed into vacant lens holder slots.
Follow the path in the gallery for reference:
Finishing the jigsaw lets you move forward; continue ascending until you find another adjacent chamber, where you’ll encounter some Hive and a Subjugator. Defeat them, and a door will appear, which you need to fire at to keep it open.
Third Encounter: Kerrev, The Erased
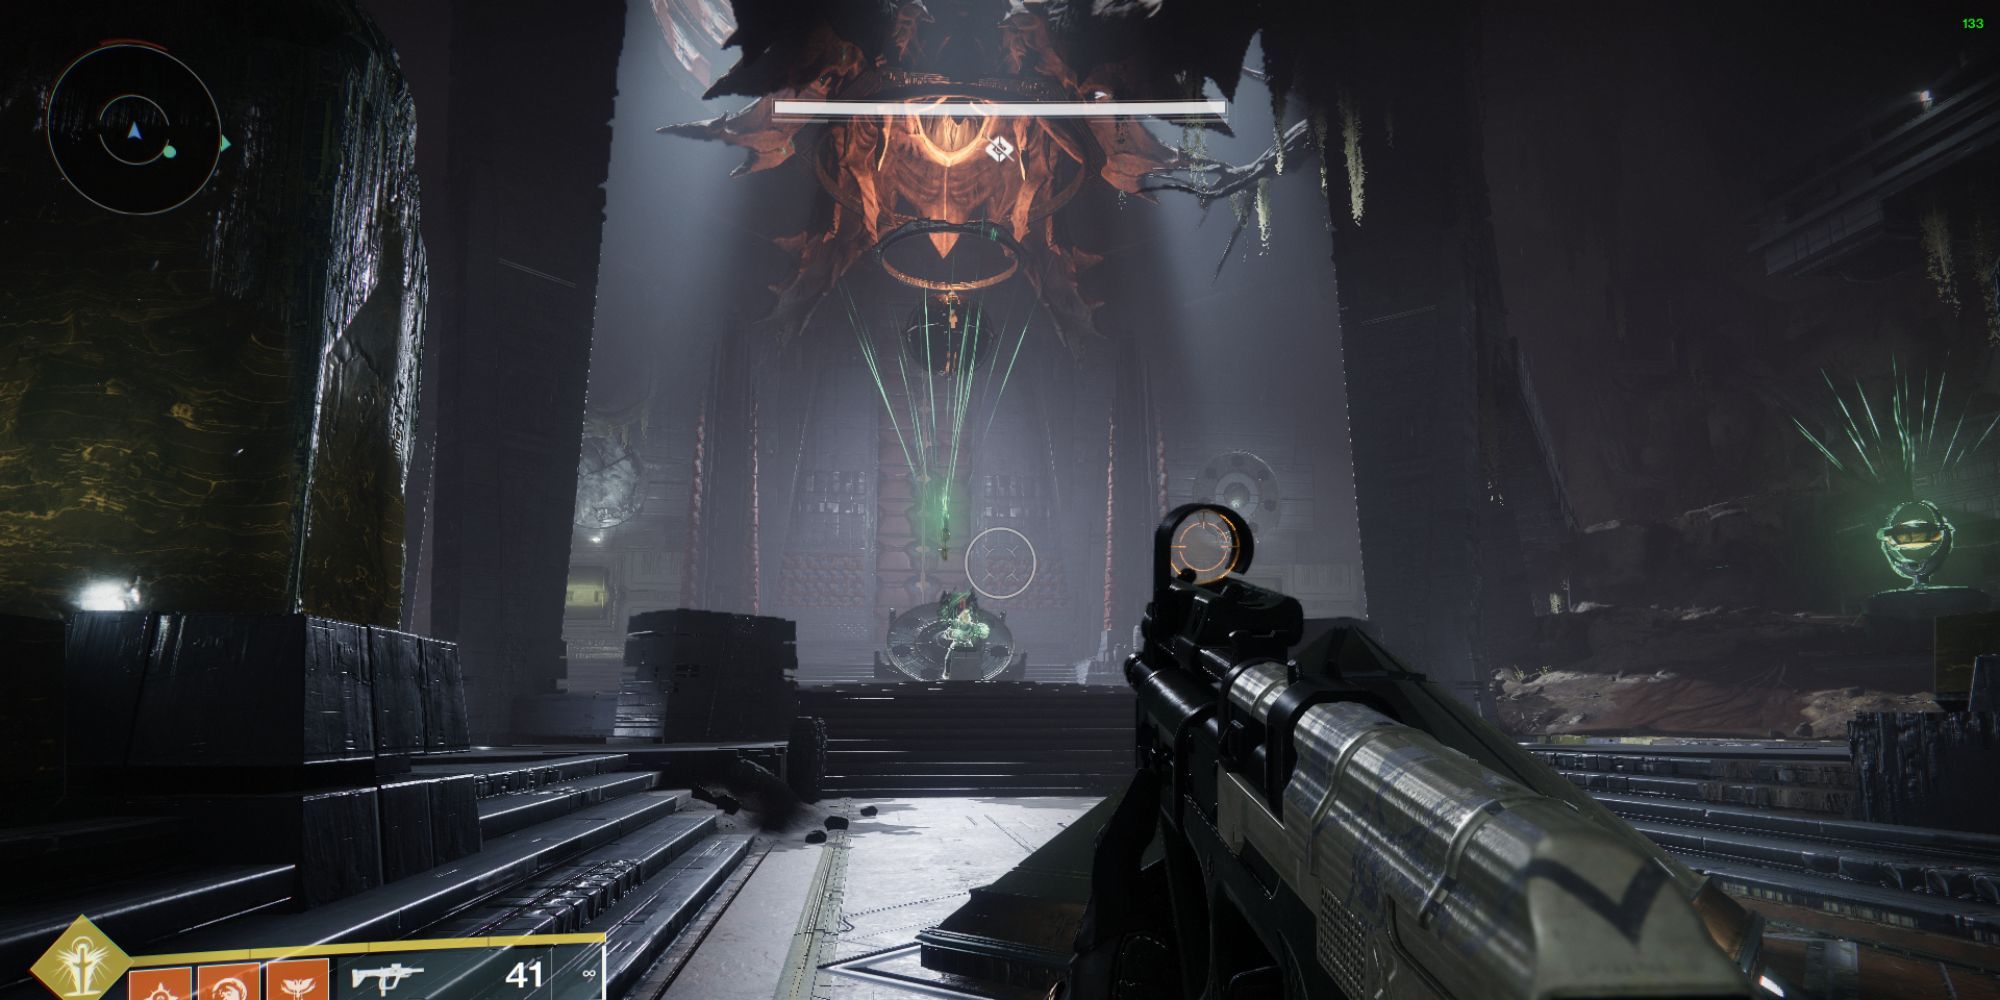
Upon reaching, you’ll find yourself in a spacious chamber, and there, Kerrev and his henchmen will be standing by. Brace yourself for an intricate battle against this formidable foe. First, let’s take a moment to orient ourselves.
In the boss battle, the space is broken down into three distinct areas: the central hall, the chamber on the left, and the chamber on the right. The main battle unfolds primarily in the central hall, while the side chambers are where you’ll encounter and solve the majority of the puzzles.
In this arena, there will be designated spots for every symbol, and these places are equipped with movable wheels that can be found in various sections.
“Stop” and “Give” are underneath where Kerrev should be, with stairwells that lead downstairs.
In the left room, there’s a door that needs to be destroyed in order to proceed. If not continuously damaged, this door will eventually slam shut, potentially causing harm. Beyond it, you’ll encounter enemies known as Husks. To move forward, destroy the door first.
To reach the correct chamber, pass through a sliding door that seals behind you as you enter. Inside, you’ll encounter Hive Acolytes. Exit by locating a narrow passage hidden in the room’s walls.
In both the left and right areas, there’s a mini-boss called a Subjugator that it’s crucial to defeat first before focusing on any other tasks.
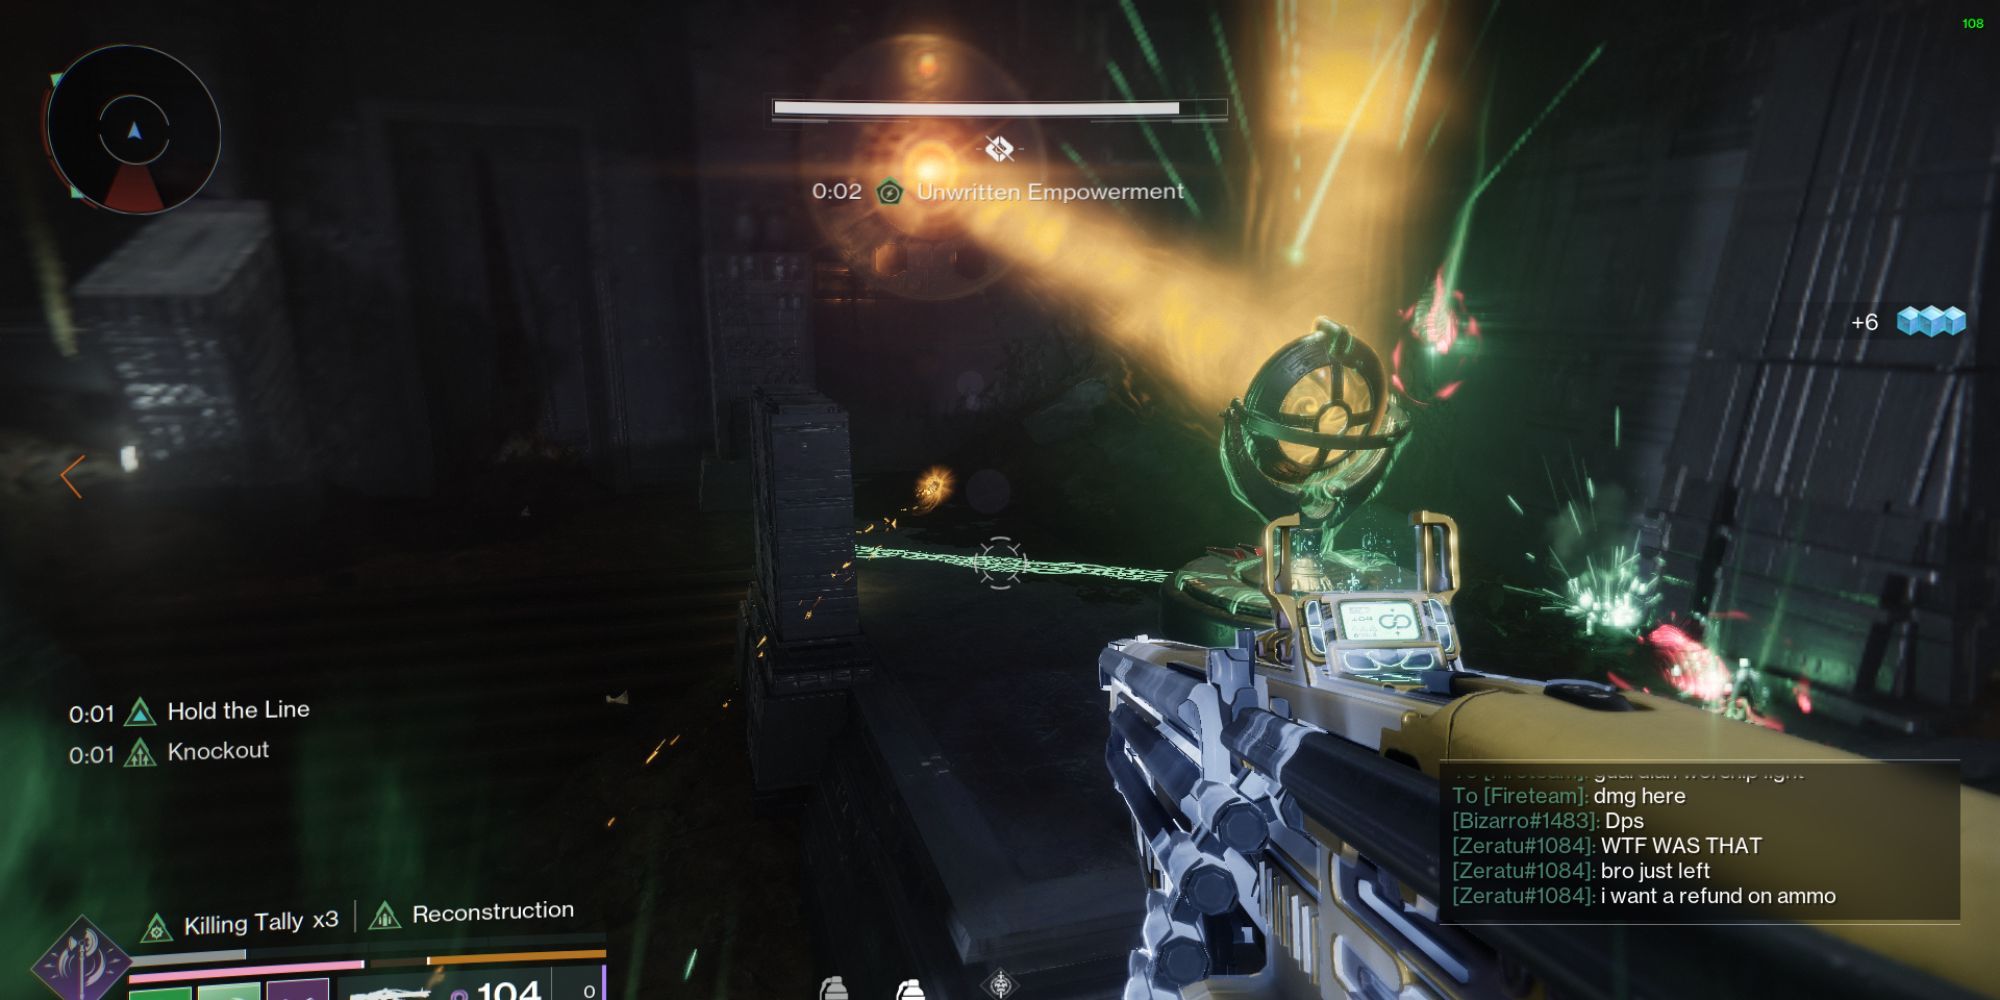
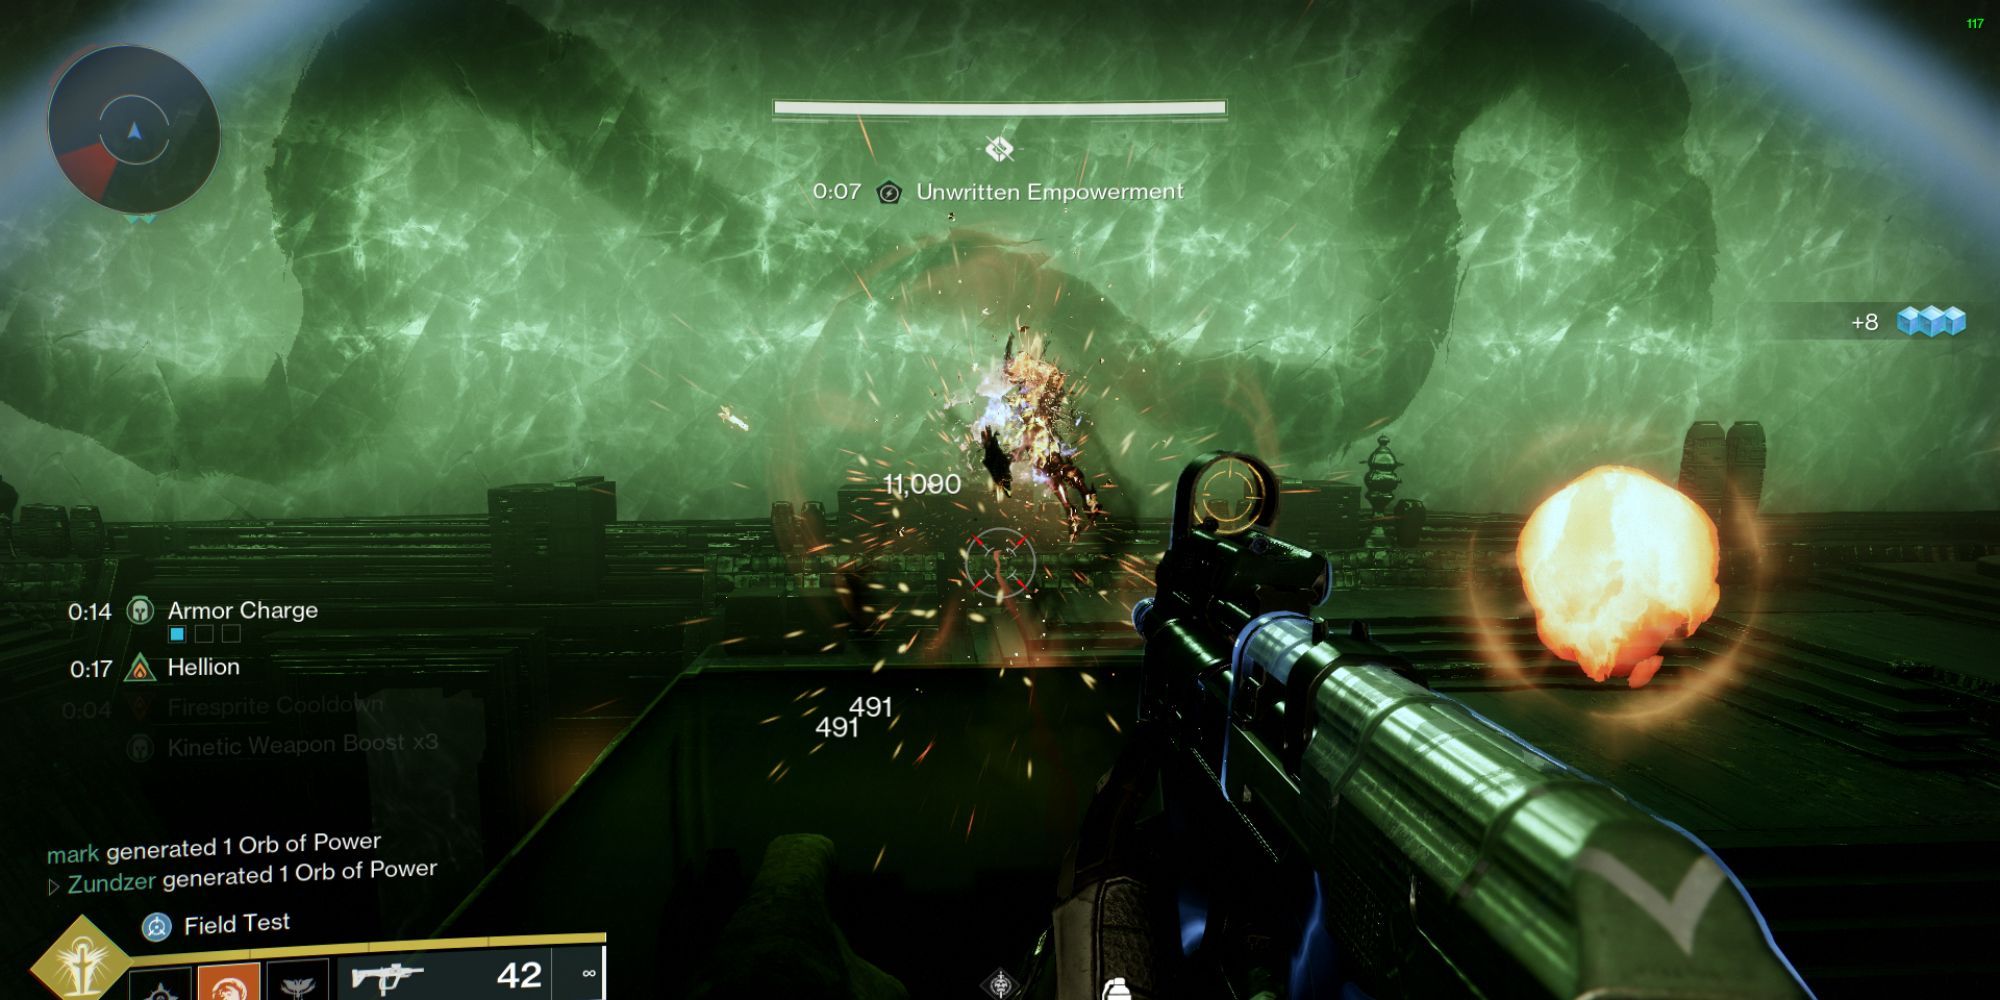
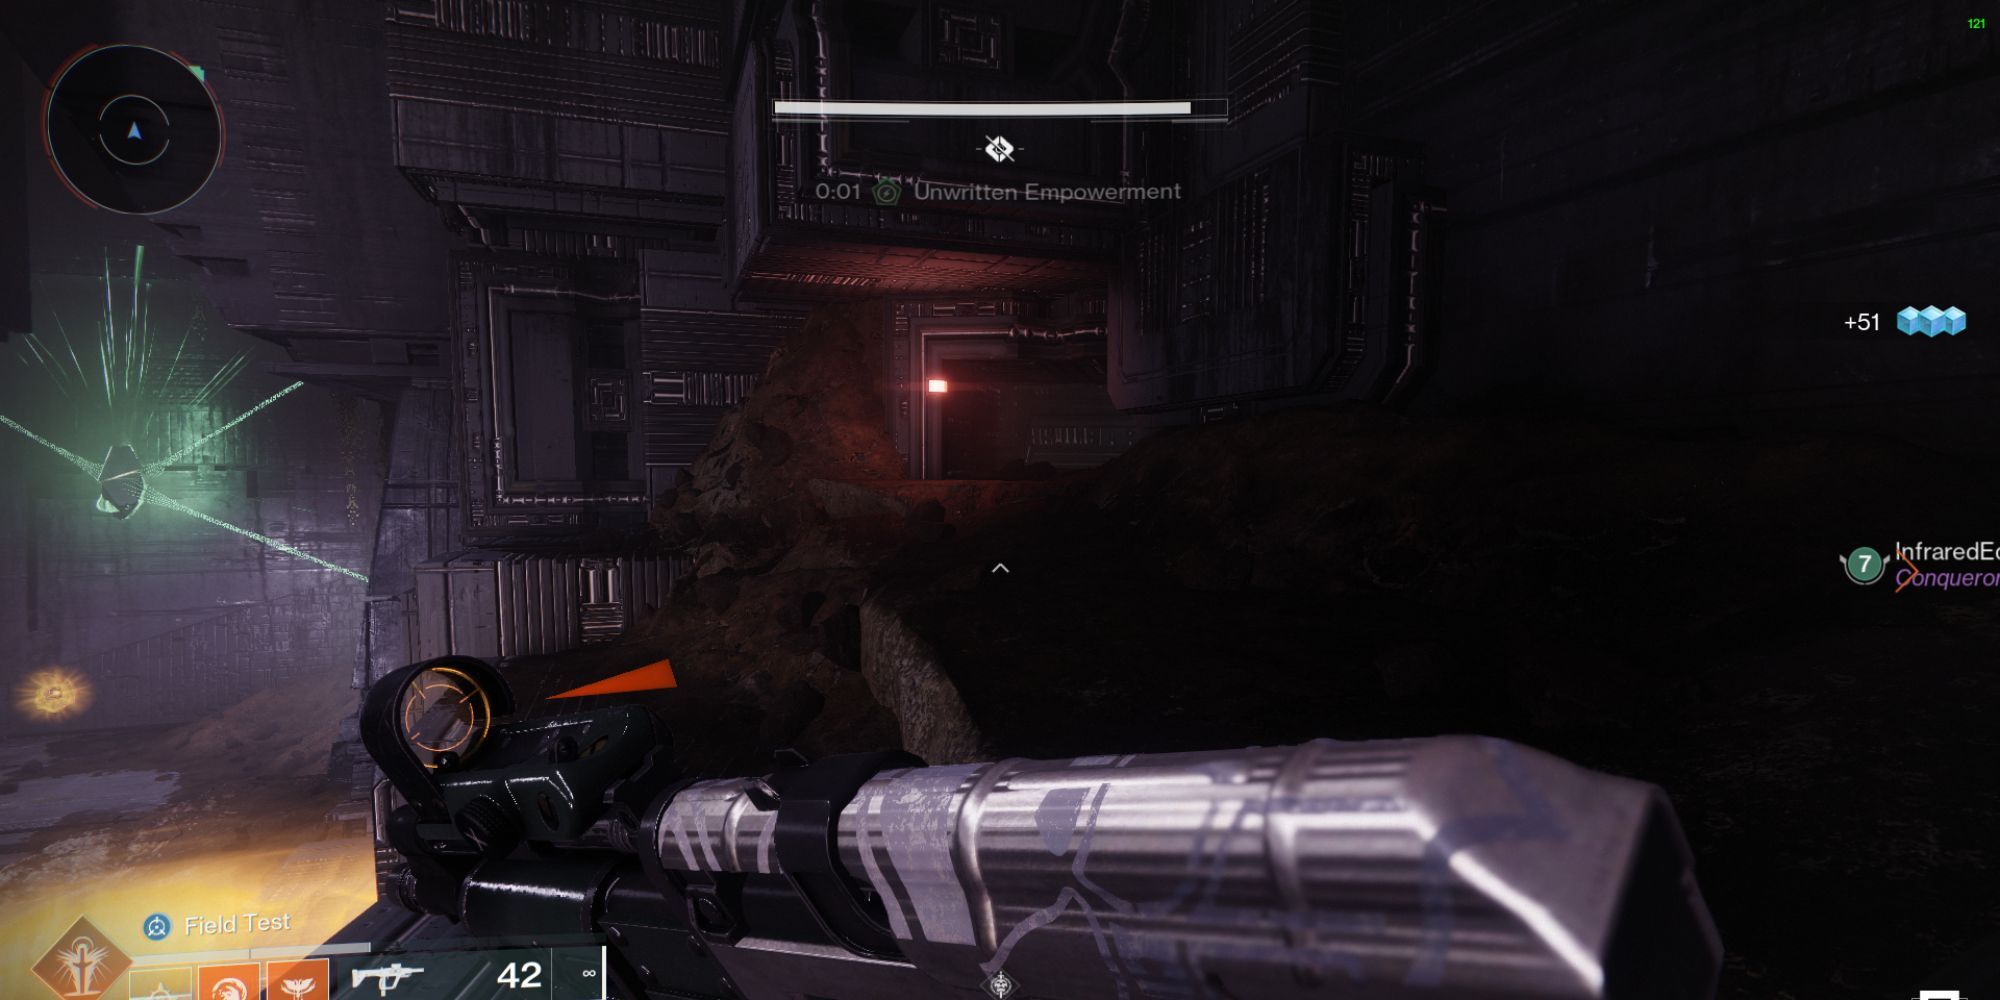
In every room, you’ll find Strand threads entangling the lenses and darkness spots. To release these lenses and spots, you’ll have to eliminate the Strand threads using the Unwritten Empowerment buff, which can be acquired by defeating the Unwritten Attendants that appear throughout the arena.
Destroying Strand nodes will spawn hostile Threadlings, which will chase and damage you.
You’ll spot a large wheel situated behind Kerrev in the main hall. By the way, three symbols together form a complete statement, and each side displays two statements; one is false, while the other is true. Additionally, you will find at least one emphasized word within each statement.
To lower Kerrev’s shield, you need to engage the symbols that convey a falsehood and disengage the ones that represent truth.
In the image provided, on the left side is the phrase “Witness Drink Light,” and on the right, it reads “Guardian Worship Traveler.” The statement on the right is accurate, so your task is to find and deactivate the “Guardian” while activating both “Drink” and “Witness.

You can confirm it’s right when you see that one group of three symbols are illuminated while the other group remains dark.
To initiate the damage phase, first, activate the pedestal positioned before the wheel. This action will progressively dissolve Kerrev’s shield over time.
To keep from getting burnt, it’s best to position yourself behind a pillar or wall that provides shade prior to the start of the DPS phase. This will help you stay safe and avoid being burned entirely.
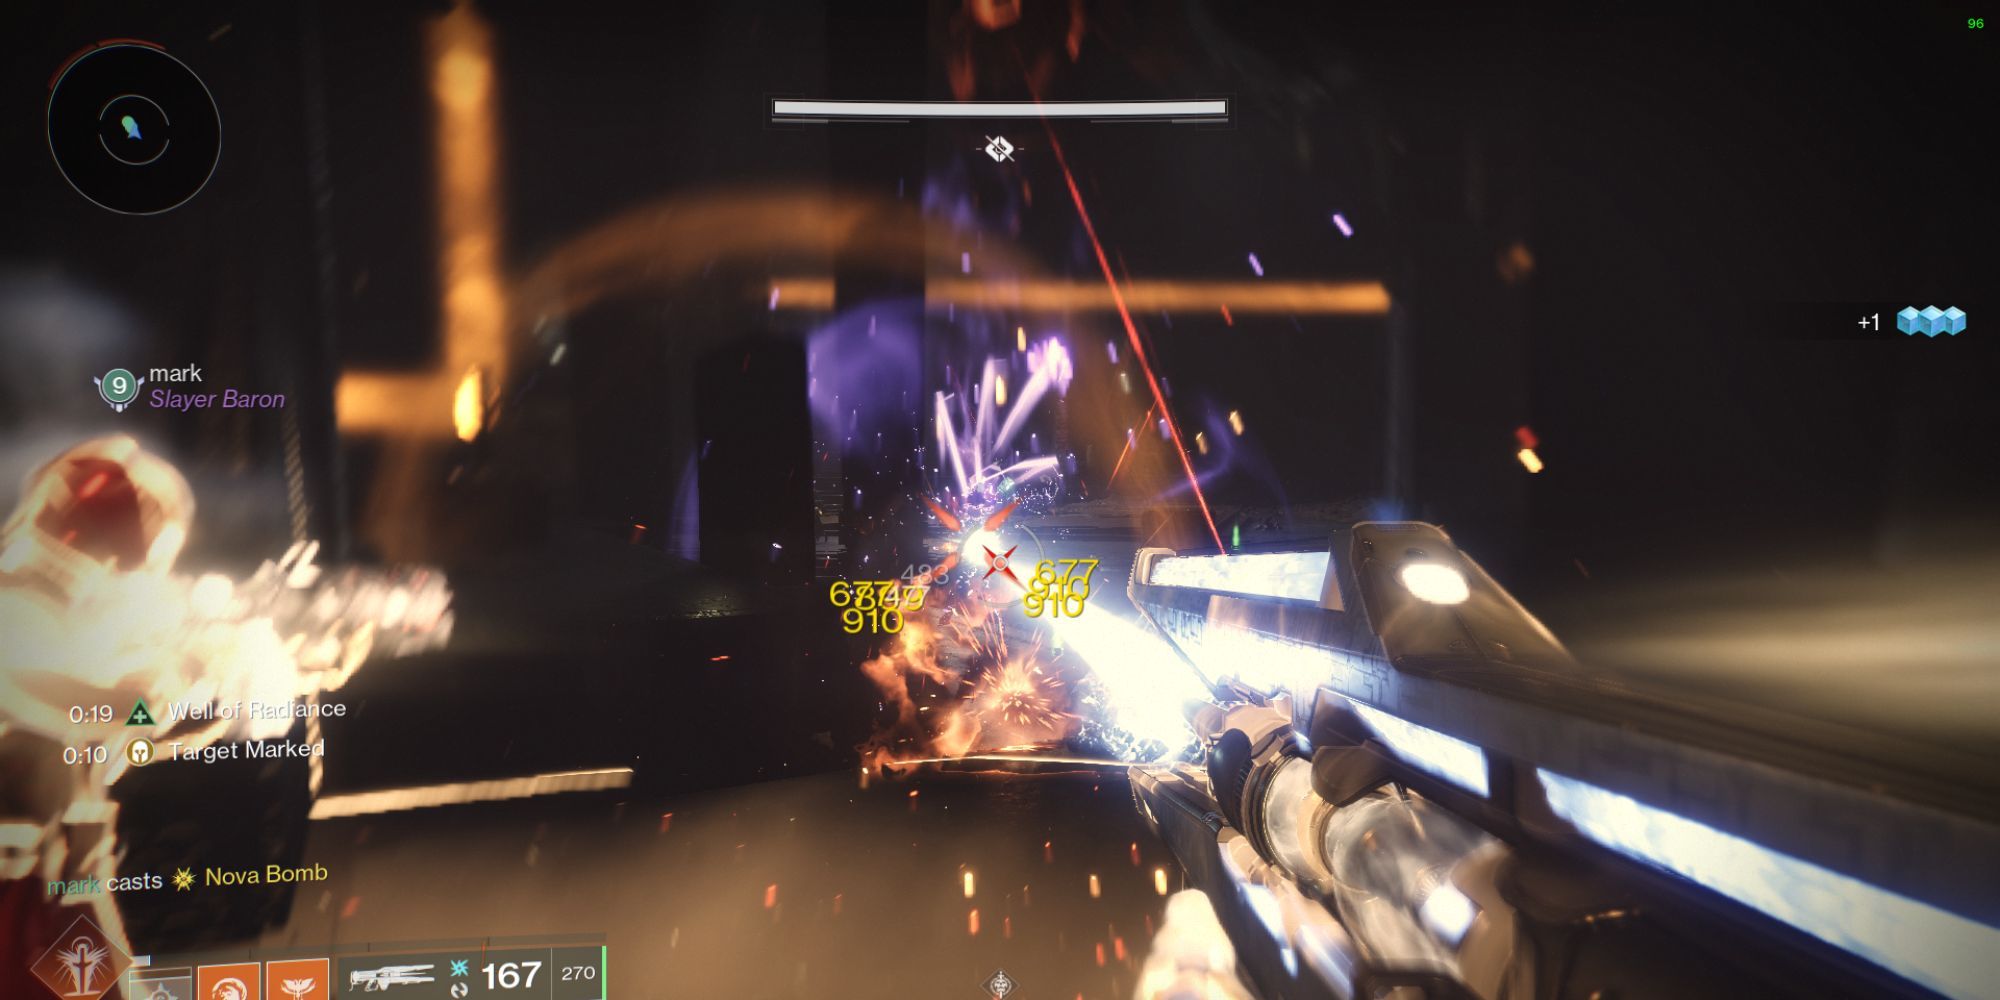
As a fan, I’d describe Kerrev as an exceptionally agile boss, constantly darting around the arena, aiming to ensnare you with his Strand abilities. My go-to strategy is to find a secure corner, use Well of Radiance and Divinity for damage output, and rely on potent precision weapons for accurate strikes.
After the DPS stage concludes, you must conceal yourself once more as the Obelisk ignites. Repeat this process until you manage to overcome Kerrev.
Or simply:
Once the DPS phase is done, hide again while the Obelisk burns. Keep doing so until you beat Kerrev.
As a devoted player, I can tell you that overcoming Kerrev significantly advances your journey, albeit at a pace dictated by time. The victory will be generously rewarded with unique weapons and armor sets. Additionally, there’s a small but tantalizing opportunity to secure the coveted Finality’s Augur exotic in the process.
Read More
- Invincible’s Strongest Female Characters
- Nine Sols: 6 Best Jin Farming Methods
- MHA’s Back: Horikoshi Drops New Chapter in ‘Ultra Age’ Fanbook – See What’s Inside!
- How to Unlock the Mines in Cookie Run: Kingdom
- Top 8 Weapon Enchantments in Oblivion Remastered, Ranked
- Top 8 UFC 5 Perks Every Fighter Should Use
- USD ILS PREDICTION
- Gold Rate Forecast
- Fix Oblivion Remastered Crashing & GPU Fatal Errors with These Simple Tricks!
- Silver Rate Forecast
2025-02-13 18:17