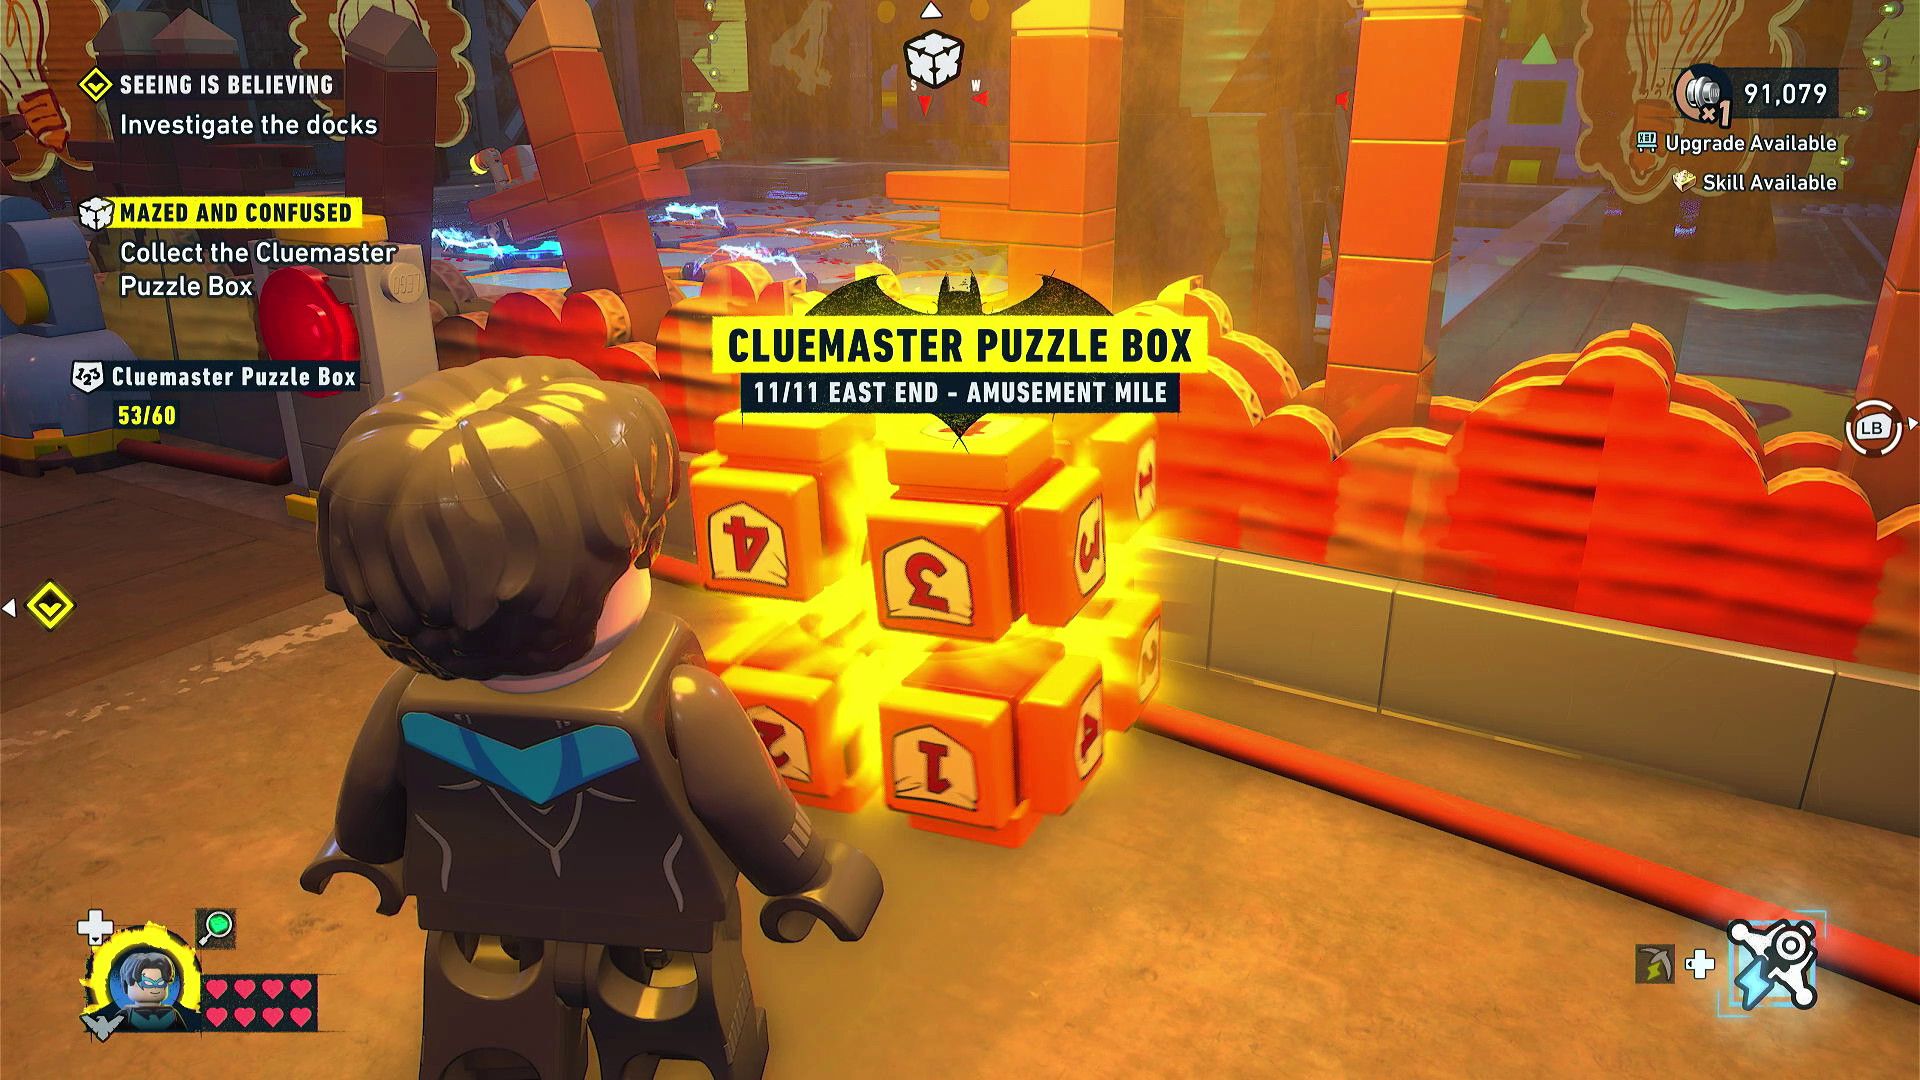
Want to find all 11 Cluemaster Puzzles in East End of LEGO Batman: Legacy of the Dark Knight? This area, marked as ‘East End – Amusement Mile’ on the map, has puzzles that sometimes need specific characters or abilities to unlock and solve.
This guide mainly provides solutions to the Cluemaster Puzzles in LEGO Batman: Legacy of the Dark Knight. These puzzles become visible on the map once you activate each district tower. Here, you’ll find all the Cluemaster Puzzles located in East End – Amusement Mile, including their exact locations, which characters or abilities you’ll need, and step-by-step instructions on how to solve each one.
If you’re looking for help finding all the collectibles and completing the game fully, check out our LEGO Batman: Legacy of the Dark Knight Collectibles Guide & Locations. For assistance with missions, characters, unlocking content, and exploring Gotham City, visit our comprehensive guide directory.
All East End Amusement Mile Cluemaster Puzzles Overview
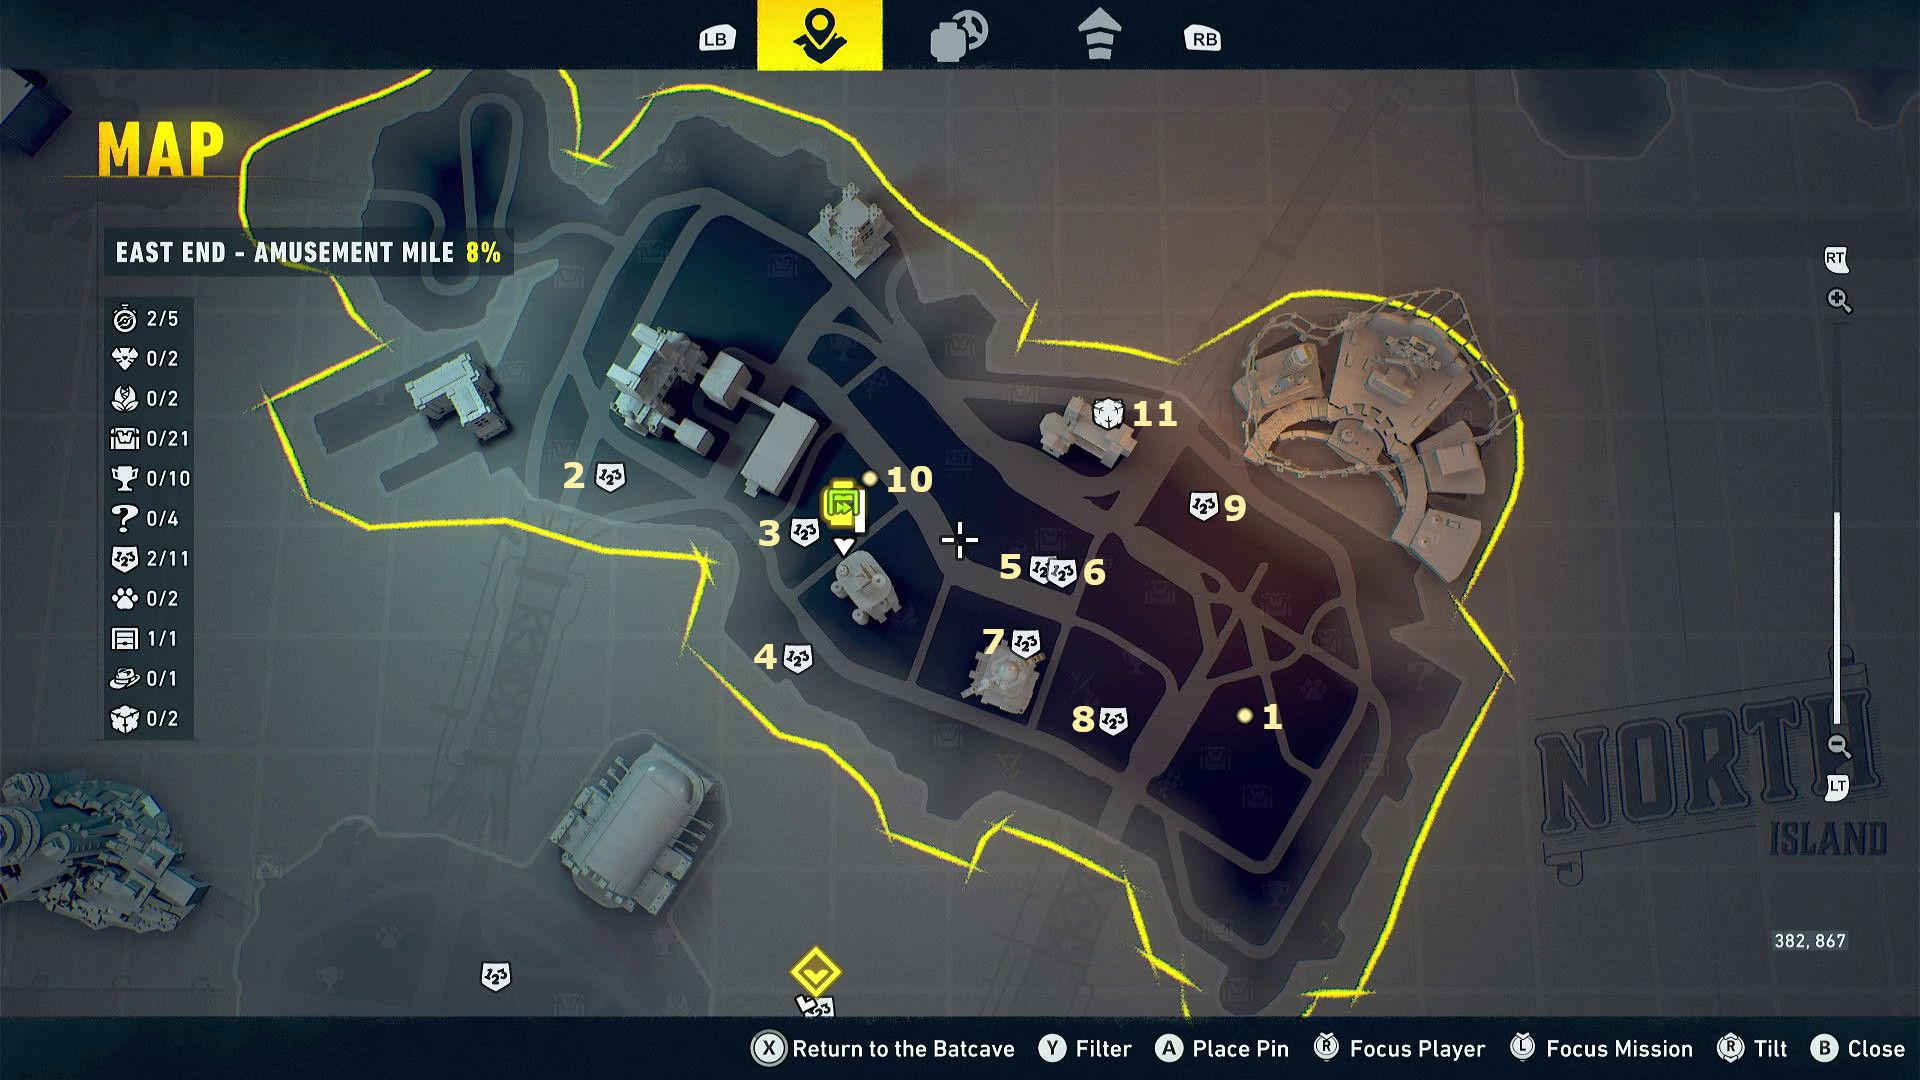
East End – Amusement Mile features 11 Cluemaster Puzzles. Some can be solved with any playable character, but others need Robin, Jim Gordon, Nightwing, or Batgirl. There’s also a single Puzzle Room that becomes accessible after you’ve finished a number of the Cluemaster Puzzles. To find the in-game coordinates of any location, open the map and look at the bottom-right corner of the screen while moving your cursor around.
| Puzzle | Coordinates | Required Character |
|---|---|---|
| Mysterious Puzzle | 452, 820 | Robin |
| Timed Challenge | 294, 883 | Jim Gordon |
| Golden Gliding | 343, 869 | Any character |
| Commission Impossible | 342, 837 | Any character |
| Cryptex Chaos | 403, 860 | Jim Gordon |
| Wire Transfer | 408, 859 | Nightwing, Batgirl |
| The Path of Least Resistance | 399, 841 | Any character |
| Hang Out | 420, 822 | Any character |
| Spoiler Sport | 444, 876 | Nightwing |
| Clued In | 357, 883 | Batgirl |
| Mazed and Confused | Puzzle Room at 420, 900 | Nightwing, Batman |
What You Need Before Solving Every East End Cluemaster Puzzle
You’ll be able to use Jim Gordon and Robin when you begin the East End – Amusement Mile Cluemaster Puzzles. However, you might need to revisit them after unlocking Nightwing and Batgirl. Check out our guide on unlocking all playable characters for more details on when each character becomes available.
The Maze and Confused Puzzle Room won’t become available until you’ve finished all the Cluemaster Puzzle Rooms in Newtown, Old Gotham North, Old Gotham South, The Cauldron South, and The Cauldron North. If you don’t see the East End Puzzle Room on your map, just keep solving Cluemaster Puzzles and Puzzle Rooms throughout Gotham City. It will appear when you’ve made enough progress.
All East End Amusement Mile Cluemaster Puzzle Solutions
Mysterious Puzzle Cluemaster Puzzle Solution
- Coordinates: 452, 820
- Required Character: Robin
- Notes: Solved as part of the Dynamic Duo main story mission.
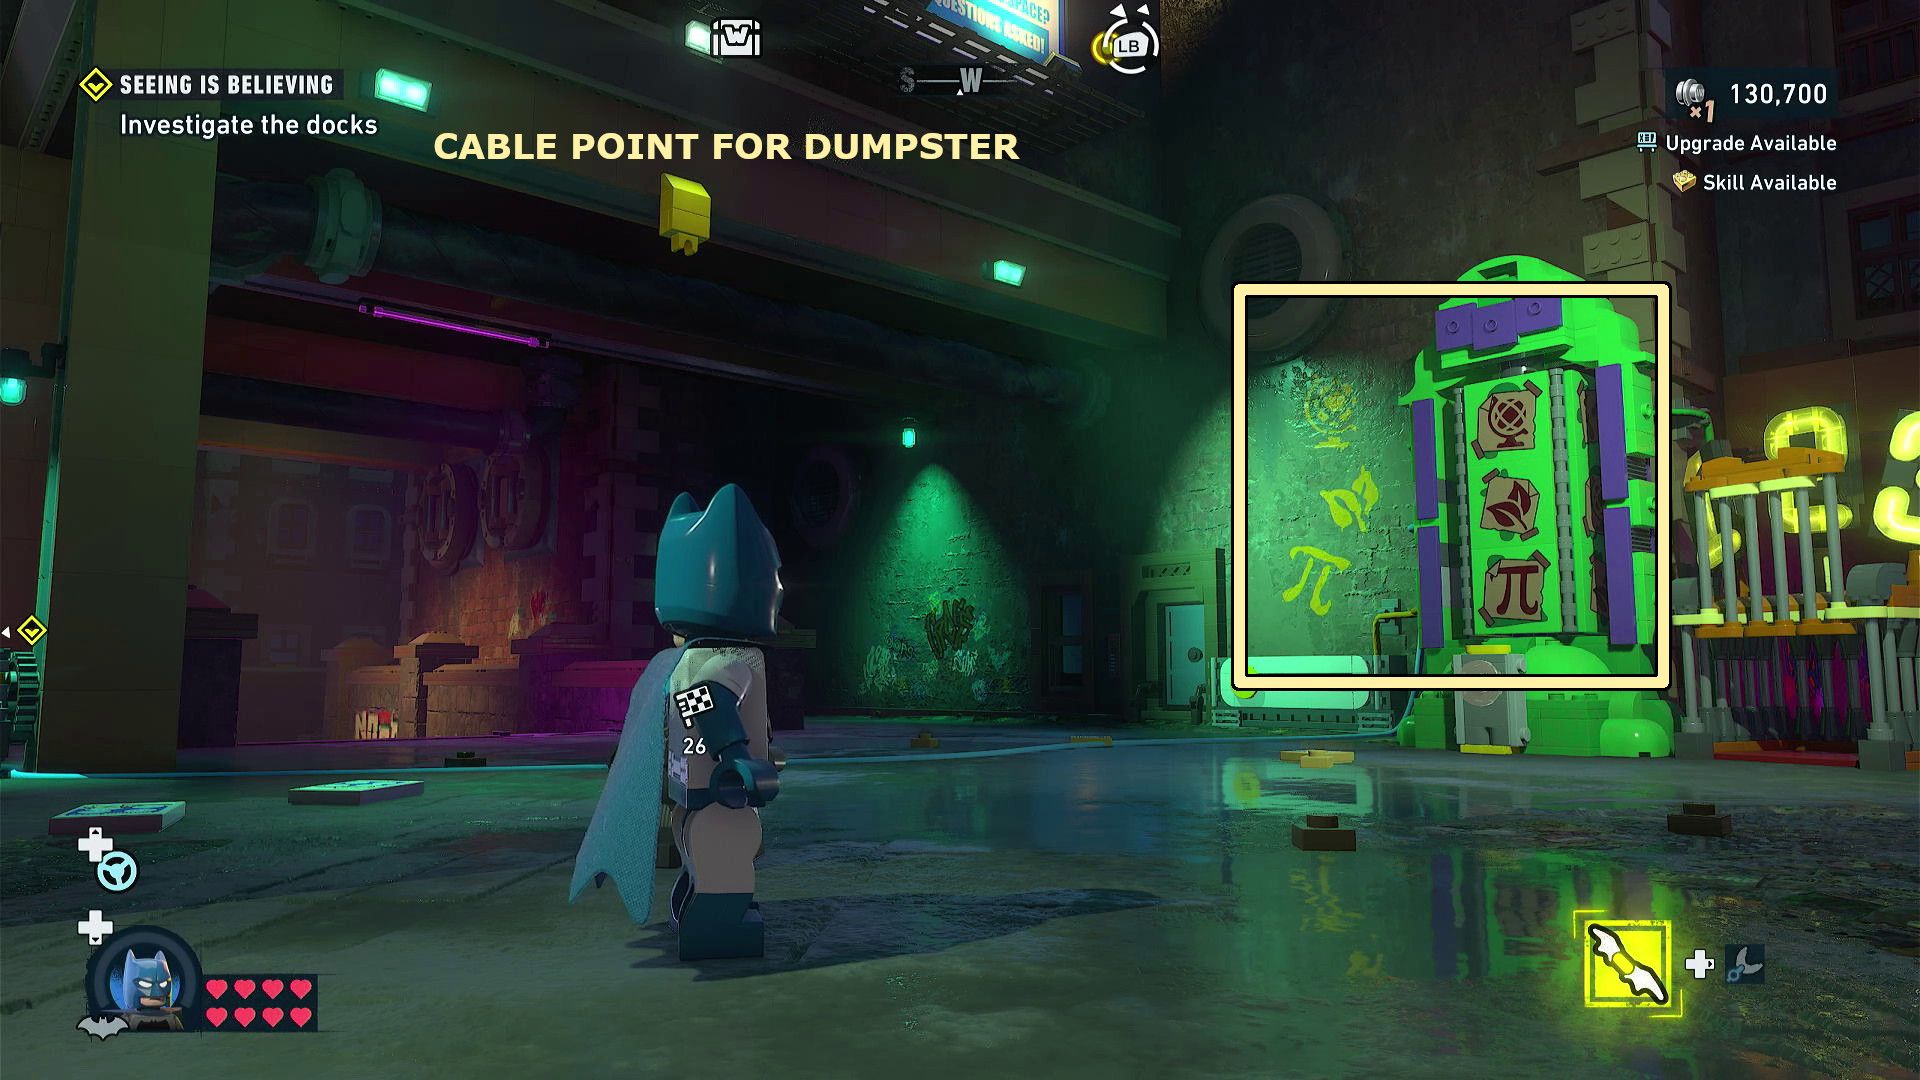
To solve this puzzle, you need to turn the three symbols over the red button until they match the symbols displayed on the wall to the left.
First, locate the hanging container across from the puzzle. Shoot the cable supporting it with a projectile. This will cause a lever to fall – pick it up. Then, place the lever into the adjacent gear and turn it until the center symbol displays leaves.
Okay, so after solving the puzzle, I turned right and spotted a yellow connector on a dumpster. I used Robin’s Cable Launcher to connect it to the yellow point on that beam above and to the left – that moved the dumpster and uncovered something on the wall! Then, I stuck Robin’s staff into the device and slid it around until the top symbol changed to a globe. It felt pretty good when that clicked into place!
To finish, place Robin’s staff into the slot under the wall symbols and move it until the lowest symbol displays a pi symbol. When all three symbols align, press the red button to complete the puzzle.
Timed Challenge Cluemaster Puzzle Solution
- Coordinates: 294, 883
- Required Character: Jim Gordon
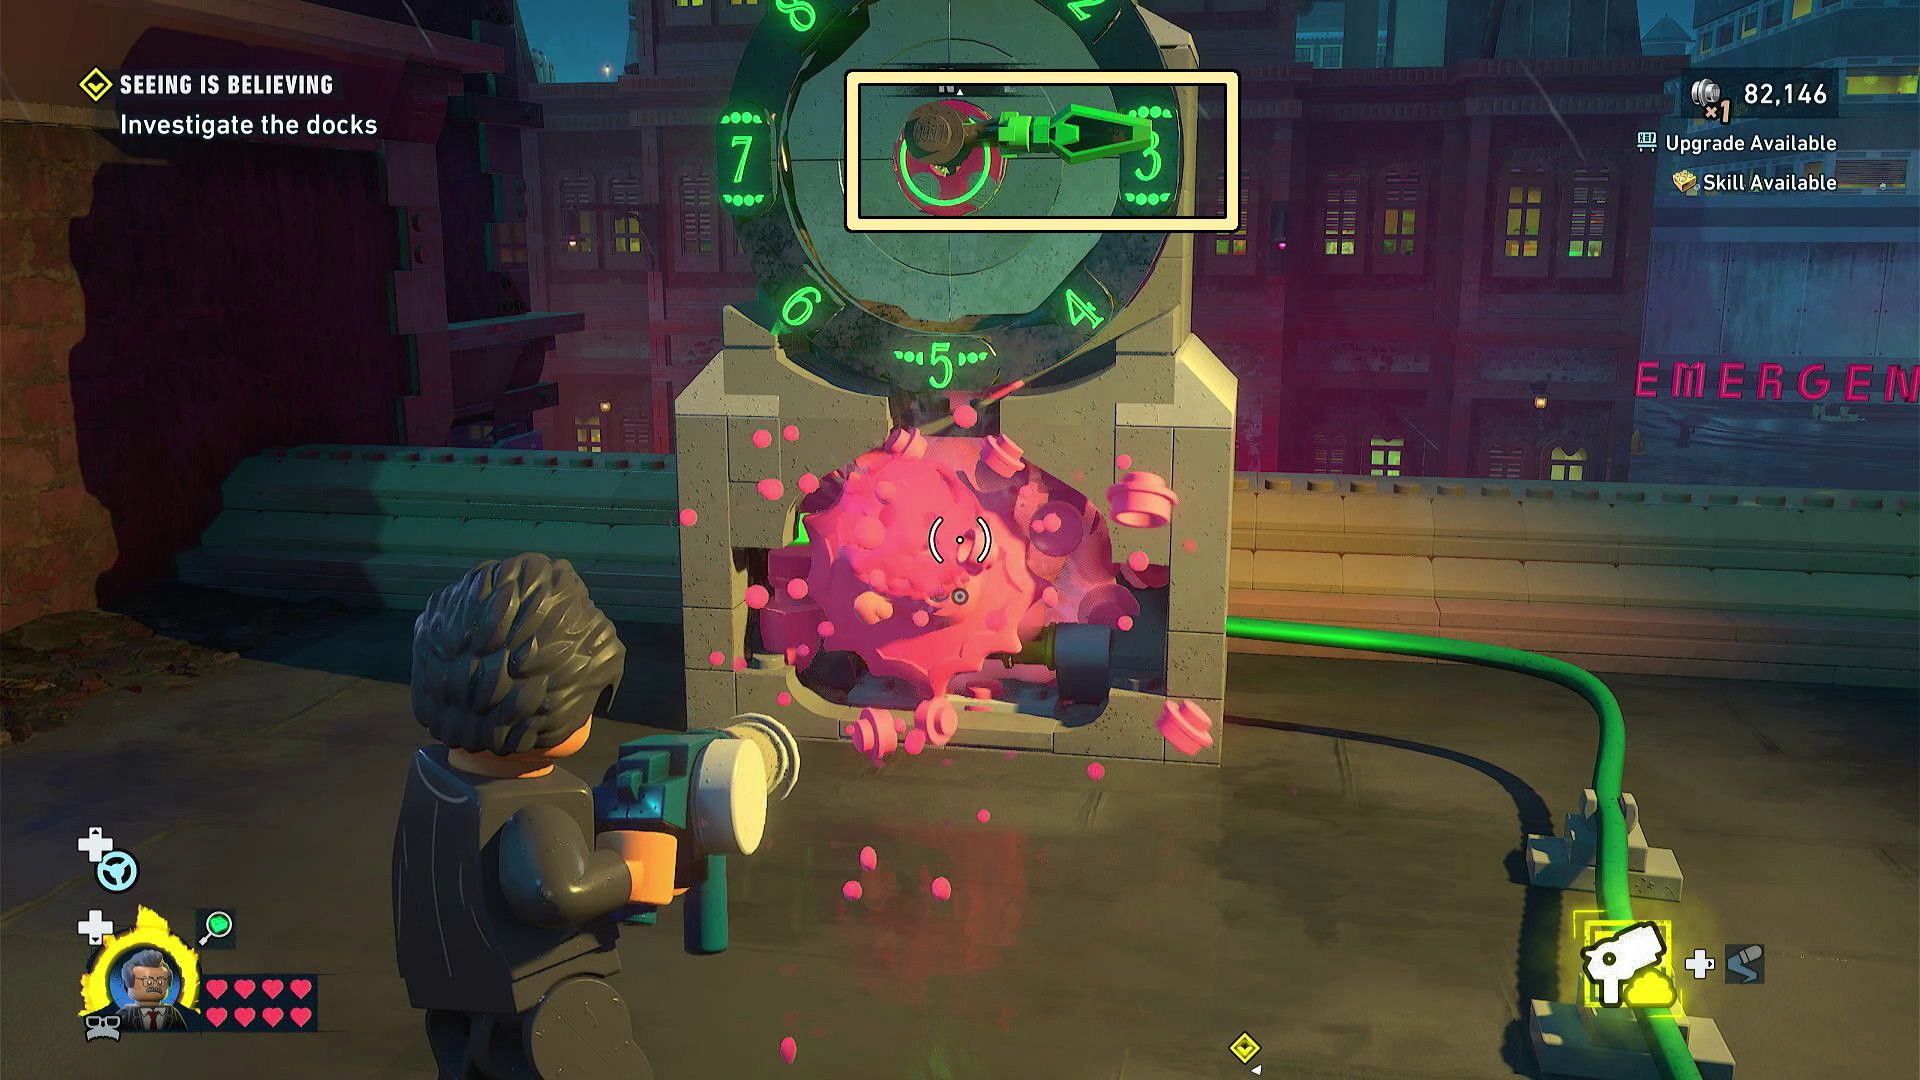
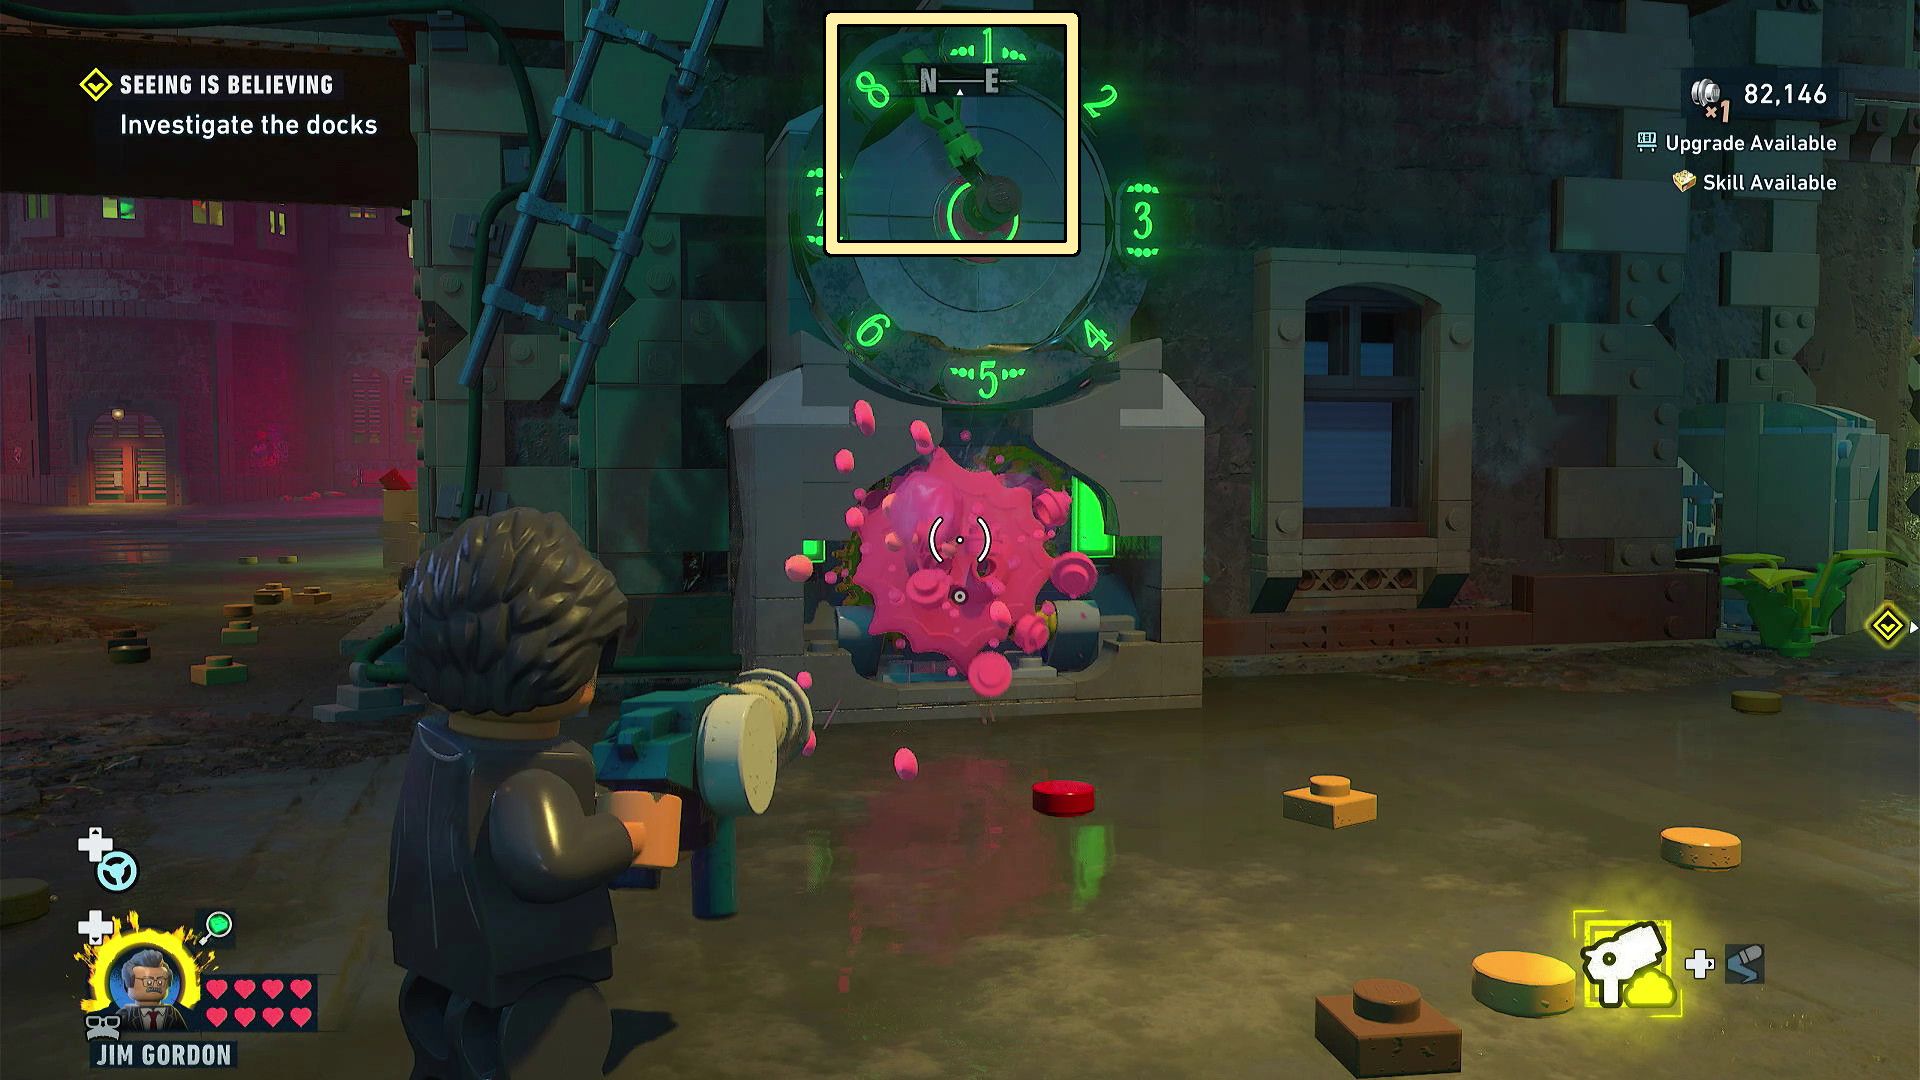
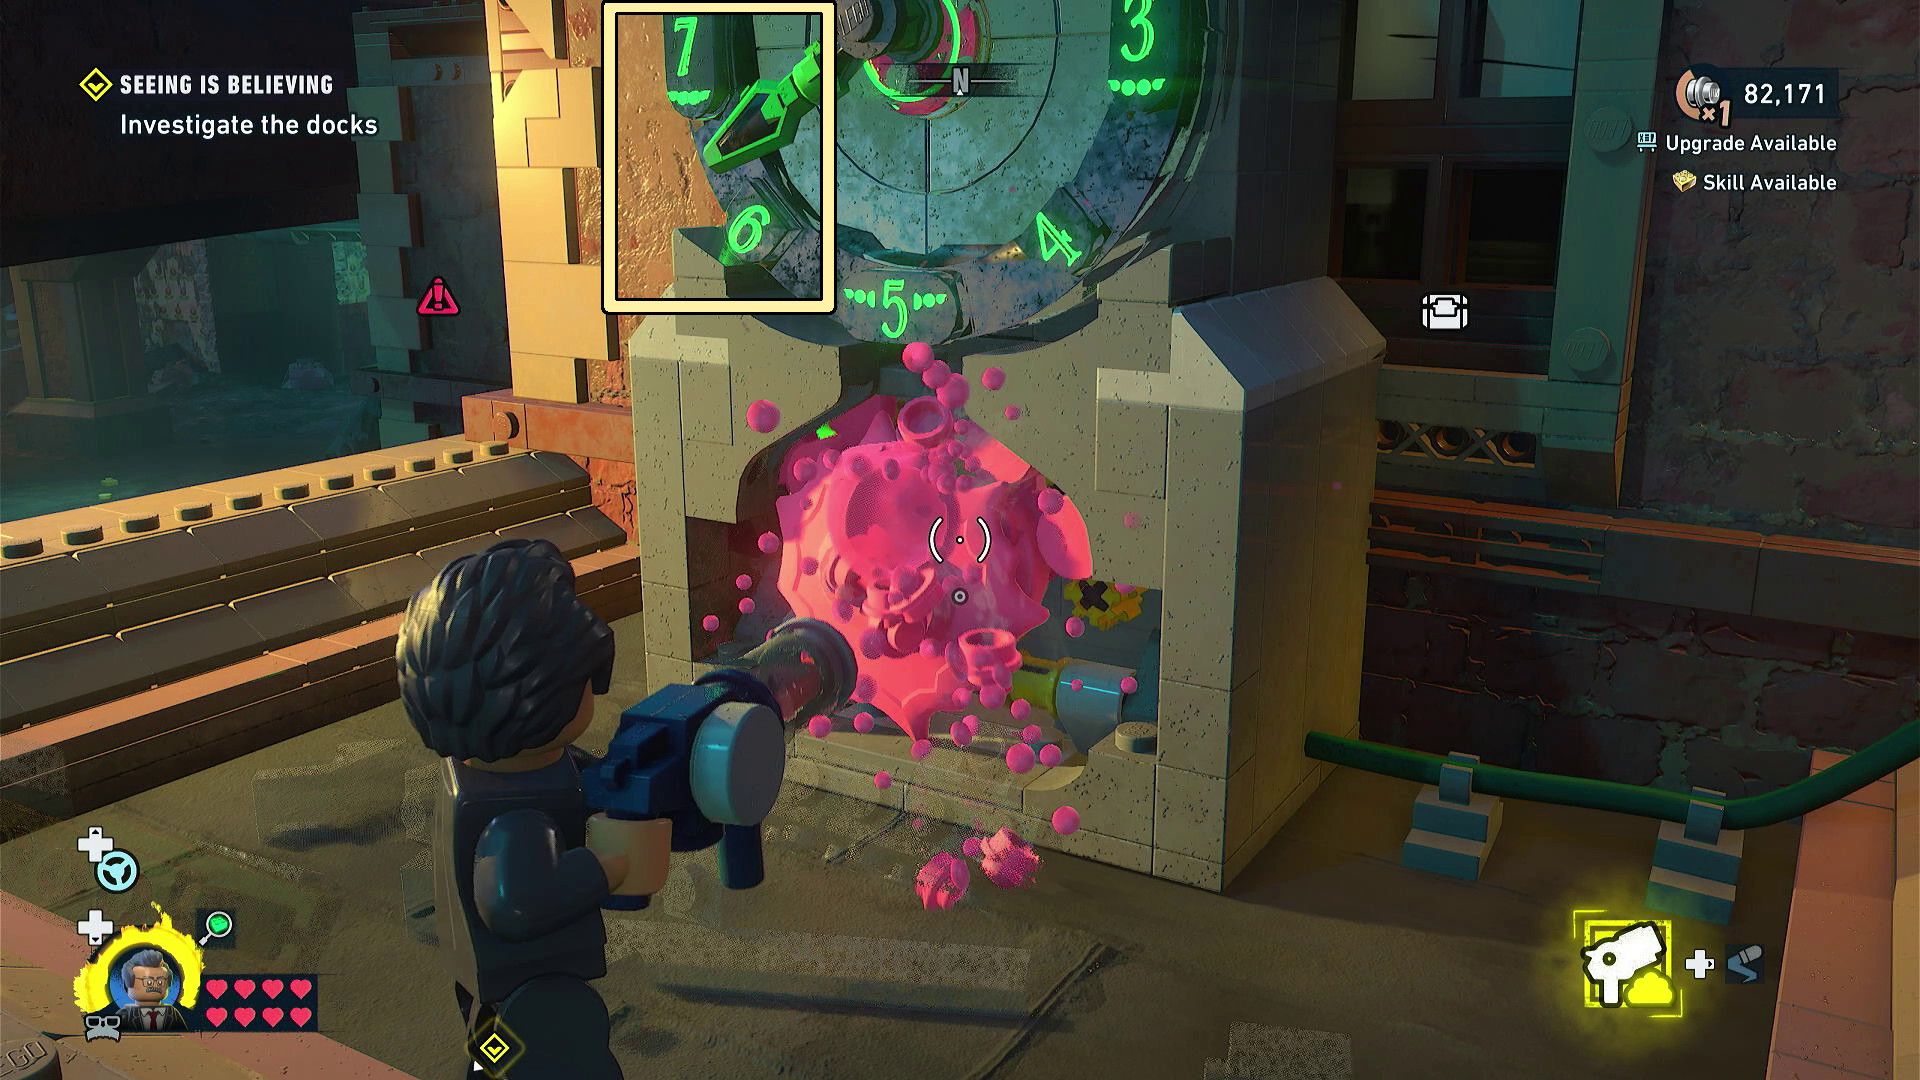
Trace the three wires leading from the big clock—they’ll lead you to three smaller clocks that are still running. Under each of these smaller clocks, you’ll find a cover you need to break open to get to the gears inside. Once you’ve accessed the gears, use Jim Gordon’s foam sprayer to stop each clock at the designated time.
- Clock above the large clock: Pointing at 3
- Clock to the right of the large clock: Pointing between 8 and 1
- Clock to the left of the large clock: Pointing between 6 and 7
Once all three clocks are stopped in the correct positions, the cube will unlock.
Golden Gliding Cluemaster Puzzle Solution
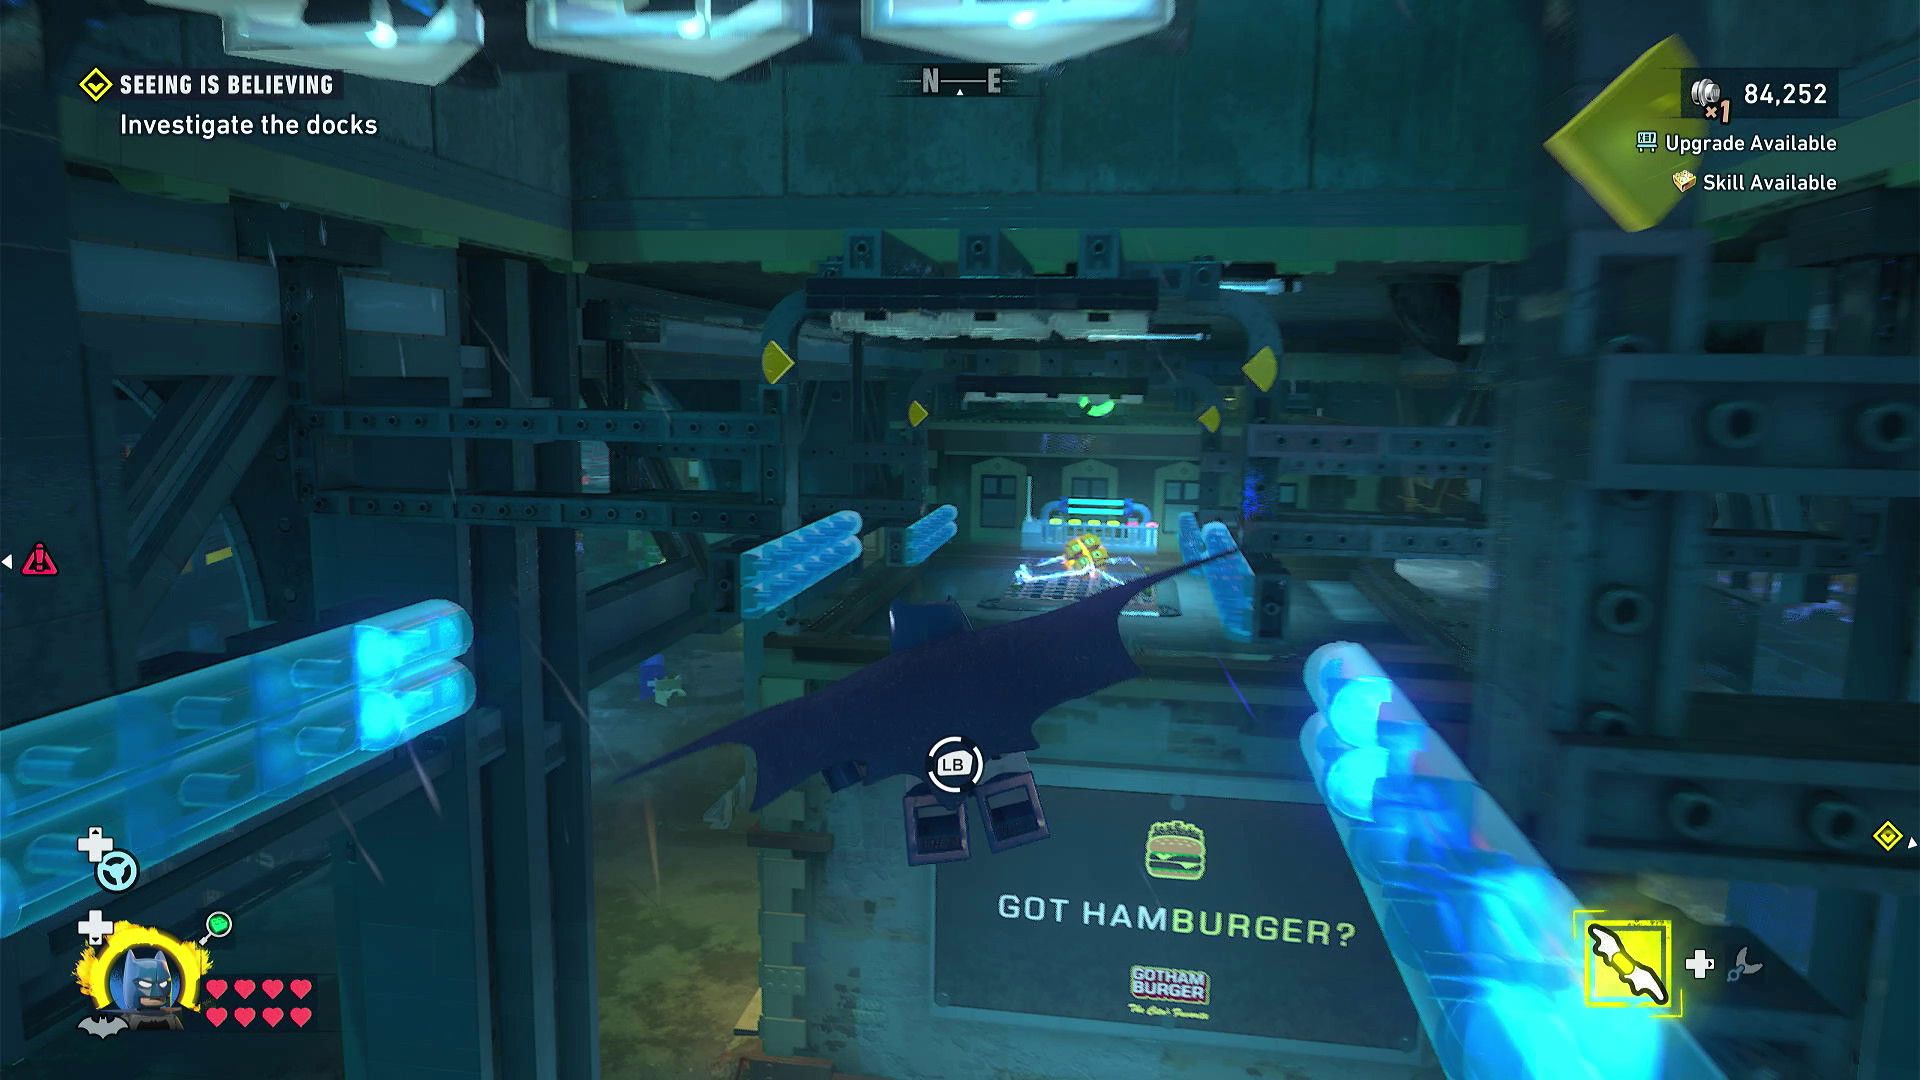
- Coordinates: 343, 869
- Required Character: Any character
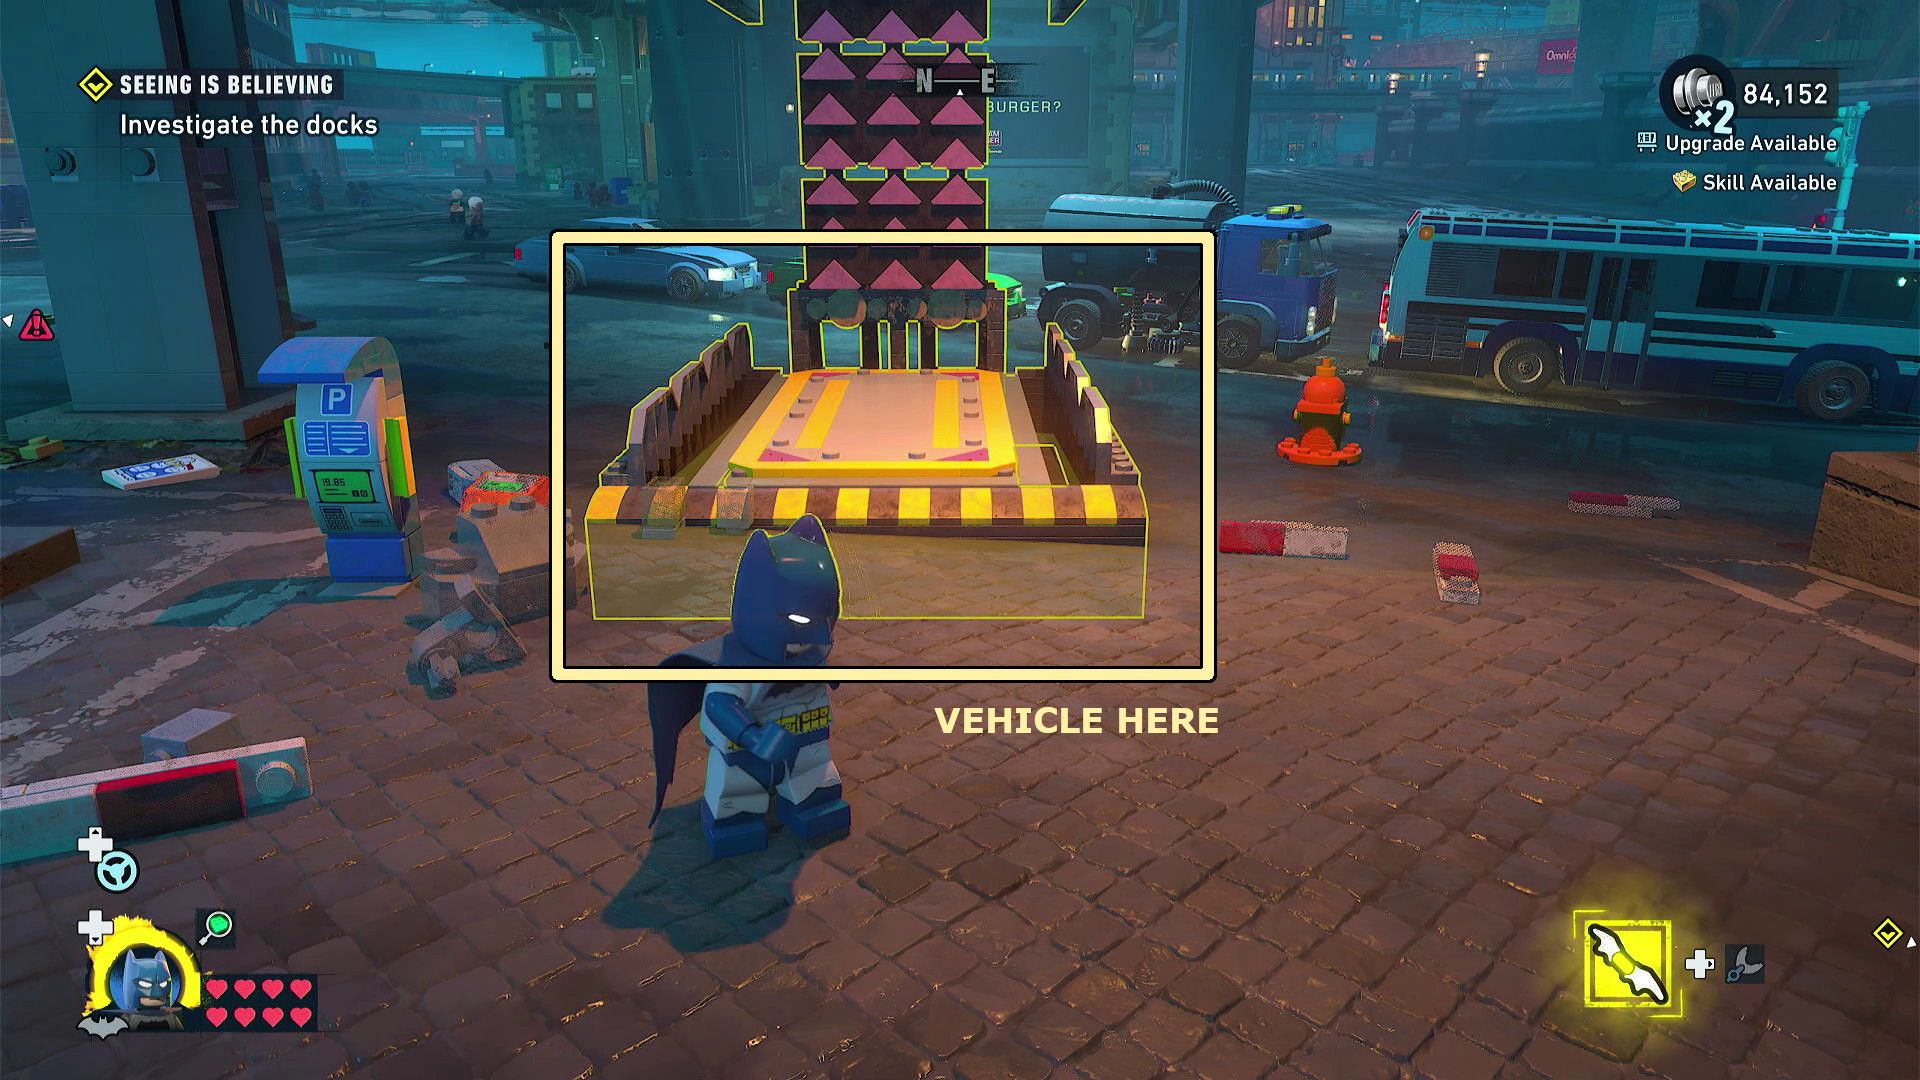
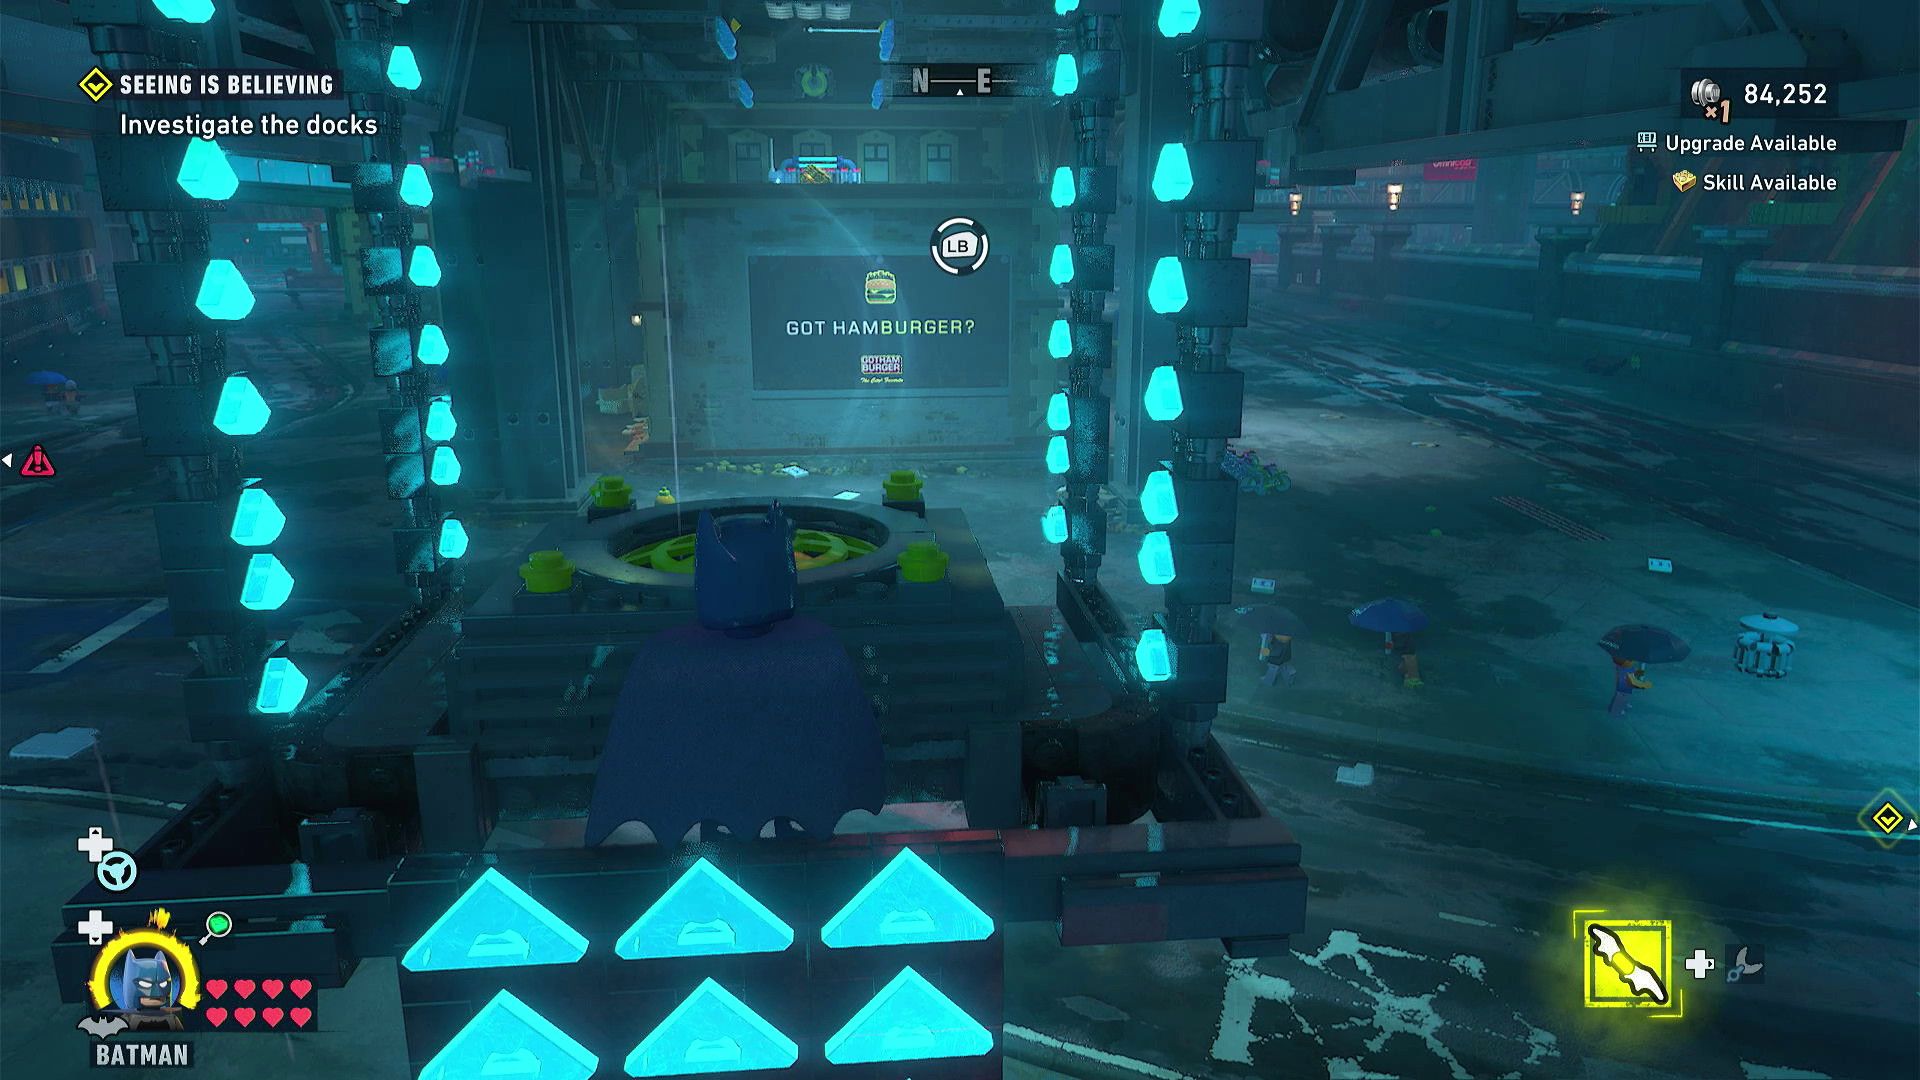
Head southwest from the cube until you locate a ground-level platform. You can power this platform up by driving a vehicle onto it, which will then generate an upward draft of air.
Ride the wind to gain some height, then float through the blue bars towards the cube. Once you’ve gone through all of them, the electricity around the cube will turn off, and you can grab it.
Commission Impossible Cluemaster Puzzle Solution
- Coordinates: 342, 837
- Required Character: Any character
Okay, so here’s what you gotta do: First, you need to break that old phone booth that’s leaning on the car blocking the way. Once it’s out of the way, you’ll see the car’s tow hitch. Then, use another vehicle to hook up a tow line to that hitch and carefully pull the blocked car out of the way. It’s a bit of work, but it’ll free things up!
Once you’ve moved the car, install the two buttons where it was. Then, press those buttons to set the tumblers to the combination 3112. Like other Cluemaster tumbler puzzles, these tumblers have numbers displayed alongside their mirrored images, which can be a bit tricky at first.
To find the puzzle’s code, check the poster located behind the cube and the one beyond the fire in front of it.
Cryptex Chaos Cluemaster Puzzle Solution
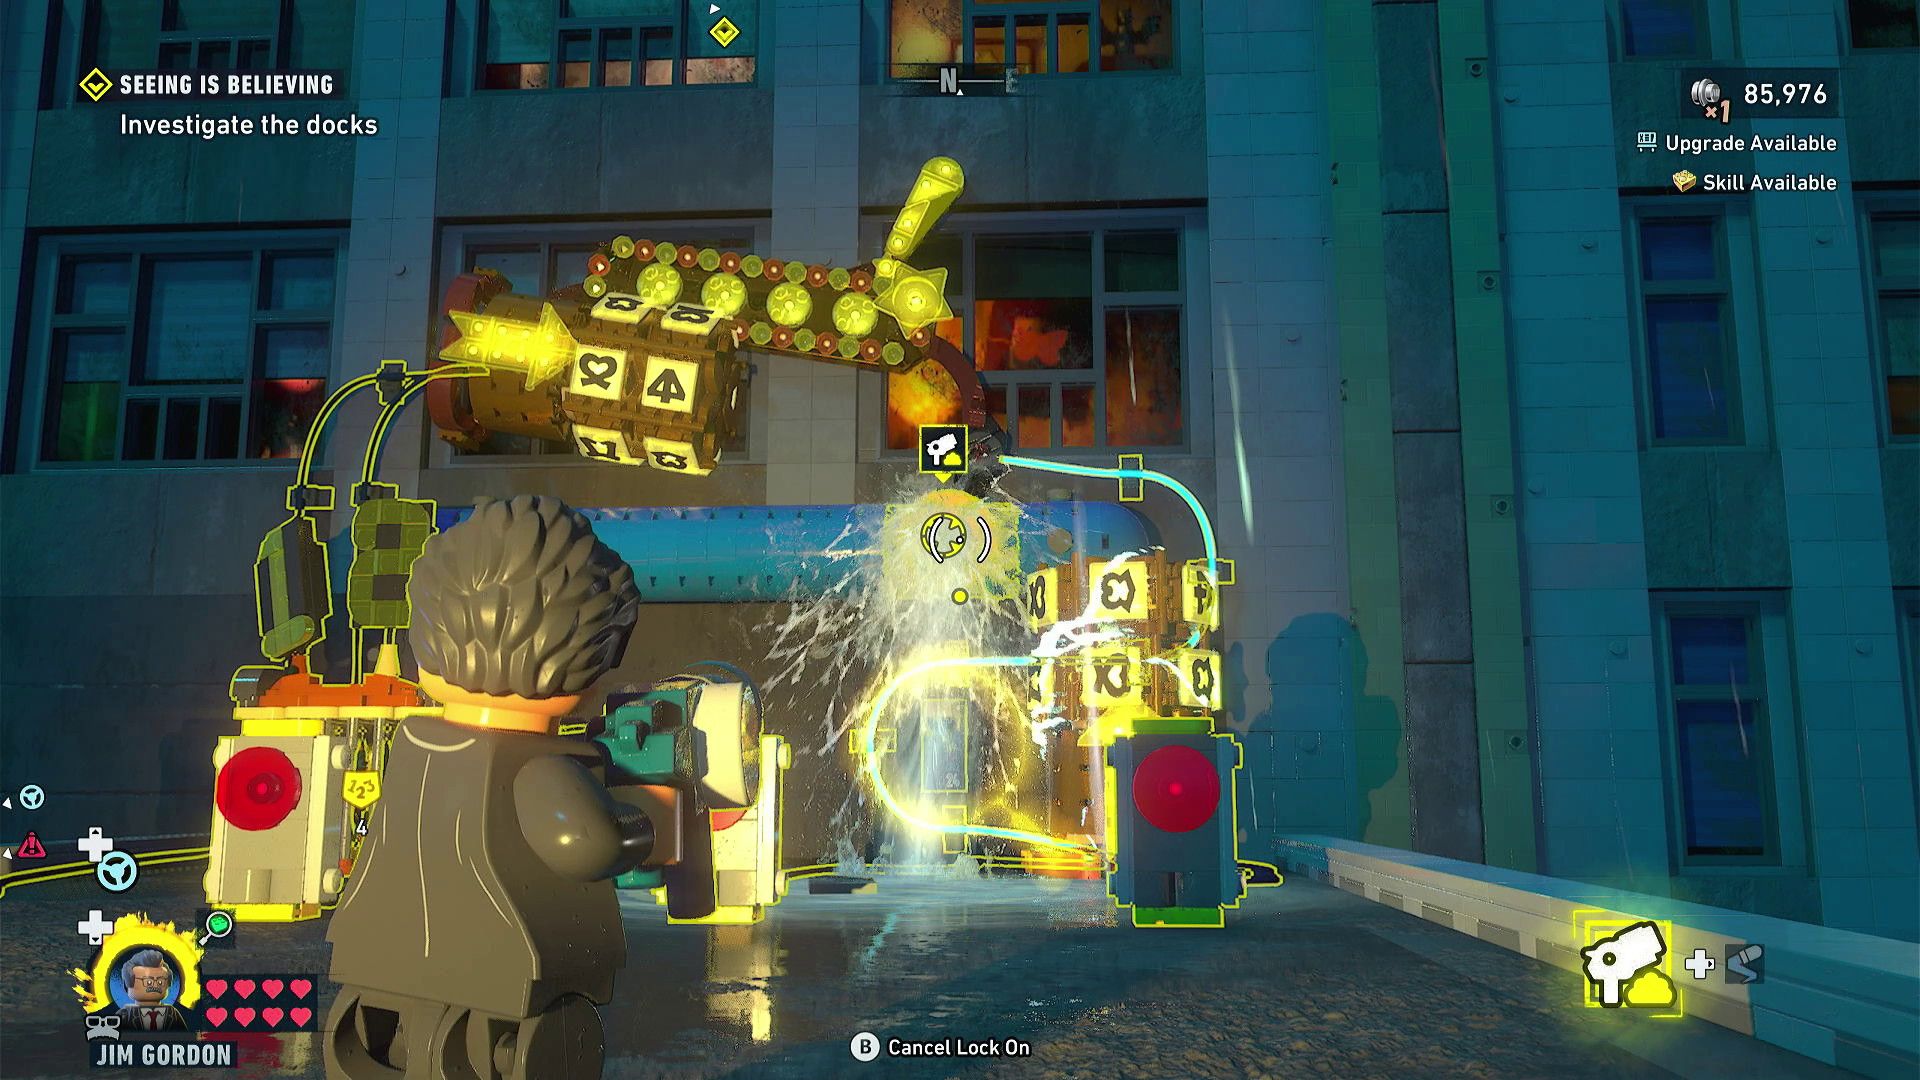
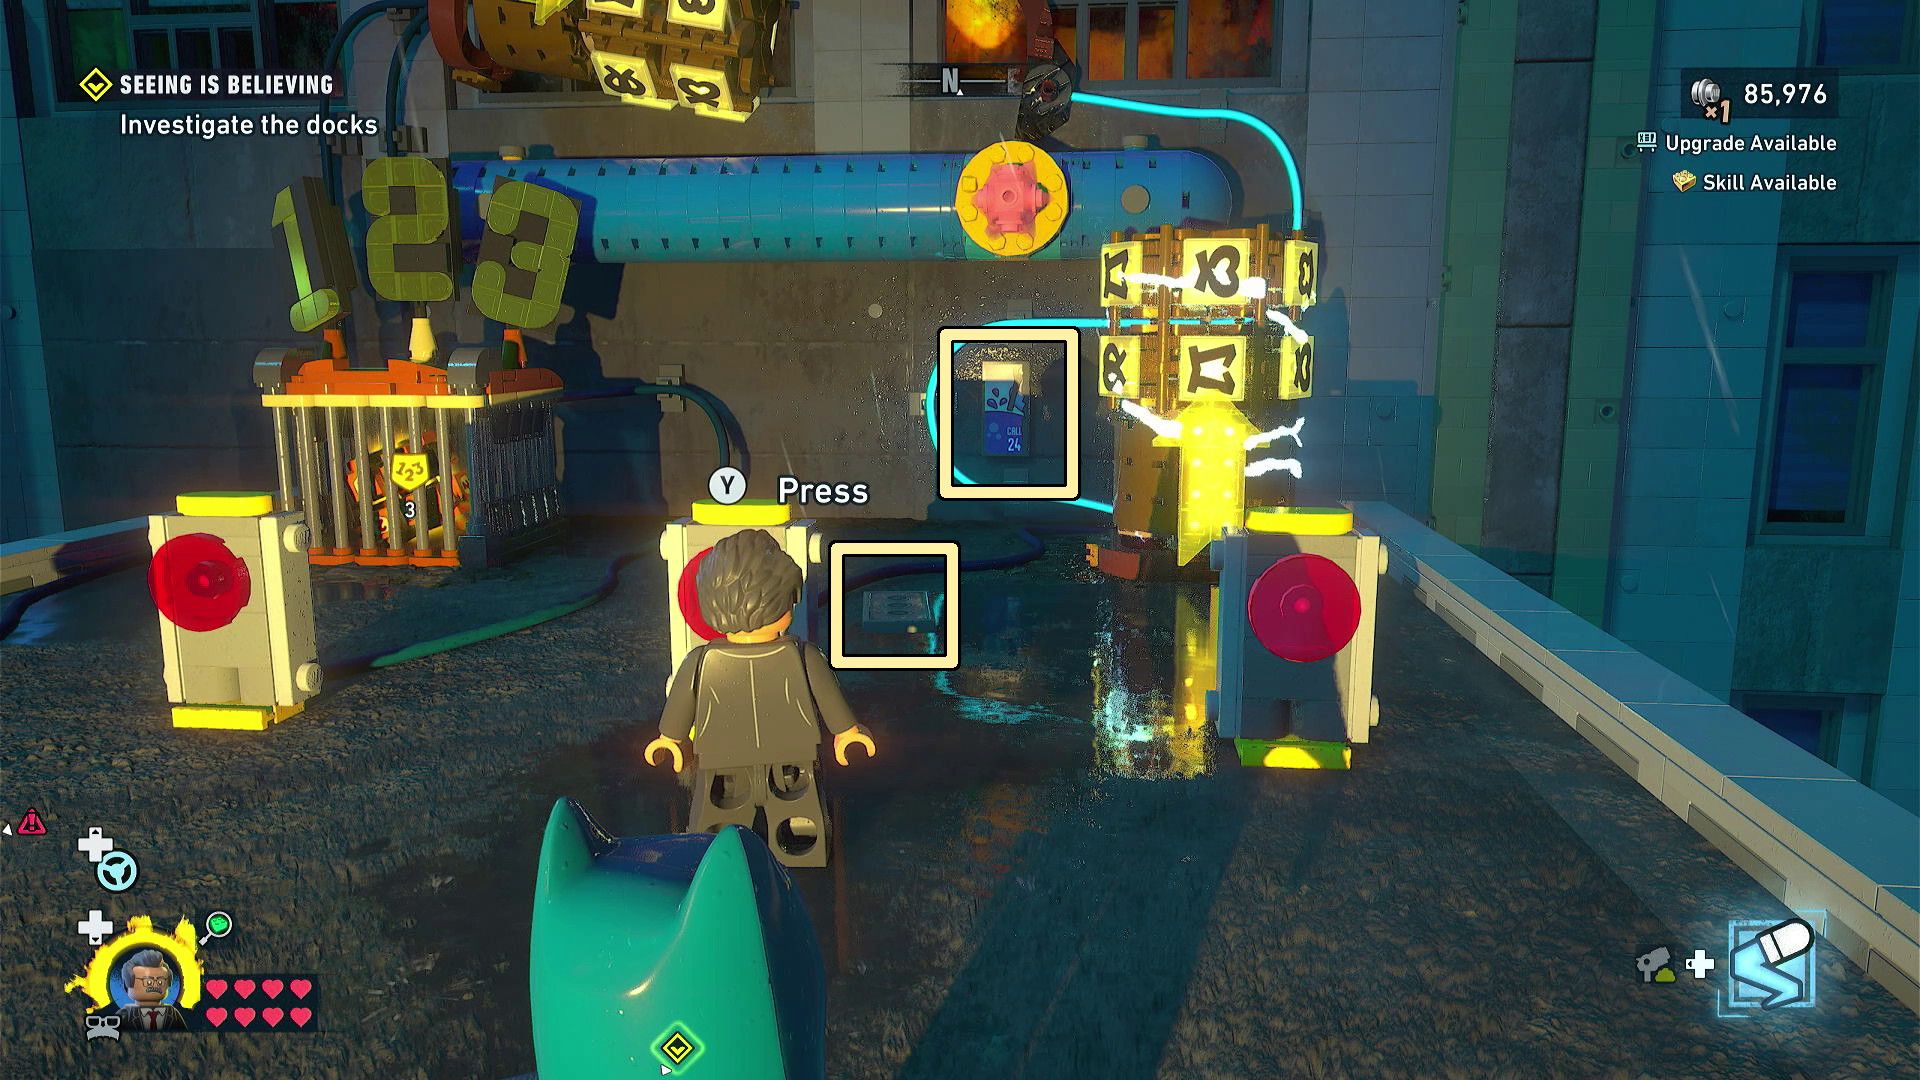
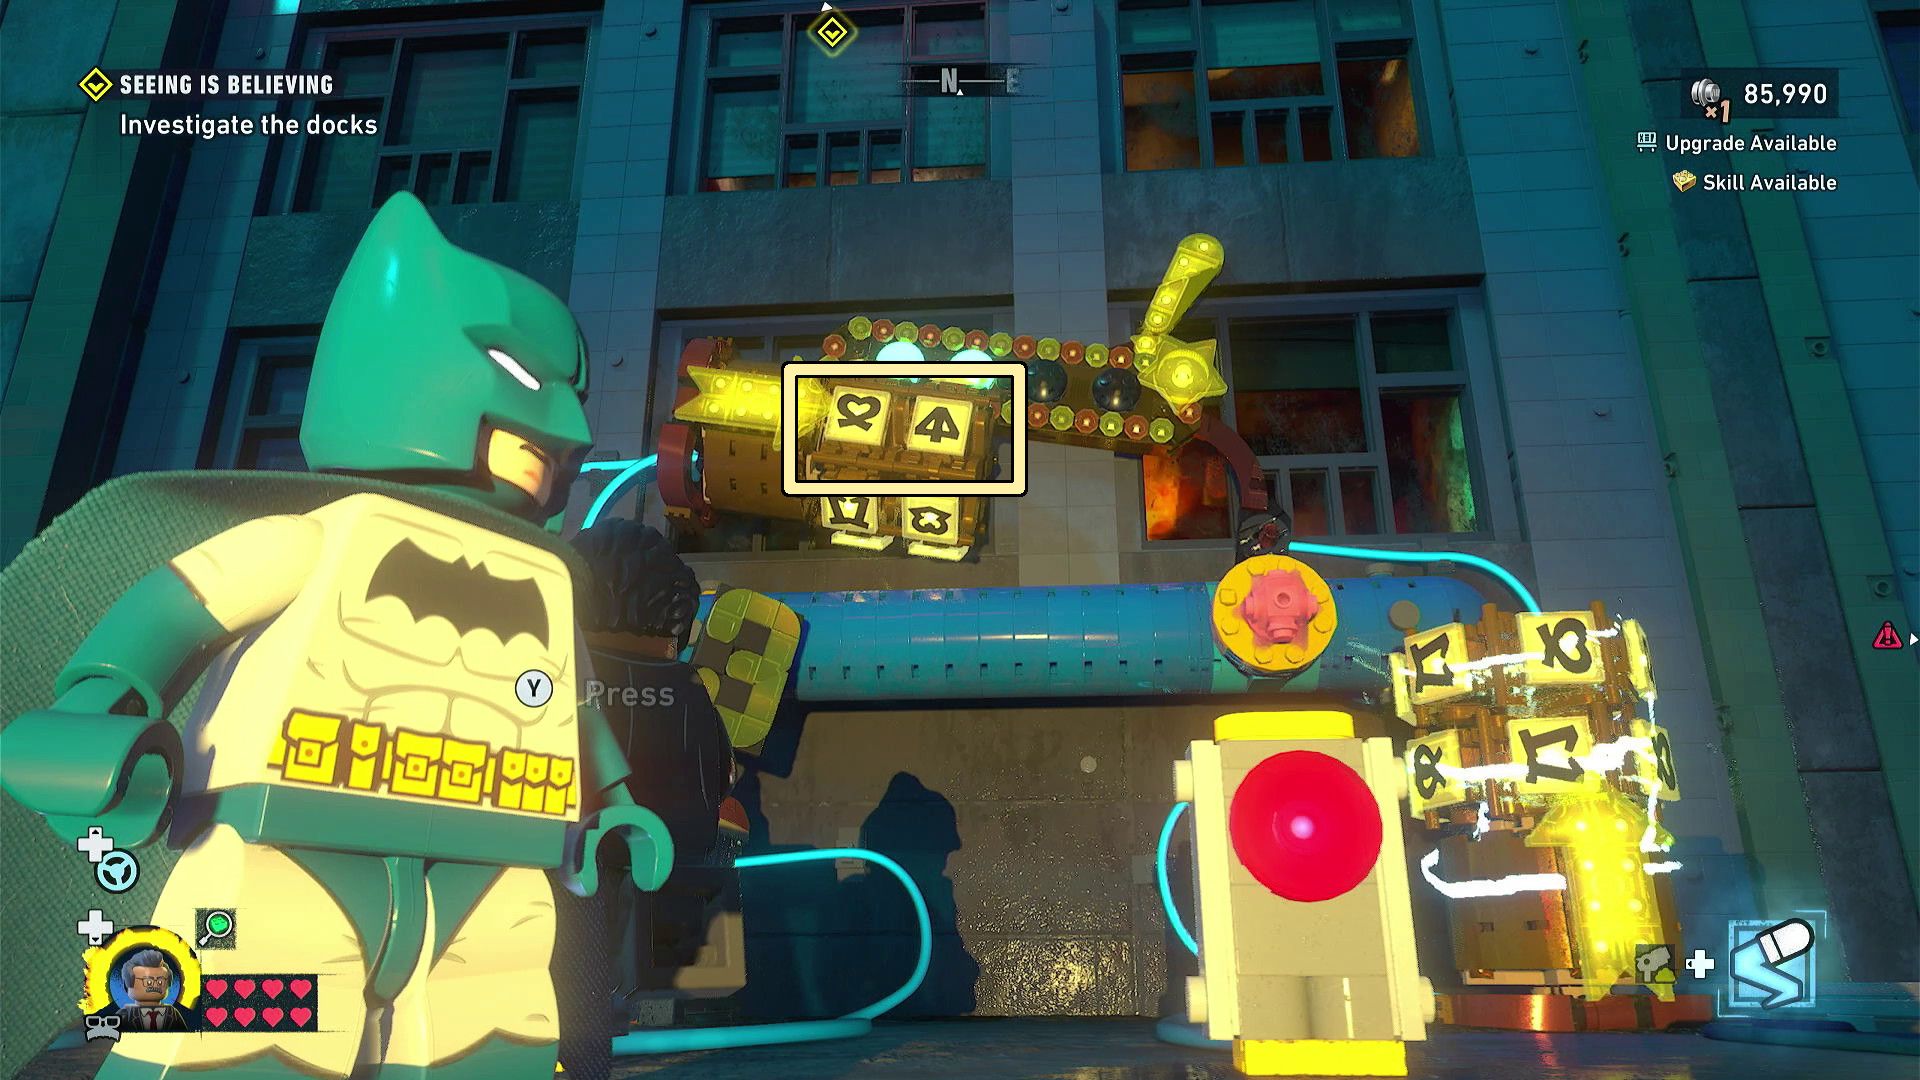
- Coordinates: 403, 860
- Required Character: Jim Gordon
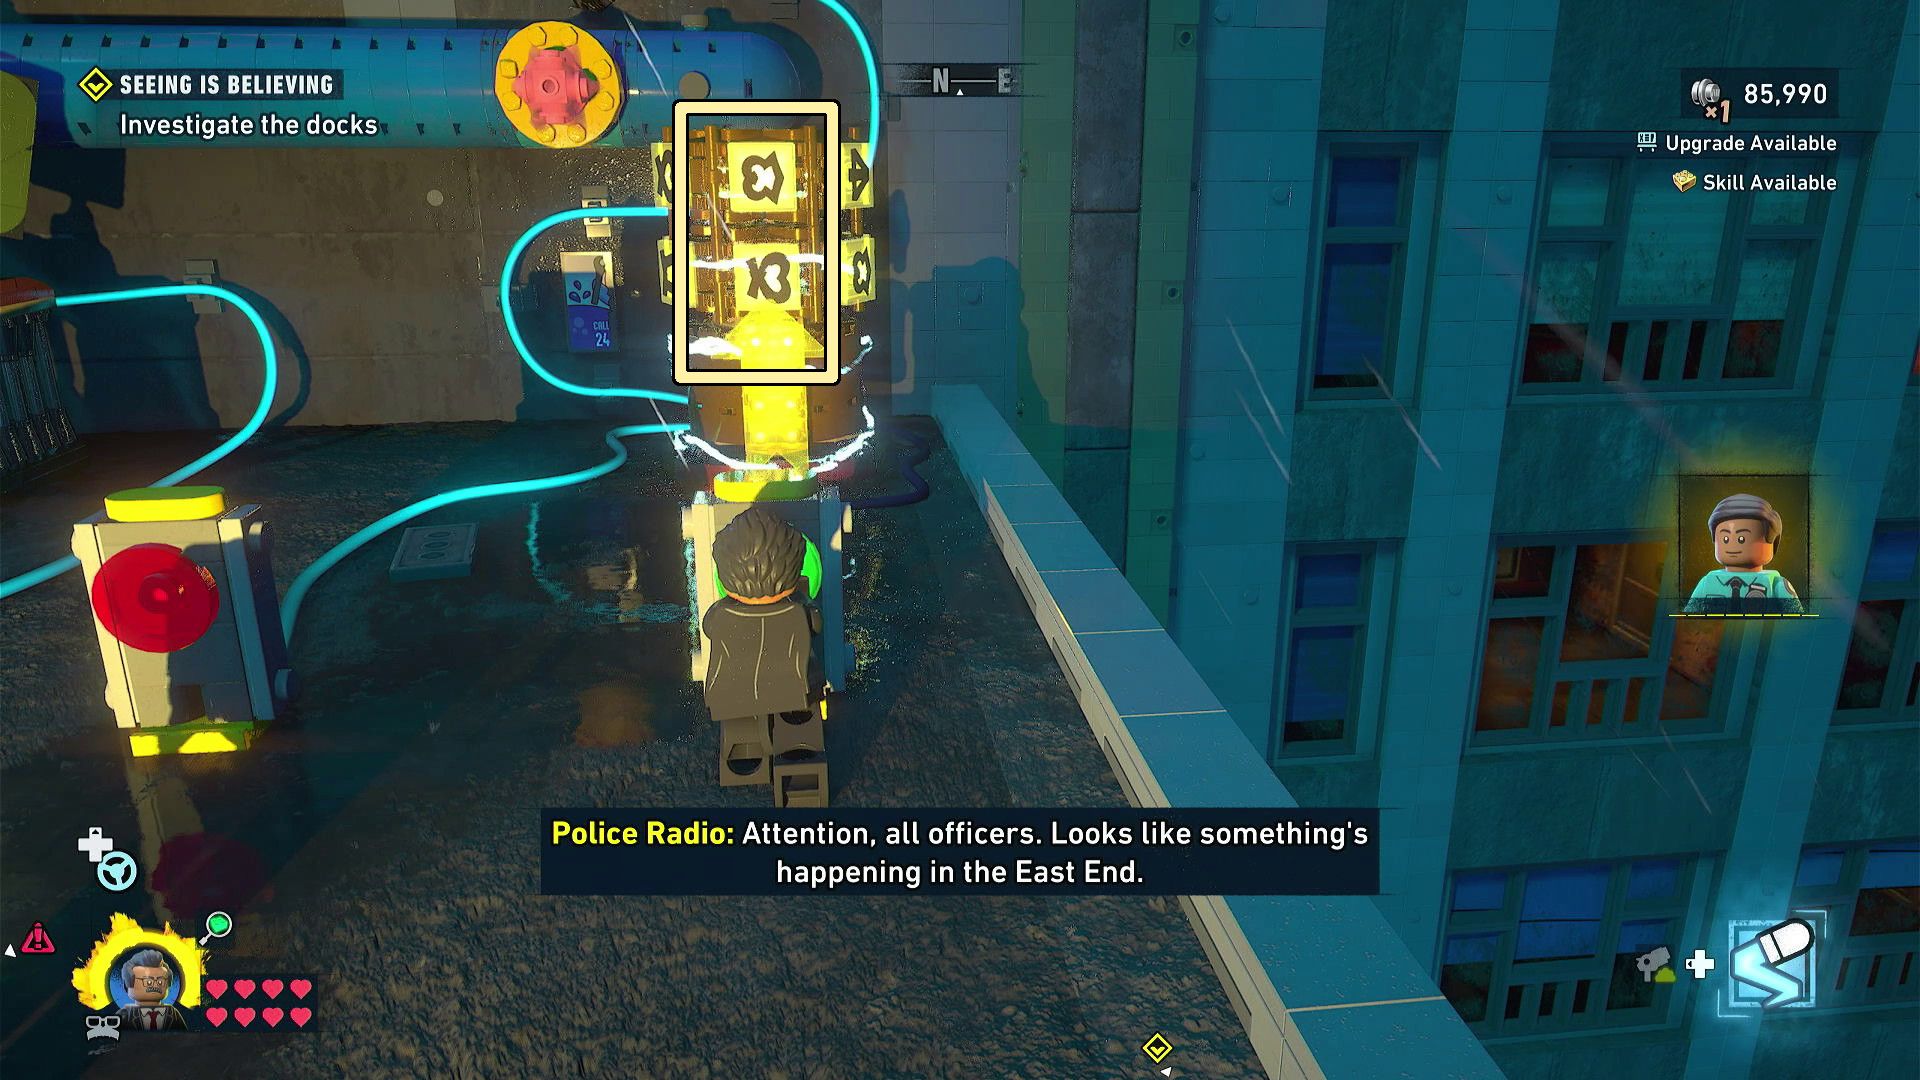
Use Jim Gordon’s foam sprayer to block the water leak, which will uncover the complete code for the tumbler puzzle. You’ll find one part of the code on the wall poster, and the other part on the floor where the water was conducting electricity.
The code is 2432. Press the red buttons when the tumblers display those numbers. Remember, each tumbler shows a number alongside its reflection.
Wire Transfer Cluemaster Puzzle Solution
- Coordinates: 408, 859
- Required Characters: Nightwing, Batgirl
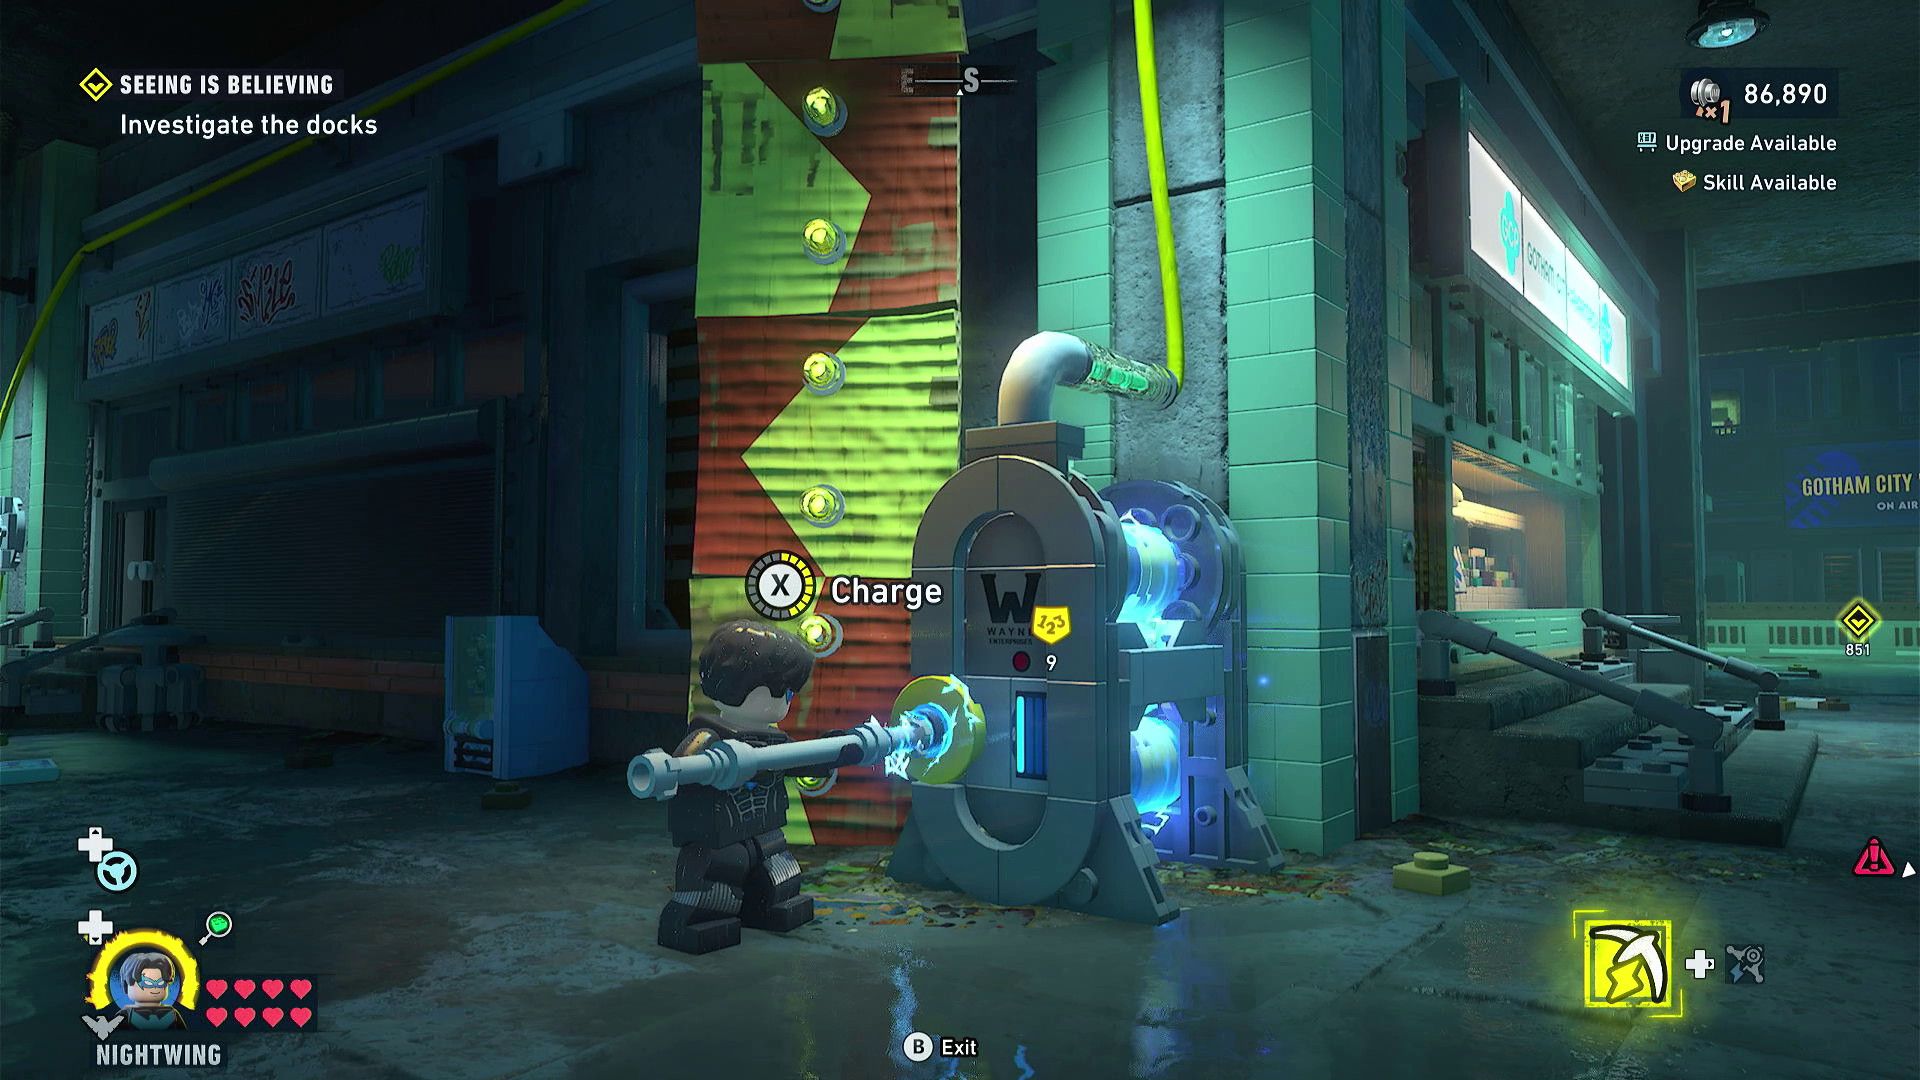
Trace the wire running from the cube’s cage around the building until you locate an electrical device. Then, use Nightwing’s staff to power it up.
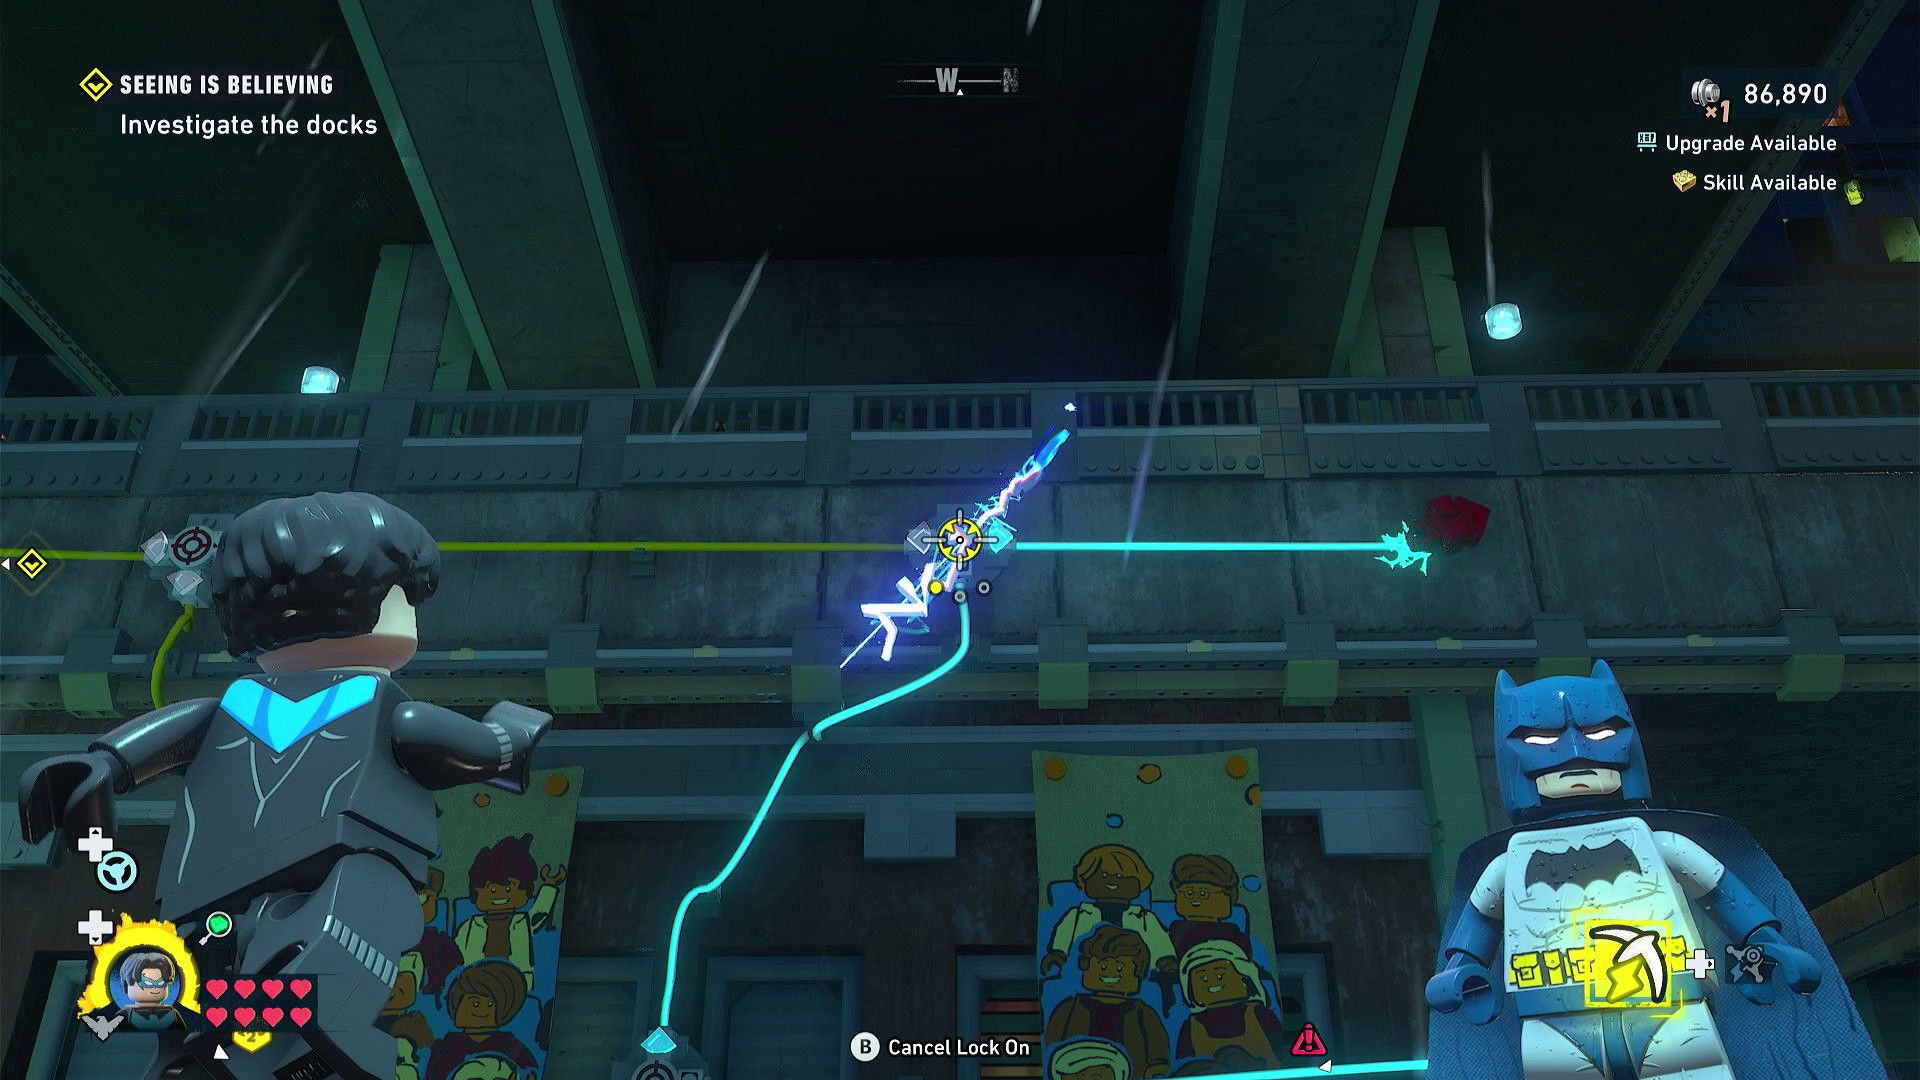
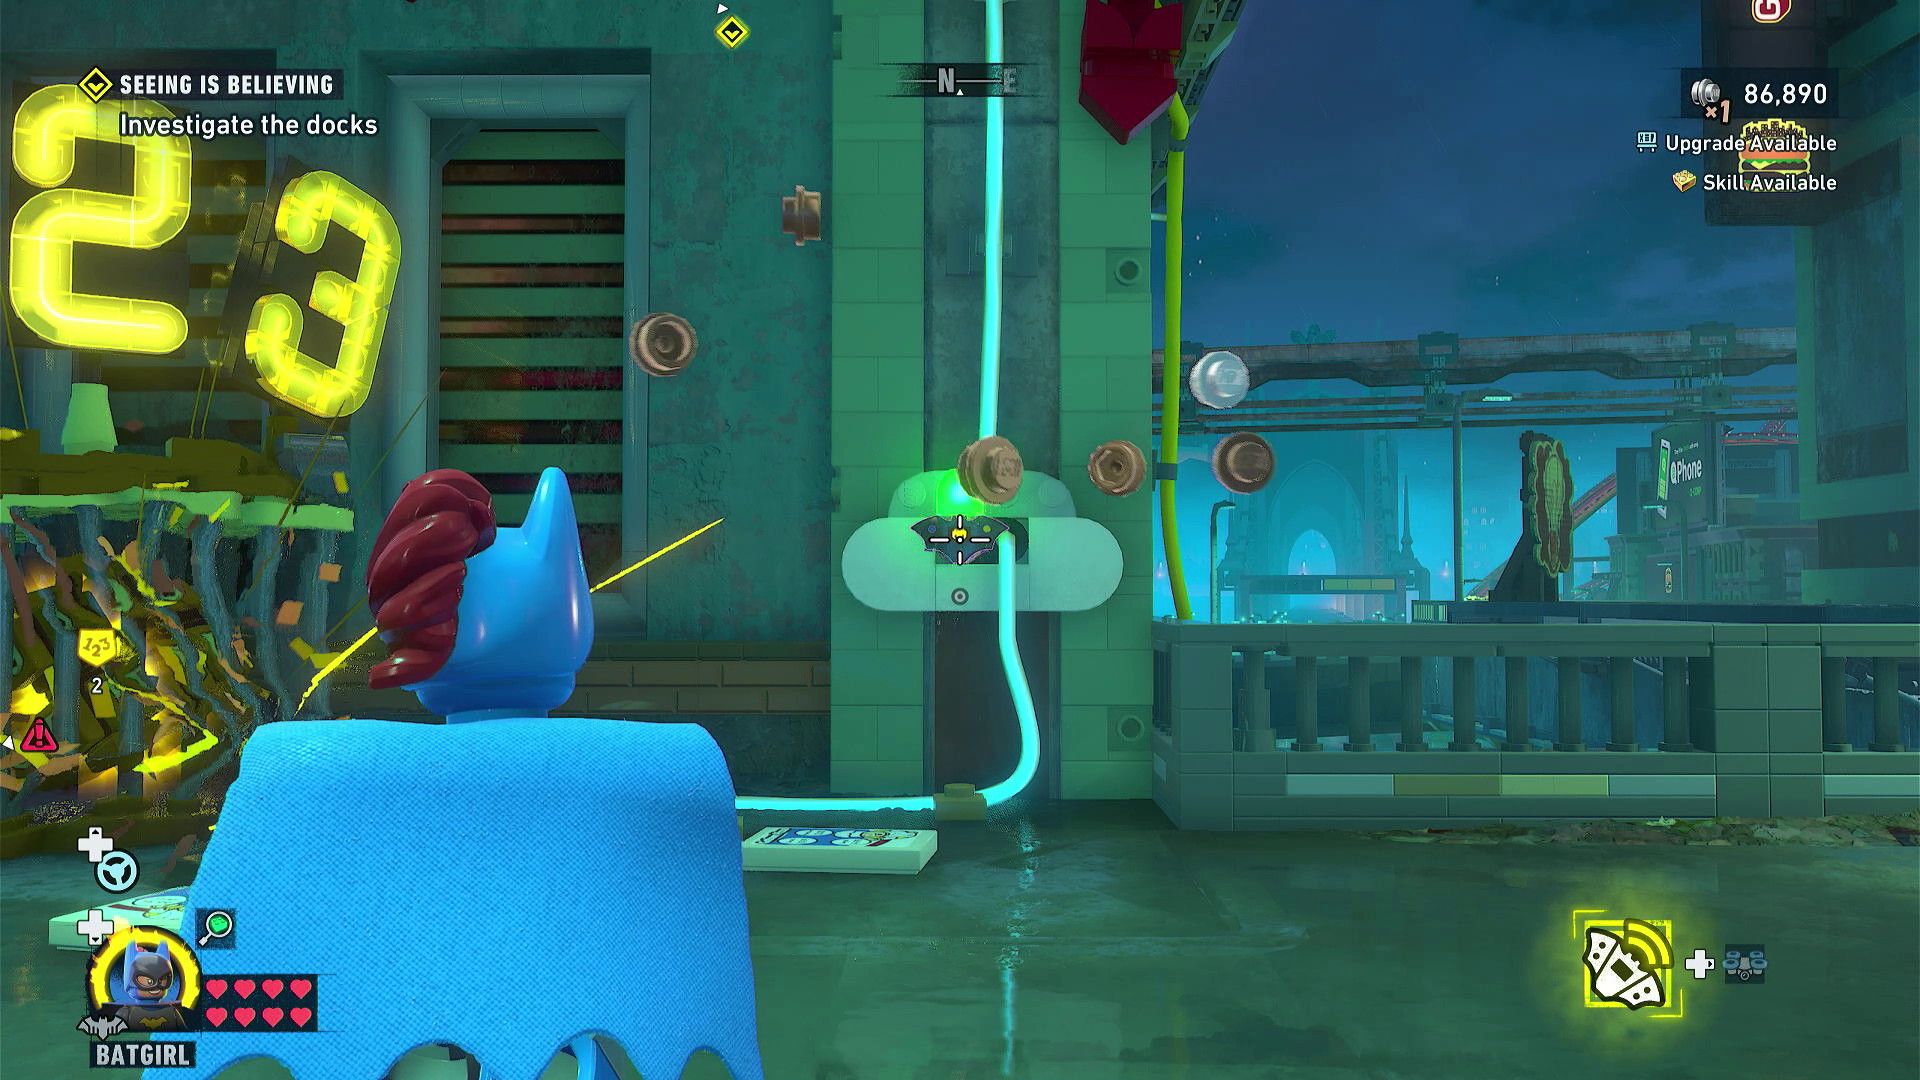
Once the device is turned on, watch the blue power flow through the wires. Shoot the targets to guide the power along the right route. When the power reaches the end, use Batgirl’s Hackarang to hack the node next to the cube, which will unlock the cage.
The Path of Least Resistance Cluemaster Puzzle Solution
- Coordinates: 399, 841
- Required Character: Any character
Head to the roof of the building located west of the puzzle. You’ll find three spotlights there. Flip the switch nearby to activate the buttons needed to solve the puzzle.
Shine the spotlights onto the buttons, adjusting each one to create a beam of light that connects them all. Then, follow the path of light, starting from the bottom-left button, to press the buttons in the right sequence and finish the puzzle.
Hang Out Cluemaster Puzzle Solution
- Coordinates: 420, 822
- Required Character: Any character
Smash the objects near the building entrance with the long sign. This will uncover a battery. Then, put the battery into the slot on the machine with the arm and chain.
After that, smash the box slightly to the northwest of the machine to find a gear. Put the gear into the machine with the chain, and then turn on the switch to lift the cage containing the cube.
Spoiler Sport Cluemaster Puzzle Solution
- Coordinates: 444, 876
- Required Character: Nightwing
Trace the wire running from the cage with the cube to where it plugs in. Then, turn right and you’ll see three big silver boxes mounted on the wall.
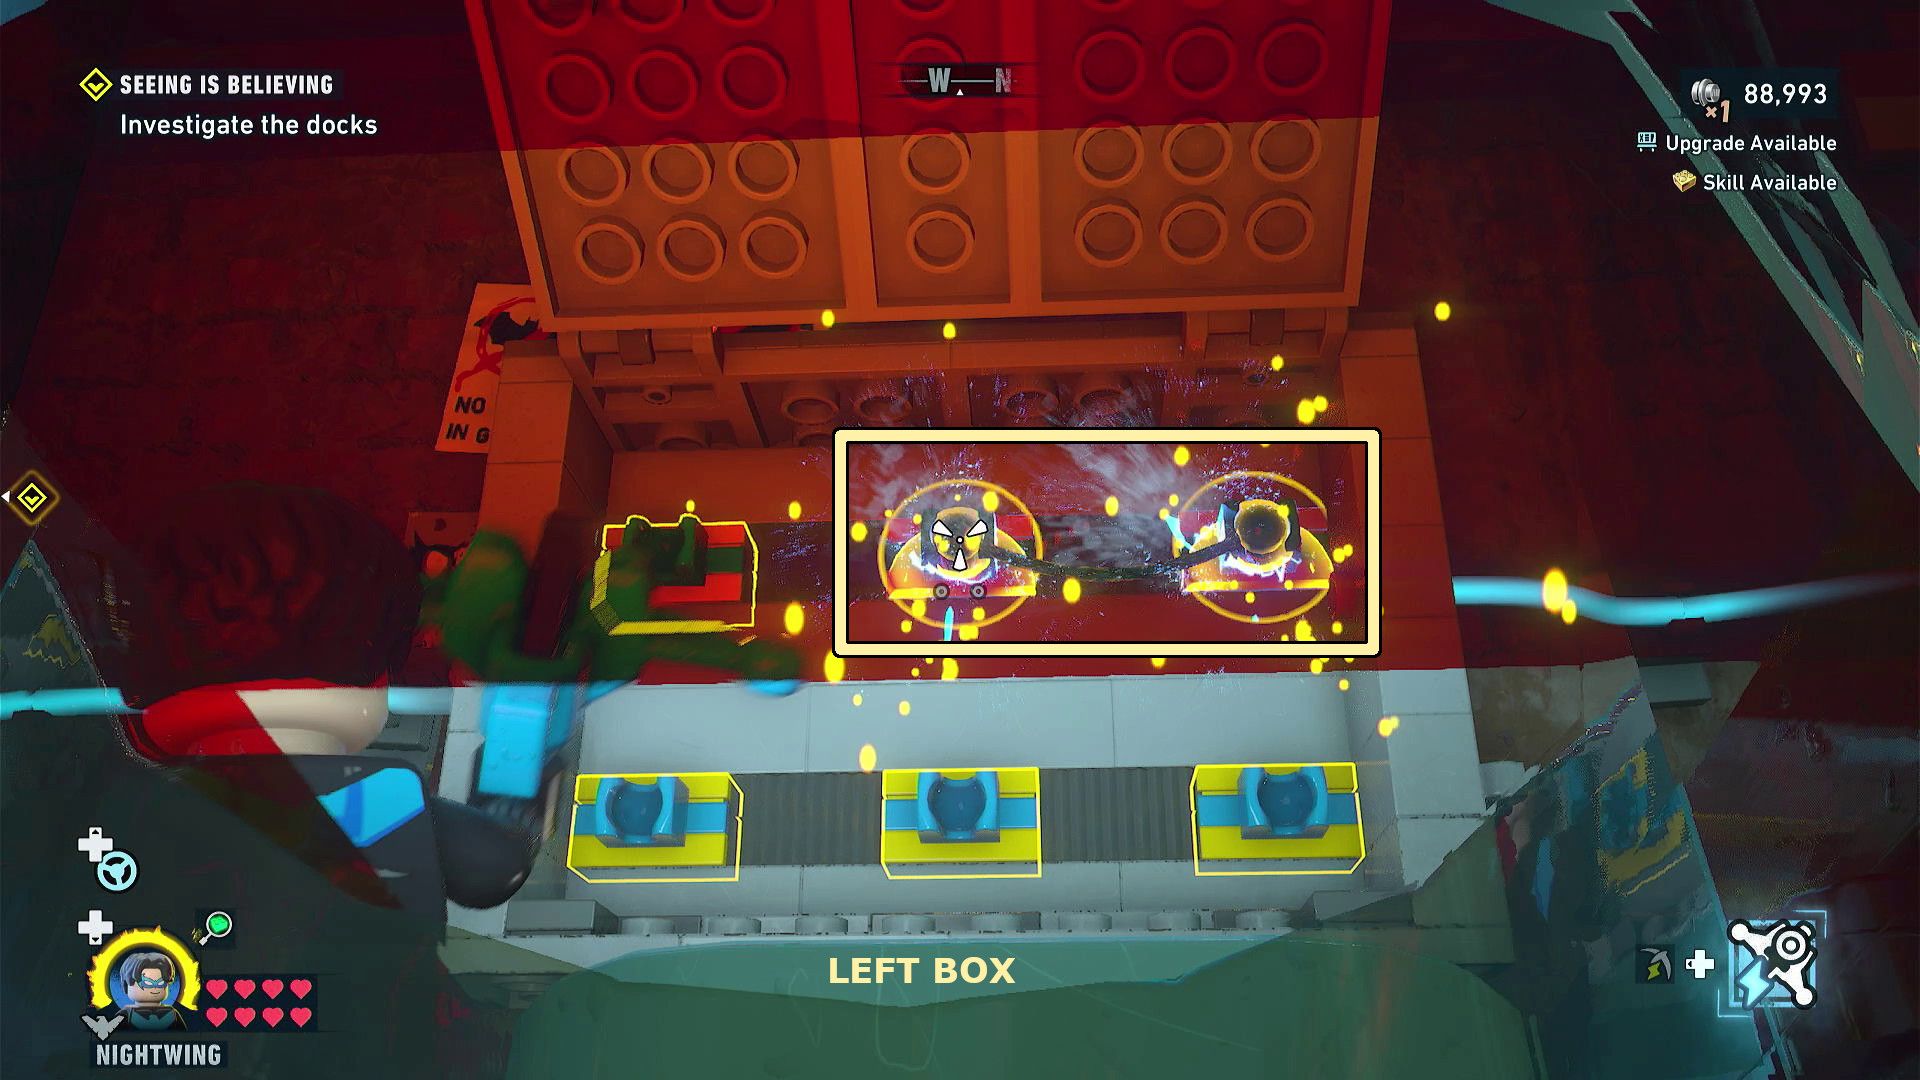
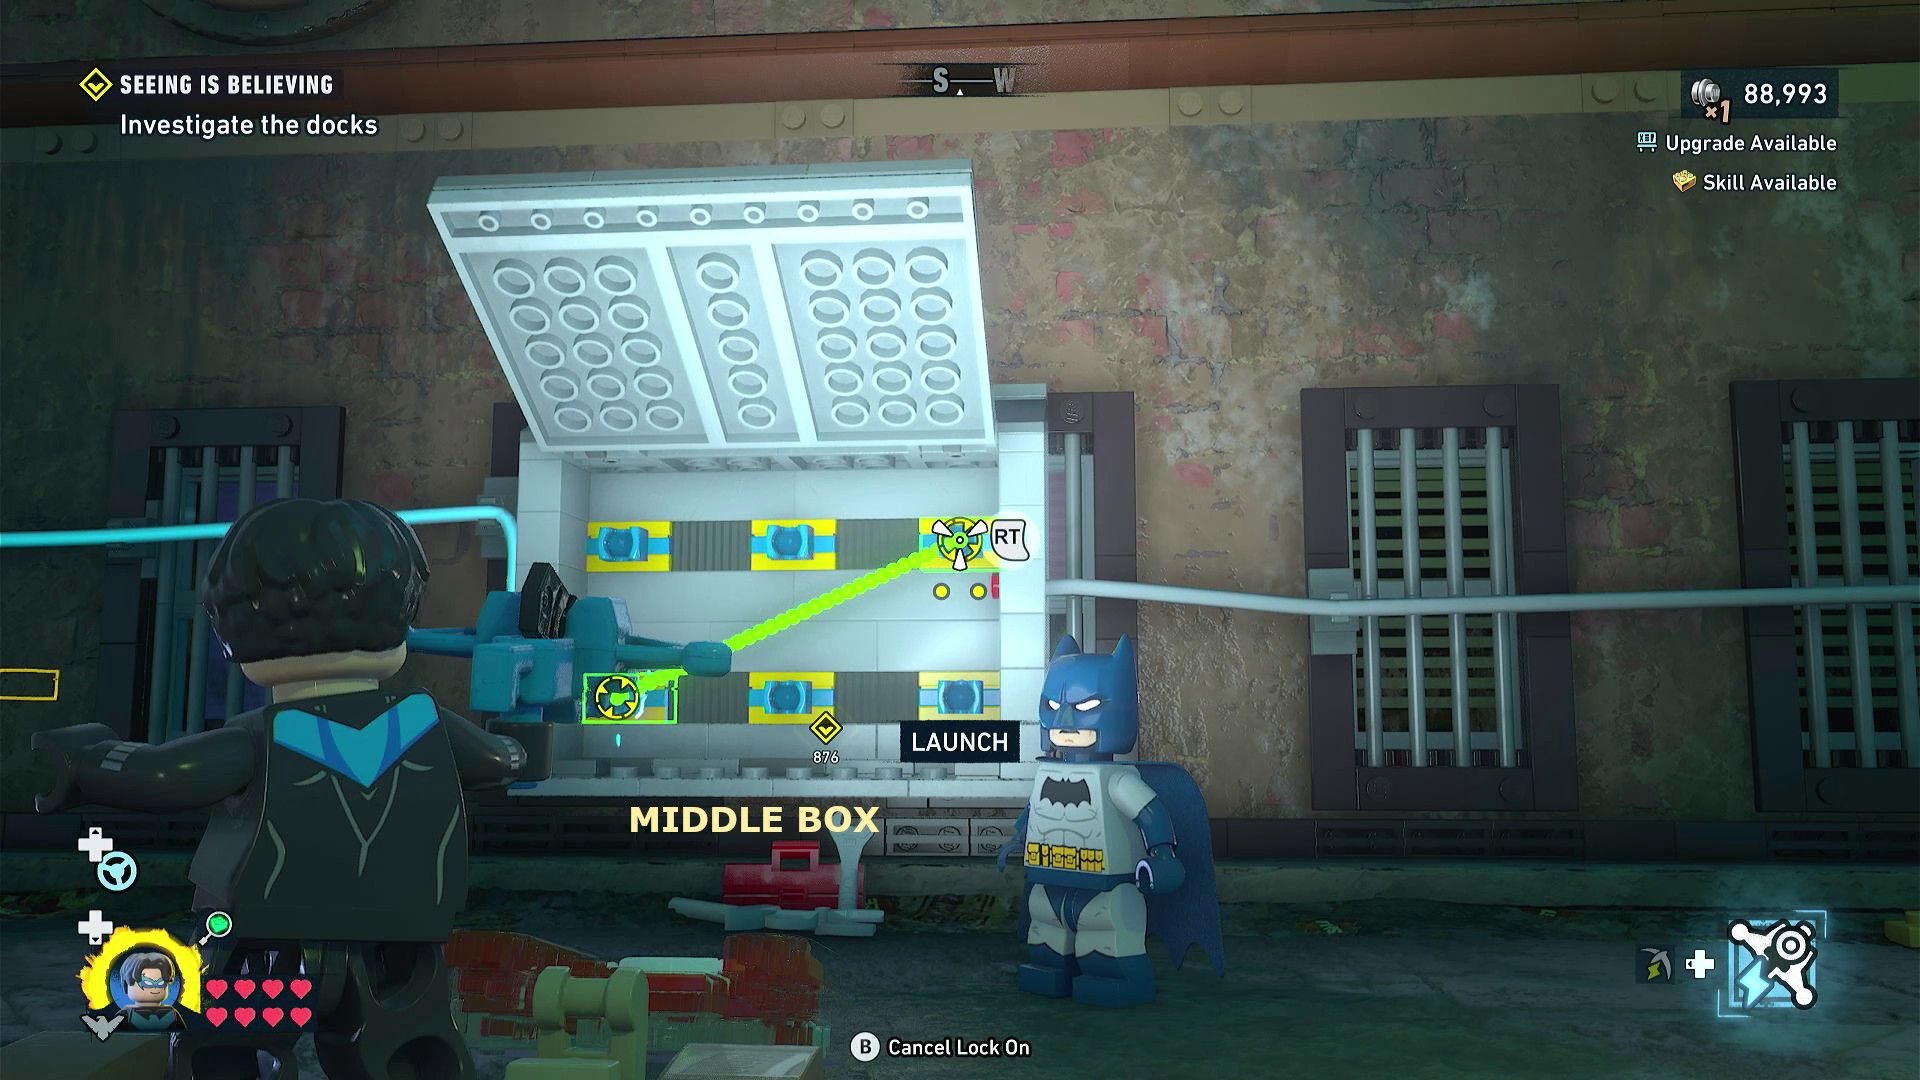
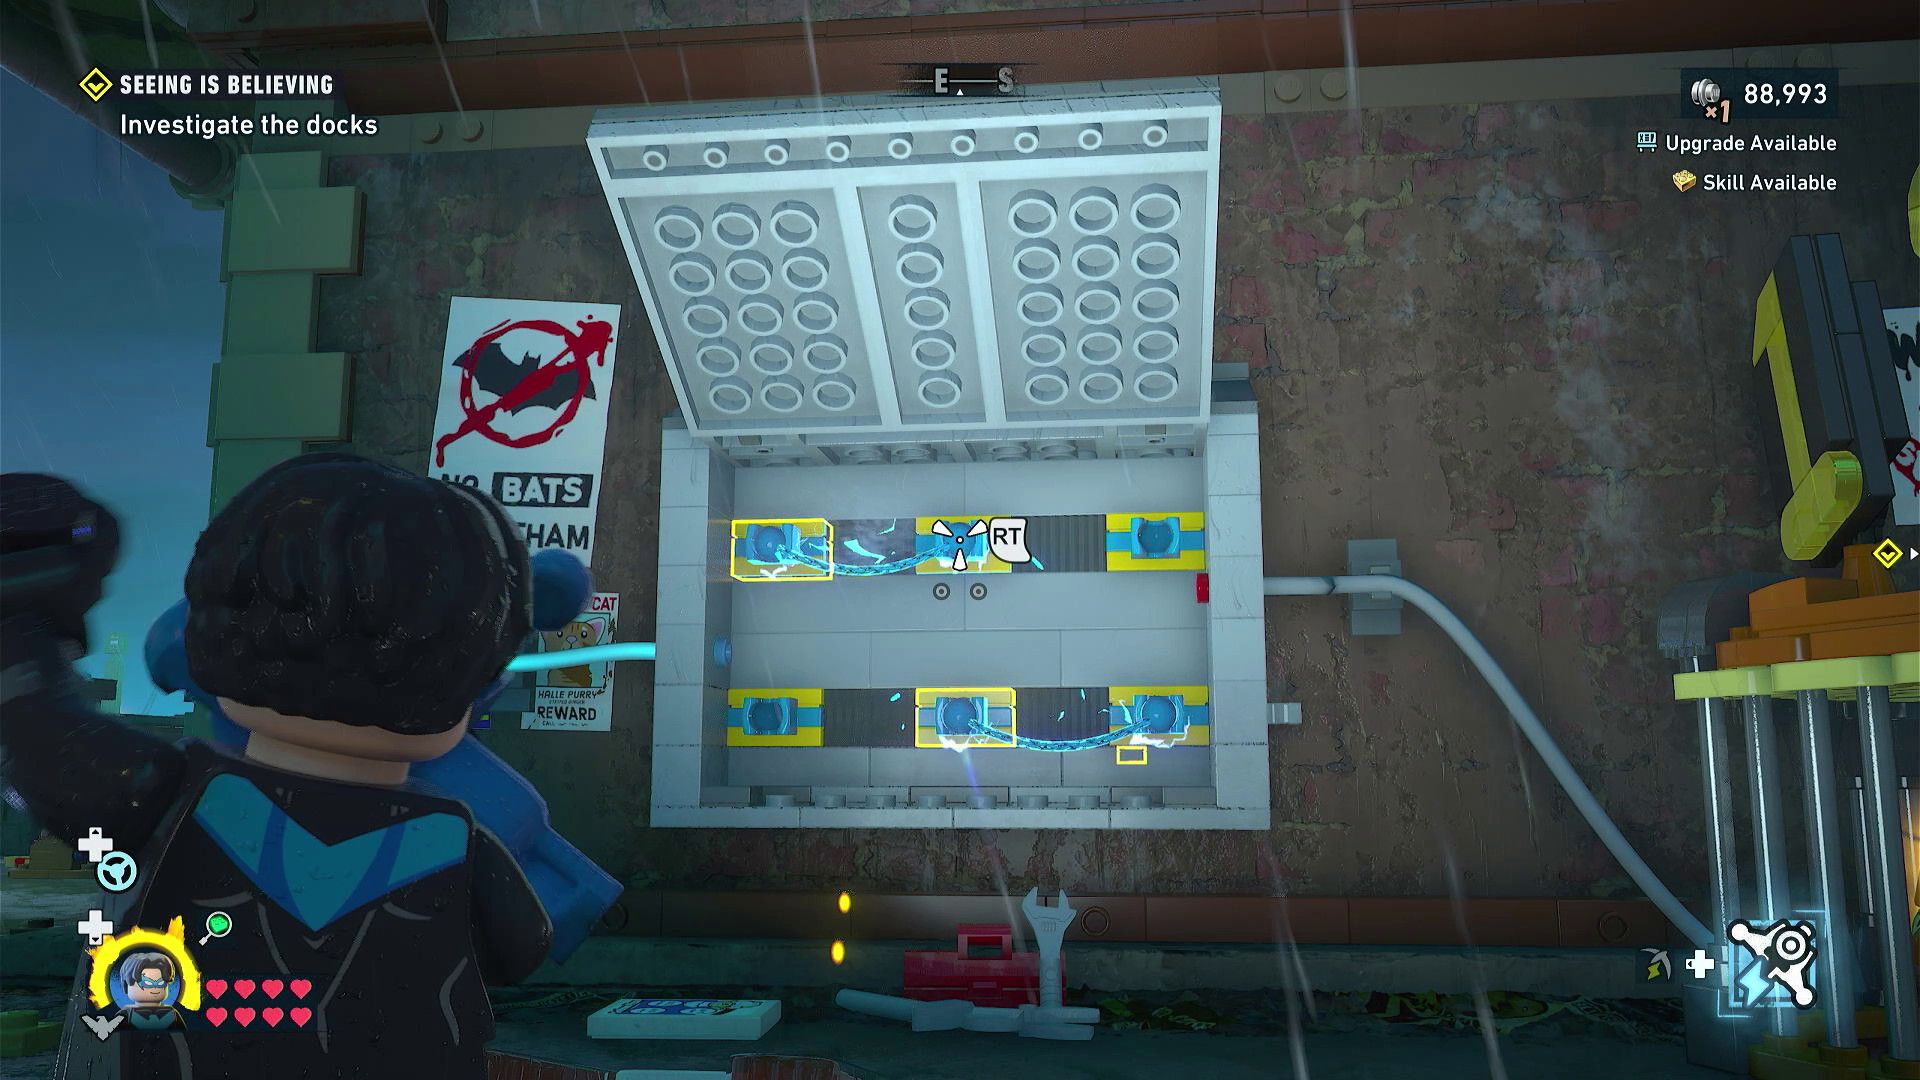
Imagine you have Batman’s X-ray vision – use it to see inside the boxes and find the points that need to be linked with Nightwing’s Electric Cable Launcher to power the cube. Step on the red button to open each silver box, make the connection, and do this for all three metal boxes.
Here are the connections you should make:
- Left box: Connect top-middle to top-right.
- Middle box: Connect bottom-left to top-right.
- Right box: Connect top-left to top-middle, then connect bottom-middle to bottom-right.
Clued In Cluemaster Puzzle Solution
- Coordinates: 357, 883
- Required Character: Batgirl
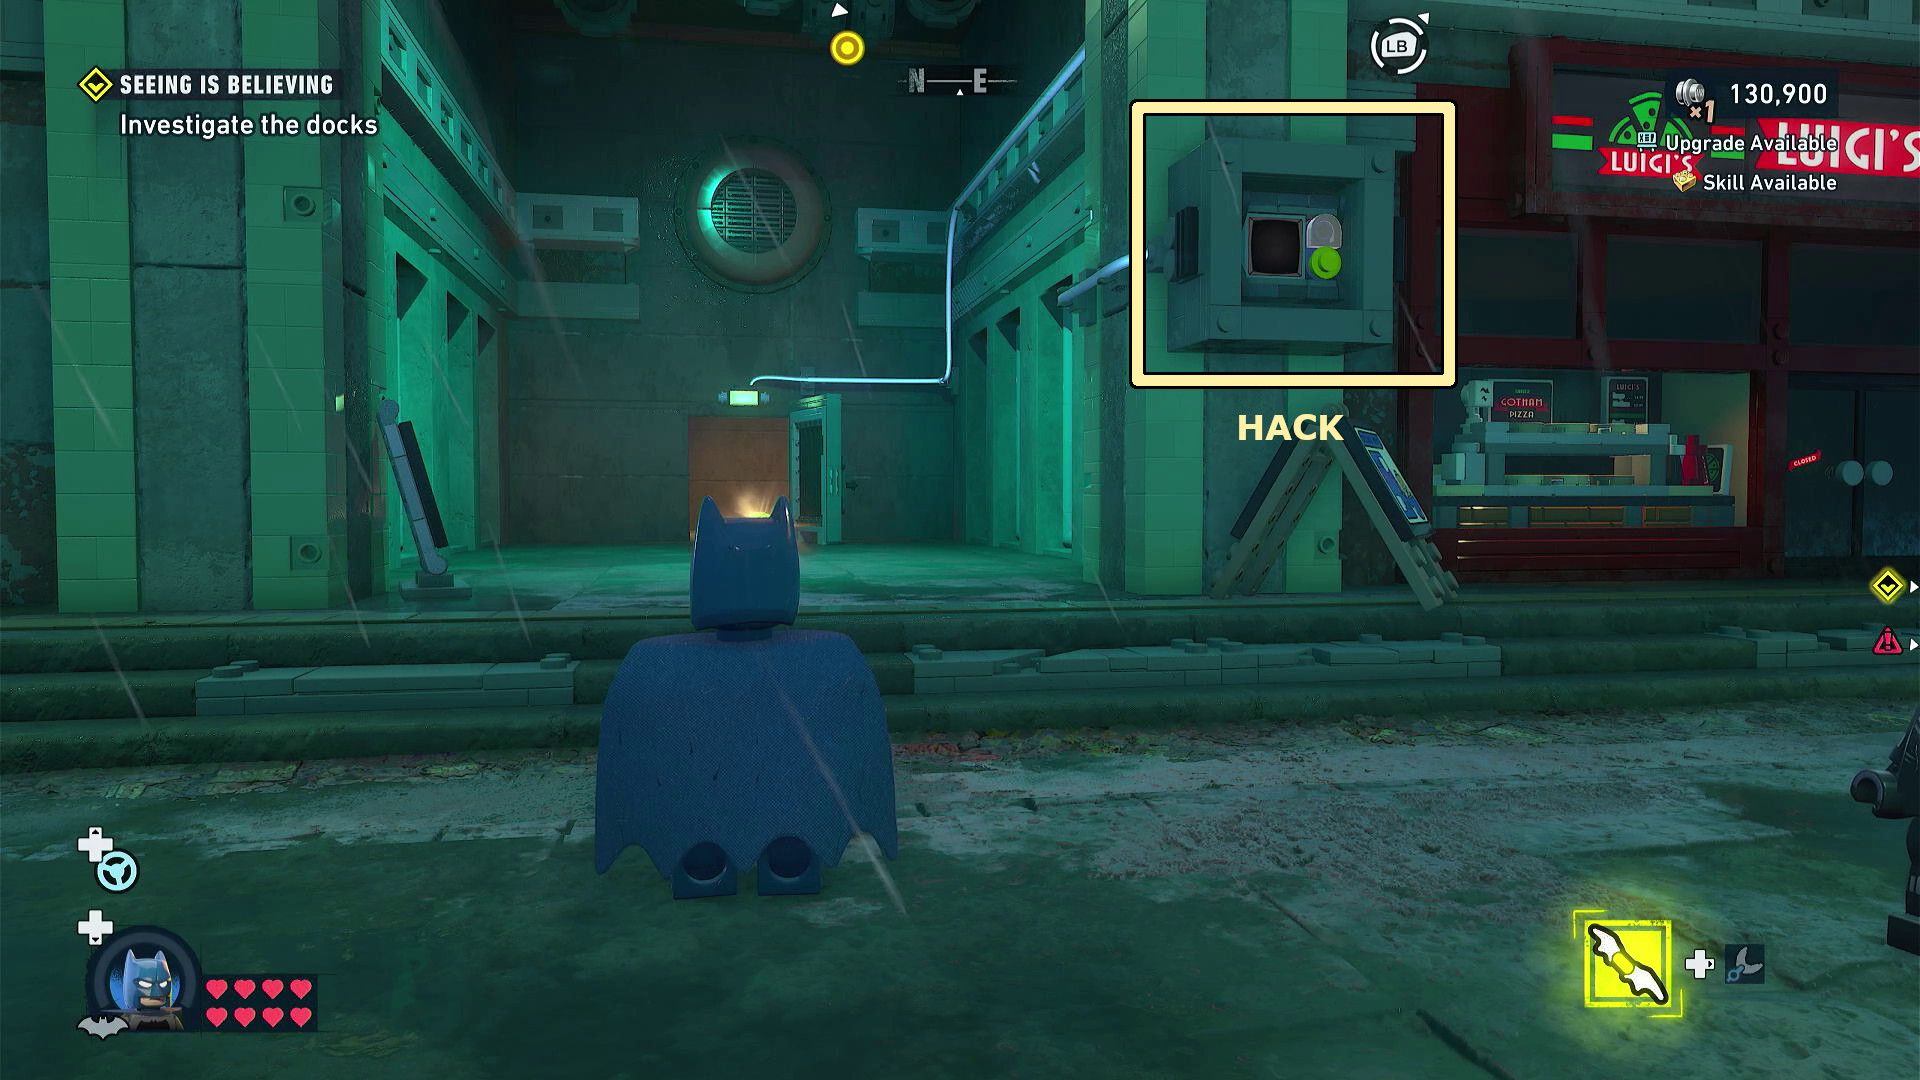
Find the wire connected to the gate that’s blocking the cube. Follow it to a silver panel and use the Batclaw to remove it. Then, use Batgirl’s Hackarang on the device you find underneath. Successfully complete the hacking sequence to unlock the gate and grab the cube.
Mazed and Confused Cluemaster Puzzle Room Solution
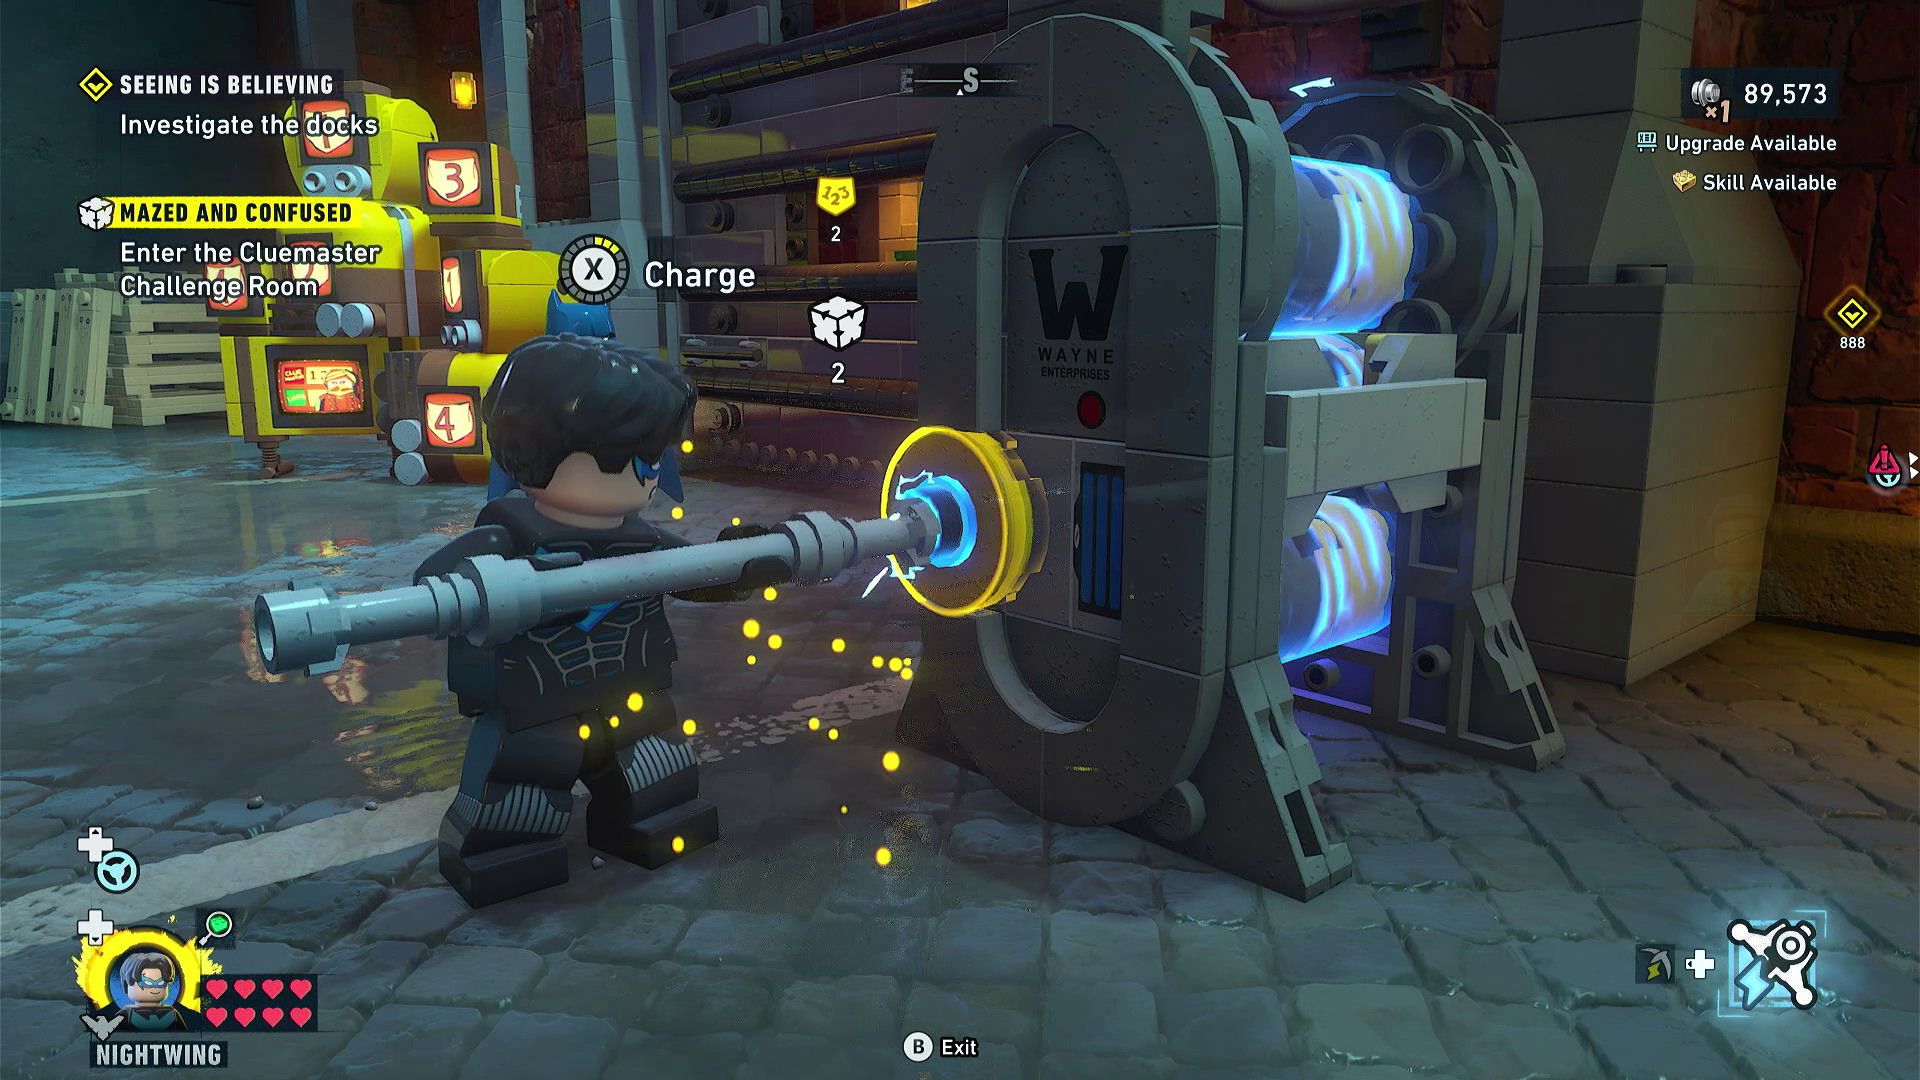
- Coordinates: Puzzle Room at 420, 900
- Required Characters: Nightwing, Batman
Okay, so to get into this room, you absolutely have to finish the previous five Cluemaster Puzzle Rooms first. If you don’t see “Mazed and Confused” showing up on your map, that means you still need to work on some more of those Cluemaster puzzles and rooms. Just go do those, then come back when it appears – it’ll unlock once you’re ready!
Once you’ve opened the Puzzle Room, have Nightwing power up the device by the front door. Then, go inside and follow these instructions to solve the puzzle:
Room 1 Solution
Go to the floor vent in the corner and follow the passage until you reach the end. Then, use Nightwing’s staff to move the device that controls the forklift’s forks, and pick up the tile on the east side.
Open the door to move into the next room. You’ll see a tile to the north and another to the east. While one person turns the wheel on the wall to lift the dock door, the other should push the crates that are nearby underneath it, holding it open.
Before leaving, use the Batclaw on the silver panel to grab the final south tile. Now that you have all the tiles needed for the first robot path puzzle, place them in this order – east, east, north, east, north, north – and then press the red button.
Room 2 Solution
Once you’ve solved the first puzzle, use the key you get to unlock the second room. Inside, you’ll see some tiles, but you’ll need to find a few more before you can complete the next puzzle.
Begin by using the Batclaw to pull down the silver panel on the wall, opening a small room. Then, switch to Nightwing to power up the device inside, which will start a conveyor belt in the main room and unlock a tile on the west side.
Now, use Nightwing’s Electric Cable Launcher to create a tightrope connecting the points above the two hooks on the side of the room with the conveyor belt. Then, grapple onto one of the hooks, climb onto the tightrope, and cross it to reach a higher platform that holds a west tile.
Once you’ve taken off the silver panel, use the tightrope on that side of the room to jump across to the higher platform with the last western tile. Now you have all the tiles needed for the second robot path puzzle. Place them in this order: south, west, south, west, west, north, west.
Do Towers Reveal East End Cluemaster Puzzles?
Turning on the East End tower will show you where to find collectibles and things to do in that area, like Cluemaster Puzzles. But simply finding a puzzle is only the first step – you’ll still need to figure out how to solve it!
For more on map-reveal towers, see our All Towers & How to Access Them guide.
Do East End Cluemaster Puzzles Count Toward 100% Completion?
To get the “A Watchful Collector” achievement and fully complete the game, you must solve all 11 of the Cluemaster Puzzles in the East End – Amusement Mile area.
More LEGO Batman Legacy of the Dark Knight Collectible Guides
Looking for more Gotham collectibles and puzzle solutions? Start with these guides:
- Collectibles Guide & Locations
- Newtown Cluemaster Puzzle Locations & Solutions
- Old Gotham North Cluemaster Puzzle Locations & Solutions
- Old Gotham South Cluemaster Puzzle Locations & Solutions
- The Cauldron South Cluemaster Puzzle Locations & Solutions
- The Cauldron North Ace Chemicals Cluemaster Puzzle Locations & Solutions
- Gotham Village Robinson Park Cluemaster Puzzle Locations & Solutions
Read More
- Forza Horizon 6: Find the Ohtani Treasure Chest Location
- LEGO Batman Legacy of the Dark Knight Batcave Minikits & WayneTech Caches
- NTE Drift Guide (& Best Car Mods for Drifting)
- Diablo 4 Best Loot Filter Codes
- USD RUB PREDICTION
- Boruto: Ikemoto Has Already Hinted At Sasuke’s New Eye After Return
- Deltarune Chapter 1 100% Walkthrough: Complete Guide to Secrets and Bosses
- Top 10 Must-Watch Isekai Anime on Crunchyroll Revealed!
- USD CNY PREDICTION
- Cookie Run Kingdom Timeline of Fate Update Guide
2026-05-26 22:41