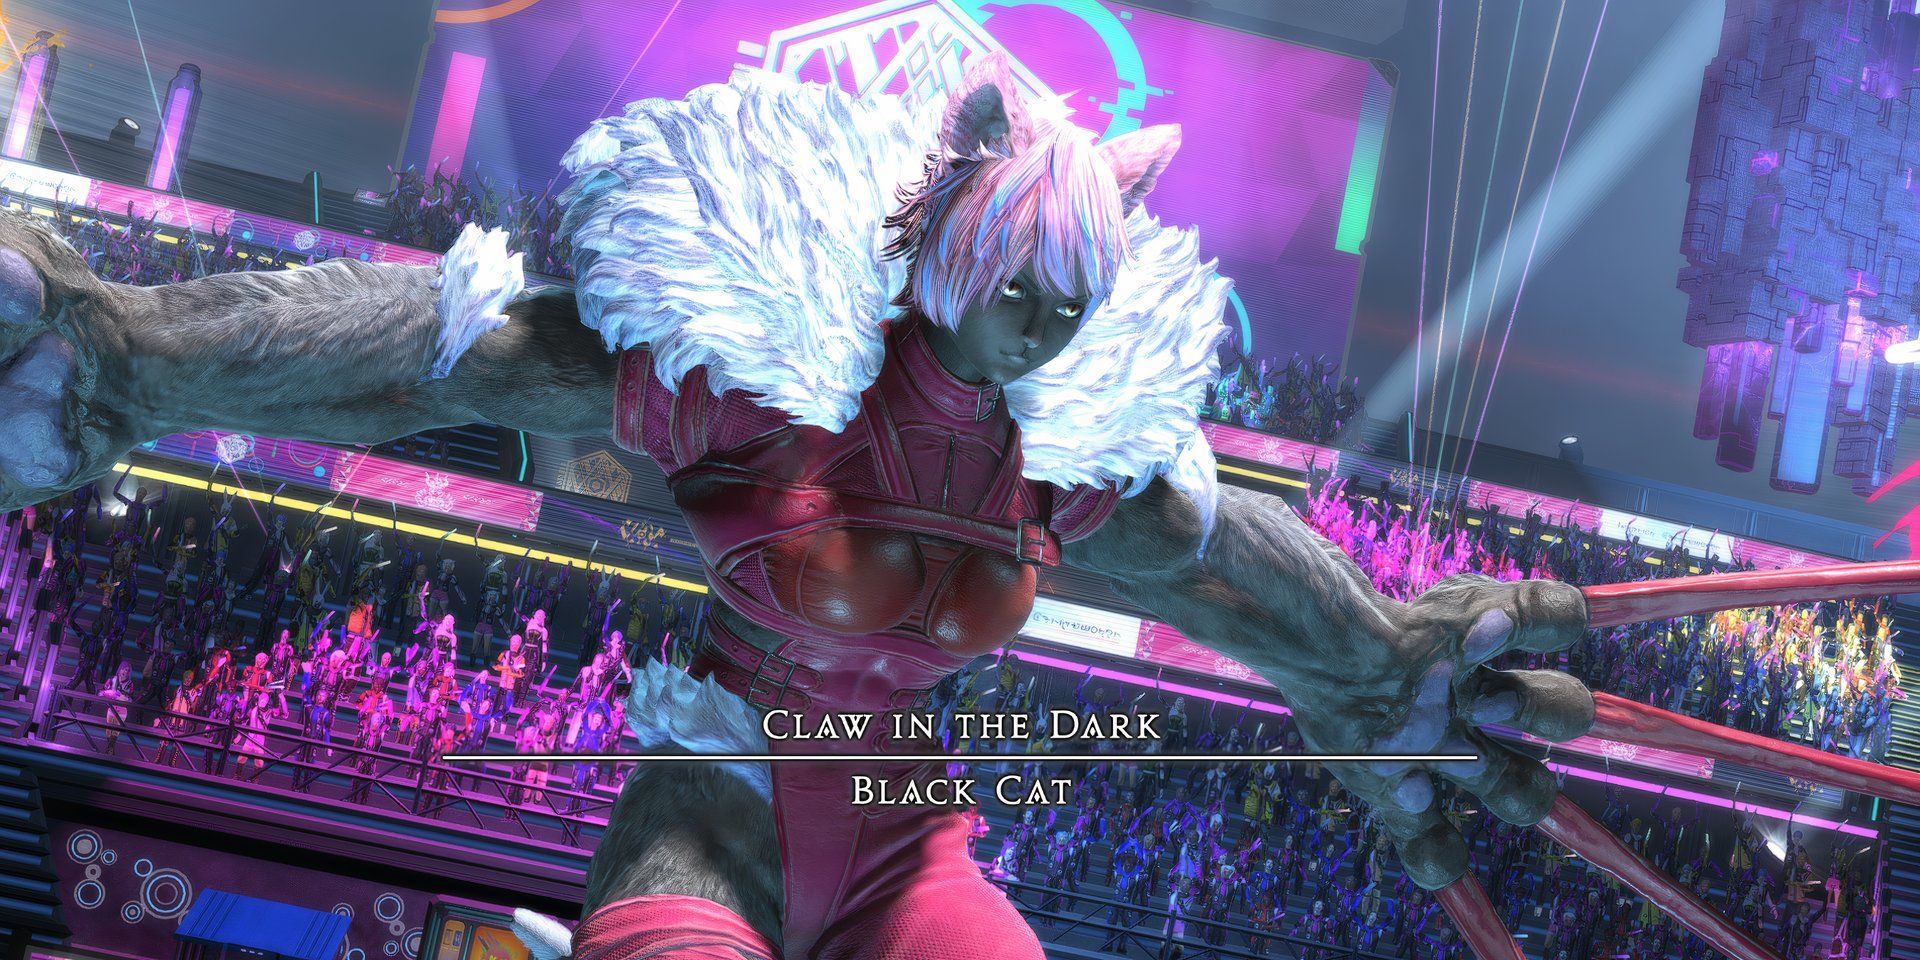
As a seasoned adventurer with countless battles under my belt, I can confidently say that the Black Cat encounter is one of the most intricate and challenging fights I’ve ever encountered. The sheer number of mechanics and their simultaneous execution make this feline foe a true test of coordination and communication among the party members.
In Final Fantasy 14, raids serve as a challenge for players to showcase their abilities against formidable bosses, with the potential to acquire some of the most potent gear in the game. These challenges come in various levels, including Normal Raids and Alliance Raids, which are designed for newcomers to end-game content and can be successfully completed even by first-timers. However, Extreme Trials and Savage Raids are significantly more demanding, requiring players to master the bosses’ attack patterns and mechanics in order to emerge victorious.
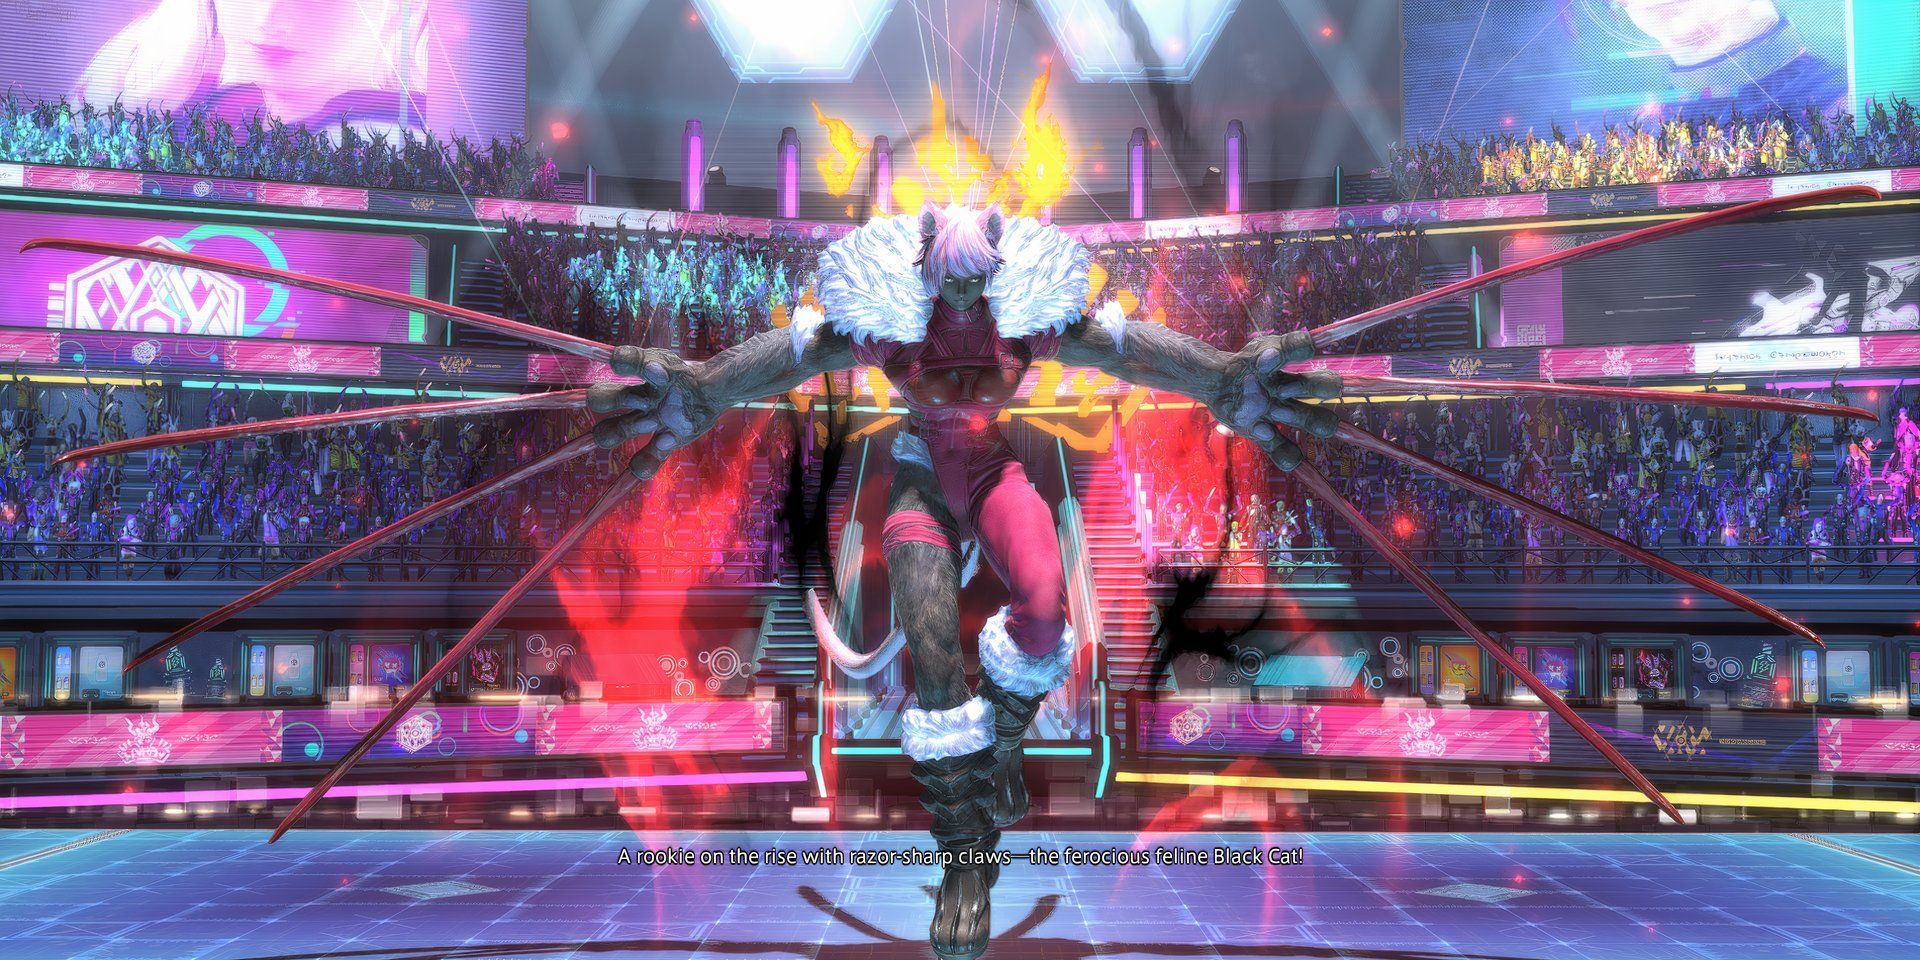
Introduced in patch 7.05 is the Arcadion Light-heavyweight Savage series of raids, a new addition for players in the Dawntrail expansion. These high-difficulty boss fights offer the first taste of end-game combat and the chance to acquire gear from the Dark Horse Champion set, with item levels ranging from 730 to 735. Until the release of patch 7.2, these items will be the highest level available, often making them key components in top-tier gear sets for various classes. Players eager to prove their skills can find tips on defeating the first boss, Black Cat, detailed below.
Black Cat (Savage) Party Setup
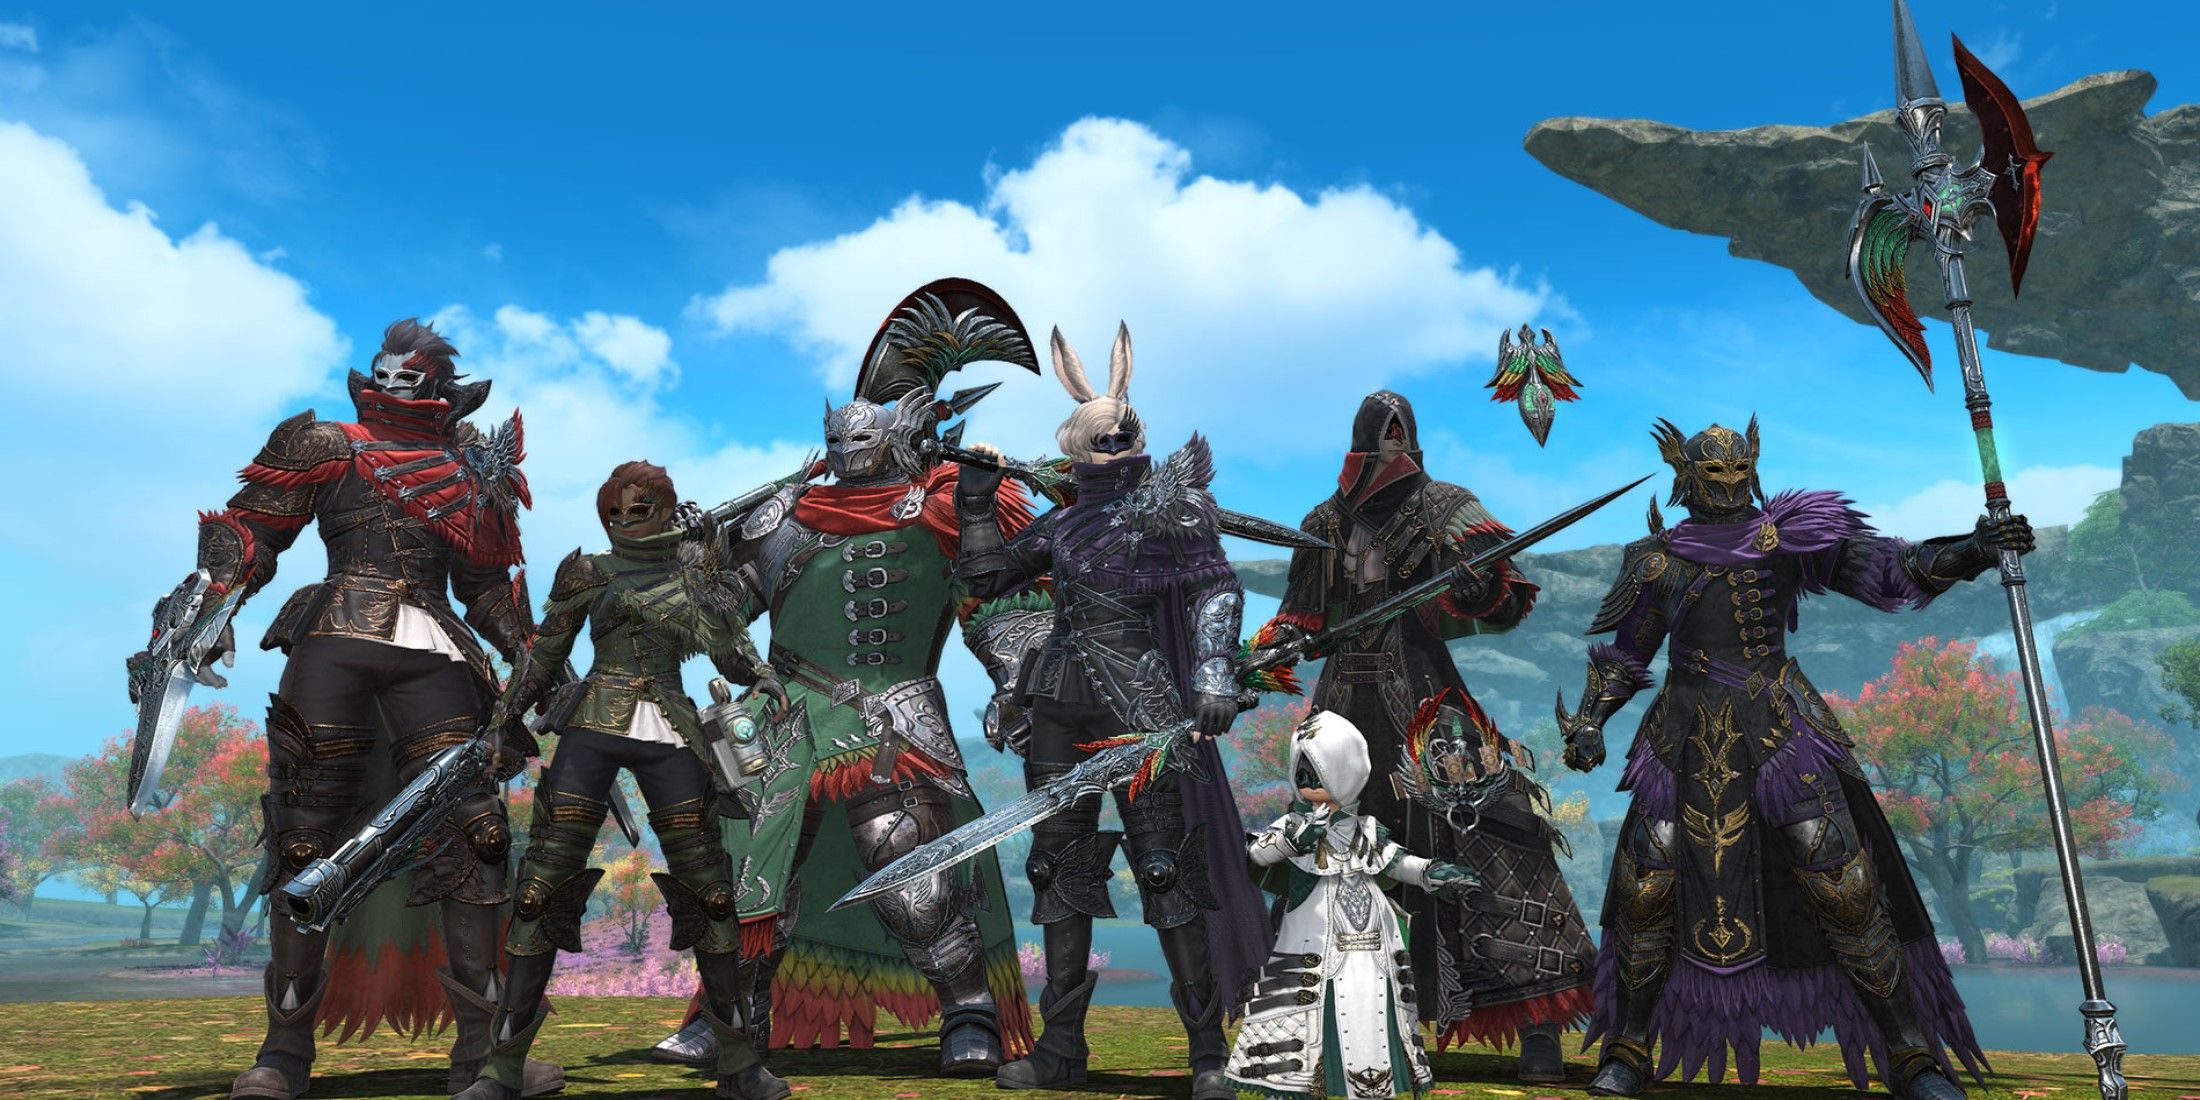
As a gamer about to take on Black Cat’s boss battle, here’s what I suggest we do first: Let’s designate specific positions around the boss, using cardinal or intercardinal directions (like north, northeast, etc.). Each DPS player should partner with either a tank or healer. This way, we can create two groups, each consisting of one tank, one healer, and two DPS players (often called “light parties”). These positions, partners, and groups will play a crucial role in countering some of Black Cat’s attacks, so it’s essential that we get comfortable with them before the fight starts.
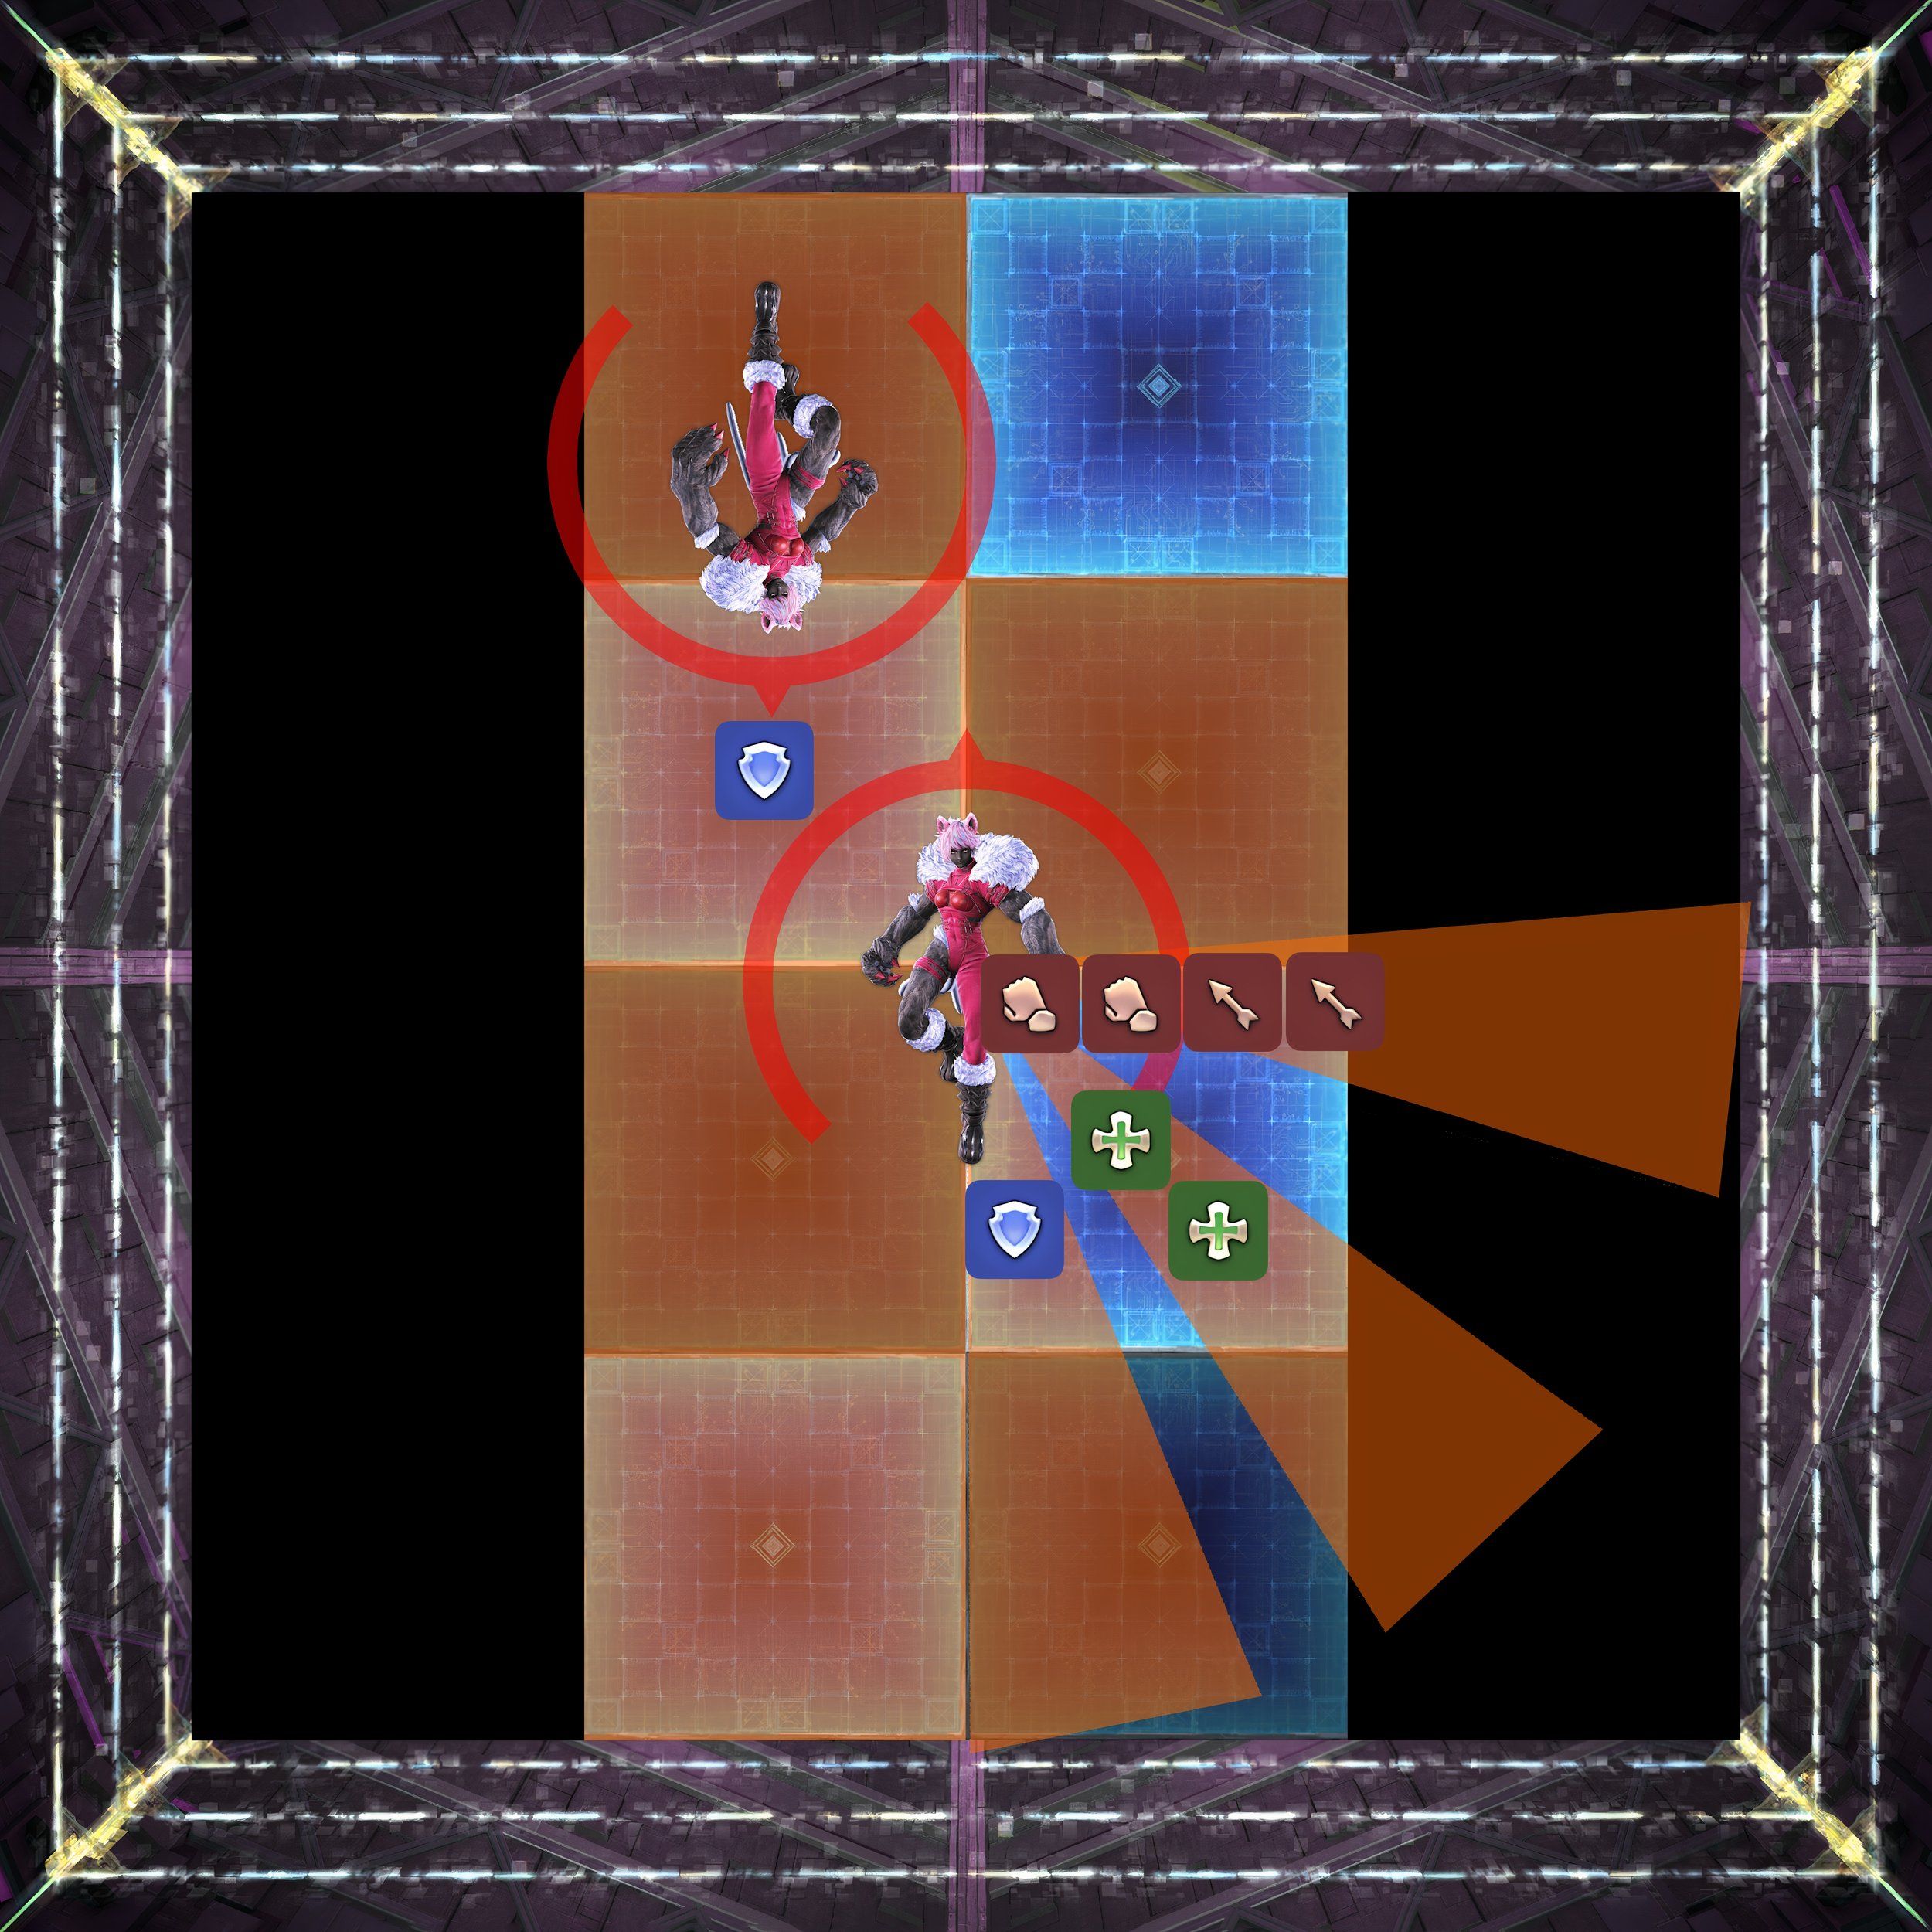
Black Cat Introduction: Quadruple Crossing
As a devoted fan, I’d express it like this: “Kicking off the battle, Black Cat unleashes Quadruple Crossing, a sweeping attack that fans out into four zones. The initial duo of waves are directed at the four combatants nearest to me, diminishing their Slashing Resistance and dealing severe damage to those unfortunate souls who endure successive blows. The final two waves follow suit, striking in the same zones regardless of our positions.”
To optimize this situation, teams ought to station tanks and healers near Black Cat to lure the initial wave of Conal Area of Effects (AoEs) towards the cardinal directions (north, south, east, west). Once the first wave of AoEs has been triggered, other DPS players should take turns with their assigned partners to lure the subsequent waves of AoEs in the same positions. Meanwhile, tanks and healers should retreat diagonally from the boss to dodge being hit again by the second wave.
Following the Quadruple Crossing, Black Cat will employ Biscuit Maker, a powerful single-target attack often known as a tank buster. This attack reduces Slashing Resistance temporarily and strikes twice. To endure this, tanks can either activate their Provoke ability during the casting time of Biscuit Maker, ensuring the two hits land on separate targets, or utilize an invulnerability cooldown to withstand both attacks (Hallowed Ground for Paladins, Holmgang for Warriors, Living Dead for Dark Knights, or Supebolide for Gunbreakers).
Black Cat Phase 1: Nine Lives/Soulshade 1
In the initial gameplay feature, Black Cat presents Nine Lives, which empowers her with a special boost. This boost keeps track of the upcoming attack she’ll perform. When the enemy casts Soulshade, multiple copies of the enemy are generated. These duplicates will later mimic and execute the stored attack that Black Cat was about to perform.
In the initial encounter with Nine Lives, it’s followed by a move called One-two Paw, where the character strikes the left and right sides of the arena in a specific sequence identical to how Black Cat raises her hands. Immediately after One-two Paw, the boss will conjure two duplicates who will perform their own version of One-two Paw. These copies will be positioned differently, so players must figure out which part of the arena is safe from both clones simultaneously. If players successfully dodge the initial strike from the Soulshades, they can avoid the subsequent strike by moving to a location mirror opposite of their original safe position.
While battling the Soulshades, Black Cat will initiate a second round of Nine Lives, followed by either a Double Swipe or Quadruple Swipe. These area-of-effect attacks necessitate players to distribute the damage among multiple parties. In the case of Double Swipe, players should divide into two groups and position themselves on the left and right sides of the boss. For Quadruple Swipe, players should split into four groups, forming their 2-person partner teams before the fight, usually on the four diagonal corners of the boss. Shortly after, a new Soulshade will arise to reenact this same sequence of attacks.
Ultimately, the leader will perform a Leaping Quadruple Crossing maneuver, appearing at the designated spot on the ground instantly followed by another Quadruple Crossing. To properly lure out this attack, players should be prepared to move around the purple arrow marker. Once the Quadruple Crossing is initiated, they must dodge subsequent strikes while also coordinating into Double Swipe or Quadruple Swipe groups as earlier. The Soulshade doppelganger will follow up with its copied action once the final hit of Quadruple Crossing lands. The battle concludes when the boss casts Bloody Scratch, a powerful attack that affects the entire team. In response, players must swiftly recover their health and defend themselves using abilities like Reprisal, Feint, or Addle.
Black Cat Phase 2: Mouser/Copycat 1
In Black Cat’s combat, the second significant feature involves her and Mouser damaging sections of the battlefield. When these floor squares are struck twice, they break instantly, eliminating any players standing on them at that moment. The final layout of the arena, following Mouser’s actions, will always form a zigzag pattern either vertically or horizontally through the center, allowing easier tracking of the AoEs by focusing on the four central tiles alone. Once the ring is destroyed, Black Cat uses her Copycat ability to generate a duplicate of herself, while simultaneously repairing part of the arena.
Immediately following the summoning of the Copycat duplicate, it selects a random player to attack using abilities called Elevate and Eviscerate. Depending on the stance of the clone (either standing or crouching), a marker will appear above the chosen target’s head. This marked player will be lifted into the air, causing an X-shaped area-of-effect to emanate from the tile they were standing on. Any players hit by this effect will be pushed out of the arena.
To consistently end up on the same tile after being pushed, position yourself at one of the tile’s corners and face the opposite corner.
Following the initial phase, repair work will commence across the entire arena, starting from two opposite sides. Simultaneously, Black Cat will unleash Shockwave, pushing everyone back. This will be swiftly followed by Grimalkin Gale, placing Area of Effect (AoE) zones on all players. To withstand the pushback, it’s essential to move towards the repair sites at the corners first before dispersing to avoid colliding with other players due to Grimalkin Gale. A practical strategy would be to regroup into the light party formations used earlier, with each light party targeting a distinct corner. Once pushed back, melee characters can position themselves around the boss, while ranged characters can scatter around the corners they were pushed towards.
Black Cat Phase 3: Nine Lives/Soulshade 2

Following the completion of repairs at the arena, Black Cat will proceed to the next stage. First, she’ll use her ability Nine Lives to replicate Leaping One-two Paw, and then another use of Nine Lives for Leaping Quadruple Crossing. The leaping versions of these attacks function similarly to their standard counterparts, but Black Cat will swiftly dash towards the marked spot before performing the move. As always, players should be prepared to reposition themselves to avoid the mechanic. Additionally, when Black Cat activates Soulshade, it’s crucial for players to recall not only the attack being recorded, but also the direction of the leap and which clone stores which attack.
Once both clones are generated, one of them will randomly become active to perform its pre-stored action, jumping in the direction the boss previously moved. As the clones carry out their attacks, Black Cat will simultaneously launch an extra attack. When the Leaping One-two Paw Soulshade is activated, Black Cat will unleash Tempestuous Tear, creating two lines of Area of Effect (AoE) on the healers that need to be distributed among their light parties for survival. This ability coincides with the initial strike of One-two Paw.
As the Leaping Quadruple Crossing Soulshade is activated, Black Cat will use Nailchipper, marking all Damage Dealers or Tanks and Healers. These marked players should expect an explosion in a designated area after a certain time has passed. If two or more explosions hit a player simultaneously, they will be killed.
As a seasoned MMORPG player with years of experience under my belt, I’ve learned a trick or two to master even the most challenging boss encounters. One such tactic that has proven invaluable is strategically positioning tanks to move the boss to the spot where clones will appear, thereby giving our party an edge in anticipating the next mechanic. This not only saves us precious seconds but also allows us to keep attacking the boss while the mechanics unfold.
Black Cat Phase 4: Mouser/Copycat 2
Following the attacks by both Soulshade duplicates, Black Cat will move back to the arena’s center to use Mouser once more. The ensuing phase mirrors the previous Mouser/Copycat phase with a few modifications. Copycat will either target all damage dealers (DPS) or all tanks and healers with Elevate and Eviscerate, choosing the opposite group from the last phase. Concurrently, one of two new abilities, either Overshadow or Splintering Nails, will strike the remaining 7 players along with Elevate and Eviscerate.
Following the use of abilities Elevate and Eviscerate on four characters, the game will then feature a tank-busting move from Biscuit Maker. Afterward, Shockwave and Grimalkin Gale will be employed, with the arena being repaired in between these actions.
Black Cat Phase 5: Raining Cats

In the climactic phase of our battle, titled “Raining Cats,” there are several simultaneous elements at play. I, as a player, will find myself tethered to another combatant. Should I manage to seize this tether, I can swap targets and inflict significant damage on them in a cone-shaped Area of Effect (AoE), along with applying a 20-second Slashing Resistance Down debuff. This debilitating effect makes it challenging for the targeted player to endure more than one tether hit.
Simultaneously as conal Area of Effects (AoEs) are launched, the Black Cat will aim for both the nearest and furthest player using a small AoE that distributes damage among all targets hit. This AoE also inflicts a brief Magic Vulnerability Up debuff, dealing significant damage to anyone struck by two of these AoEs at once. To avoid this, the six players not currently connected to a tether should divide into two groups of three players each. One group should position themselves as the closest players to the boss, while the other group should maintain their distance and be the furthest from the boss.
In most cases, managing this mechanic involves arranging a sequence of roles for players: healers first, followed by ranged DPS, then tanks, and finally melee DPS. The rest of the players should position themselves either east or west from the boss. One team of players should stand very near the boss to lure the close Raining Cat AoE, while another group stays at a distance (about three yalms) to draw the far Raining Cat AoE. Meanwhile, those connected by the tether should stay within Black Cat’s target ring to dodge both AoEs.
One approach to streamlining the Raining Cats mechanic could involve making sure that both tanks have their invincibility timers ready, utilizing them to ensure the tanks endure three out of the four tethered cone AoEs. This can be achieved by executing the mechanic as usual for the initial set of AoEs, then having tank players switch positions to secure the tethers. The tanks should take the first tethered AOE hit as normal, and subsequently use their invincibility abilities to endure the subsequent second and third hits.
If the maneuver “Raining Cats” is successfully completed, it triggers Black Cat’s last attack known as “Mouser”. This marks the start of the boss’s enrage phase, which is a time limit within which players must defeat the boss. The final Mouser attack eventually covers every square in the arena, leaving no safe space for players to carry on the battle once it has been fully executed.
Read More
- SOL PREDICTION. SOL cryptocurrency
- LUNC PREDICTION. LUNC cryptocurrency
- ENA PREDICTION. ENA cryptocurrency
- BTC PREDICTION. BTC cryptocurrency
- USD ZAR PREDICTION
- USD PHP PREDICTION
- SHIB PREDICTION. SHIB cryptocurrency
- Red Dead Redemption: Undead Nightmare – Where To Find Sasquatch
- USD COP PREDICTION
- Top gainers and losers
2024-08-07 05:06