As a seasoned adventurer with countless battles under my belt, I must say, Honey B. Lovely is a formidable foe indeed! Her intricate mechanics and relentless onslaught have left many a brave heart quivering in fear. But fear not, for I shall guide you through her final dance.
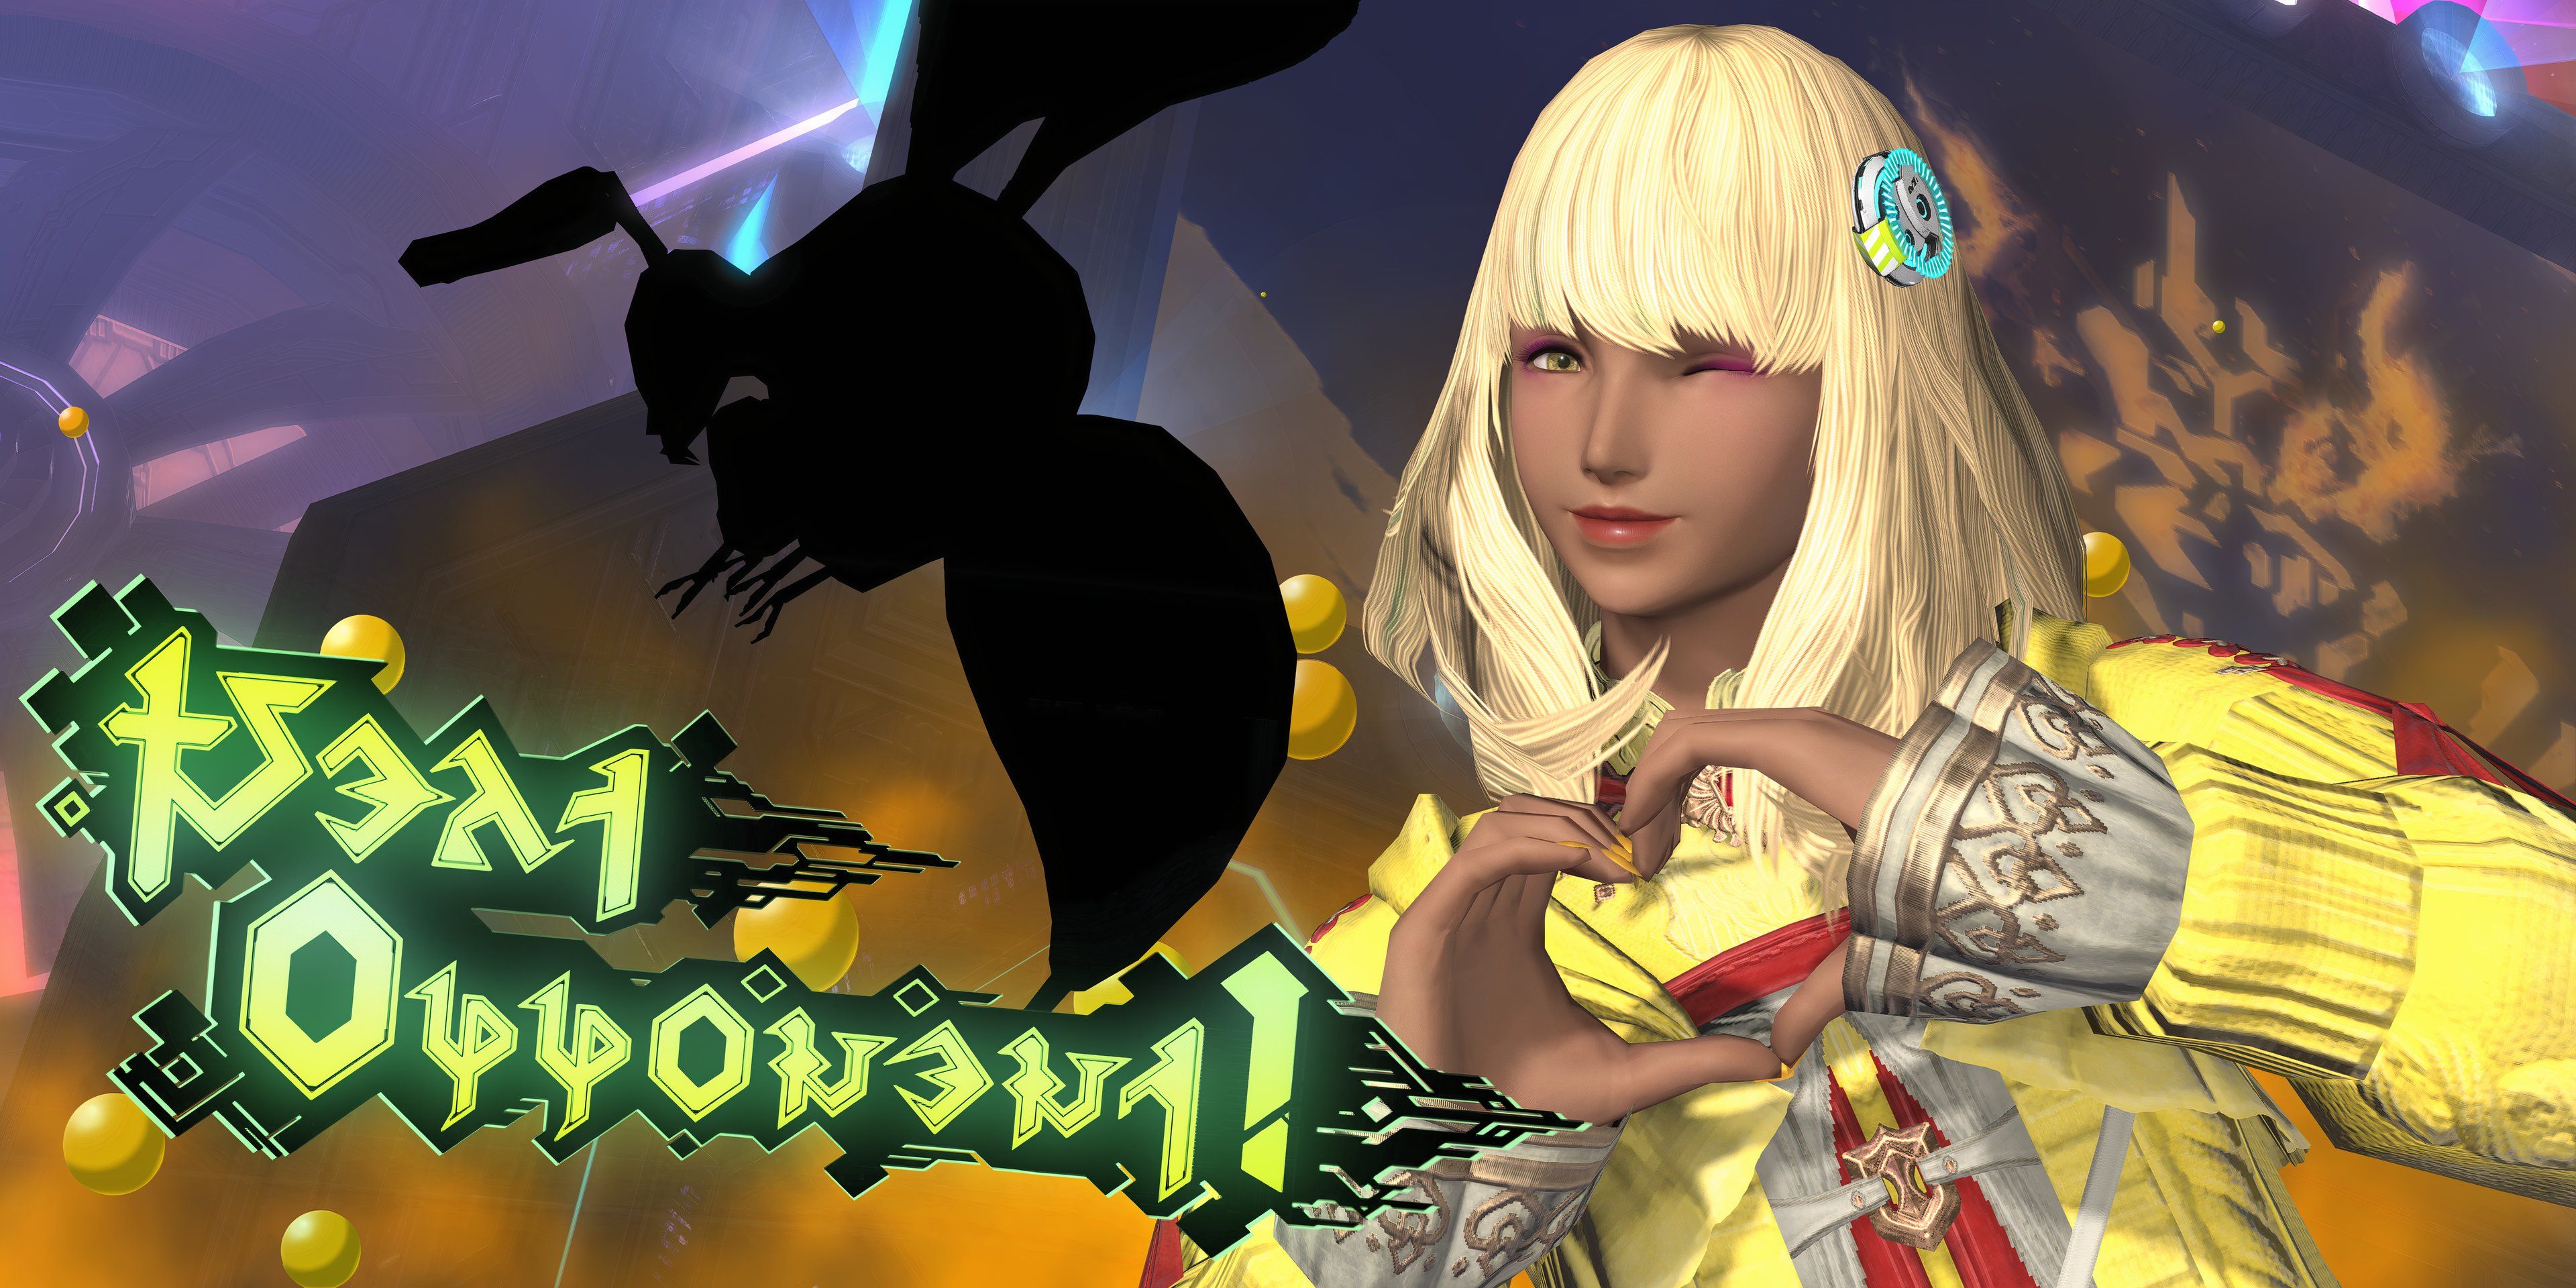
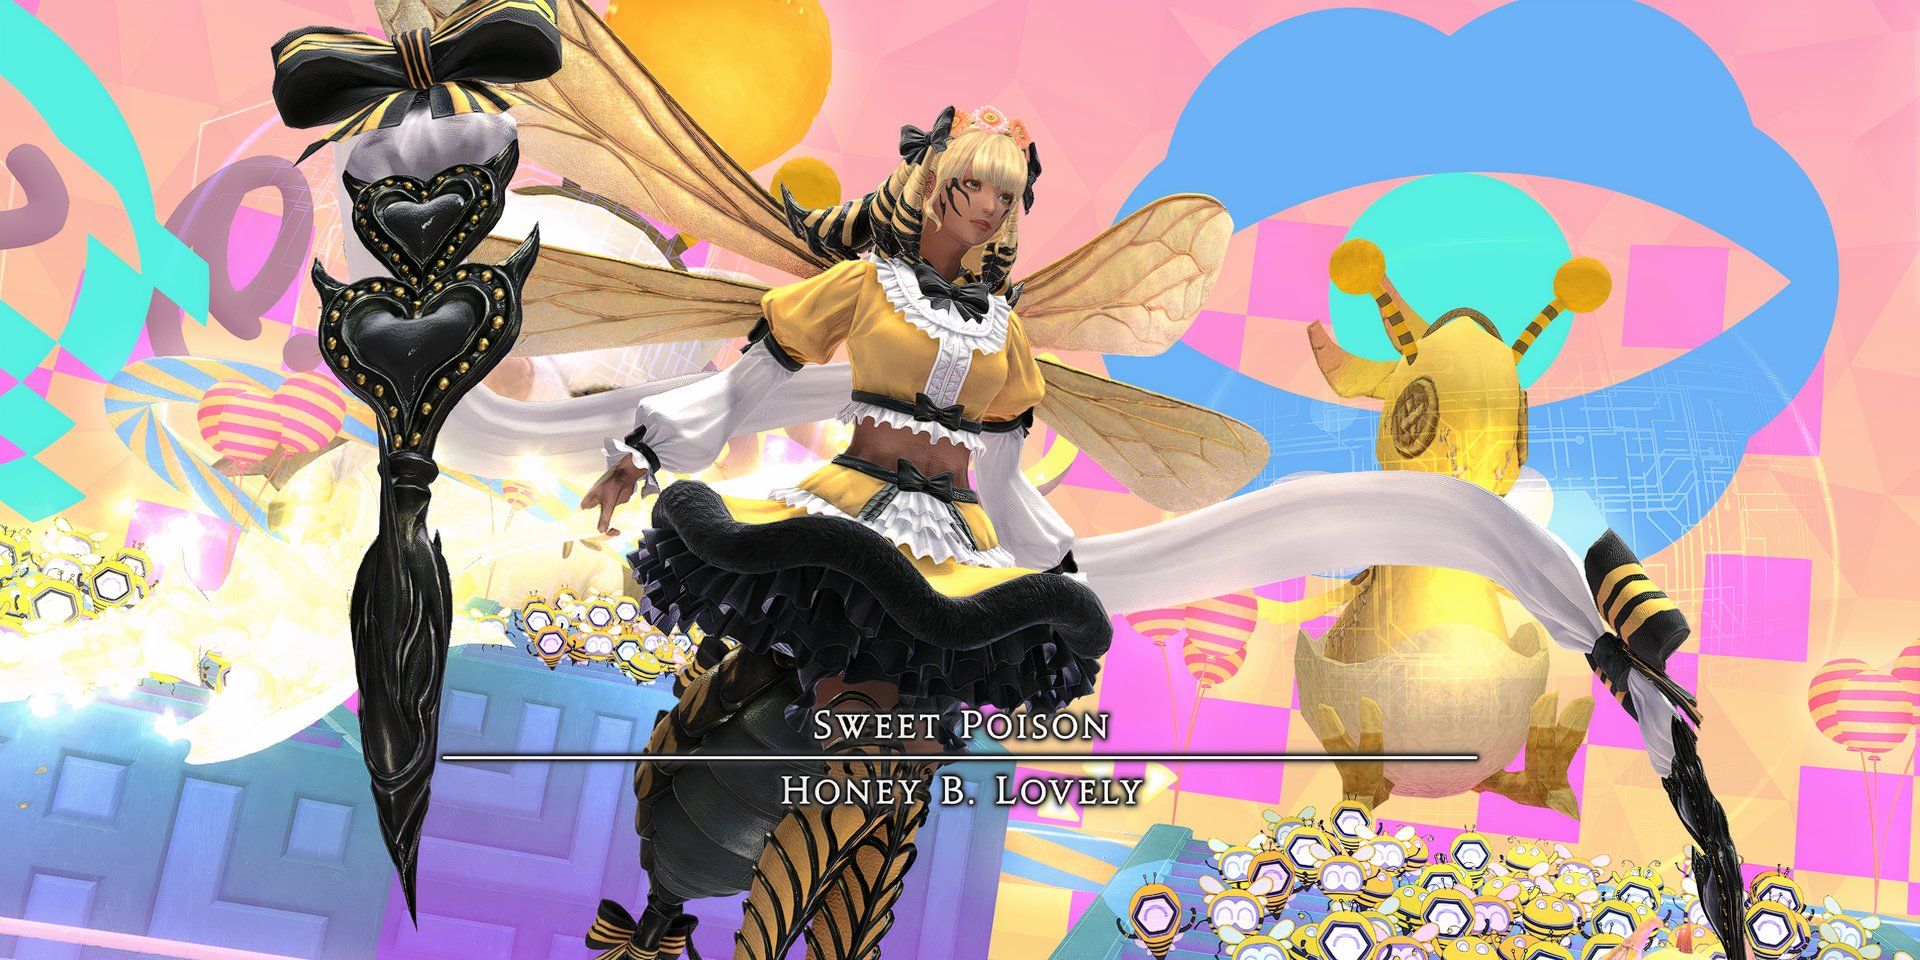
The Arcadian raids in Final Fantasy 14 introduce a vibrant ensemble of fresh raid bosses, some of which can fuse with wild spirits to enhance their powers. Notably, Honey B. Lovely, who is admired by many within the community, stands out as she functions as both a popular pop star and a formidable combatant.
In the latest update 7.05, a challenging Savage mode of Arcadion Light-heavyweight Raid has been added, featuring an enhanced version of the boss character Honey B. Lovely in a stylized depiction reminiscent of a cartoonist’s interpretation of actual events. Conquering this enhanced boss grants players access to the Dark Horse Champion gear set, which consists of items at item level 730 and is often listed among the best equipment for each job. This guide will share effective strategies for overcoming Honey B. Lovely and securing this valuable gear!
Honey B. Lovely (Savage) Party Setup
![]()
Before starting the battle, it’s crucial that every player knows their position relative to cardinal or intercardinal directions (like north, northeast, etc.), and also who their teammates are – DPS players paired with a tank or healer, and four-player groups consisting of one tank, one healer, and two DPS (often called “light parties”). These positions and groups are vital for performing the mechanics during the fight, so it’s important for everyone to understand them before the battle starts.
Honey B. Lovely Introduction
At the start of the battle against Honey B. Lovely, two abilities known as Splash of Venom and Drop of Venom will frequently emerge. Upon activation, these abilities grant a bonus to Honey Beeline or Tempting Twist in the subsequent use. The basic function of Honey Beeline is to strike forward in the direction the boss is facing, leaving trails of explosive honey on the arena’s sides, while Tempting Twist hits in a shape resembling a donut and leaves explosive honey in a cross-like pattern.
As a seasoned World of Warcraft player with countless hours under my belt, I’ve learned a thing or two about staying organized during battles. One trick that has significantly improved my gameplay is keeping track of the abilities cast by bosses like Drop and Splash of Venom. To do this, here’s what I suggest:
Following the use of Honey Beeline and Tempting Twist, Honey B. Lovely prepares to unleash this battle’s tank-busting abilities – powerful attacks primarily aimed at non-tank players, who can only withstand them by using damage reduction skills. During a tank buster, Honey B. Lovely will pick one of two moves at random.
Honey B. Lovely Phase 1: Honey B. Live: 1st Beat

The phase initiates as “Honey B. Lovely” streams live, transforming the stage and displaying a heart gauge above every participant’s avatar. Each hit received from any attack (even those needed for mechanics) fills a heart in the meter. Once all four spaces of a player’s heart meter are full, they will be stunned, restore one percent of the boss’ health, and increase the boss’ damage output with a cumulative buff. At the beginning of this phase, nine hearts will randomly be assigned to the players, with some starting with zero, one, or two hearts.
Centerstage and Outerstage Combo
In the Honey B. Live phases, two frequent sequences of attacks are named Centerstage Combo and Outerstage Combo. Both involve three rapid attacks that players should be ready to evade.
Love Me Tender 1
After the Centerstage or Outerstage Combination, Honey B. Lovely will use her ability “Love Me Tender,” which generates a chain of Area-of-Effect (AoE) explosions that can be neutralized by having at least one player present when they detonate. This is often called “soaking” or “towering.” 11 soaks will pop up in various spots throughout the arena, granting one heart to anyone standing near them upon detonation. The objective of this mechanic is to distribute hearts among all players as evenly as possible while preventing a single player from reaching full hearts.
For a fair distribution of “hearts” (or items), it could be beneficial to designate different areas of the room to each player, depending on their location around a virtual clock, so they are in charge of that section.
After all 11 towers explode, a massive area of effect (AoE) centered in the arena will appear, triggered by Loveseeker. Subsequently, slow-moving hearts will emerge from both the arena’s center and edge, damaging any player they touch with a heart. During this phase, Honey B. Lovely will focus on one player using Heartsick, an area of effect (AoE) that splits damage among all hit players in addition to distributing four hearts. Players with two or fewer hearts should attempt to stay within this AoE to distribute the damage and hearts, while those with three hearts should avoid it to prevent their heart meters from reaching maximum. Once this attack concludes, Honey B. Lovely will conclude the phase by casting Honey B. Finale.
Honey B. Lovely Phase 2: Alarm Pheromones 1

After the arena resets, Honey B. Lovely will execute another powerful charge, then emit Alarm Pheromones, causing a group of bees to gather around the arena’s perimeter. This attack resembles the one used in Honey B. Lovely’s standard battle on easy mode. The summoned bees will each aim for a random player with a sweeping area-of-effect attack marked by green arrows, launching after a brief pause. Players must evade 16 of these assaults before Honey B. Lovely initiates the next phase, known as Honey B. Live: 2nd Beat.
Although the sequence in which Groupbees attack is unpredictable, their assault direction can be influenced to some extent by gathering players closely. Successful strategies include huddling the entire group near the edge of the arena and evading attacks synchronously, or dividing melee and ranged players into two groups stationed at opposite ends of the arena. Adjust your approach and discover what best suits you!
Honey B. Lovely Phase 3: Honey B. Live: 2nd Beat

In the second stage of Honey B. Live, two Damage Per Second (DPS) players and two support characters (tanks or healers) will commence with a portion of their health bars already full, while the remaining team members will have an empty health bar. Soon after, Honey B. Lovely will either unleash “Drop of Love” or “Spread Love”. Similar to the introduction’s “Drop of Venom” and “Splash of Venom”, these abilities enhance Honey Beeline or Tempting Twist’s future usage by the boss.
Love Me Tender 2
In this scenario, a single DPS character and either a tank or healer with no health points (zero hearts) will be singled out by a symbol that divides four health points among all hit targets. To prevent being enchanted, this harmful effect must affect at least one more player. Simultaneously, five area-of-effect attacks will focus on their current location and detonate shortly after. To survive these explosions and share the stack marker effectively, the zero-health players should stay close together while skillfully dodging the AoEs.
Simultaneously, a DPS player and either a tank or healer commencing the phase will be marked with an unavoidable area-of-effect (AoE) that follows their movements. Two ground AoEs will materialize which need to be absorbed to prevent them from detonating and injuring the entire team. Those affected by the tracking AoE should move away from other players, while the remaining one-hearted players without any AoEs should step into these newly formed ground AoEs to neutralize them. If all mechanics are handled appropriately, every player will have two hearts’ worth of health.
To manage this sequence of mechanics effectively, each player beginning the phase with no hearts should position themselves near the boss, while those with one heart should be in the arena’s center. Players without hearts will move in a circle around the boss to dodge area-of-effect (AoE) attacks on their location and collect both stack markers together as a group of four, leaving each player with two hearts. As the boss targets players with one heart using AoEs, those players should spread out slightly to determine their next action. Any player targeted by an AoE should move away from others, while the damage-per-second (DPS) player not targeted should absorb either the east or south ground AoE. If neither the tank nor healer is targeted, they should absorb either the north or west ground AoE instead.
Once all mechanical issues are addressed, Honey B. Lovely will ultimately choose between Honey Beeline or Tempting Twist. Players must then evade the subsequent assault, depending on if the boss initially used Drop of Love or Spread Love at the start of the phase in this game.
Honey B. Lovely Phase 4: Alarm Pheromones 2

In the upcoming round, Honey B. Lovely initiates by selecting either Drop of Venom or Splash of Venom, a choice that players must remember throughout the phase. Soon after, Alarm Pheromones are released, summoning four Groupbees to arrange Blinding Love in a cross pattern across the battlefield. This results in a protected square at the center and safe zones along the perimeter. Simultaneously, Honey B. Lovely unleashes Poison Sting, marking two random DPS or tank players with an orange symbol. This marker will explode, creating a poisonous puddle that contaminates anyone nearby. The Poison Sting is cast four consecutive times, ensuring each player is marked once, leading to a total of eight poisonous puddles on the battlefield.
As a fan, I’d recommend initiating this mechanic by positioning myself within the central safe zone initially, keeping a close eye on the boss. When the boss casts Poison Sting, those sporting an orange marker above them should vacate the center and find a secure spot along the arena border. For DPS players like me, it’s crucial to seek out protected areas on the south and east sides of the arena, while tanks and healers should prioritize the north and west. Once the player with the Poison Sting has placed their puddle appropriately, they can rejoin the party in the center, and the newly targeted players should then move outside.
Following the arrangement of all eight puddles, Honey B. Lovely prepares to deploy Bee Sting, randomly selecting a DPS player and either a tank or healer to mark with stacks, distributing substantial damage among those hit. As I remain within the secure center square, tanks and healers should position themselves slightly towards the northwest and west respectively, sharing the damage between us. Meanwhile, all DPS players should gather near the southeast and south corners to manage their stack markers collectively. The phase culminates with a powerful tank-targeted blow, followed by either a Honey Beeline or Tempting Twist, augmented by either Drop of Venom or Splash of Venom throughout the entire phase.
Honey B. Lovely Phase 5: Honey B. Live: 3rd Beat
In the game Honey B. Live: 3rd Beat, all characters will start with empty affection gauges and receive the harmful Poison ‘n’ Pop debuff. This debuff lasts either 25 or 45 seconds, and when it ends, it explodes in a large area-of-effect (AoE). The duration of these debuffs is determined by each character’s role – for instance, all DPS characters will have a 25-second Poison ‘n’ Pop debuff, while tanks and healers will receive the 45-second version. As usual in this game, Honey B. Lovely will cast either Drop of Love or Spread Love, which players should remember for the end of the round.
The sequence continues, offering a choice between Centerstage and Outerstage Combos. Each combo triggers four simultaneous Area of Effect (AoE) ground attacks that need to be managed at once. To deal with this, players should initially dodge either the Centerstage or Outerstage Combo, and those whose Poison ‘n’ Pop debuffs are nearing expiration should swiftly move to the arena’s edge, taking their designated clock position immediately afterwards. Players with longer lasting Poison ‘n’ Pop debuffs should instead head towards the center of the arena to avoid being hit while also determining which ground AoE they need to absorb based on their clock spot. Once the initial burst from players’ Poison ‘n’ Pop debuffs has been detonated, all other players should promptly move into the ground AoEs to ensure they are properly soaked. This sequence of attacks will then be repeated a second time with roles reversed.
Once the two rounds of Poison ‘n’ Pop debuff explosions occur, the phase will end with either Honey Beeline or Tempting Twist, and may include additional effects like Drop of Love or Spread Love starting from the beginning of the phase.
Honey B. Lovely Phase 6: Rotten Heart

In the concluding stage, Honey B. Lovely uses Rotten Heart, causing a debilitating effect on all participants. This can be either Beeloved Venom Alpha or Beeloved Venom Beta, lasting between 12 to over one minute. At the end of its duration, this debuff will either defeat or immobilize the affected player. It can only be removed by having a player carrying Beeloved Venom Alpha approach a player with Beeloved Venom Beta, which triggers a large-scale explosion affecting everyone and applies a seven-second Magic Vulnerability Up debuff to all players.
To successfully manage this game mechanism, players should initially position the boss at their 12 o’clock positions (clock spots) prior to the start of the phase, ensuring no player triggers their debuffs prematurely. Once everyone is fully healed from the Rotten Heart effect, the player with the shortest duration for both Beeloved Venom Alpha and Beloved Venom Beta debuffs should gather at the arena’s center to remove these effects. All other players must wait until the boss casts Call Me Honey before cleansing any more Beeloved Venoms. This is necessary because the Magic Vulnerability Up debuff will not wear off in time, and healers should be prepared to restore their party’s health just before Call Me Honey is cast. This pattern will repeat four times before Honey B. Lovely starts enraging.
Sheer Heart Attack signifies the onset of the battle’s time crunch, also known as the enraged phase where players must vanquish the boss within this period. If utilized, Sheer Heart Attack instantly fills all player’s health meters to maximum, healing the boss by 8%, and rendering all players immobile during a deadly Honey B. Finale.
Read More
- SOL PREDICTION. SOL cryptocurrency
- LUNC PREDICTION. LUNC cryptocurrency
- BTC PREDICTION. BTC cryptocurrency
- TON PREDICTION. TON cryptocurrency
- USD COP PREDICTION
- USD PHP PREDICTION
- USD ZAR PREDICTION
- Top gainers and losers
- ENA PREDICTION. ENA cryptocurrency
- ZRX PREDICTION. ZRX cryptocurrency
2024-08-10 14:06