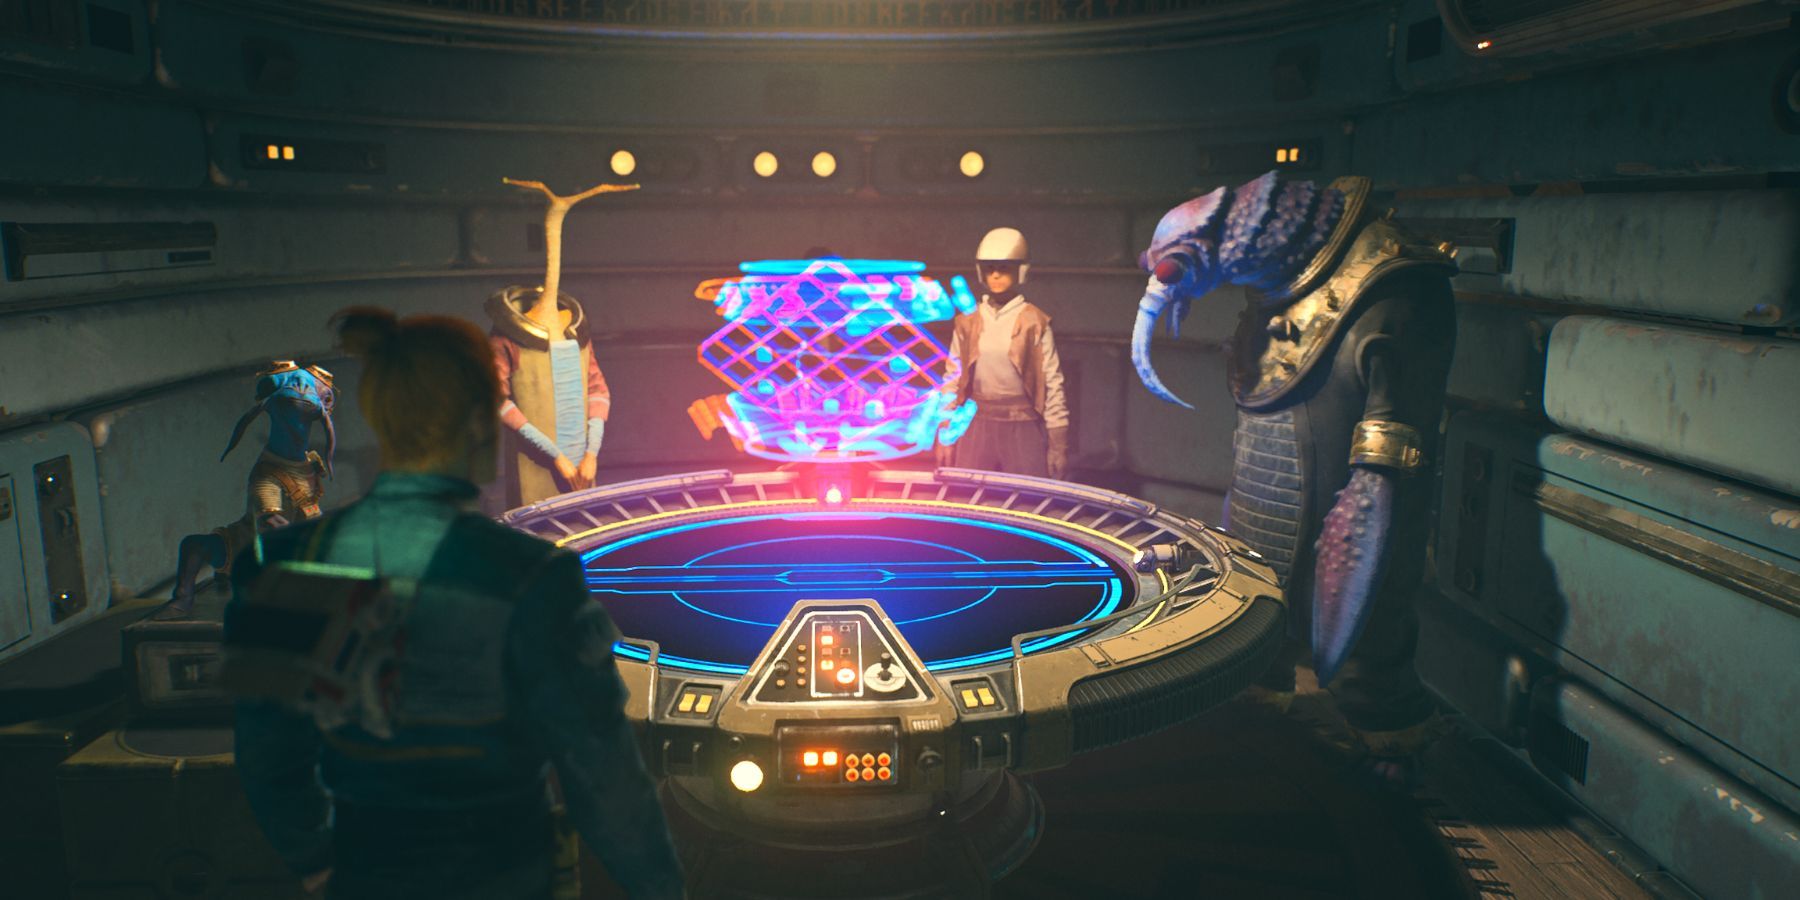
In the game Star Wars Jedi: Survivor, Holotactics serves as a mini-game featuring holographic combat simulations. Here, players engage in battles against eight adversaries such as Turgle, Greez, Caij, and Tulli. These contests unfold over 3 to 4 rounds in a turn-based format, enabling the player to respond to their enemy’s forces by deploying Empire Troopers, Raiders, or Beasts.
In the campaign of the game “Jedi: Survivor“, the mini-game called Holotactics becomes available after Cal rescues Tulli Mu and Bhima Ook. However, to play all eight matches, players need to first gather all main characters at Pyloon’s Saloon initially. For those who have already unlocked all characters in the Holotactics mini-game, here’s a guide on how to defeat each opponent and receive rewards.
All Enemies and Rewards in Holotactics
Once you’ve activated Holotactics, you’ll encounter eight adversaries sequentially: Turgle, Greez, Tulakt, Merrin, Caij, Skoova, T-1N8, and Tulli. As you advance, each opponent becomes increasingly difficult to defeat. Overcoming all of them will earn you the Gambler trophy/achievement. Additionally, each adversary drops small rewards, which are detailed below.
| Holotactics Opponent | Reward | Difficulty |
|---|---|---|
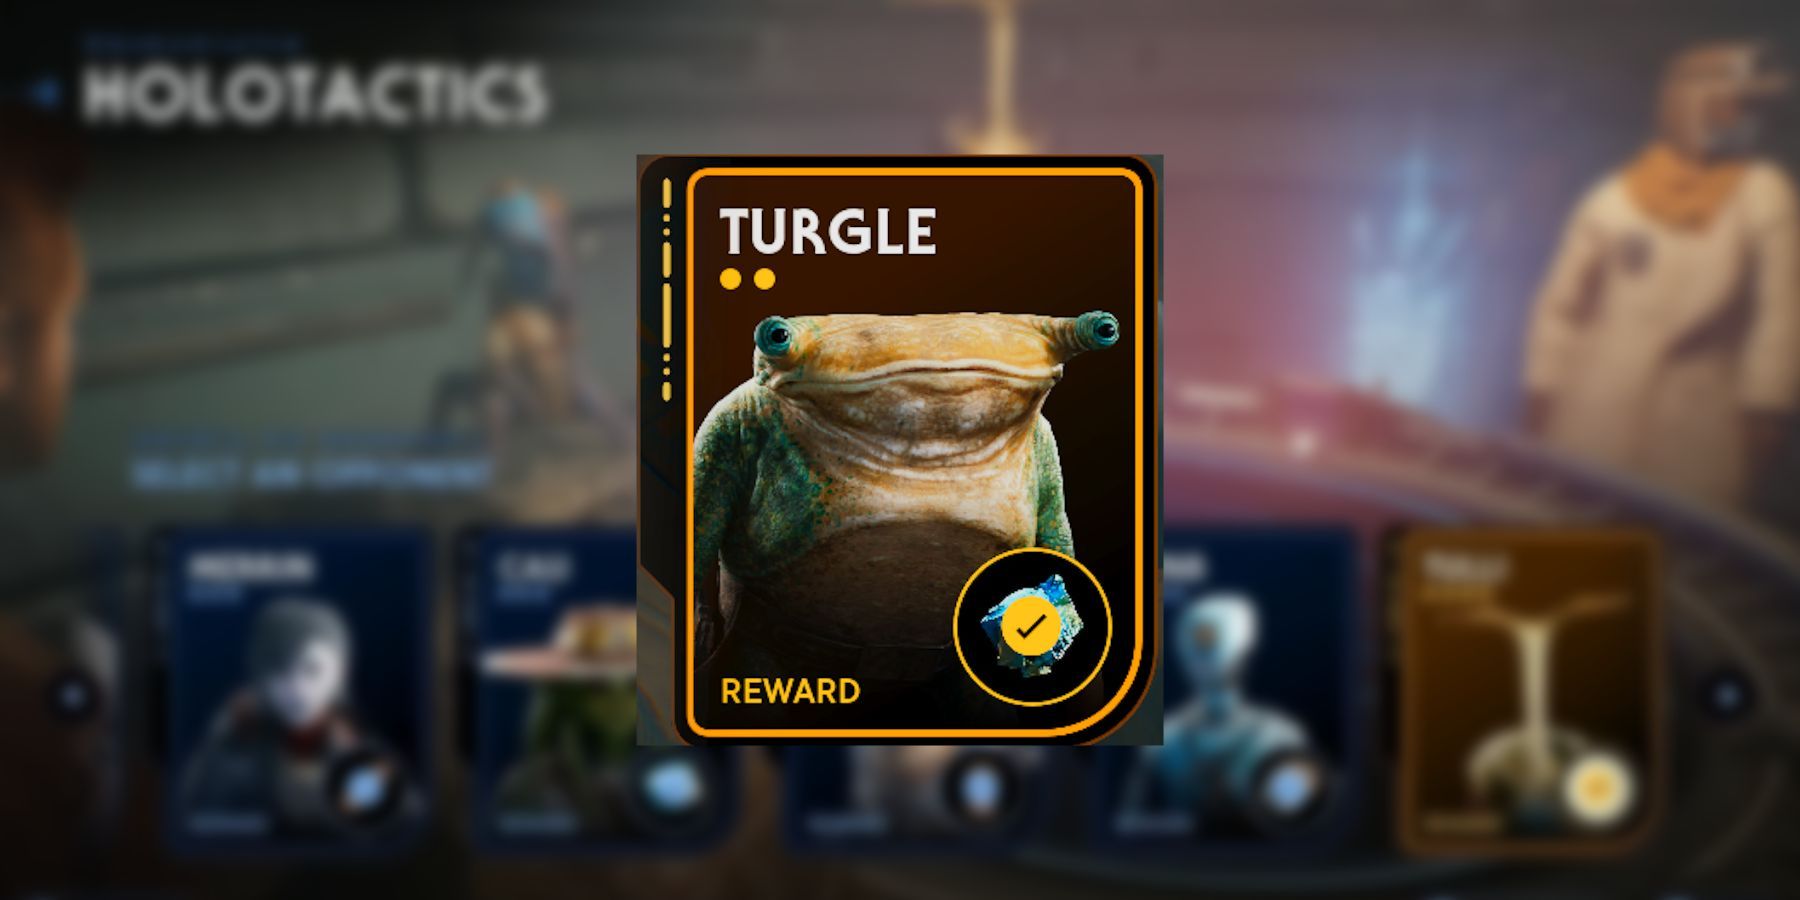
| Trugle | Priorite Shard | Easy |
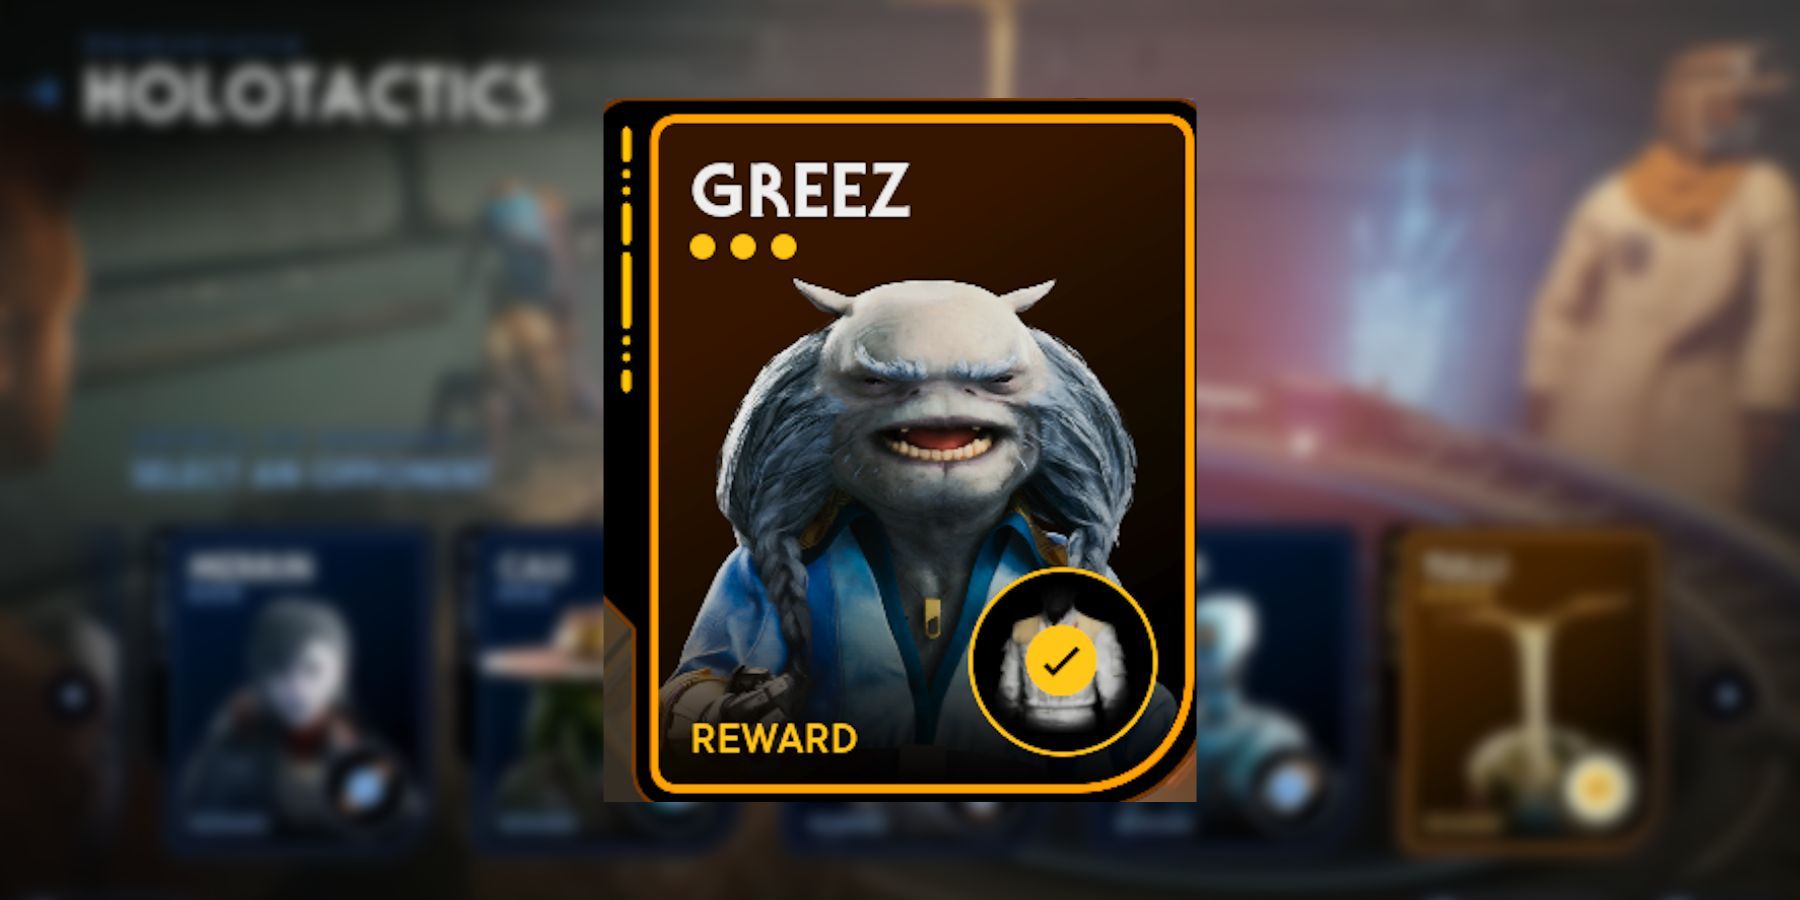
| Greez | Pilot Jacket | Easy |
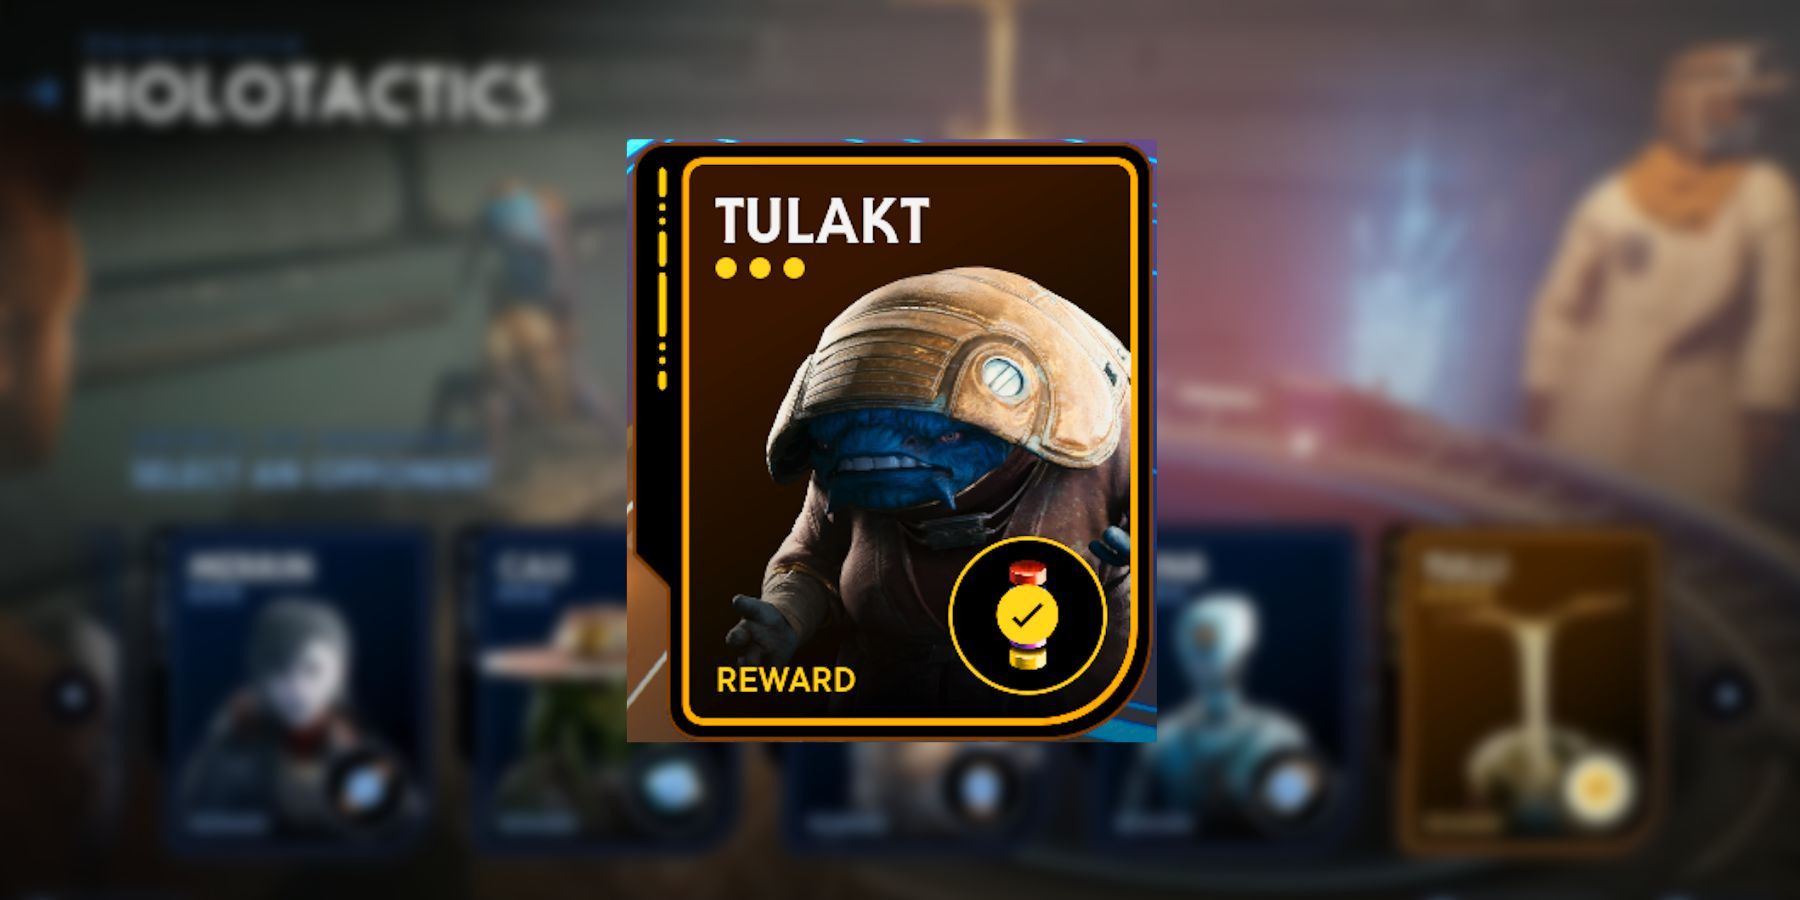
| Tulakt | Anodized Metal | Normal |
| Merrin | Jedha Scroll | Normal |
| Caij | Bounty Puck | Normal |
| Skoova | Moustache (Cosmetic Item) | Hard |
| T-1N8 | Datadisc | Hard |
| Tulli | Skill Point | Hard |
Best Troops and Units in Holotactics
As a gamer, I’ve found that with a smart approach, you can complete all Holotactics missions using only three elite units: Raider Veterans, Purge Troopers, and Heavy Assault Troopers. These three are top-tier choices, no doubt about it! Take a look at the tier list below to see which other units join their ranks as top performers:
| Tier | Troops |
|---|---|
| S | Raider Veteran, Purge Trooper, Heavy Assault Trooper |
| A | B1 Droid (Melee), Raider Grunt |
| B | Bedlam Smasher, Rocket Launcher Trooper |
Holotactics boasts numerous potent units, but many demand a large number of action points, which can limit their effectiveness in strategic battles. The units recommended here have been carefully selected to provide an ideal mix of power and economy, offering maximum impact at a low cost of action points.
How to Beat Turgle
| Round | Troops |
|---|---|
| Round One | 1 Raider Grunt |
| Round Two | 2 Raider Grunt, 1 Raider Veteran |
In the game of Holotactics, Turgle is the initial and simplest opponent to face. To defeat him in the first round, position a Raider Grunt in either corner. For the second round, station two Raider Grunts at the front row corners and reinforce them with a Raider Veteran at the back.
Round 1

Turgle attacks with two Scout Troopers. To counter that, place one Raider Grunt on the board.
Round 2
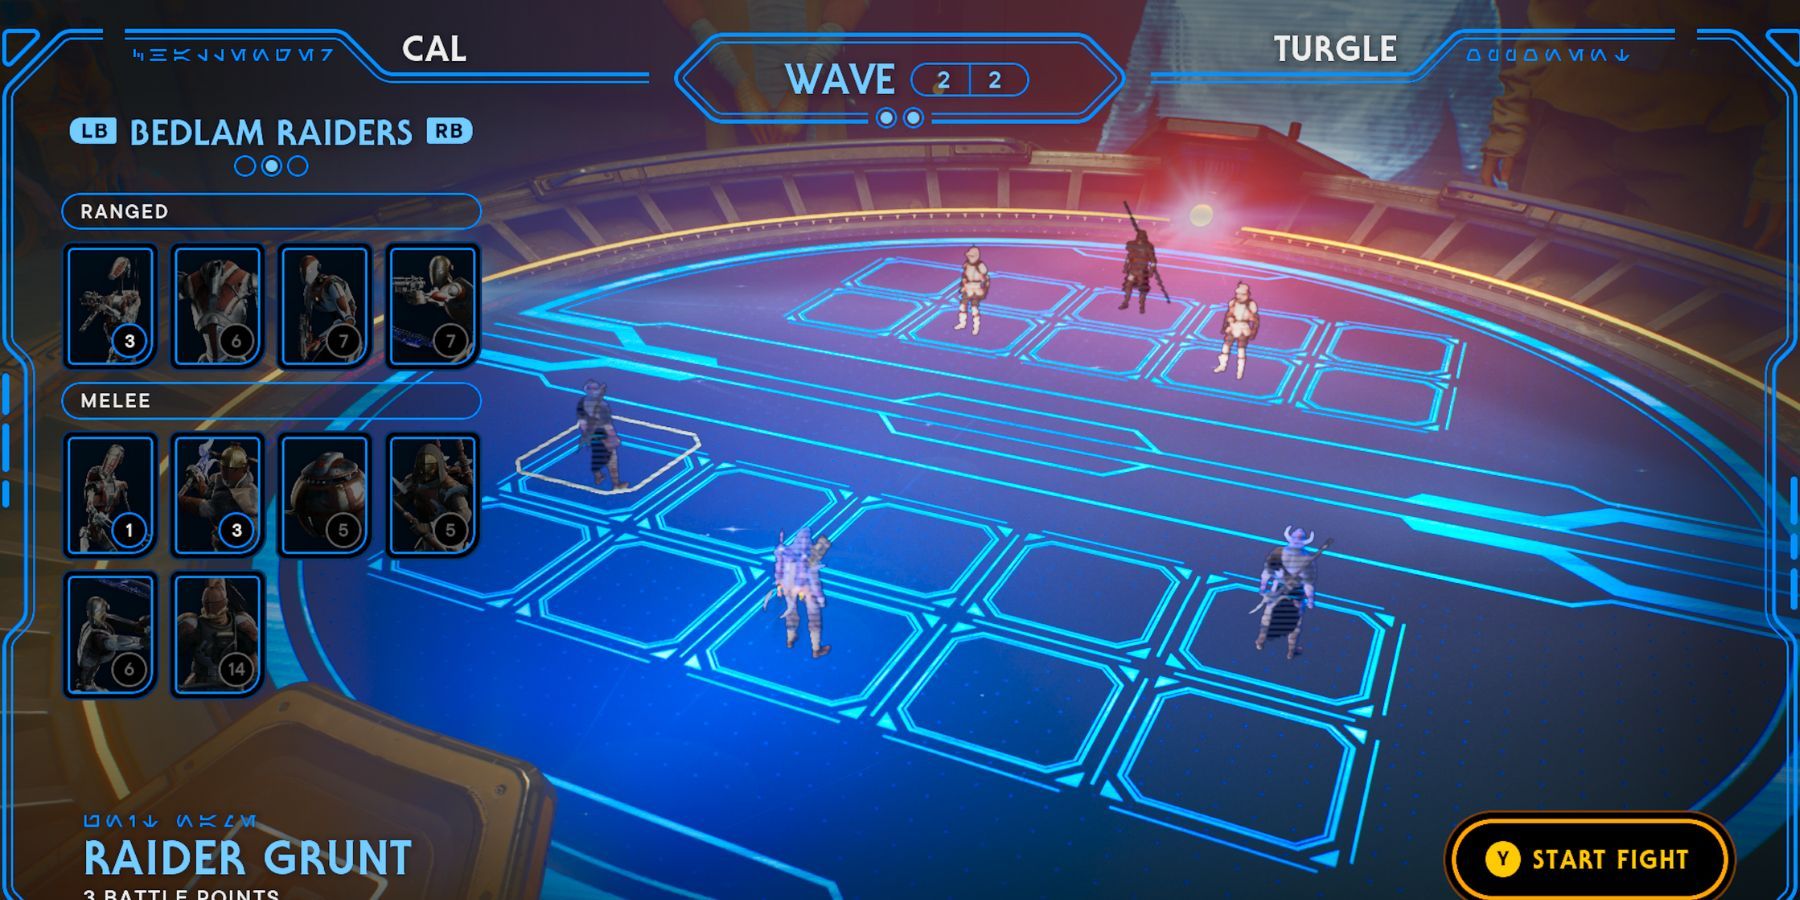
In this scenario, Turgle is faced off against two Scout Troopers, supported by an Electrostaff Purge Trooper. To defeat him effectively, it would be strategic to position one seasoned Raider Veteran at the rear and station two Raider Grunts upfront.
How to Beat Greez
| Round | Troops |
|---|---|
| Round One | 2 B1 Droids, 1 Stormtrooper, 1 Stormtrooper Commander |
| Round Two | 2 B1 Droids, 2 Stormtrooper Commander, 1 Raider Grunt |
| Round Three | 3 Shield Troopers, 1 Heavy Assault Trooper, 1 Stormtrooper Commander |
As a gamer, I’d strategize like this: Flank Greez with two Melee B1 Droids upfront, a Stormtrooper backed by a Commander, then deploy two more B1 Droids to the left with Raider Grunt and two Commanders on the right. In the final round, I’d place three Shield Troopers on the left front, with a Heavy Assault Trooper and a Stormtrooper Commander at the back on the opposite side.
Round 1
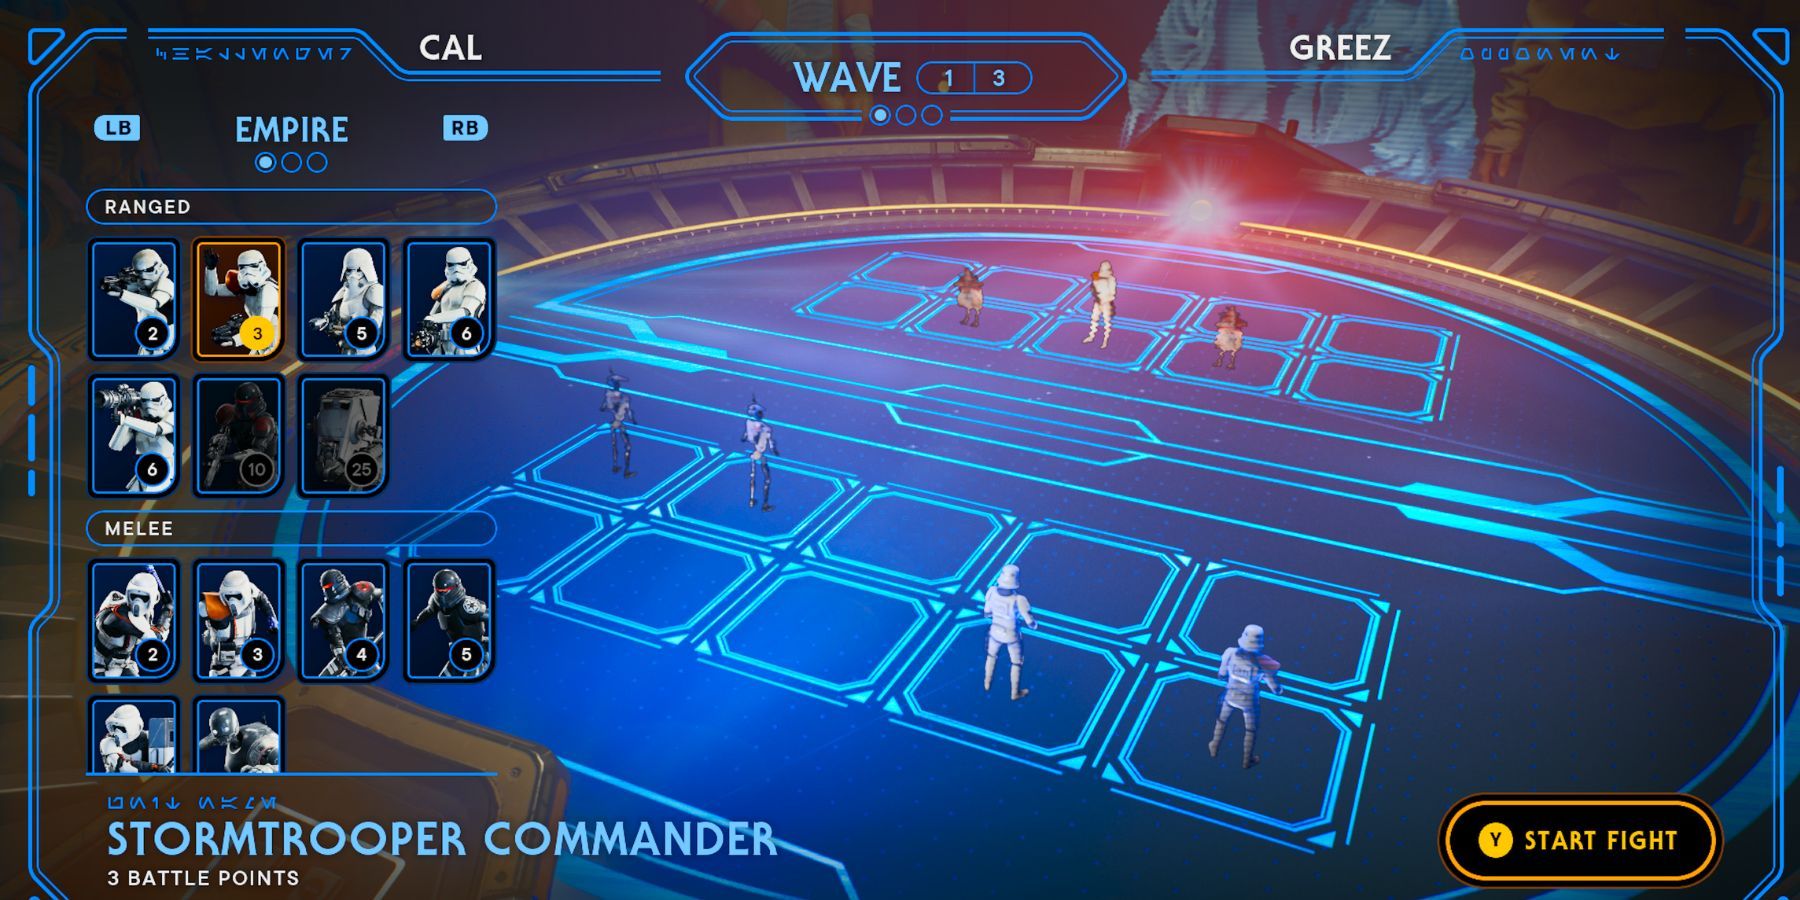
Greez launches an assault, accompanied by a single Stormtrooper and two Rawkas. He deploys two B1 Droids as bait for the Rawkas, while keeping his long-range forces, such as Stormtroopers and Commanders, at the ready.
Round 2
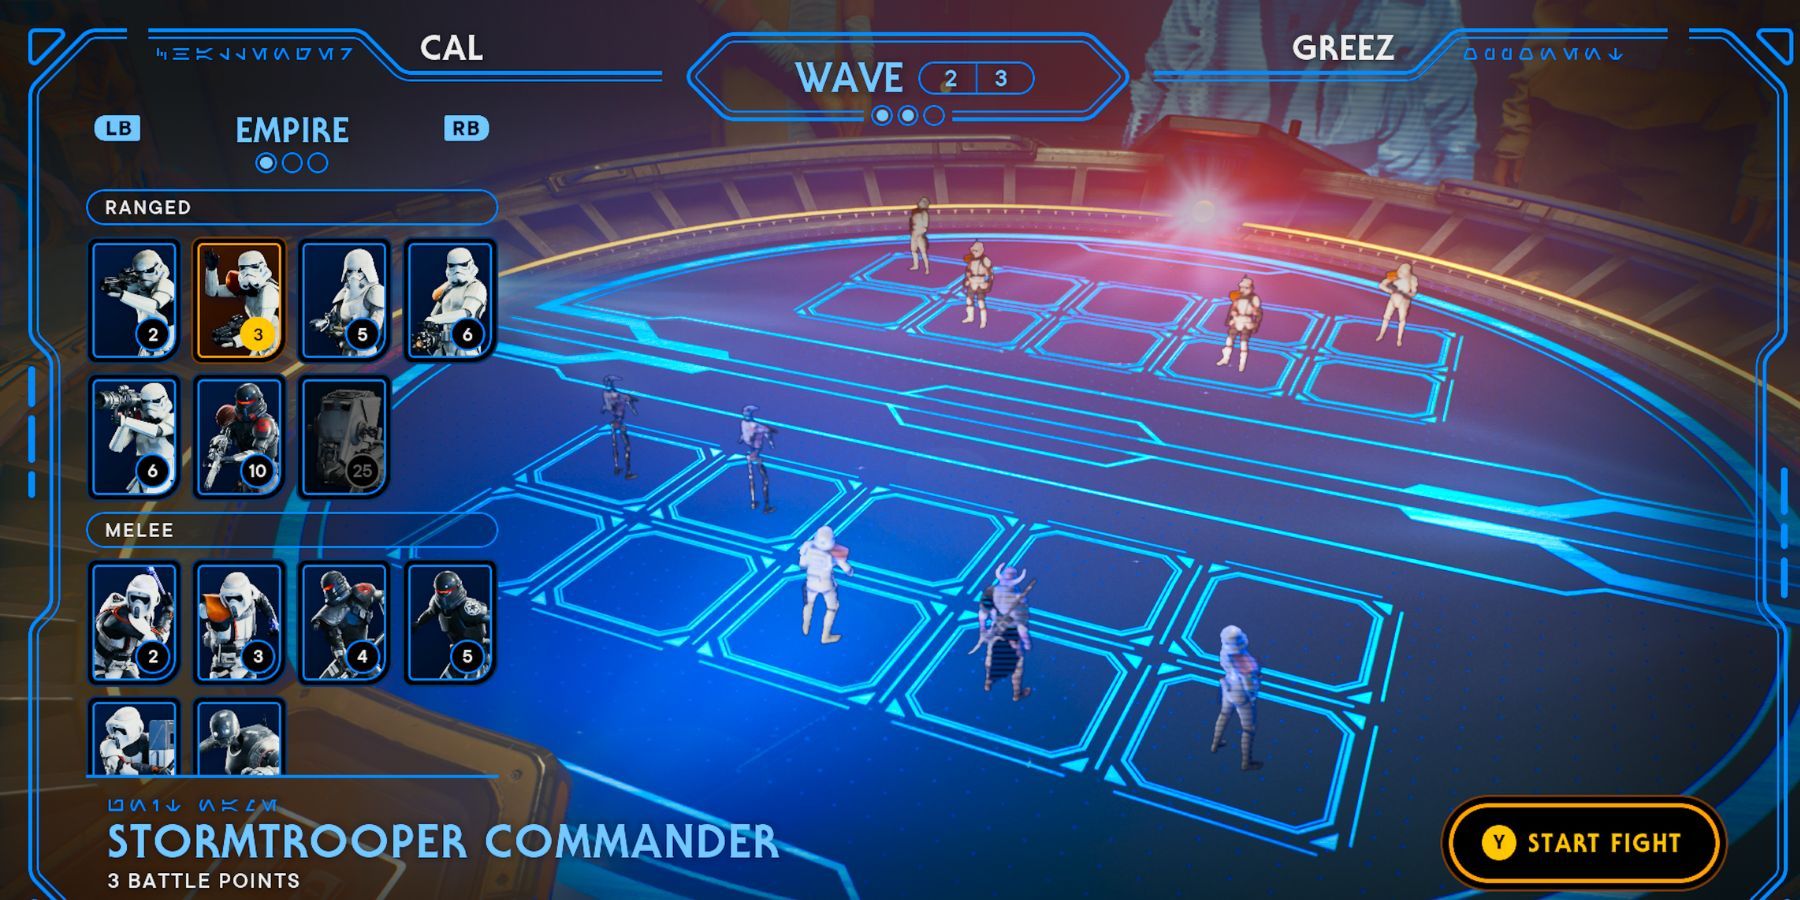
Greez is accompanied by two Scout Trooper Commanders and two Stormtrooper Commanders. Position two B1 Droids at the front left corner to defend against grenades. For a counterattack, deploy a Raider Grunt and two Stormtrooper Commanders from the back row.
Round 3
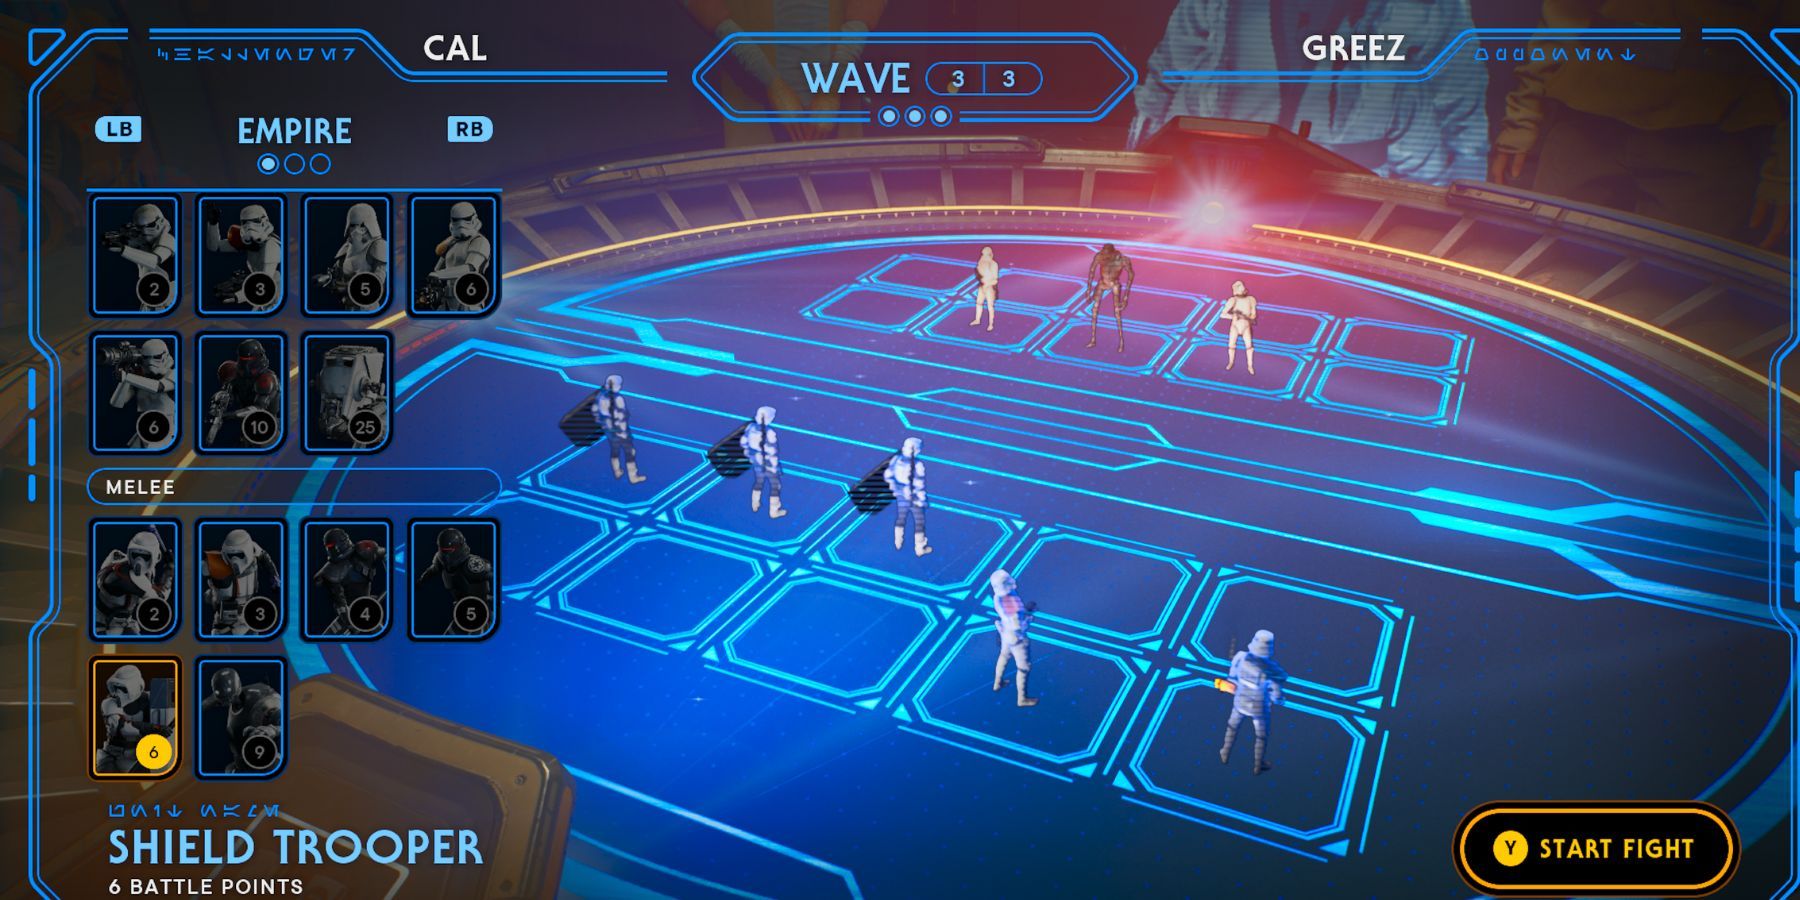
In the previous encounter, Greez had a raider bot along with two regular Stormtroopers. As a response, position three Shield Troopers at the front line, followed by a Heavy Assault Trooper and a Stormtrooper Commander towards the rear.
How to Beat Tulakt
| Round | Troops |
|---|---|
| Round One | 3 B1 Droids, 1 Heavy Assault Trooper, 1 Raider Grunt |
| Round Two | 2 B1 Droids, 1 Stormtrooper Commander, 2 Raider Grunts |
| Round Three | 1 Roller Mine, Raider Grunts, Raider Veterans, Stormtrooper Commanders |
To defeat Tulakt in Holotactics, begin by deploying three Melee B1 Droids, one Heavy Assault Trooper, and one Raider Grunt. Subsequently, bring out two Melee B1 Droids, one Stormtrooper Commander, and two more Raider Grunts. In response to his moves, reinforce with two Raider Veterans, a Raider Grunt, a Roller Mine, and another Stormtrooper Commander.
Round 1
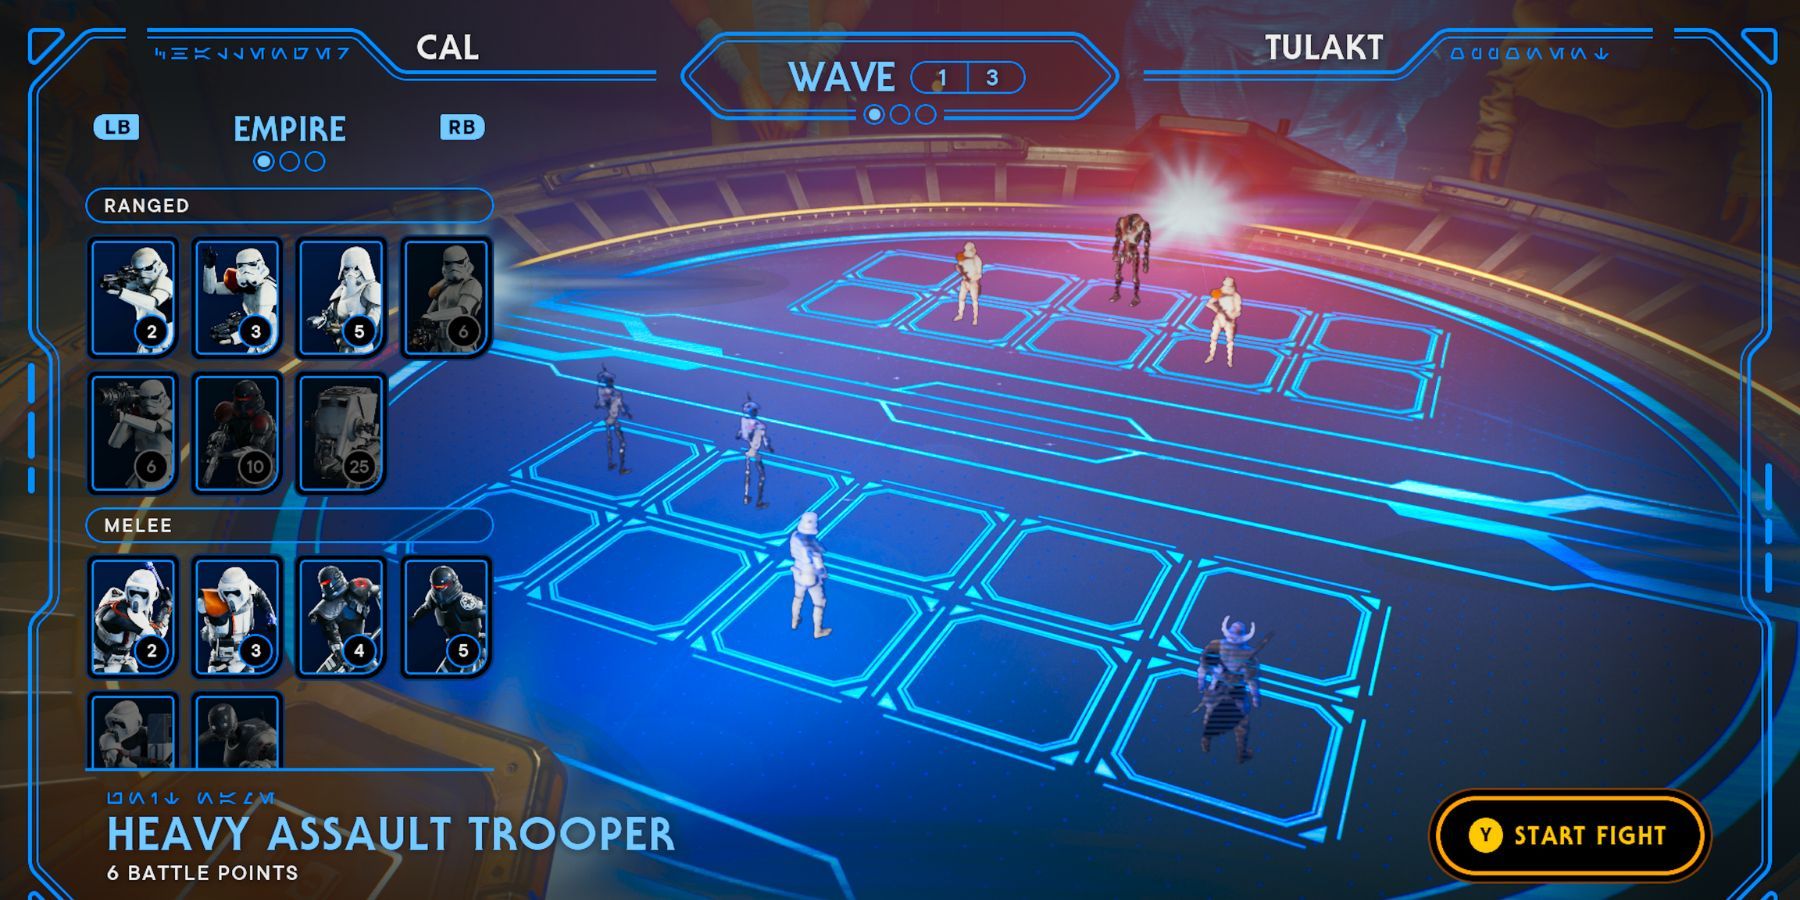
In an easier-to-understand phrasing: Tulakt owns a B2 Droid and two Stormtrooper Commanders. To prevent explosives, place three B1 Droids on the left side up front, a Heavy Assault Trooper at the far back right, and a Raider Grunt in the middle of the troops at the back.
Round 2
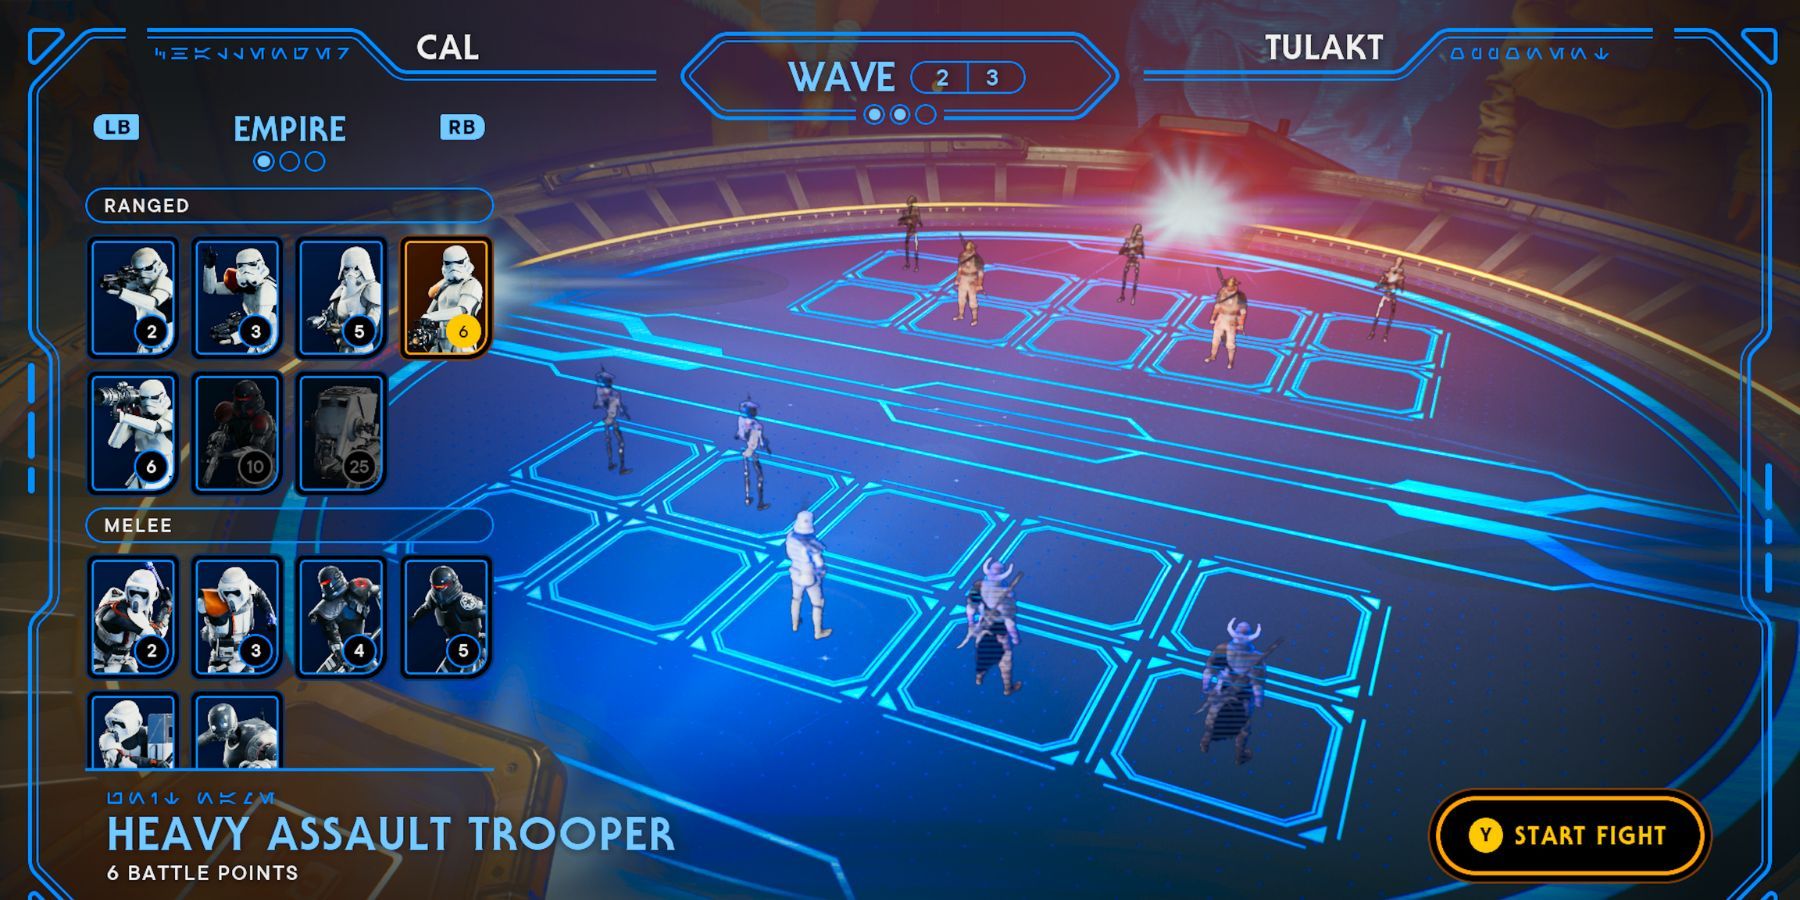
In the second phase, Tulakt deploys two Raider Grunts and three Ranged B1 Droids. A good response would be to position two Melee B1 Droids as diversions up front in a corner, and reinforce them with a Stormtrooper Commander and two more Raider Grunts in the back (on the opposite side).
Round 3
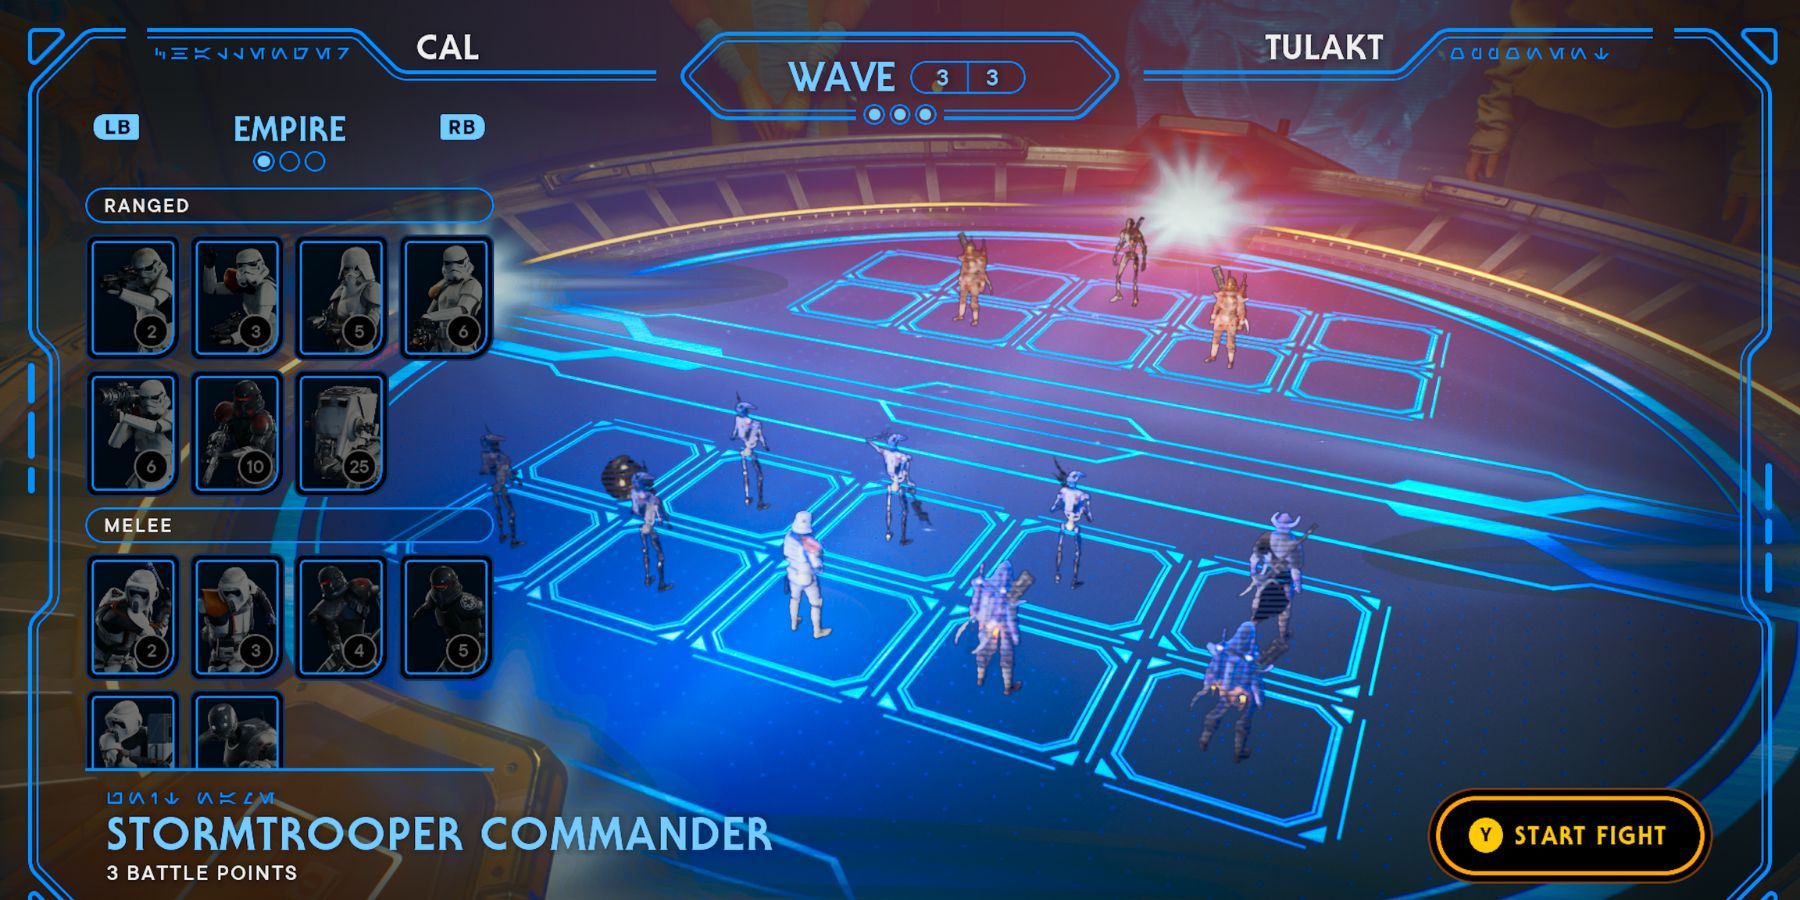
In the last round, Tulakt confronts two Raider Grunts and a hybrid BX Droid. He strategically employs a Roller Mine to draw the Grunts closer, then strikes from behind with his Raider Grunts, Veterans, and a Stormtrooper Commander to secure the win.
How to Beat Merrin
| Round | Troops |
|---|---|
| Round One | 3 B1 Droids, 2 Heavy Assault Troopers |
| Round Two | 3 B1 Droids, 2 Heavy Assault Troopers, 1 Raider Veteran |
| Round Three | 2 Purge Trooper Commanders, 4 Raider Veterans |
To defeat Merrin, station B1 Droids to ward off her attacks and Heavy Assault Troopers to take out her soldiers. In round two, situate a Raider Veteran behind the B1 Droids and a Raider Grunt in support of the Heavy Assault Troopers at the corners. For the final round, position two Purge Trooper Commanders in the corner positions, three Raider Veterans in front, and fill any remaining spaces with B1 Droids.
Round 1
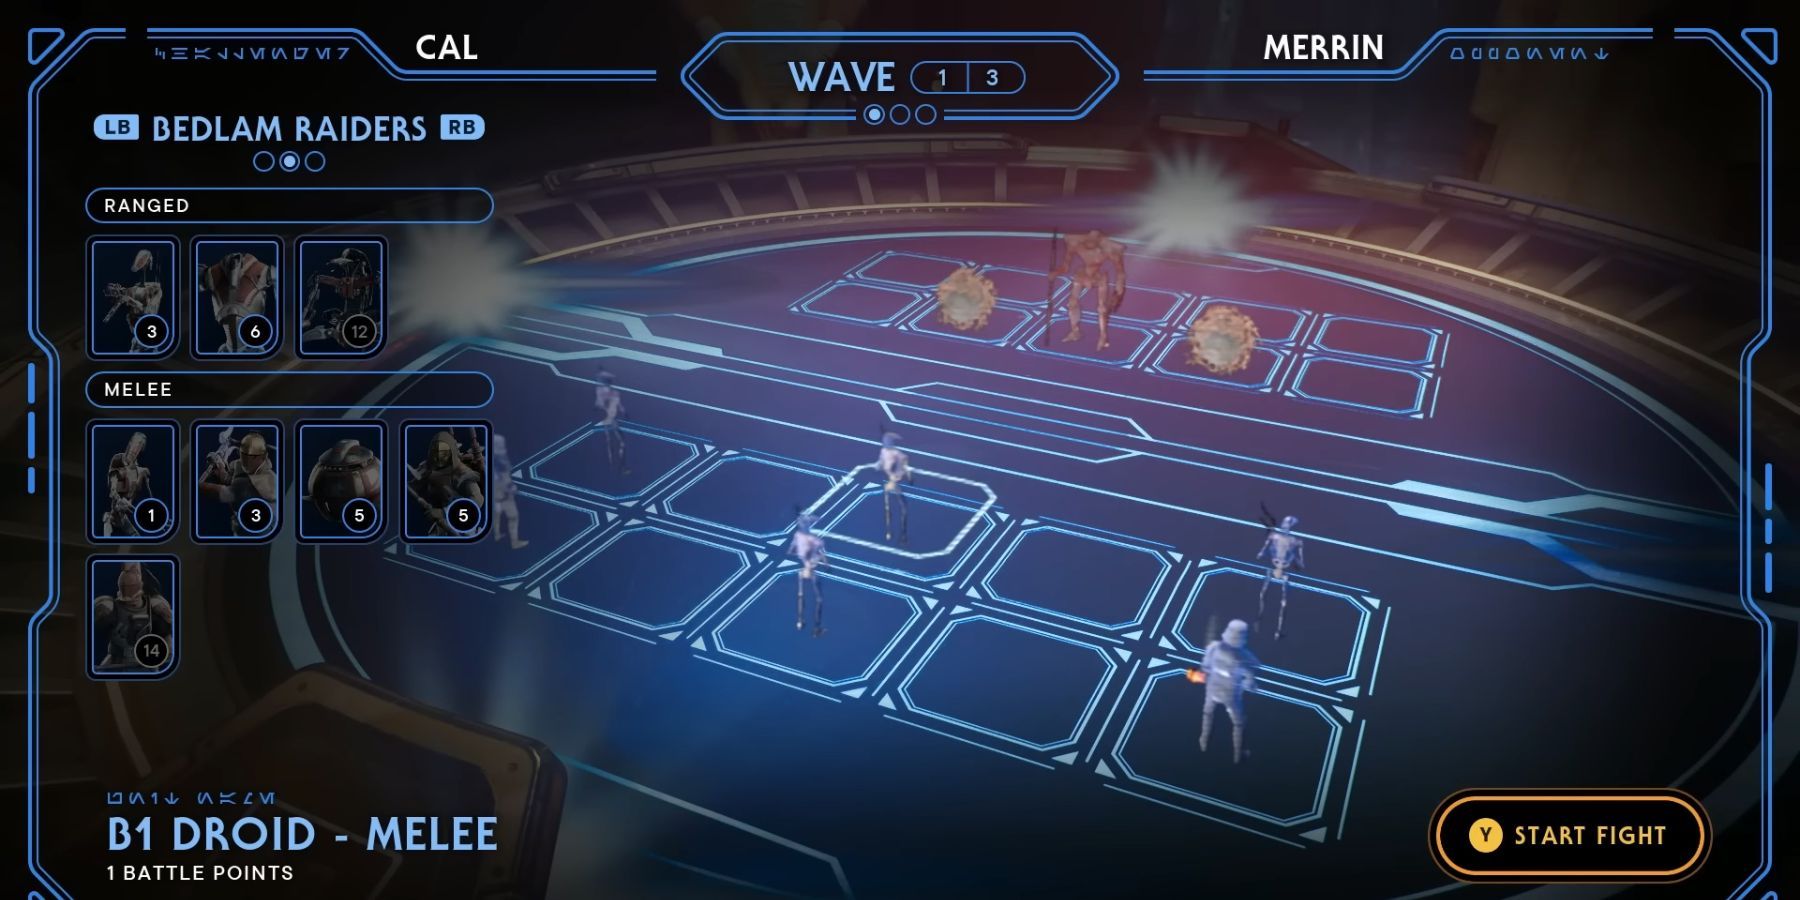
In this setup, Merrin initially has two Bramliks and a DT Sentry Droid. To conquer this stage successfully, position three or four B1 Droids at the front line, with two Heave Assault Troopers stationed in the rear corners.
Round 2
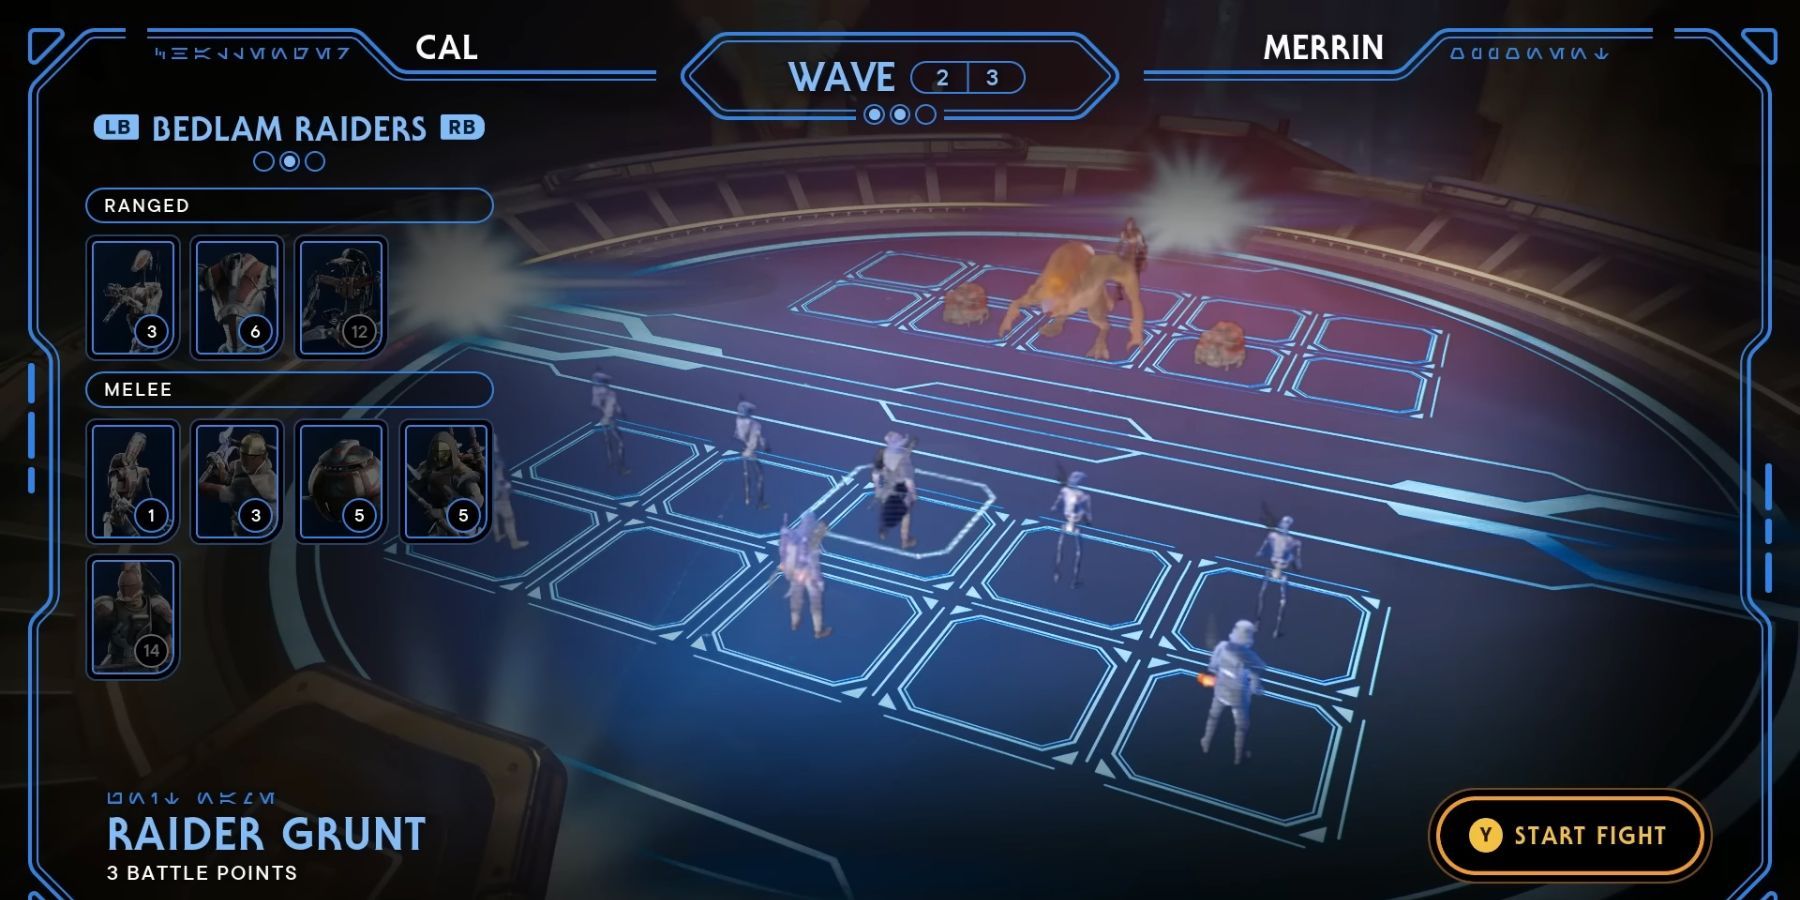
Merrin persists in combat against a Sutaban Alpha, accompanied by two Hardshells and a Raider. To respond to this, position two Heavy Troopers in the rear corners, with a Raider Veteran stationed centrally behind a few B1 Droids and a Raider Grunt.
Round 3
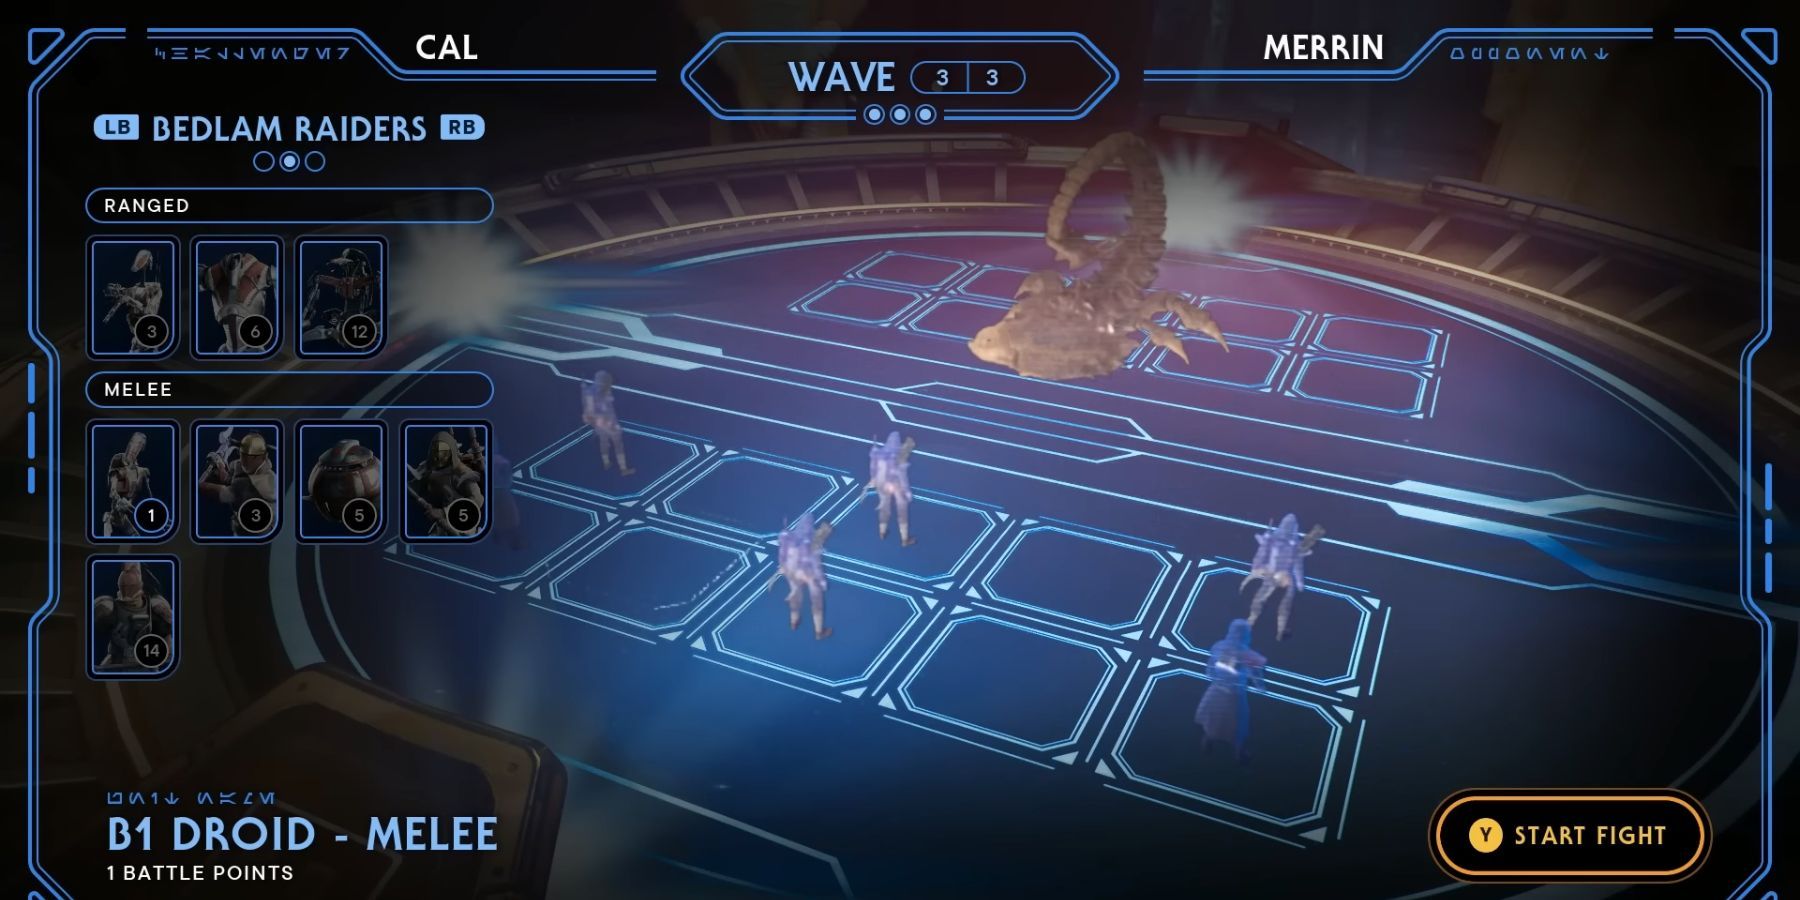
To defeat the final boss from the previous round, position two Purge Trooper Commanders at opposite corners and arrange four Raider Veterans near each of them.
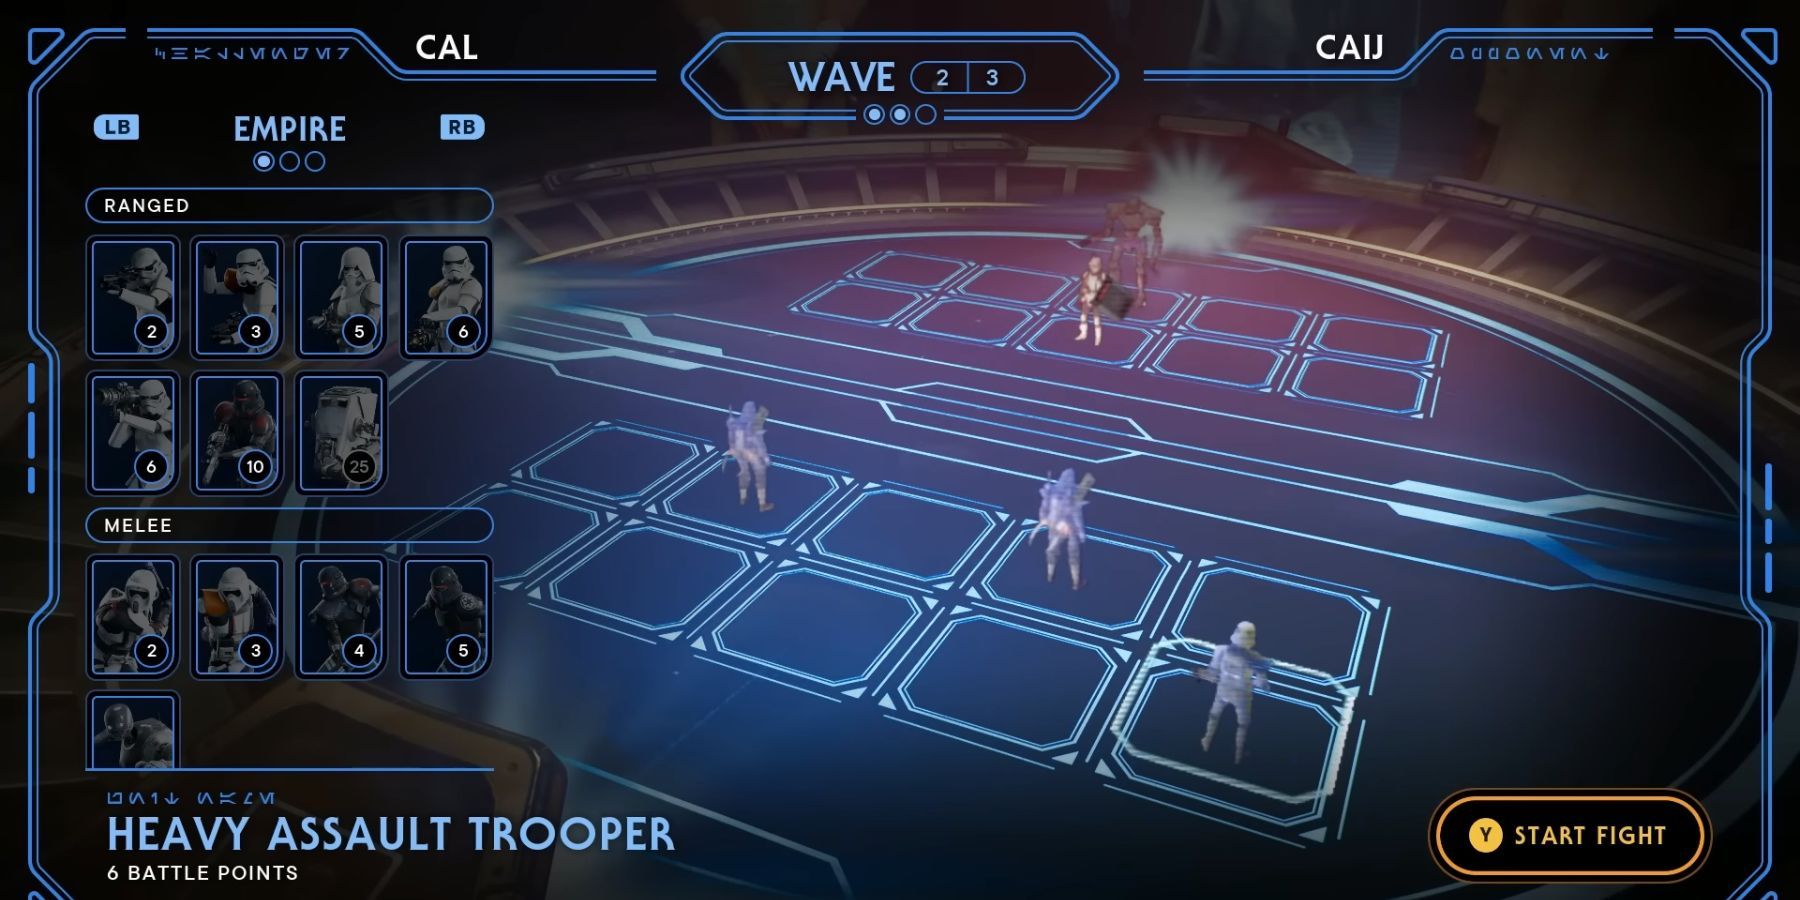
How to Beat Caij
| Round | Troops |
|---|---|
| Round One | 3 B1 Droids, 1 Raider Veteran, 1 Purge Trooper Commander |
| Round Two | 2 Raider Veterans, 1 Heavy Assault Trooper |
| Round Three | 1 Purge Trooper Commander, 2 Heavy Troopers, 4 Raider Veterans |
Against Caij, you’ll find it comparatively straightforward. In the initial phase, utilize B1 Droids to deflect rockets and launch attacks with Raider Veterans and Stormtrooper Commanders. For round two, deploy Heavy Launcher Troopers or Rocket Launcher Troopers. In the final round, deploy Raider Veterans, Heavy Assault Troopers, and Stormtrooper Commanders.
Round 1
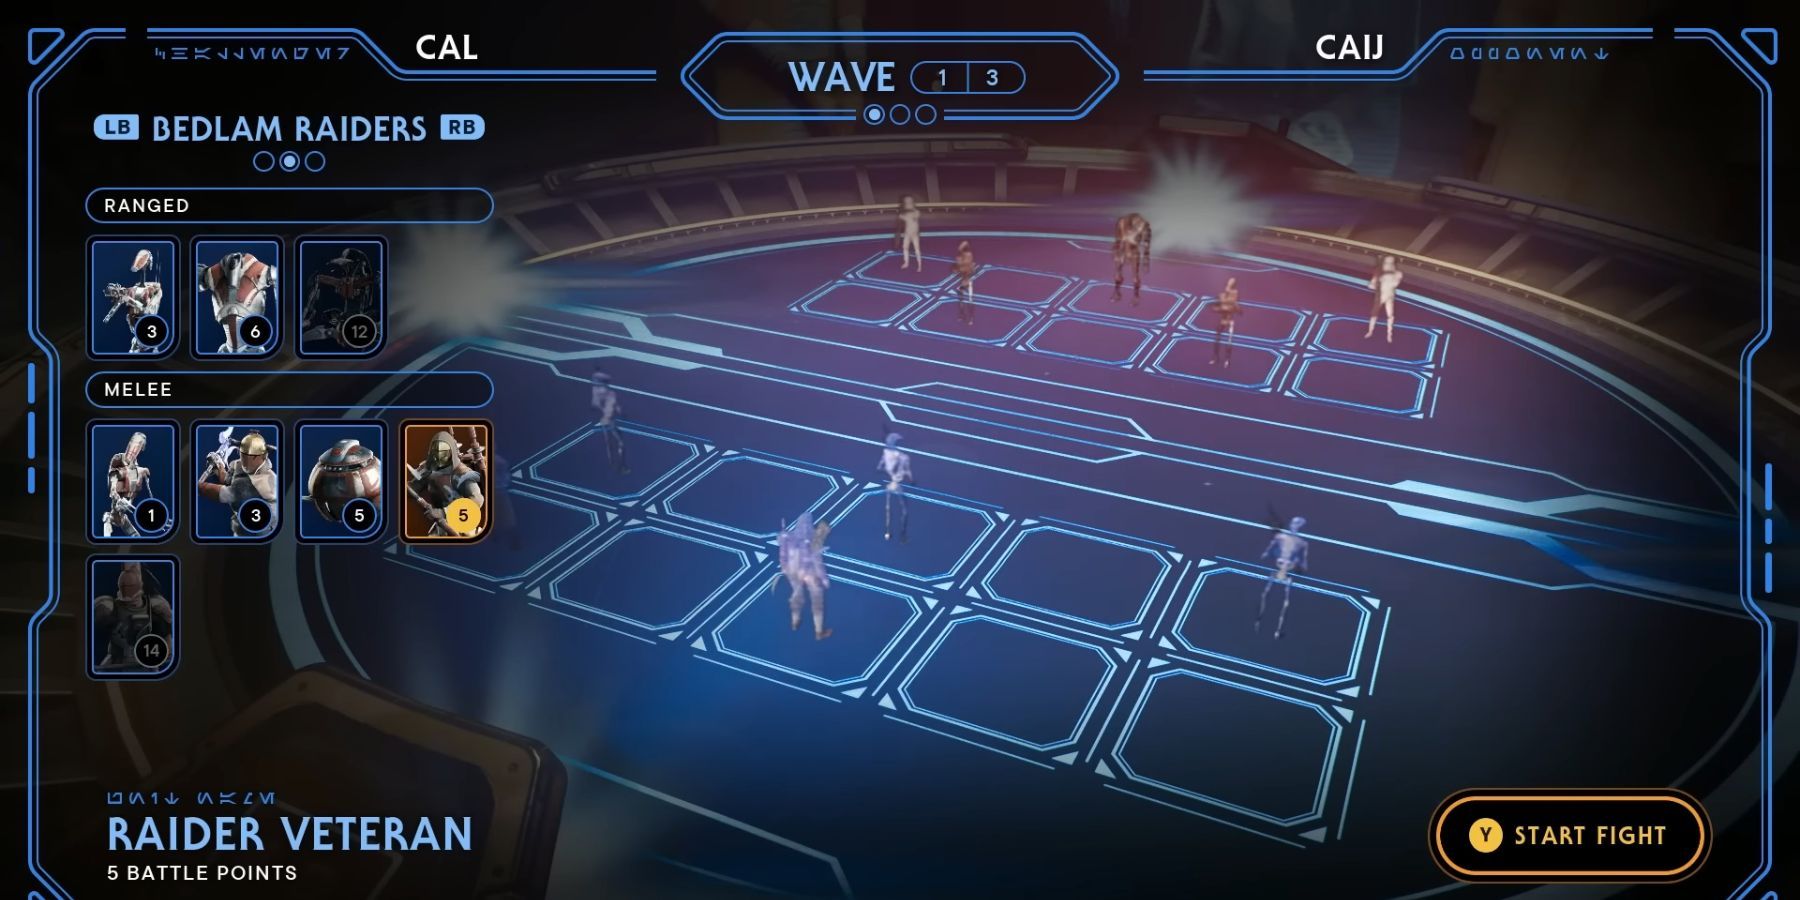
Caij’s battle commences with a B2 Droid, accompanied by two Rocket Launcher Troopers and two Ranged B1 Droids. To emerge victorious, deploy three B1 Droids in the front line, station a Raider Veteran at the rear, and position one Purge Trooper Commander in a corner.
Round 2
In the next round, Caij will deploy two Raider Veterans at the front line and position a Heavy Assault Trooper in the rear right corner.
Round 3
In the final round, Caij launches an attack using a Purging Trooper Commander and some Hybrid Droids. However, given that the players possess sufficient Battle Points, they can instead defeat these units excessively by deploying Raider Veterans, Heavy Troopers, and more Purging Commanders.
How to Beat Skoova
| Round | Troops |
|---|---|
| Round One | 2 Shield Troopers, 1 Heavy Assault Troopers |
| Round Two | 2 B1 Droids, 1 Roller Mine, 1 Heavy Assault Trooper, Raider Grunt |
| Round Three | 1 Gorocco, 3 Raider Veterans |
| Round Four | 3 Shield Troopers, 1 Raider Veteran, 1 Heavy Assault Trooper |
In Skoova’s Holotactics match, use Shield Troopers as decoys for an ambush with Heavy Assault Troopers. For the second round, attract the opposition with B1 Droids before hitting back with a Roller Mine, Heavy Assault Trooper, and Raider Grunt. In the third round, position Gorocco in front, backed up by Raider Veterans. Lastly, in the final round, maximize Shielded, Heavy, and Raider Veteran troops.
Round 1

In this round, Skoova has two Shield Units and two Heavy Assault Troopers. Place the two Shield Units on the front left side, and position one Heavy Assault Trooper towards the back left side.
Round 2
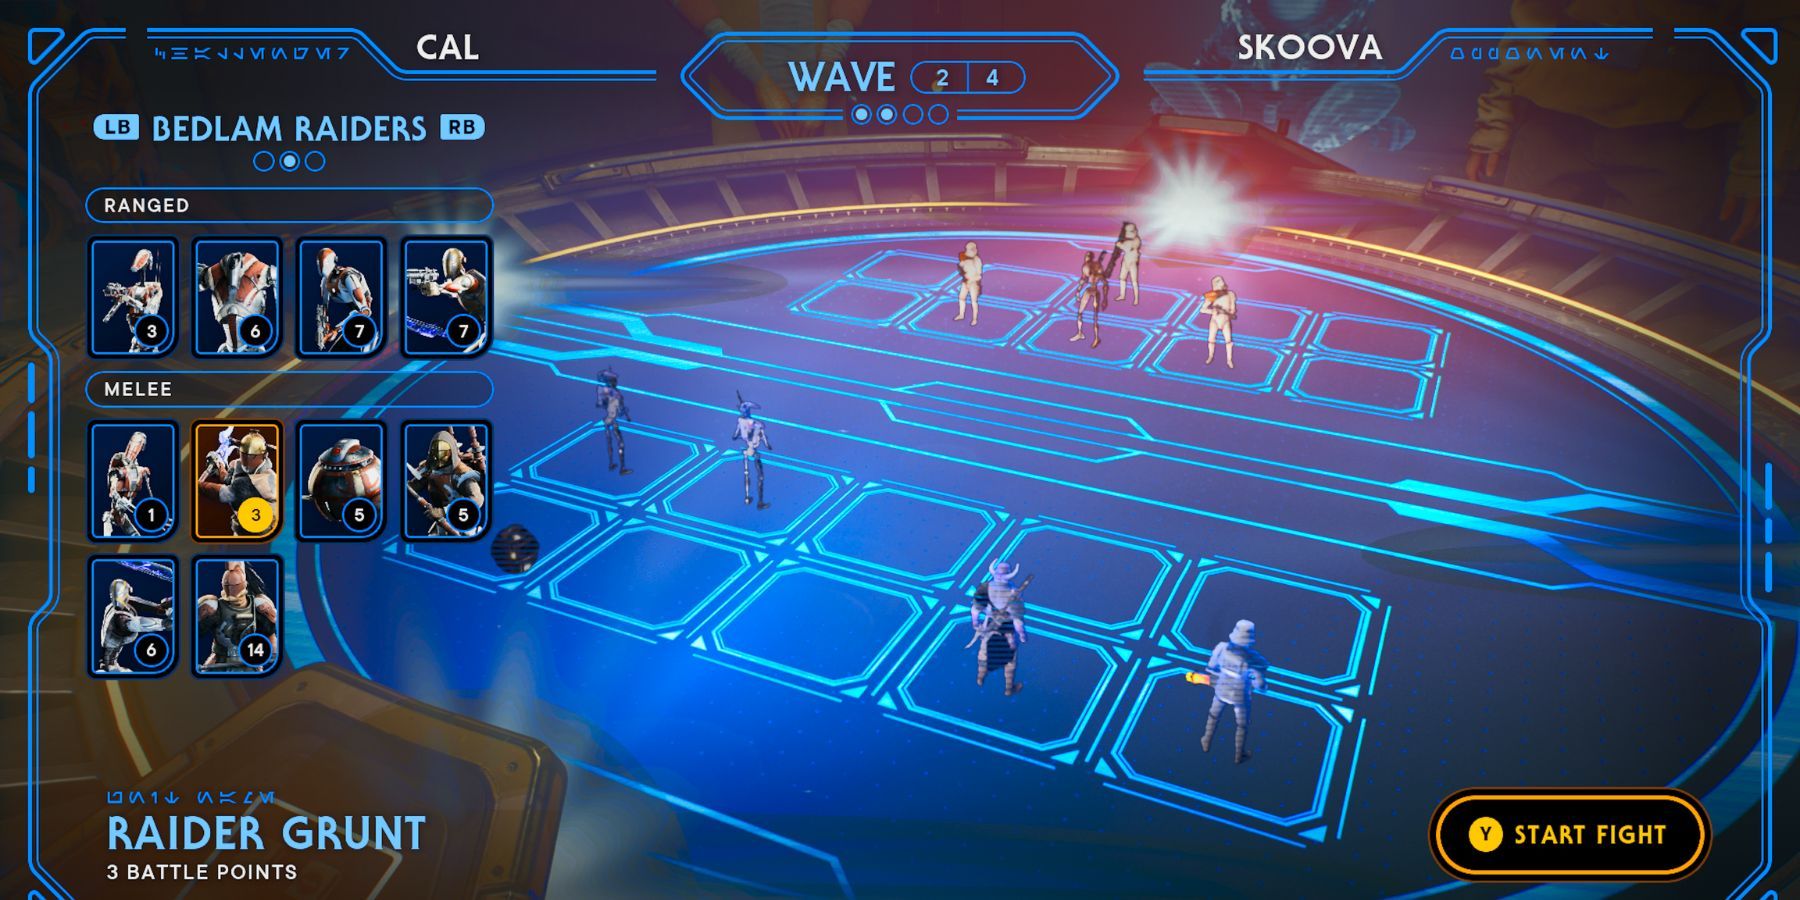
In our setup, we’ve got two Stormtrooper Commanders, a BX-type Droid, and a Rocket Launcher Trooper. Use B1 Droids and a Rolling Mine for distraction in the left lane, while launching an attack from the right side with a Heavy Assault Trooper and a Raider Grunt.
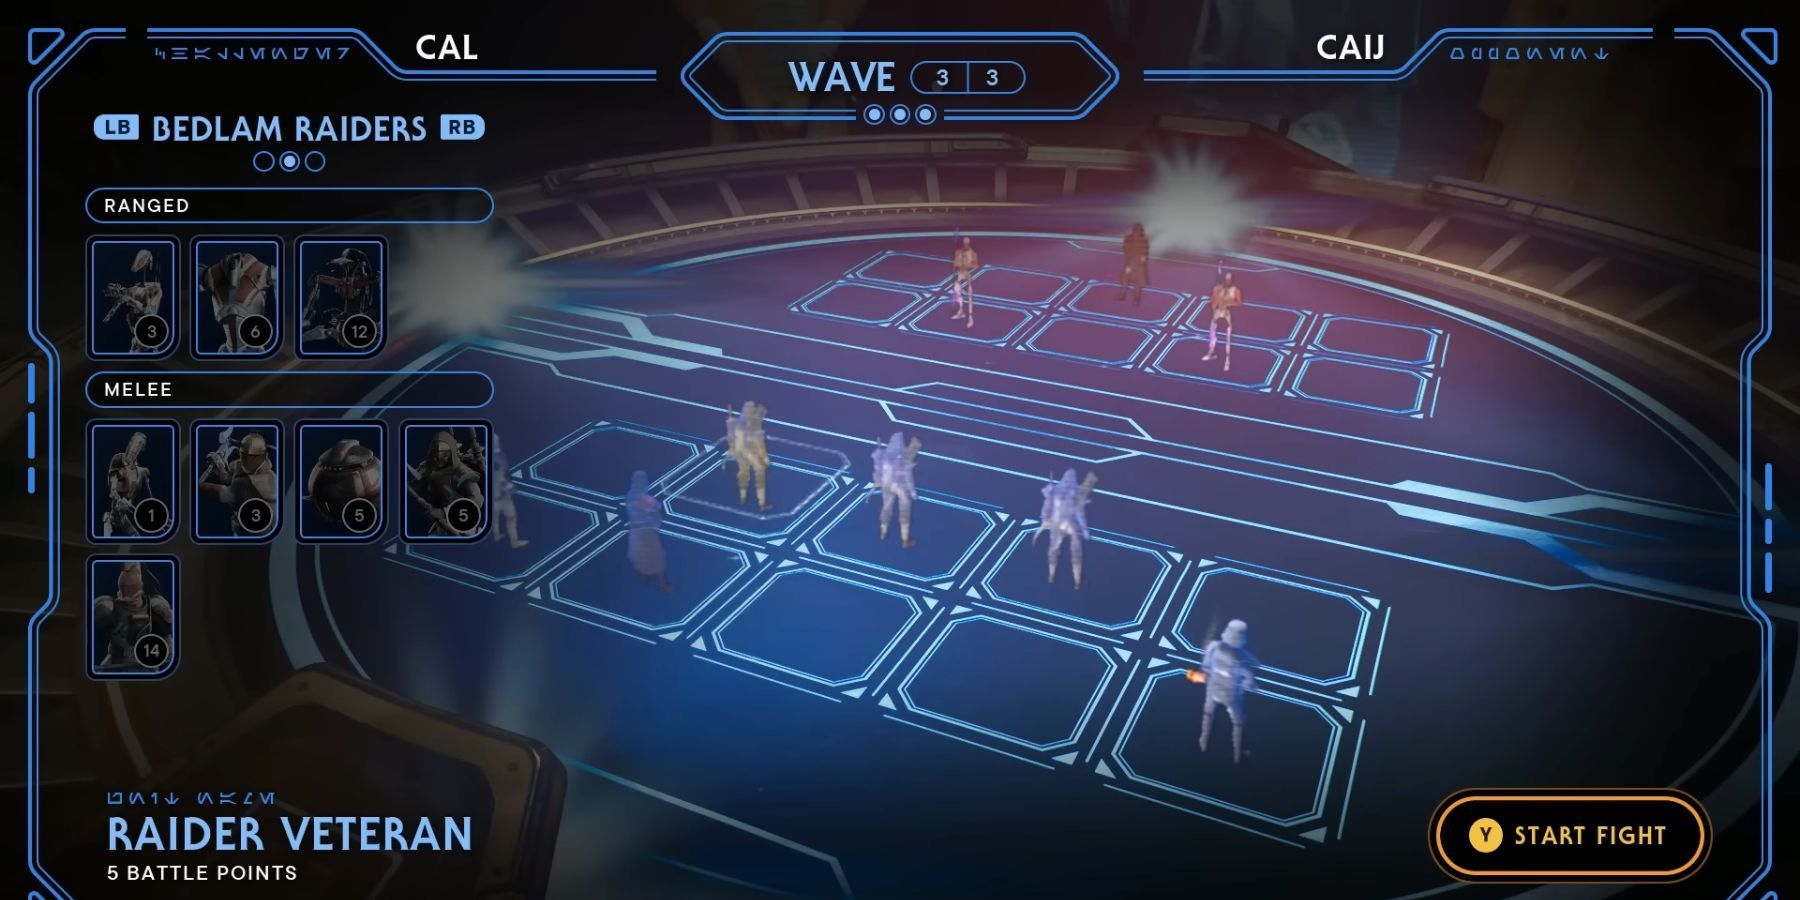
Round 3
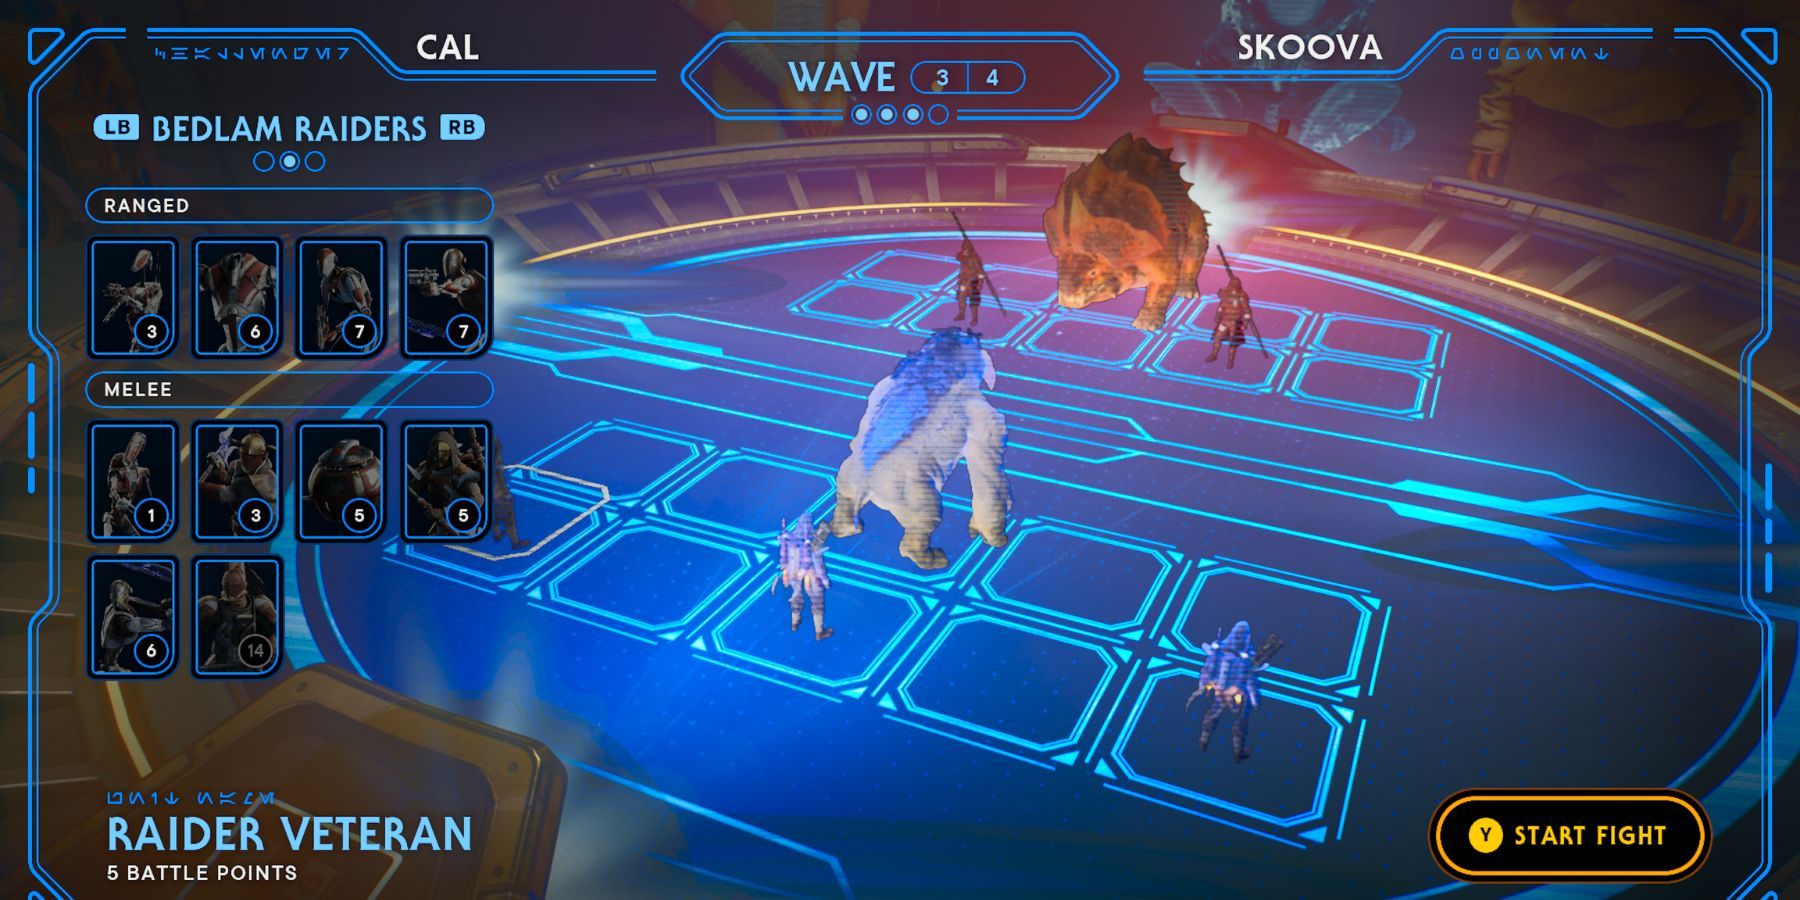
In round three, Skoova introduces a Bilemaw and two Electrostaff Purge Troopers. Eliminate them by positioning a Gorocco in the center of the front line, followed by three Raider Veterans behind it.
Round 4
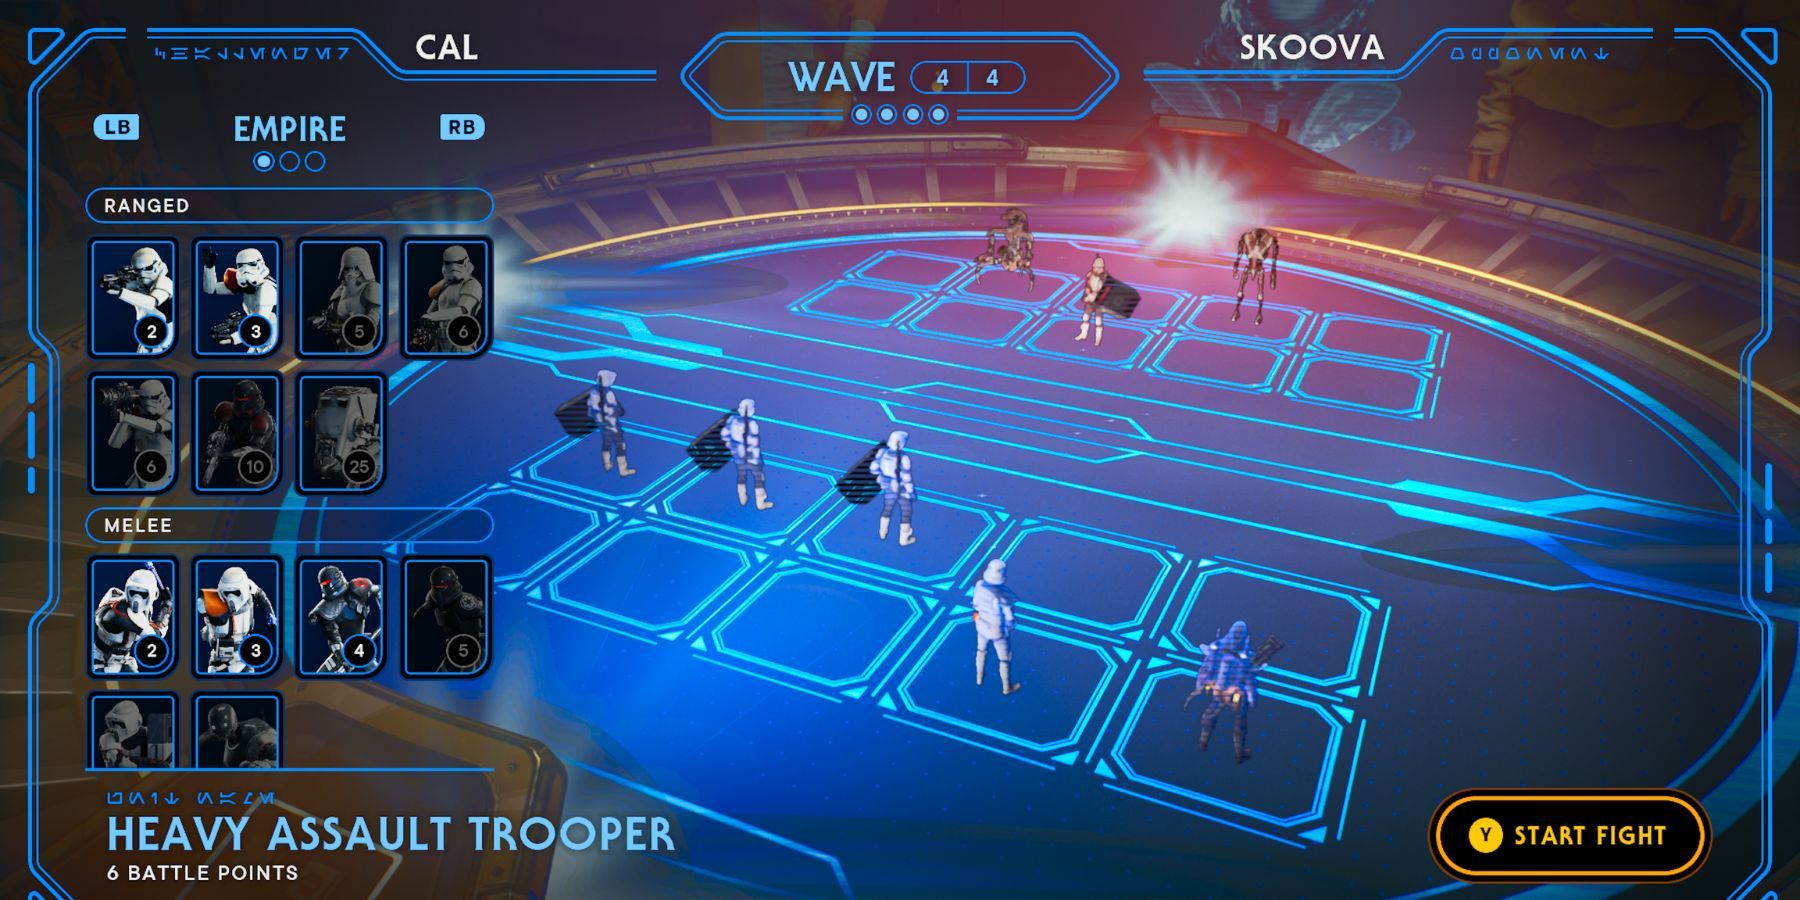
In the final round, Skoova positions a Droideka hidden by a Shield Trooper and also has a B2 Droid. To effectively counter this setup, deploy three Shield Troopers at the front line and place one Raider Veteran and Heavy Assault Trooper in the back row instead.
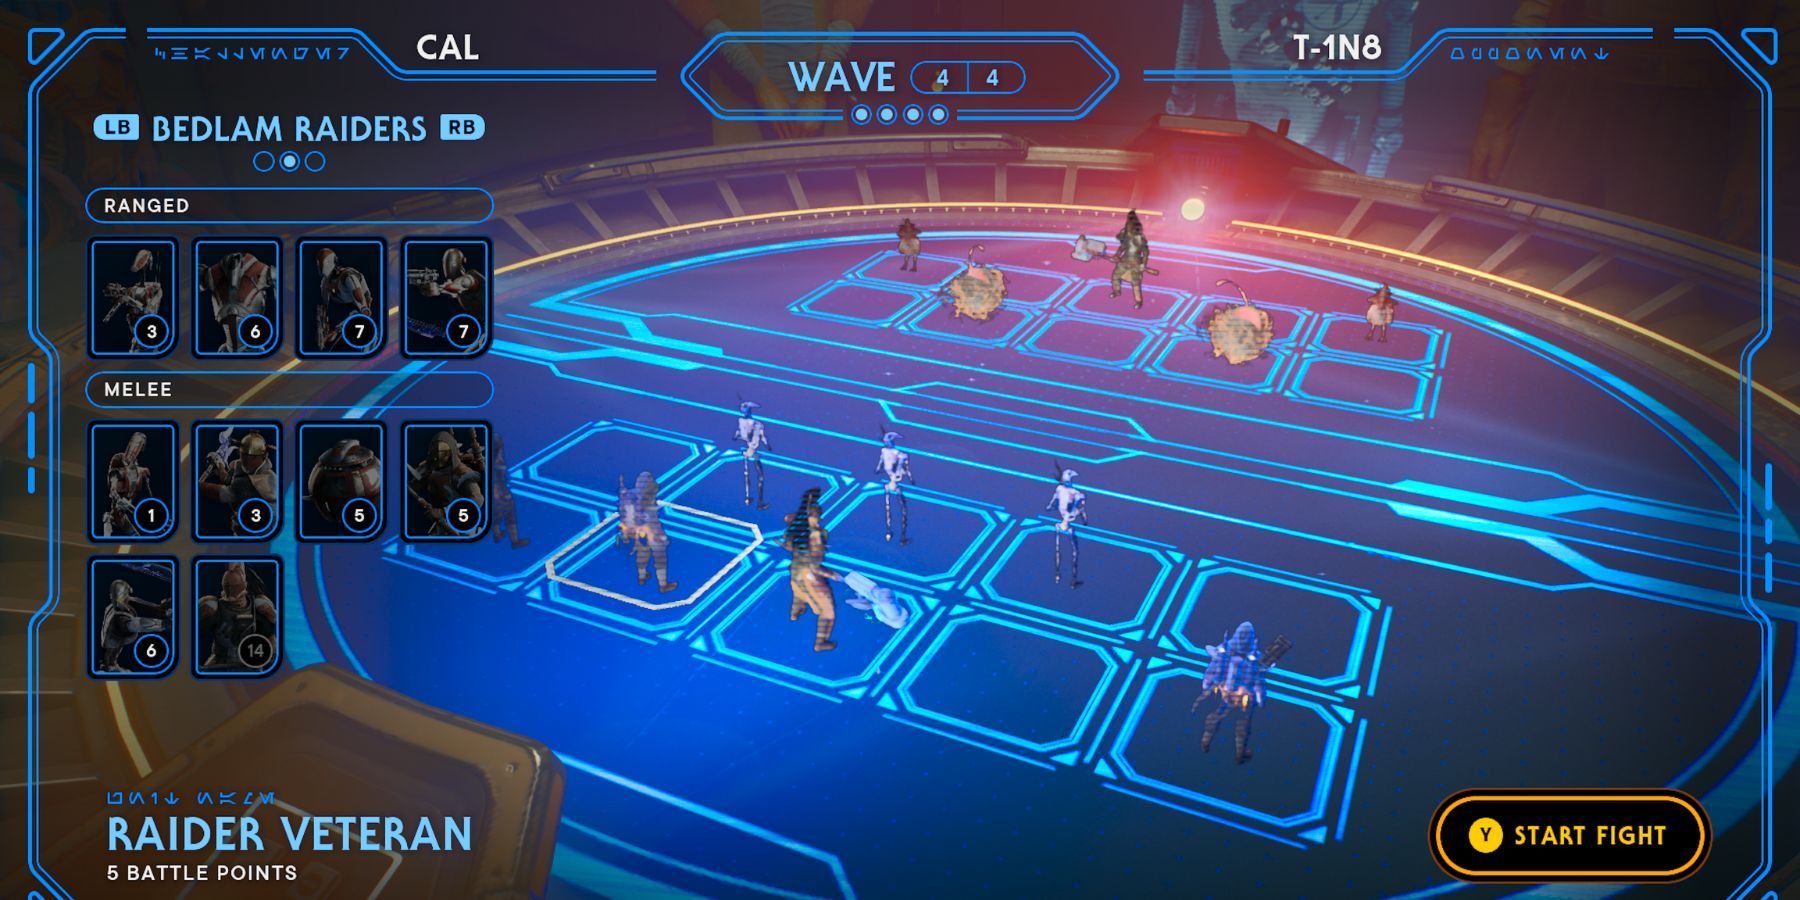
How to Beat T-1N8
| Rounds | Troops |
|---|---|
| Round One | 1 Roller Mine, 1 Heavy Assault Trooper |
| Round Two | 1 Roller Mine, 2 Raider Grunts, 1 Heavy Assault Trooper |
| Round Three | 1 Skriton, 2 Raider Veterans |
| Round Four | 3 B1 Droids, 3 Raider Veterans, 1 Beldam Smasher |
In the T-1N8 Holotactics competition, one of the most challenging matches lies ahead. To overcome the Gorocco in this match, consider employing Roller Mines and a Heavy Assault Trooper. In the second round, prepare to face both the Bilemaw and Gorocco, again utilizing Roller Mines and Raider Grunts. For the third round, strategize defeating Sutaban Alpha and Droideka using Skriton and Raider Veterans. Lastly, in the final round, aim to vanquish Bramliks, Rawkas, and Beldam Smasher with a team of Raider Veterans and a Beldam Smasher.
Round 1
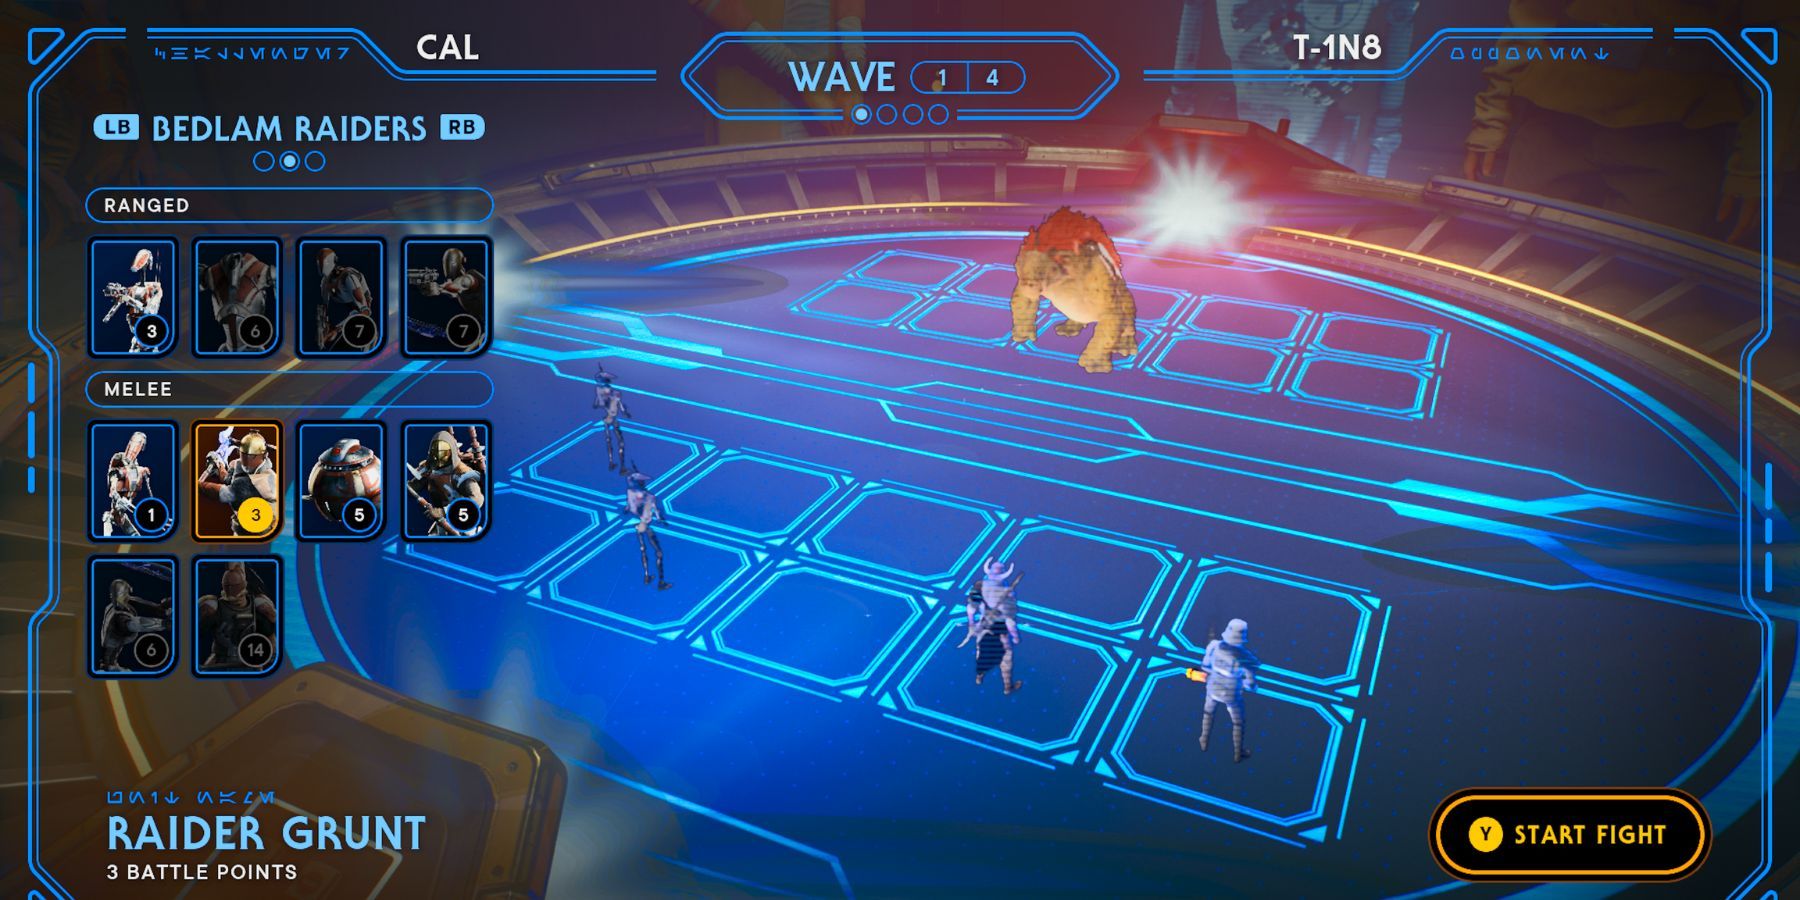
The game begins by deploying a Gorocco. To emerge victorious, lead the creature towards one edge using a Roller Mine, then counter-attack it from the other side with a Heavy Assault Trooper.
Round 2
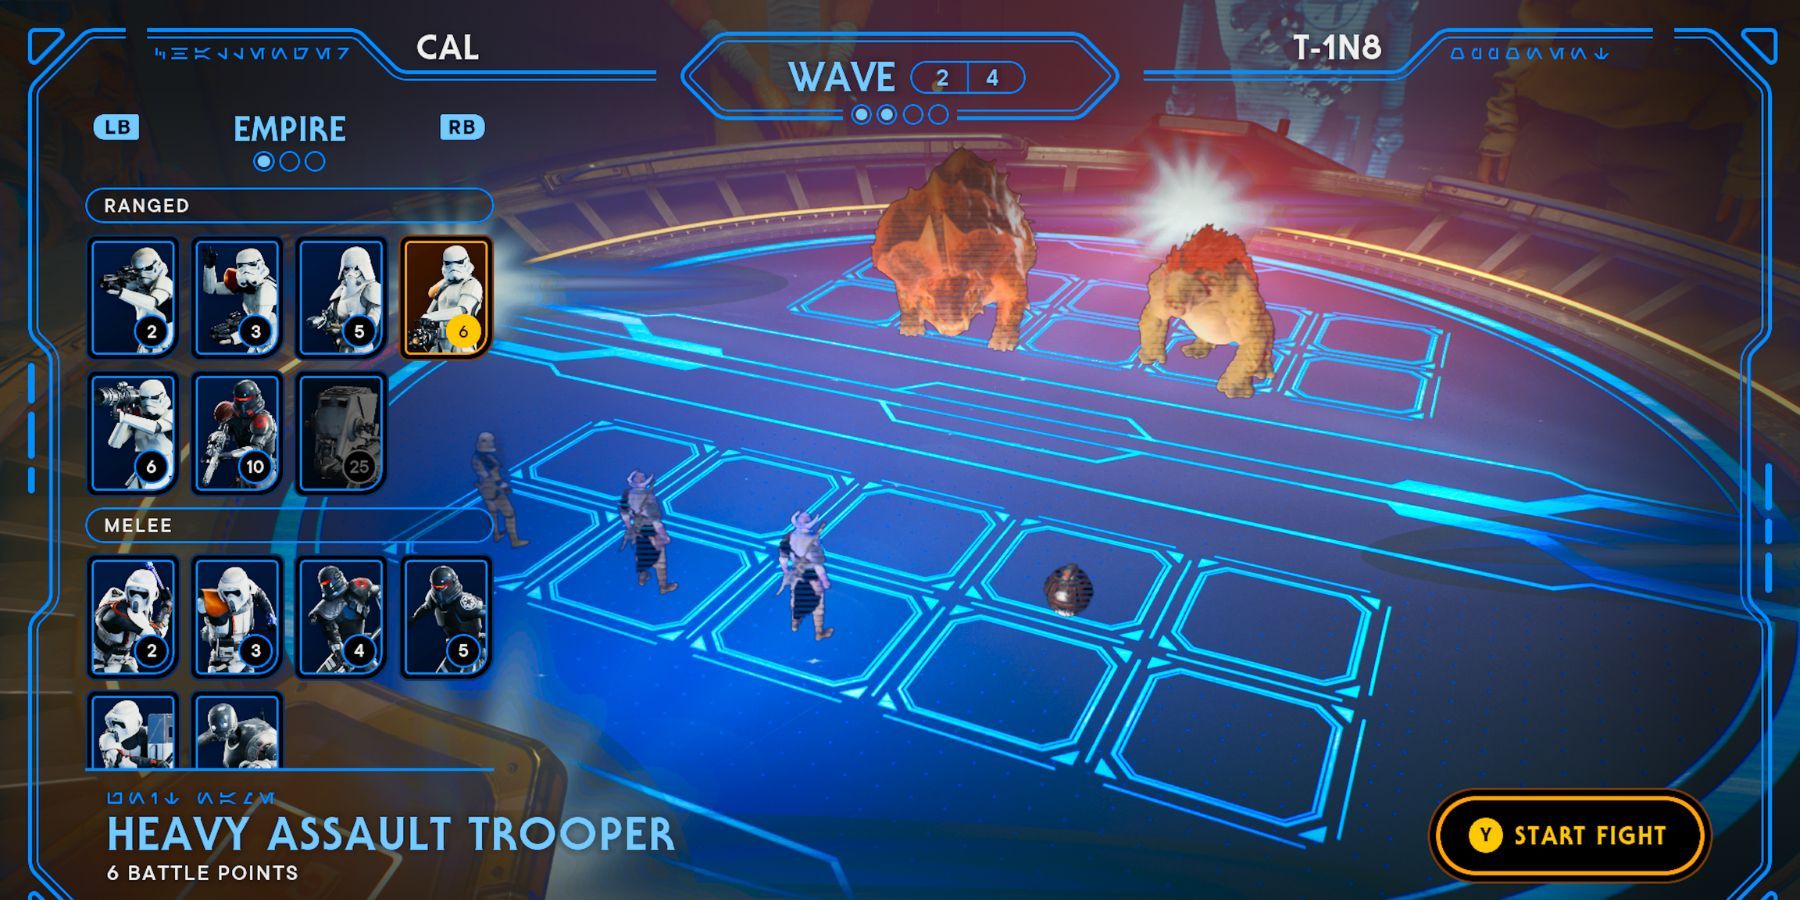
In the second phase, T-1N8 positions Bilemaw and Gorocco at the front. Lure them towards one side using a Roller Mine, then counterattack with two Raider Grunts and a Heavy Assault Trooper from the opposite direction.
Round 3
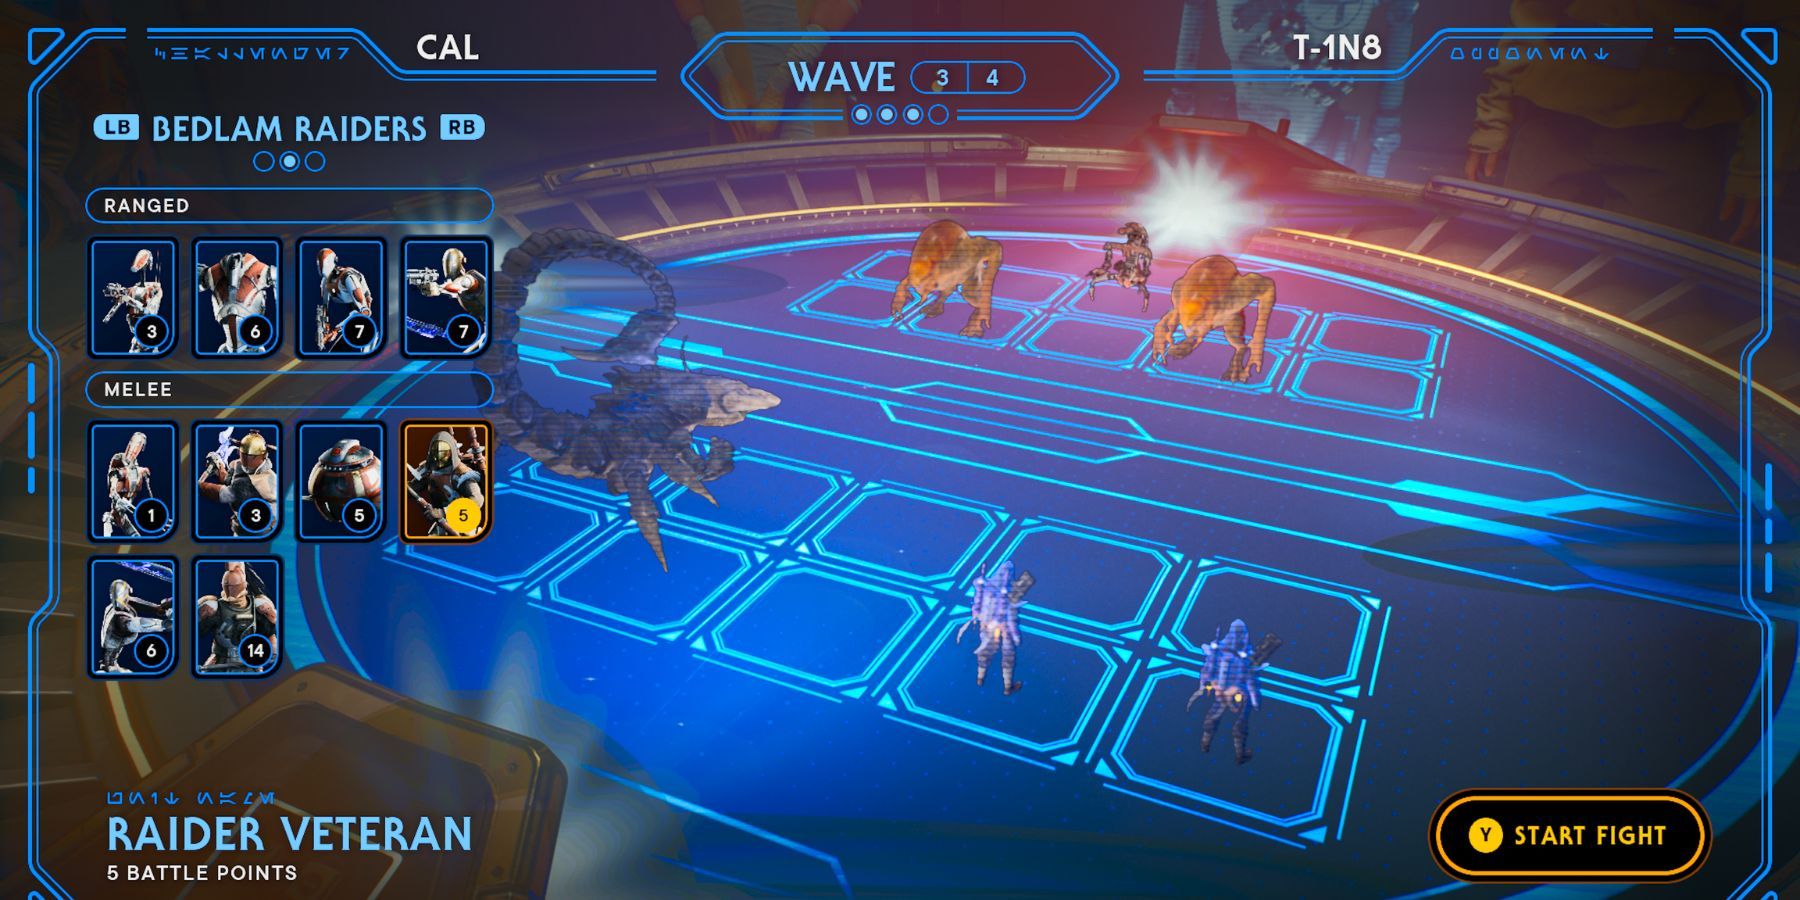
In response, I deploy a Skriton on the front left and station 2 Raider Veterans on the back right. Meanwhile, I also activate two Sutaban Alphas and a Droideka (T-1N8).
Round 4
Position three B1 Droids at the front for decoy purposes, followed by three Raider Veterans in the rear. End the battle with a powerful Beldam Smasher attack.
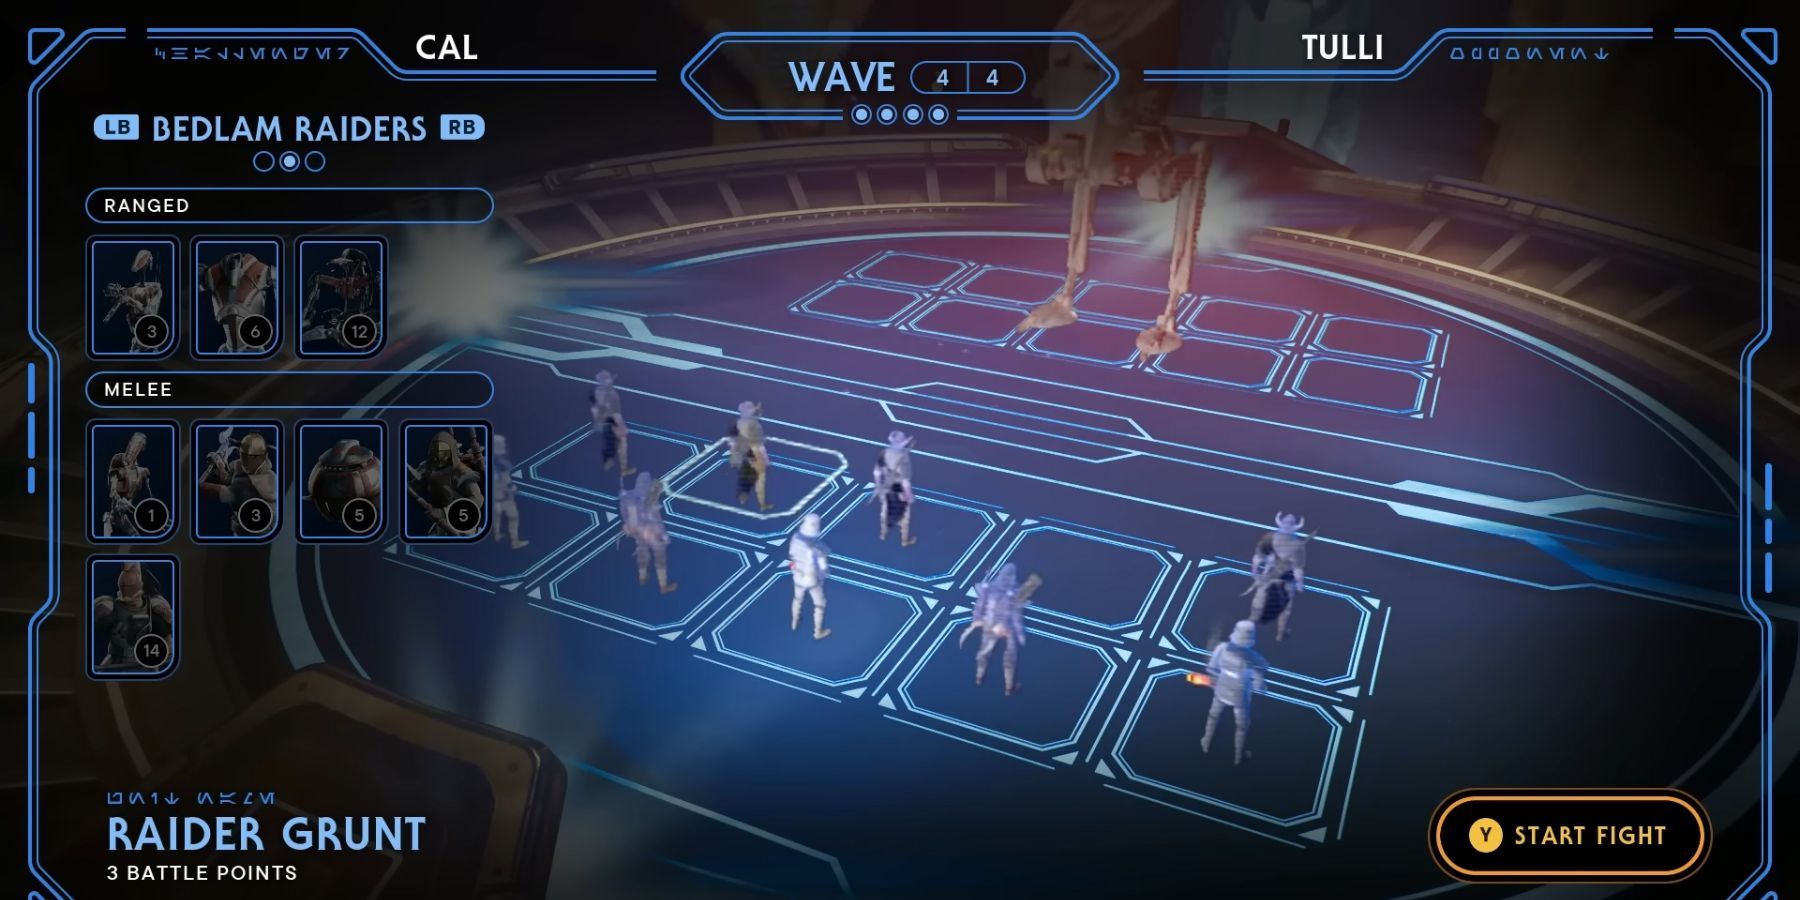
How to Beat Tulli
| Rounds | Troops |
|---|---|
| Round One | 1 Purge Trooper Commander, 1 Raider Veteran, 3 B1 Droids |
| Round Two | 3 Heavy Assault Troopers, 3 Raider Veterans, 3 B1 Droids |
| Round Three | 2 Heavy Assault Troopers, 2 Purge Trooper Commander, 3 Raider Veterans |
| Round Four | 2 Raider Grunts, 3 Raider Veterans, 3 Heavy Assault Troopers |
In Holotactics, Tulli is an extremely formidable adversary. To stand a chance of defeating her in the initial round, it’s advisable to depend on Stormtrooper Commanders, Raider Veterans, and B1 Droids. As the game progresses into the second, third, and fourth rounds, consider employing Heavy Assault Troopers for better results.
Round 1
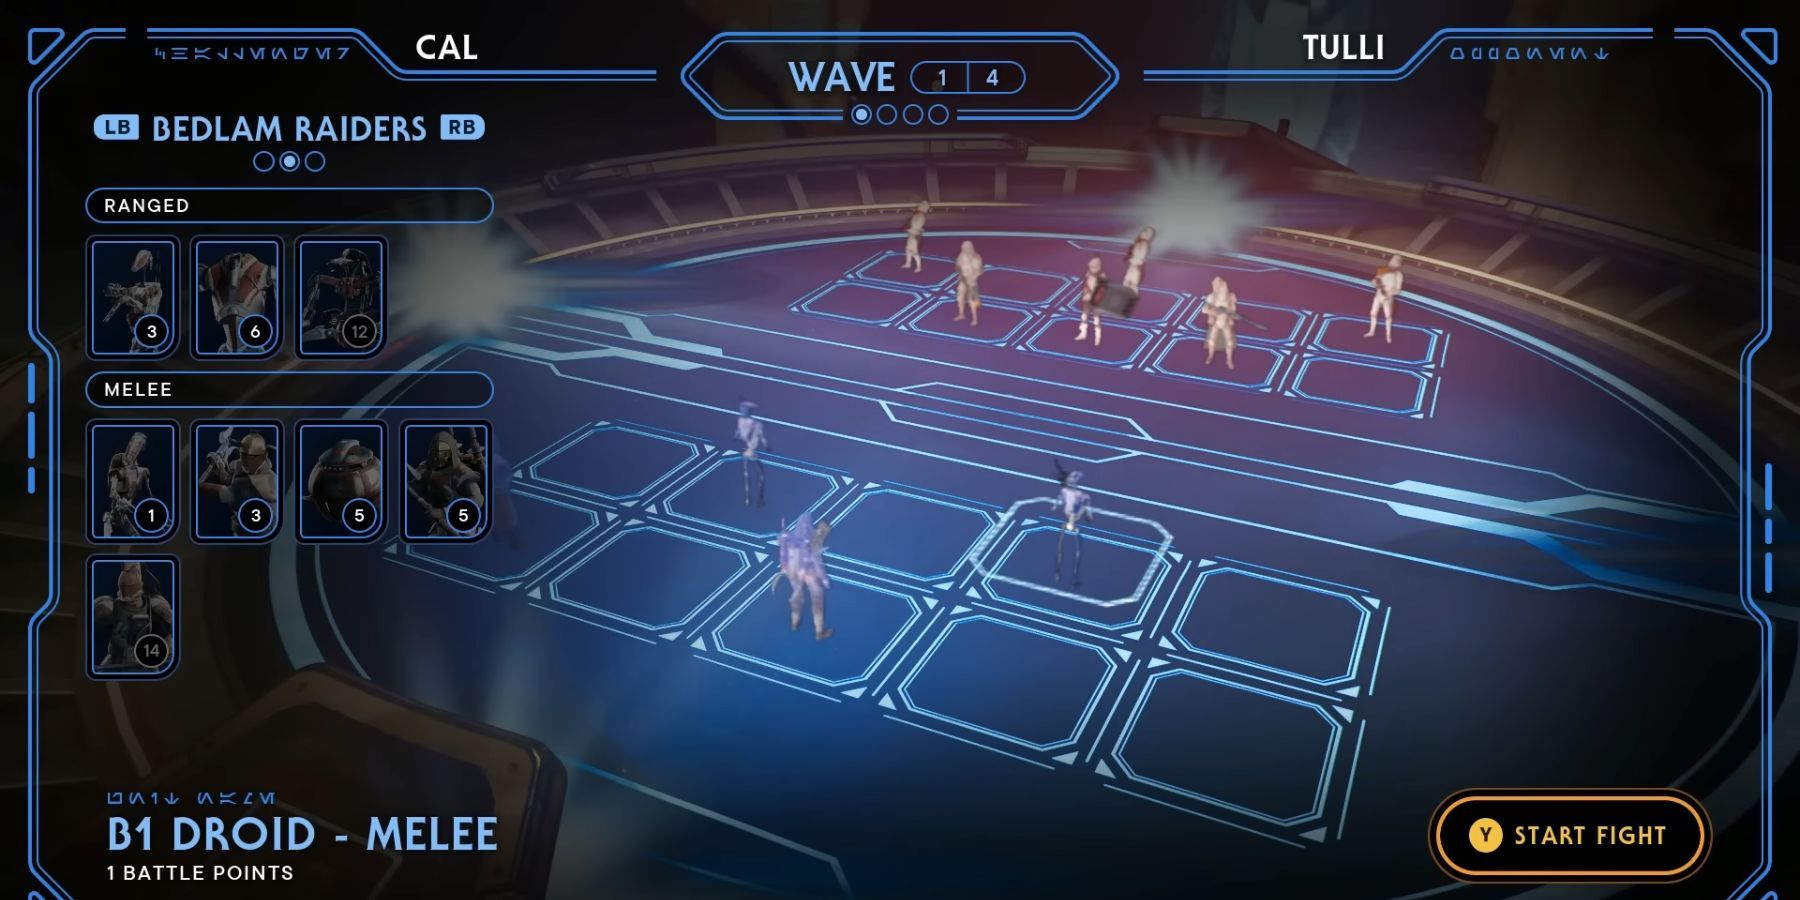
As a passionate Star Wars battle strategist, I’d recommend initiating the skirmish with a pair of Flametroopers, three Stormtrooper Commanders, and a Shield Trooper taking the lead. To balance things out, position a Purge Trooper Commander in the rear corner, a Raider Veteran strategically in the back middle row, and two Melee B1 Droids up front to form our first line of defense.
Round 2
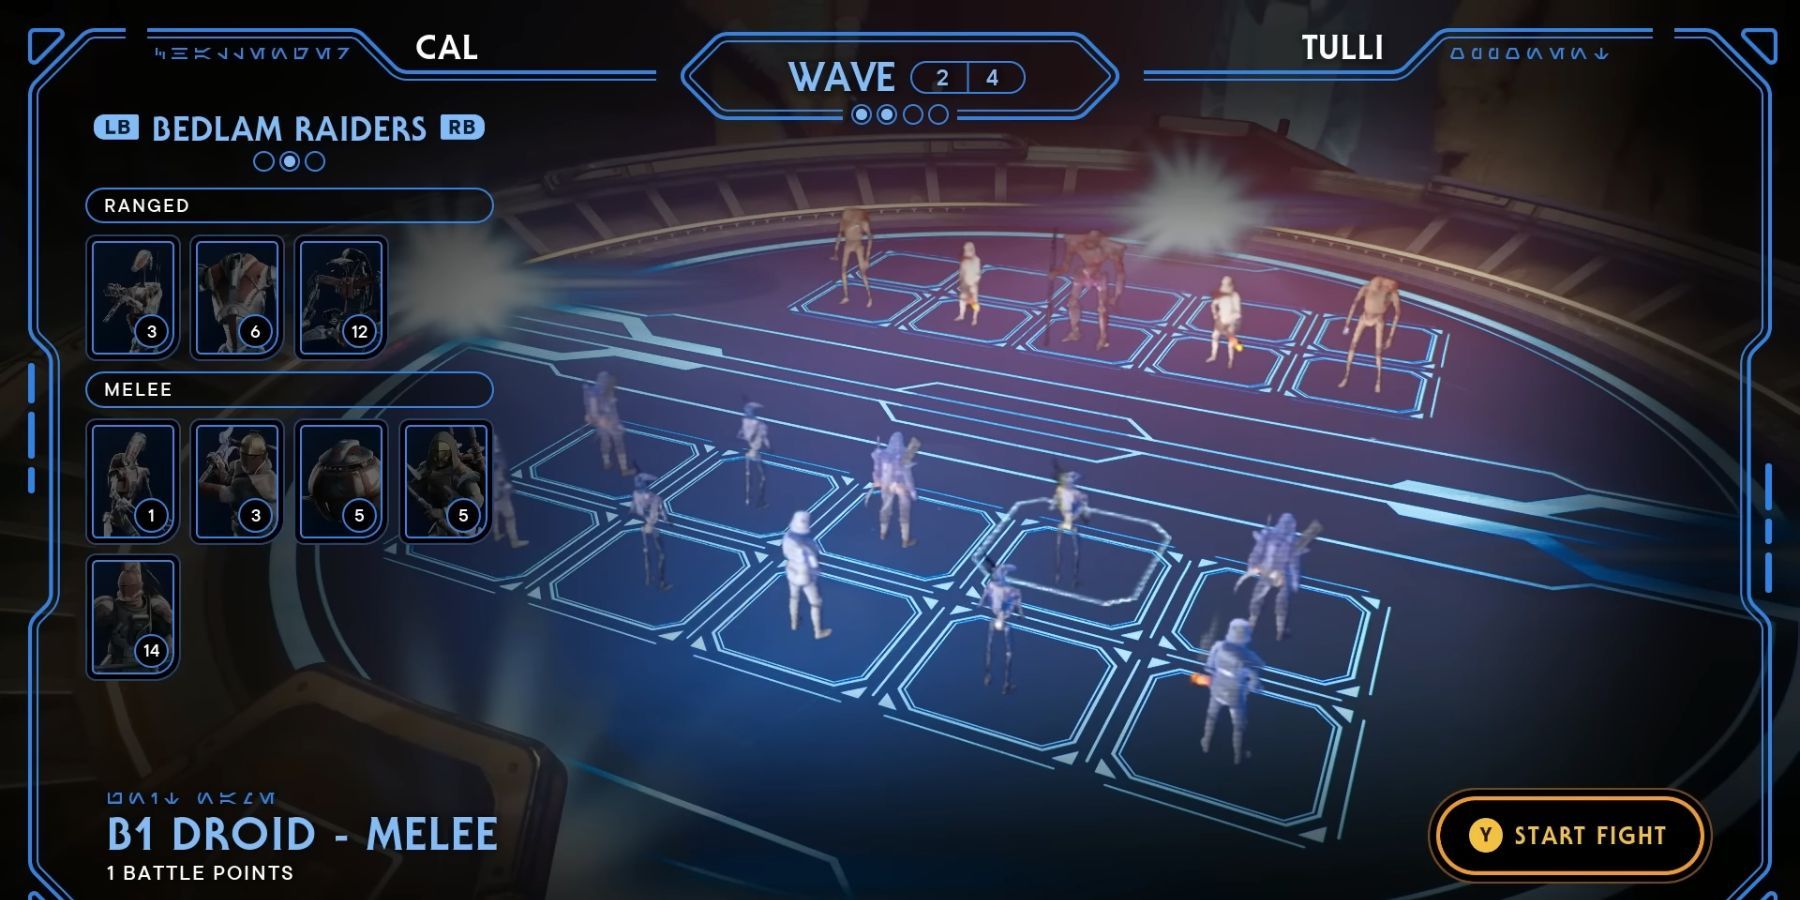
In round two, Tulli deploys a DT Sentry Droid accompanied by two Heavy Assault Troopers and some Raider bots. To outmatch her setup, position three Heavy Troopers at the back, three Raider Veterans up front, and use B1 Droids to fill any remaining spots.
Round 3
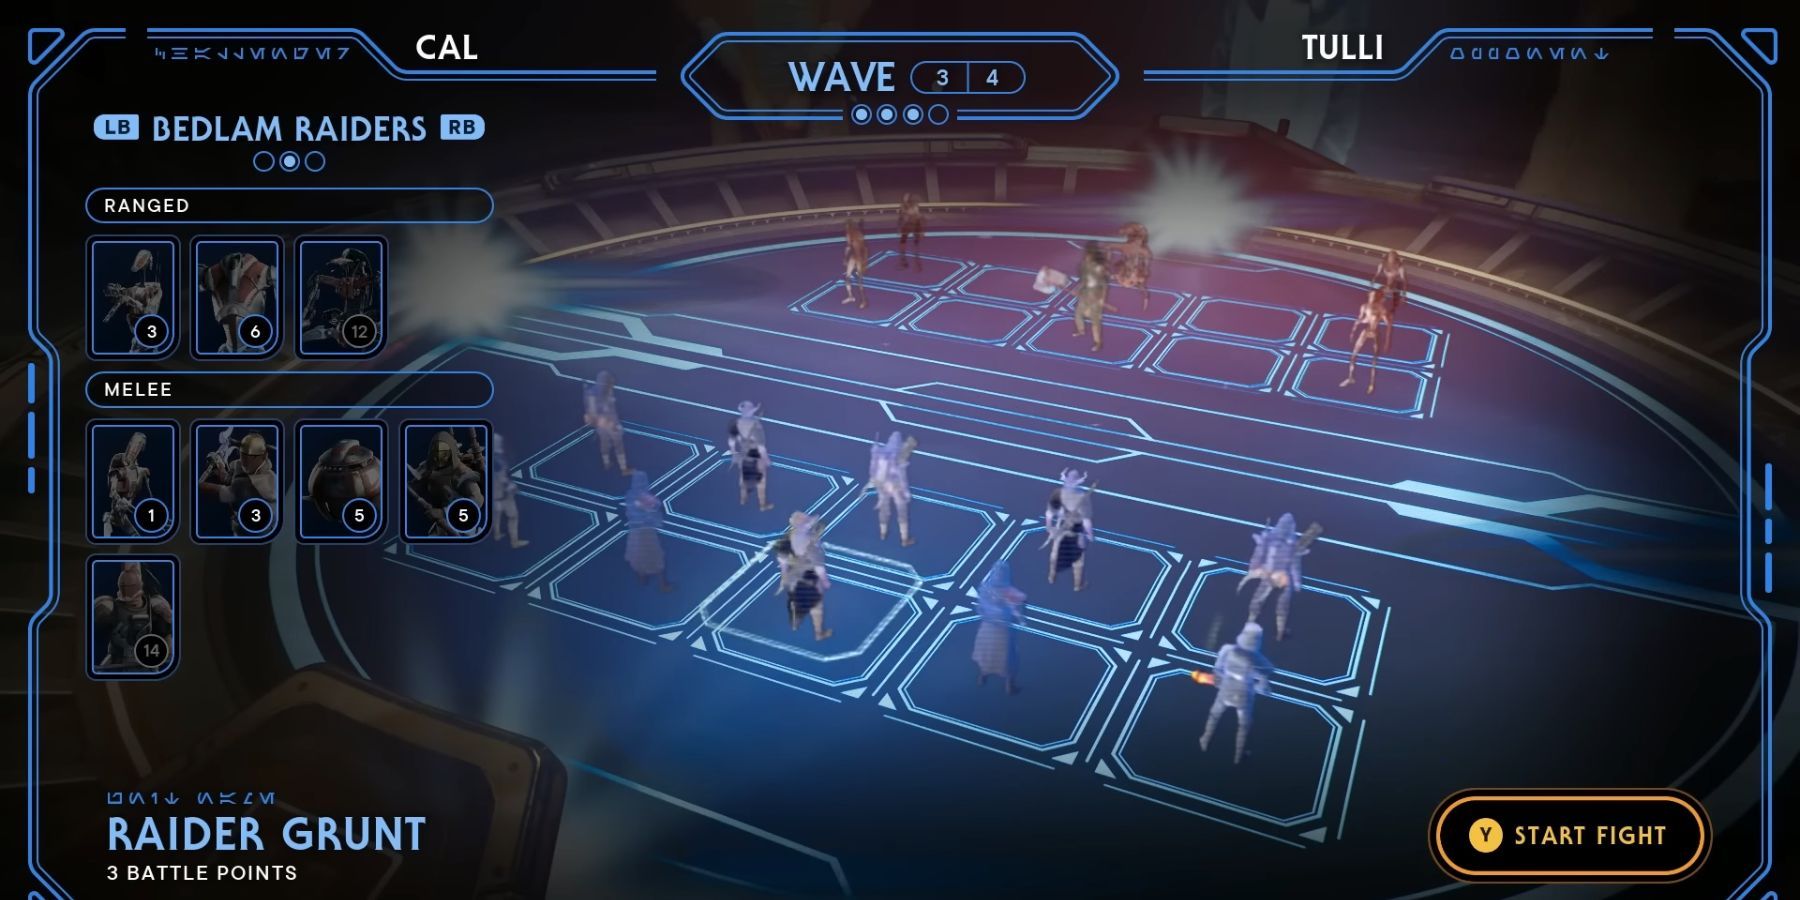
In response to Tulli’s offensive with a Beldam Smasher, four Hybrid Droids, and a Droideka, an effective counter strategy would be positioning two Heavy Troopers at the back corners, flanked by two Purge Trooper Commanders nearby, and a group of three Raider Veterans in front, along with three Raider Grunts for support.
Round 4
In the last round, Tulli is using an AT-ST. To defeat her, position three Heavy Assault Troopers and two Raider Veterans strategically at the rear, while placing Raider Grunts in the front row.
Read More
- Invincible’s Strongest Female Characters
- Top 8 Weapon Enchantments in Oblivion Remastered, Ranked
- MHA’s Back: Horikoshi Drops New Chapter in ‘Ultra Age’ Fanbook – See What’s Inside!
- Nine Sols: 6 Best Jin Farming Methods
- Top 8 UFC 5 Perks Every Fighter Should Use
- Fix Oblivion Remastered Crashing & GPU Fatal Errors with These Simple Tricks!
- Gold Rate Forecast
- How to Reach 80,000M in Dead Rails
- Silver Rate Forecast
- USD ILS PREDICTION
2025-02-21 07:56