
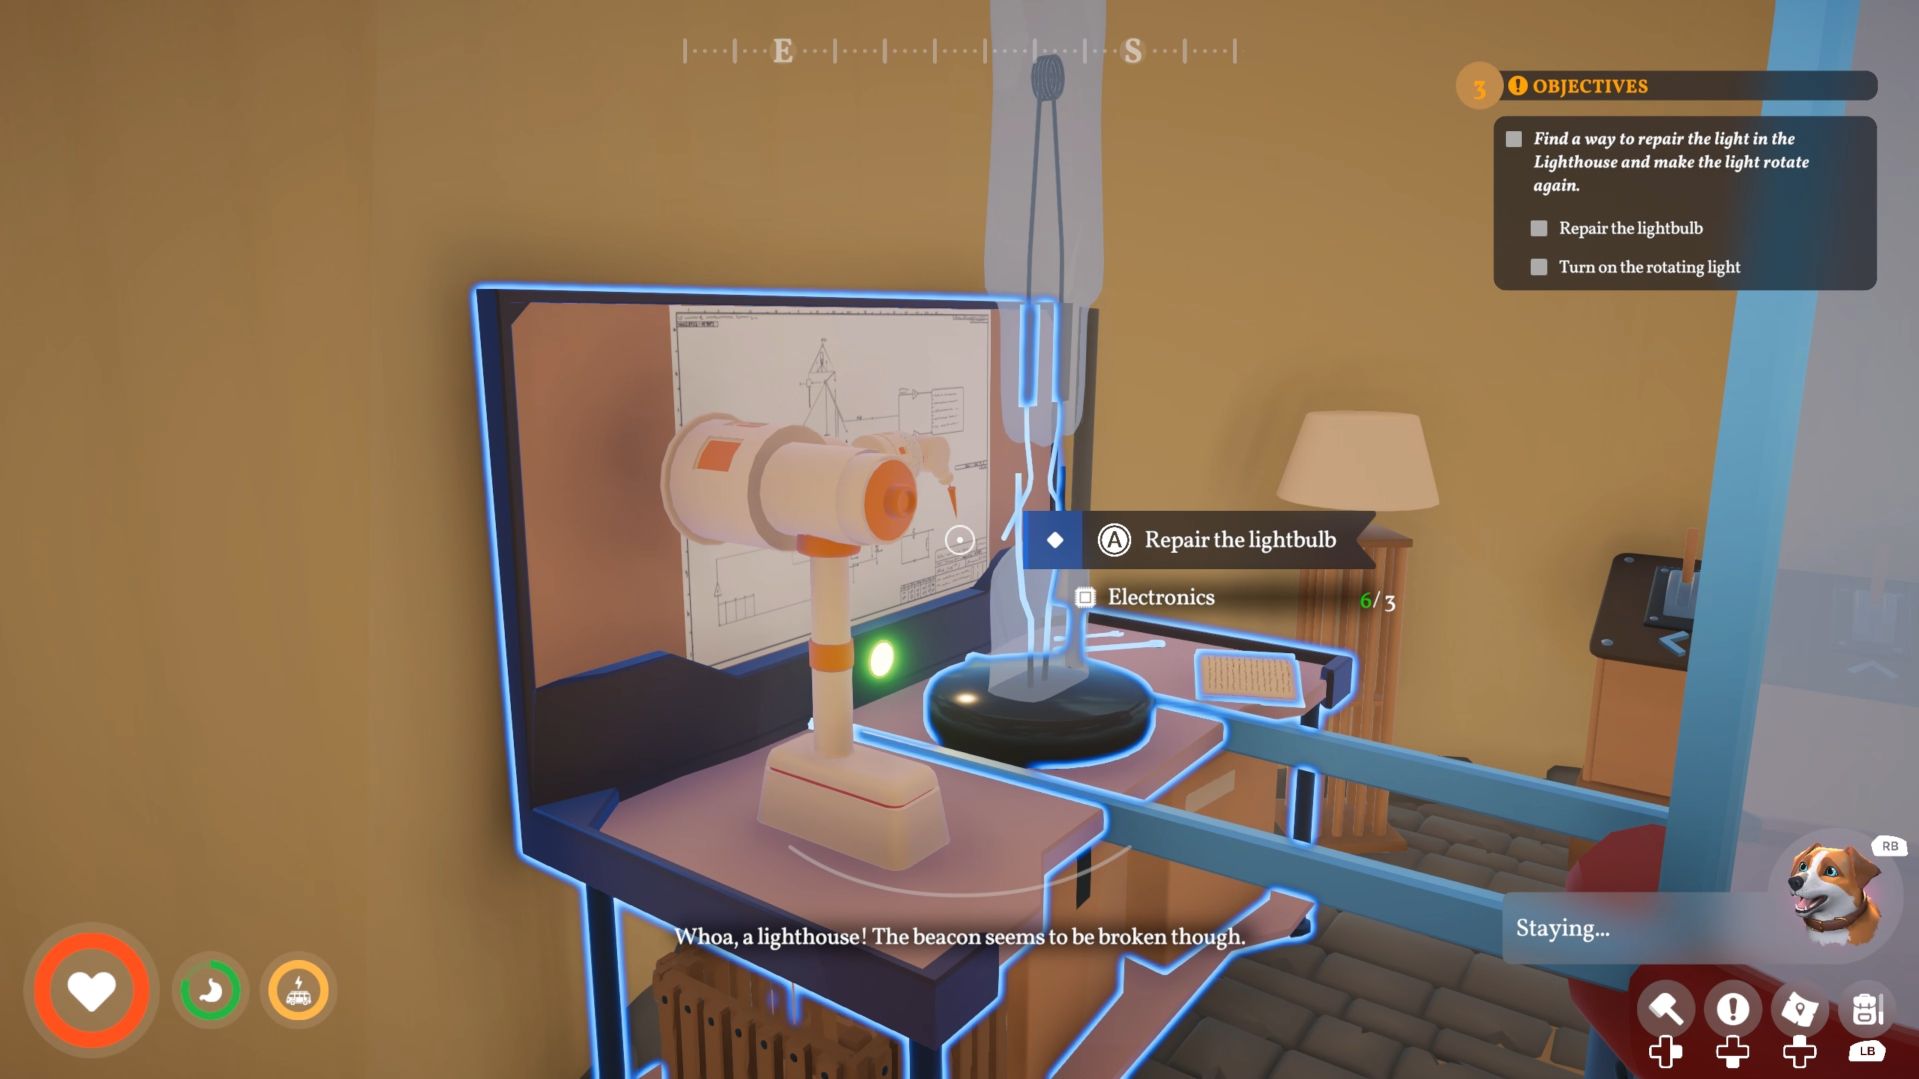
As you explore the different areas in your camper van in Outbound, each location has a special landmark that requires a bit more effort than simply collecting the needed items. For example, in the coastal area, you’ll find a lighthouse that needs a new light bulb. It’s not enough to just bring the parts – you also need to carry the bulb down to the workbench on the ground floor. This guide will show you exactly how to fix the lighthouse in Outbound, including a complete list of everything you’ll need.
Steps Required to Repair the Lighthouse in Outbound
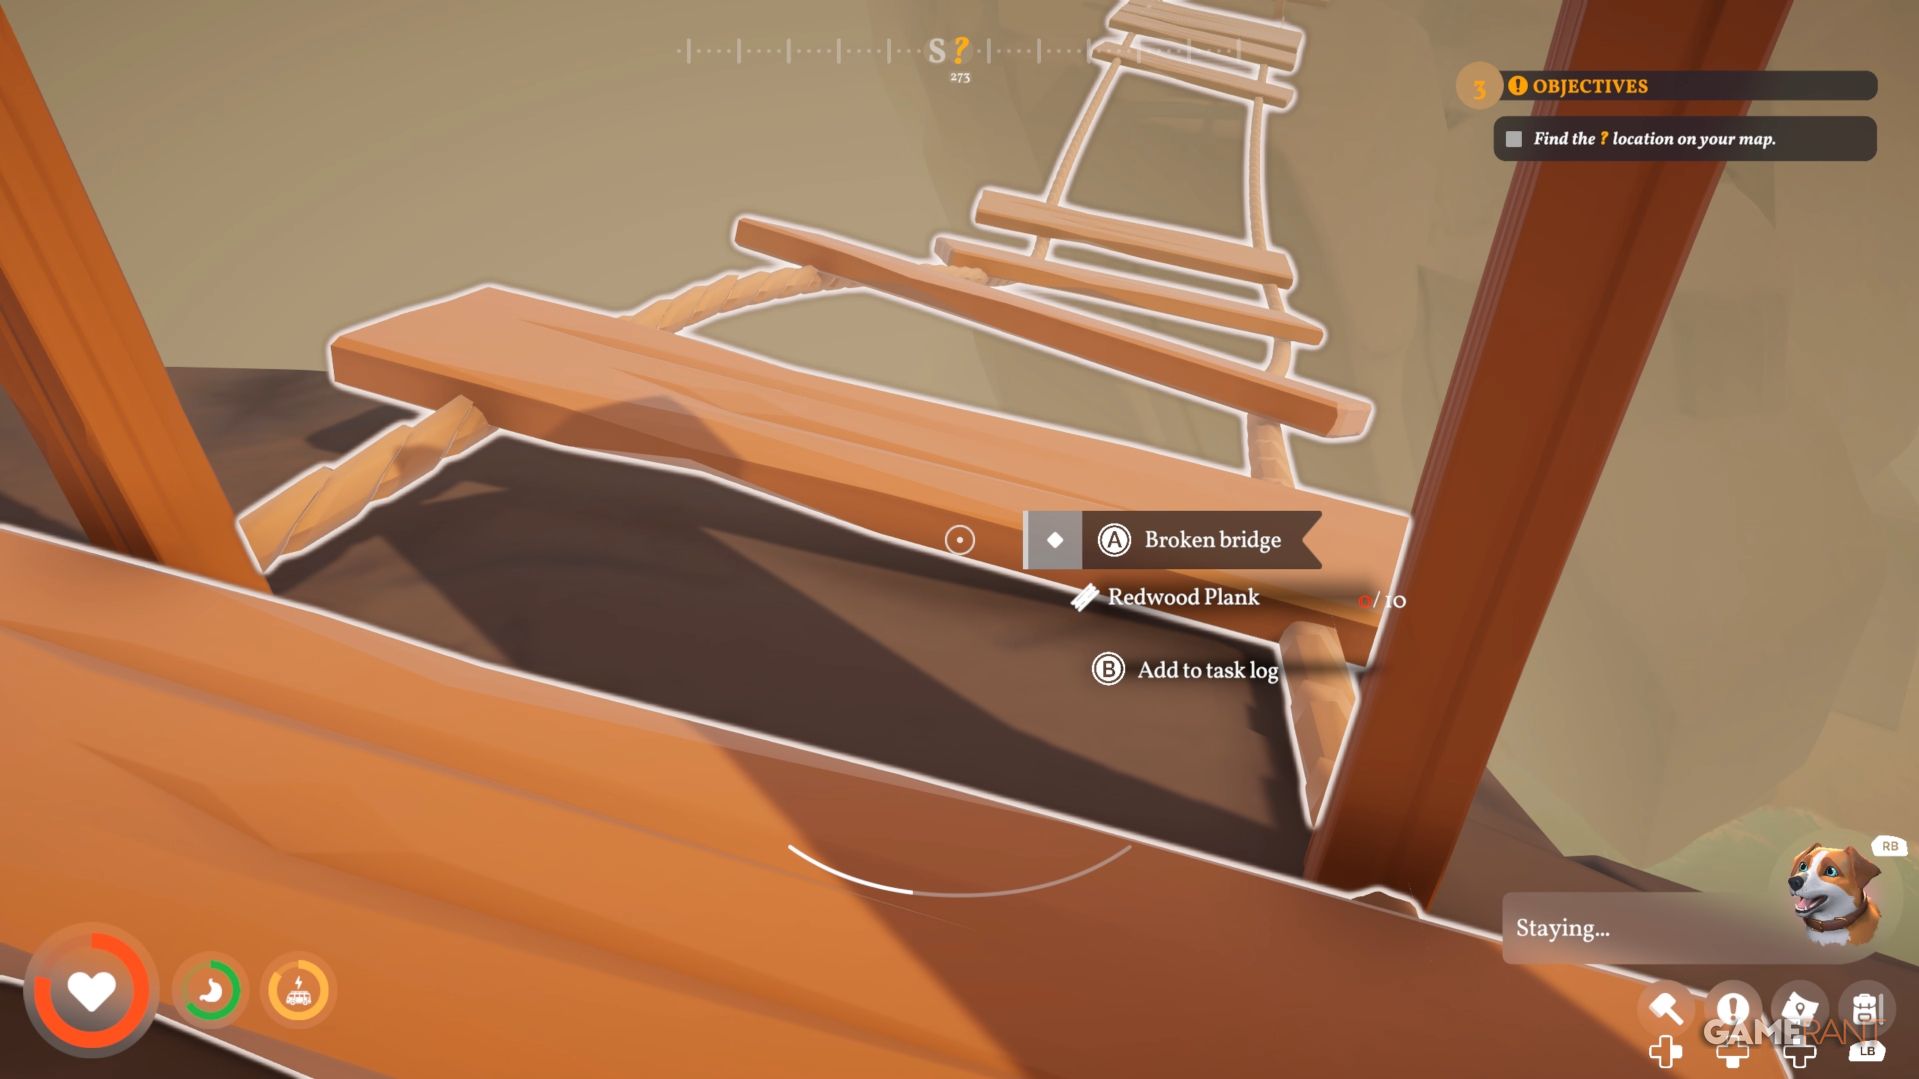
- Repair the bridge to the lighthouse.
- Move the lighthouse light bulb to the bottom floor with the controls on each level.
- Use the repair bench on the bottom floor to repair the light bulb with the required materials.
- Move the bulb back to the top of the tower and use the button to begin rotating it.
How to Repair the Lighthouse in Outbound
To get to the lighthouse, you’ll first need to fix a broken bridge that leads to the small island where it’s located. You’ll need 10 Redwood Planks to repair it, and you can craft those by putting two Redwood Logs into the Sawmill.
Since the lighthouse is a bit of a trek, it’s best to pack everything you need for your first visit. This will save you multiple trips back and forth from the camper van.
After the bridge is fixed, climb the stairs that spiral around the lighthouse all the way to the top. You’ll see the lightbulb directly above you and a control panel on your right. Use the lever on the panel marked with a downward arrow to carefully lower the bulb to the middle floor. Then, go to the middle floor and use the same lever on the control panel there to lower the bulb all the way to the ground floor.
Downstairs, use the left lever on the control panel to position the bulb near the workbench against the wall. To fix it, you’ll need three electronic components. You can create these components using the Assembler, and each one requires a single bolt and a single sheet metal piece. So, you’ll need to gather those materials.
- Six scrap metal to make three metal sheets
- Six scrap metal to make three bolts.
If you followed the previous steps, you can now place your three Electronics onto the workbench and fix the bulb. After that, go back to the control panel. Use the right lever to return the bulb to the center of the lighthouse, and then use the middle lever to lift it to the middle floor.
First, use the lever on the middle floor to raise the mechanism to the top. Then, use the lever on the top floor to secure it at the very top of the lighthouse. Finally, activate the lever with the circular arrows to restart the light’s rotation.
To get the lighthouse blueprint, you’ll also need to locate a few other items: the password database, a program to run on the terminal, and a device to decode the signal. Here’s where to find them:
- Password Databank: On the ground next to the control panel on the top floor.
- Terminal Executable: Behind the boxes on the left side of the middle floor.
- Signal Decryptor: On the picnic table just outside the lighthouse.
Read More
- NTE Drift Guide (& Best Car Mods for Drifting)
- How to Get the Wunderbarrage in Totenreich (BO7 Zombies)
- Change Your Perspective Anomaly Commission Guide In NTE (Neverness to Everness)
- How to Beat Turbines in ARC Raiders
- Deltarune Chapter 1 100% Walkthrough: Complete Guide to Secrets and Bosses
- NTE Fan Shows Off Mint Cosplay
- Diablo 4 Best Loot Filter Codes
- How to Unlock the Mines in Cookie Run: Kingdom
- All Nameless Hospital Endings Full Guide In NTE
- Top 8 UFC 5 Perks Every Fighter Should Use
2026-05-11 19:41