
The Agarthan Relic is a dangerous item. When used, it creates zombies that change each round. One round might bring regular zombies, the next acid zombies, and the one after that frost zombies, adding a random and exciting challenge.
To obtain the Agarthan Relic, you must be playing on Tier 2 Cursed difficulty in the Totenreich zone and gather several items. We’ll walk you through all the necessary steps, and offer advice to help you easily complete the Agarthan Relic Trial!
You can unlock this Relic starting on Tier 2 of Cursed Mode, on Round 15. This is unusual because all other Wicked Relics become available on Round 60 – we’re currently investigating whether this early unlock is intentional or a bug.
How to Get the Agarthan Device Relic in Totenreich
To obtain the Agarthan Device Relic, you must play as Richtofen on the Totenreich map, or have Richtofen on your team. You’ll begin by finding three different parts.
Mr. Peeks Location
To get into Tyr’s Head, you’ll need to come from either Tyr’s Shoulder or Tyr’s Foot. You can actually enter Tyr’s Head up to two times each round. Once inside, use one of the exit tubes, which will give you a random chance to be transported to the Liberty Falls hotel.
Once you’re inside the hotel room, quickly run to the right side of the bed and lie down. You’ll find Mr. Peeks hiding under the bed next to the bedside table – just pick him up.
Soldier Helmet Location
This is the second component needed for the Agarthan Device, and you get it by using the teleporter in Tyr’s Head. Each time you go through the exit tube, there’s a chance you’ll be teleported to a small room containing the deceased crew of the Requiem, gathered around a table.
When you enter the Requiem room, immediately go to the shelf on the south wall and lie down in front of the Point Turret. You’ll find a small box on the bottom shelf with the helmet inside – grab it!
Walkie-Talkie Location
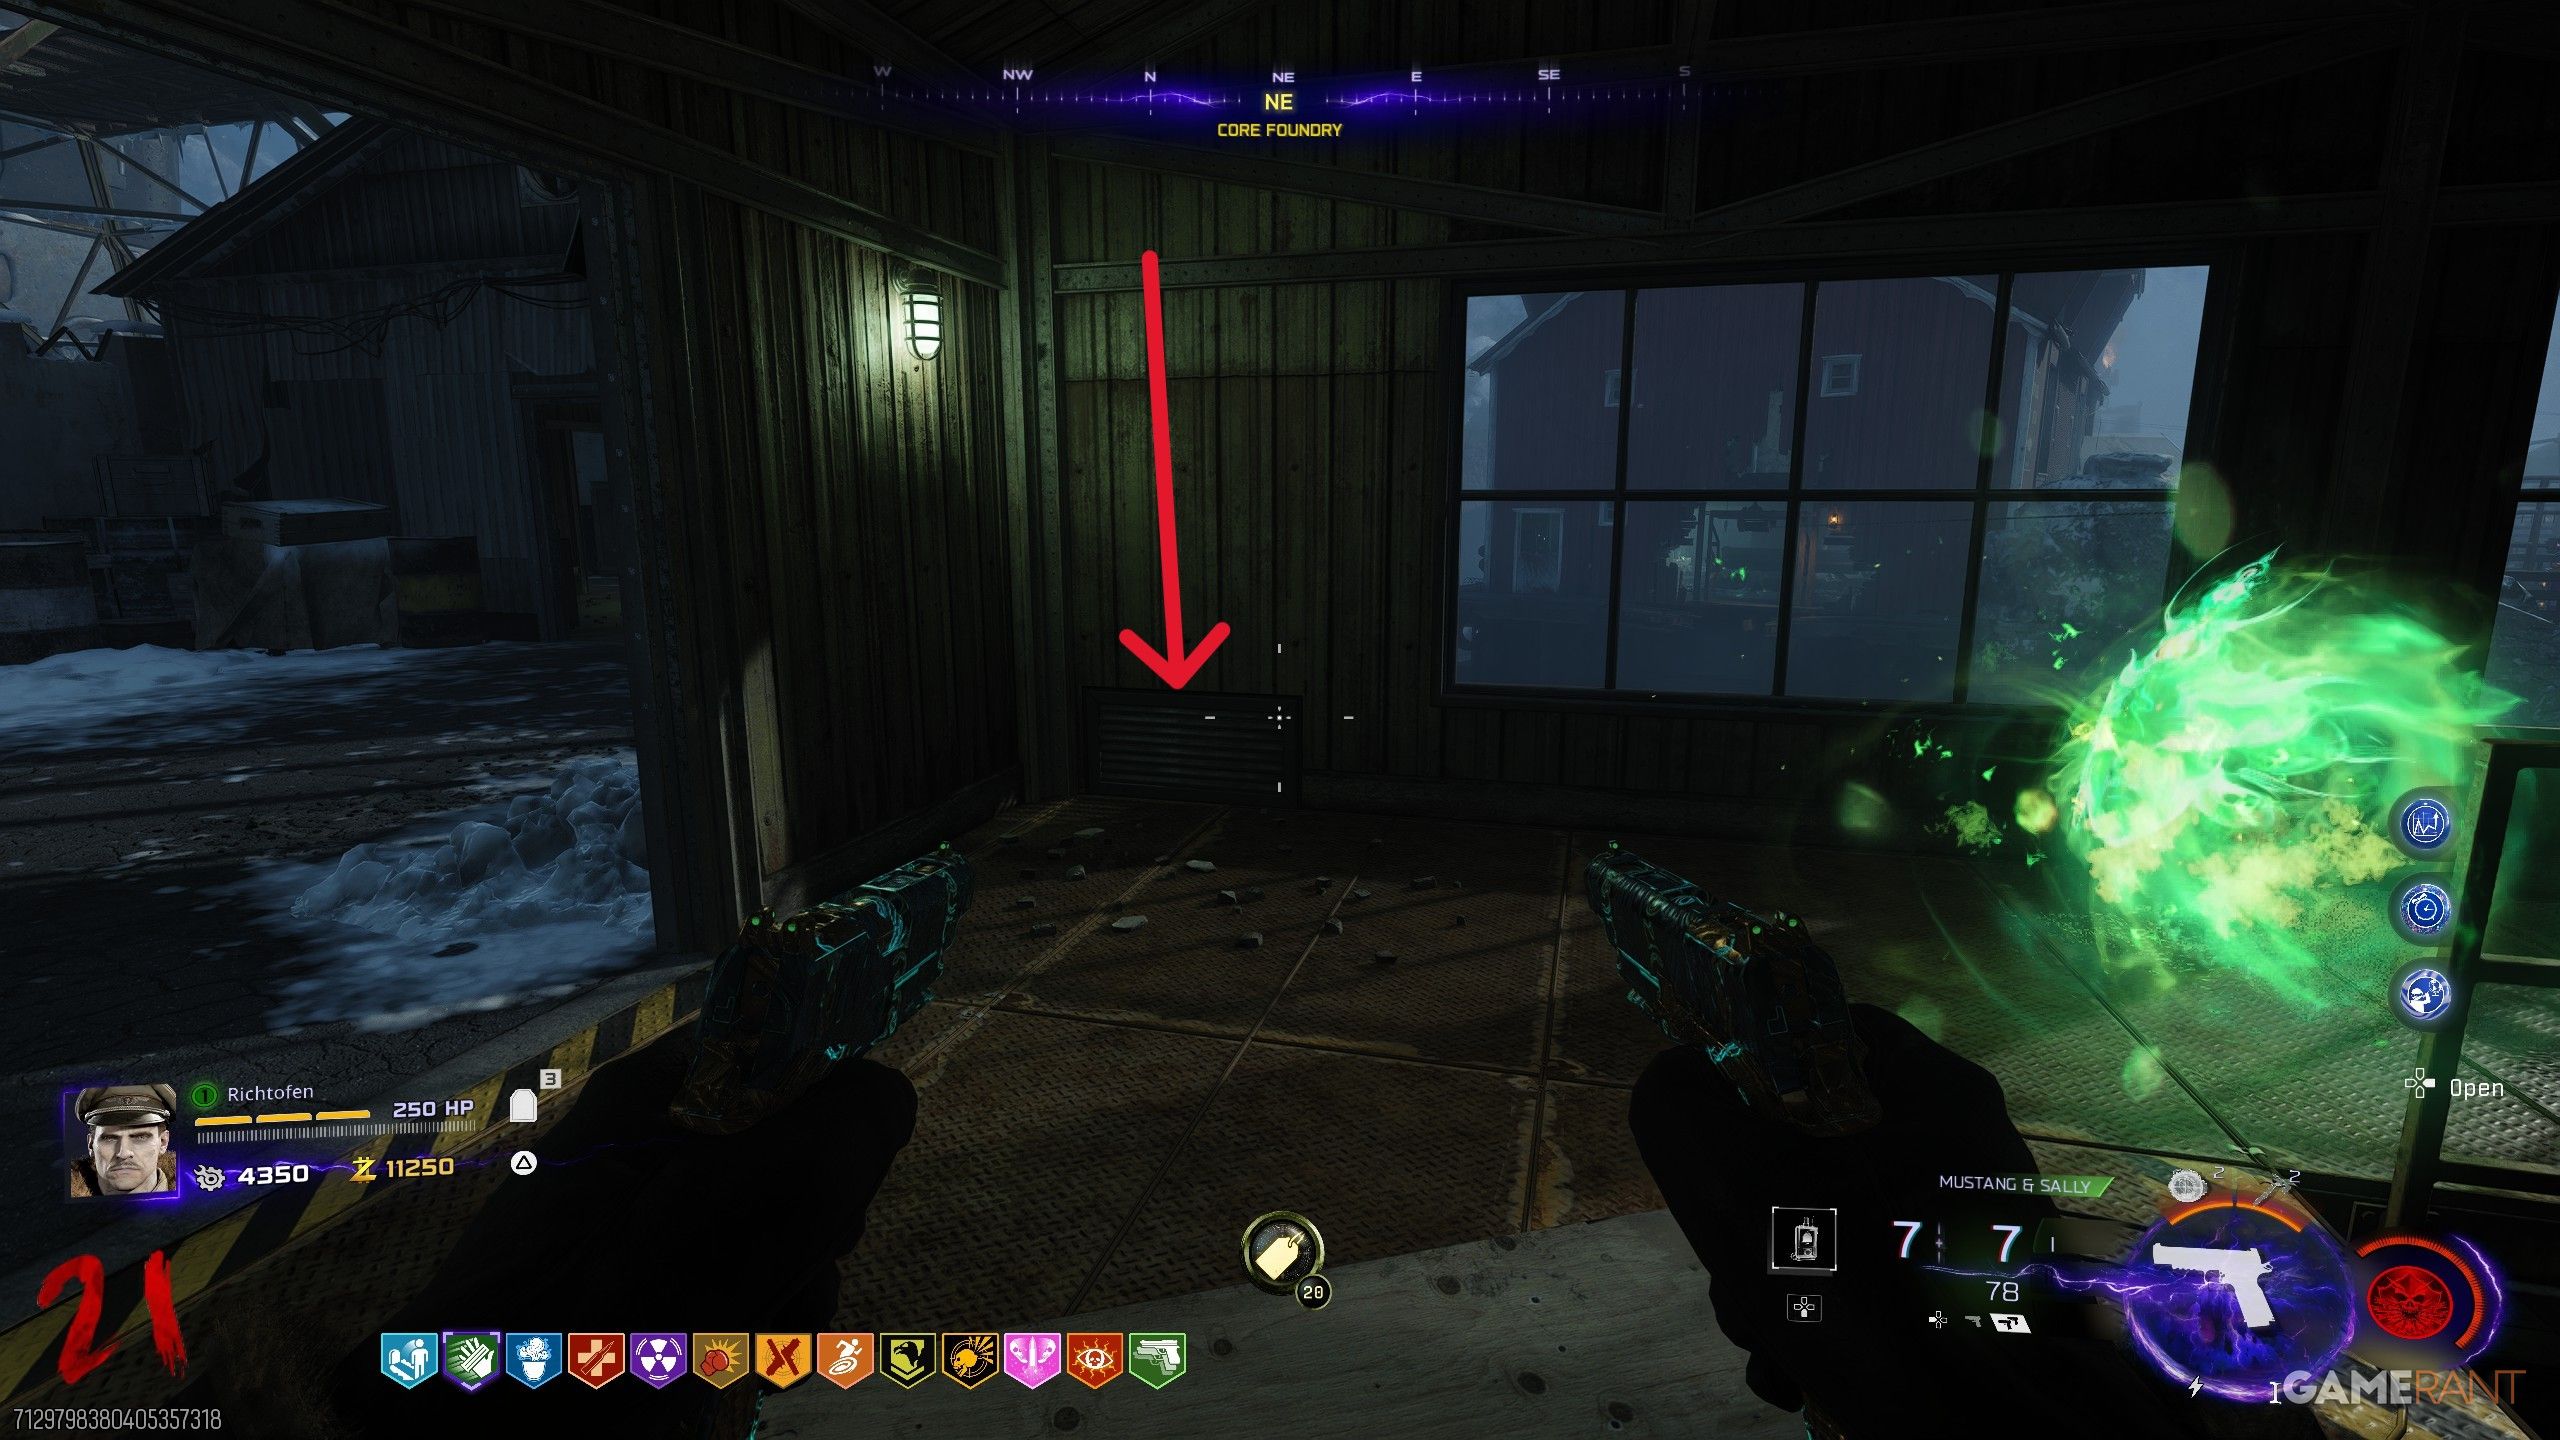

To complete the Agarthan Device, you need to find a Walkie-Talkie, which is located in the Group 935 Genetic Lab. This lab is a hidden room you can reach using an ARC-XD. Go to the Core Foundry and enter the warehouse above the VS Recon Wallbuy. There, you’ll find a vent in the northwest corner – shoot it open to get inside.
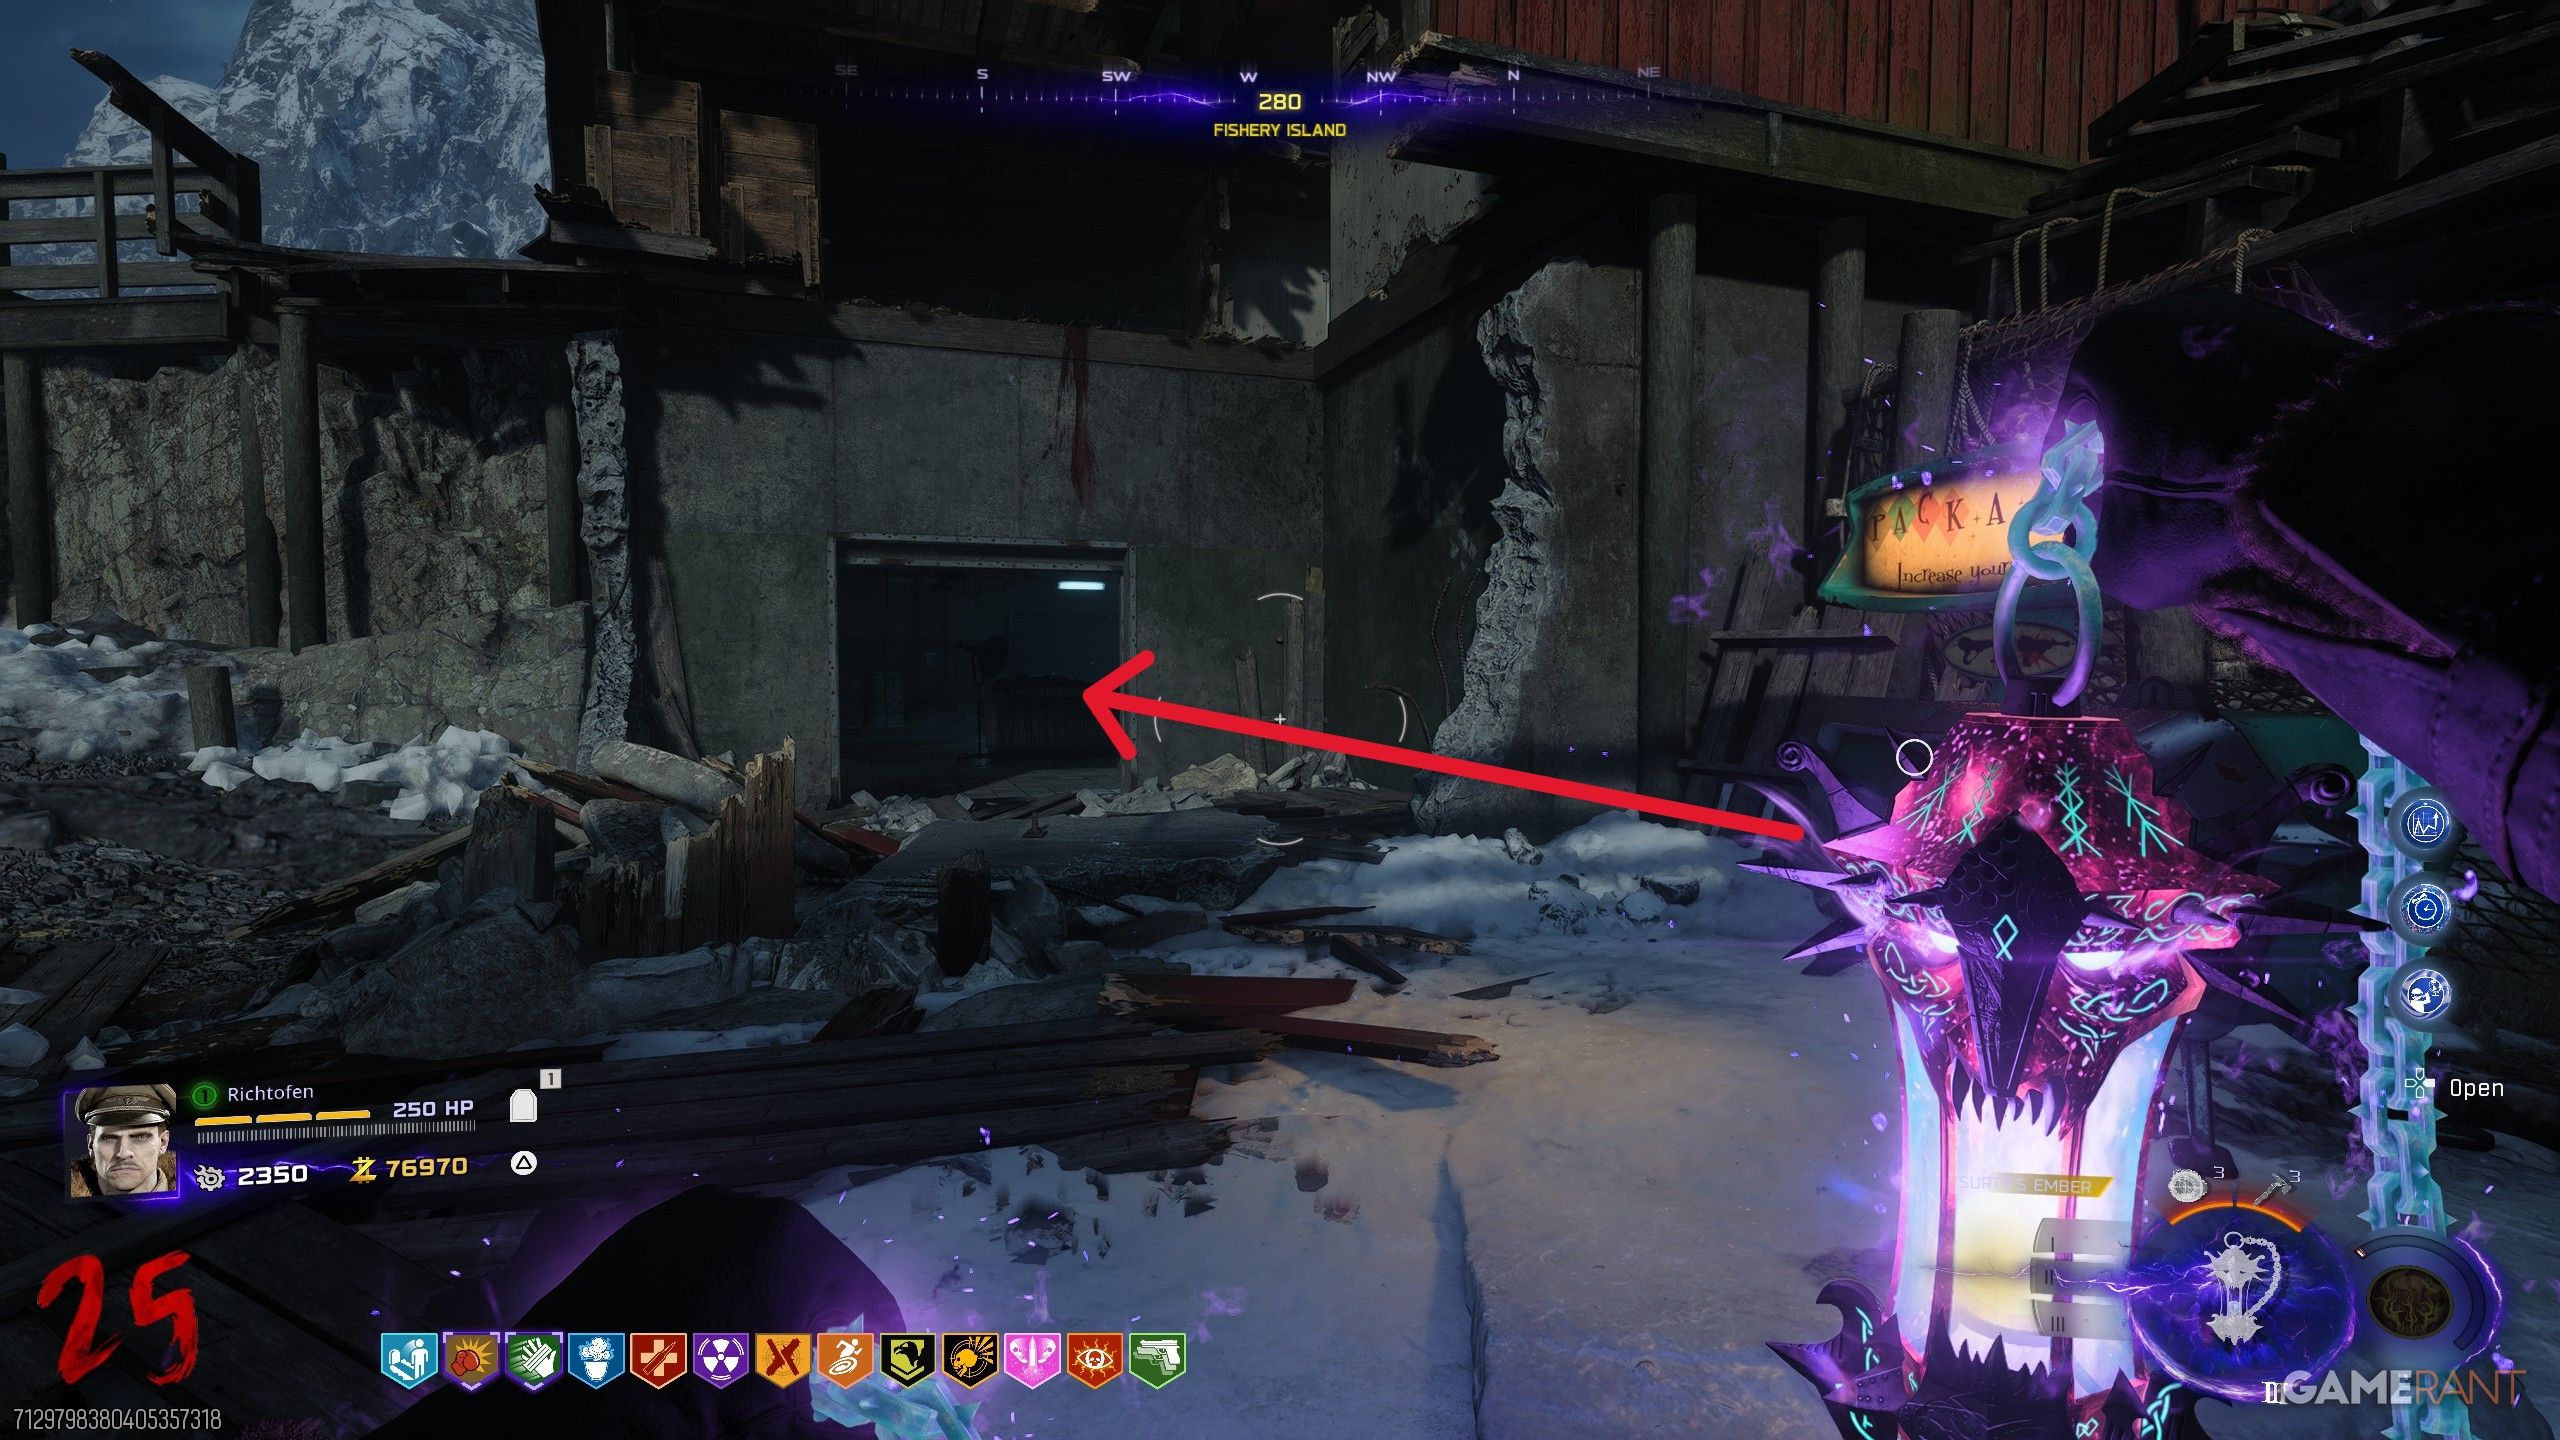
Now that the vent is open, use the ARC-XD to go down the stairs and across the ramp. Detonate it near the barrels blocking the wall. After that, return to Fishery Island and enter the Group 935 Genetic Lab, which is located to the left of the Pack-a-Punch machine.
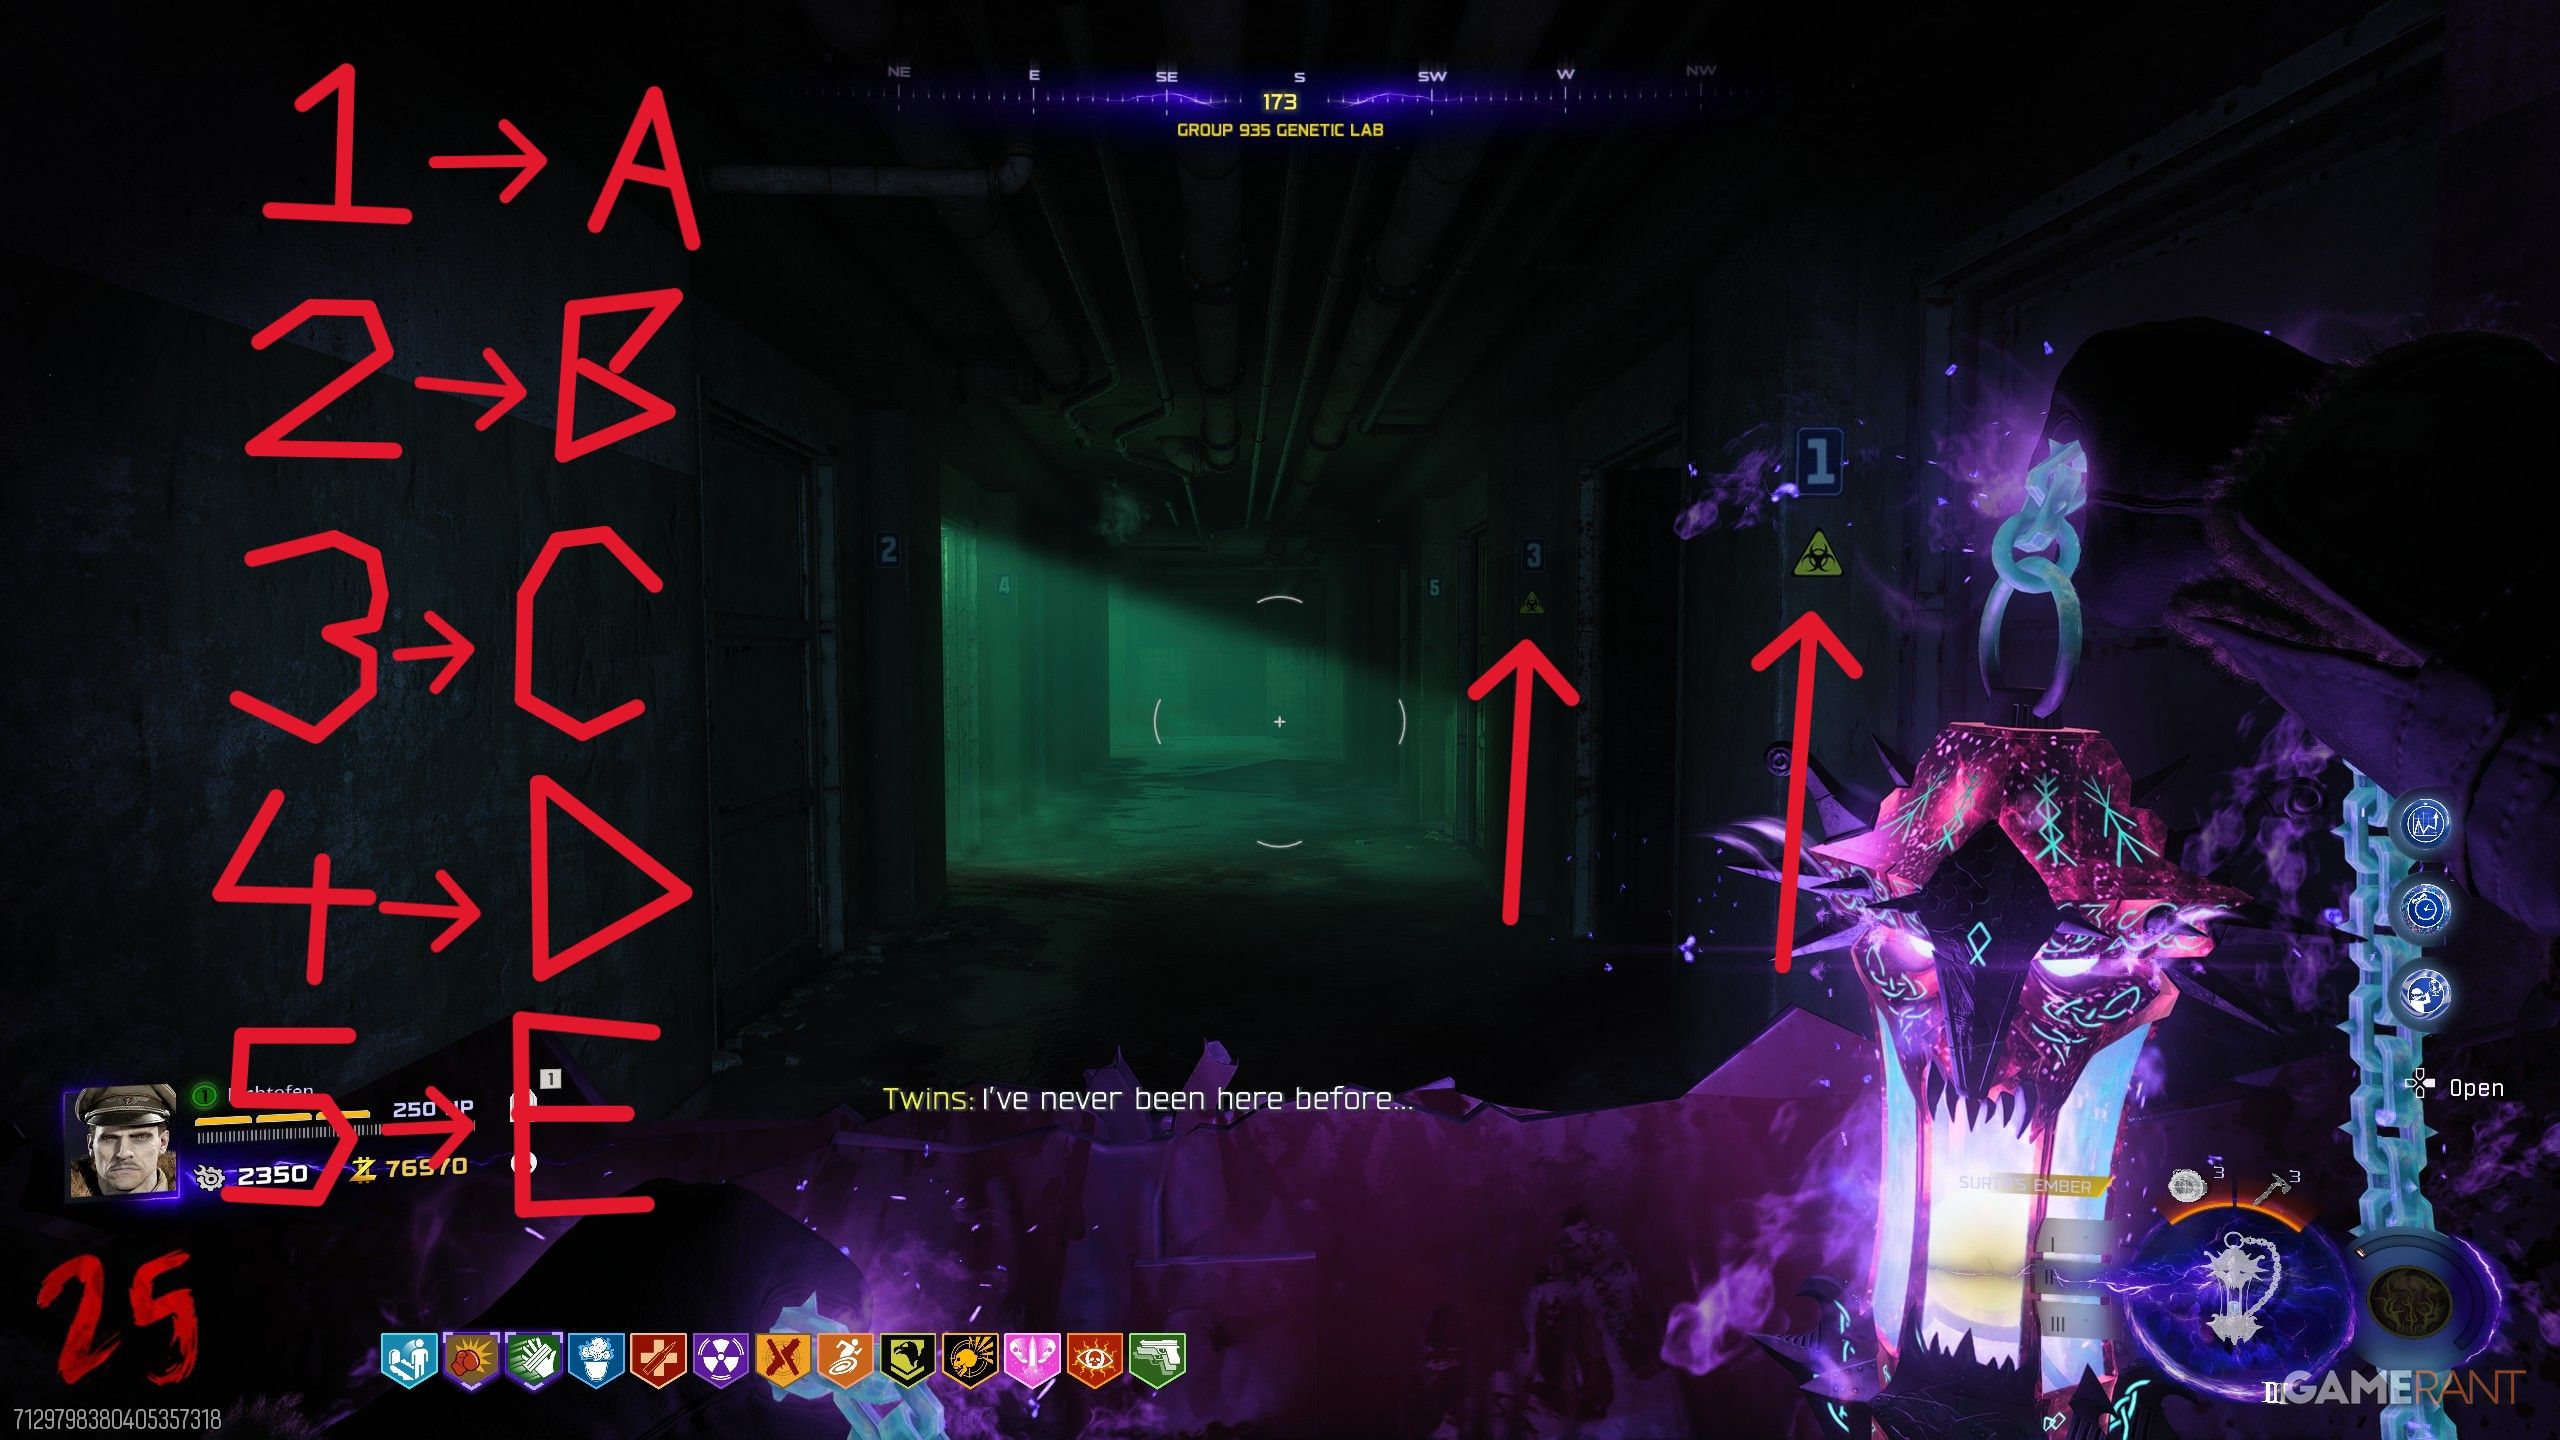
Inside, there’s a south corridor with rooms numbered 1 through 5. Each number corresponds to a letter – 1 is A, 2 is B, and so on. Your task is to find the two rooms with a radiation symbol below their numbers, and then convert those numbers into their corresponding letters.
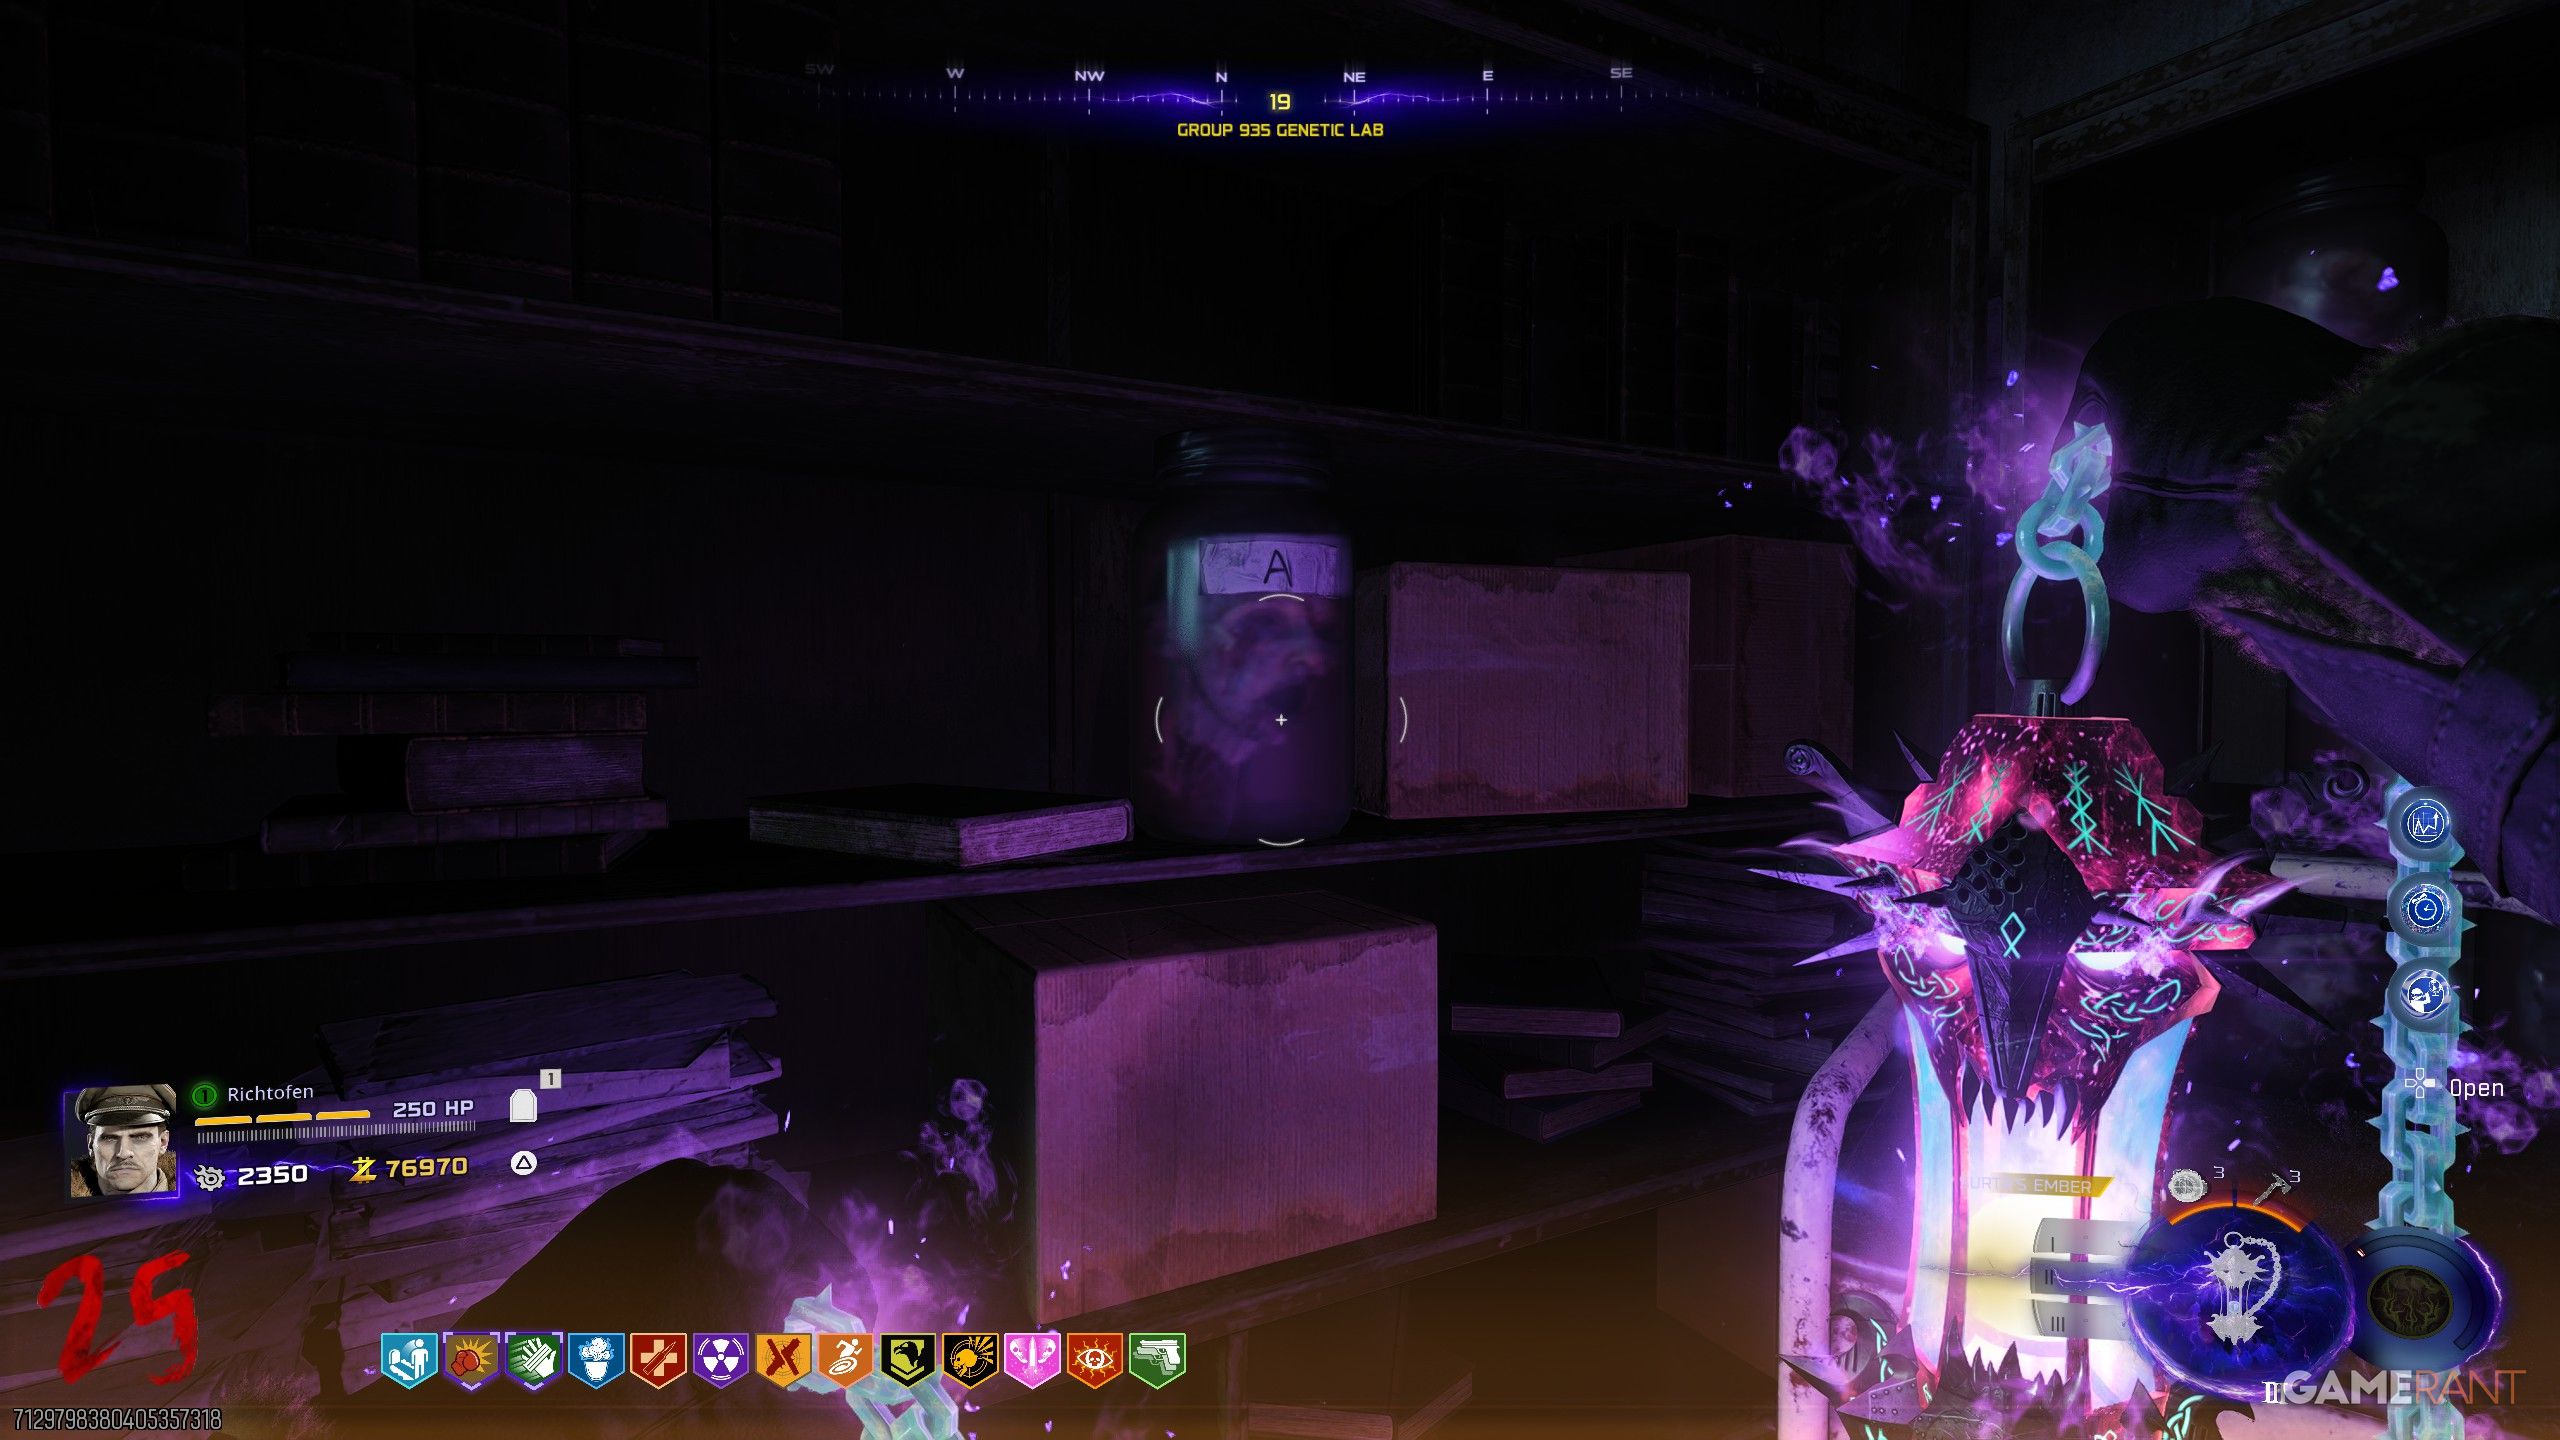
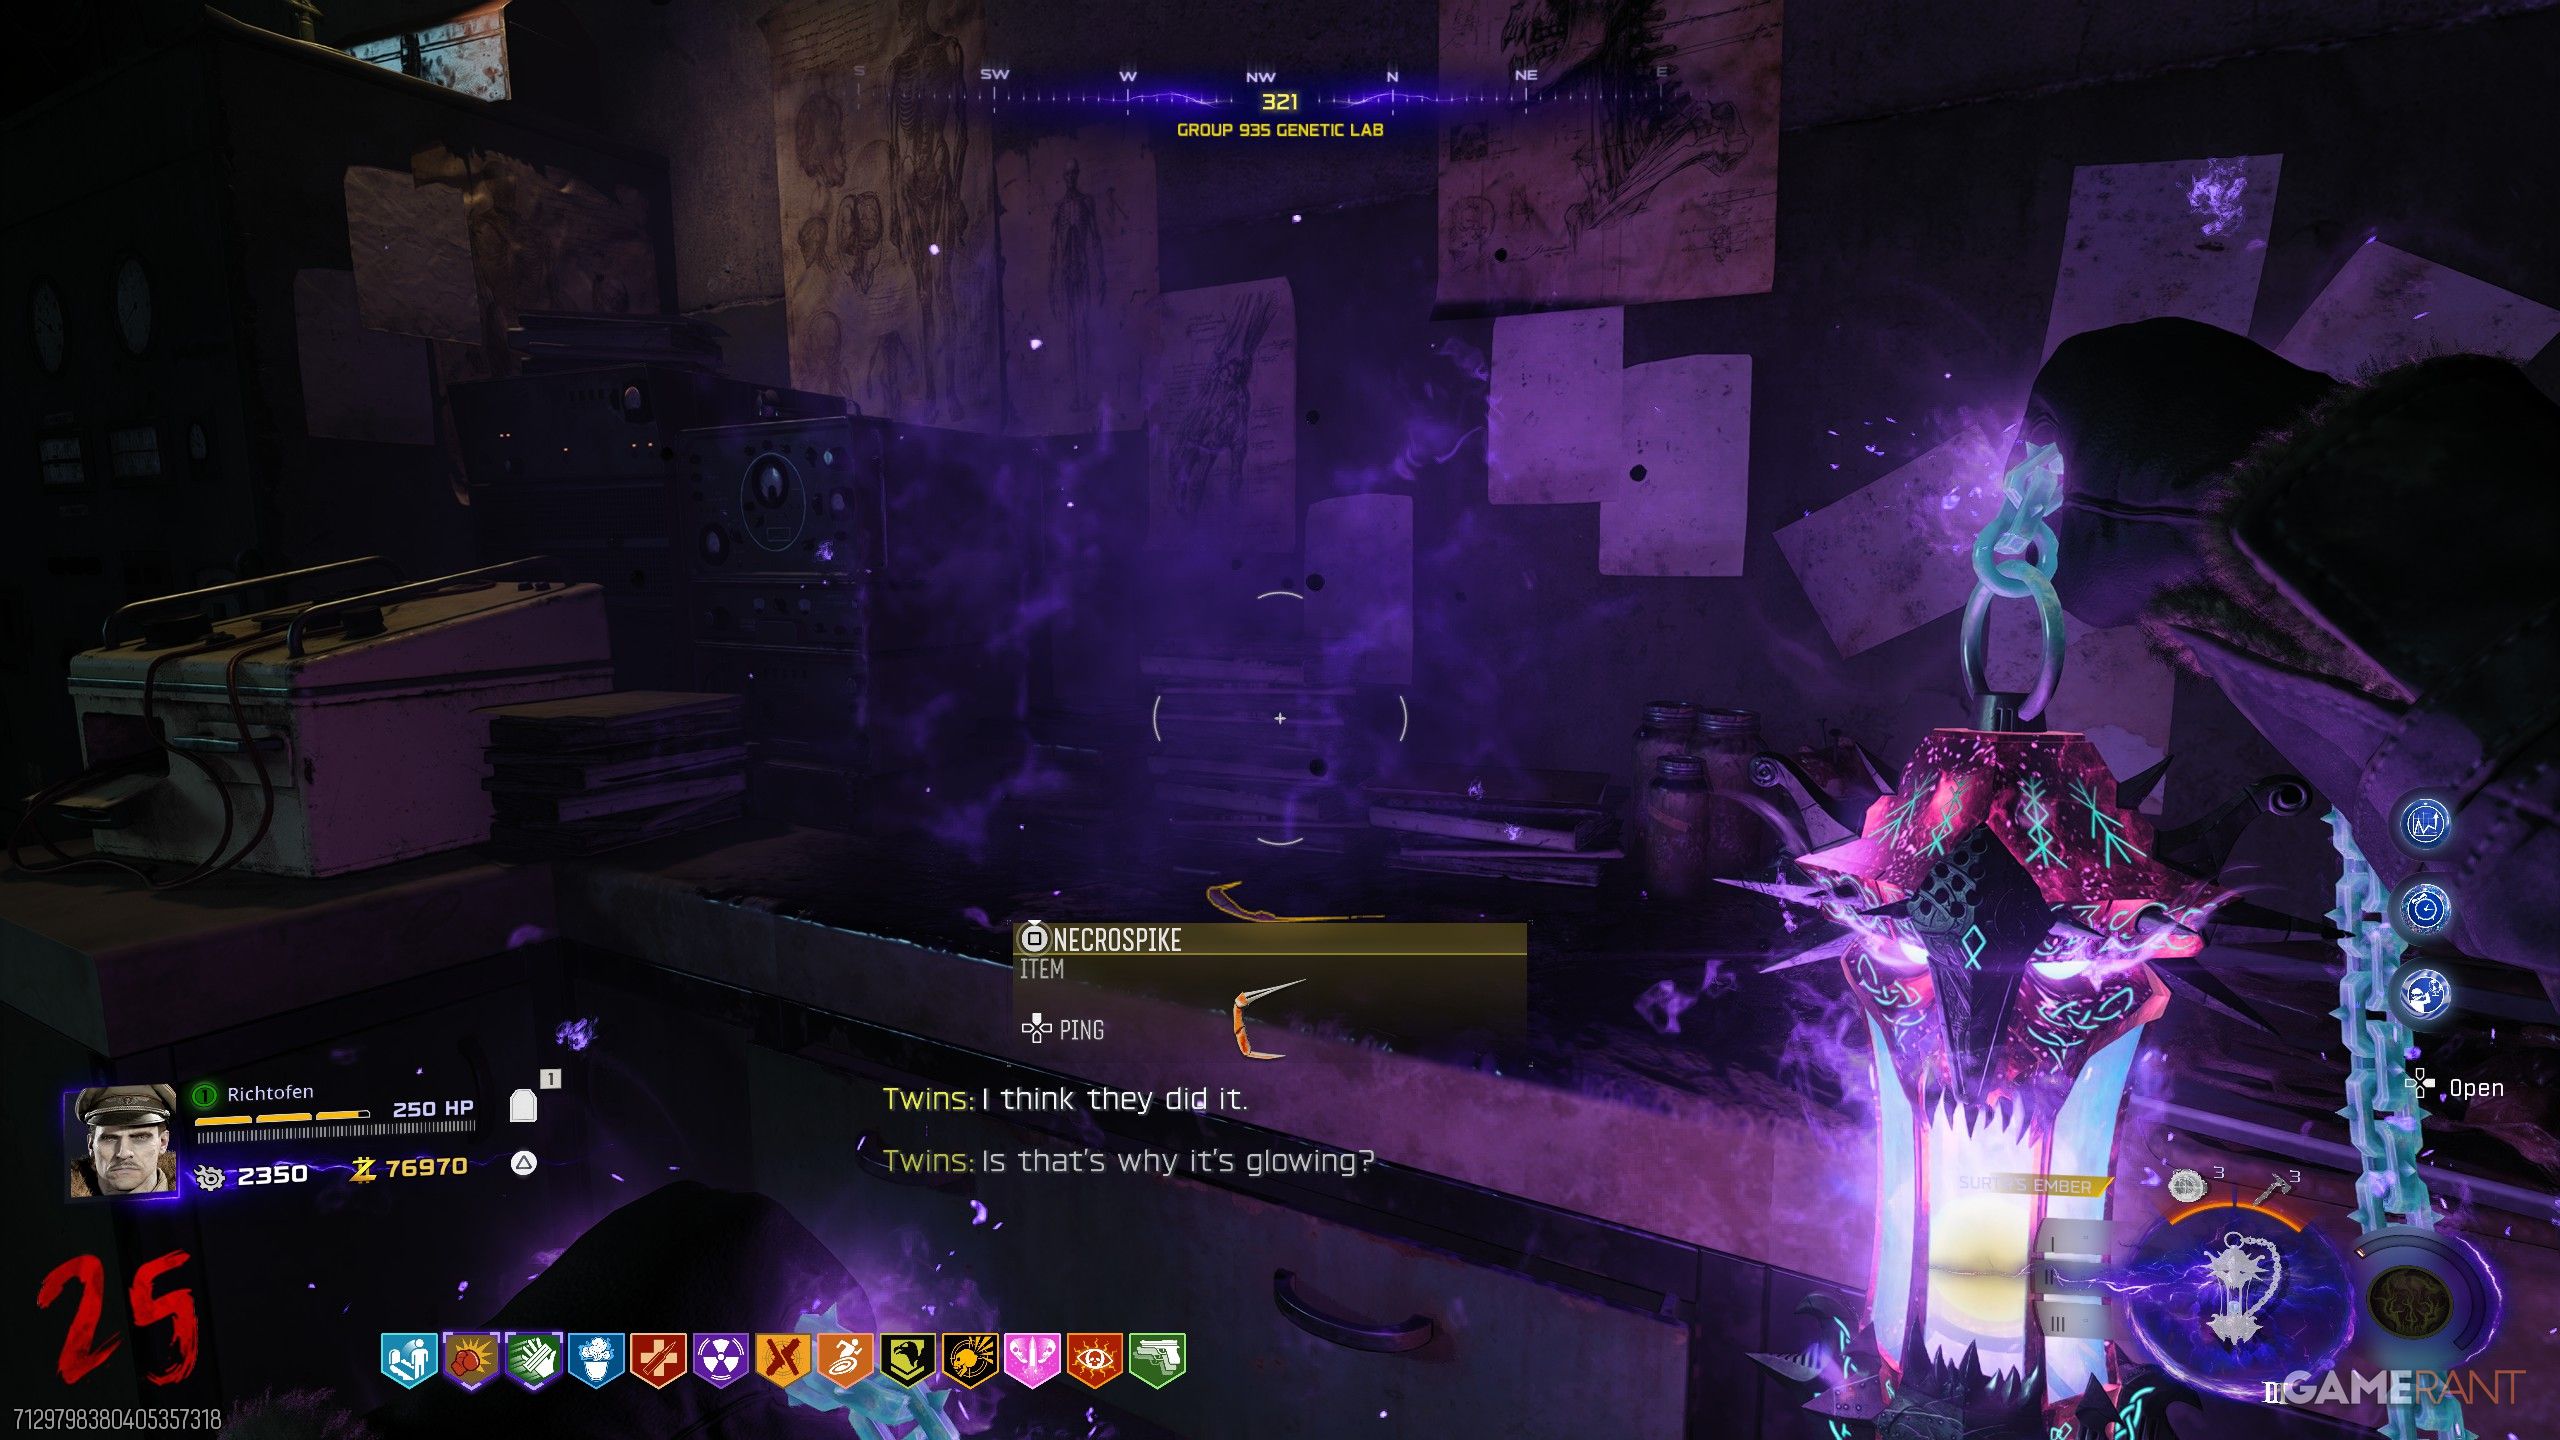
After the translation is complete, search the room for jars containing heads, each labeled with a letter. Collect the heads that match the letters you received, and place them on the machine near the cell. This will give you a purple gas canister. Then, place the canister on the creature at the north table to obtain the Necrospike.
Bring the Necrospike to the cell and use the Right Stick to pick the lock – carefully align the pins. Once inside, crawl under the bench to find a Walkie-Talkie on your left.
Activate the Agarthan Device Relic Portal
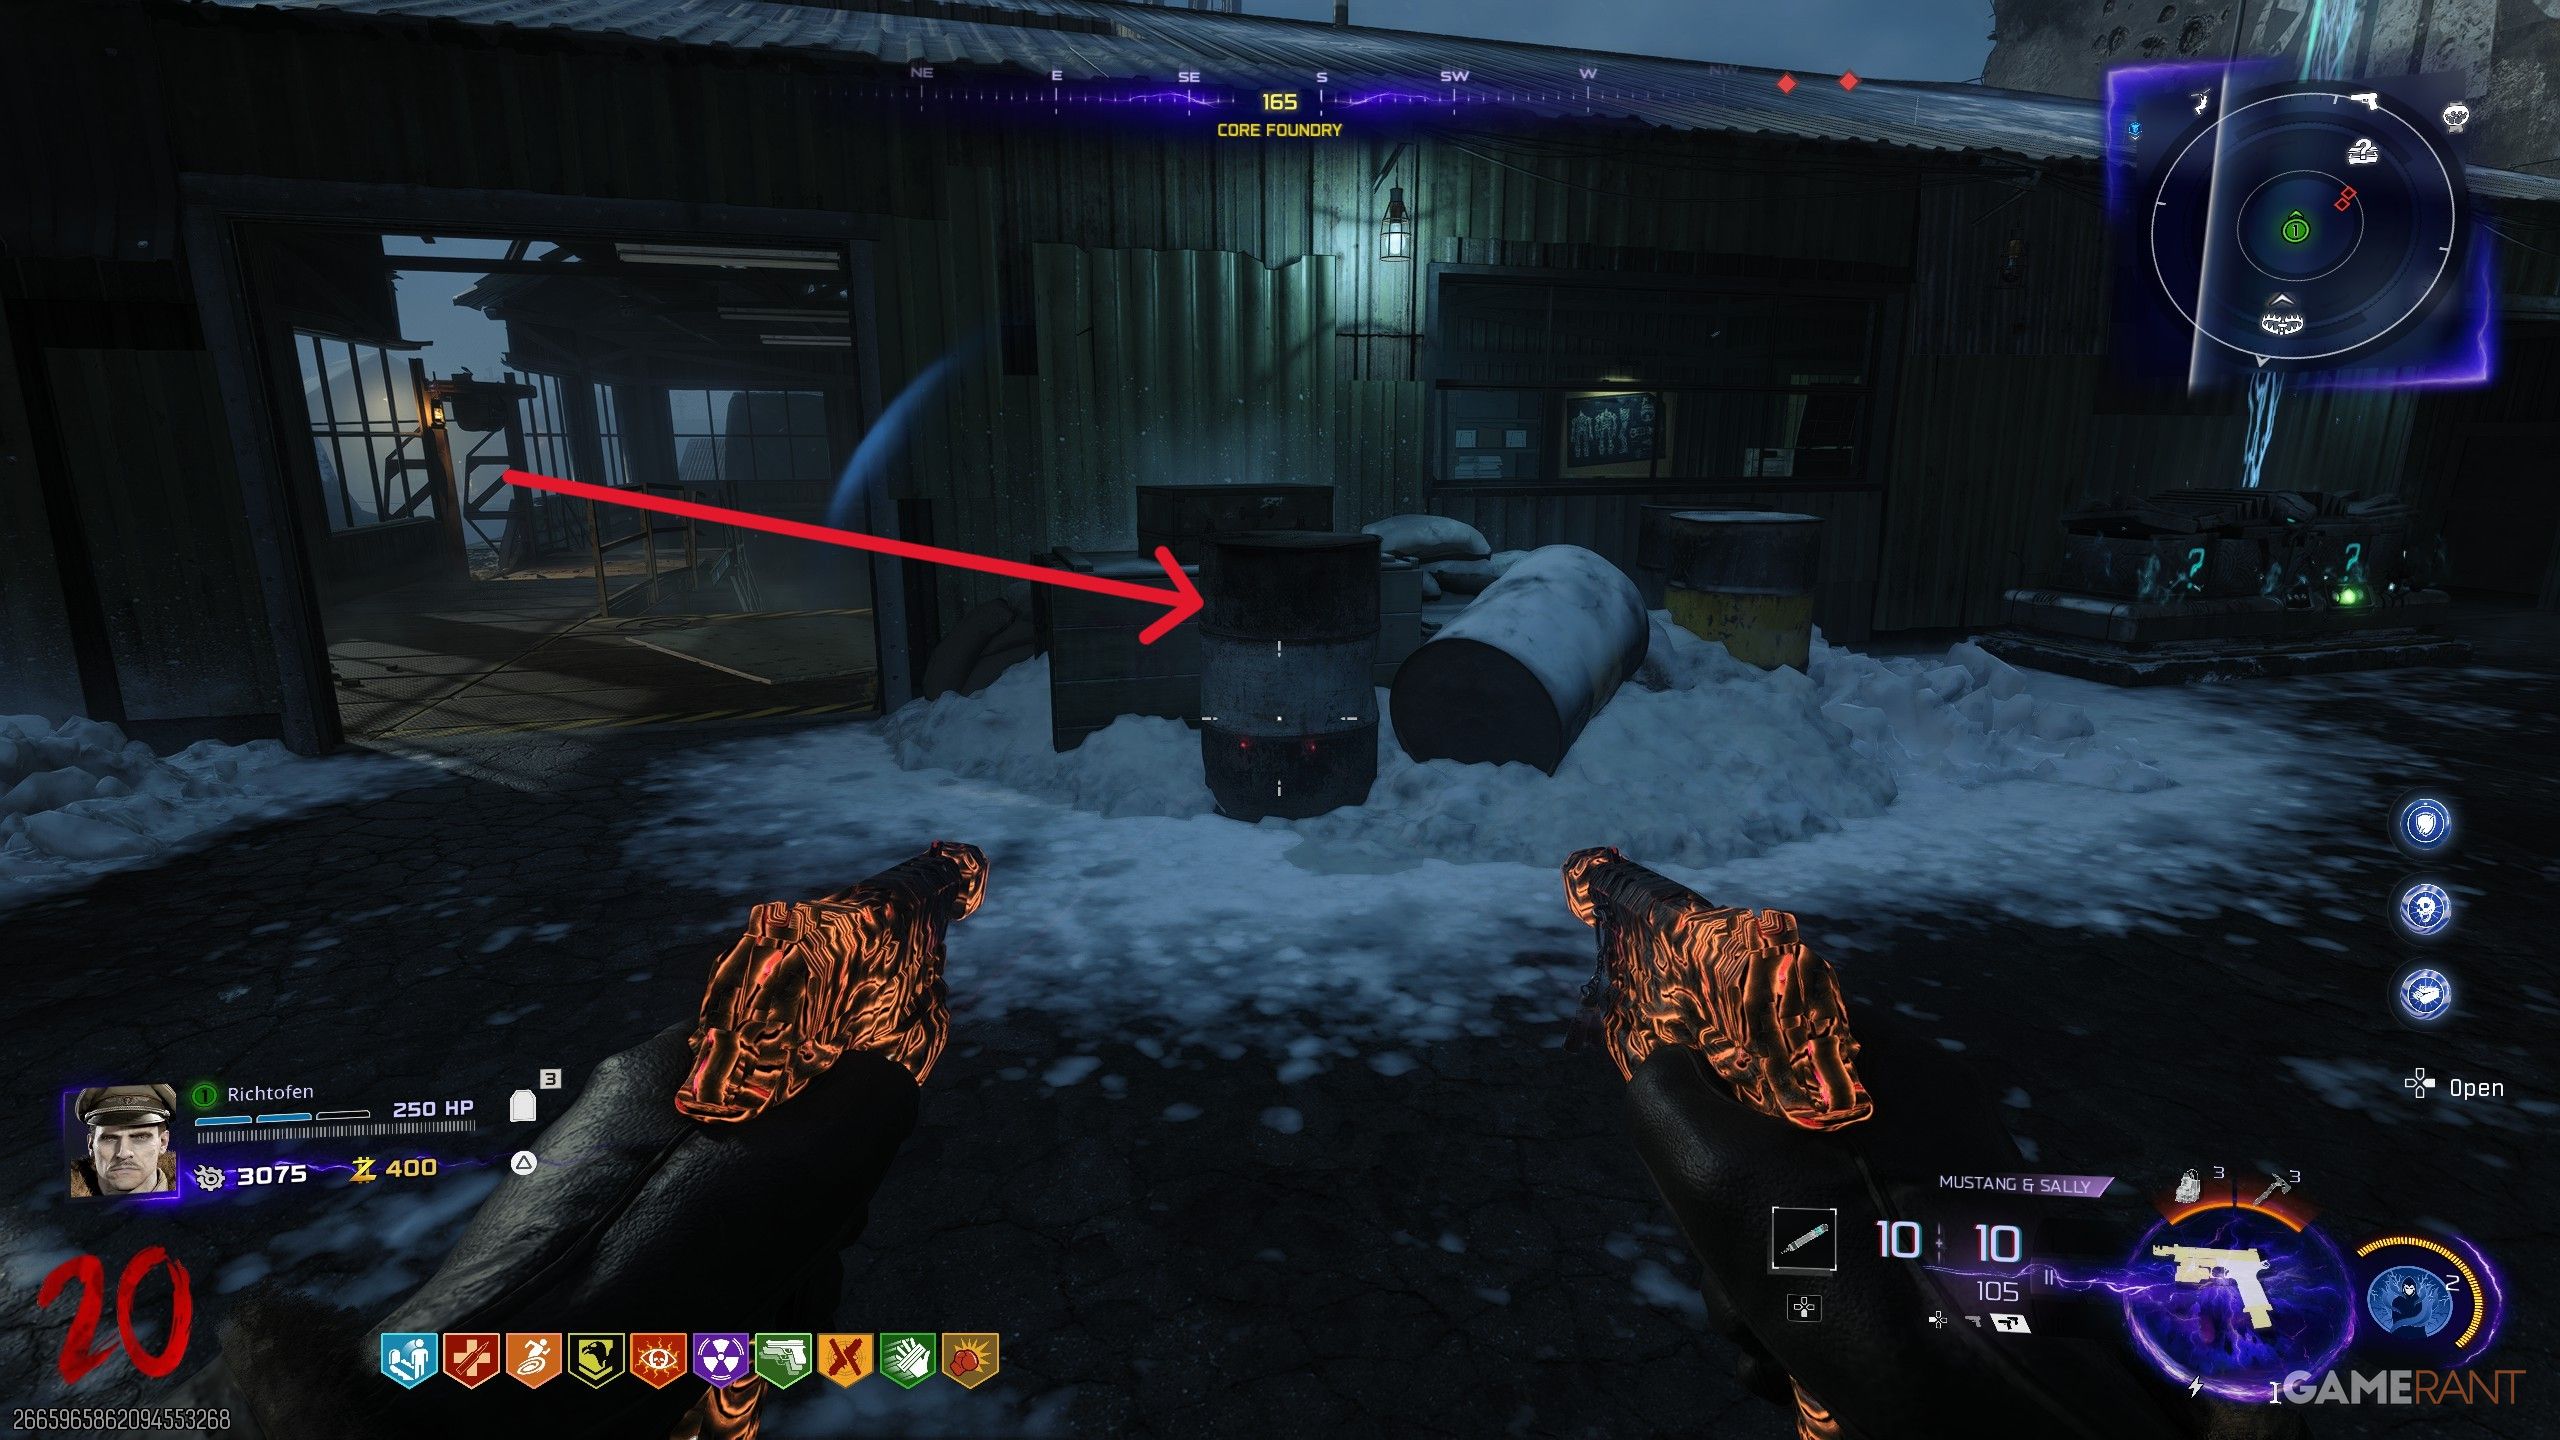
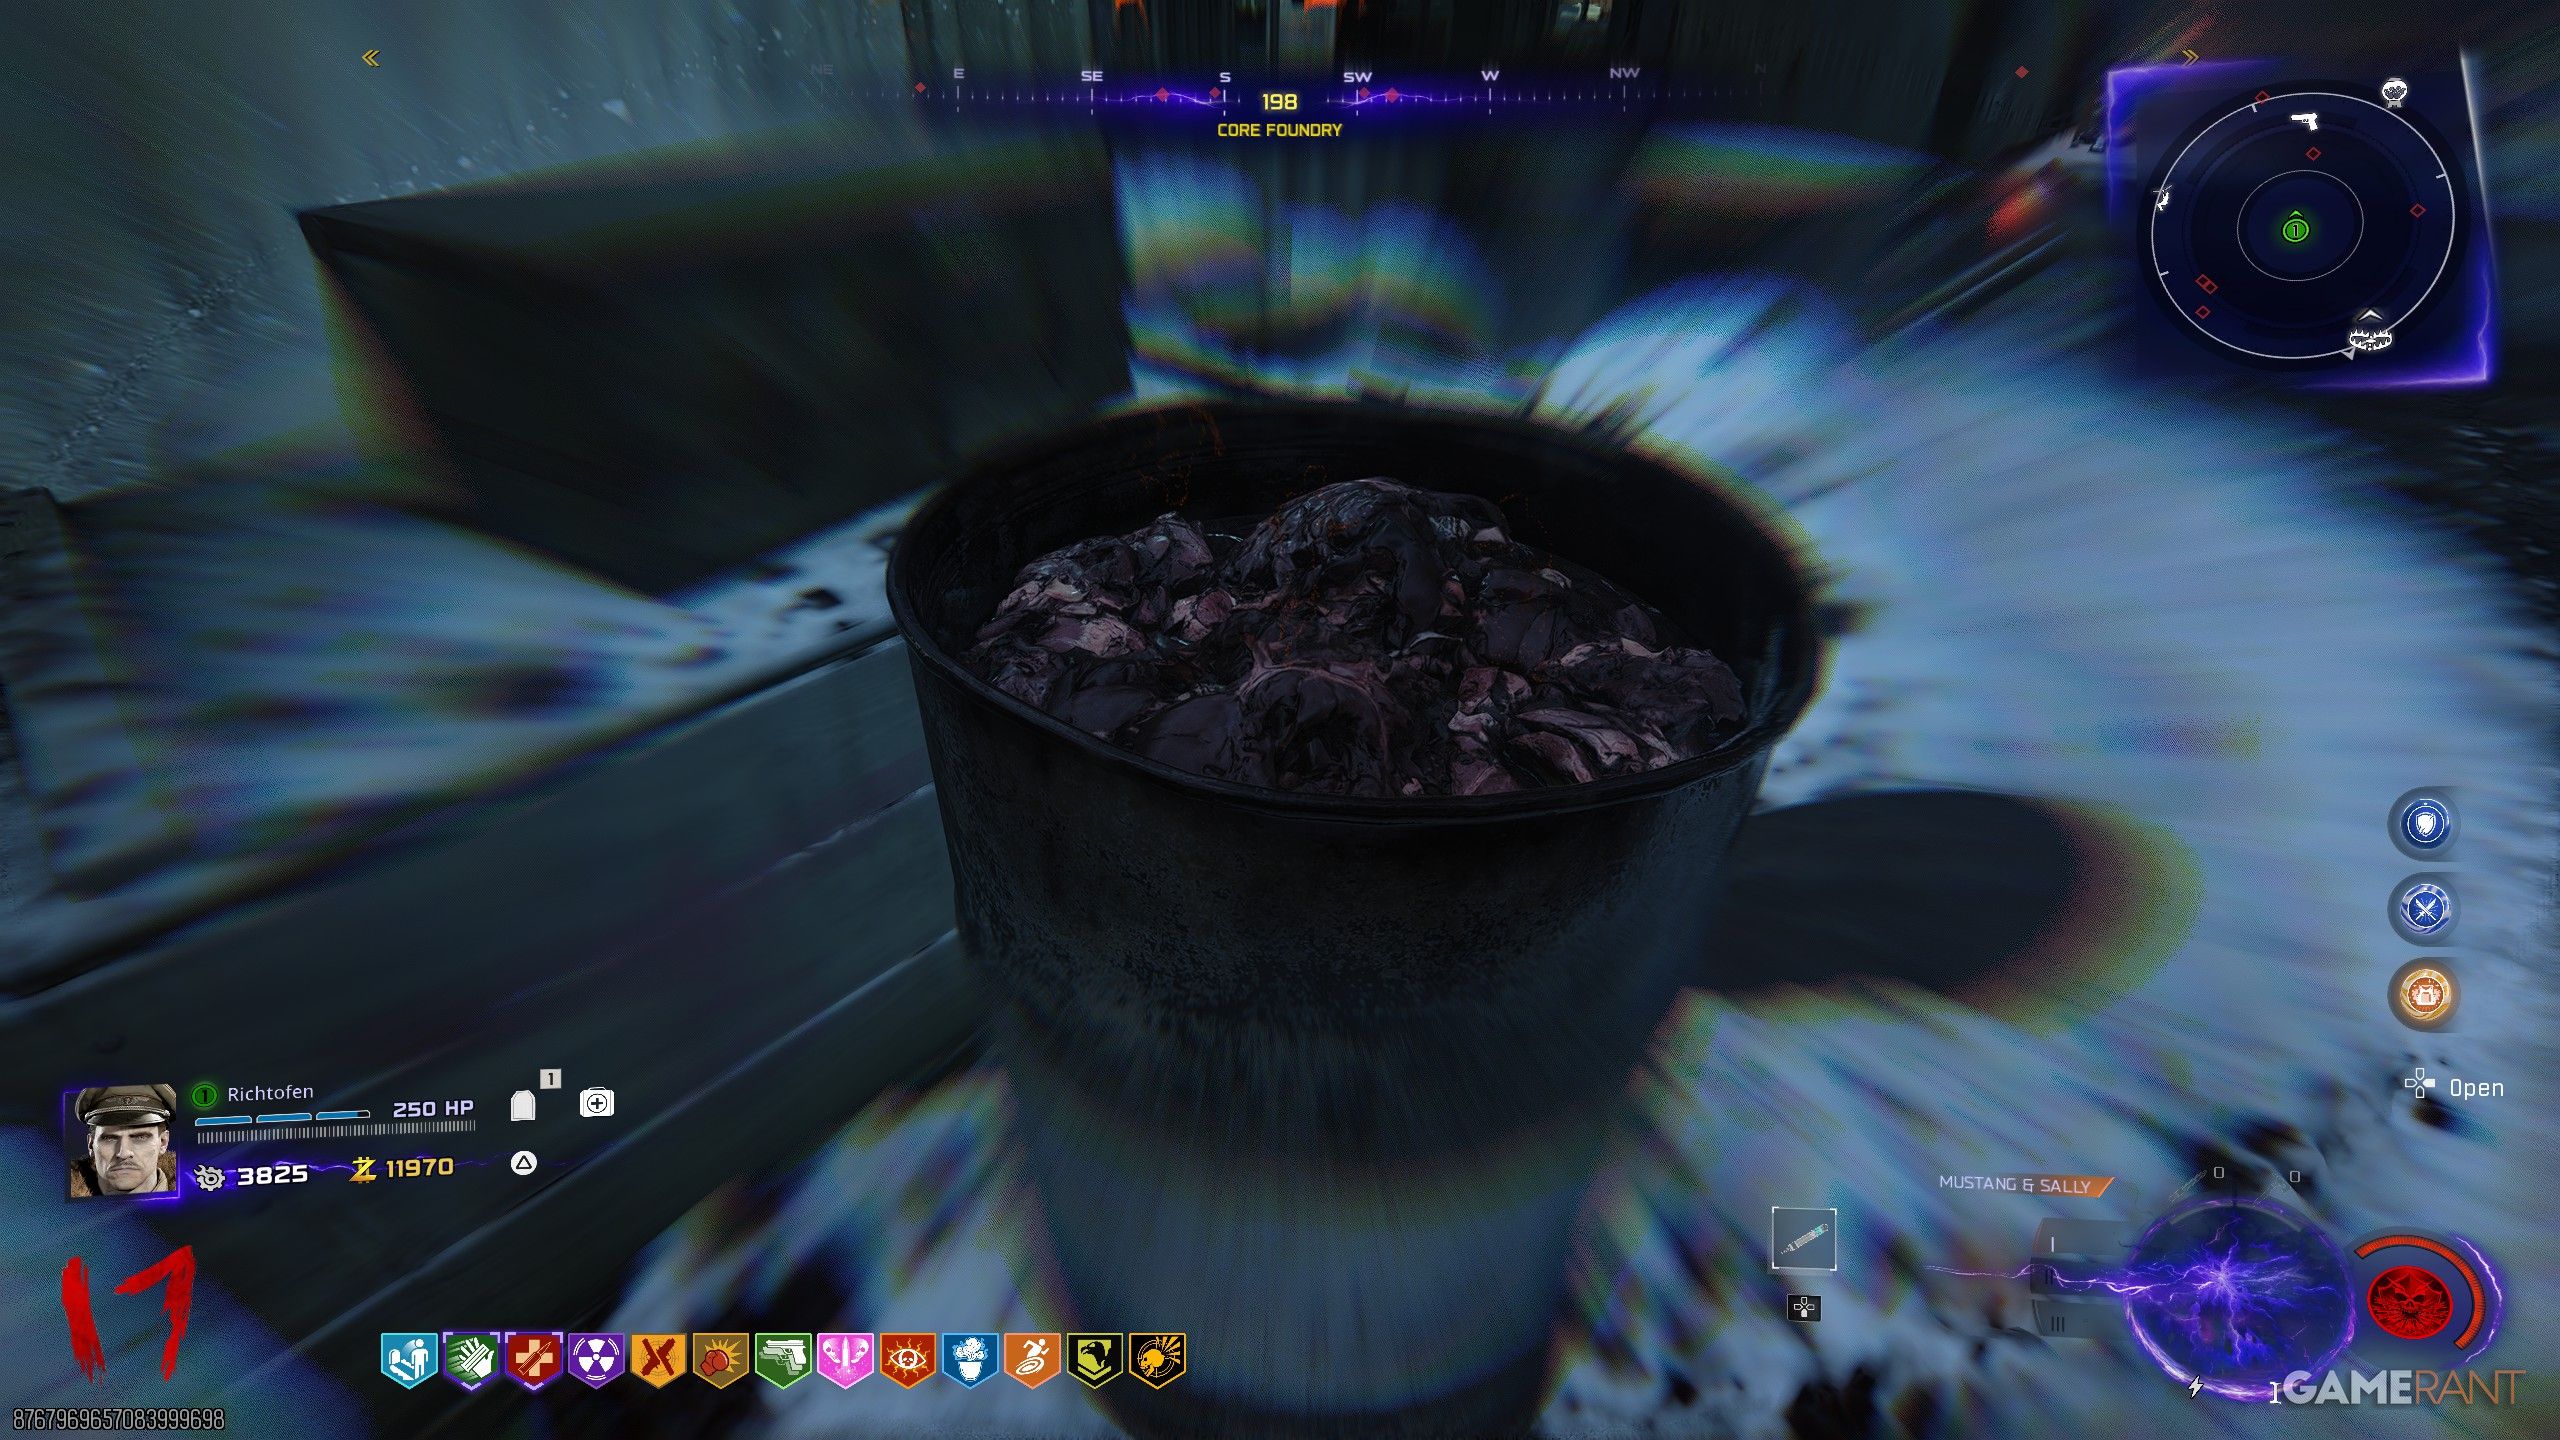
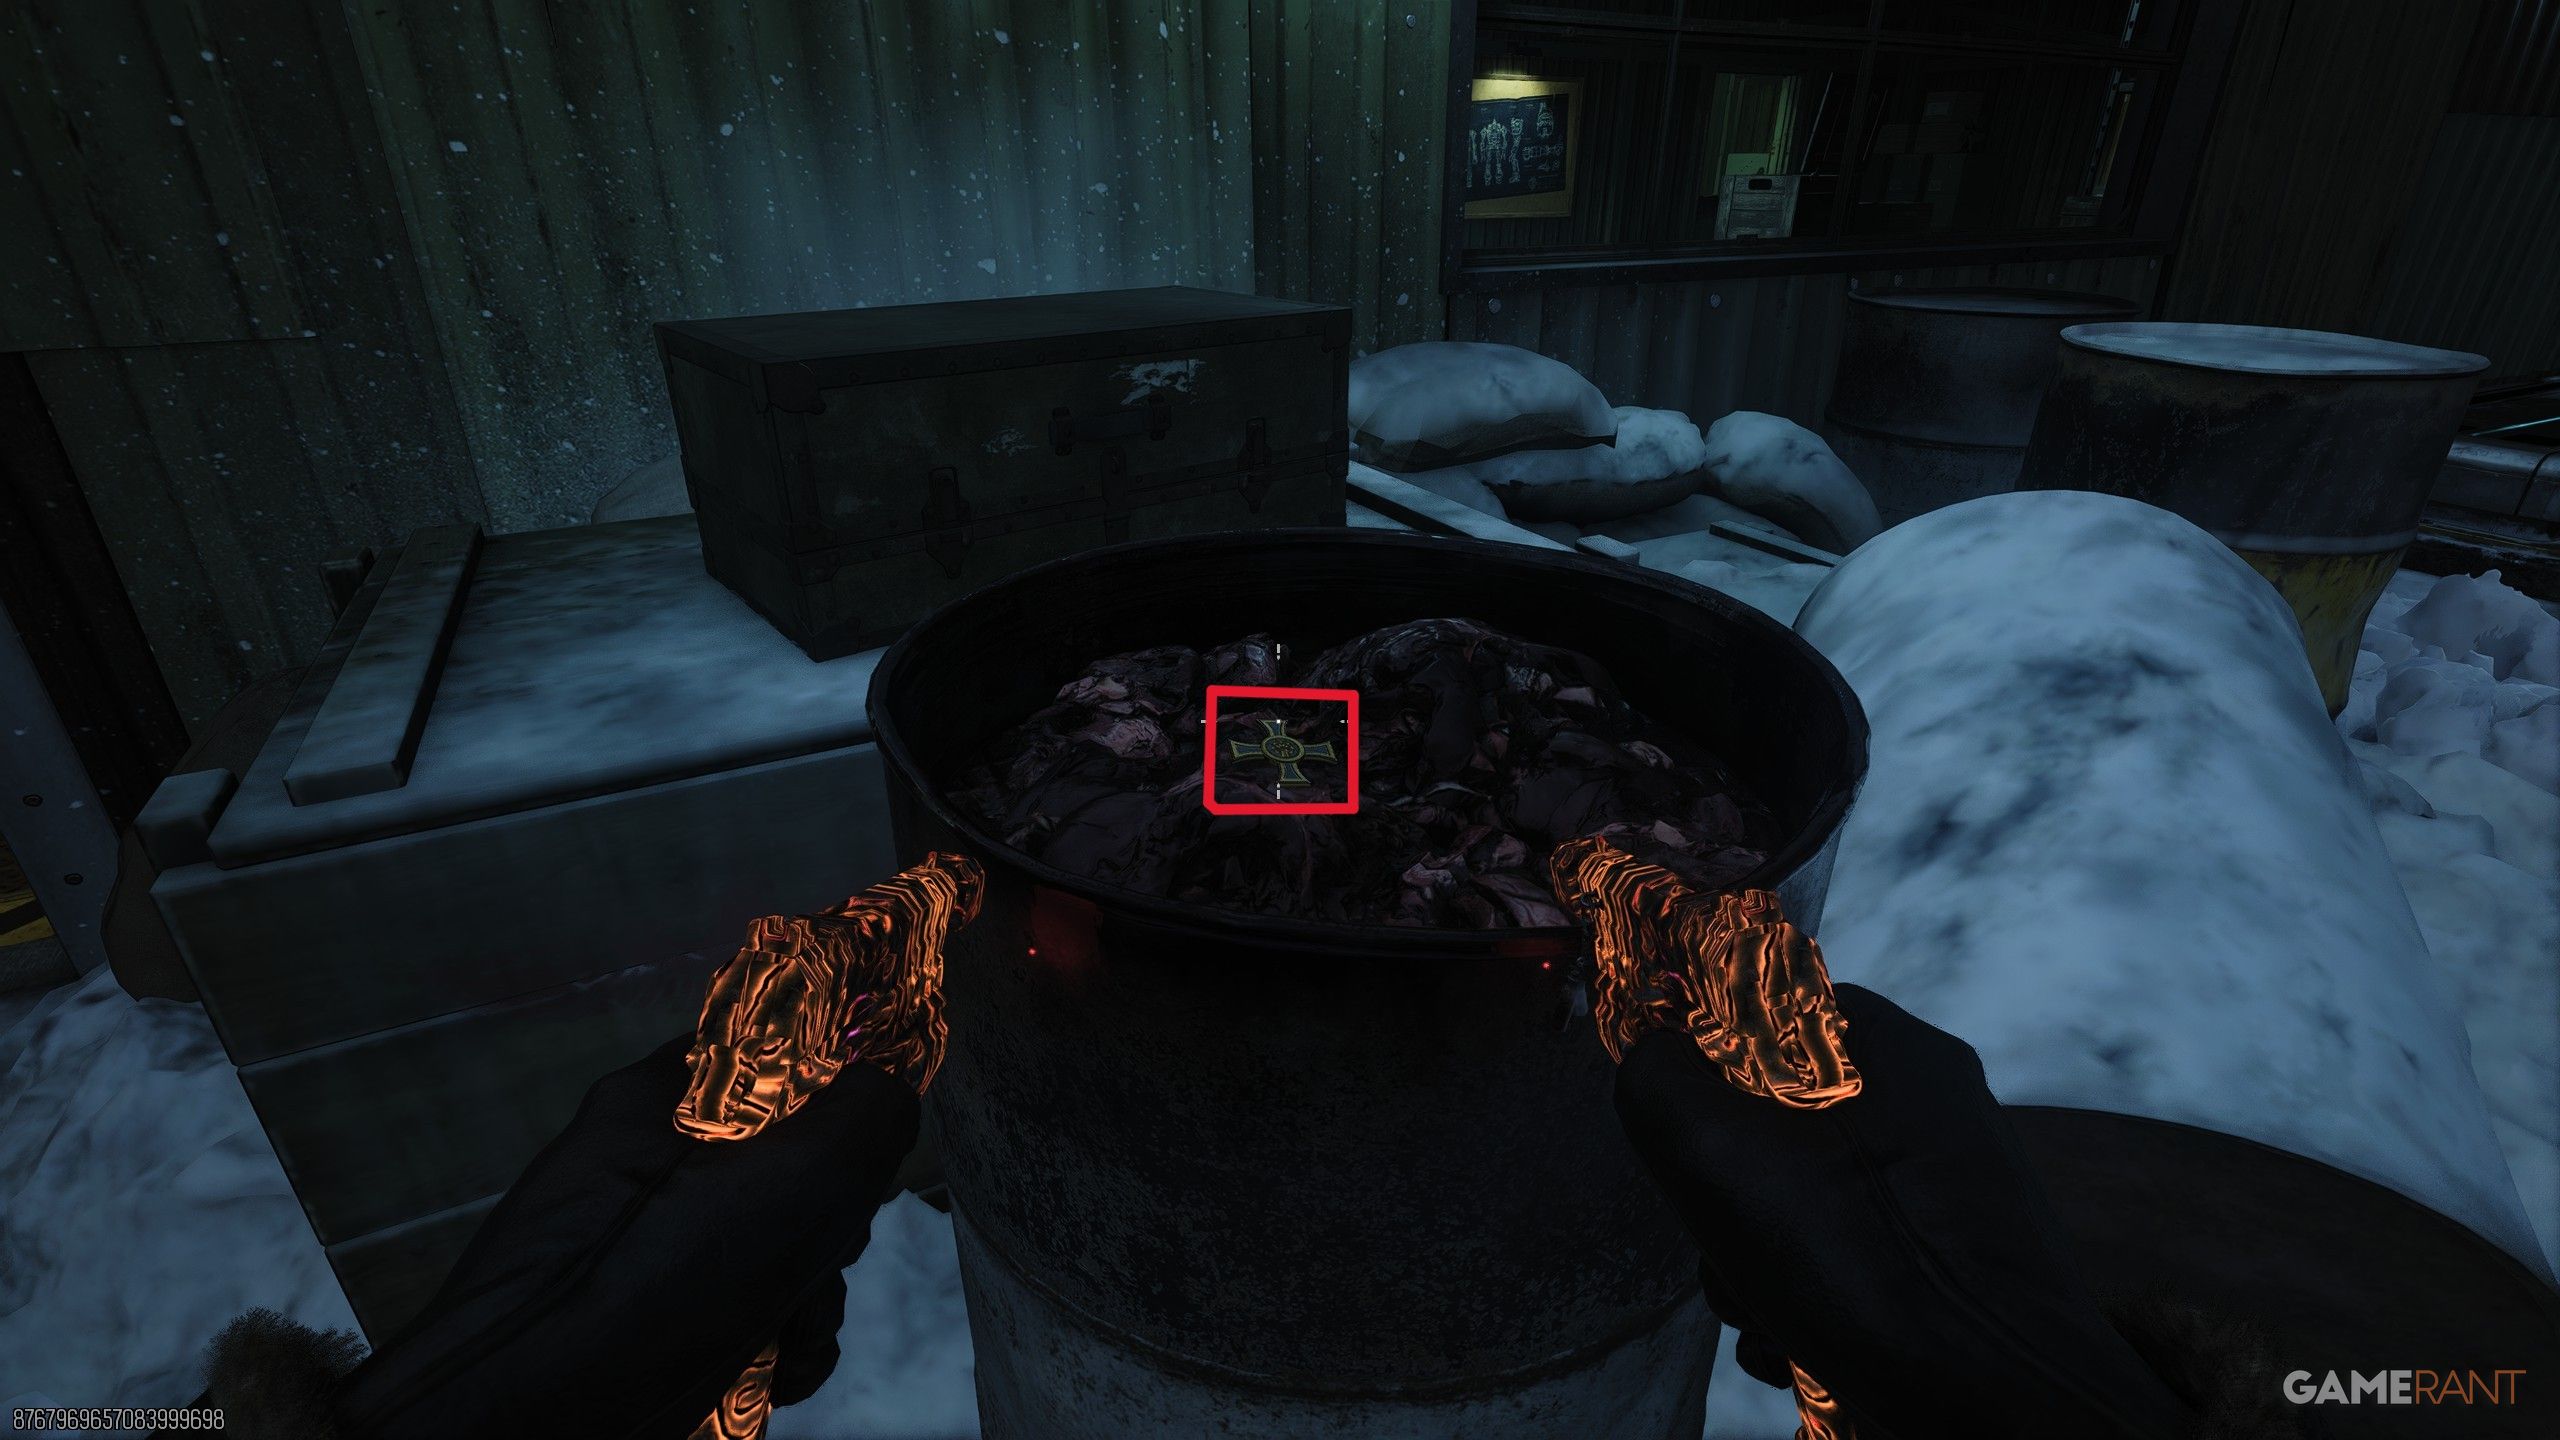
After you get all three pieces, go to the Core Foundry while playing as Richtofen. Wait until at least Round 15 and make sure you have the Melee Macchiato weapon. Then, hit the barrel next to the Mystery Box with a melee attack. This will open the lid, letting you search inside and collect Richtofen’s medal.
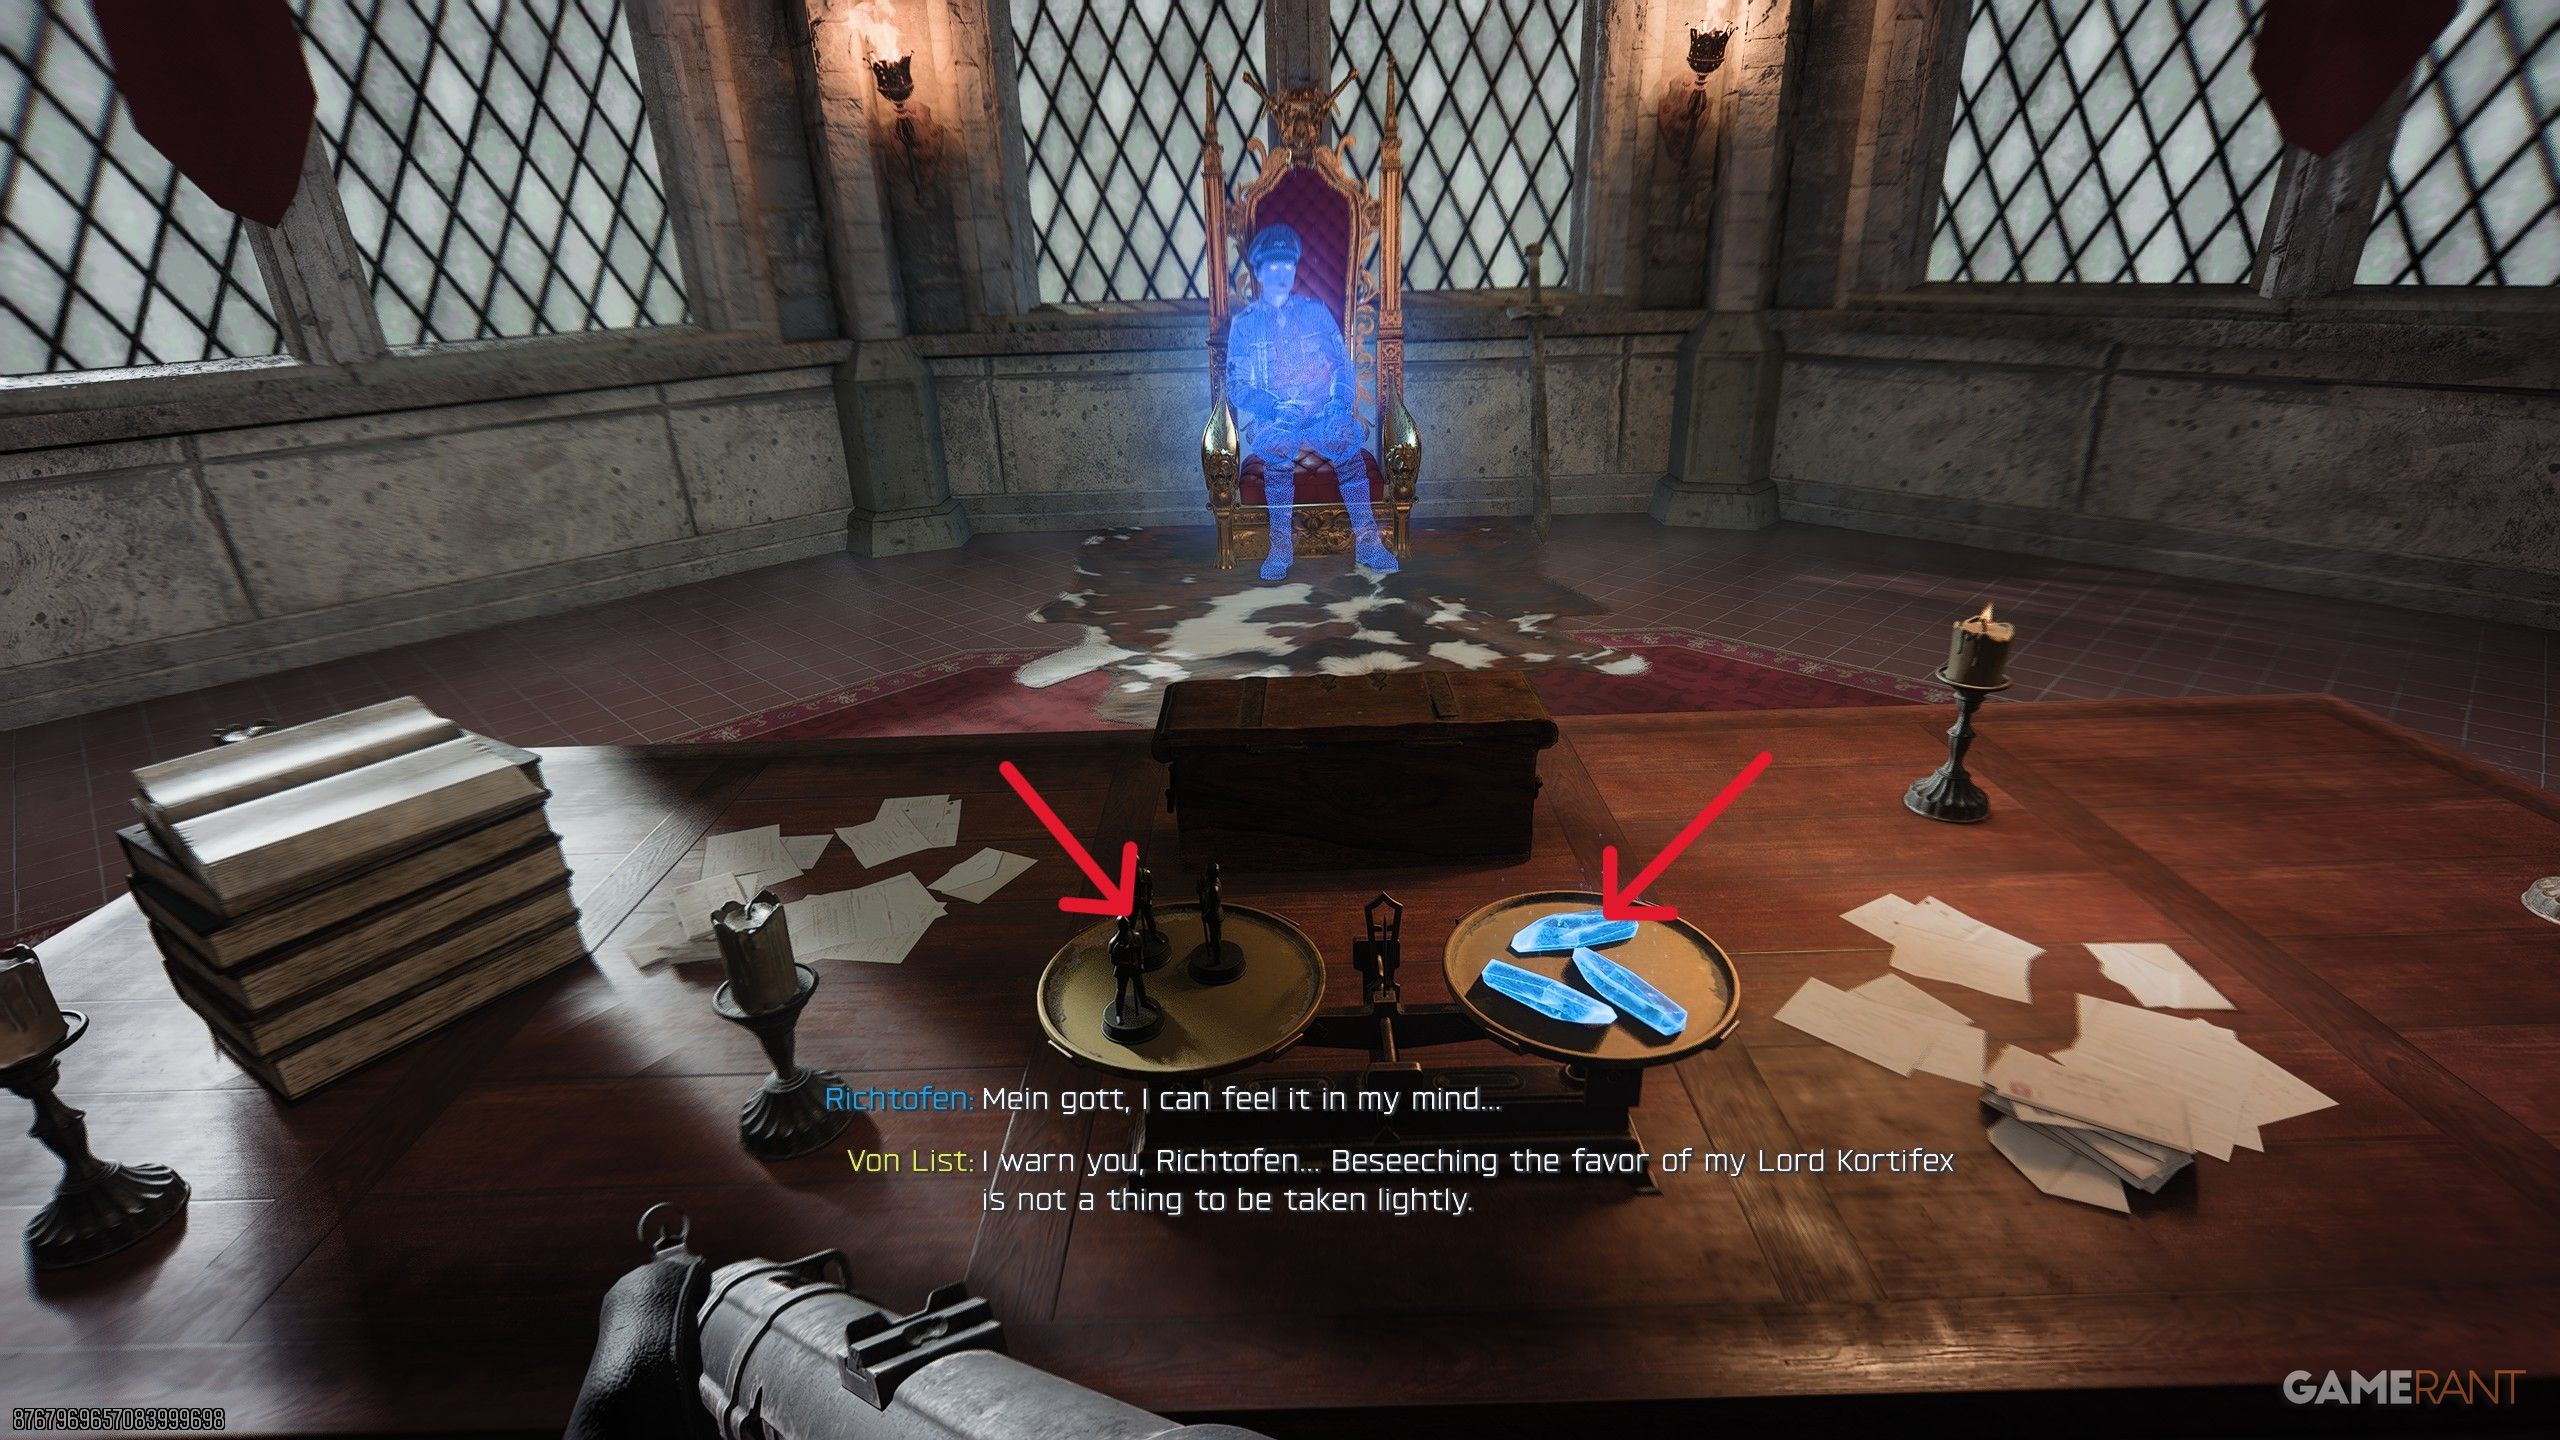
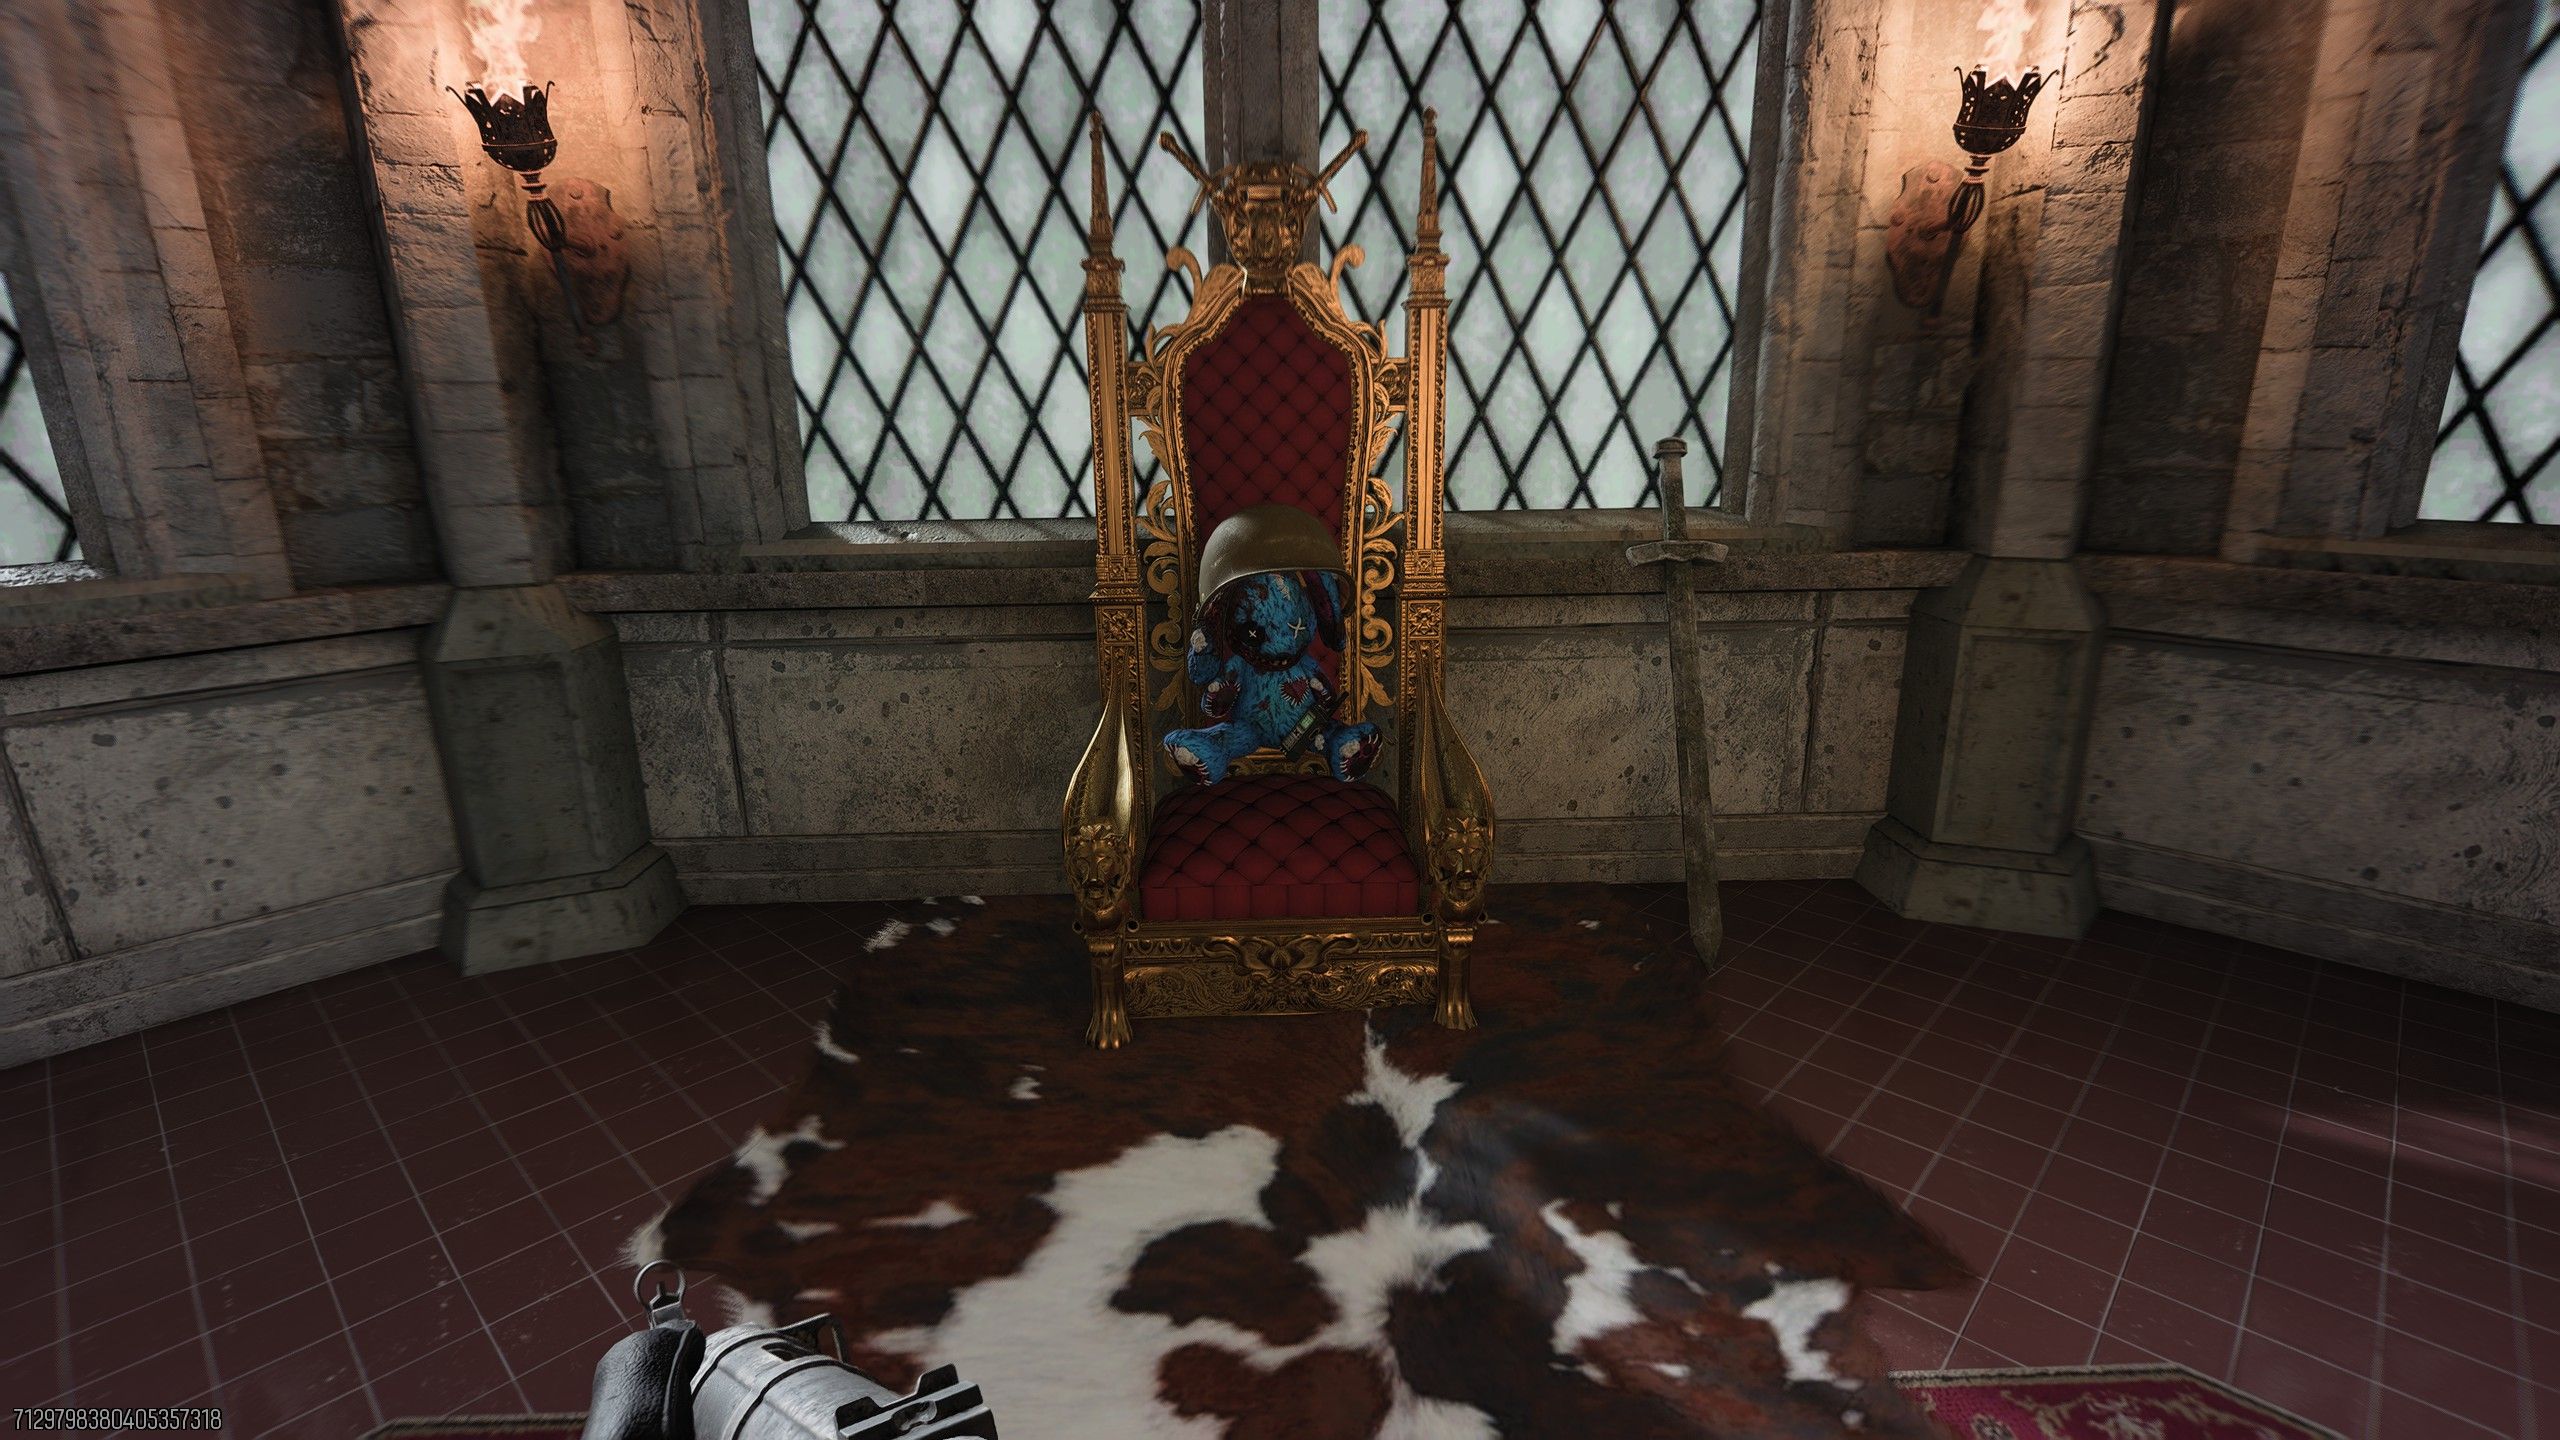
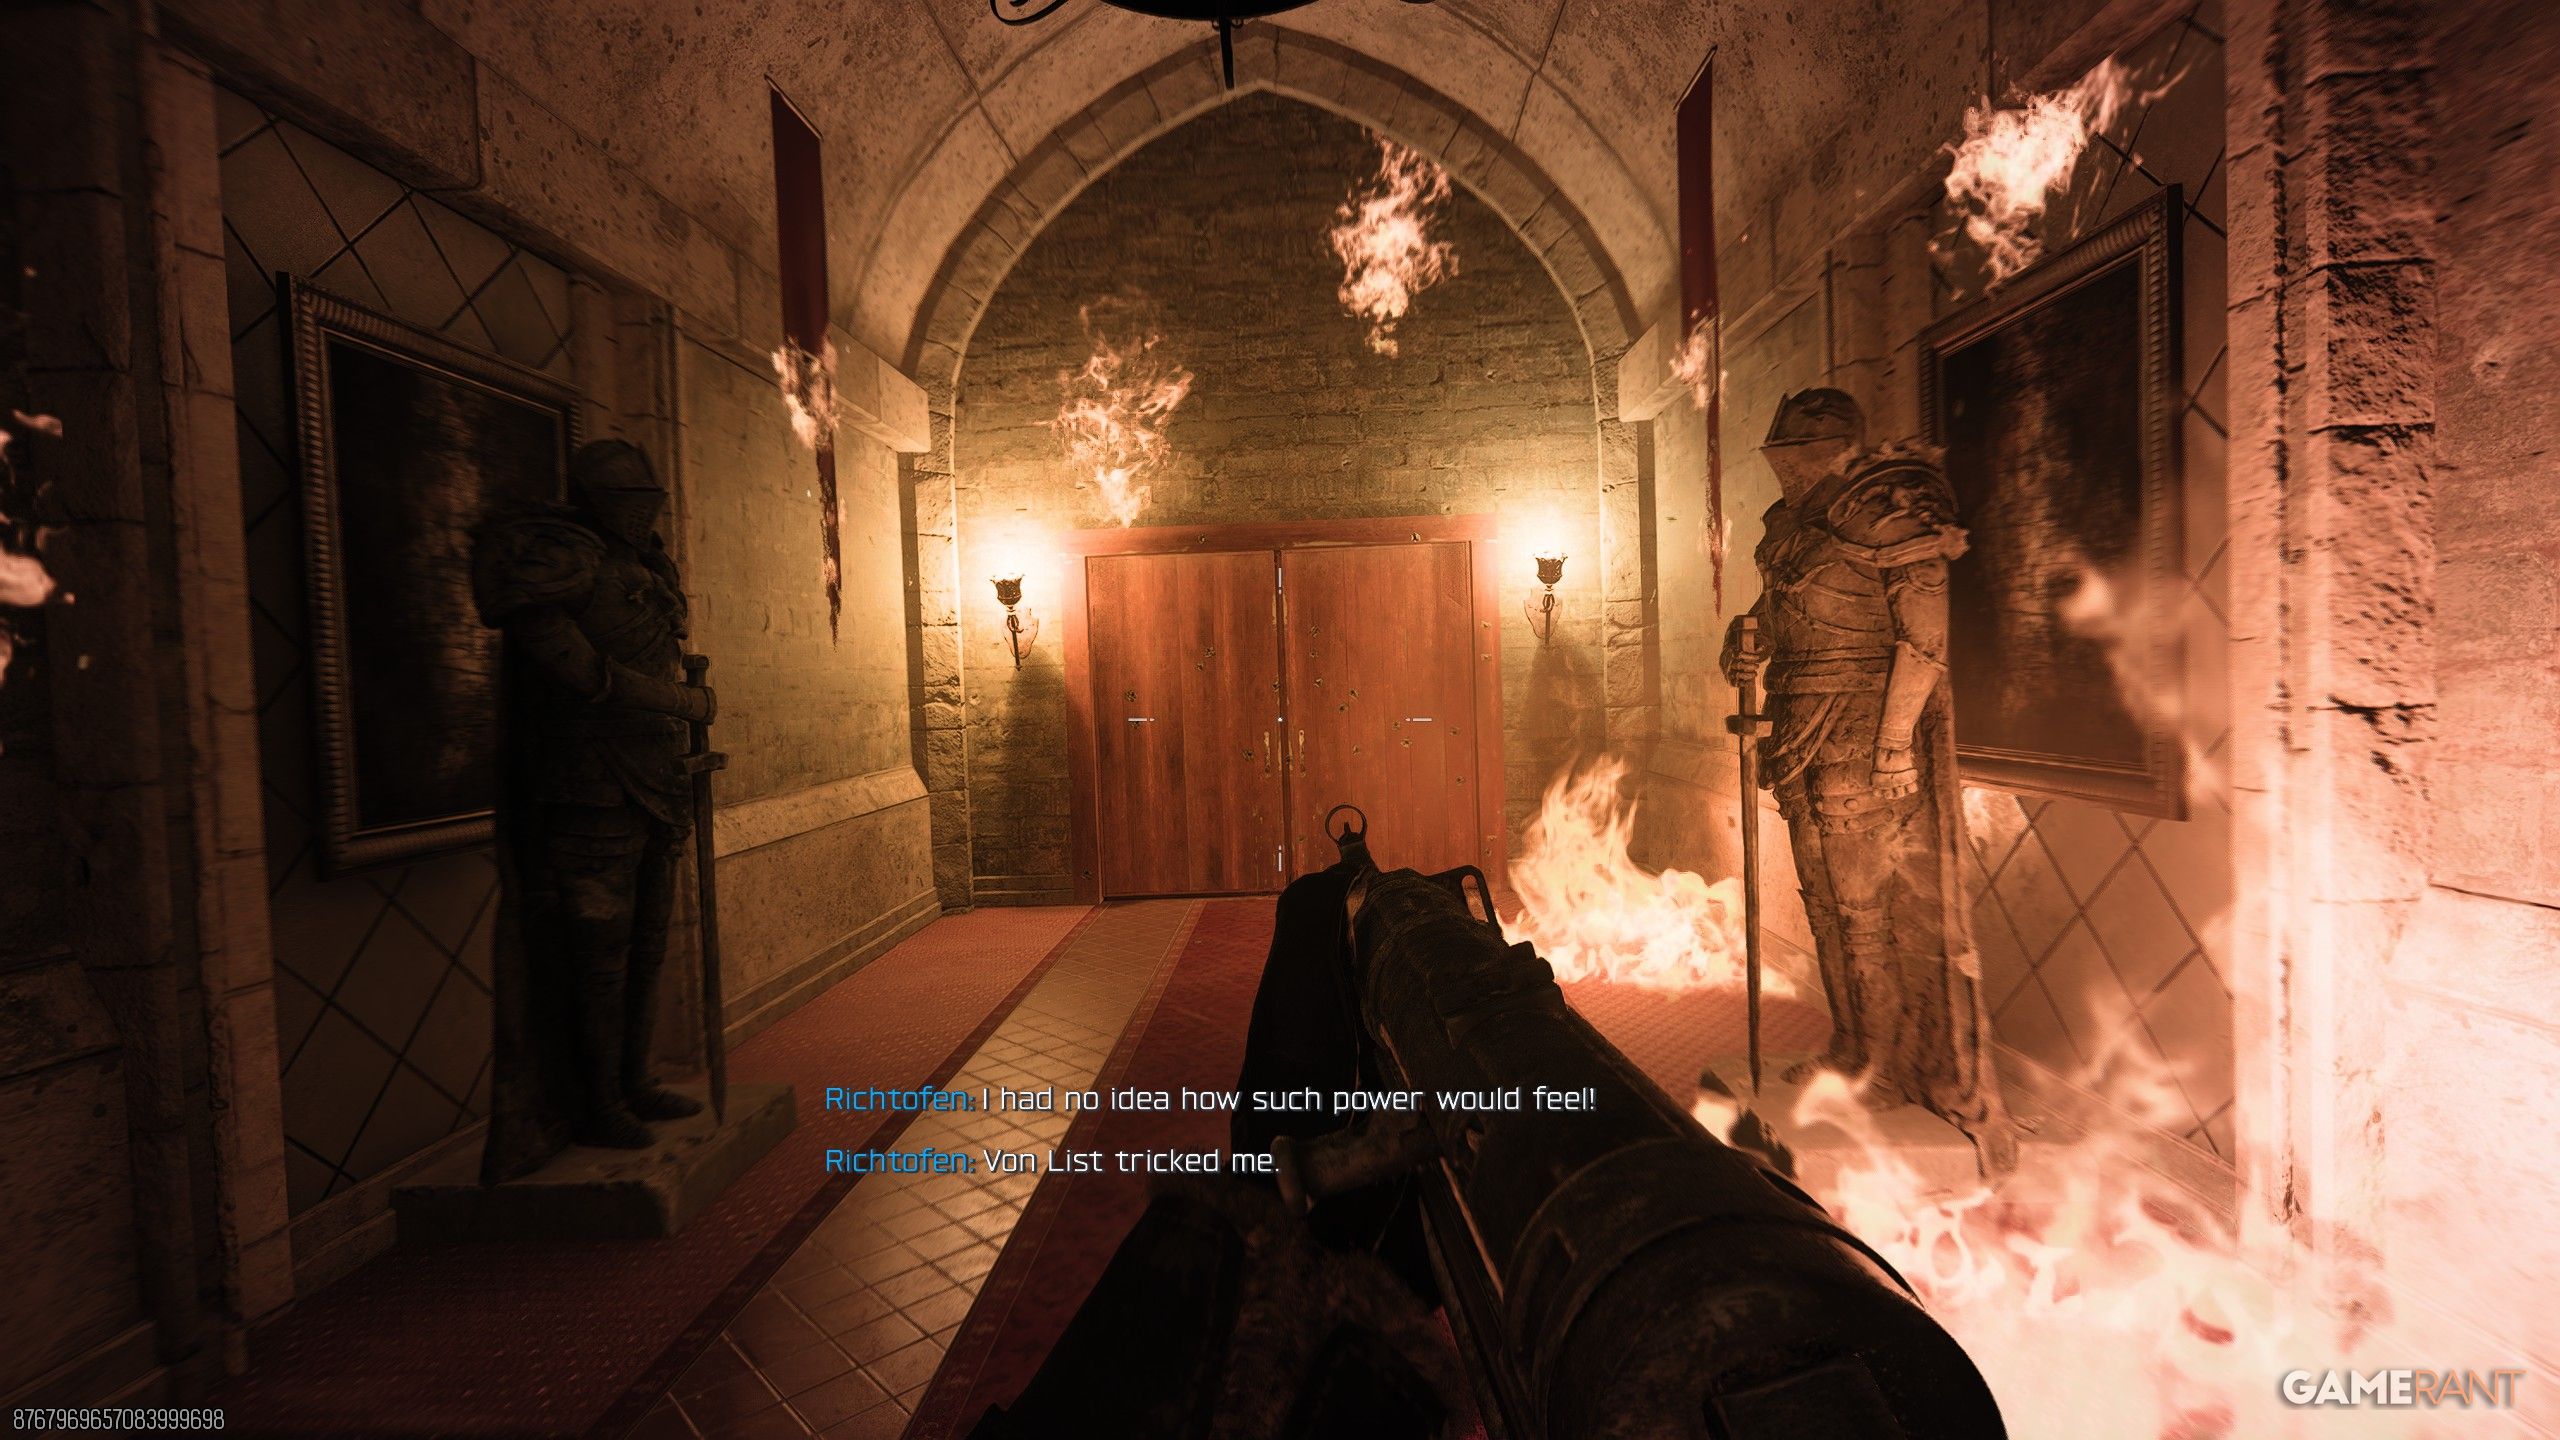
Okay, so to kick off this Easter Egg, you’ll get teleported right into the Richtofen Side Easter Egg. You just need to play through it until you meet Von List chilling on his throne. After that conversation, you can go up to the throne and place Mr. Peeks. Then, you’re almost done! Just exit out of that side Easter Egg and head over to the Agarhtan Device Trial in the Dry Dock – it’s to the right of PhD Flopper. That’s it!
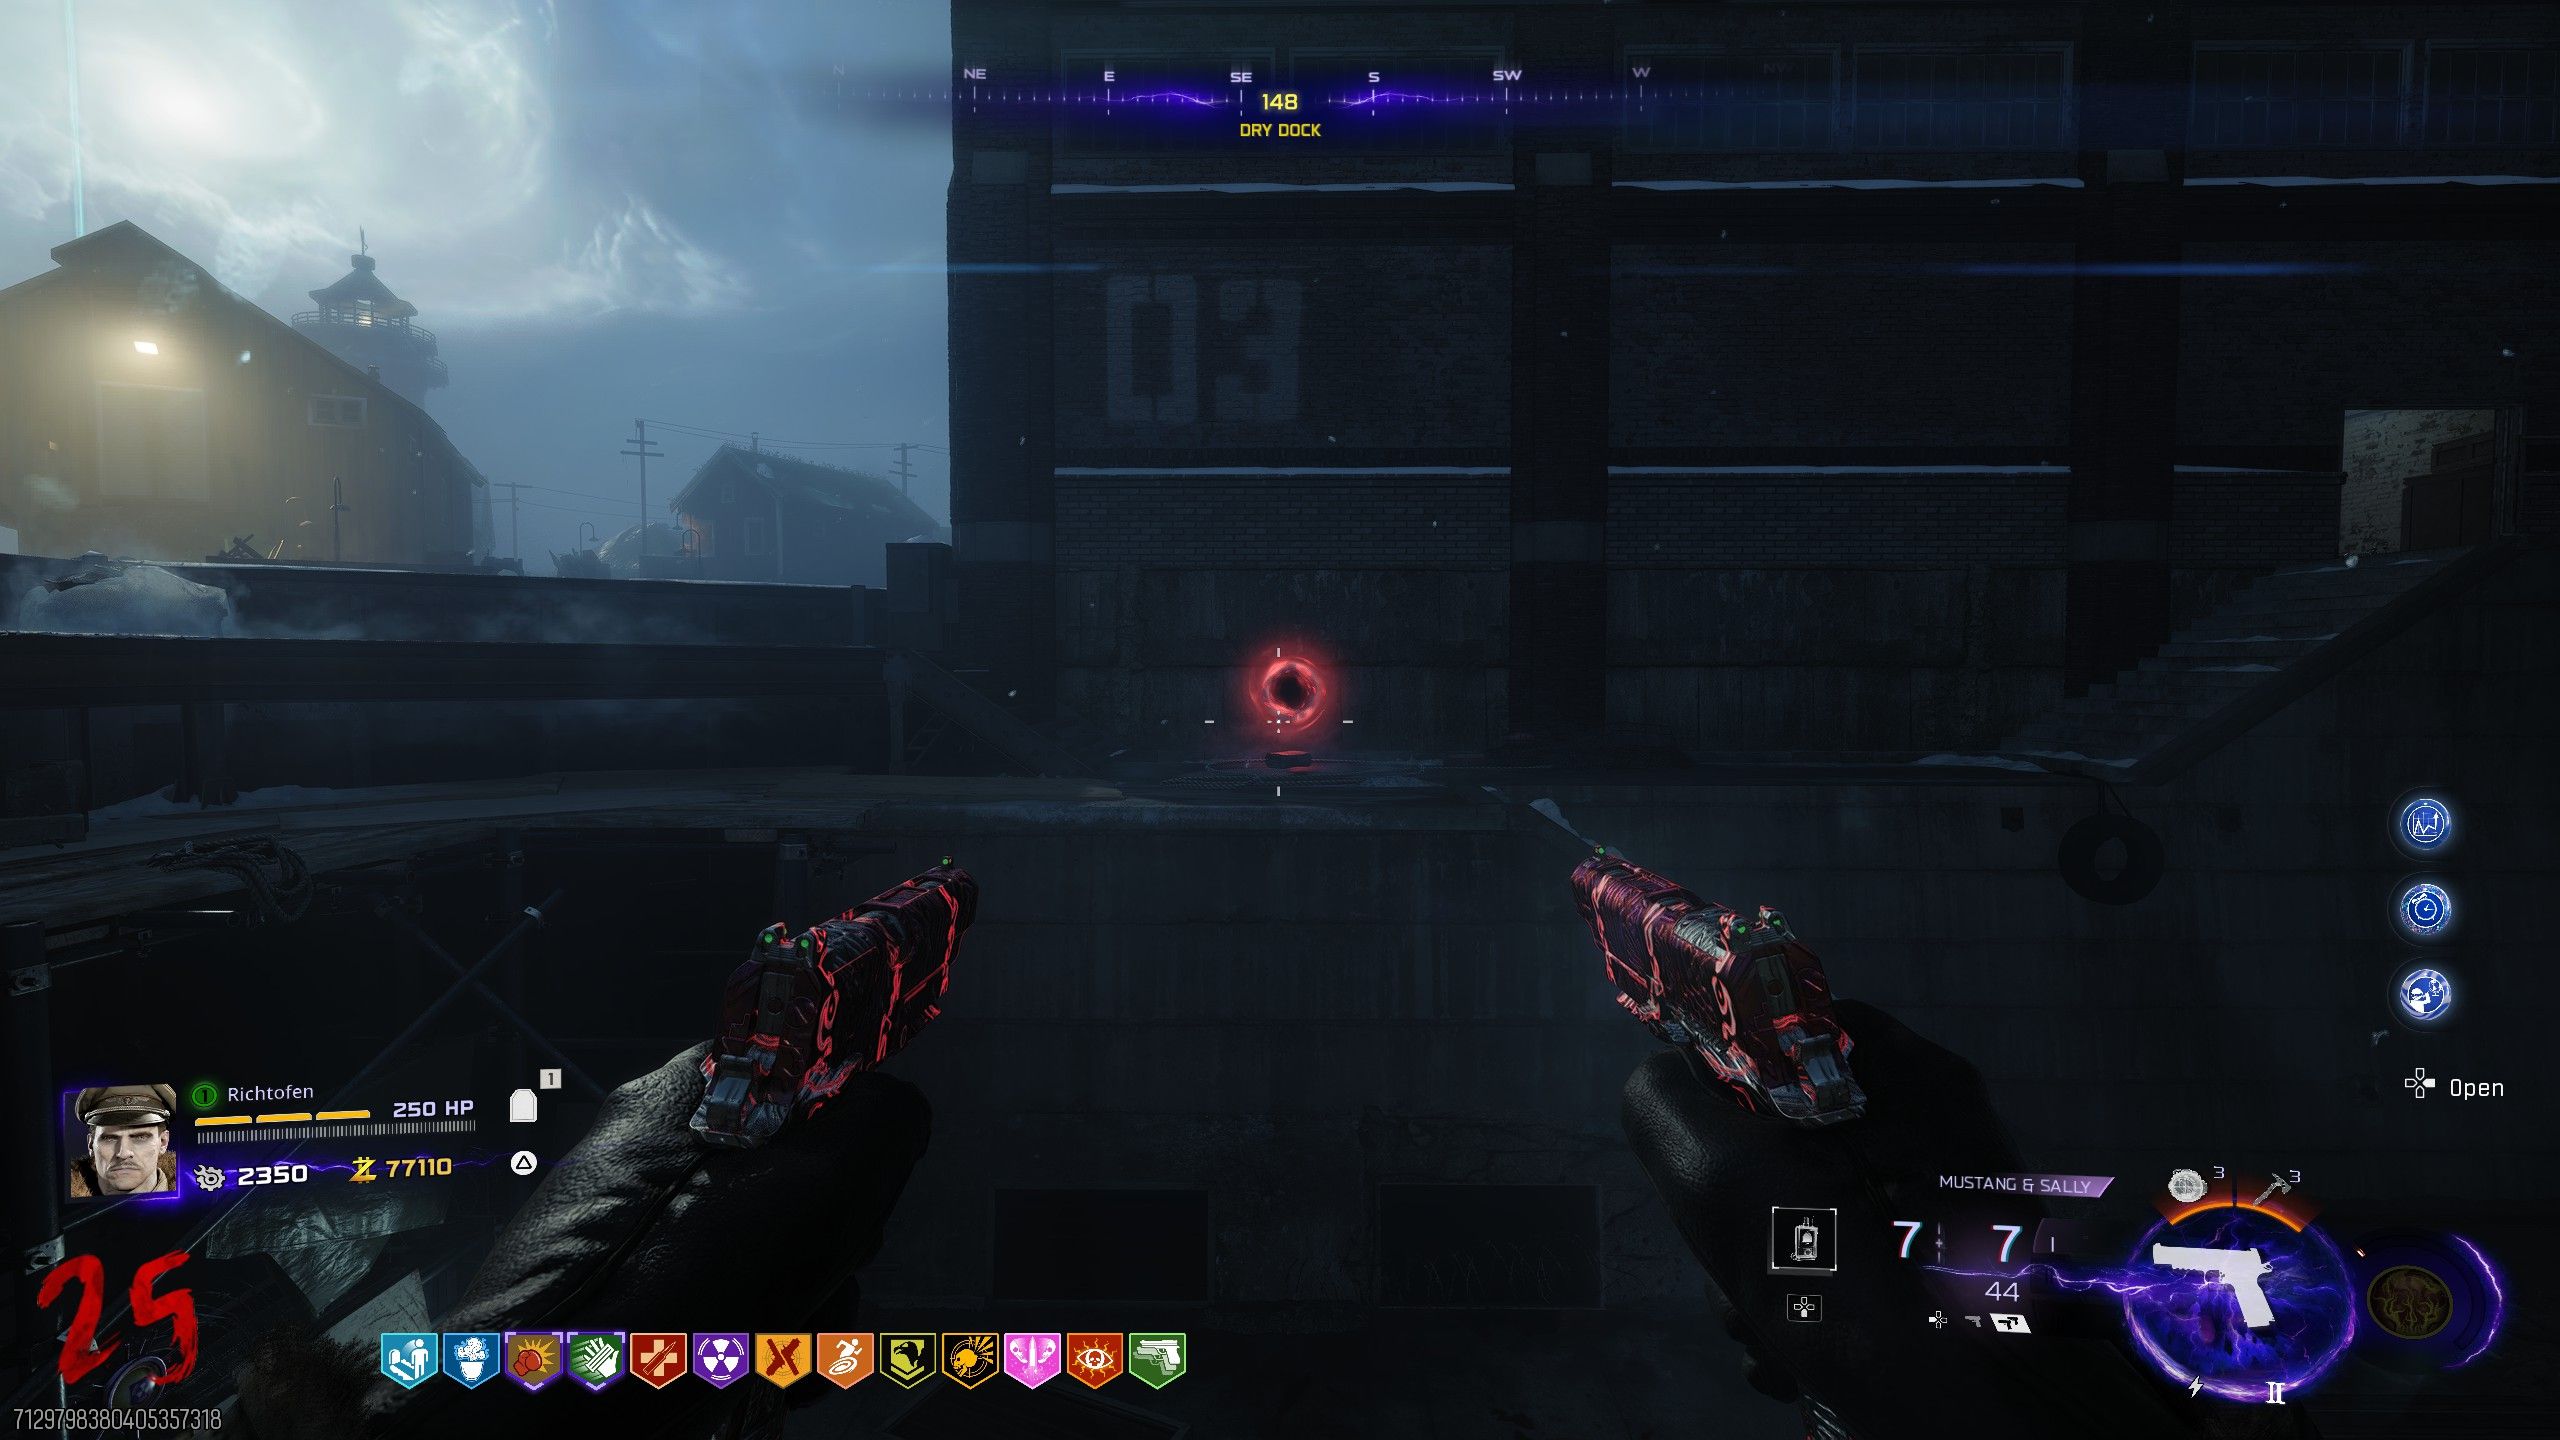
The Agarthan Device relic changes the rules so zombies can only take damage when you’re inside. Here’s how we overcame that challenge.
How to Complete the Agarthan Device Relic Trial
For the test, we brought Toxic Growth, the Urticant Major Augment, Extra Charge, and the Ankle Shredder Minor Augment. We also equipped all Perks, and crucially, the Tier 4 Pack-a-Punch weapon, the Jotunn Star.
We quickly began the challenge and rushed to Beacon Island, setting up camp on the second floor of the Lighthouse. To defeat the zombies, we placed a Toxic Growth Field Upgrade in their path and repeatedly used the powerful Jotunn Star melee attack, which was especially effective against slowed enemies.
We did this for every round, including rounds 3 and 6 where you need to defeat the High Value Targets (which are a Zursa Bear and two Necropincers). Simply use Toxic Growth whenever it’s available, and repeatedly attack with Jotunn Star, and you’ll easily complete this challenge.
What Does the Agarthan Device Relic Do, and Is It Worth Using?
The Agarthan Device Relic is generally a better choice than other Wicked Relics. Unlike some others that have negative effects – like removing helpful abilities, making zombies stronger, or hindering your progress – the Agarthan Device doesn’t really have any drawbacks.
The Agarthan Device Relic changes how zombies appear. Instead of the same type of zombie spawning each time, it makes it random – you might face regular zombies one round, frost zombies the next, and acid zombies after that. This unpredictability can be fun, but it also means you’re more likely to take damage from different elements.
Hey, if you’re still diving into Black Ops 7 Zombies like me, I’ve got more guides right here! I’ve also put together a list of all the Relic locations, you can check them out below.
- All Ashes of the Damned Relics
- All Astra Malorum Relics
- All Paradox Junction Relics
Read More
- Forza Horizon 6: Find the Ohtani Treasure Chest Location
- NTE Drift Guide (& Best Car Mods for Drifting)
- Diablo 4 Best Loot Filter Codes
- Boruto: Ikemoto Has Already Hinted At Sasuke’s New Eye After Return
- LEGO Batman Legacy of the Dark Knight Batcave Minikits & WayneTech Caches
- USD RUB PREDICTION
- Where to Find Prescription in Where Winds Meet (Raw Leaf Porridge Quest)
- Top 10 Must-Watch Isekai Anime on Crunchyroll Revealed!
- GBP CNY PREDICTION
- Deltarune Chapter 1 100% Walkthrough: Complete Guide to Secrets and Bosses
2026-05-05 18:05