Mastering the art of creating a waterfall within Minecraft could significantly transform your gaming experience, be it for swift vertical travel or to embellish your base. The cascading effect in Minecraft appears perpetual; it continues endlessly regardless of the situation. However, any irregular terrain may disrupt the smooth flow, necessitating block adjustments or water source replacement.
Here’s an easy-to-follow tutorial for creating a charming waterfall in Minecraft, ensuring no mistakes are made along the way.
A step-by-step guide to crafting a picturesque waterfall in Minecraft without encountering any issues has been prepared for your convenience. Enjoy!
Typically, water moves across objects such as shrubs, blooms, and farm produce. Occasionally, certain obstacles might disrupt its flow. When this happens, removing the obstacle and rearranging the surrounding pieces usually resolves the problem.
Minecraft Waterfall Guide: Materials And Steps Explained
Before starting on a waterfall in Minecraft, collect the following items:
- Water buckets
- Shovels
- Pickaxes
Having around ten water buckets at your disposal would be beneficial if you’re planning to construct a broad waterfall. While shovels and pickaxes aren’t strictly necessary, using enchanted tools in Minecraft can significantly speed up and simplify the process of clearing terrain. Once all your preparations are complete, follow these steps:
1. Dig a large trench or channel to guide the flow of water.
2. Place the water buckets along the trench to create a steady supply of water.
3. Carefully remove blocks one by one from the top of the trench to allow water to flow down and form your waterfall.
4. Adjust the placement of blocks as needed to achieve the desired height, width, and shape for your waterfall.
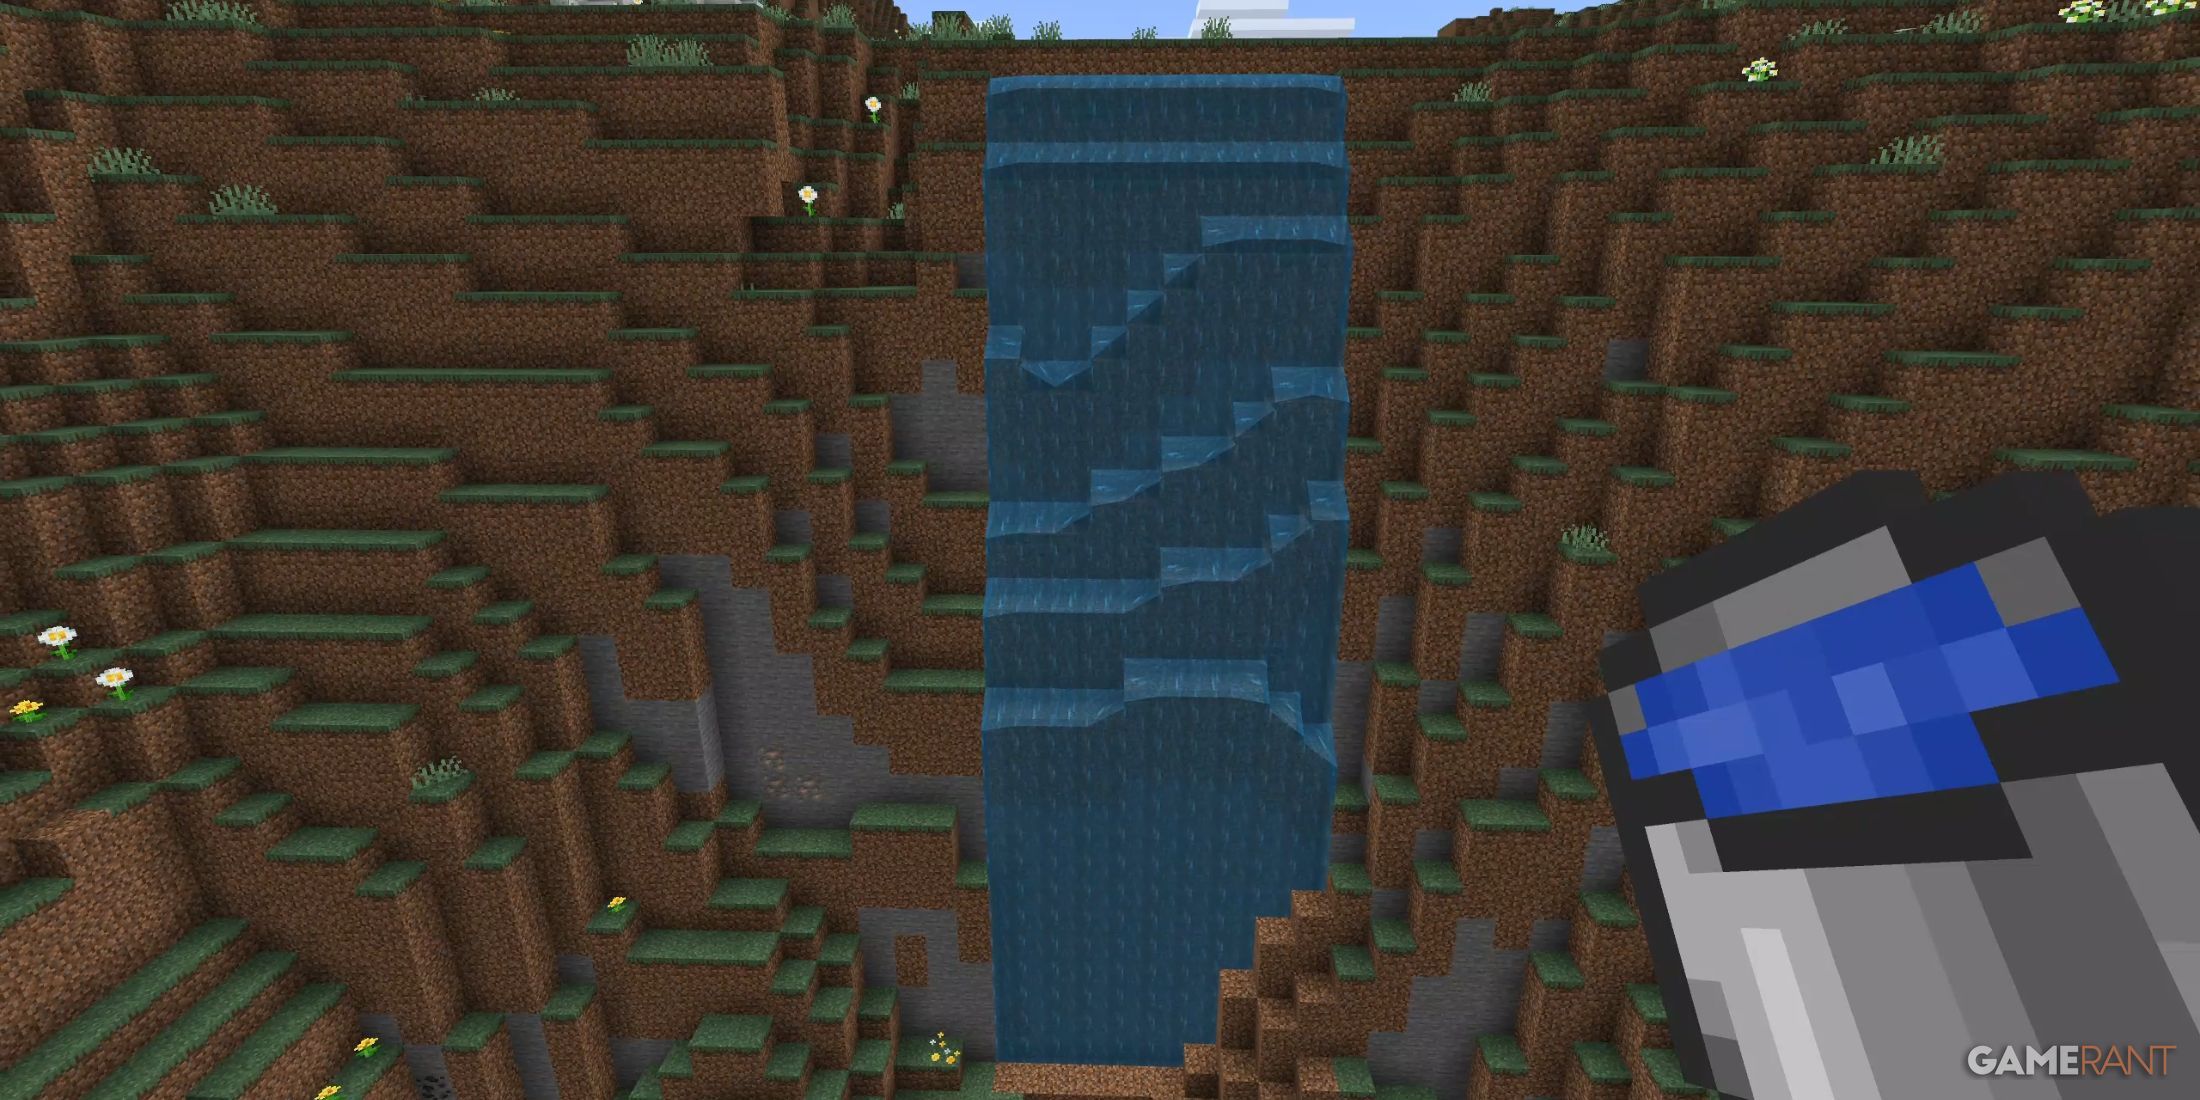
- Level a row where you want the waterfall to start. To make sure the water flows downwards and not in any random direction, create a “surrounding wall” by raising the side and back by one block level.
- Place a water source on every block in the row. This Minecraft waterfall will still function if you miss any, but a gap at the start will look untidy and may cause a glitch in the flow below.
- Follow the water as it descends, looking out for any changes in its direction. The particle graphics will help you easily discern this, and help in deciding the spots where corrections may be needed.
If you prefer a waterfall that doesn’t collect at the base and flows in a straight line, construct a trench by making the falling water row lower than its surroundings. This will help manage the flow and provide a sleek appearance.
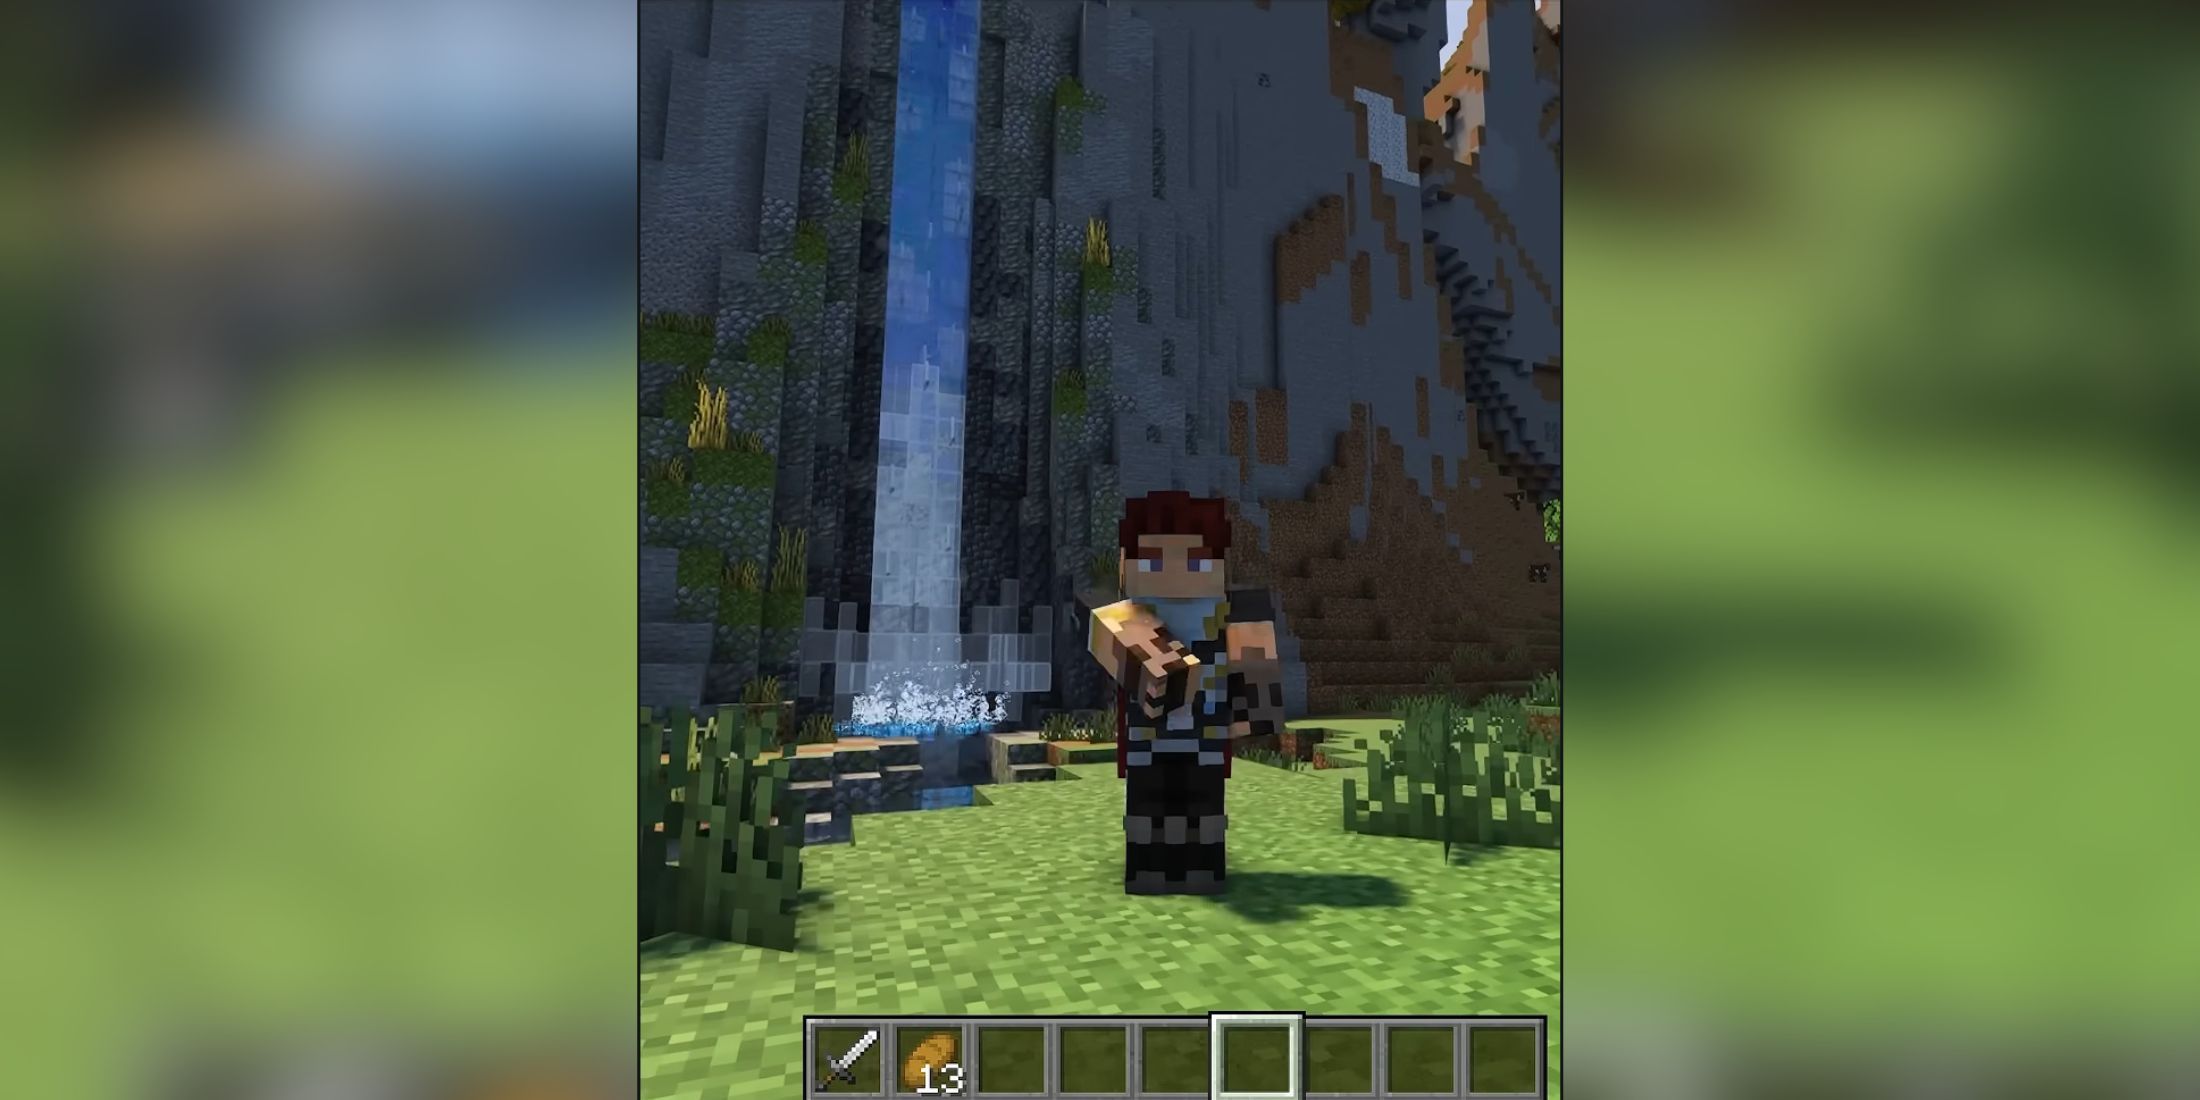
How Minecraft Waterfalls Can Be Made More Realistic
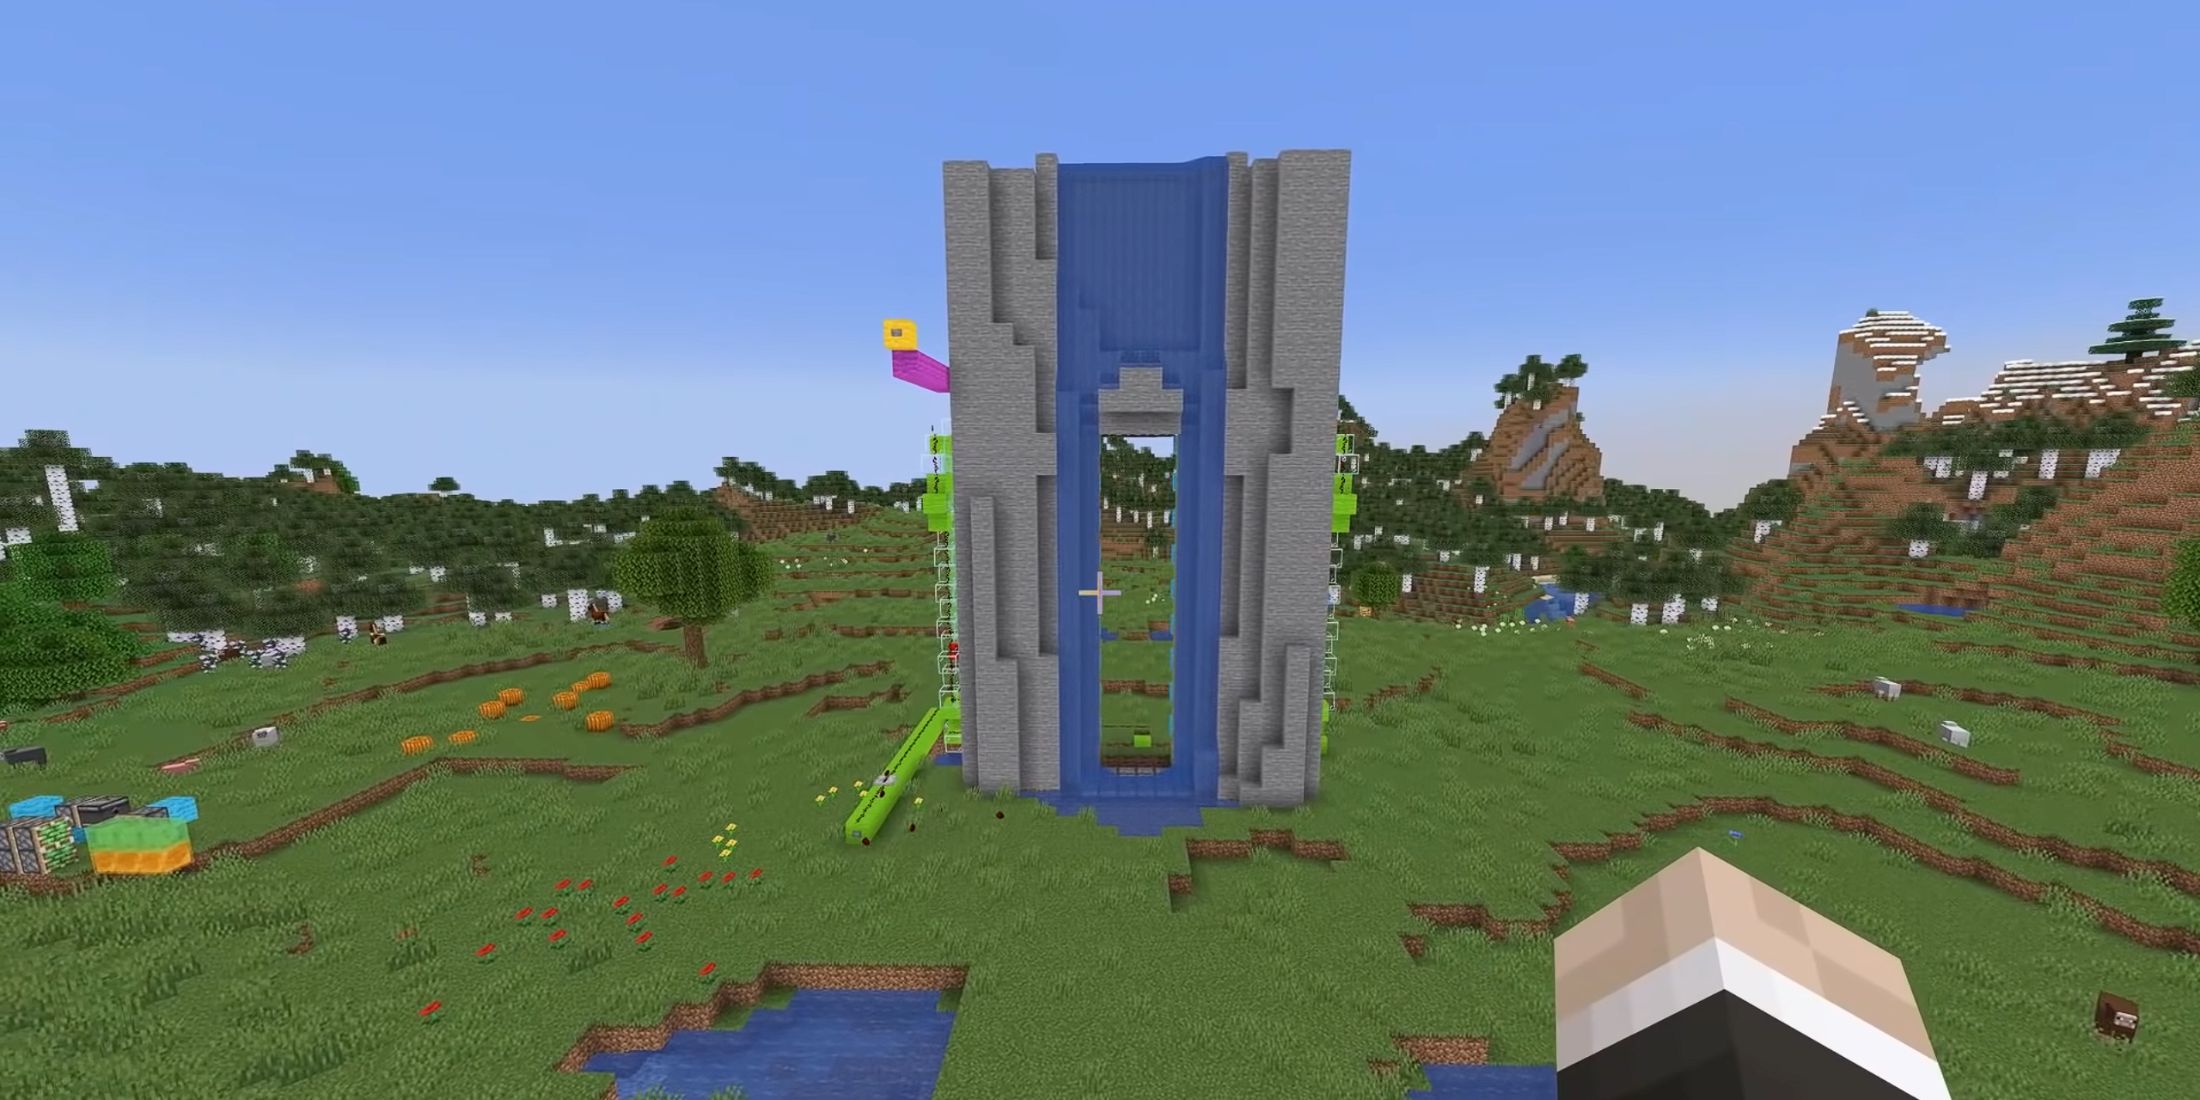
- Batman Waterfall Entrance via Mumbo Jumbo
- Incredible Redstone Animated Minecraft Waterfall via Jake Kelton Crafts
In the gaming world, Minecraft stands out as one of the top free-to-play sandbox games, boasting an impressive array of features to enhance immersion. For instance, you can construct structures that cascade into pits or flow smoothly over diverse landscapes. Yet, crafting a waterfall in Minecraft opens up a world of possibilities beyond these basics.
As a Minecraft enthusiast, I’ve honed my technical skills to craft intricate redstone machines. With blocks like observers, dispensers, pistons, and even stained glass, I’ve managed to build animated waterfalls that dance with life. Once you get the hang of it, here are a few designs you can experiment with:
1. The Grand Waterfall: A breathtaking waterfall cascading down multiple levels, powered by redstone and pistons.
2. The Animated River: A flowing river that changes direction based on redstone signals, creating a dynamic landscape.
3. The Automatic Lava Falls: A lava waterfall that switches on and off at regular intervals, adding a fiery touch to your Minecraft world.
- Use redstone and piston to make a splitter. When triggered, it splits the waterfall into two lanes, leaving the center open for an entryway.
- Use redstone, sticky pistons, observers, and stained glass to create a looped animation system that shows “waves.”
- Hook up a row of dispensers filled with splash potions to create bubbles at the bottom of the pool.
When attempting to construct a basic waterfall for your Minecraft base designs, it’s worth noting that while the end results are impressive, the effort required might be substantial. You should also be aware of potential glitches and background alterations that may affect the functionality of these blocks. As such, a trial-and-error approach would likely be necessary. However, Minecraft offers a generous amount of leniency and freedom, allowing you ample time to perfect your creation.
Read More
- All Shadow Armor Locations in Crimson Desert
- Dark Marksman Armor Locations in Crimson Desert
- Sega Reveals Official Sonic Timeline: From Prehistoric to Modern Era
- How to Beat Antumbra’s Sword (Sanctum of Absolution) in Crimson Desert
- Genshin Impact Dev Teases New Open-World MMO With Realistic Graphics
- Where to Pack and Sell Trade Goods in Crimson Desert
- Top 5 Militaristic Civs in Civilization 7
- The Limits of Thought: Can We Compress Reasoning in AI?
- Enshrouded: Giant Critter Scales Location
- Best Weapons, Armor, and Accessories to Get Early in Crimson Desert
2025-04-13 10:54