As a die-hard fan, I’m eagerly anticipating my role in the next epic saga: Space Marine 2. This time, I’ll join my preferred Class and comrades, the Battle Brothers, on a covert mission to breach an Adeptus Mechanicus compound on Avarax, which has fallen prey to the Tyranid Swarm. Our objective is to retrieve the mind controlling the tech-priest-infested facility. Space Marine 2 promises to test my mettle as I face off against the menacing xenos scum that threaten our galaxy.
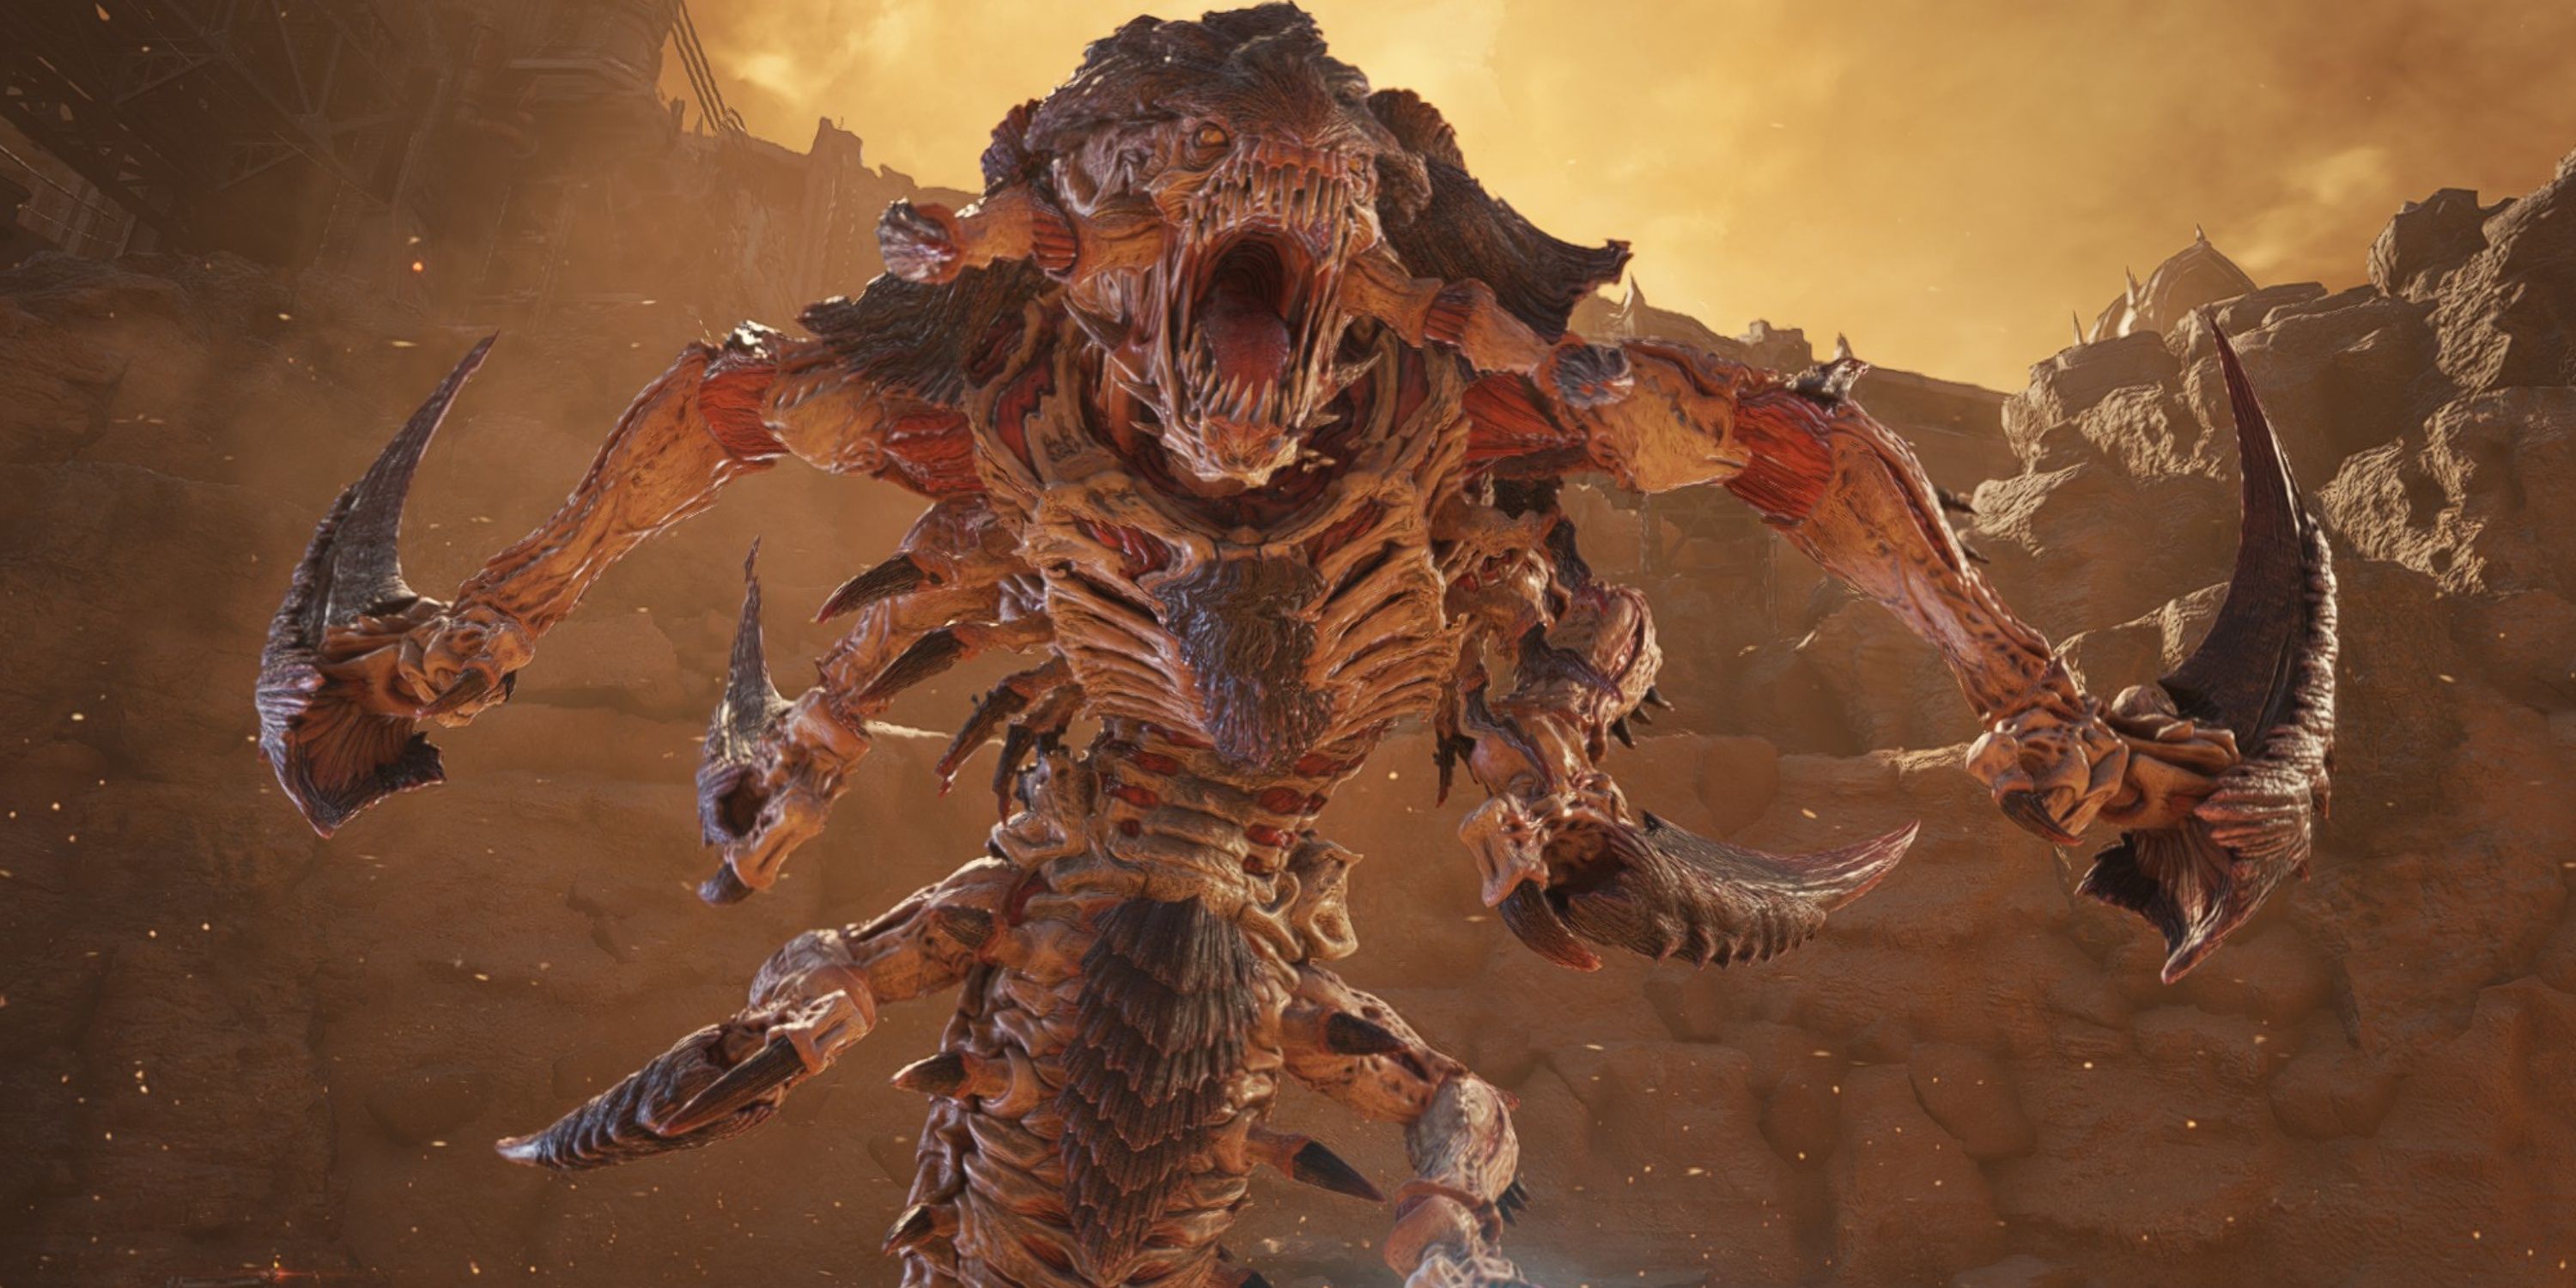
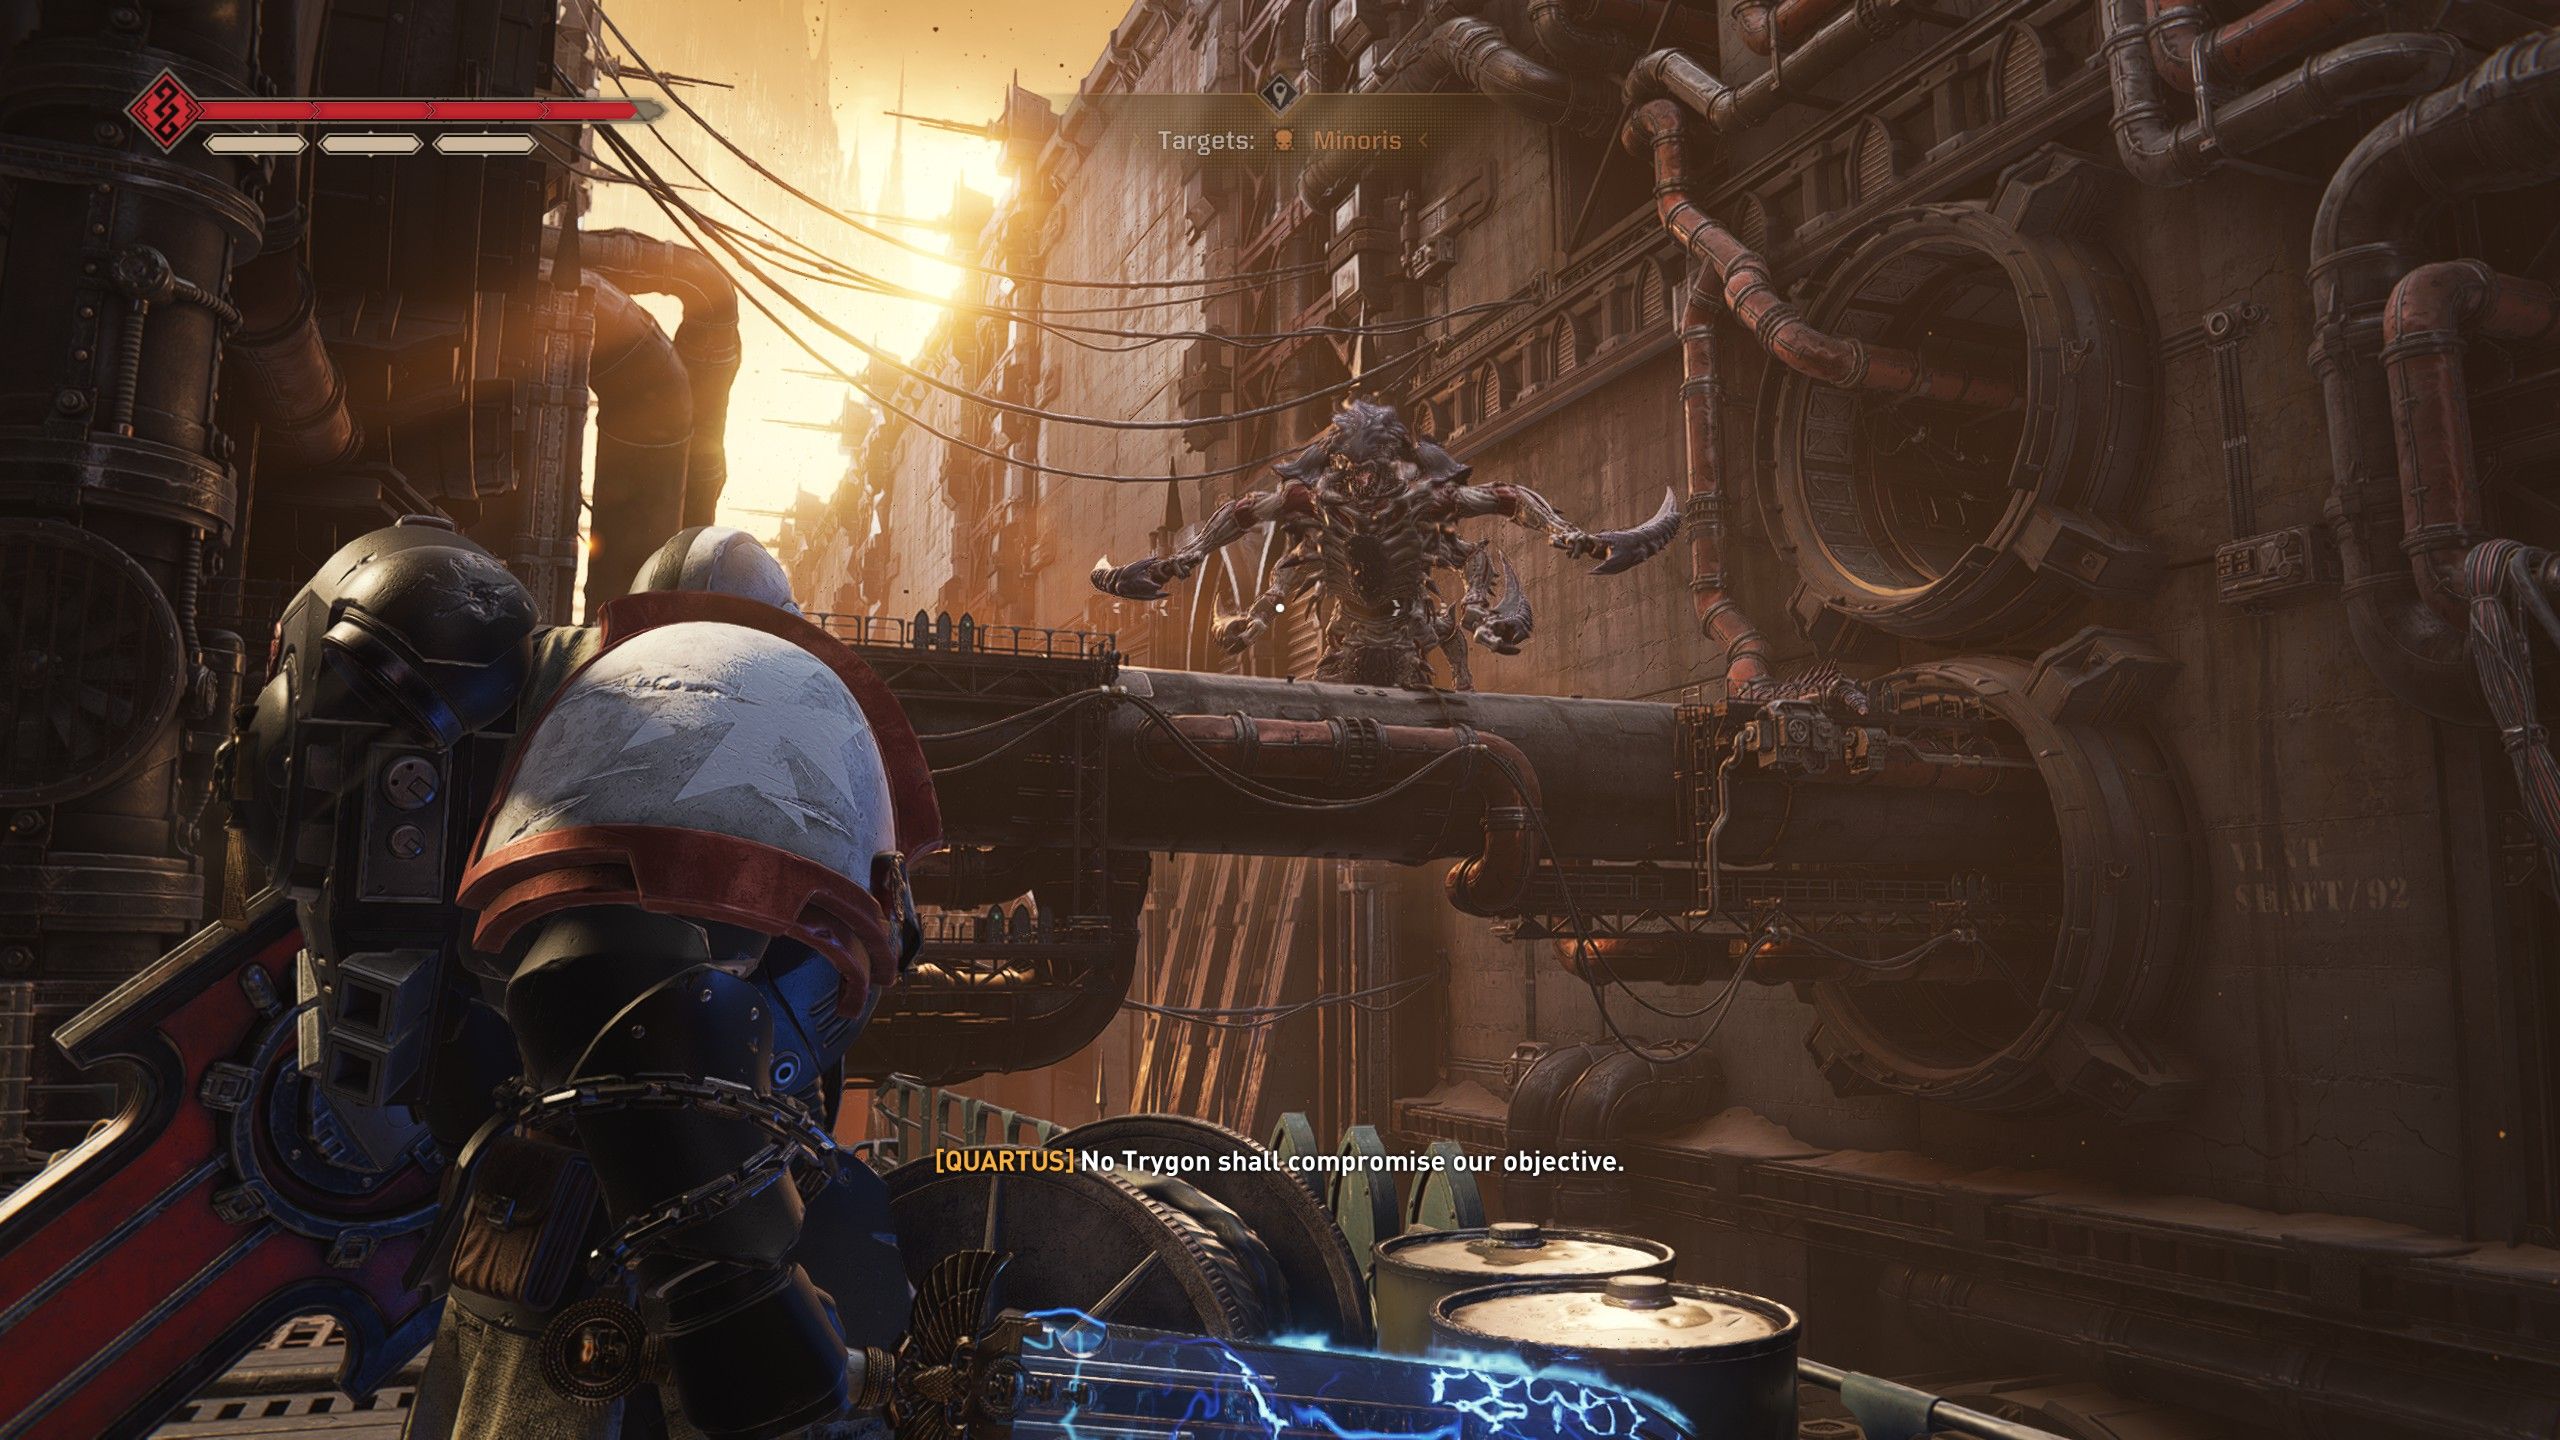
To successfully complete The Exfiltration Operation, players should familiarize themselves with its special features and procedures to ensure they can make it through the mission alive and claim their rewards. This includes a tough fight against the Trygon, an impressive Tyranid monster that must be defeated.
In this version, I’ve tried to use simpler language and clearer sentence structure while maintaining the original meaning.
How to Navigate the Desert & Reach the Longinus Gamma Facility
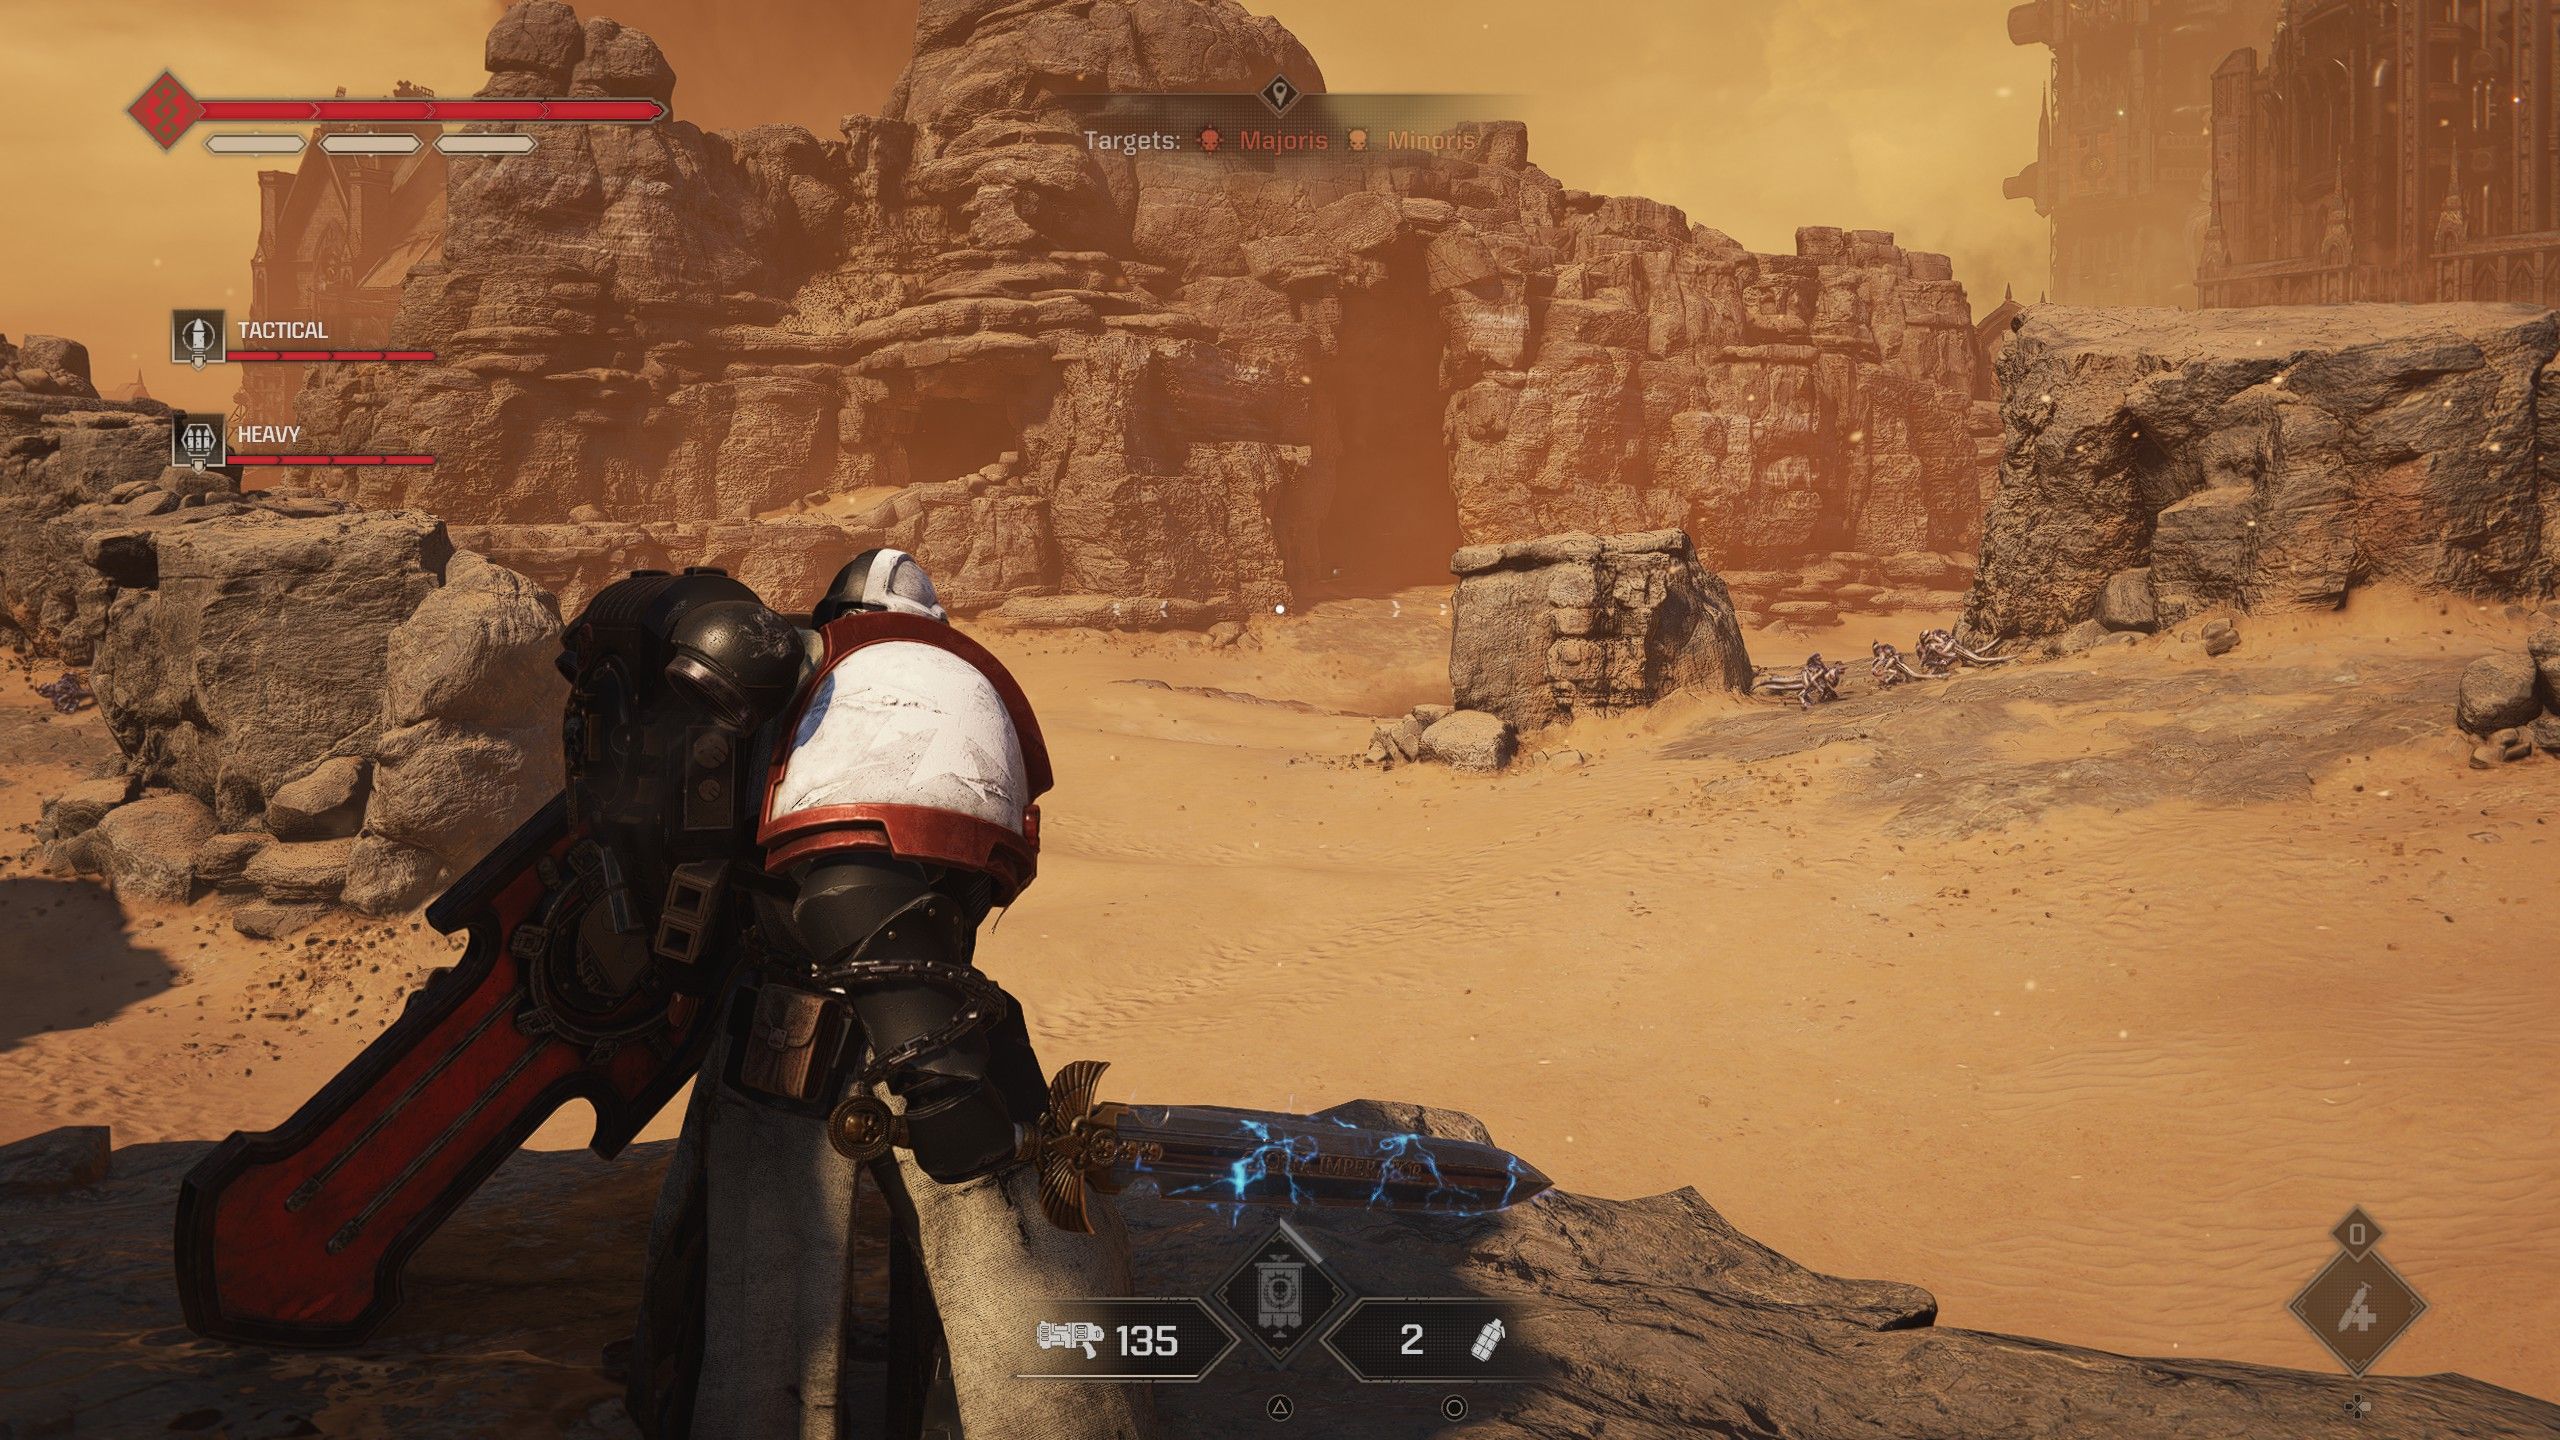

In the initial stage of the Exfiltrator mission during Operations training, players will descend onto the sandy expanse of Avarax. Their objective is to advance towards an open desert region. In this expansive area lies a formidable foe, the Tyranid creature called Trygon, which camouflages beneath the sand and moves stealthily to locate sprinting players. Unlike other stages, you cannot eliminate the Trygon here; instead, proceed into caves and stick to rocky terrain to prevent it from emerging to attack you and your team. If the Trygon emerges, evade its attacks since there’s no option to parry it.

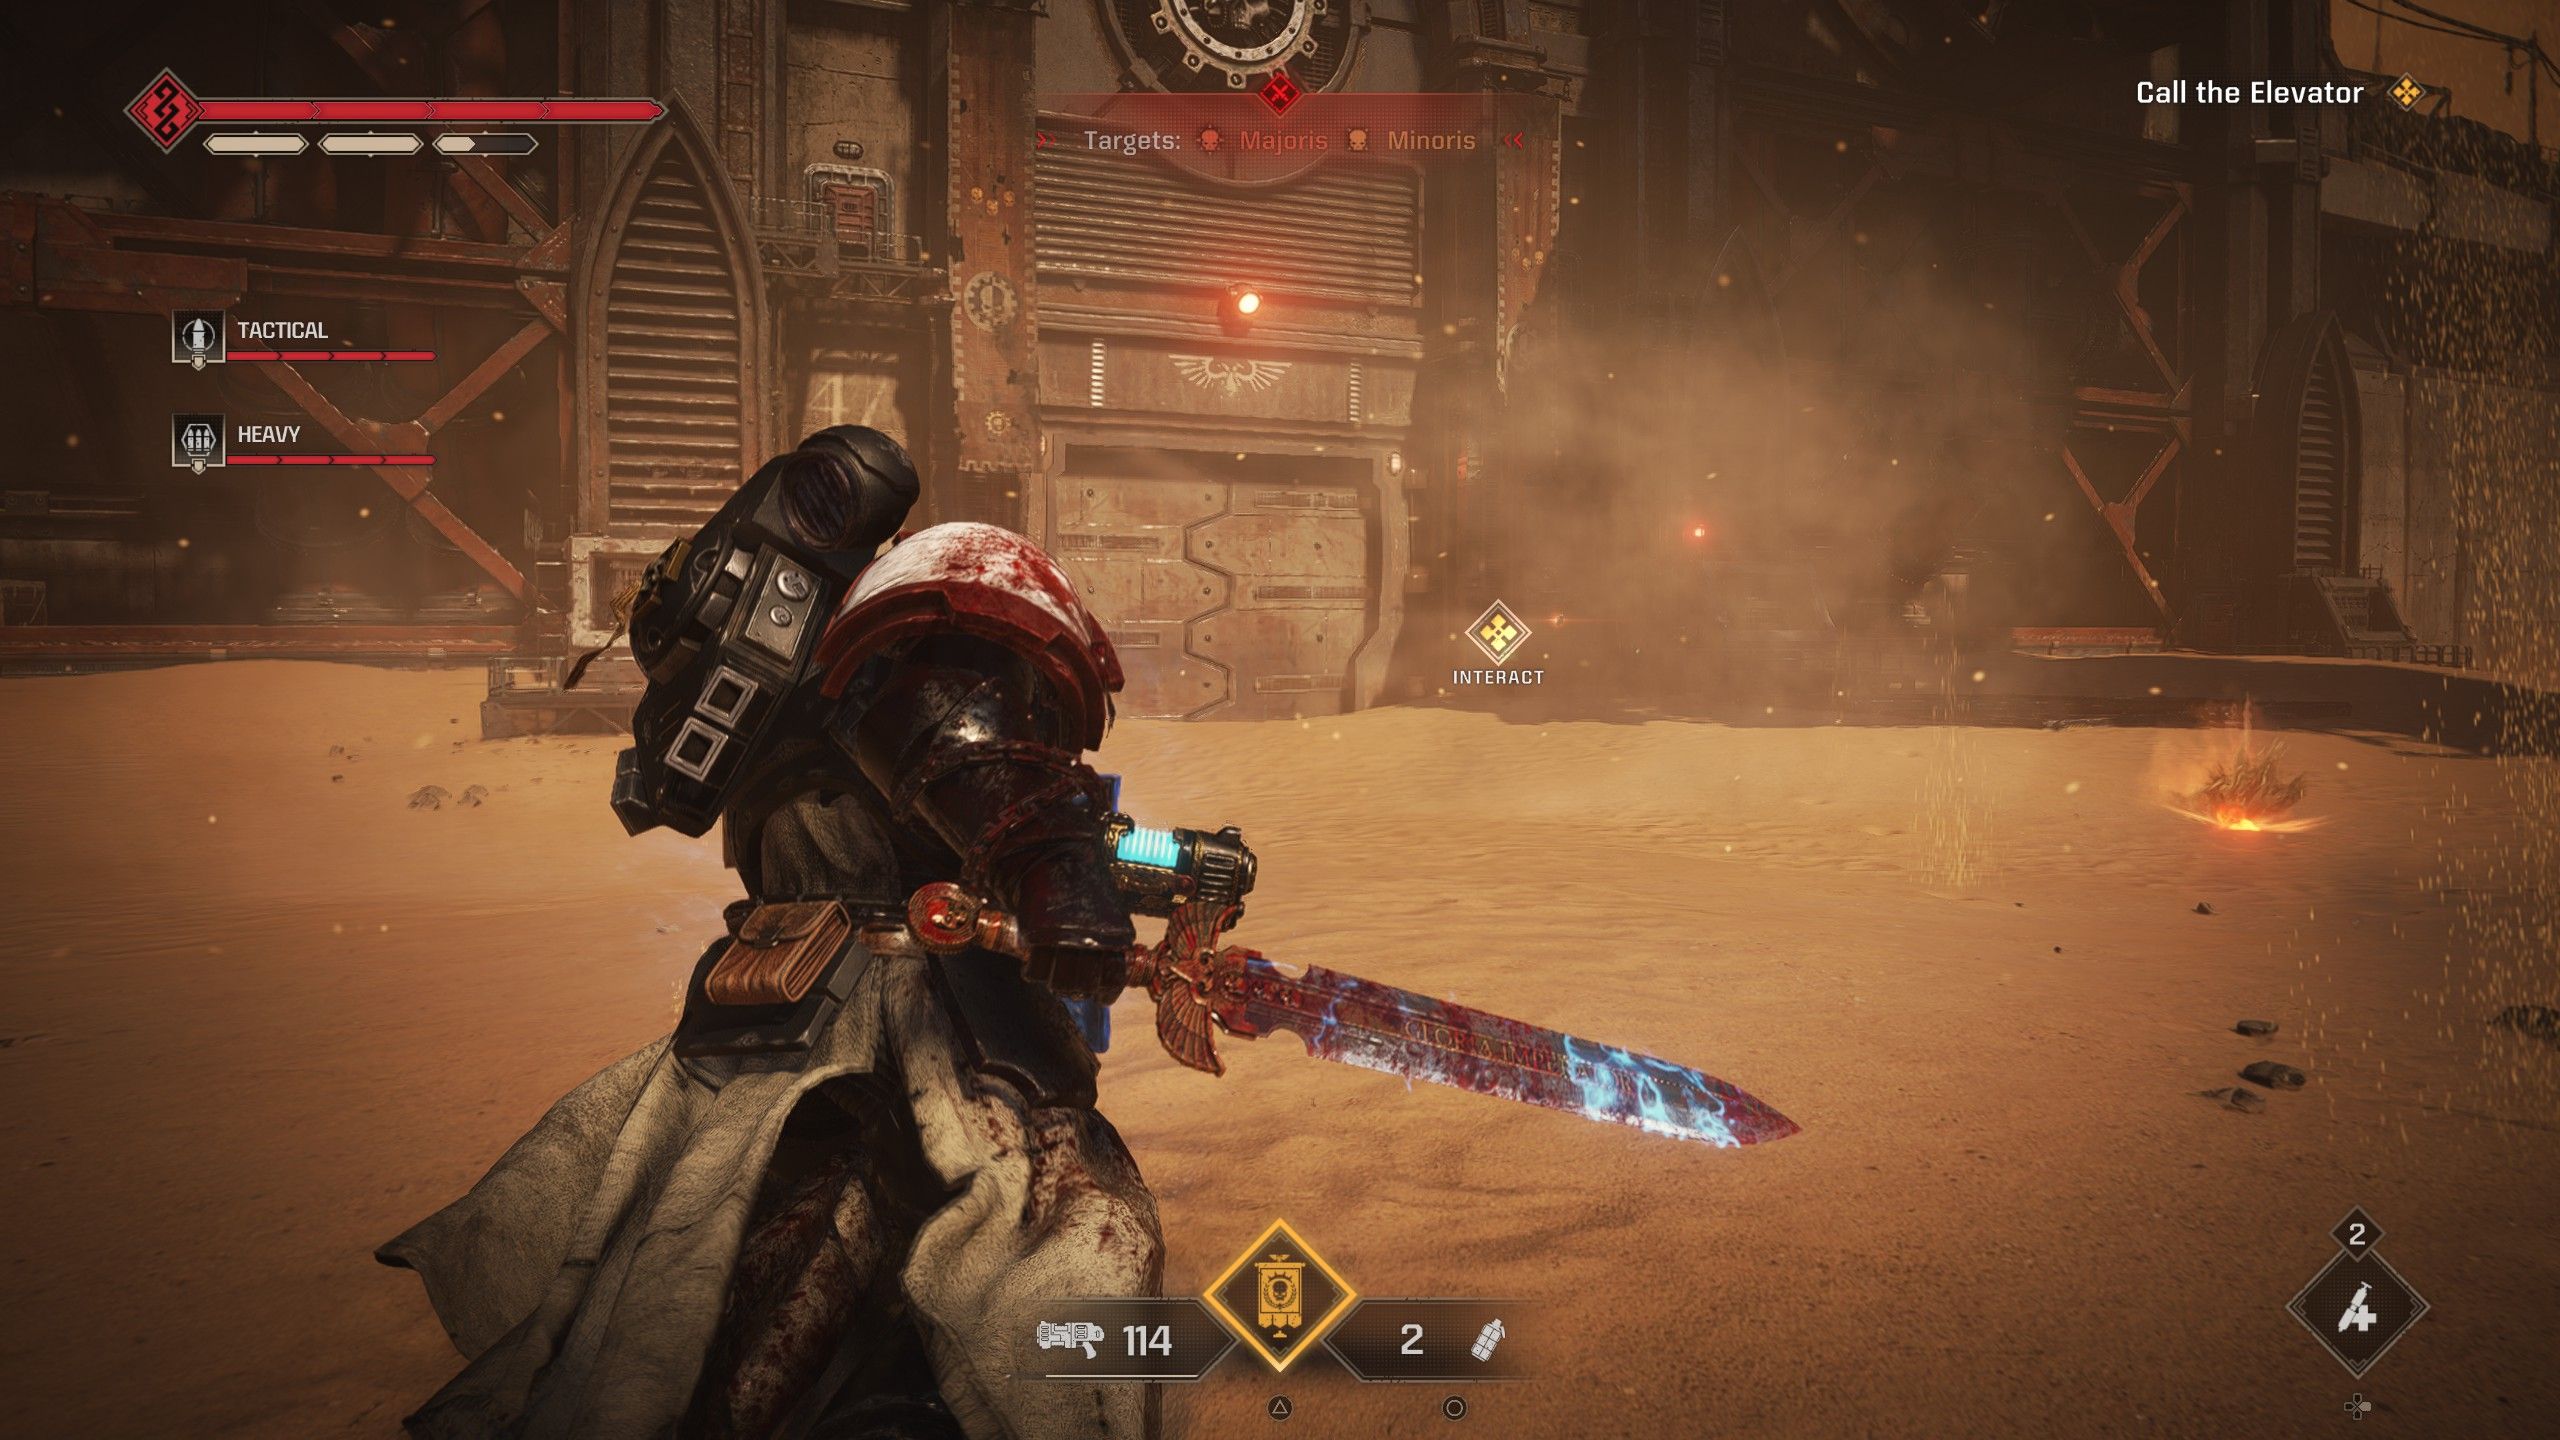
Adventurers must traverse the desert, taking refuge in caves and utilizing distant, glowing red markers as guides to reach a haven. There, they’ll find a terminal to trigger an elevator leading to the Longinus Gamma Facility. However, before activation, there’s a brief lockdown period to ward off Tyranids. It’s essential to maintain distance from your teammates to prevent Trygons from launching a coordinated attack. Once the elevator doors open, everyone should rush inside for safety, allowing them to regenerate health and collect ammo.
How to Eradicate the Tunnels
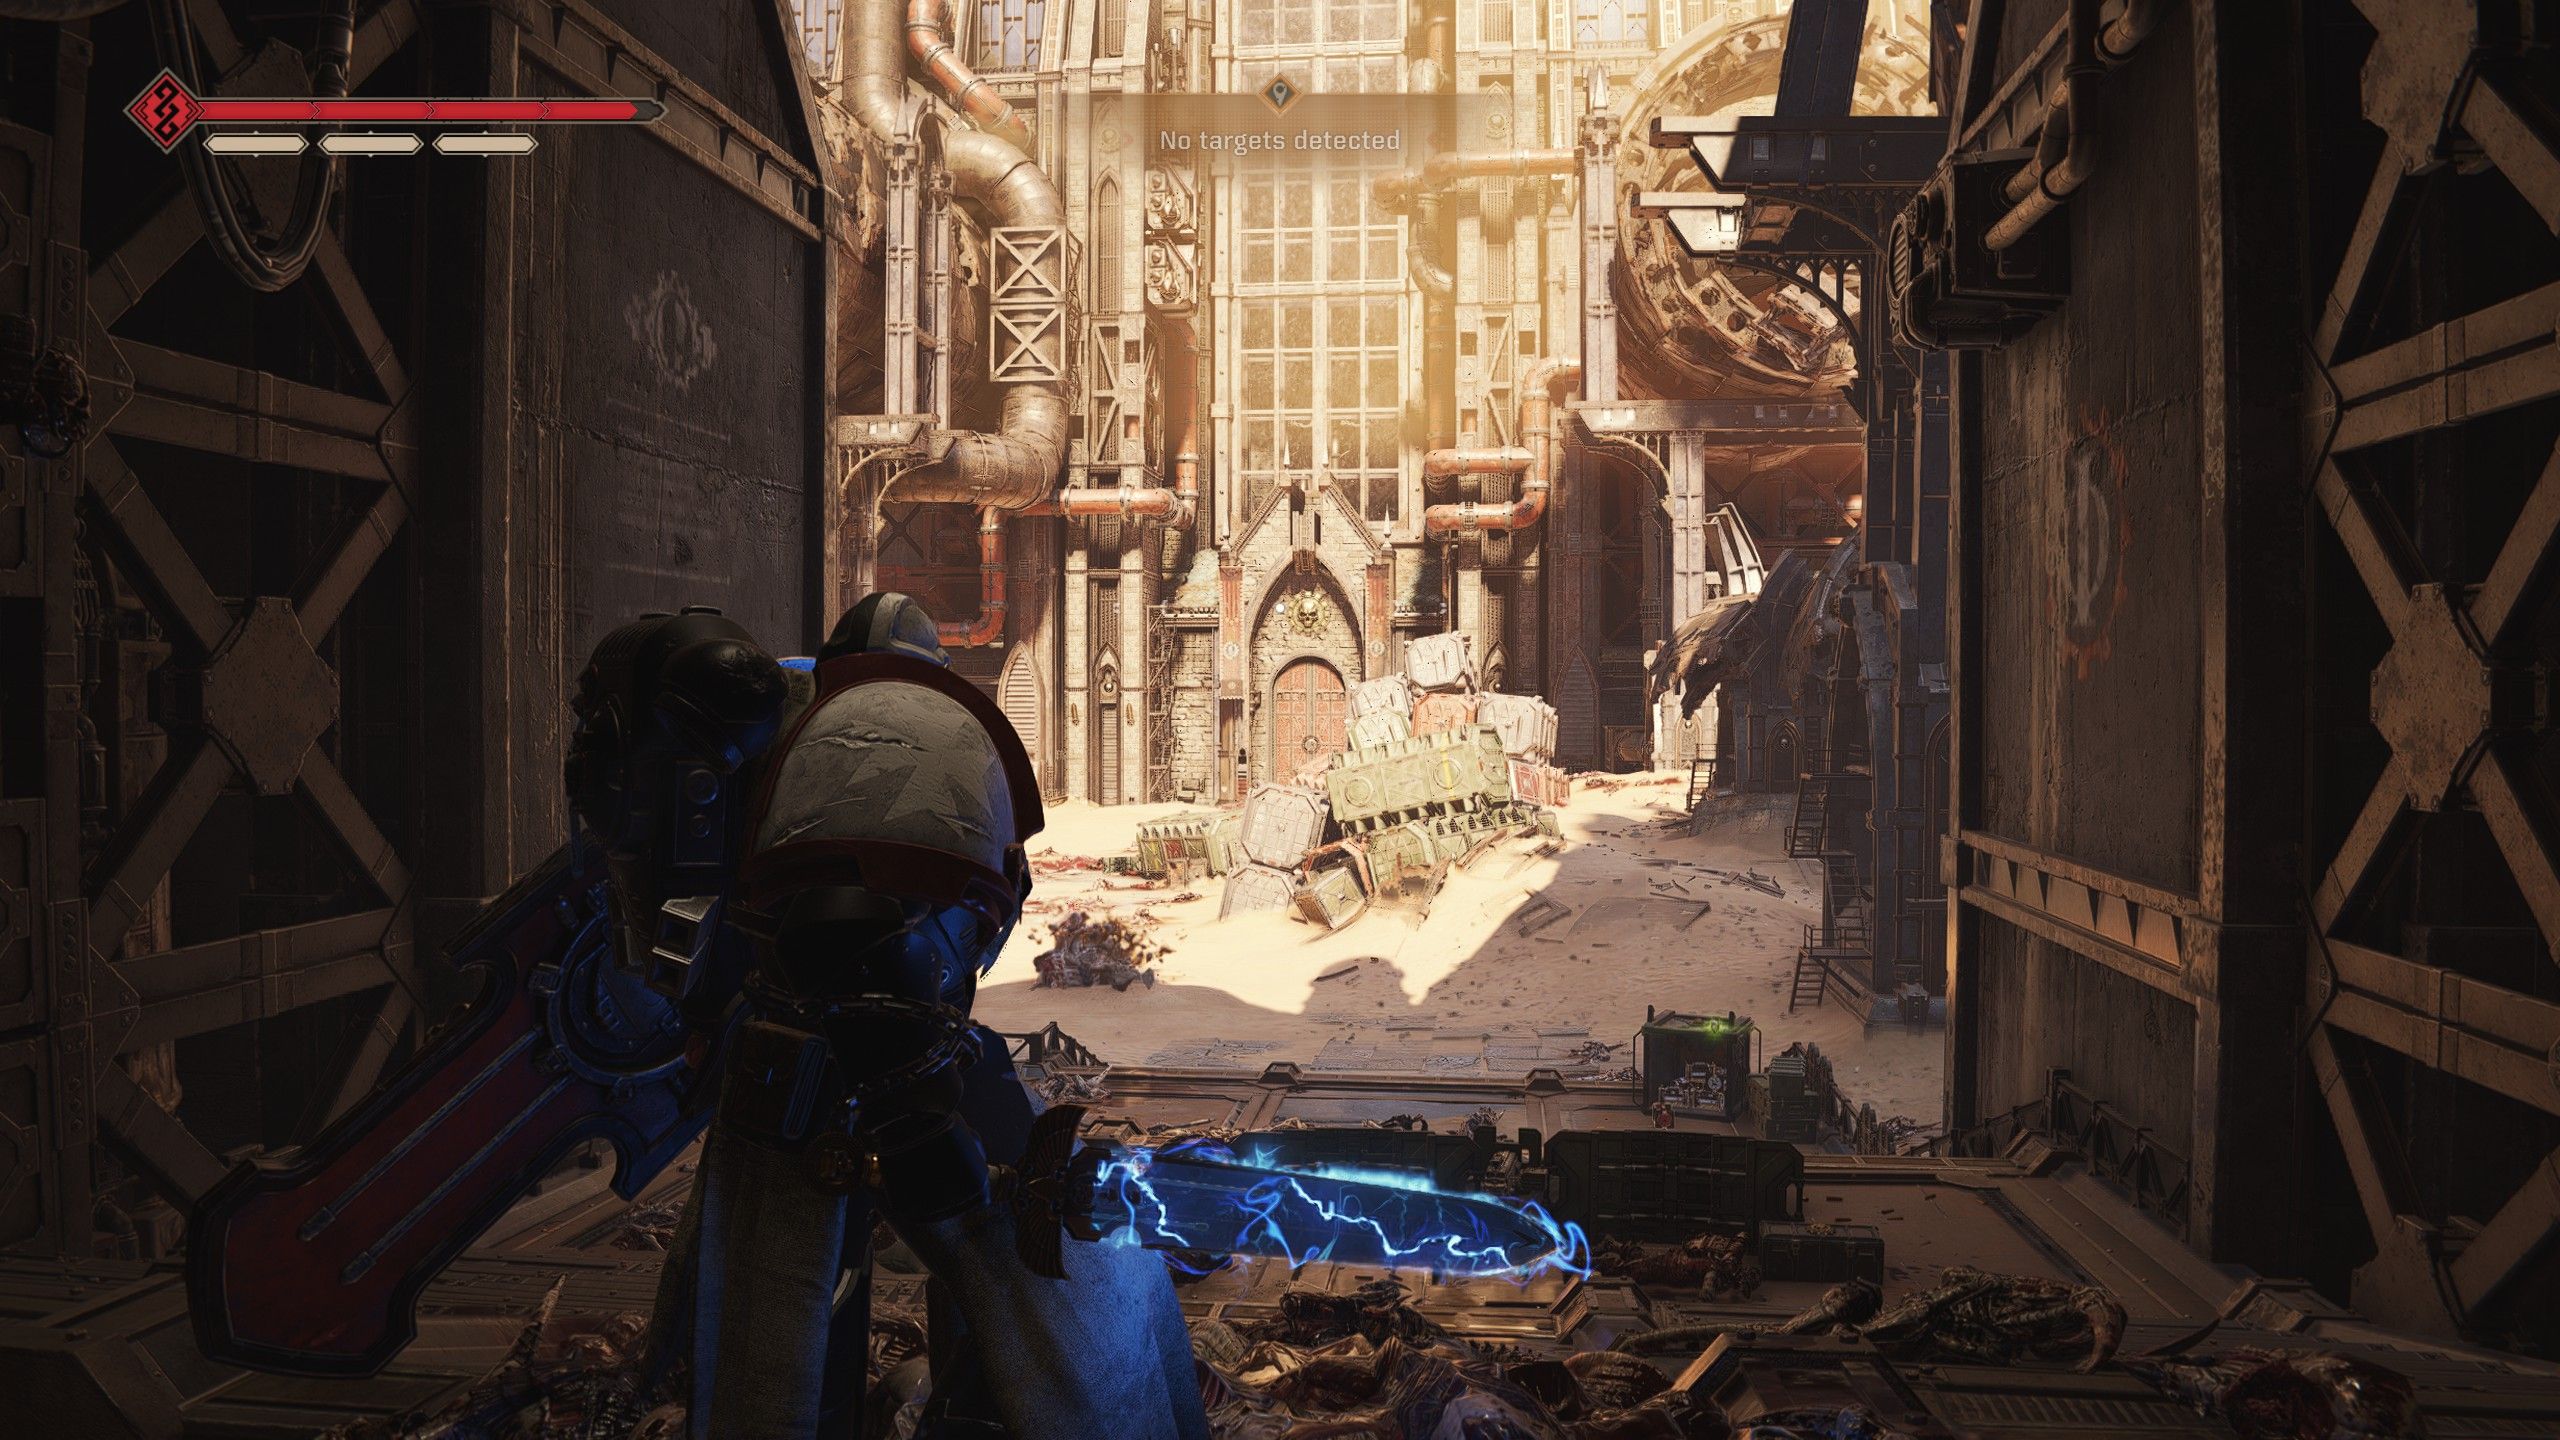
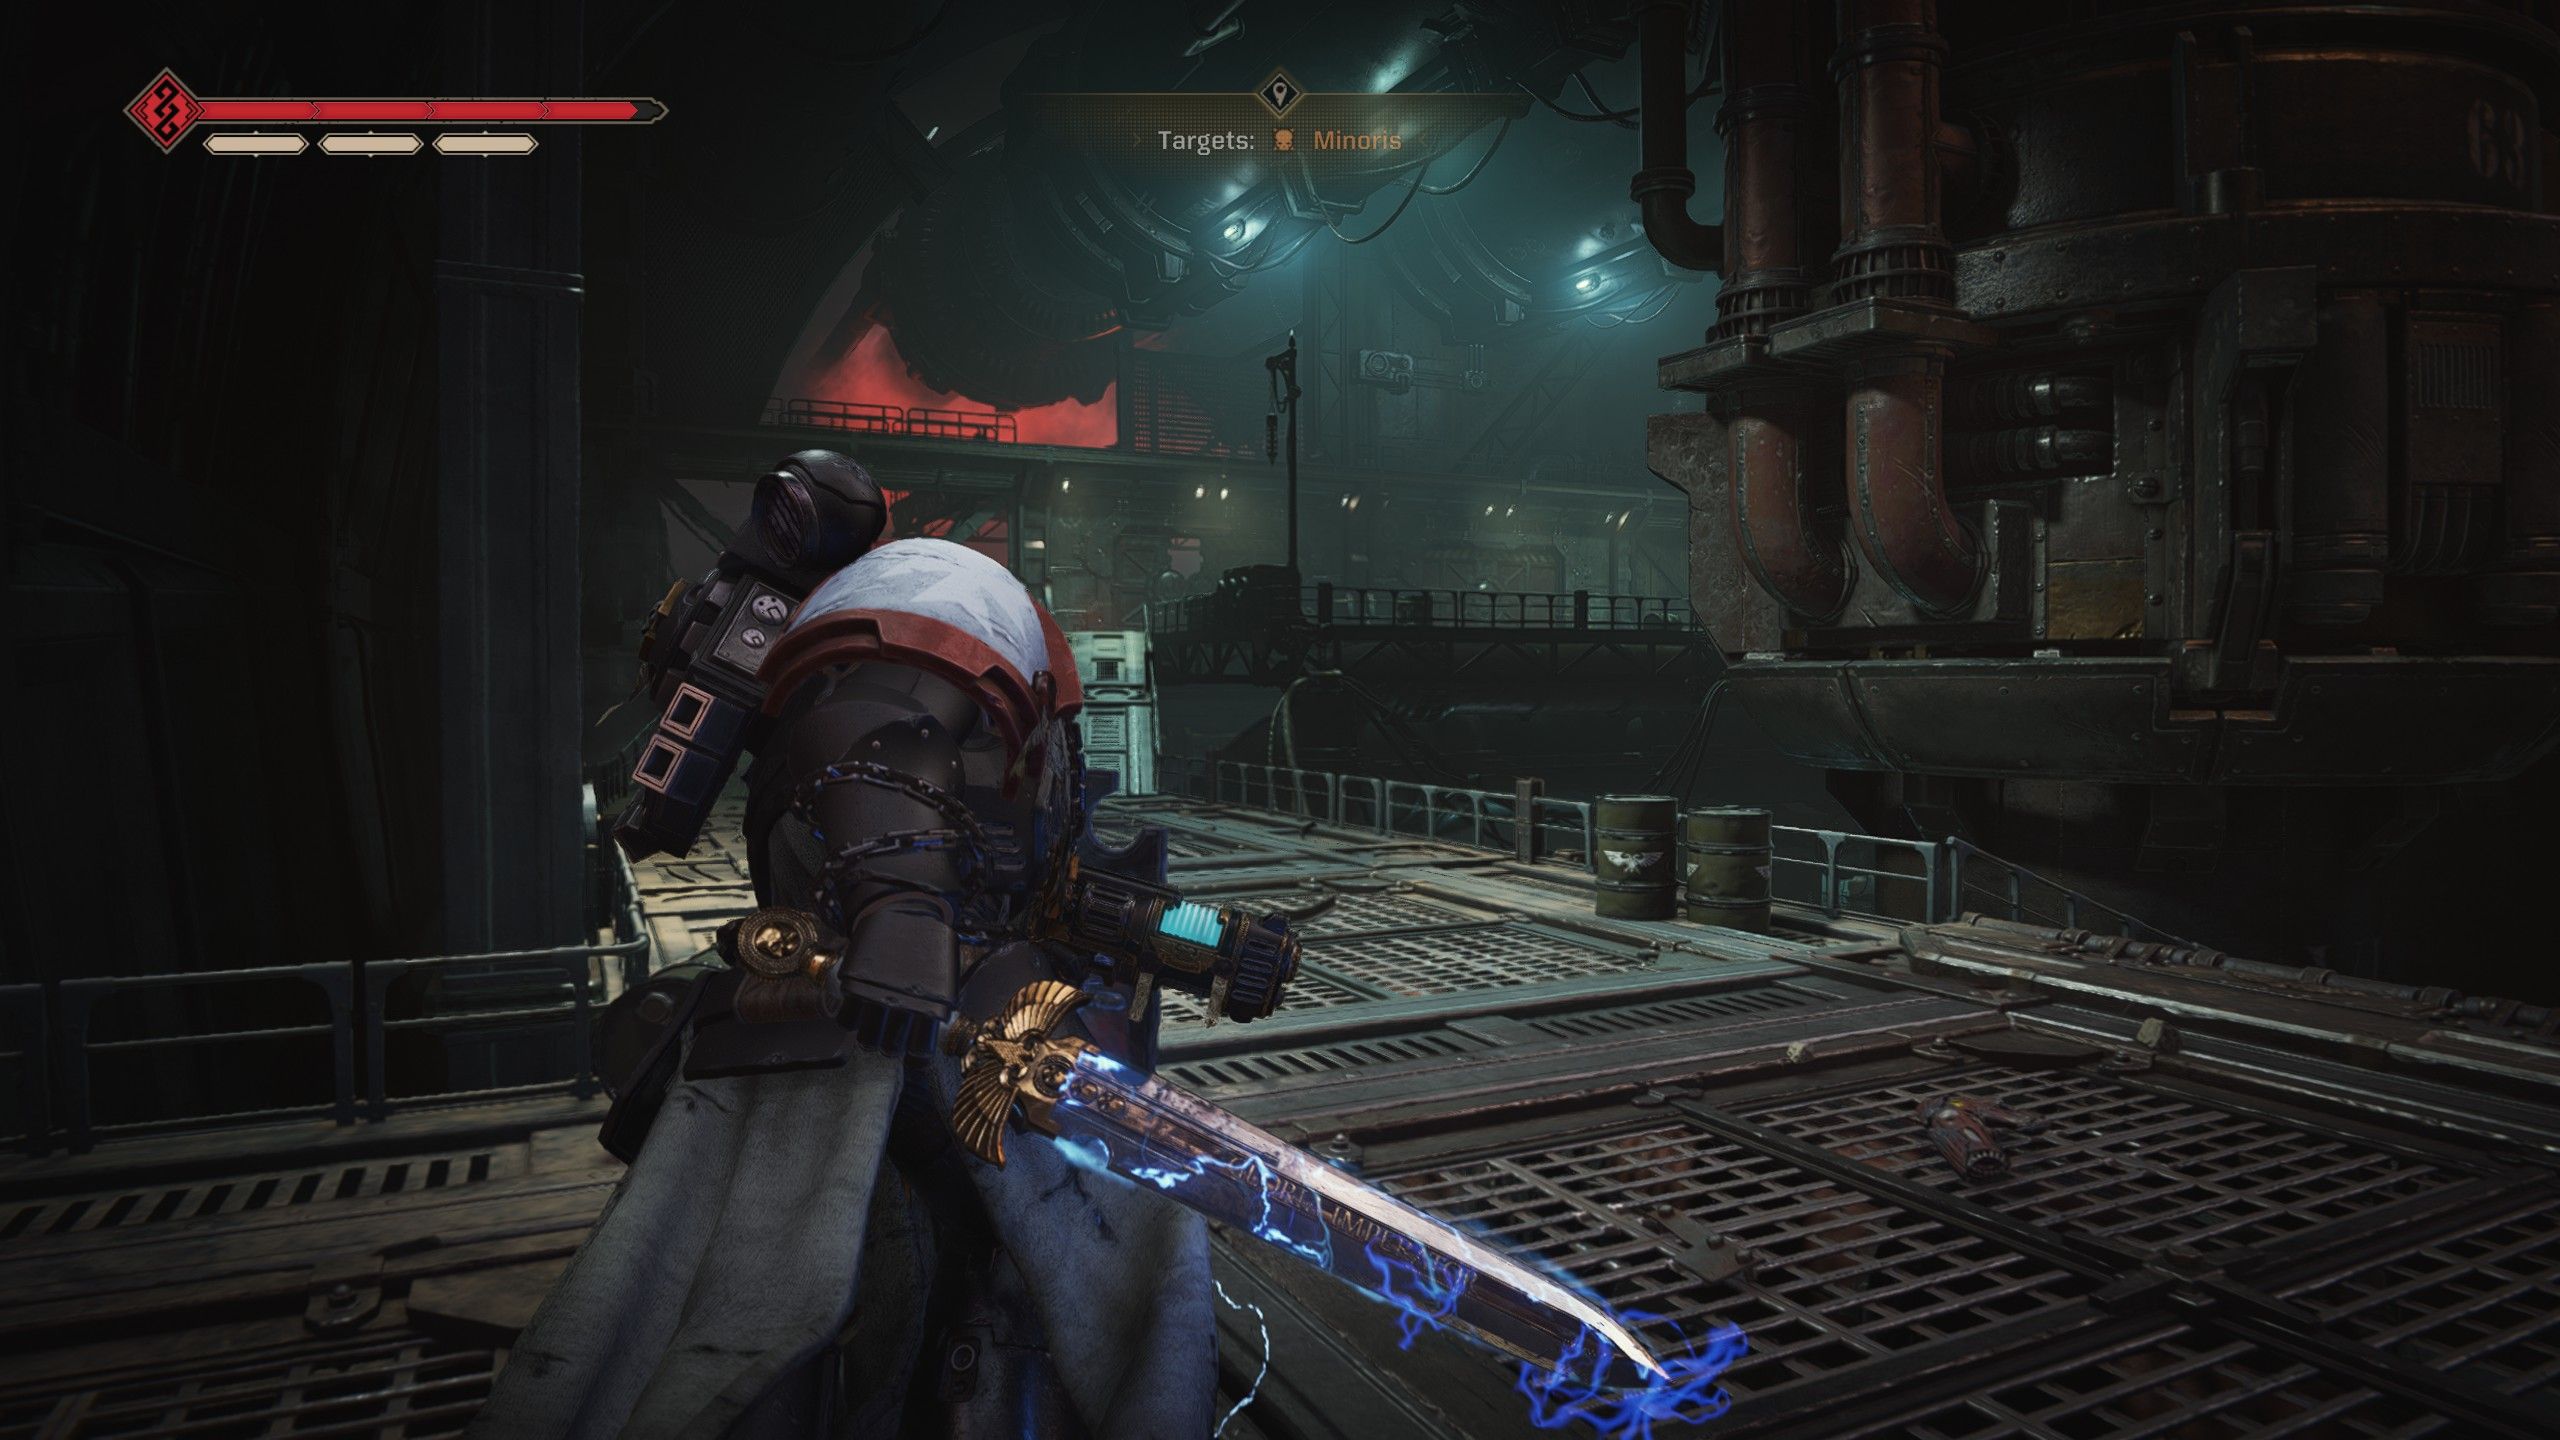
Upon descending into the lower levels of the Longinus Gamma Facility via the elevator, players can rest assured that they are now beyond the reach of the Trygon. Yet, it’s crucial to remain vigilant as they continue their journey towards the facility’s outer regions, for there lie more Tyranid dangers lurking. Once they manage to exit part of the Longinus Gamma Facility, a fresh mission awaits them: Utilize Melta Charges to eliminate the tunnels.
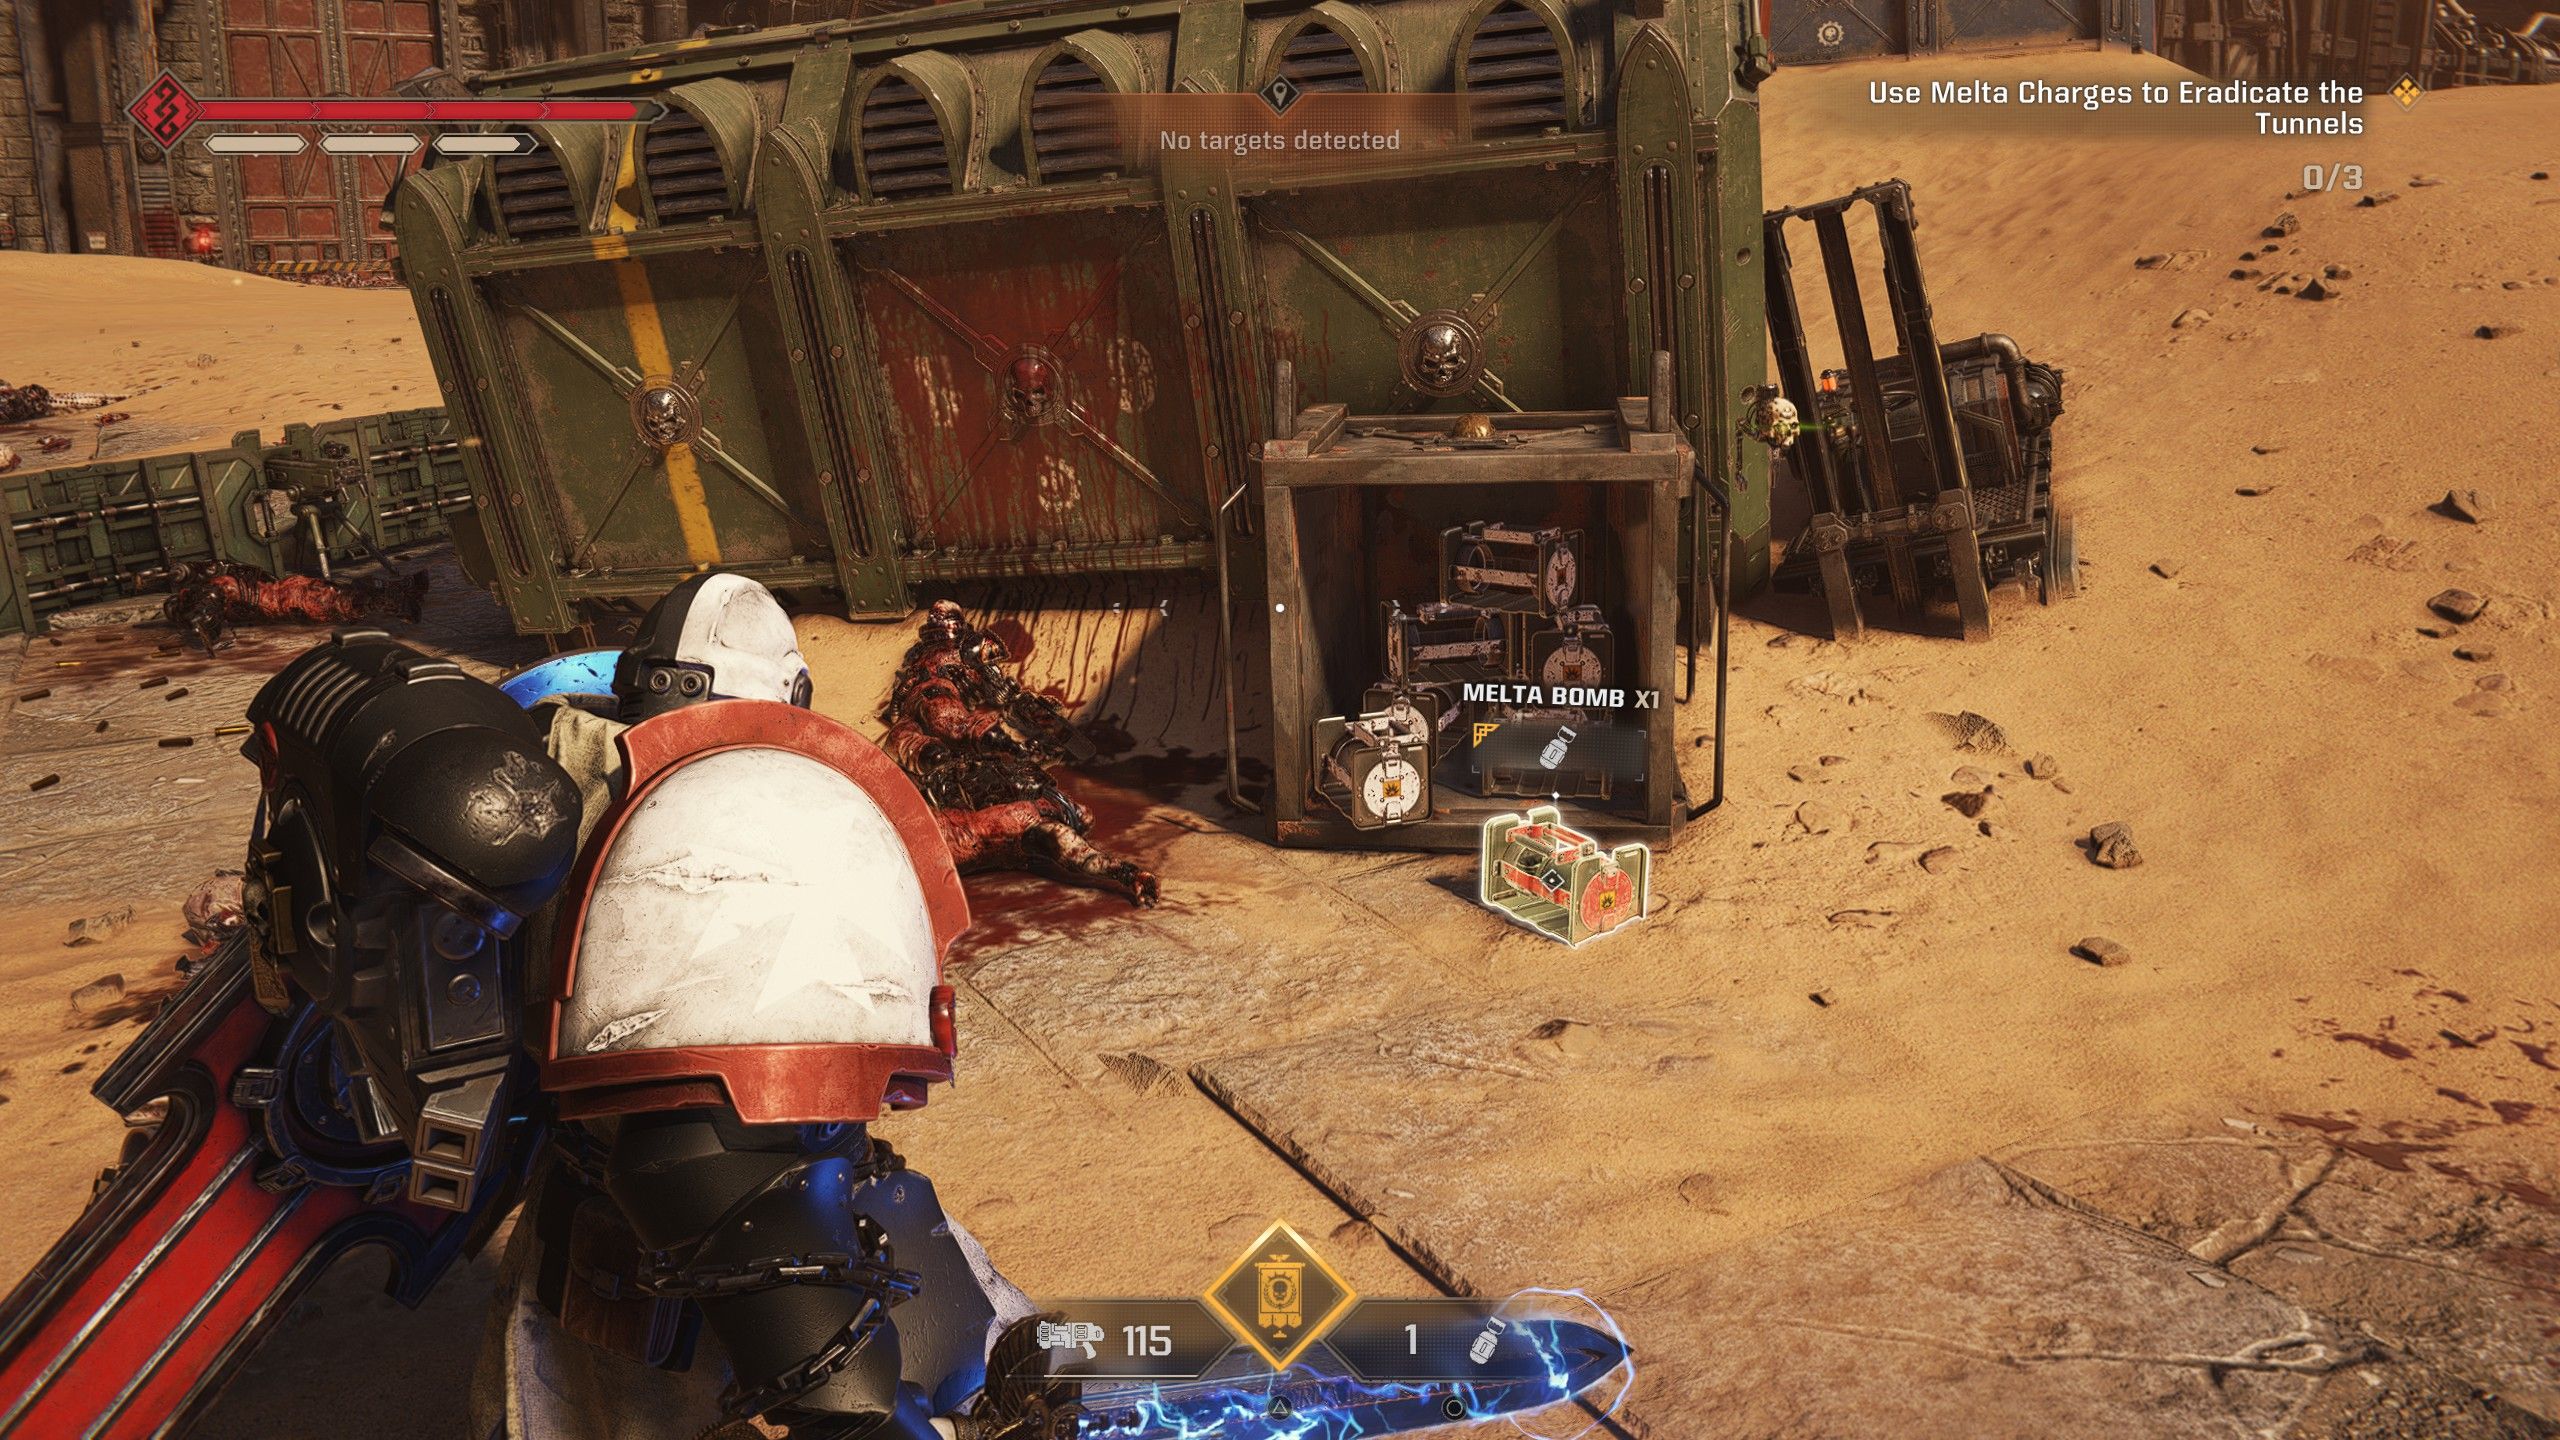
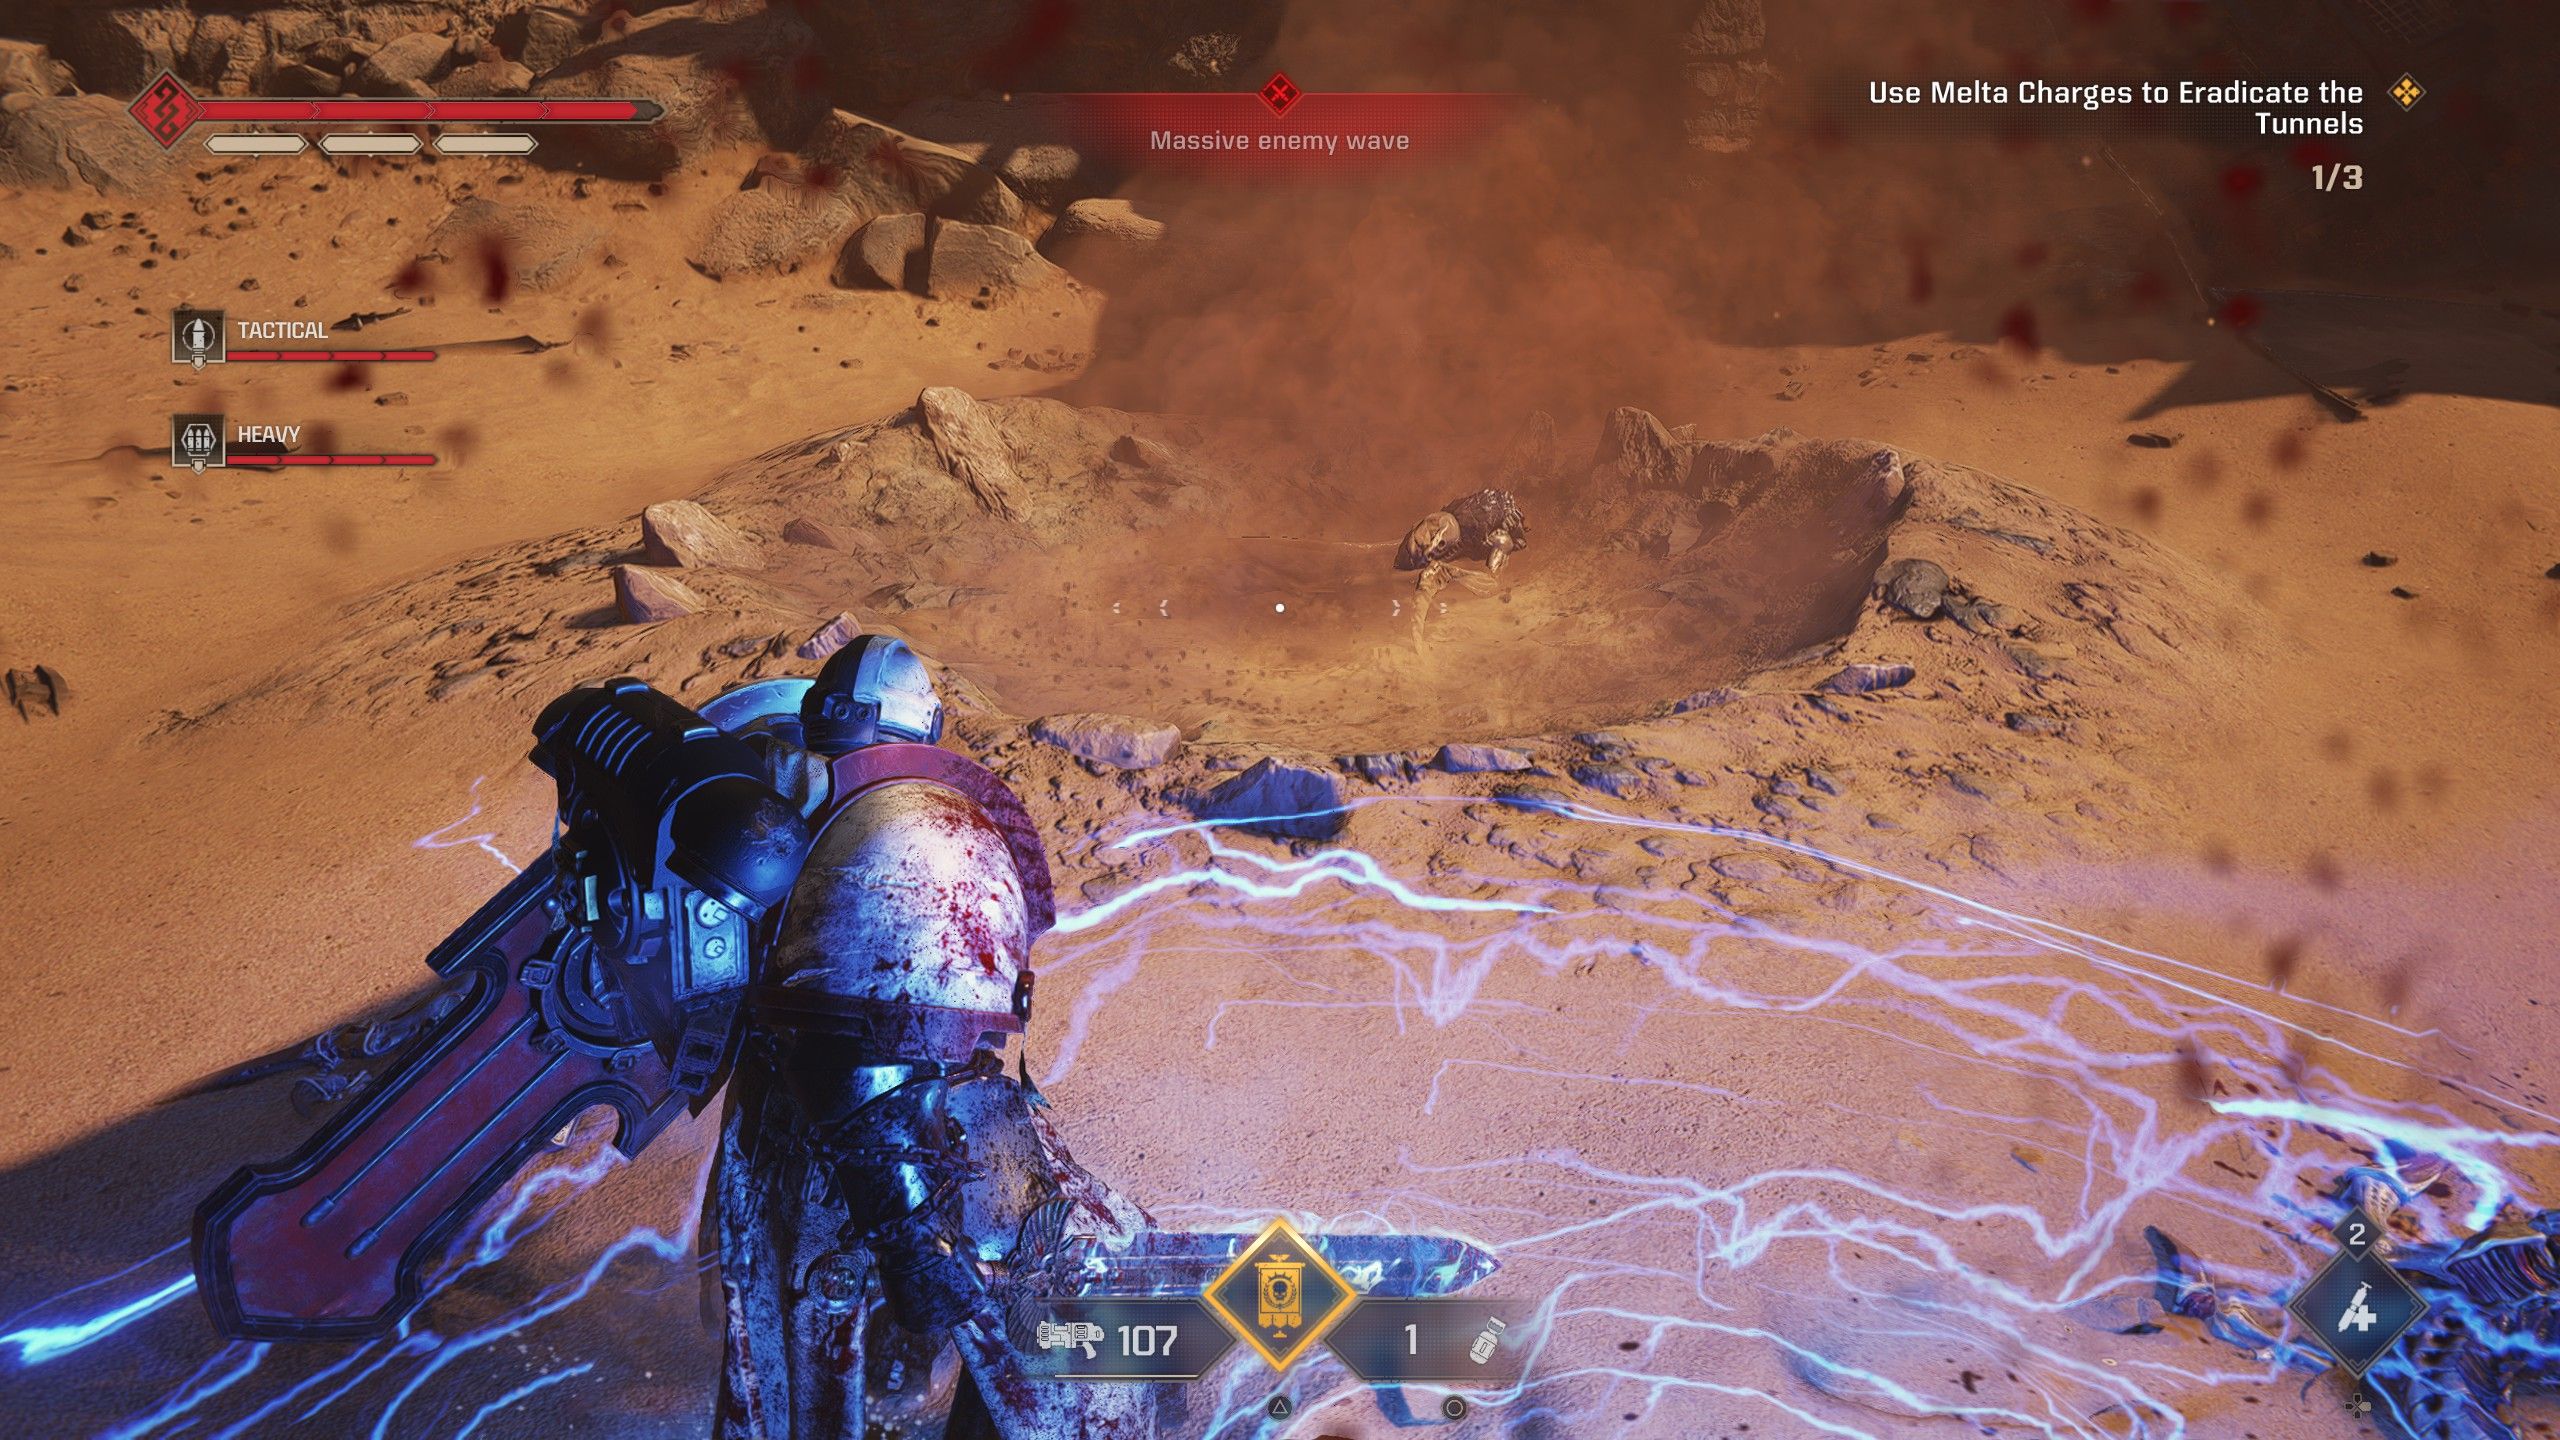
In my gaming adventure, scattered across this region are Melta Charges – they function as grenades but slot right into my arsenal. Worry not about running out of these powerful explosives, for Servo-Skulls will faithfully return them to their original locations. To use them effectively, keep an eye out for smoky depressions in the sand; those are Tyranid tunnels that require elimination. To vanquish the tunnels, simply plant a Melta Bomb within a smoky crater and repeat the process until all tunnels are cleared, thus preventing the Tyranids from emerging any further. With that objective accomplished, it’s time to press forward into the depths of Longinus Gamma Facility.
How to Find the Power Cells & Restore Power
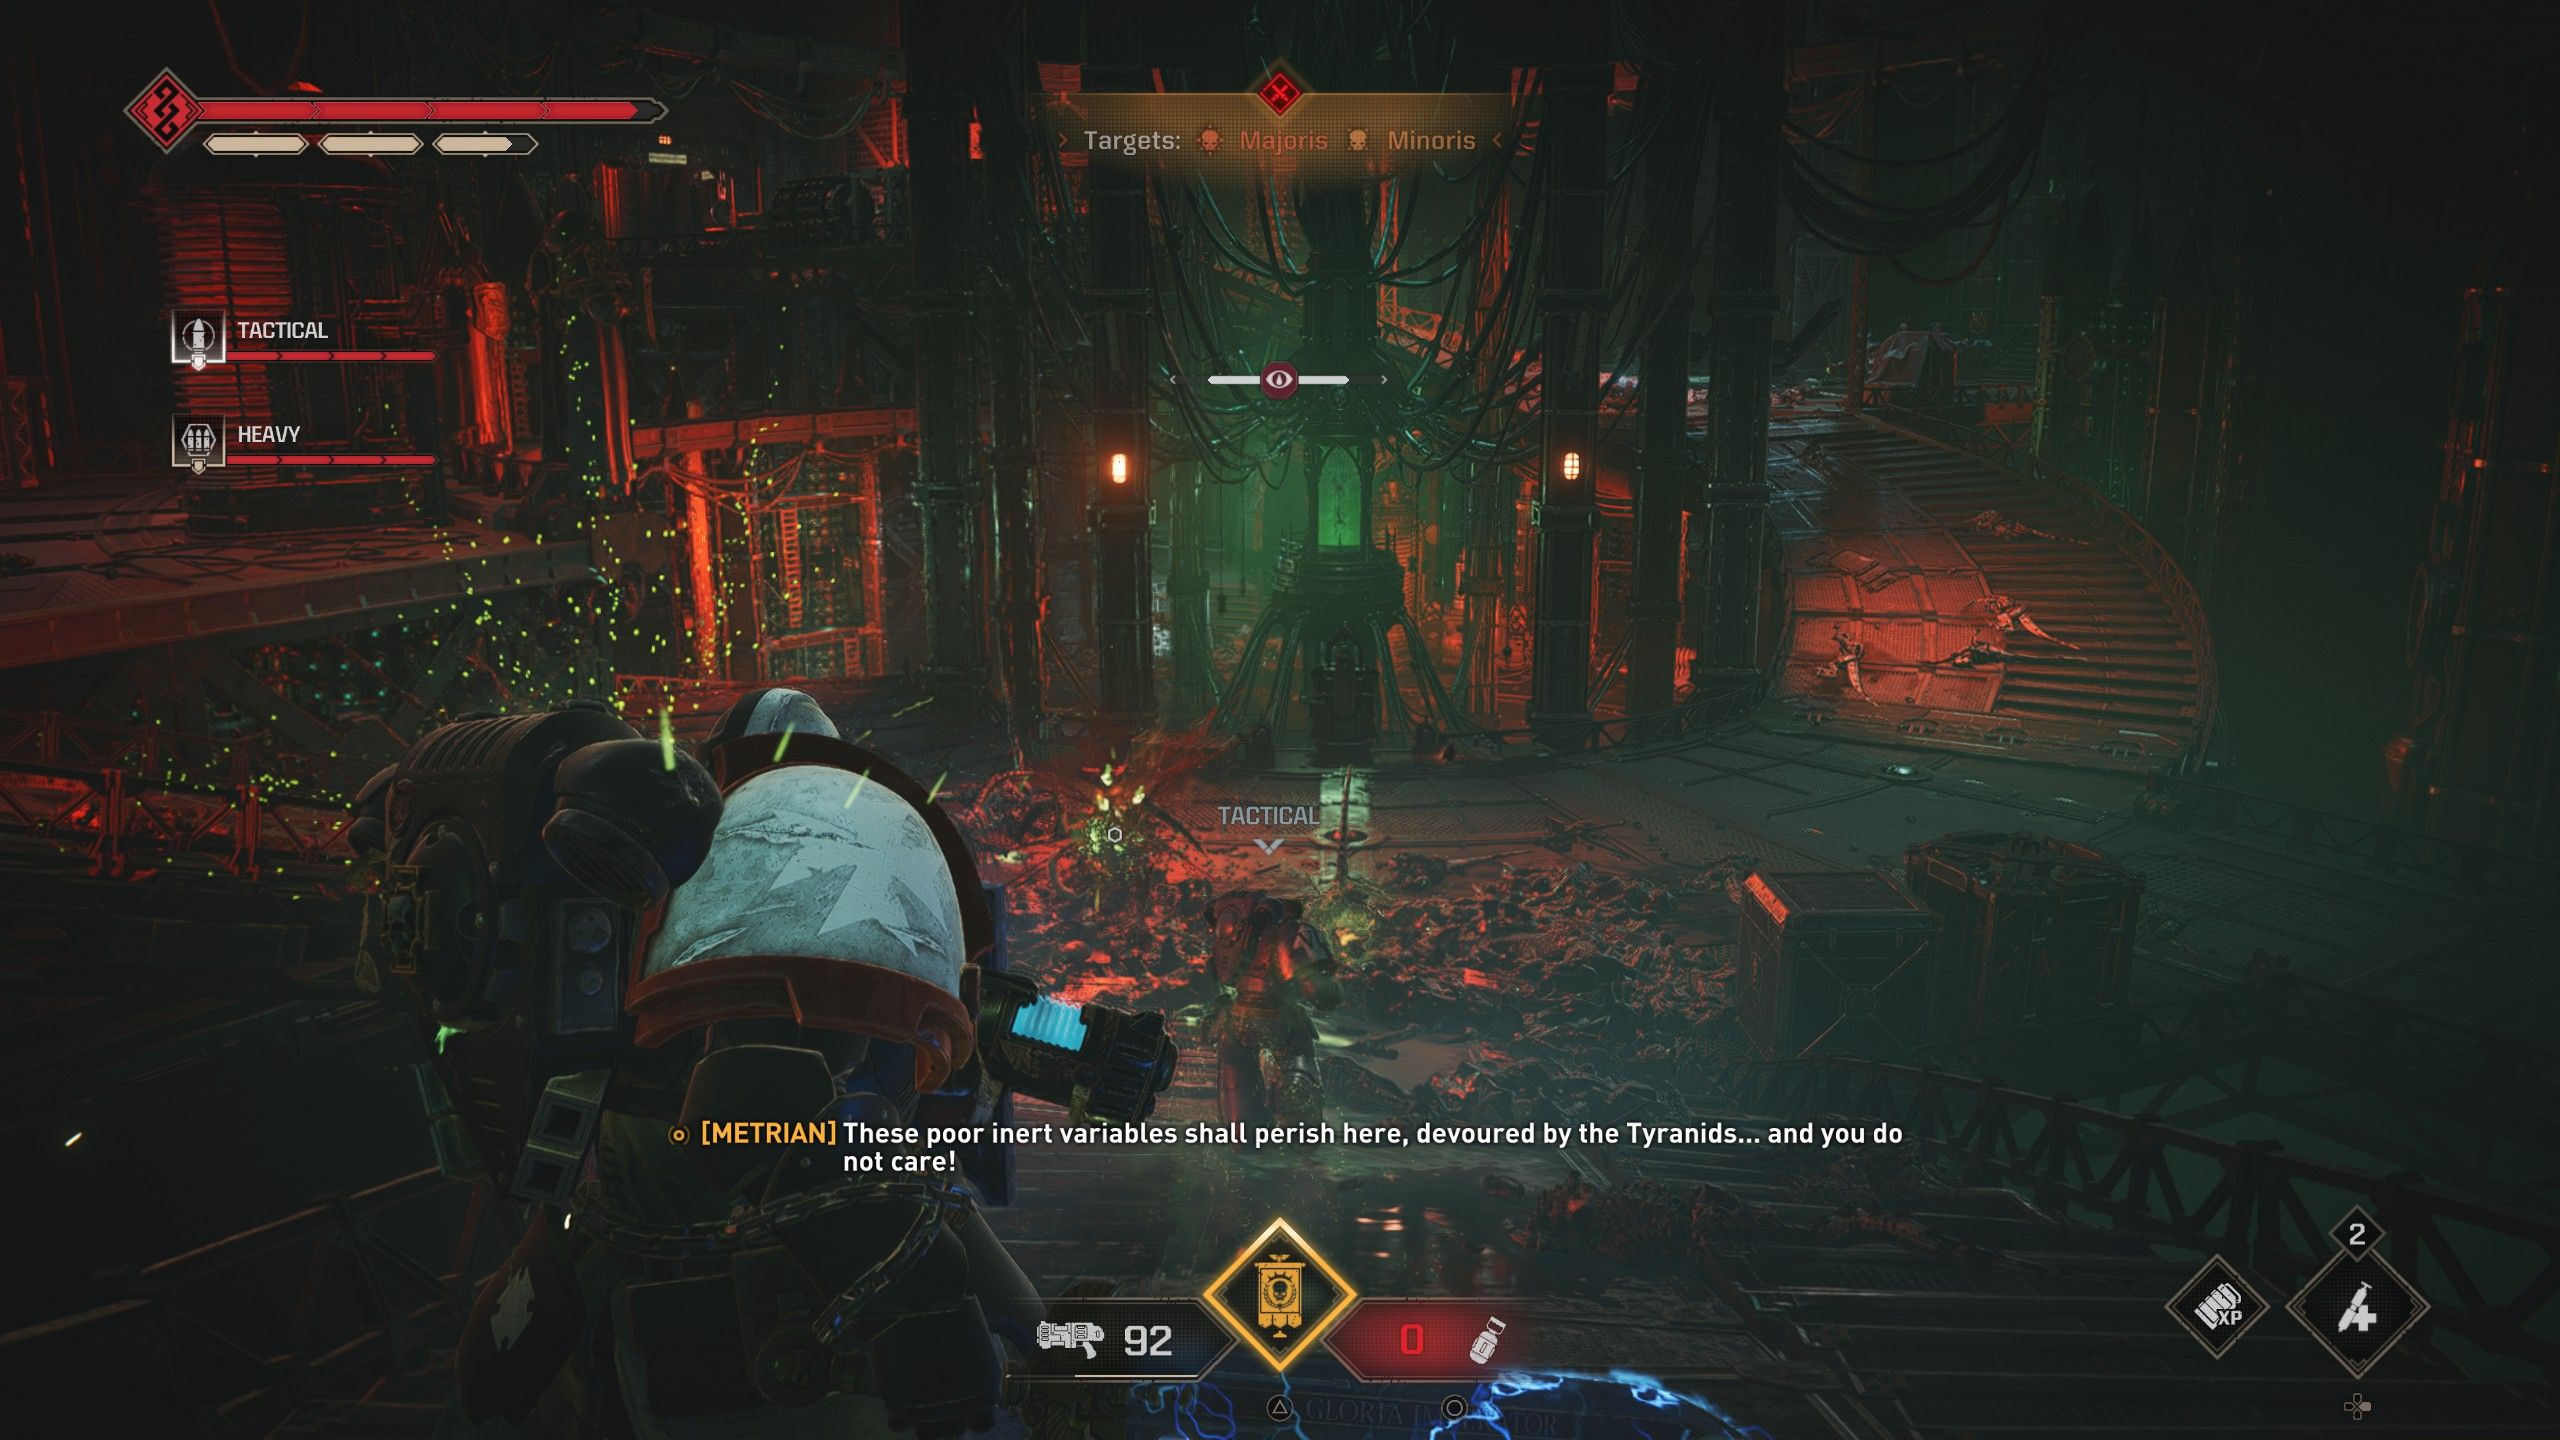
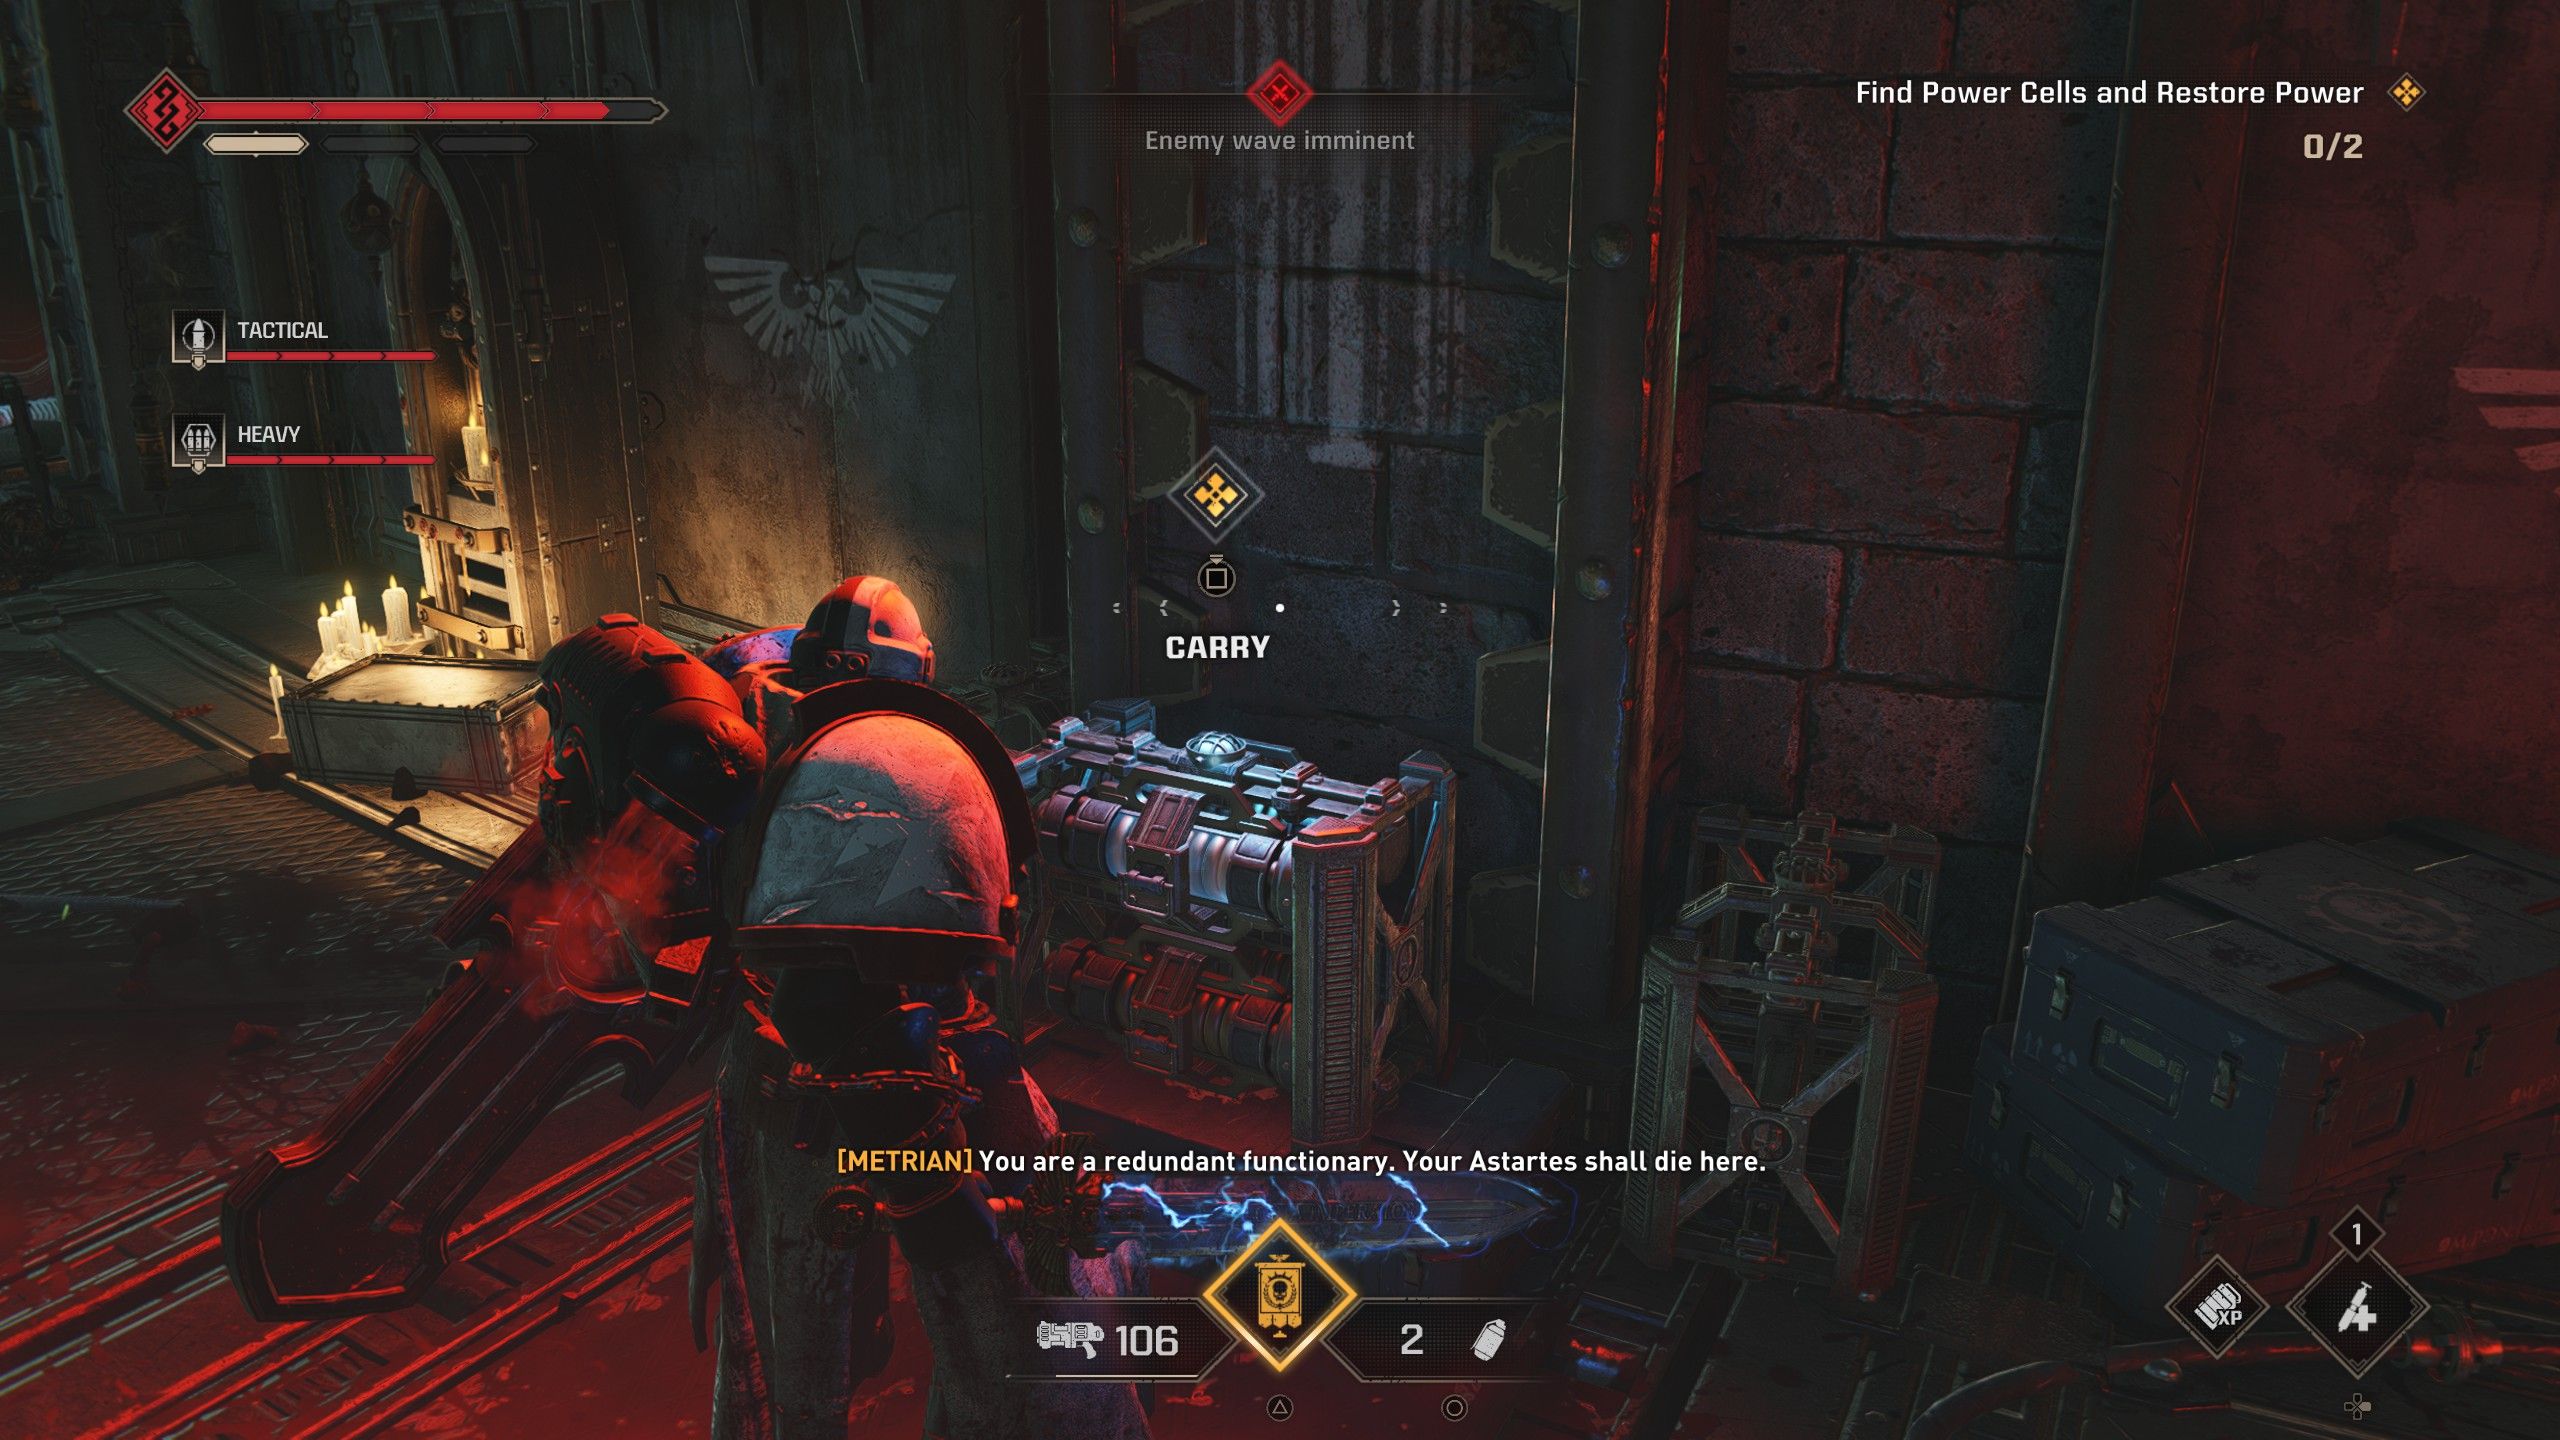
Inside the dimly lit Longinus Gamma Facility, gamers will encounter a tech-laden room where the objective is to locate Power Sources and reactivate this zone. To achieve this, you can roam about the area, whether that means climbing stairs or navigating corridors, as you search for a Power Source that you can engage with to lift it and carry it, given a prompt. Once equipped with the Power Source, players will not be able to block, execute Melee Attacks, or activate Abilities. Instead, they’ll have to rely on their Primary Weapon for self-defense. It would be wise to stay together during this phase, so one player can grab the Power Source while others ensure that player remains safe.
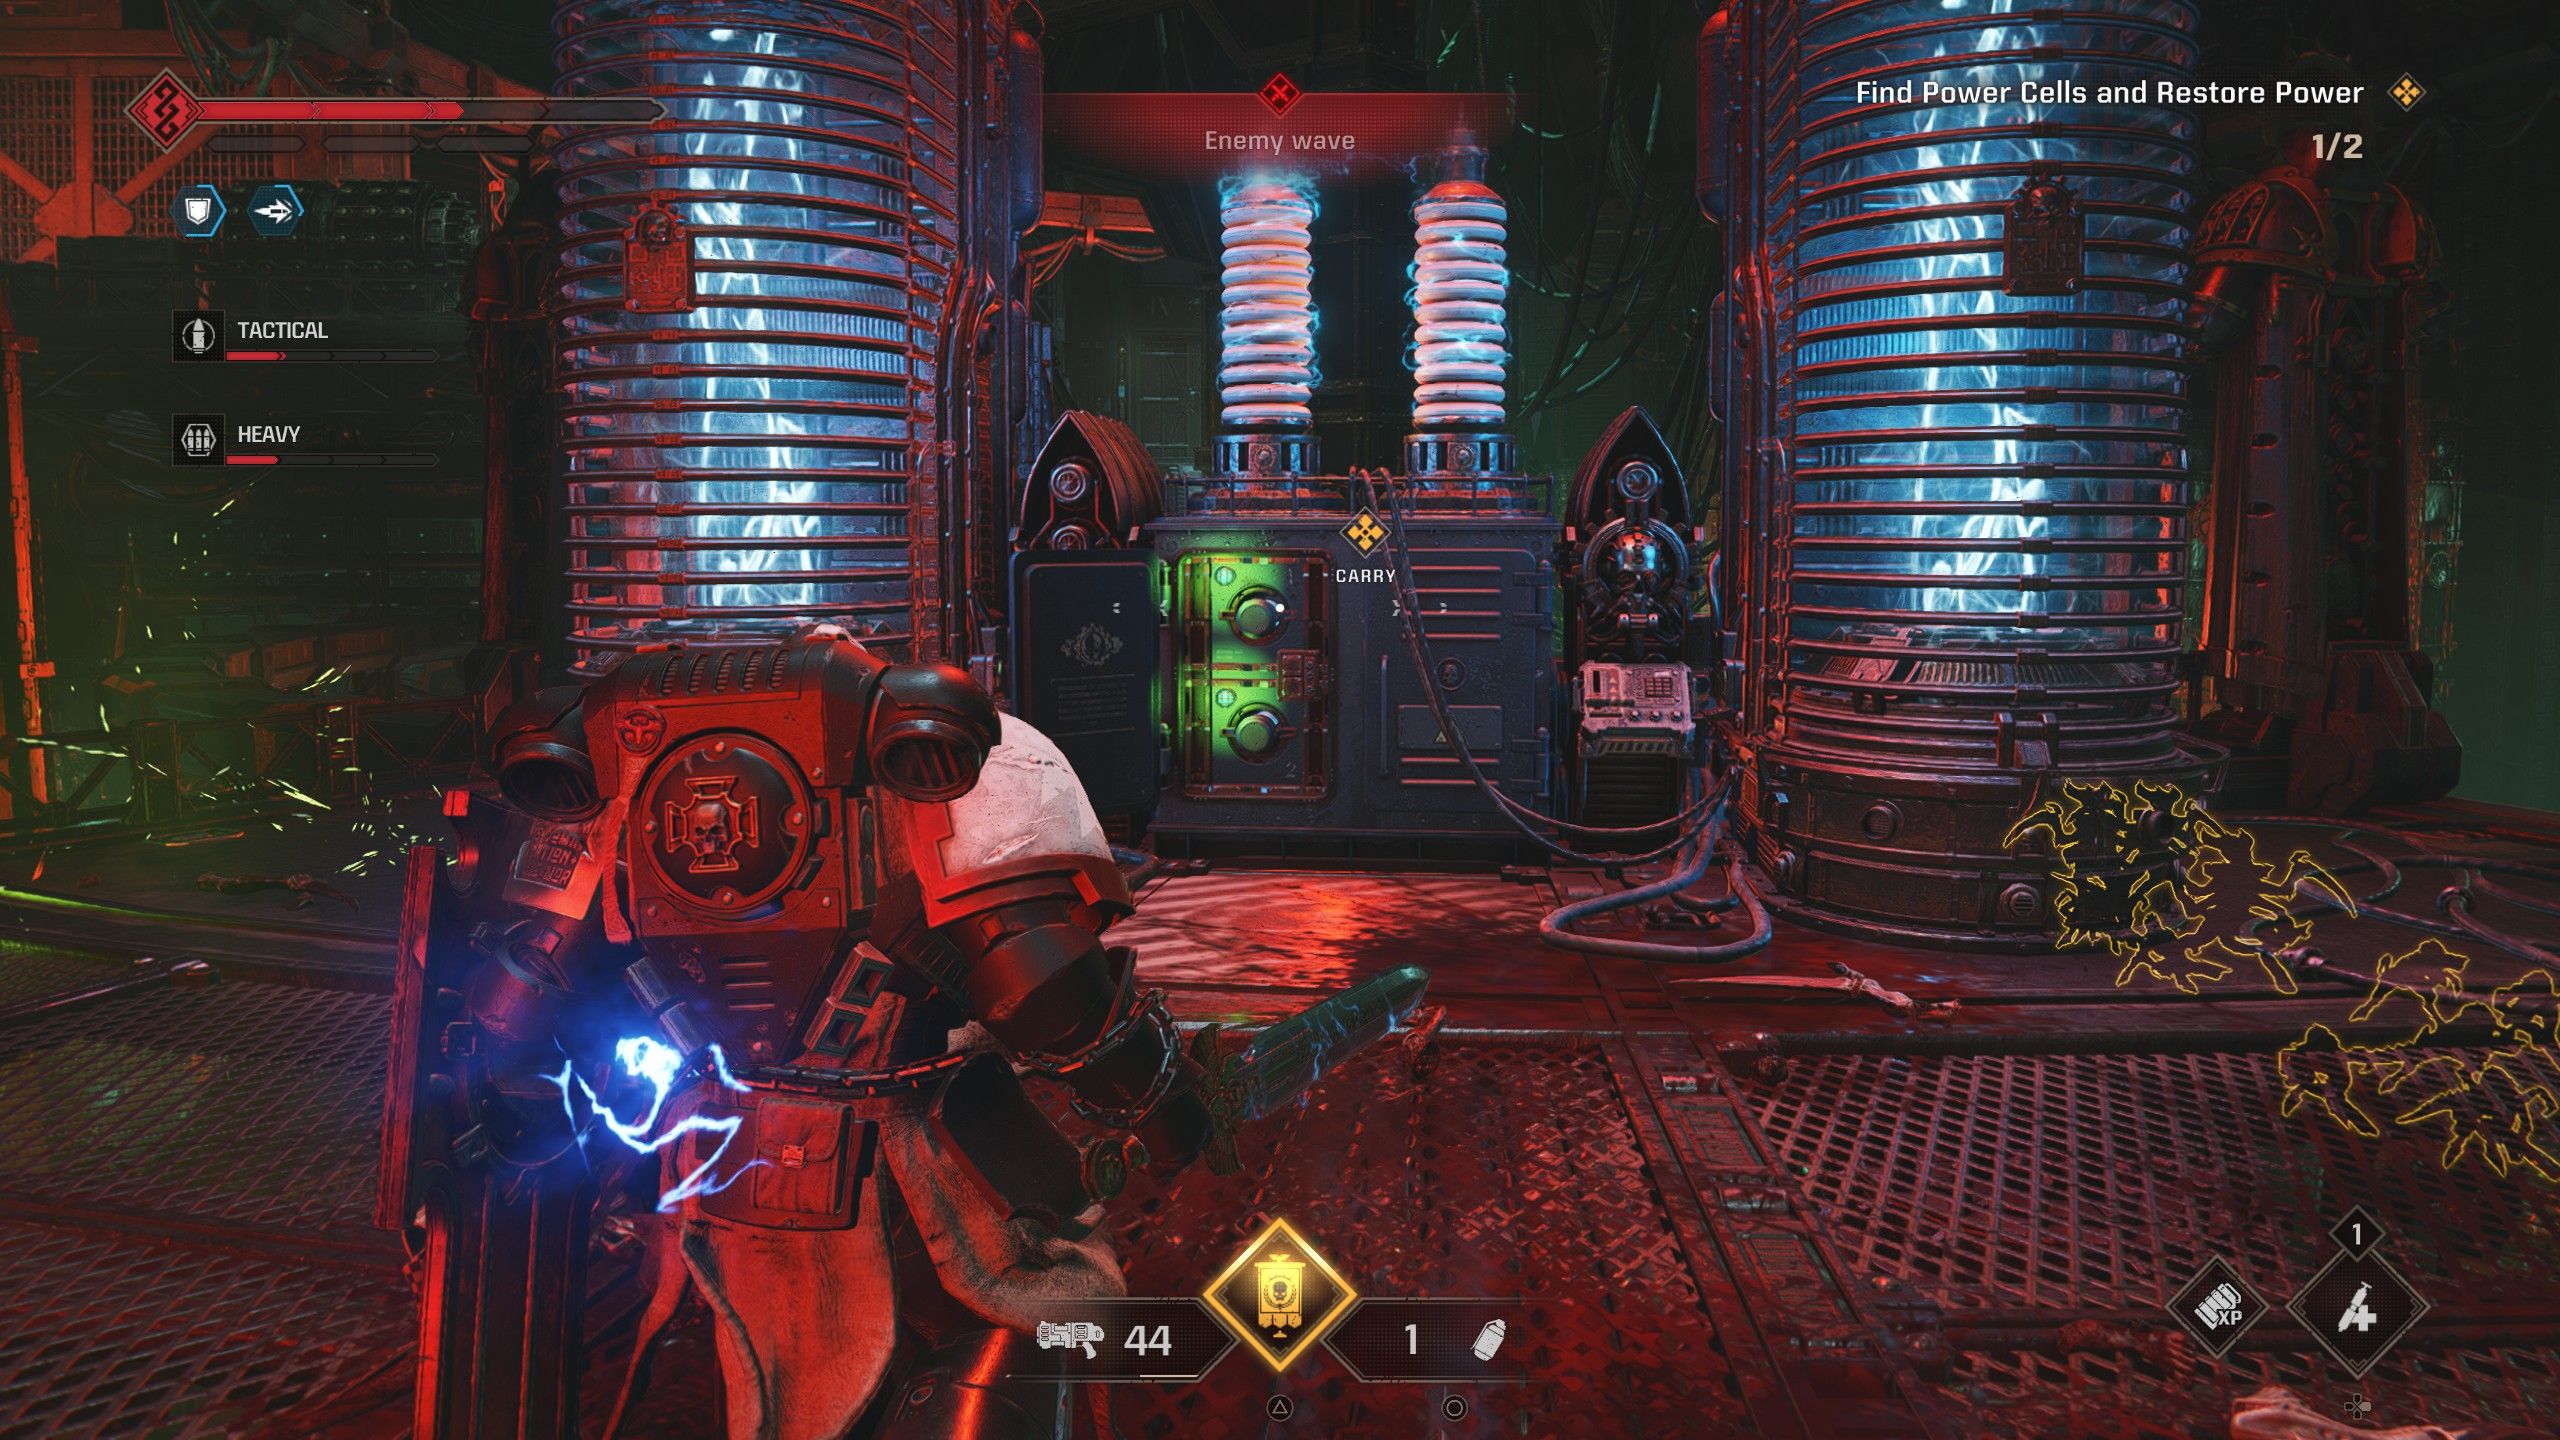
With the Power Cell in tow, players should navigate through the facility and locate the faulty generators. These generators can be identified by the glowing electric coils suspended overhead. The missing generators will have no signs of blue energy circulating around their coils. By using the Power Cell on these specific generators, players can recharge them and proceed with their mission.
How to Disconnect & Extract the Brain
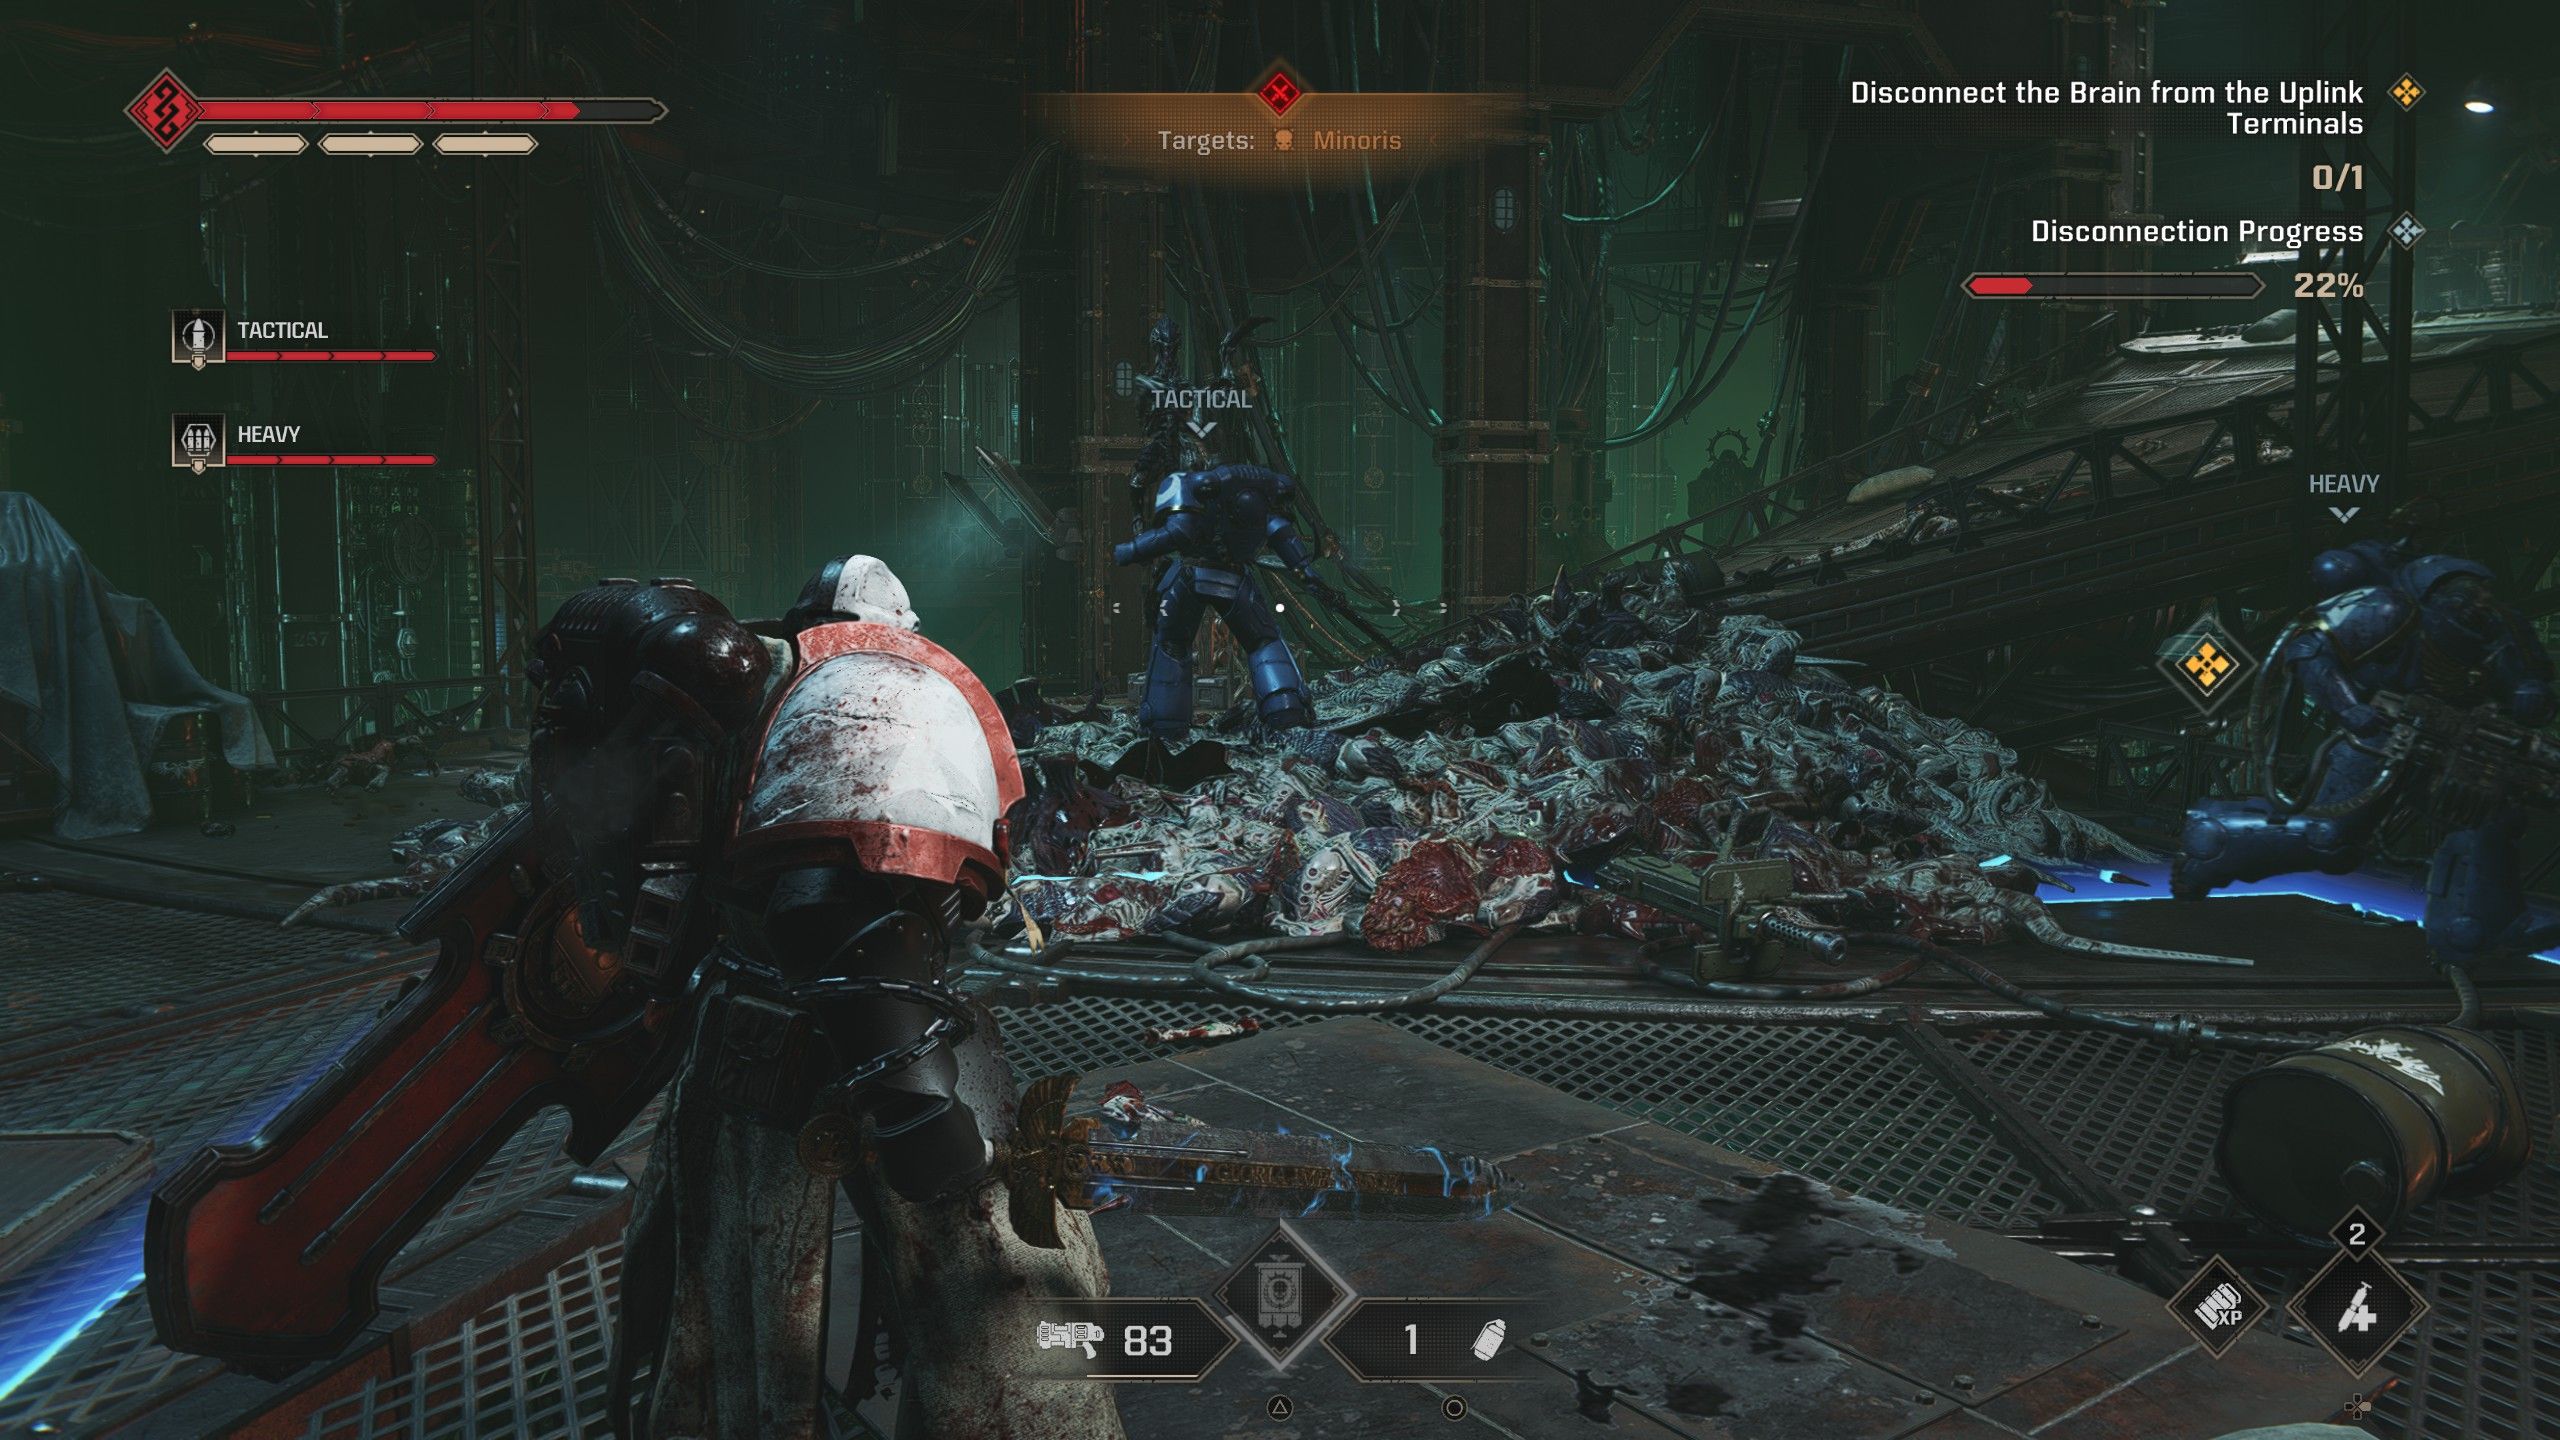

Once electricity is back on at the Longinus Gamma Facility, it’s now time for players to retrieve the brain. To start, they should climb the winding staircase leading upwards and locate a radiant blue square. Players must position themselves within this area and guard it against attacking enemies, allowing the progress bar to fill completely. Upon reaching 100%, players may depart the area to safely extract the brain.
The brain can be found near a Servo-Skull and an Ammunition Box on higher floors of the facility. To obtain it, players simply need to let Magos Galeo’s conversation play out first. Once you’ve got the brain, it’s time to depart from the facility, leading you back onto the sandy expanse. However, the adventure isn’t over just yet. At the end of this path, there’s a refueling station where players can pick up ammunition, health packs, grenades, and adjust their loadouts – it’s crucial as you’ll soon encounter Trygon Prime.
How to Defeat the Trygon Prime
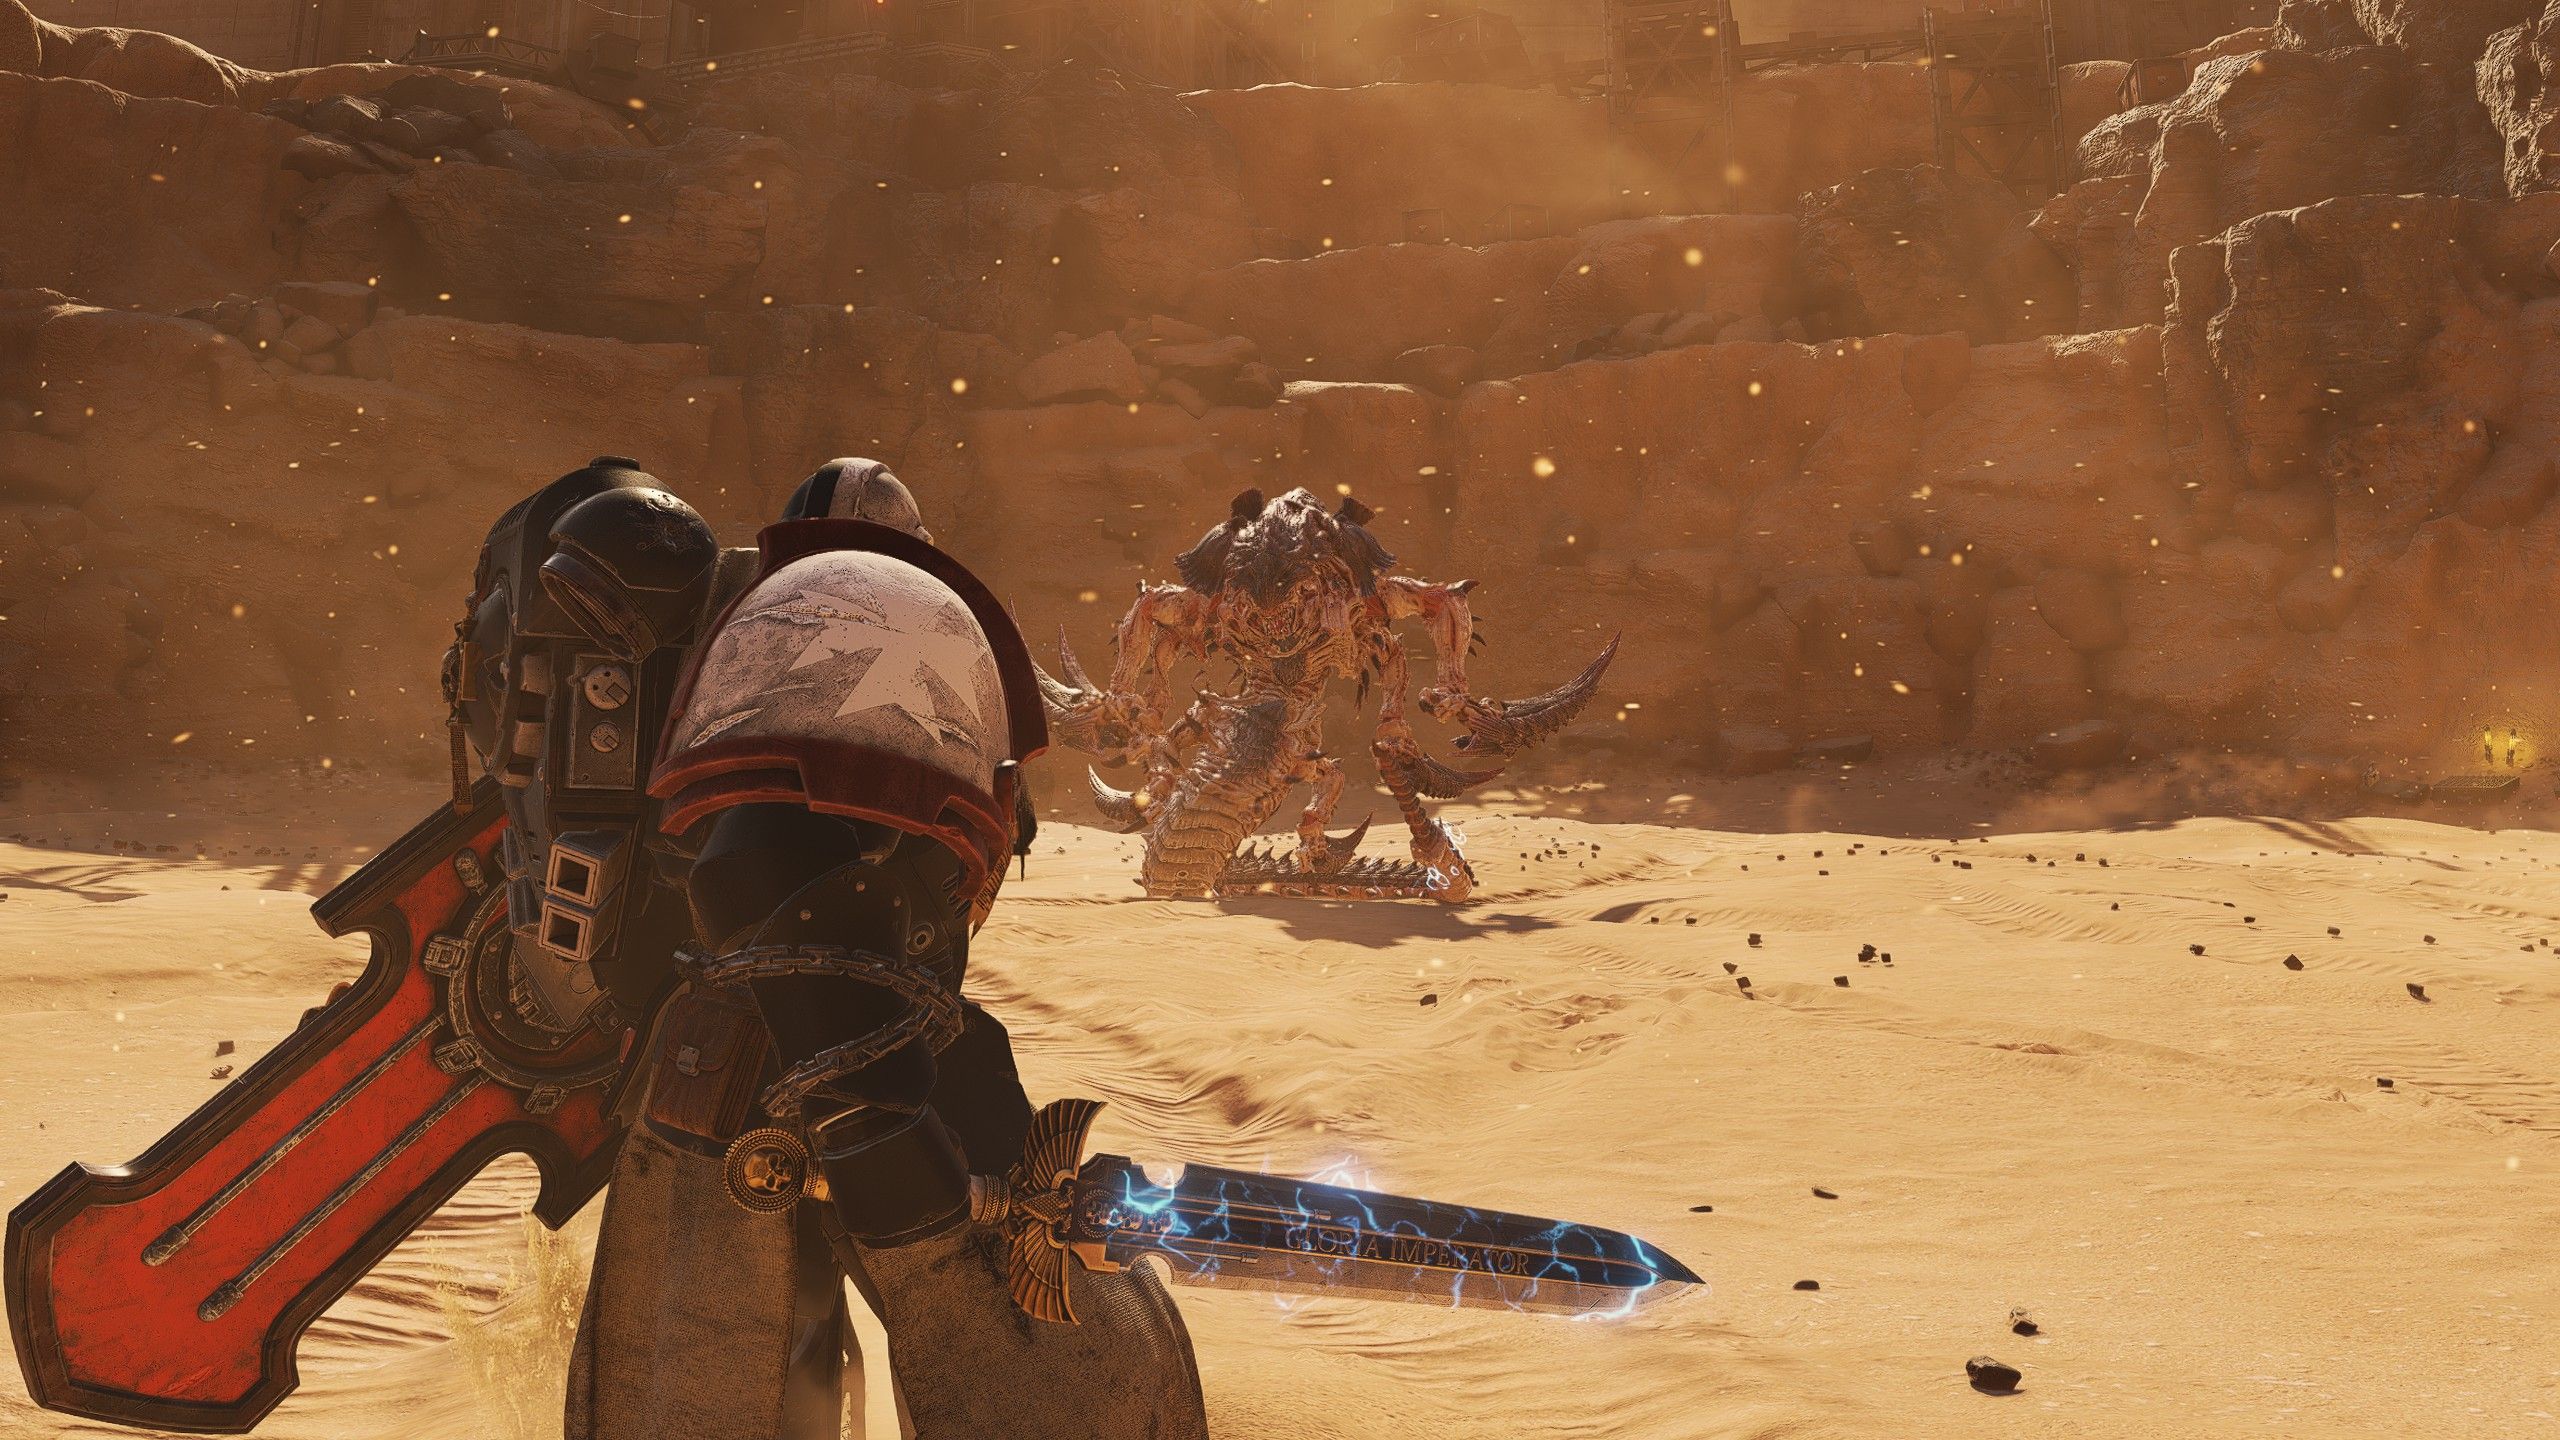
When taking on the Trygon Prime in battle, it’s crucial to be mindful of its various attack strategies. However, let me start by sharing some tips on how to engage this Tyranid boss effectively. The Trygon Prime boasts remarkable speed and doesn’t remain on the surface for extended periods. Therefore, it’s advisable to employ powerful but low ammo weapons such as the Plasma Pistol, Inferno Pistol, or Melta Rifle. These weapons pack a punch and will be particularly effective against the Trygon due to its tendency to leave the surface quickly, making continuous fire less practical. Lastly, using a melee weapon should be approached with caution since the Trygon frequently burrows into the ground.
Keep these points in mind when dealing with the attacks of the Trygon:
1. Be aware that the Trygon might carry out multiple attacks.
2. Watch out for the following signs and strategies to counter them:
- Claw Swipes – The most common attack sees the Trygon try to melee attack players in a rapid succession of hits, which can be countered with a parry and a Gun-Strike.
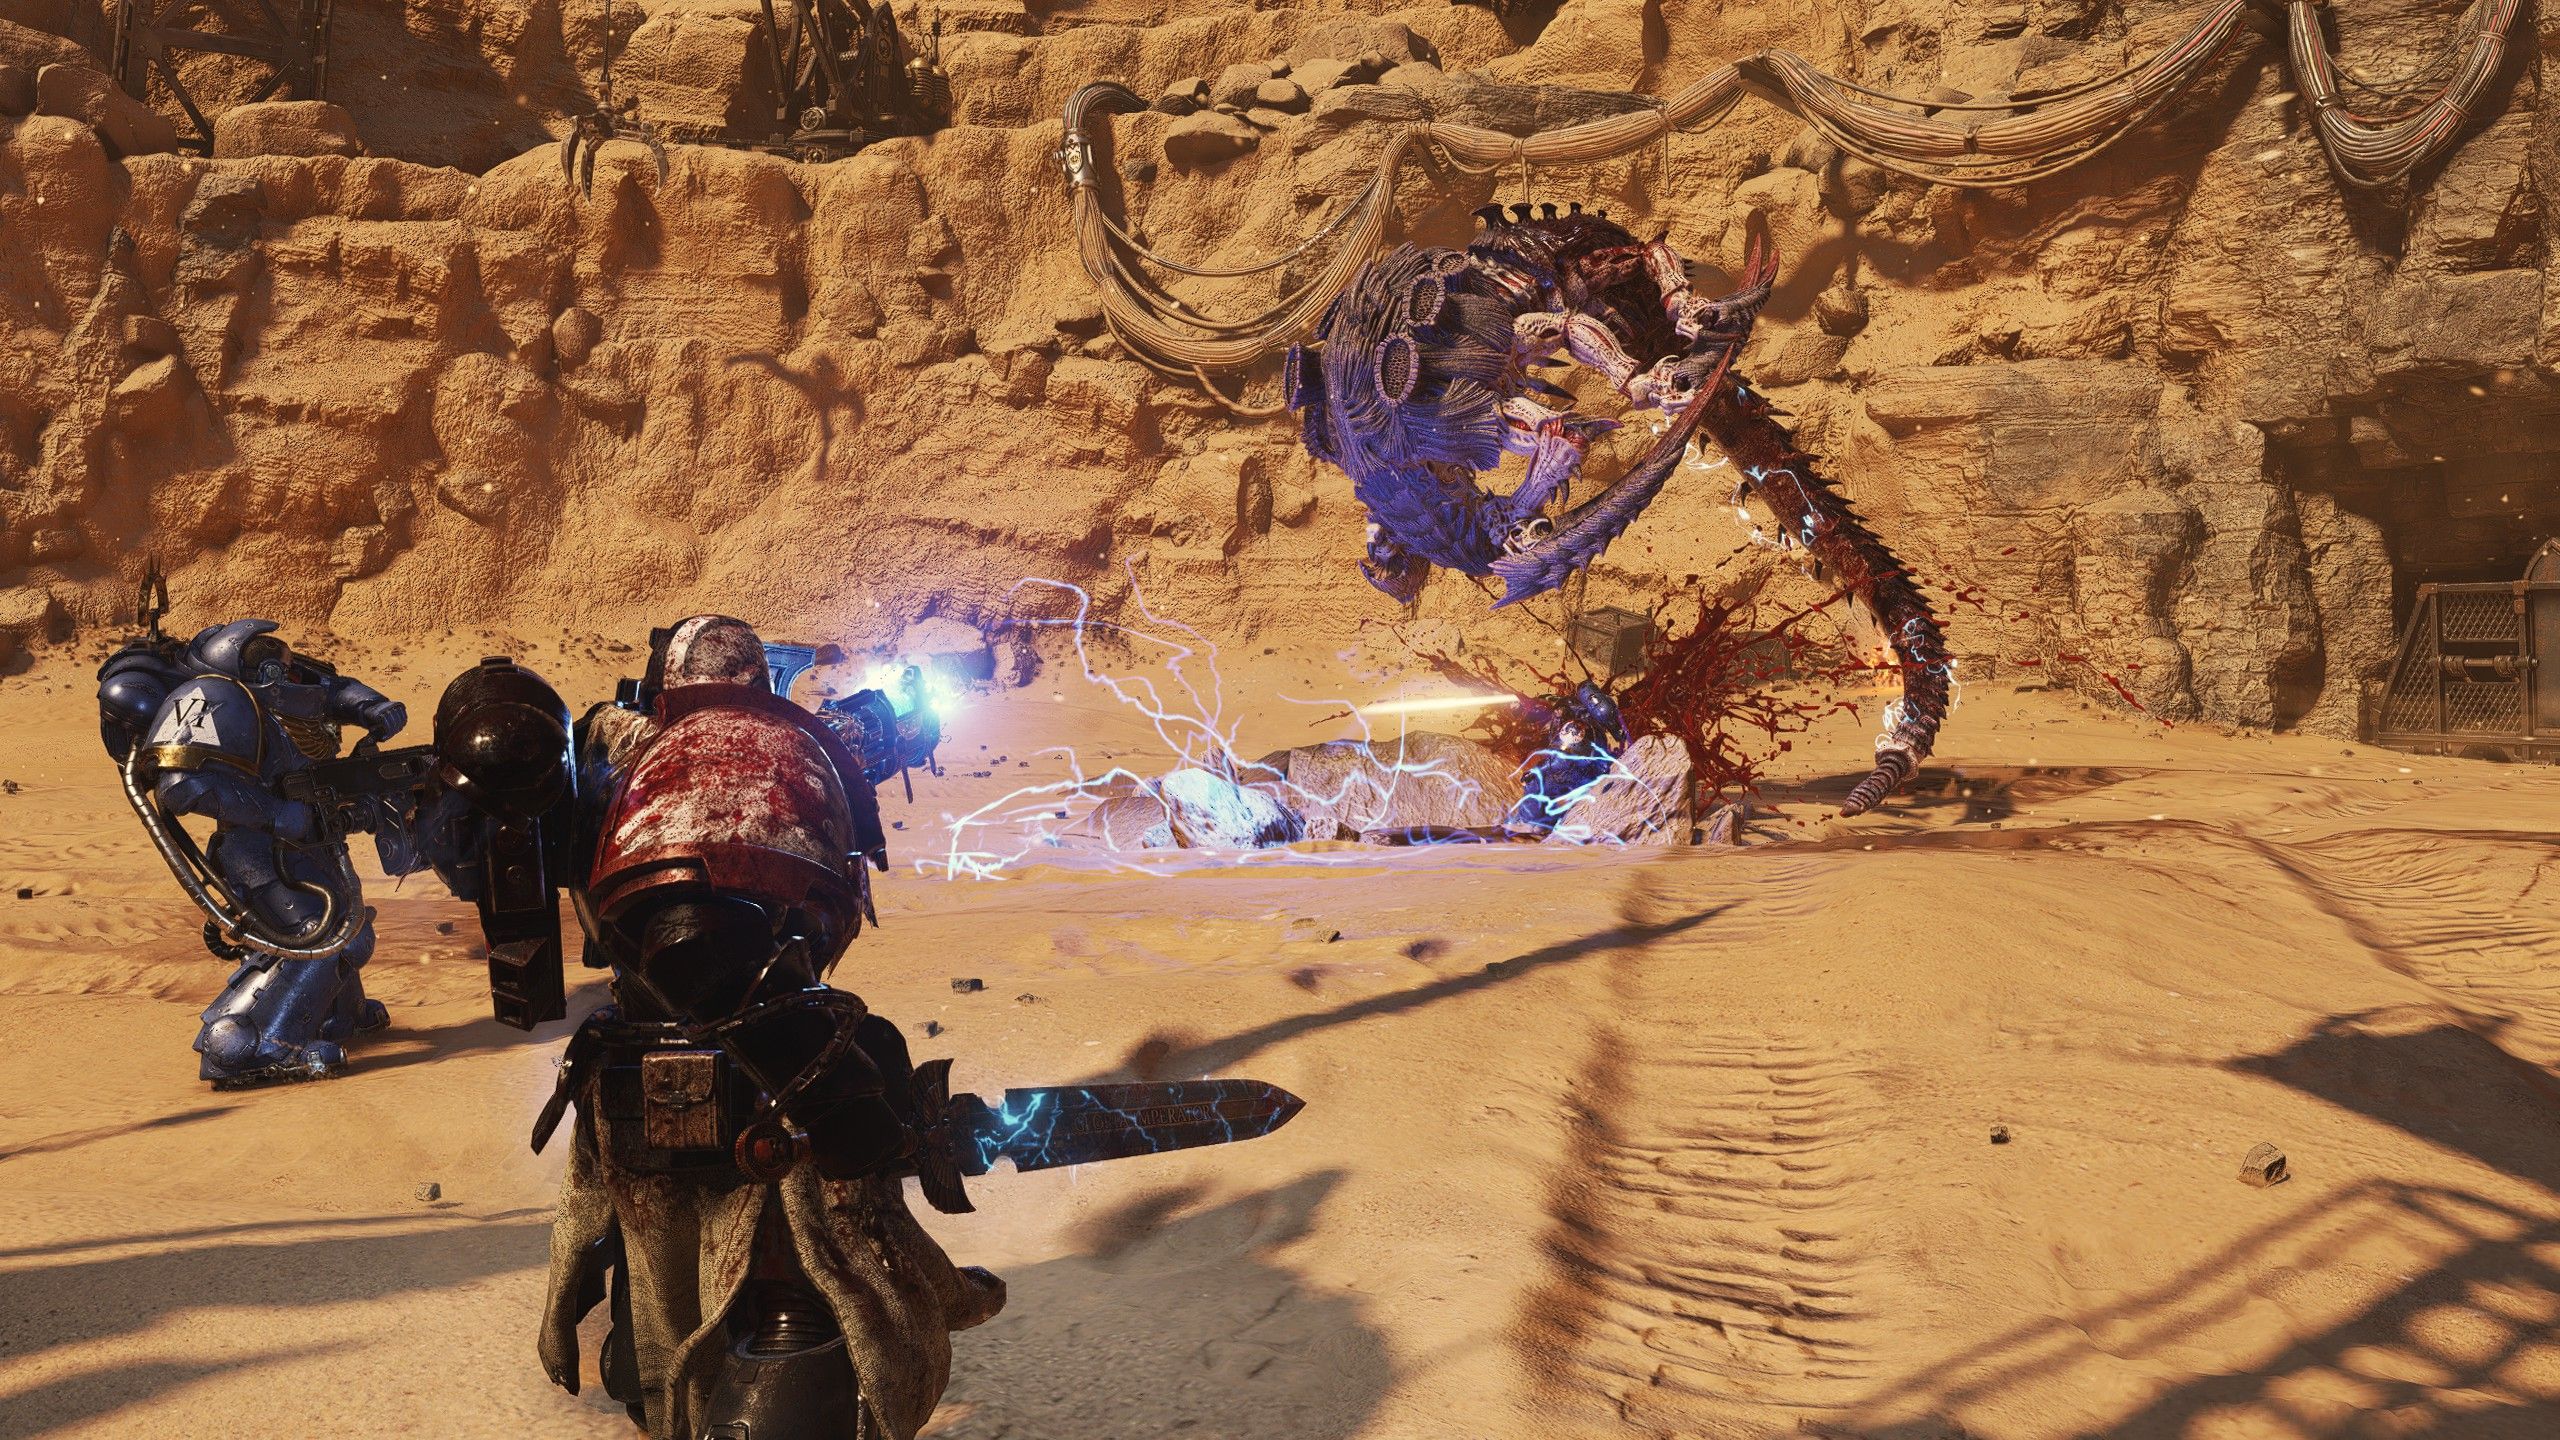
- Electric Tail Whip – The Trygon’s tail occasionally glows blue, where it will try and swipe players with it. This attack must be dodged, not parried.
- Underground Tackle – The Trygon likes to dive into the sand and remerge in a flanking tackle. This attack cannot be parried and must be dodged.
- Wall Pounce – The Trygon jumps onto a nearby wall, where its tail will charge with energy. This attack sees the Trygon pounce off the wall to tackle enemies, which must be dodged, but has a slightly delayed arrival that one might expect.
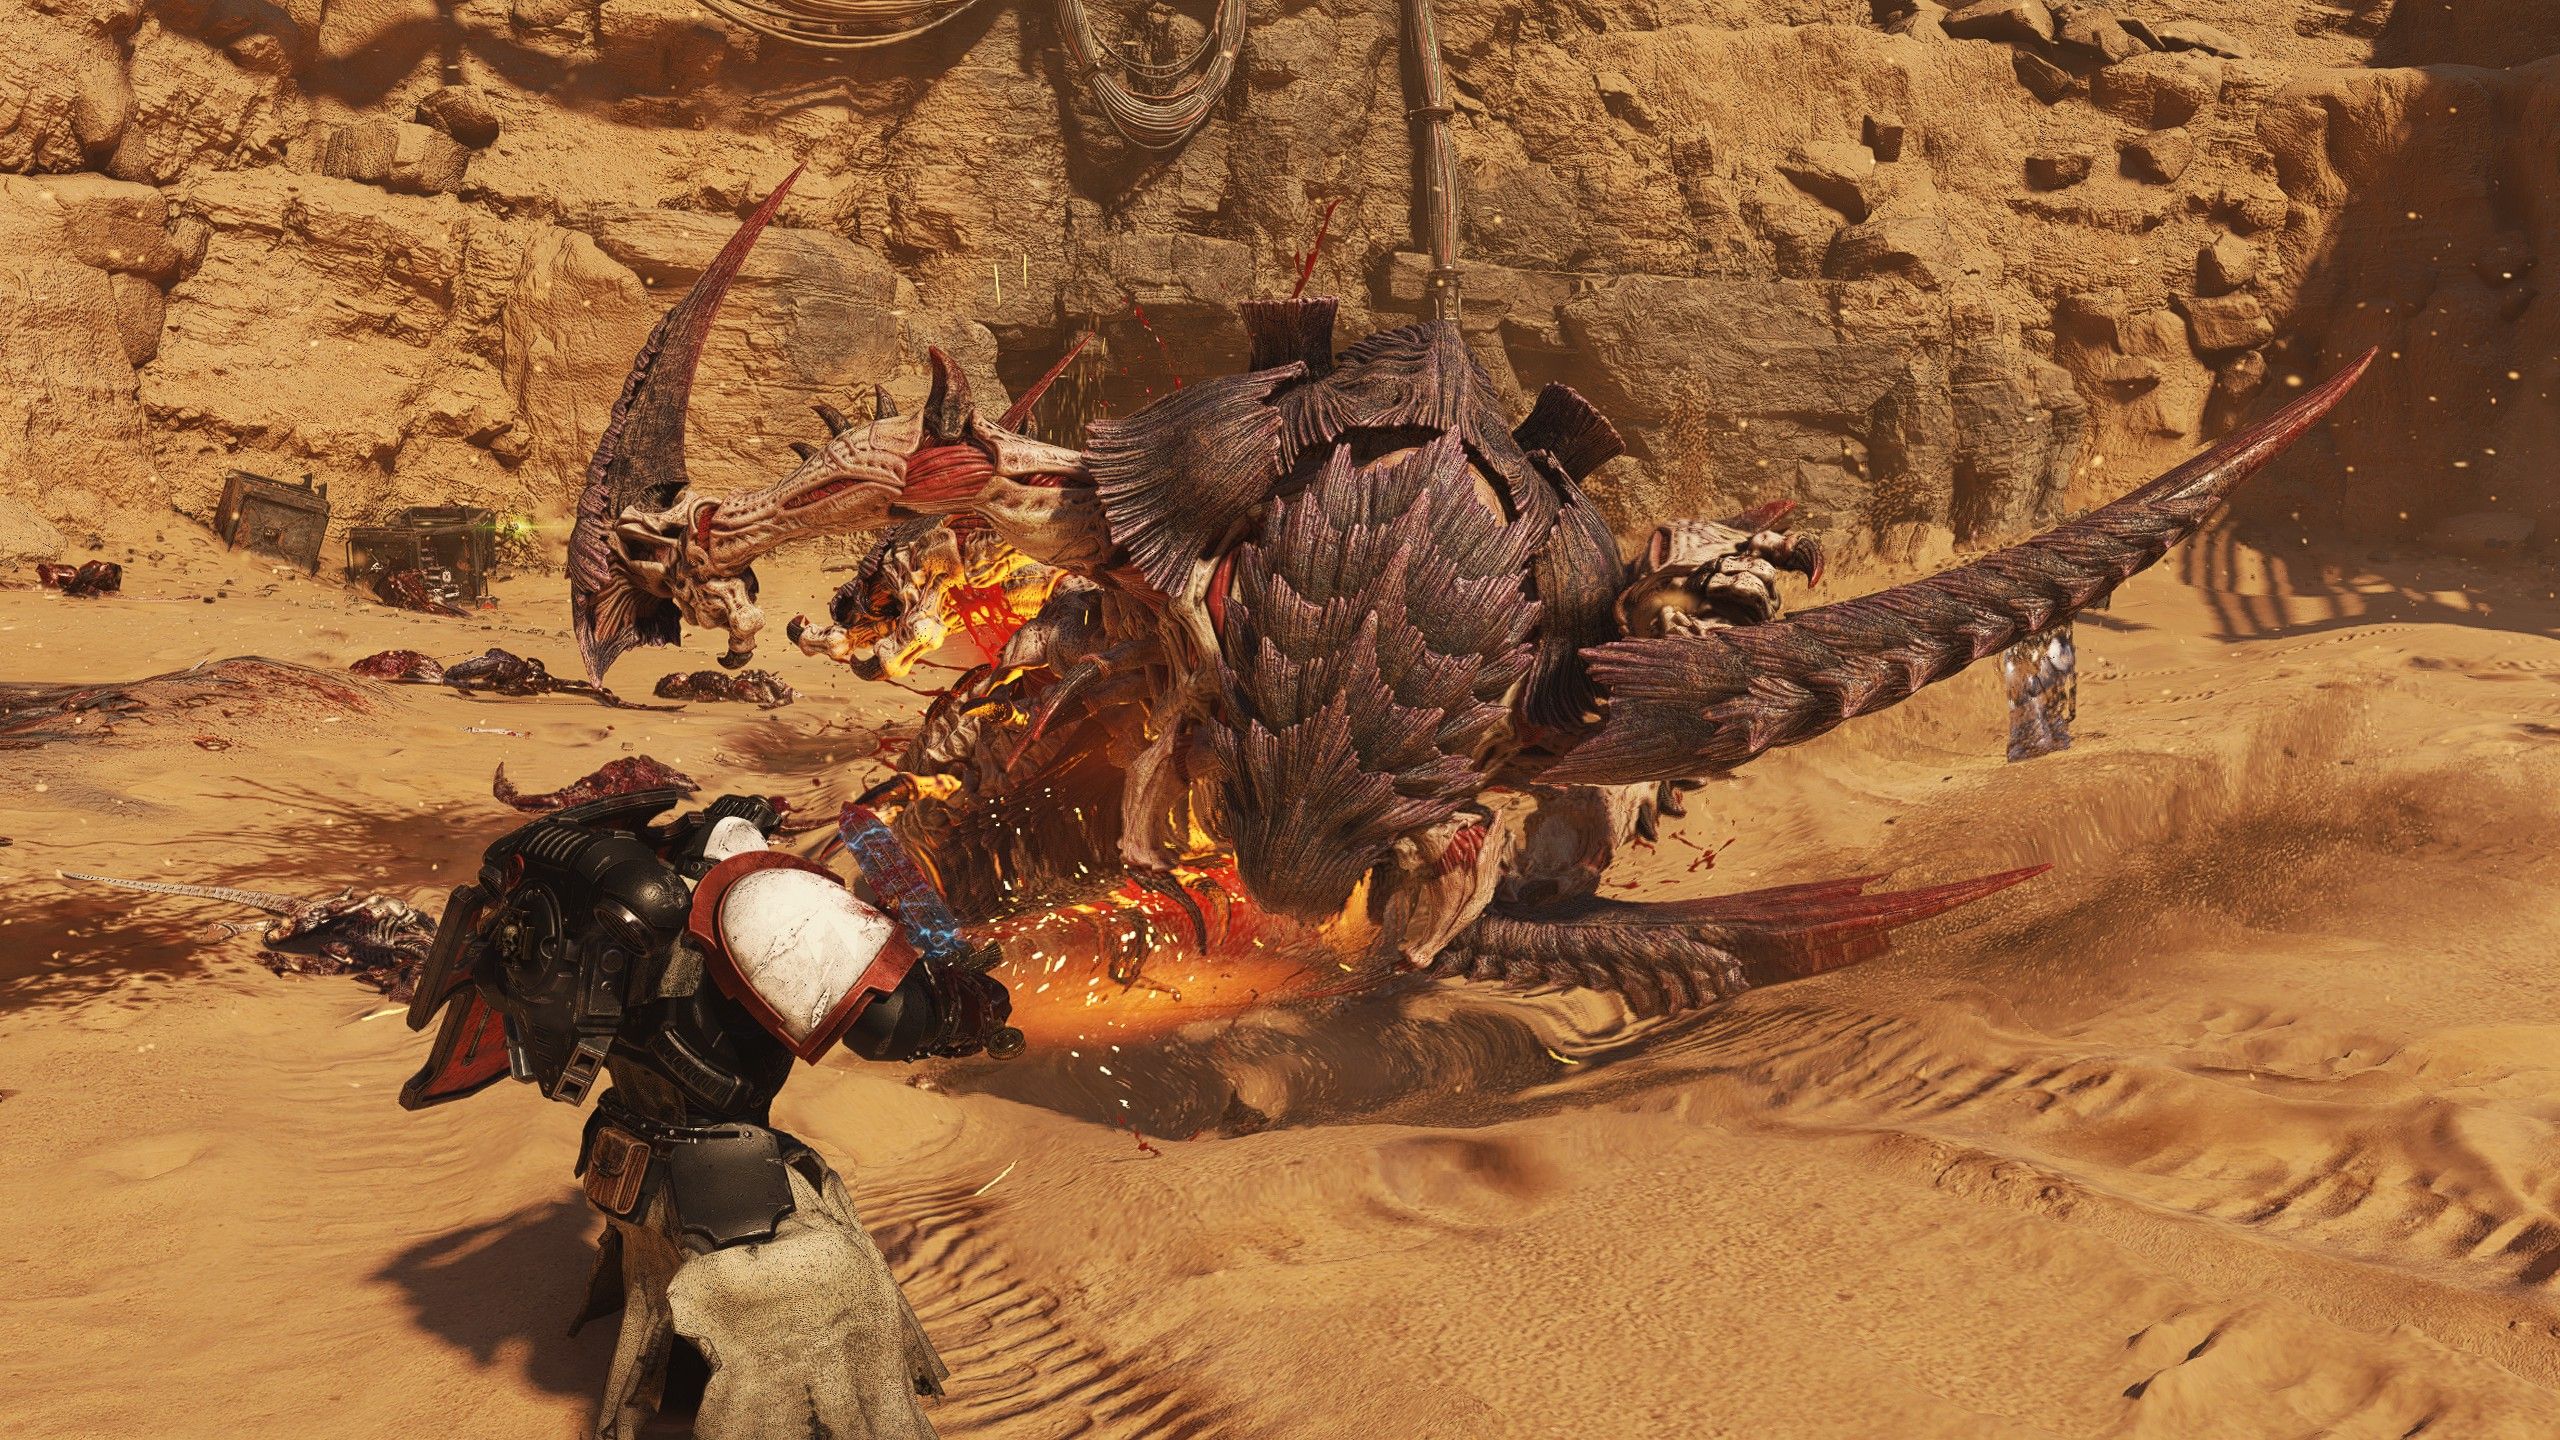
When the Trygon’s health drops to approximately 50%, it burrows itself underground, triggering the emergence of a Tyranid Tunnel. This tunnel must be dealt with using a Melta Bomb located nearby, forcing the Trygon back into the battlefield. Once defeated, the Trygon ceases to exist, concluding the mission, and players can collect their rewards.
Read More
- All Skyblazer Armor Locations in Crimson Desert
- How to Get the Sunset Reed Armor Set and Hollow Visage Sword in Crimson Desert
- All Shadow Armor Locations in Crimson Desert
- Marni Laser Helm Location & Upgrade in Crimson Desert
- All Helfryn Armor Locations in Crimson Desert
- All Golden Greed Armor Locations in Crimson Desert
- One Piece Chapter 1180 Release Date And Where To Read
- Best Bows in Crimson Desert
- All Icewing Armor Locations in Crimson Desert
- How to Beat Stonewalker Antiquum at the Gate of Truth in Crimson Desert
2025-04-18 21:24