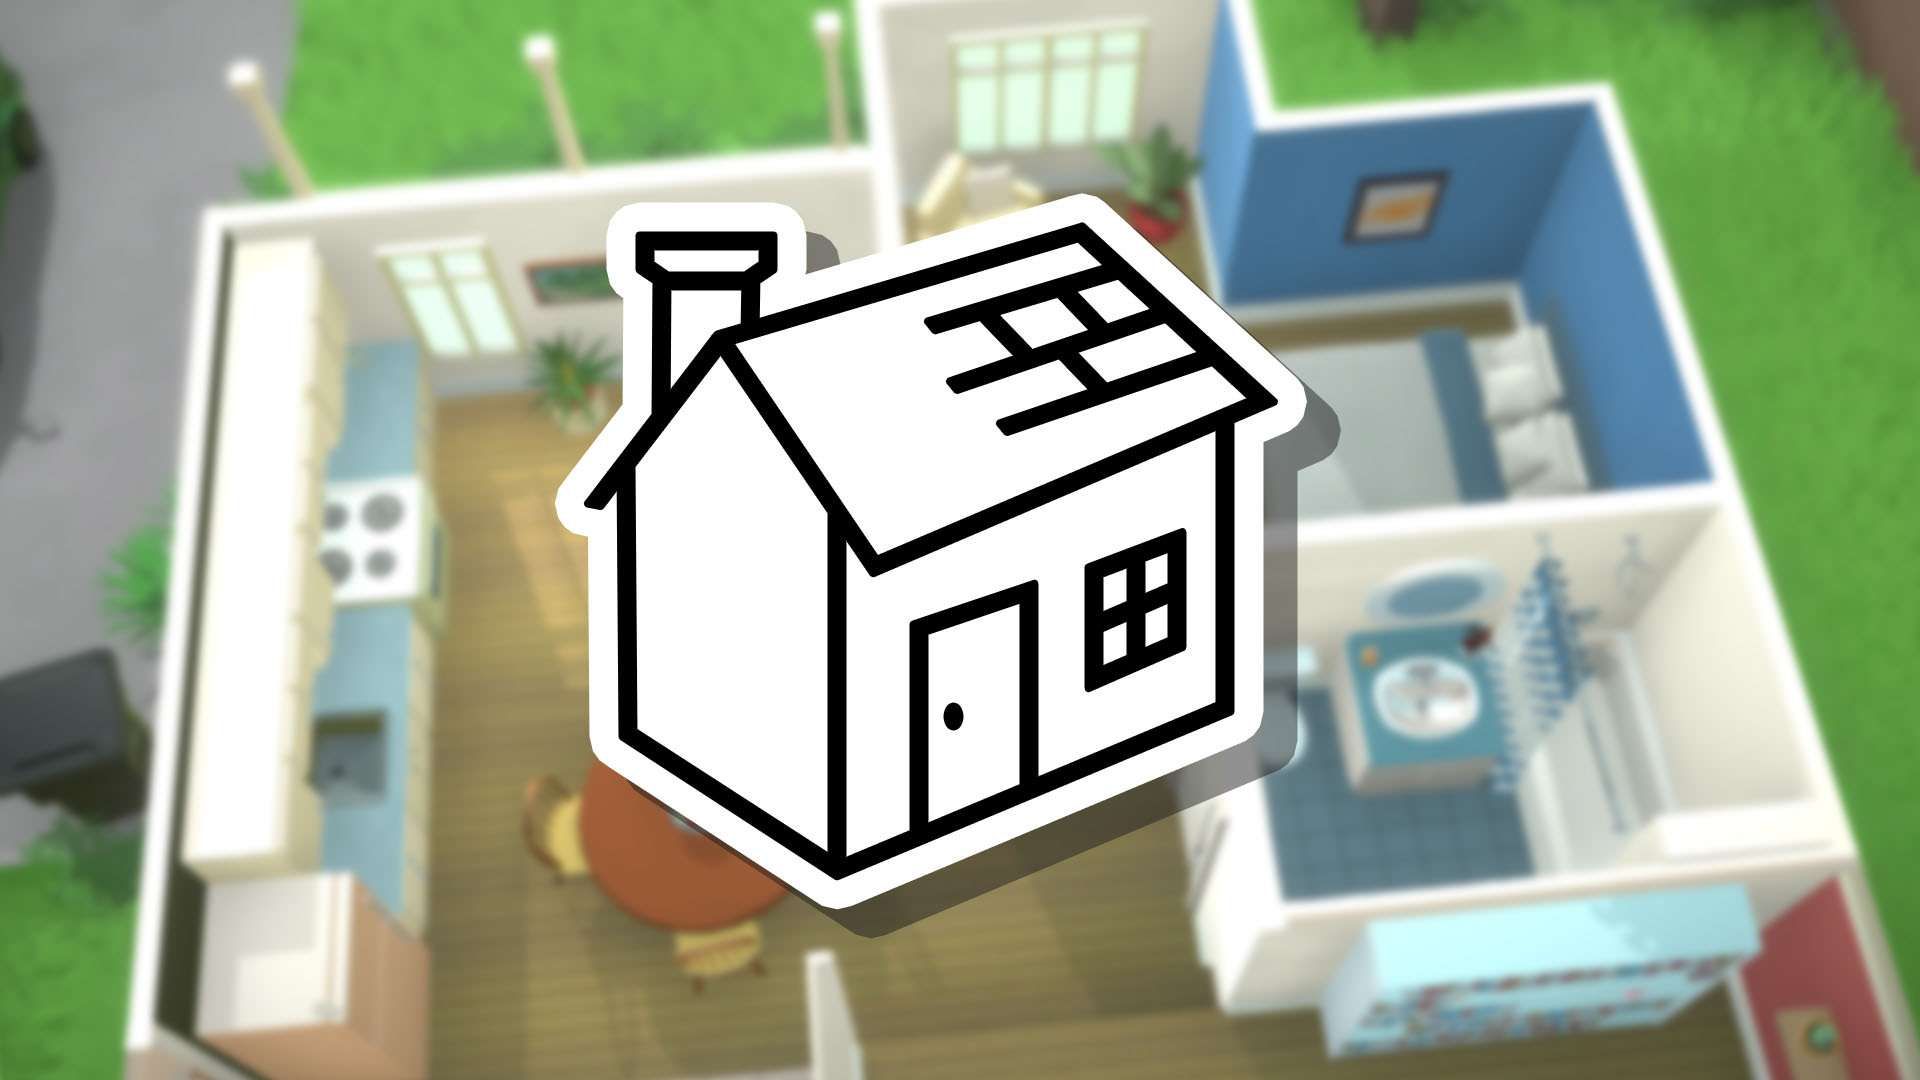
In Paralives, Build Mode is where you can really let your creativity shine. While the game offers pre-built homes from the Town and Library, many players – including myself – find it more enjoyable to design and build their own. This allows complete control over the layout and furniture, letting you create a home perfectly suited to your tastes.
Tools Guide In Paralives

You will need the following tools while building anything, as they make life easier in build mode.
| Cursor Mode | Use the cursor mode to select items and explore more possibilities, like enlarging or toggling the advanced transform tool. |
|---|---|
| Sledgehammer | Destroy whatever is marked in red, like walls and furniture. |
| Pipette | Copy the furniture or the wallpaper to use it again. |
| Bulldoze | Erase everything on the lot to start on a new slate. |
| Undo | Repeat the previous step. You can press CTRL+Z as a shortcut. |
| Redo | Redo the last step. You can press CTRL+Y as a shortcut. |
Build Guide In Paralives

The first stage, called ‘build’, involves eight different areas. This is where the core structure of a house is created, including things like installing windows, doors, and fences.
Walls

I’ve been playing around with building, and it’s pretty cool! You can easily make a room just by connecting the ends of walls. And if you use half-walls, things get even more interesting – you can combine them with regular walls to build some really unique spaces. If I want to open up a half-wall room and get rid of the ceiling or floor, the sledgehammer tool does the trick!
A room divider wall can separate a larger space into smaller sections. This makes projects like painting the walls or floor simpler, as you can focus on one area at a time. It’s especially helpful if you want a more open and flexible layout.

You can adjust walls using the blue arrows or the bar at the bottom of the screen. You can change their height, thickness, and color, or delete them completely.

Tapping the three dots reveals additional settings, including the ability to set the grid size to match your current wall length. This means any new wall you create will automatically be that same size.
Paint

Choosing paint is simple! Just select a color you enjoy, and decide whether you want to paint one wall at a time or complete entire rooms. You can also explore even more color choices using the color wheel.
Doors

You can move some doors and archways using the blue arrows. The advanced tool lets you resize them. Plus, there’s a flip option for doors available in the toolbar at the bottom of the screen, alongside the standard tools.
Windows

Windows work much like doors – you can position them wherever you need them. Use the blue arrows to adjust their size.

In the same category, you can also place curtains and match their size to the window.
Stairs

Stairs offer design flexibility. You can adjust their width and length after placing them, and a visual indicator will update to reflect the changes. Future updates will likely allow players to customize the style of the railings on the stairs.

The layout can be changed on the stairs to the first floor or the second floor.
Roofs

The roof is easy to understand, as you can change its form and how tall it is. You’ll also find different fireplace styles within that section.
Architectural Details

In the details section, the molding can be applied to any wall or half wall.

You can also create fake shutters for normal windows to create a new style.
Fences

When building a fence, the game treats it like a short wall. You can use the sledgehammer to remove the roof or floor sections connected to it if needed. Plus, there’s a tool that lets you replace individual fence sections, so you don’t have to rebuild the entire thing.
Terrain Tools Guide In Paralives

The terrain tool’s first feature lets you add plants to your landscape. You can use trees, shrubs, flowers, and other plants to decorate the area around your house.

The following section explains how to modify the landscape. You’ll find tools for raising land, digging holes, and smoothing out rough areas.

You can also choose any of the given paint and textures to change the terrain on the lot.
Rooms Guide In Paralives

Rooms are organized into categories, with each category representing a specific room. Inside each room category, you’ll find all the furniture and objects—including clutter—that belong there. For instance, the kitchen category includes items like counters, a refrigerator, a cutting board, and spices. Plus, each room category has a separate section for decorations, allowing you to add even more details.
Furnishings Guide In Paralives

Instead of organizing furniture by the room it’s used in, we grouped it by type. For example, the ‘Comfort’ section includes all seating and beds – chairs, sofas, loveseats, and everything similar. This same approach is used for all of our furniture categories.
To resize an item, look for the yellow circle with two arrows. If you hold down the SHIFT key while moving an item, you can adjust its vertical position.

I recently discovered you can do this with a really handy advanced tool! You can find it by either tapping the three dots when you’ve chosen something, or by hitting the asterisk button – it’s super useful!

Don’t be intimidated – it’s actually quite easy to use! Each circle controls one aspect of the object. You can rotate the object by clicking and dragging within a circle. Inside each circle, you’ll find a cube and an arrow. The cube changes the object’s size, and the arrow moves it – both in the direction indicated by the circle.

The advanced tool offers a lot of possibilities as you repurpose some items to be something else.

You can transform a charming wall picture into a cozy bedroom rug. For a more realistic look, try designing a dilapidated house and arranging the furniture in unusual, upside-down positions. Ultimately, your creativity is the only limit!
Read More
- Forza Horizon 6: Find the Ohtani Treasure Chest Location
- NTE Drift Guide (& Best Car Mods for Drifting)
- Diablo 4 Best Loot Filter Codes
- Boruto: Ikemoto Has Already Hinted At Sasuke’s New Eye After Return
- LEGO Batman Legacy of the Dark Knight Batcave Minikits & WayneTech Caches
- USD RUB PREDICTION
- Where to Find Prescription in Where Winds Meet (Raw Leaf Porridge Quest)
- Top 10 Must-Watch Isekai Anime on Crunchyroll Revealed!
- Deltarune Chapter 1 100% Walkthrough: Complete Guide to Secrets and Bosses
- GBP CNY PREDICTION
2026-05-25 18:12