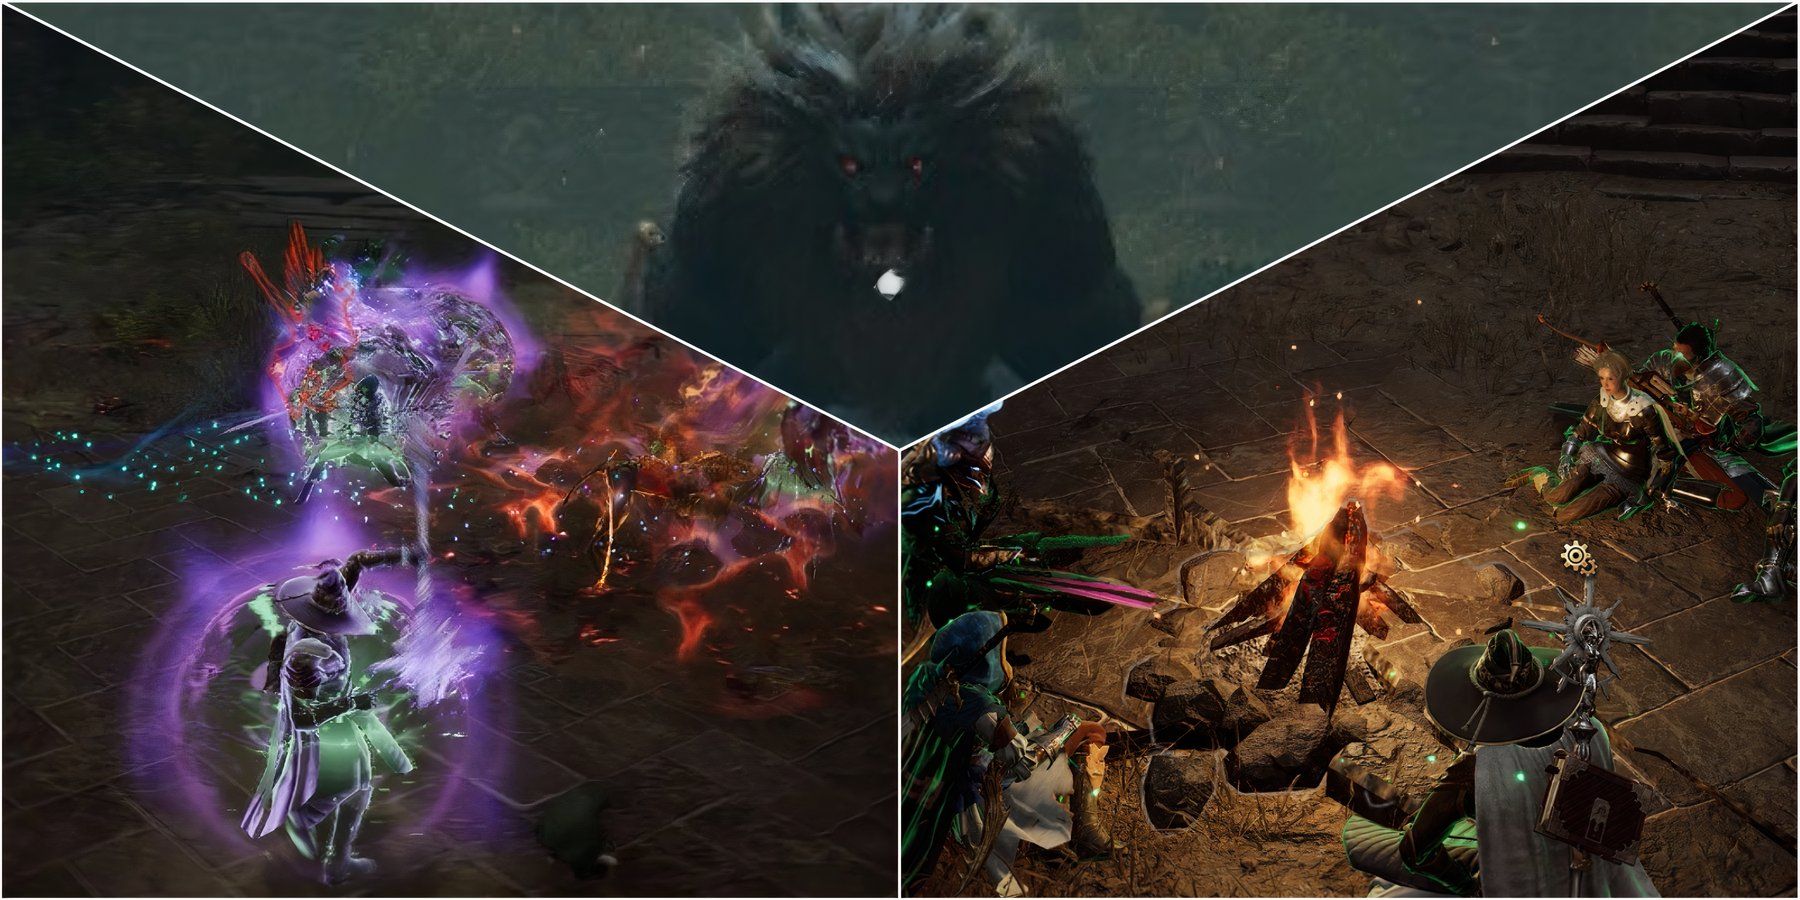
As a seasoned adventurer with more scars on my map than stars, I can confidently say that King Chimaerus is no joke! This ferocious beast has given me quite the run for my gold pieces, but fear not, my fellow heroes!
In the game ‘Throne and Liberty’, the second cooperative dungeon, titled ‘Roaring Temple‘, becomes accessible for players who have attained level 30. To conquer this temple, players must collaborate to overcome obstacles and crack some straightforward riddles before encountering the final boss at the end.
Without first understanding the workings of King Chimaerus, any group that ventures forth will find him a challenging adversary. Therefore, this Dungeon manual proves useful as it provides all the necessary information for players to conquer this dungeon effortlessly.
Roaring Temple Dungeon Overview
The Thundering Temple functions as a Multi-dimensional Labyrinth Dungeon and demands that entrants have a minimum Gearscore of 900 for access. Given this prerequisite, adventurers may wish to explore various methods for improving their equipment prior to embarking on it. The temple is partitioned into seven distinct zones:
- The entrance and the first barrier.
- The first pit, with the first Mana Fluid Regulator and the second barrier.
- The second pit with the second Mana Fluid Regulator and the third barrier.
- The fourth barrier, and the first boss encounter.
- The checkpoint and the flame pillar section.
- The second boss encounter and last barrier.
- And finally, the final boss Arena.
First, let’s examine the series of actions players must follow. Before diving into that, though, let’s preview the adversaries they may face throughout their journey.
- Ancient Shade Wizard: Weak attacks but annoying AoE, prefers to attack squishier targets. They cast Fear and can disrupt spellcasters.
- Ancient Dark Shaman: Strong attacks but slow, they’ll focus on healers, so they need to be aggroed ASAP.
- Ancient Dark Assassin: Will target squishier players and teleport to them, so melee DPS such as Greatsword users should be ready to off-tank them.
- Ancient Zombie Mutt: The most annoying enemies, they shift their aggro and they’re hard to control, will seek and destroy Mages and Healers, then go for the Ranged DPS.
Here’s a breakdown of the roles players can take on when engaging with these non-player character (NPC) foes in battle:
- Tanks: Focus on aggroing the Dark Assasins and Dark Shaman first, as these will focus on dealing damage to range DPS and healers.
- Range DPS: Focus on Shade Wizards, avoid their AoE, and take them down fast.
- Melee DPS: Try to aggro the Ancient Zombie Mutts and keep them away from casters and ranged DPS.
- Healers: Keep as far away from the Dark Shamans as possible, and avoid getting cornered by the Zombie Mutts.
Roarin Temple Walkthrough (Deactivating Barriers)
The primary goal in this dungeon is to defeat the Shadow Shamans (alongside other adversaries) while managing the barriers and dismantling them to advance further. The initial barrier is situated close to the temple’s entrance, making it easily accessible, and the initial enemies are relatively few. Overcoming it should not present much difficulty.
As a thrill-seeker, I’m about to dive into the pit! To minimize harm and strategically take down foes, I’ll be using my Glide Morph. Aiming from right to left, I’ll target the enemies below before reaching the Mana Fluid Regulator. Once there, I’ll eliminate the guardians protecting it, trigger the regulator, and let the water stream into the temple. This action will lift the second barrier, paving the way for me to advance to the next zone, which I’ll access with my swim morph.
Upon reaching the initial platform, I’ll need to take out the guarding foes and make my way down to the second pit, where I’ll find the second Mana Fluid Regulator. Just like the first one, it will be safeguarded by more enemies. I’ll have to defeat them to activate it, and then utilize the rising water to surmount the third obstacle and engage with the first boss.
How To Beat Ancient Berserk Dark Enforcer (First Boss)
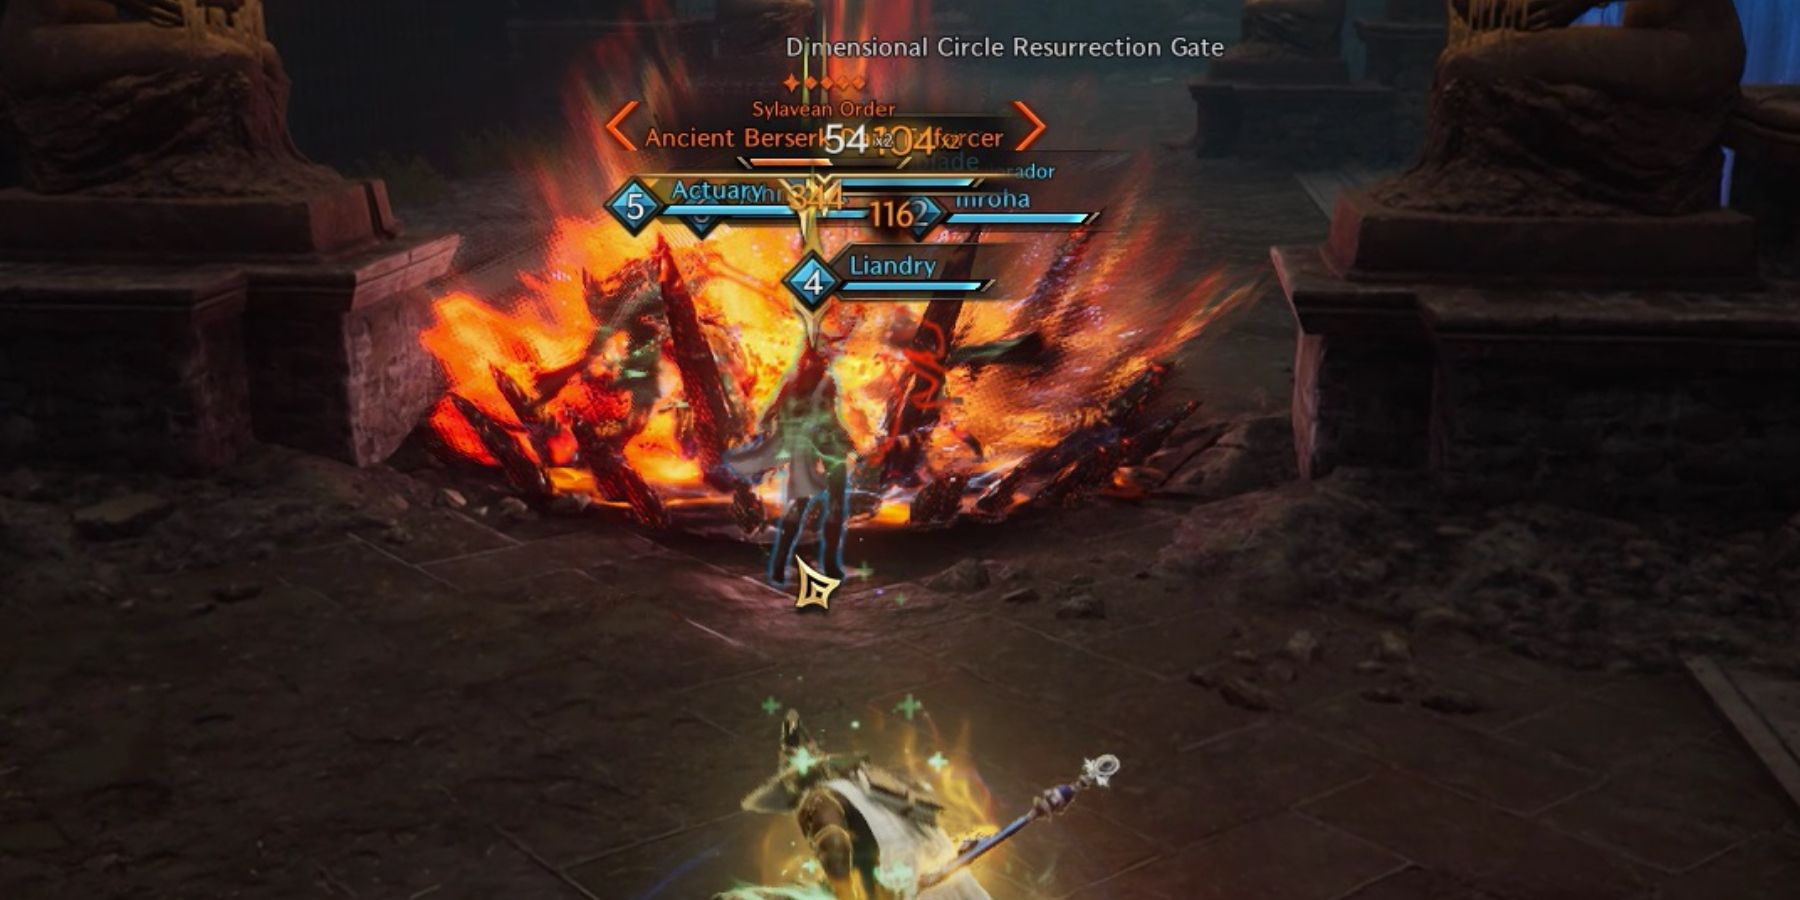
Next up is the formidable Ancient Berserk Dark Enforcer, serving as our initial foe within the dungeon. Let’s delve into the specifics of this battle ahead.
Noticeable Mechanics of this Encounter:
- The Dark Enforcer will often scream “I’ll burn your souls” and set one or several of the players on fire, to clear the flames, players need to jump into the water, so it is wise that tanks fight it near the water to prevent losing aggro after quenching the flames.
- The Dark Enforcer can also aggro the Range DPS, especially wizards, and teleport to them instantly. Keep this in mind for the rest of the encounter.
Throne and Liberty Roaring Temple First Encounter Ancient Berserk Dark Enforcer

Now, let’s see the roles for the first boss encounter:
- Tanks: Focus on aggroing the boss. Draw it close to the water and keep the aggro steady. If the boss targets them with the flame attack, they should quickly jump into the water and bounce back to retake aggro. If the Dark Enforcer jumps on an ally, taunt him back to prevent more damage.
- Range DPS: Do as much damage as possible. If targeted by the flame attack, jump into the water then come back and deal more damage. Rinse and repeat.
- Melee DPS: Try to attack from behind the boss, to prevent being targeted by the flame attack.
- Healers: Stick close to the water, since they’re the squishier of classes, the flame attack might destroy them if they do not quench it fast.
Once players defeat the current boss, the fourth obstacle will crumble, allowing them to restock their health and move forward. If they feel skilled enough, they can skip the area with the flame pillars by using the Glide Morph. After clearing a few more adversaries, it’s time for the second boss battle within the dungeon, which takes place in a compact arena located further ahead.
Ahead lies an important quest object, past the Fire Pit Chasm and near the campsite. For those progressing with the main storyline, the necessary item can be found on the left, sitting atop a barrel.
How To Beat Ancient Berserk Shade Wizard
In our upcoming Dungeon, the Ancient Berserk Shade Wizard will serve as the second boss. This foe is particularly challenging due to its ability to summon additional enemies indefinitely and disrupt player coordination with certain attacks. Here’s a rundown of its tactics:
Noticeable Mechanics of this Encounter:
- At some point, the Berserk Shade Wizard will yelp “Fall Into Despair” and cast a wide area spell that will prevent players from knowing how many HP they have left. Don’t panic, stick close to the healers and everything will be fine.
- The Boss will constantly summon Ancient Zombie Mutt, at this point, players should know how to deal with them, but in case they need a refresher: the best thing to do is to kite them, or make the off-tanks (melee DPS) aggro them.
This is what each of the party members should do during the encounter:
- Tanks: Focus on aggroing the boss, avoid its AoE spells, and be prepared to agro the Mutts in case the Melee DPS are distracted.
- Range DPS: Focus on taking down the boss as fast as possible.
- Melee DPS: Try to aggro the Ancient Zombie Mutts and keep them away from casters and ranged DPS.
- Healers: Keep away from the summoned Zombie Mutts, and avoid the AoE spells. Keep a close look at the health of the team at all moments, since the the boss casts an “HP bar” block spell that prevents players from knowing how much they have left.
Once the leader topples, the final and remaining obstacle will vanish, granting access for players to advance towards the heart of the Thundering Sanctum, a place where the ultimate test awaits. However, don’t worry, there’s plenty of valuable guidance available to aid you in the upcoming battle.
How To Beat King Chimaerus
As players venture deep into the heart of the Thundering Sanctum, they’ll find themselves standing within a central combat zone, where King Chimaerus stands guard. Upon scrutinizing the chains encircling this area, they’ll observe that they can latch onto them for support. Remember this detail for future reference; for now, let’s delve into some key aspects of the situation.
Noticeable Mechanics of this Encounter:
- King Chimaerus doesn’t warn with voice yelps, instead, a cryptic ancient text will pop up over his head when casting a powerful attack.
- King Chimaerus will target players randomly with a petrification gaze, it’s unavoidable, and other players need to quickly stand in front of them and block Chimaerus fireballs or it will kill any player. Each Fireball does 33.3 % Health in damage (but covering it can mitigate greatly the damage), so if players see a party member getting paralyzed, they need to jump in front of them and protect them.
- King Chimaerus Elemental Roar can only be interrupted by dropping Mana Fluid using the chains spread around the arena, players need to use the grappling hook and activate them and stun the boss.
- Don’t step into the poison, it will give players a debuff that stacks during the encounter. Plus, it deals a lot of damage.
With that in mind, let’s analyze King Chimaerus’ attack patterns:
- Pounce attack: The boss will leap forward and slash at a random player during the encounter. If Tanks do not keep the agro this can be lethal for squishier DPS and Healers.
- Spit attack: Chimaerus will spit three pools of acid/poison. Cannot be blocked, needs to be dodged.
- Petrifying Gaze: Chimaerus will target a player and then channel briefly, after a few seconds, the player will be stunned, and Chimaerus will proceed to use its Fire Ball attack.
- Fire Ball: Chimaerus targets the petrified players and spits three fireballs, if other players do not stand in between and Block them, the targeted player will die.
- Elemental Roar: Chimaerus will jump to the center of the arena and start roaring, which will cause an AoE double effect (fire and poison) burning and poisoning the players in the whole arena. Players need to stun the boss to stop it from channeling.
In this battle, it’s crucial for players to focus on two main aspects:
In the heat of battle, it’s crucial to swiftly counter the boss’s Elemental Roar by stunning it before it has a chance to unleash its full force. Failing to do so might result in a complete defeat. Here’s what each role should perform during the confrontation:
- Tanks: Focus on aggroing the boss, avoid its AoE acid pools, and be ready to Block when the boss paralyzes a player. If the boss paralyzes the Tank, off-tanks, and melee DPS should fall in line and cover the boss’s attacks to ensure the survival of the whole team. Take the fight to the center of the arena, and don’t move too far away from it, since the boss needs to be in the exact same spot where he “spawns” to activate the chain/douse mechanics to cut his AoE Roar attack.
- Range DPS: Focus on taking down the boss as fast as possible, and stay in the periphery of the arena, near the chains if possible. Quickly activate the chains to cut the Elemental Roar casting when the time comes. If targeted by a petrifying gaze, try to stick close to the tank and call for help.
- Melee DPS: If not doing damage from behind the boss, they’ll be acting as off-tank supports and blockers for the Fire Ball attack of the boss.
- Healers: Avoid AoE, use area heal only if necessary, help the tank with damage mitigation, and stick to his back as much as possible. If the Healer strays too far, they risk dying by the petrifying gaze and fireball attacks before others can intercept them.
Maintain a consistent DPS rate to ensure the boss doesn’t eliminate you due to its area-of-effect attacks, and safeguard your teammates when they become incapacitated. By doing this effectively, we’ll eventually conquer the boss. One of the frustrating aspects of this battle is that Chimaerus has a vast health pool, meaning it could take several minutes to defeat. However, once we do, the rewards will be worth the wait, so let’s collaborate and work together as a team.
Read More
- LUNC PREDICTION. LUNC cryptocurrency
- Brent Oil Forecast
- POL PREDICTION. POL cryptocurrency
- Hunter x Hunter: Togashi Reveals the Rarest Nen Type In The Series
- USD PHP PREDICTION
- EUR CNY PREDICTION
- OKB PREDICTION. OKB cryptocurrency
- HBOs The Last of Us Used Heavy Make-up To Cover One Characters Real-Life Injury
- EUR ZAR PREDICTION
- BTC PREDICTION. BTC cryptocurrency
2024-10-02 16:24