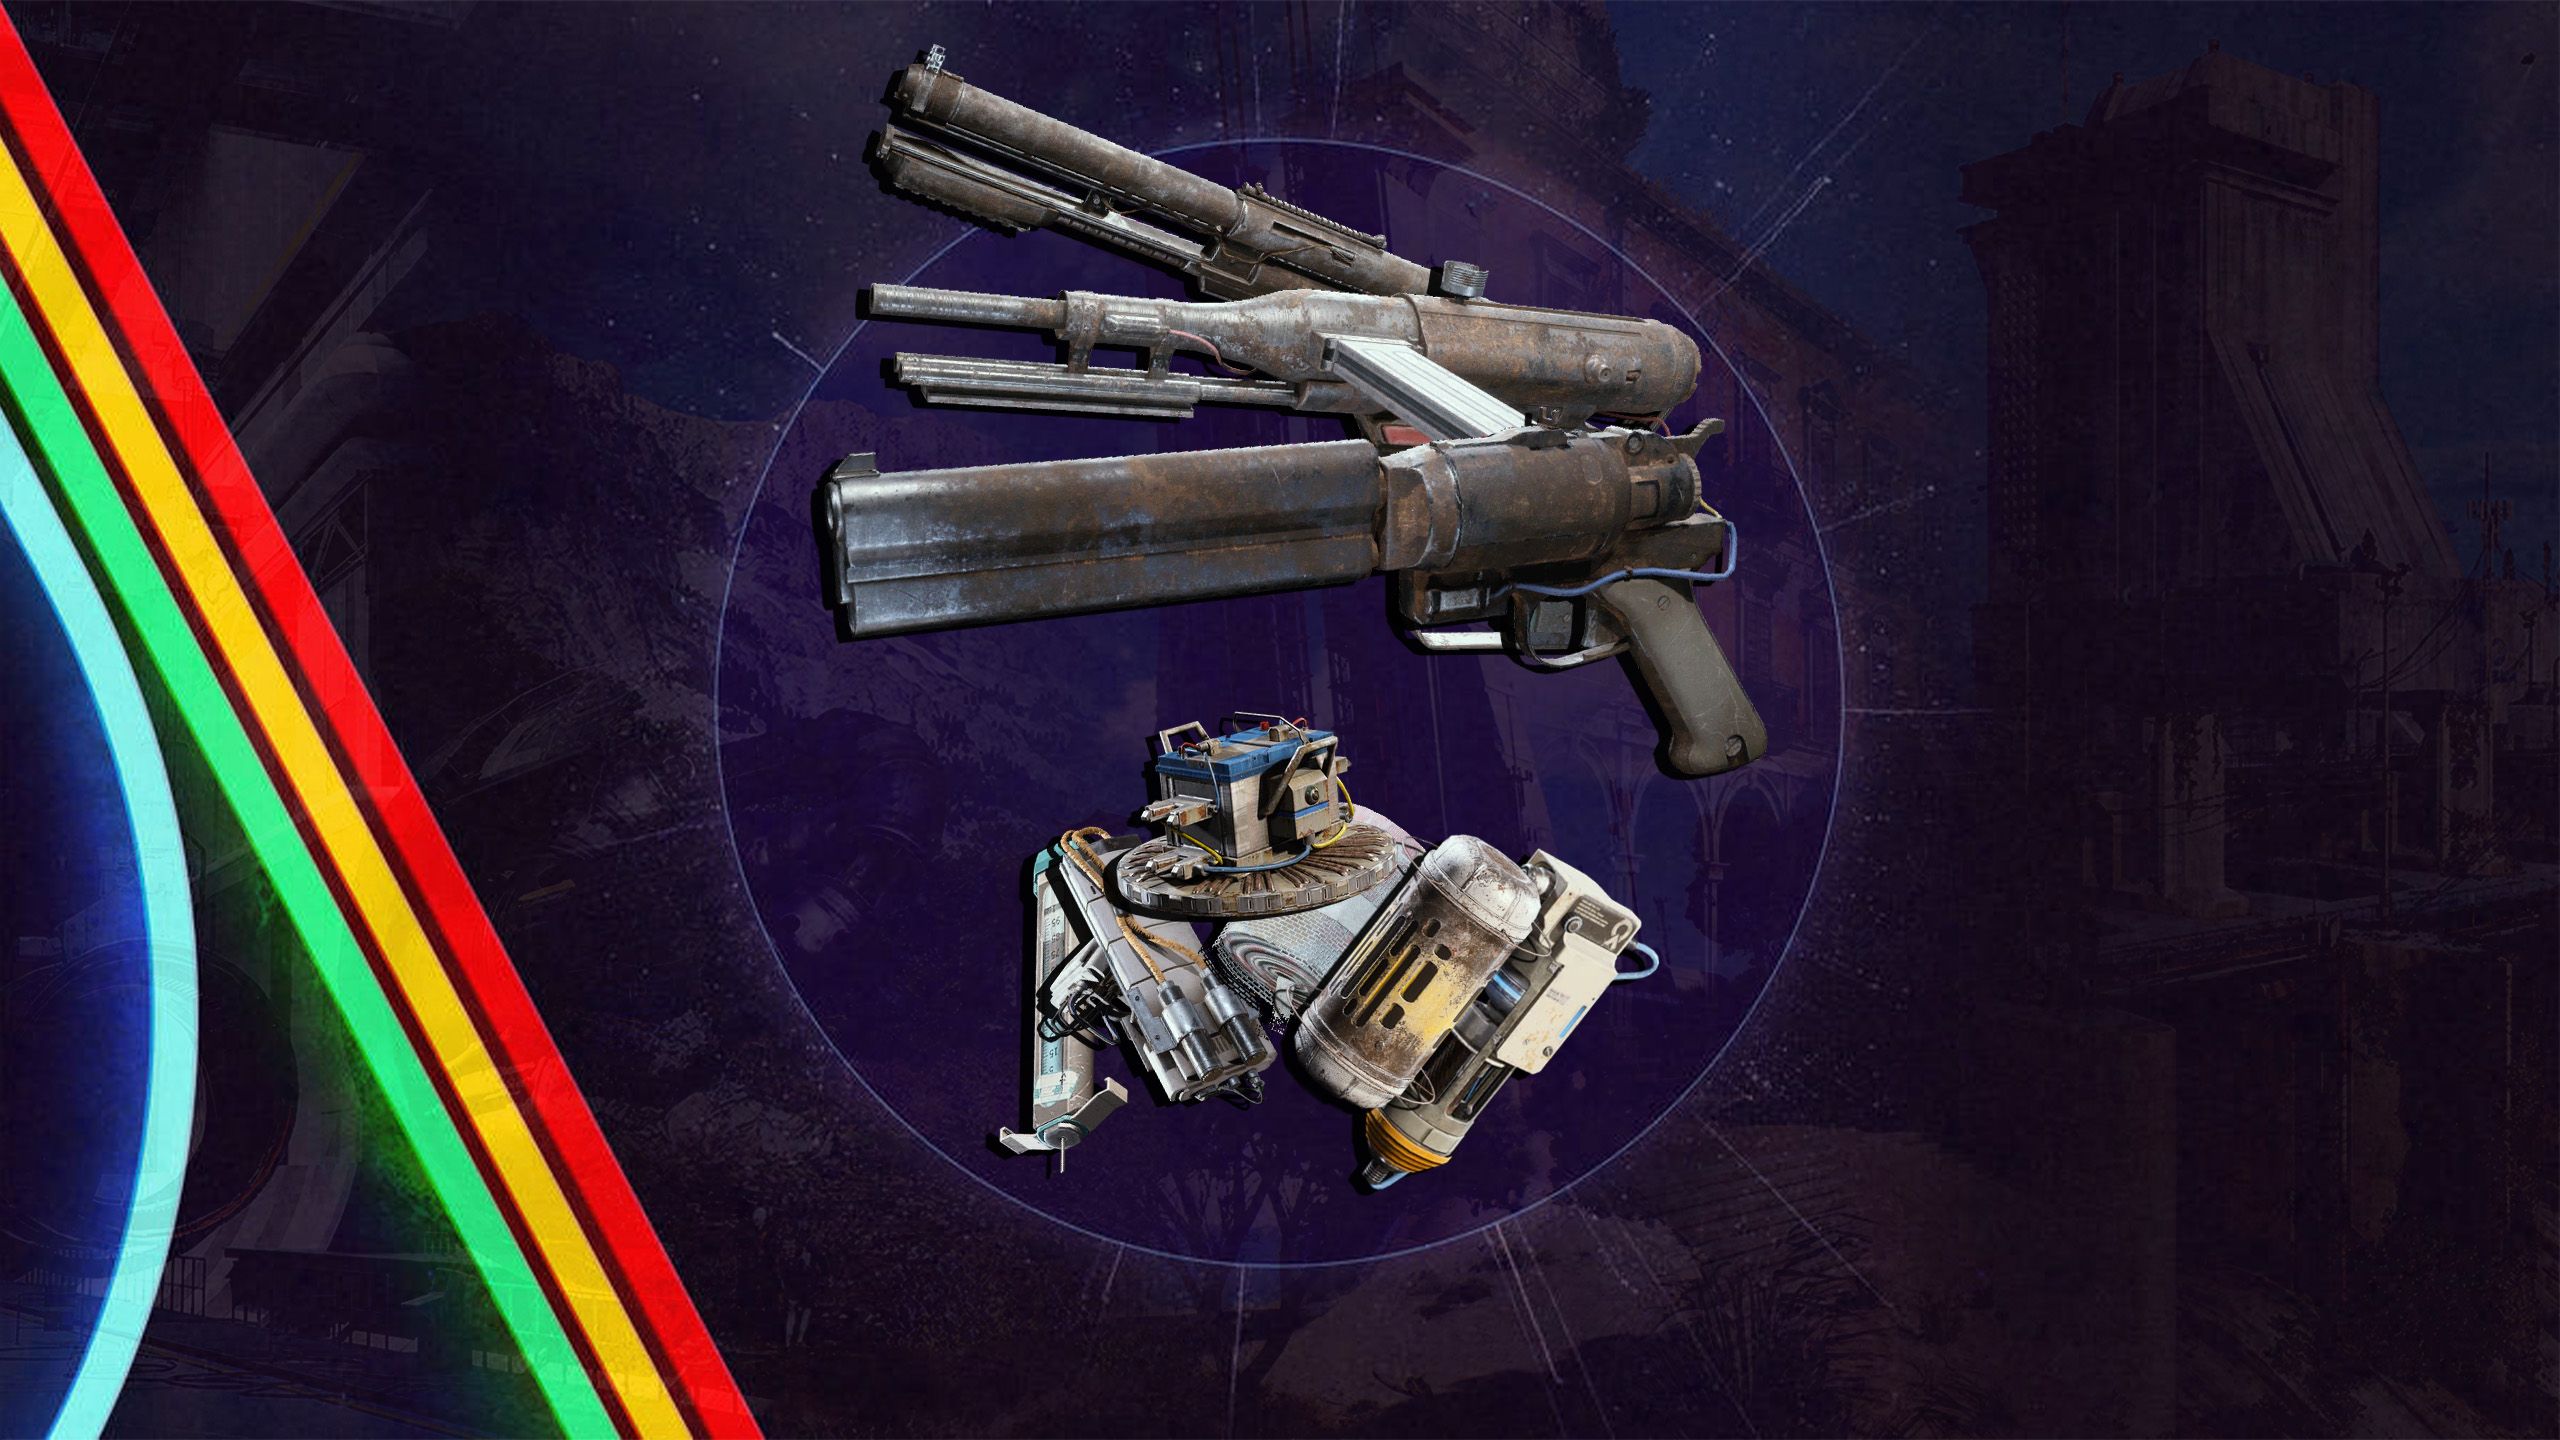
Before each raid in ARC Raiders, players usually decide on their gear. Sometimes they go with a basic setup, and other times they equip their most powerful weapons and items – it all depends on how they’re feeling, who they’re playing with, and the map they’re tackling. This guide will show you the best loadouts for each map in ARC Raiders.
This guide doesn’t cover the Venator weapon because it’s overpowered and makes the game unbalanced. We’ve also left out Epic and Legendary weapons, as they can be costly and aren’t useful for all players or raids.
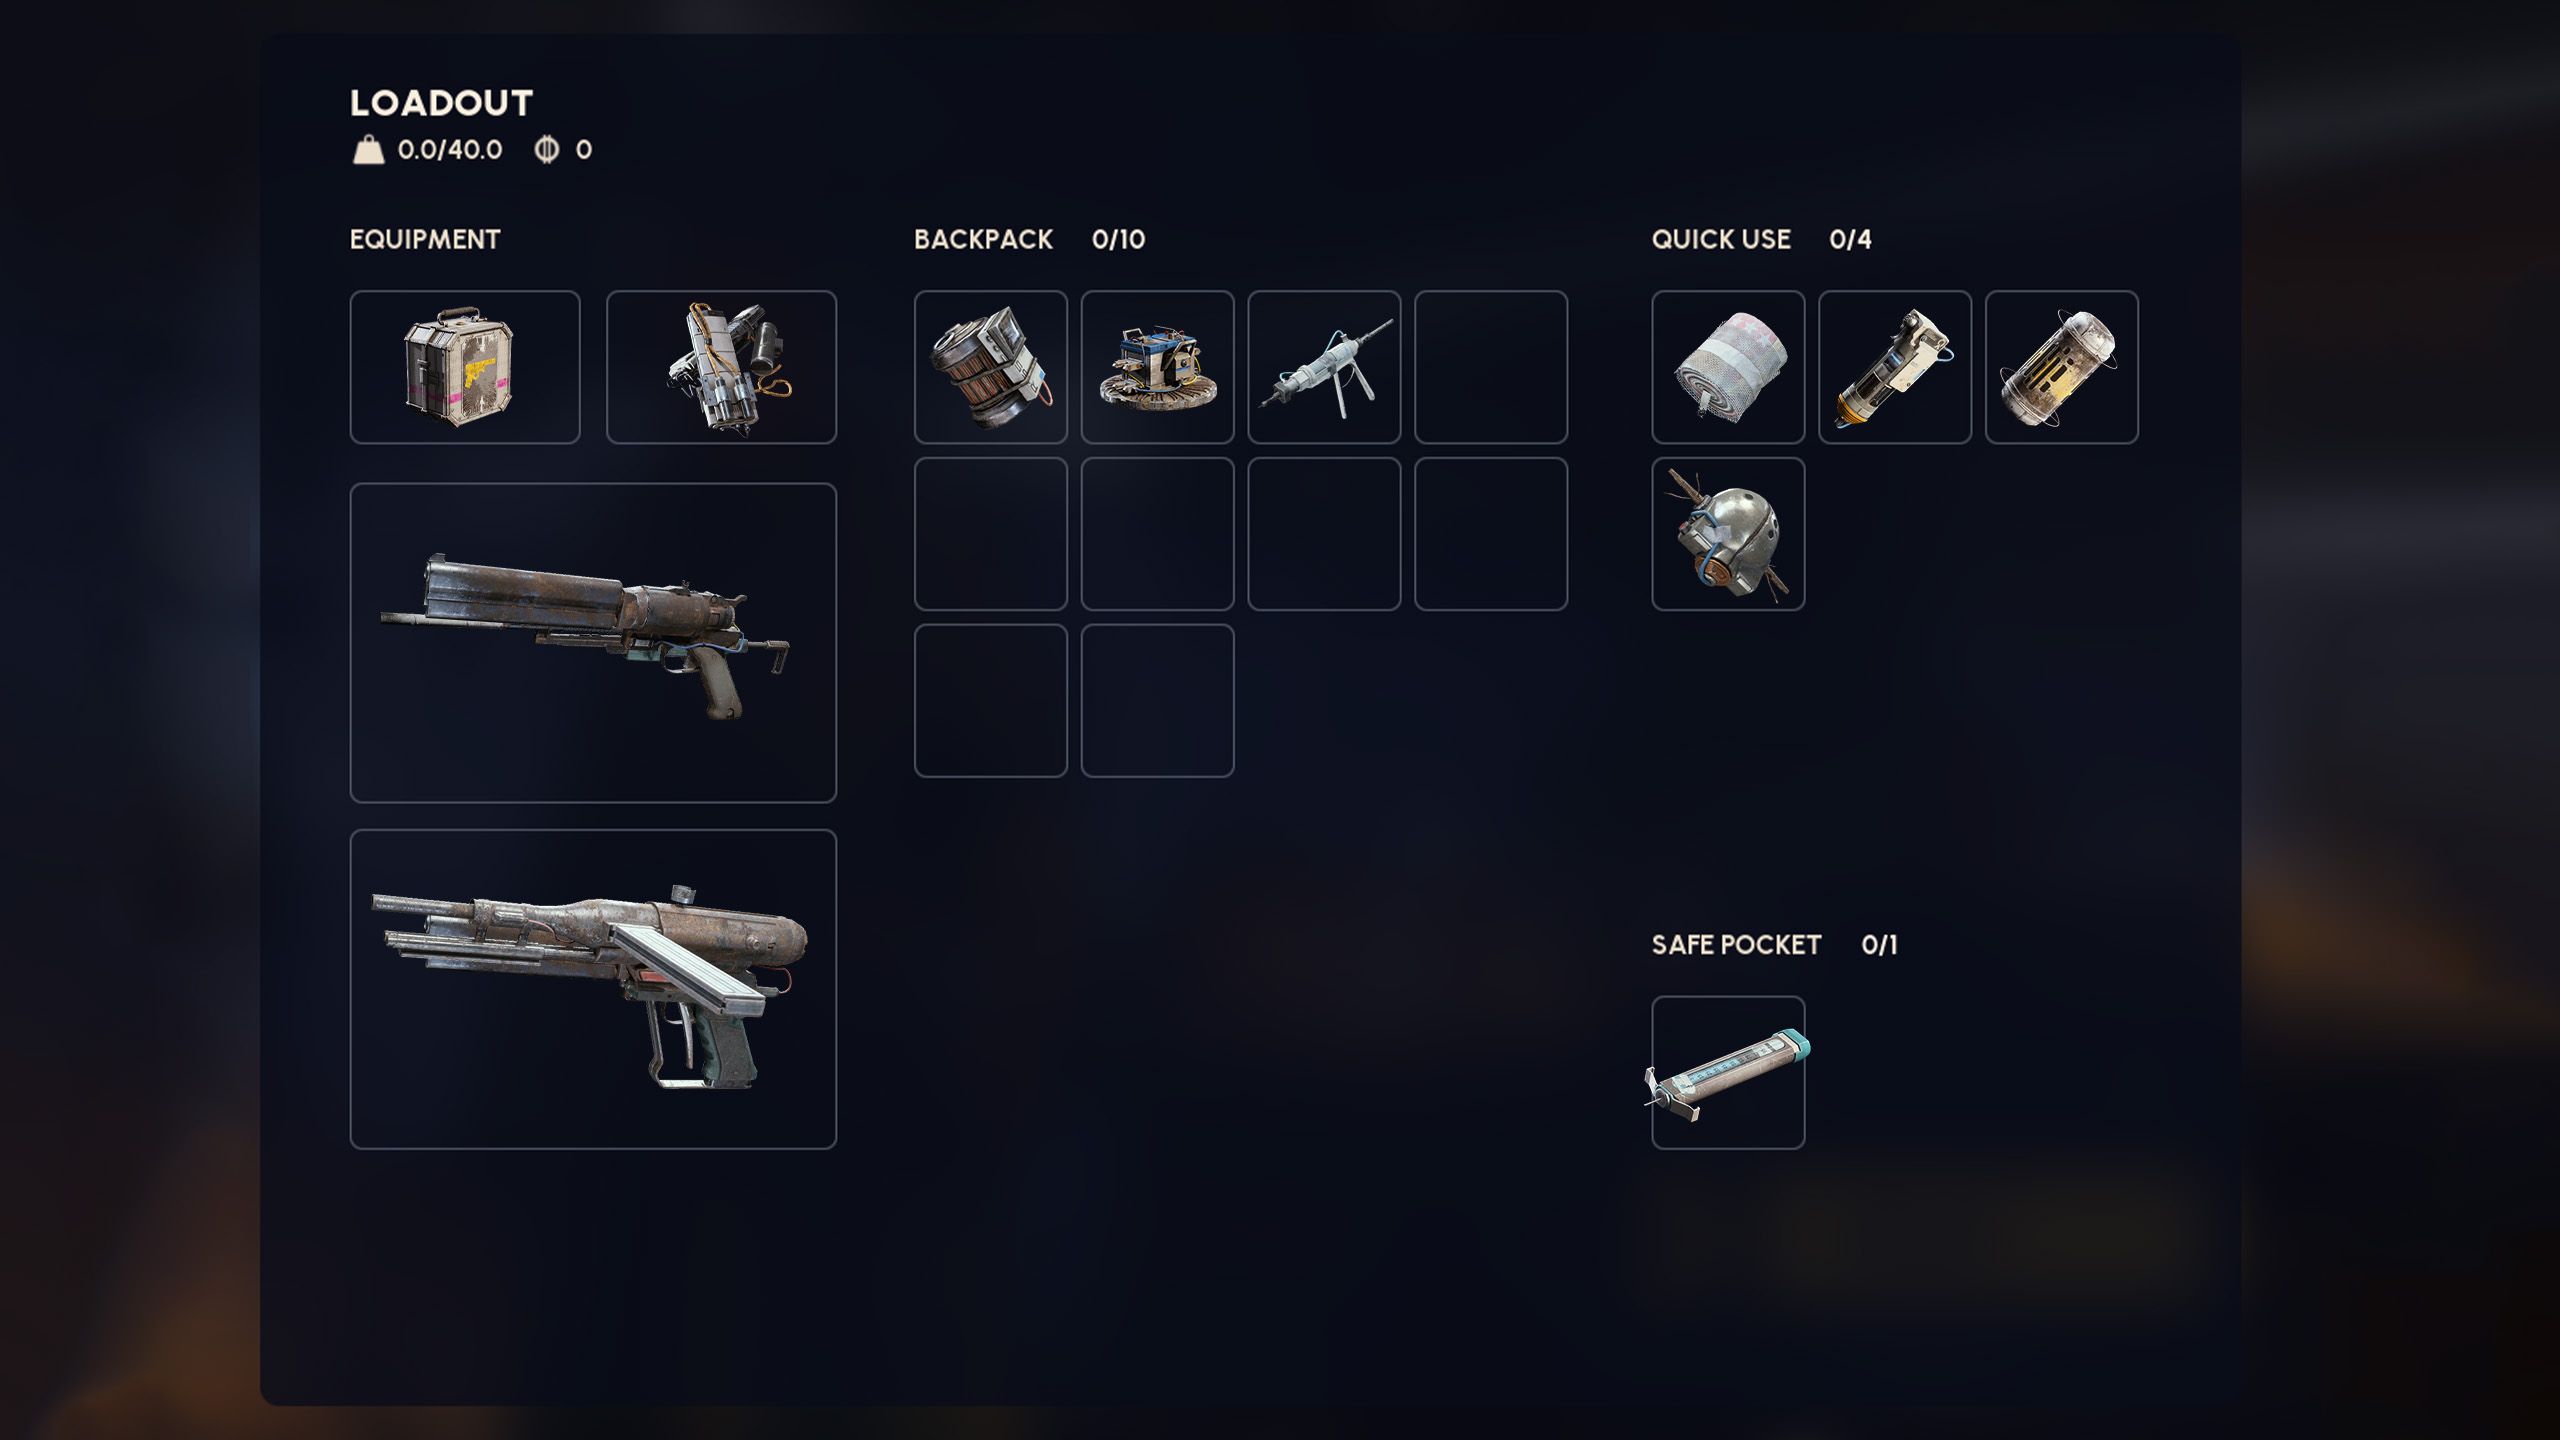
Best Loadout For Dam Battlegrounds
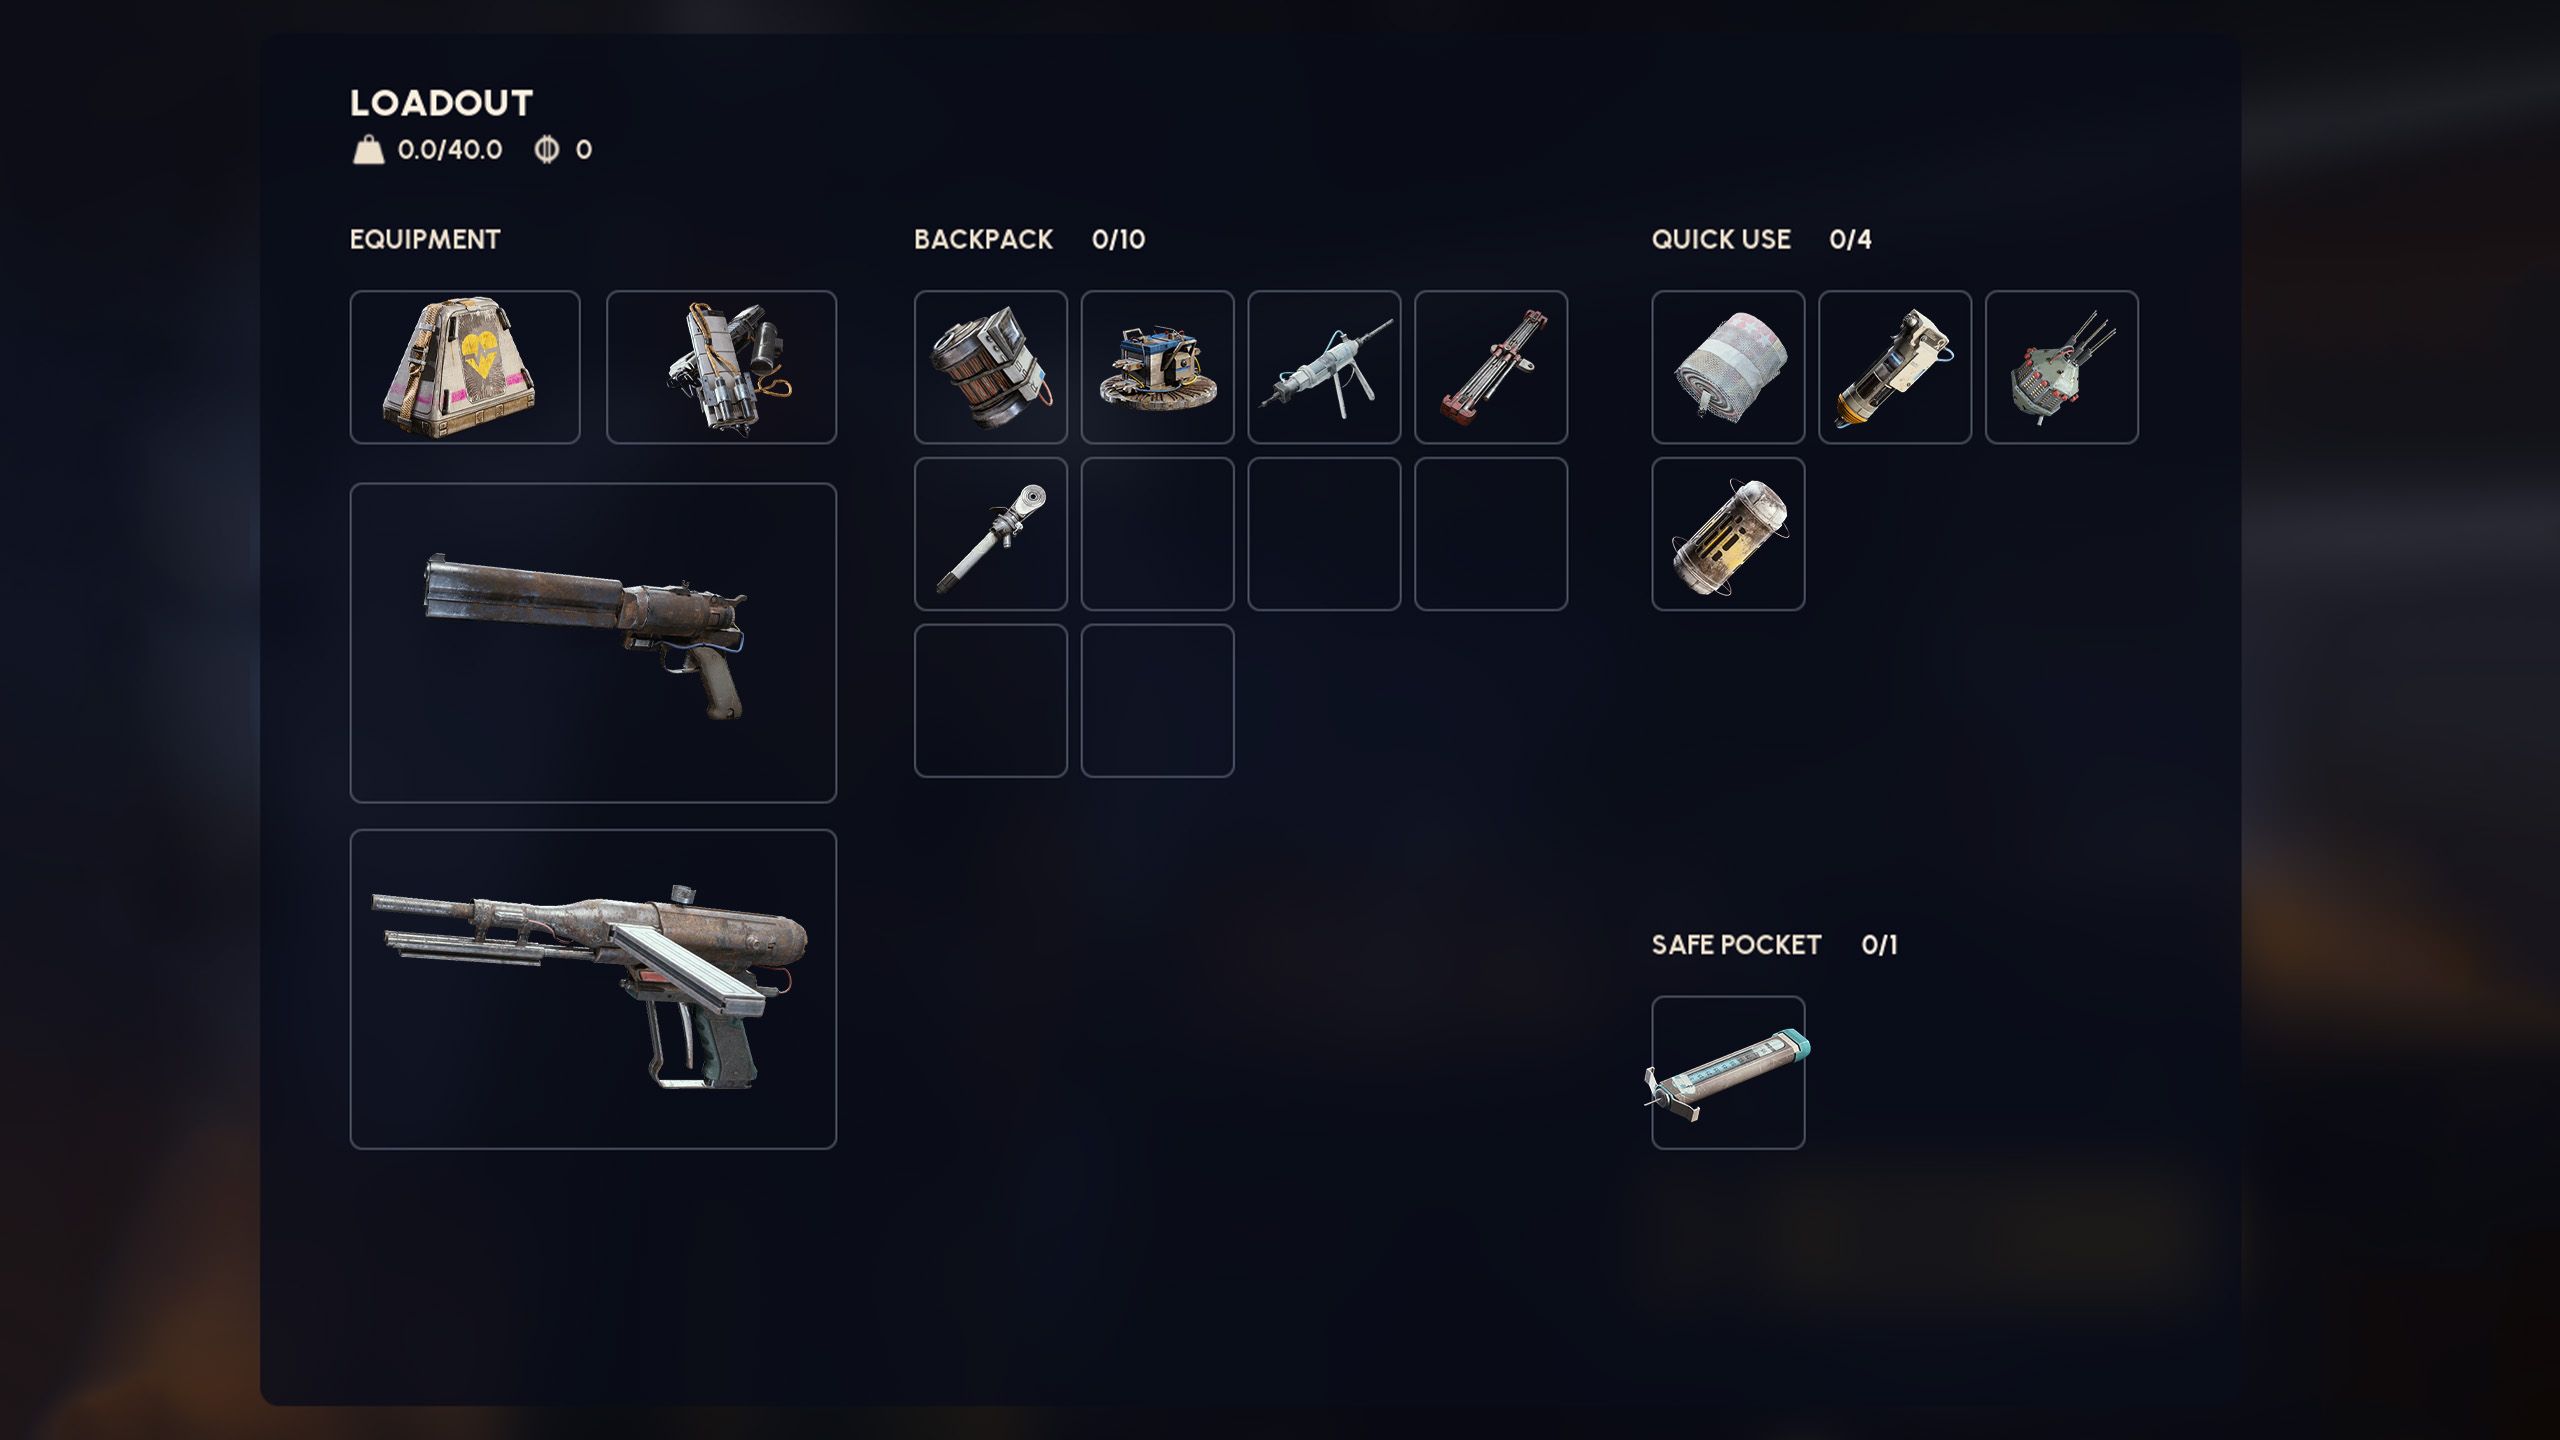
When building a powerful setup, start by picking an Augment and a shield. Make sure your Augment works well with a Medium or Heavy shield. Choose an Augment that gives you an edge in fights – the Tactical MK. 2 is great because it releases a smoke grenade when your shield breaks, letting you quickly move to a safer spot. For healing, always have some affordable and dependable options. Herbal Bandages are good for restoring health, and shield Rechargers are perfect for quickly replenishing your shield – both are easy to craft and very useful in battle.
The Dam Battlegrounds map offers a mix of open spaces, hills, and forests, along with plenty of buildings to explore. Players can search every floor and room, leading to both long-distance and close-quarters fights. It’s best to choose weapons effective at all ranges. The Anvil Hand Cannon is a powerful option that performs well at close, medium, and long distances, making it great for both player-versus-player combat and taking down enemies. The Stitcher is a fast-firing SMG that excels in close-range fights but can also be effective at medium range.
When tackling the Dam Battlegrounds raid, keep an eye out for Weapon Crates on the rooftops. It’s helpful to bring one or two Ziplines to quickly move around. The map is large, so Adrenaline Shots can help you navigate faster. Also, consider bringing a Door Blocker – you can use it to lock doors and create a safe space to react to enemy raiders.
Lure and Smoke Grenades can be really helpful when attacking in Dam Battlegrounds. Lure Grenades let you direct enemy fire, making them focus on a specific spot, and Smoke Grenades briefly hide you from enemy attention.
| Augments |
|
|---|---|
| Shields |
|
| Weapons |
|
| Healing |
|
| Utility |
|
| Grenades |
|
| Traps |
|
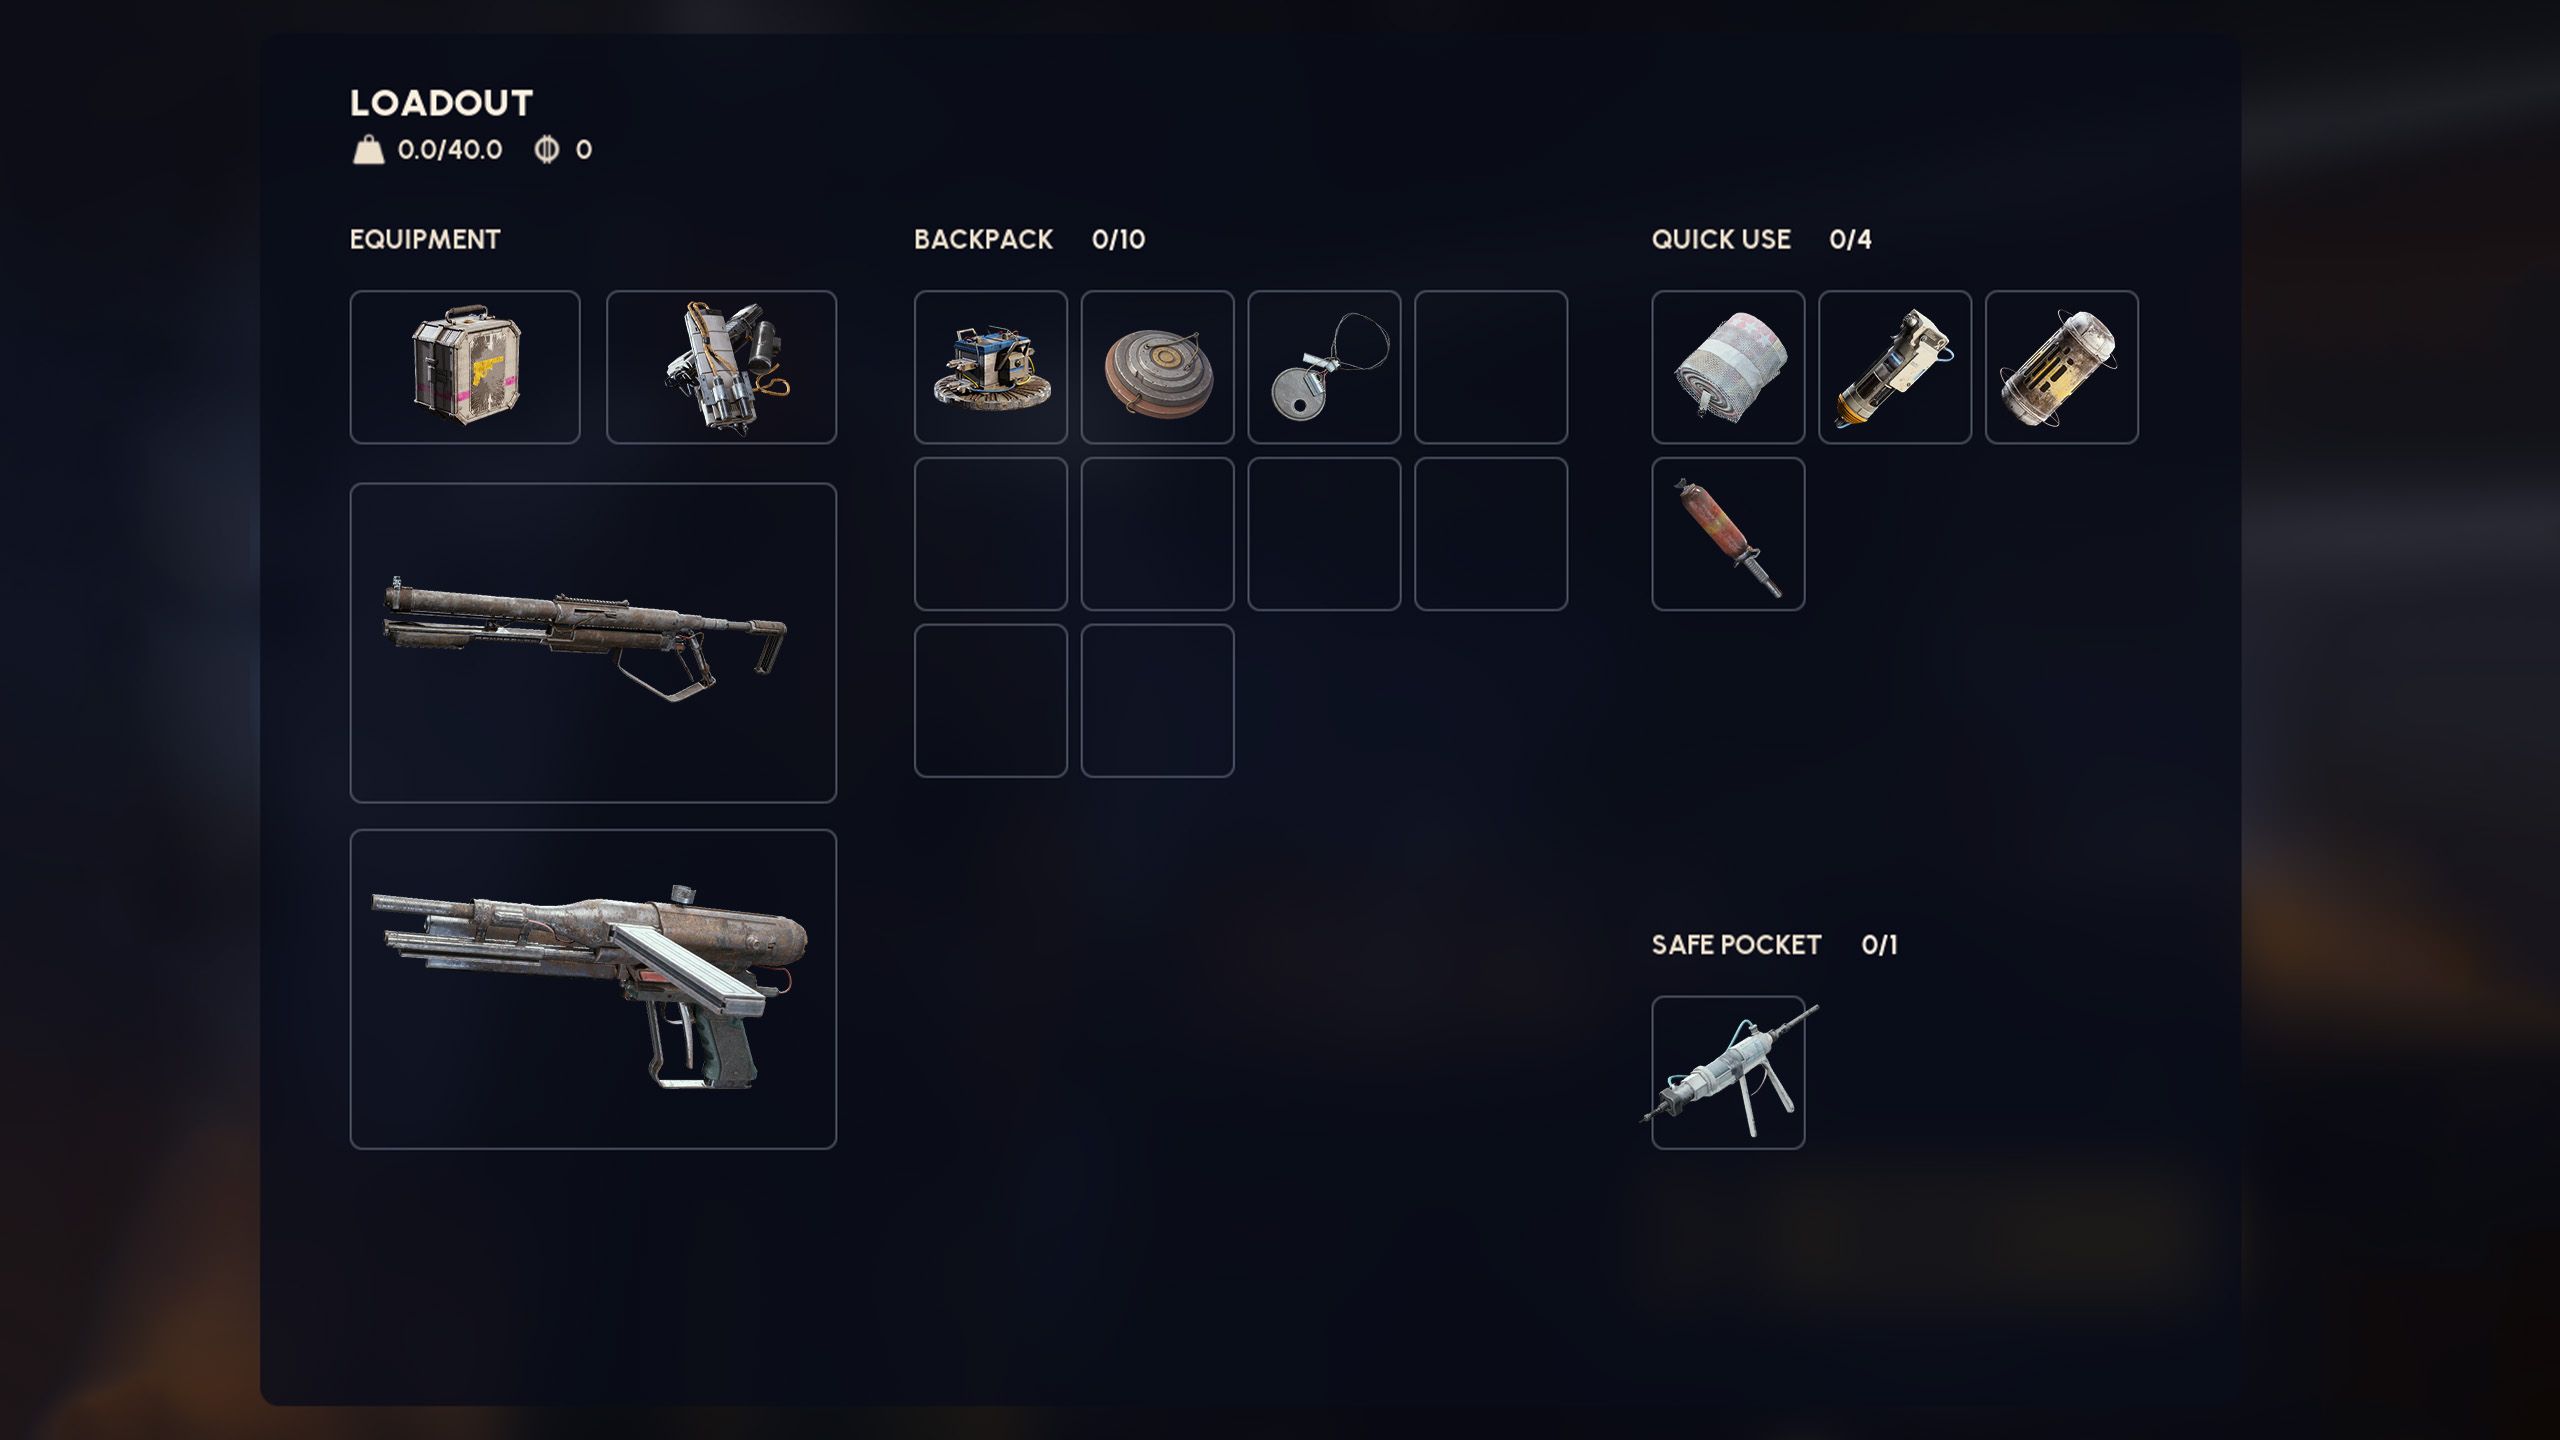
Best Loadout For Buried City
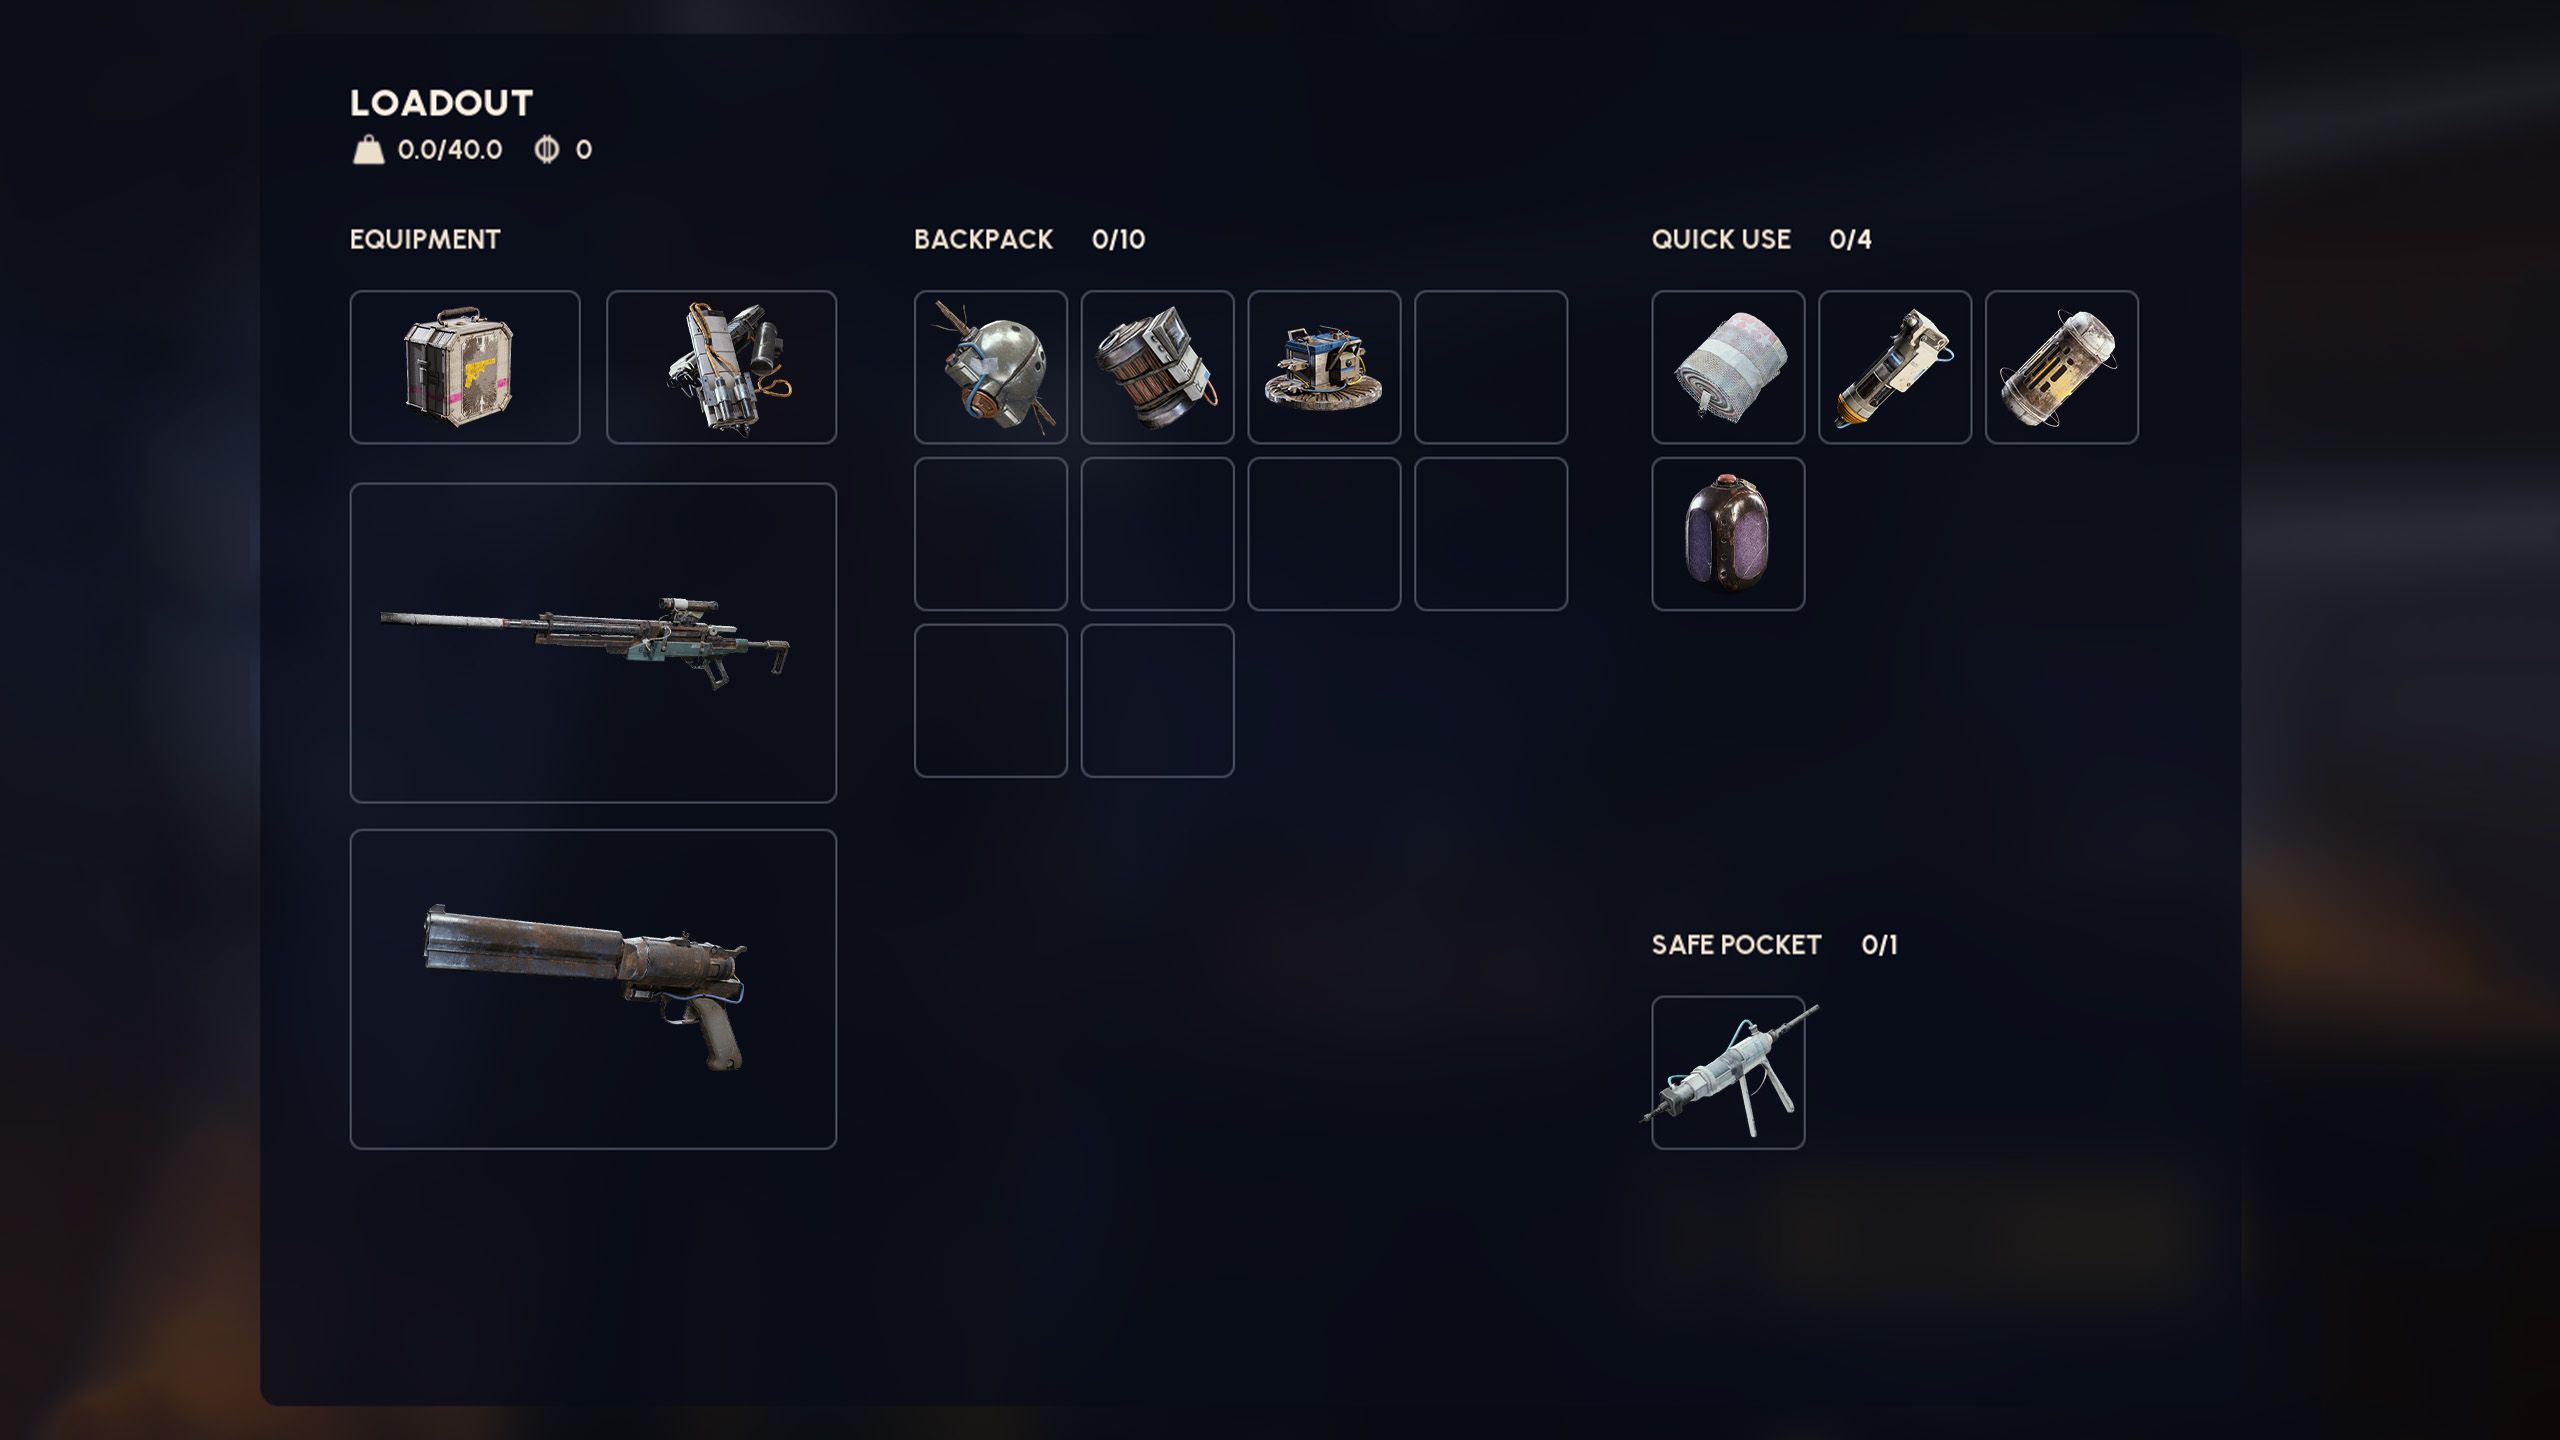
On the Buried City map, expect intense battles for control of rooftops and key locations. A strong combination for success is the Osprey, which excels at long-range attacks, paired with Anvil for close-quarters combat. The Osprey can quickly pressure enemies from a distance, and Anvil can swiftly eliminate weakened opponents.
Buried City has a lot of buildings and narrow spaces, so players often hide in those areas, making it difficult to get around. Using a couple of Smoke and Tagging Grenades can help you find and avoid these campers. It’s also really useful to carry one or two Showstoppers – they’re great for stunning campers so you can take their position and defeat them.
| Augments |
|
|---|---|
| Shields |
|
| Weapons |
|
| Healing |
|
| Utility |
|
| Grenades |
|
| Traps |
|
Best Loadout For Spaceport
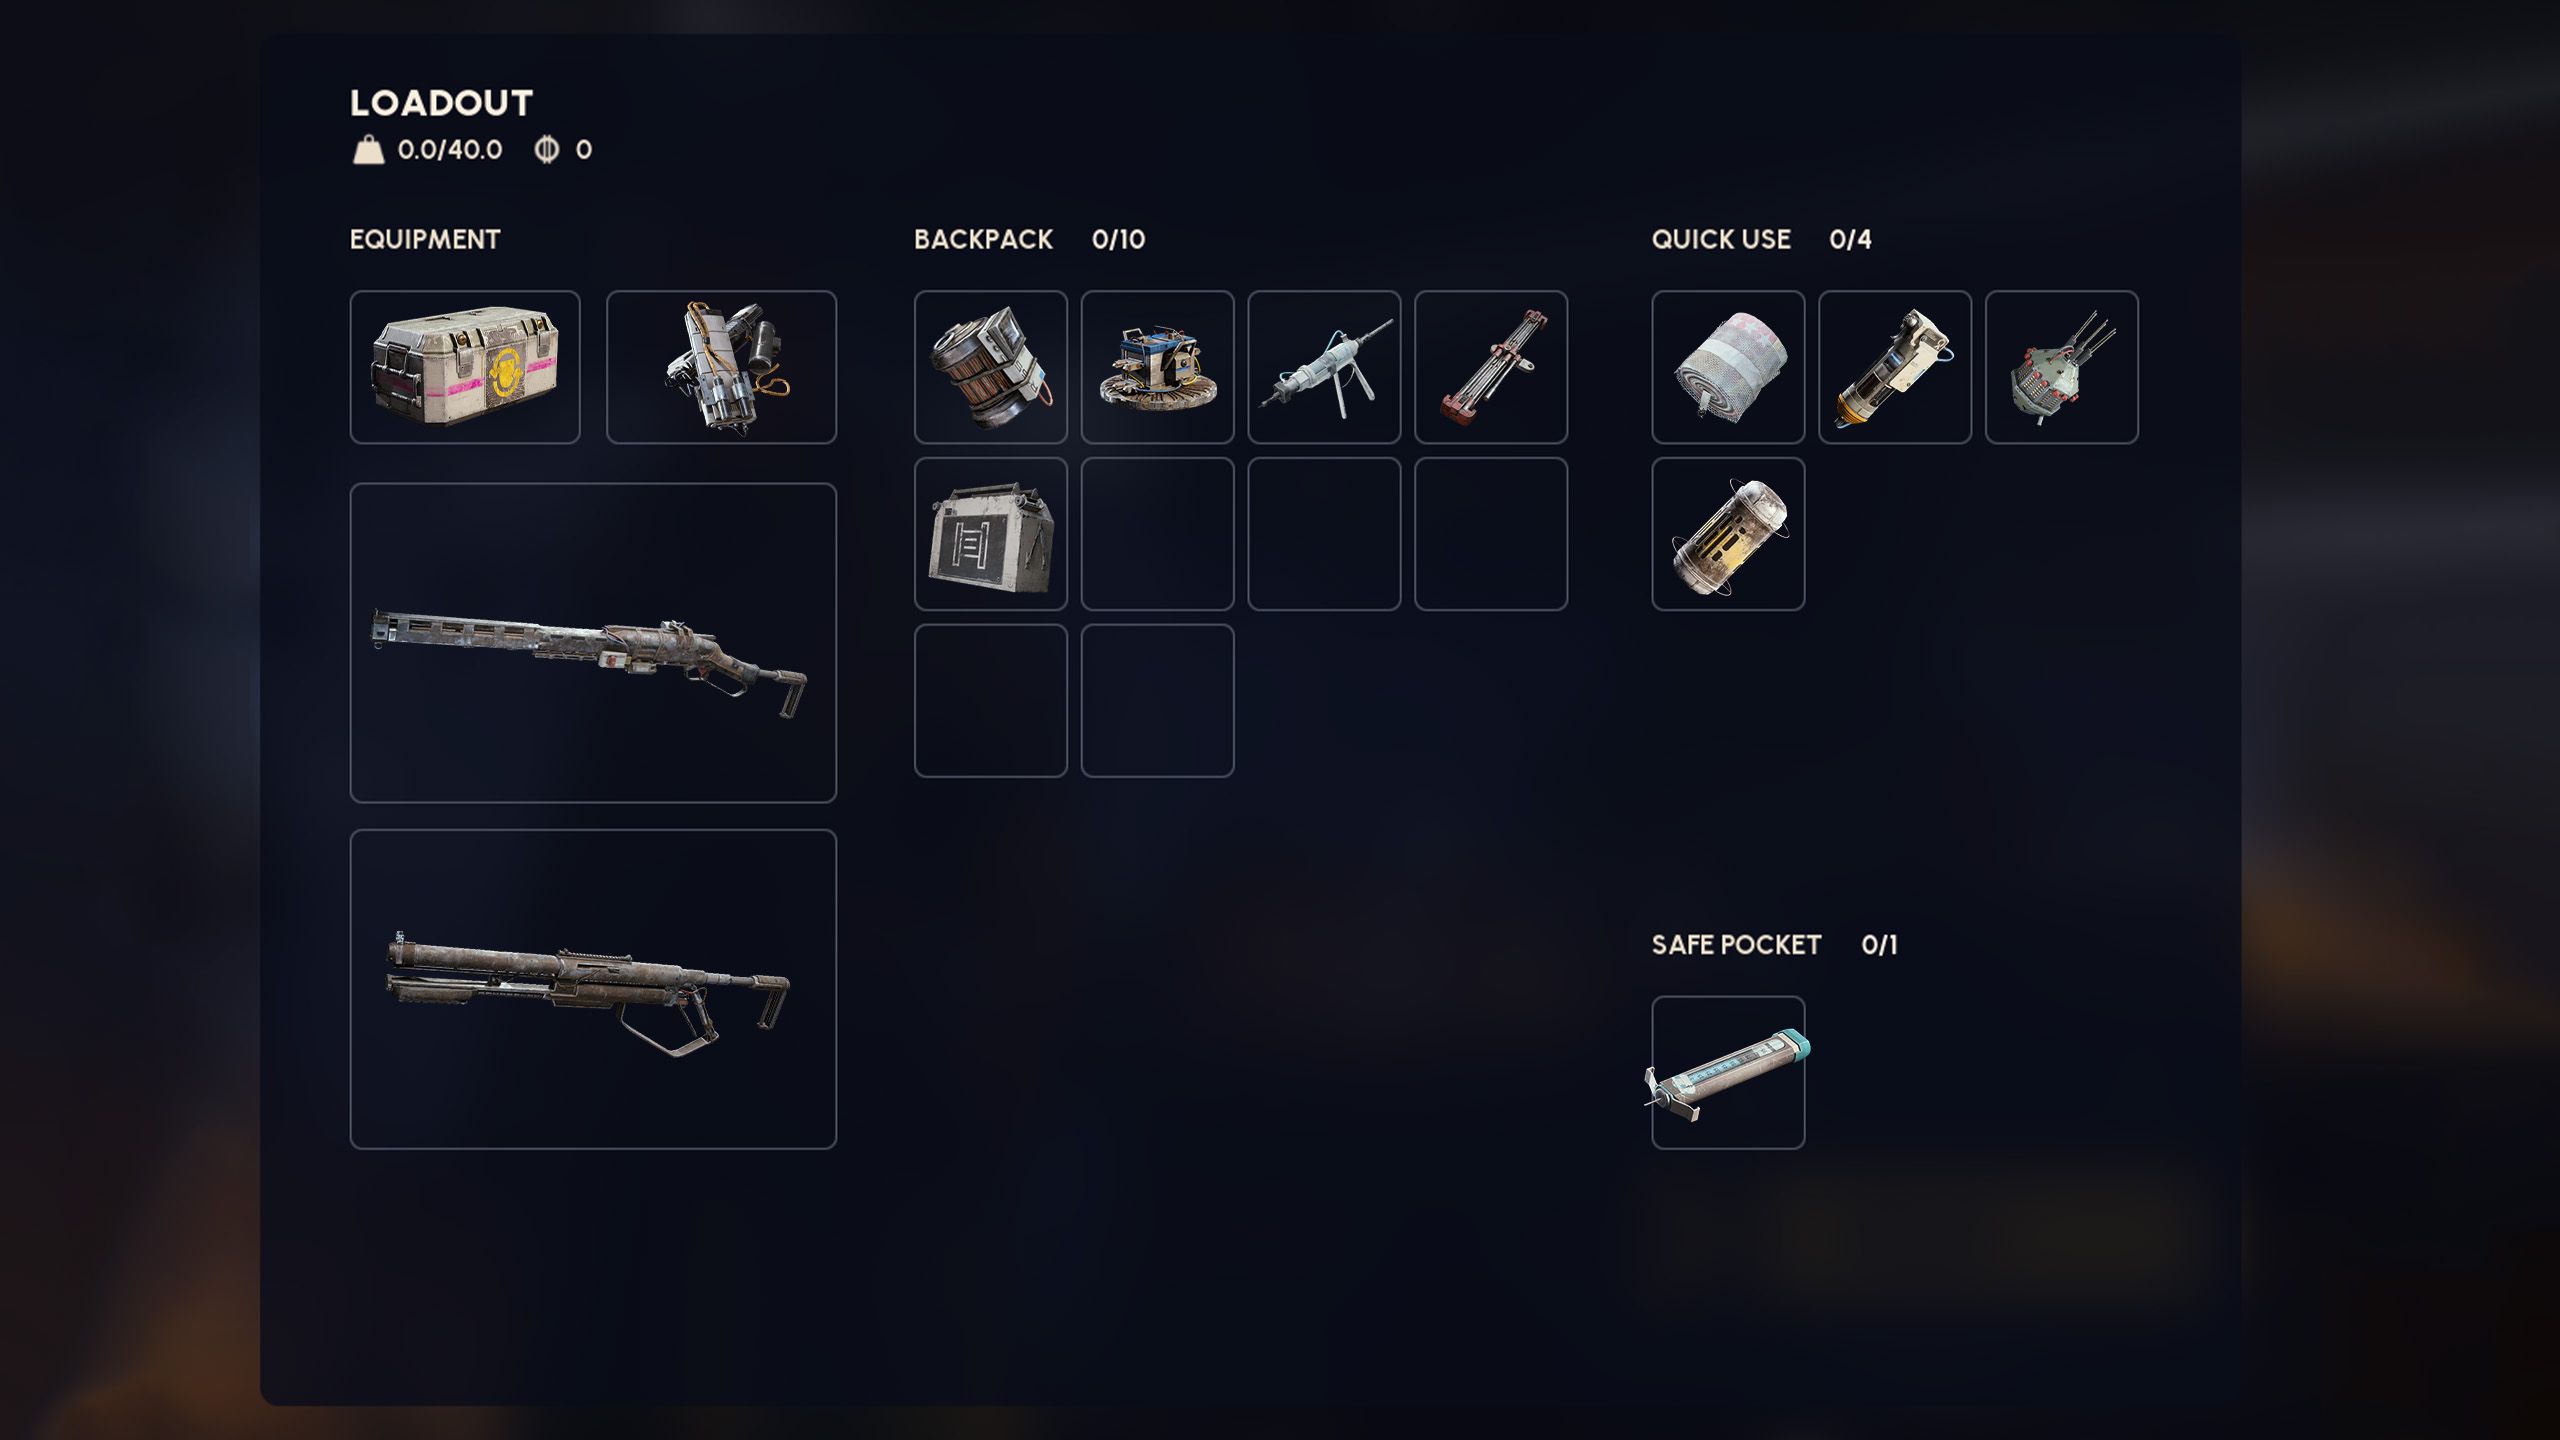
The Spaceport area in ARC Raiders is largely open with several buildings you can search for resources. While it might remind you of Dam Battlegrounds, Spaceport feels much emptier, leading to very long-distance fights and intensely close-quarters combat. Because of this, it’s best to equip both long-range and short-range weapons. For distance fighting, the Osprey or Renegade are excellent choices. When fighting inside buildings, the Il Toro, Stitcher, or Vulcano perform best.
When exploring the large, open areas of Spaceport in ARC Raiders, it’s crucial to equip yourself with useful items. Bring Adrenaline Shots to quickly cover ground, and Door Blockers to secure tower entrances while collecting loot. However, the most important thing is to have plenty of Barricade Kits to protect yourself from enemy fire when you’re exposed. Since elevators are often in areas where enemies can shoot at you while you wait, deploying one or two Barricades can provide essential cover.
| Augments |
|
|---|---|
| Shields |
|
| Weapons |
|
| Healing |
|
| Utility |
|
| Grenades |
|
| Traps |
|
Best Loadout For Blue Gate
Blue Gate has diverse attractions, including a large underground area popular for exploring hidden, locked rooms. It’s wise to be well-equipped for any challenge, so consider bringing a rifle such as the Anvil, Venator, or Tempest. The underground also features a lot of close-quarters fighting, making a shotgun or SMG – like the Stitcher or Bobcat (from ARC Raiders) – very helpful.
Jolt Mines are useful on every map, but particularly strong on Blue Gate. Since you’ll be focusing on puzzles and clearing specific areas there, setting traps with them can surprise enemy players. If you find a room that’s already been opened by another player and they’re looting inside, the Showstopper grenade is a good choice if you want to attack them.
| Augments |
|
|---|---|
| Shields |
|
| Weapons |
|
| Healing |
|
| Utility |
|
| Grenades |
|
| Traps |
|
Best Loadout For Stella Montis
Okay, so Stella Montis is intense. It’s basically non-stop action and fighting, and you’re rarely going to find anyone willing to team up. That means you really need to be ready for anything! I’ve learned that a close-range setup is the way to go there, because fights can erupt instantly and everyone jumps in. Seriously, one shot and the whole map seems to pile on! I’ve had the most success with weapons like the Il Toro, Stitcher, Bobcat, Vulcano, and Tempest – they’re all super effective when you’re right in the thick of things.
While most encounters happen in close quarters, enemies will sometimes take cover behind corners or walls. A Blaze Grenade can flush them out, giving you a chance to break their shields and damage their health. To handle chaotic situations with multiple enemies, bring a Deadline. When things get hectic and raiders crowd into a room, deploying a Deadline can eliminate them all – hopefully without taking you down too!
| Augments |
|
|---|---|
| Shields |
|
| Weapons |
|
| Healing |
|
| Utility |
|
| Grenades |
|
| Traps |
|
Read More
- Robinhood’s $75M OpenAI Bet: Retail Access or Legal Minefield?
- Lonely Player Anomaly Commission Guide In NTE (Wandering Puppet Locations)
- All Skyblazer Armor Locations in Crimson Desert
- All Hauntingham’s Letters & Hidden Page in New Super Lucky’s Tale
- How to Complete Funny Blocks Game in Infinity Nikki
- Riven Tides Classified Records Keycard Door Location in ARC Raiders
- How to Catch All Itzaland Bugs in Infinity Nikki
- USD RUB PREDICTION
- Enshrouded: Giant Critter Scales Location
- Jujutsu Kaisen Modulo Gets An Official Anime Trailer By Studio MAPPA
2025-12-29 14:08