To succeed in Far Far West, especially on harder levels, you need a great combination of equipment and spells. Not all weapons and spells are equally effective, so it’s crucial to learn which ones work best and which ones to skip.
We’ve played Far Far West extensively and want to share our ranking of all the weapons and spells. This tier list will help you choose the best gear, considering both what’s strong and what’s weak. Picking the right setup could be crucial for success!
Far Far West Weapons Tier List
Tier List Breakdown
We’ve categorized weapons into three tiers – S, A, and B – to show how powerful they are. These tiers represent the weapon’s best performance, worst performance, and typical performance, respectively.
- S-Tier: Consistently good in all scenarios. Few downsides or weaknesses. Effective in solo and co-op.
- A-Tier: Strong but more niche options with specific strengths. Less versatile yet still powerful.
- B-Tier: Generally outclassed by other options, minor upsides, and situational strengths.
S-Tier Weapons
| Weapon | Slot | Details |
|---|---|---|
| Quad Cylinder | Primary | Fully automatic rifle. Decent at all ranges and a good all-round option. |
| Minigun | Primary | Constantly fires bullets with no reloading. Great for large groups and single-target focus. |
A-Tier Weapons
| Weapon | Slot | Details |
|---|---|---|
| Shotgun | Primary | High-damage close-range option with long reload time. |
| Dual Revolvers | Secondary | Insane up-close DPS and lifesteal potential. |
| Bow | Secondary | A horde control tool that can be used on horseback. |
| Long Ranger | Primary | Single-shot sniper that works best alongside a strong secondary. |
B-Tier Weapons
| Weapon | Slot | Details |
|---|---|---|
| Leverage | Primary | High-damage, low-firerate rifle with a limited clip size. |
| Revolver | Secondary | Standard secondary, outclassed by dual-wield. |
| Boomerang | Secondary | Decent group clearing weapon, but underwhelming damage. |
| Sheriff Star | Secondary | Good unique Jokers, otherwise fairly weak. |
The Best Weapons To Run And When
For taking on large groups of enemies, the Quad Cylinder and Minigun are your best bets. Both guns excel at quickly eliminating many foes, whether they’re close or far away. With upgrades, the Quad Cylinder can perform very similarly to the Minigun – especially when you increase its clip size. At that point, the choice really comes down to whether you prefer a bit more range or higher damage output.
The Long Ranger and the Shotgun are both effective in most missions. While the Long Ranger has strong Unique Jokers, like Mindshot which makes weak shots explode, we generally found the fully automatic weapons to be better overall.
When it comes to secondary weapons, you’ve got the Dual Revolvers and the Bow. The Dual Revolvers are a solid all-around pick, dealing high damage and even gaining the ability to restore your health during combat with an upgrade. The Bow is best for taking out groups of enemies, but its ammo is limited, so use it wisely.
What About Utility Items?
In Far Far West, you can choose from four helpful items: Ammo, Bottles, Healing, and Impulse Grenades. Ammo and Bottles are straightforward – they give you an immediate boost of health or ammunition if you can’t find any on the map. This makes them the most dependable choices.
The Healing and Impulse Grenades offer more unique benefits. Healing Grenades create an area that automatically restores health to teammates, eliminating the need for potions or spells. Impulse Grenades provide a boost of movement, launching players upwards and offering a fast way to reposition or escape. While these grenades are harder to master, they aren’t quite as powerful overall.
Looking for codes for Far Far West so you can enjoy some free Gold to help your loadouts? Click here!
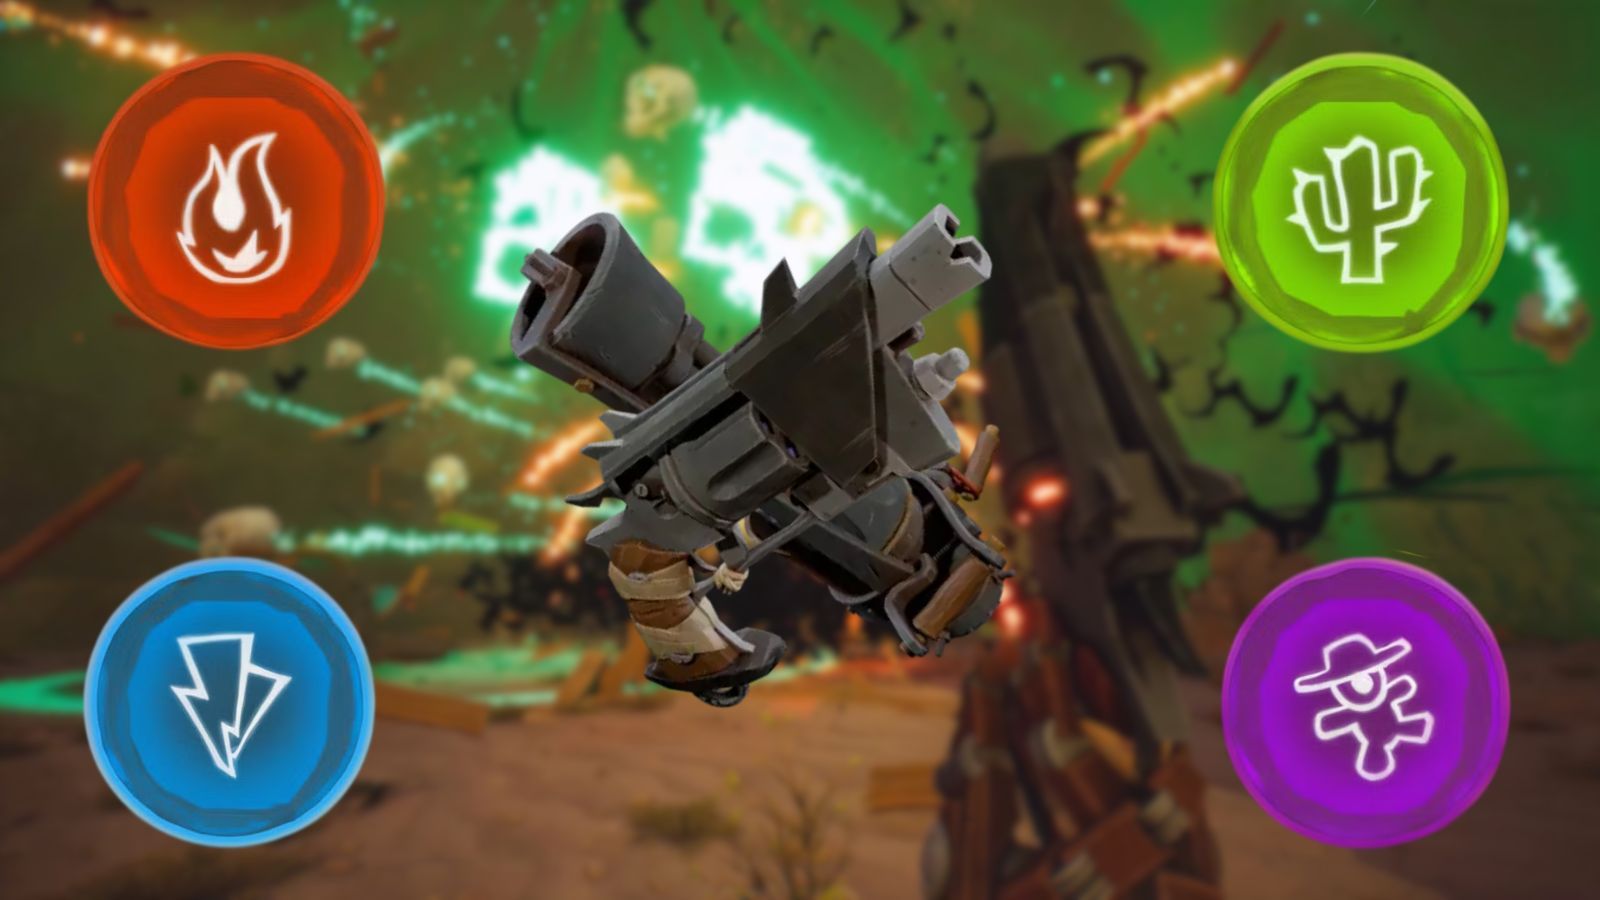
Far Far West Spells Tier List
Tier List Breakdown
Because there are so many spells and they’re best used in specific situations, we’ve broken down the spell list further. While most spells have a clear role or strength, a few really stand out for their damage output or how helpful they are to the player.
- S-Tier: Most consistent and generally the highest damage output spells. Certain spells become overpowered in co-op, whilst still being amazing options in solo play. Must-runs for the majority of the higher difficulties.
- A-Tier: Second best in class. Good utility options. Generally, low-cooldown combo tools work best when used alongside others.
- B-Tier: Average spells. Small utility use cases or combos, but mostly outclassed by others.
- C-Tier: Early tier spells that get out-scaled or out-damaged quickly. Fringe effectiveness, if any at all, compared to higher tiers.
Before looking at the spells tier list, be sure to check out the most effective spell combinations in Far Far West!
S-Tier Spells
| Spell | Element | Details |
|---|---|---|
| Surcharge | Fire | AoE ignite spell that explodes burning targets. |
| Rain | Acid | Huge area spell, perfect for bosses. |
| Firebeam | Fire | Sustained fire damage and insane combo potential. |
| Rescue | Voodoo | Instant ranged resurrection spell. |
| Contagion | Acid | Spreads Contagious to nearby enemies, causing them to explode on death. |
| Portal | Elec | Utility and mobility tool. Can double spell output, overpowered in full teams. |
| Doll | Voodoo | A protective zone that provides speed and invulnerability to allies. |
| Bandito | Cactus | Spawns a cactus golem that can be infused with elements. |
| Thunderstrike | Elec | Launches the player upwards, then slams down, dealing huge area damage. |
A-Tier Spells
| Spell | Element | Details |
|---|---|---|
| Wisp | Fire | A bouncing orb that spreads damage between enemies can be infused. |
| Strikes | Elec | Low-cooldown, high-damage wave of lightning. |
| Swap | Elec | Swaps the player’s position with an enemy, exploding on both sides. |
| Bubble | Acid | Sends a ball of acid that bursts into several large acid puddles. |
| Wallo | Cactus | Spawns a cactus wall that slows and damages enemies. |
| Corruption | Voodoo | Charms enemies in an area. Great at all stages of the game. |
| Geyser | Acid | Creates a spout of acid that launches enemies and deals constant acid damage. |
| Ritual | Voodoo | Summons a ring of candles that quickly restores health to all allies inside. |
B-Tier Spells
| Spell | Element | Details |
|---|---|---|
| Fireball | Fire | Standard burn spell that can be used for combos and quickly clearing gold veins. |
| Swap | Elec | Swaps the player’s position with an enemy, exploding on both sides. |
| Pistolero | Cactus | Summons a cactus turret that continuously fires at enemies. |
| Decoyo | Cactus | A distraction tool that forces enemies to run towards it for escapes and combos. |
C-Tier Spells
| Spell | Element | Details |
|---|---|---|
| Finger Guns | Fire | Trades primary weapon for flaming fingers. Fun but long cooldown and less consistent. |
| Boing | Elec | Basic mobility spell that deals zero damage. |
| Drain | Voodoo | Heal spell that drains a small amount of health from a nearby enemy. |
| Thrower | Acid | Spews acid pools on the ground with low overall damage. |
| Mino | Cactus | Places a cactus mine that detonates when enemies walk over it. |
The Best Spells To Run And When
With so many powerful spells available, there isn’t one definitively best set. Instead, several sets are equally strong, offering similar potential for creating effective combinations and overall power.
Dealing with large groups of enemies is key, making area-of-effect (AoE) spells particularly strong – especially Rain, Thunderstrike, and Surcharge. However, the real power comes from how these spells combine with each other, like creating a fiery tornado or shocking your summoned creatures. Because of this, it’s better to use a variety of elements in your build rather than focusing on just one type.
Beyond just dealing damage, some spells are much more useful in certain situations. For example, the ‘Rescue’ spell can instantly save a losing battle when you’re with others, but it doesn’t work at all when you’re playing alone. ‘Portal’ is similar – it’s a good choice for a solo player, but incredibly powerful with a team because you can send many more spells through it and quickly create duplicates.
Many of the less powerful spells aren’t actually ineffective, they just become less useful as you unlock stronger options. For example, creating small acid pools is okay, but summoning a widespread, corrosive rainstorm is far more impactful.
However, some powerful spells later in the game don’t feel very impactful because they take a long time to recharge. For example, Finger Guns isn’t that effective to begin with, and its two-minute cooldown makes it difficult to use successfully during a playthrough.
Read More
- Change Your Perspective Anomaly Commission Guide In NTE (Neverness to Everness)
- All Nameless Hospital Endings Full Guide In NTE
- Lonely Player Anomaly Commission Guide In NTE (Wandering Puppet Locations)
- Robinhood’s $75M OpenAI Bet: Retail Access or Legal Minefield?
- All Skyblazer Armor Locations in Crimson Desert
- Beware! Phishing Emails Are Deceiving Robinhood Users in a Sneaky Plot!
- Midas Tower ReroRero Phone Booth Location in NTE
- NTE Banners (Current, Next, And Upcoming Banners)
- How to Complete Funny Blocks Game in Infinity Nikki
- All the Free Games You Can Claim in May 2026
2026-05-06 13:36