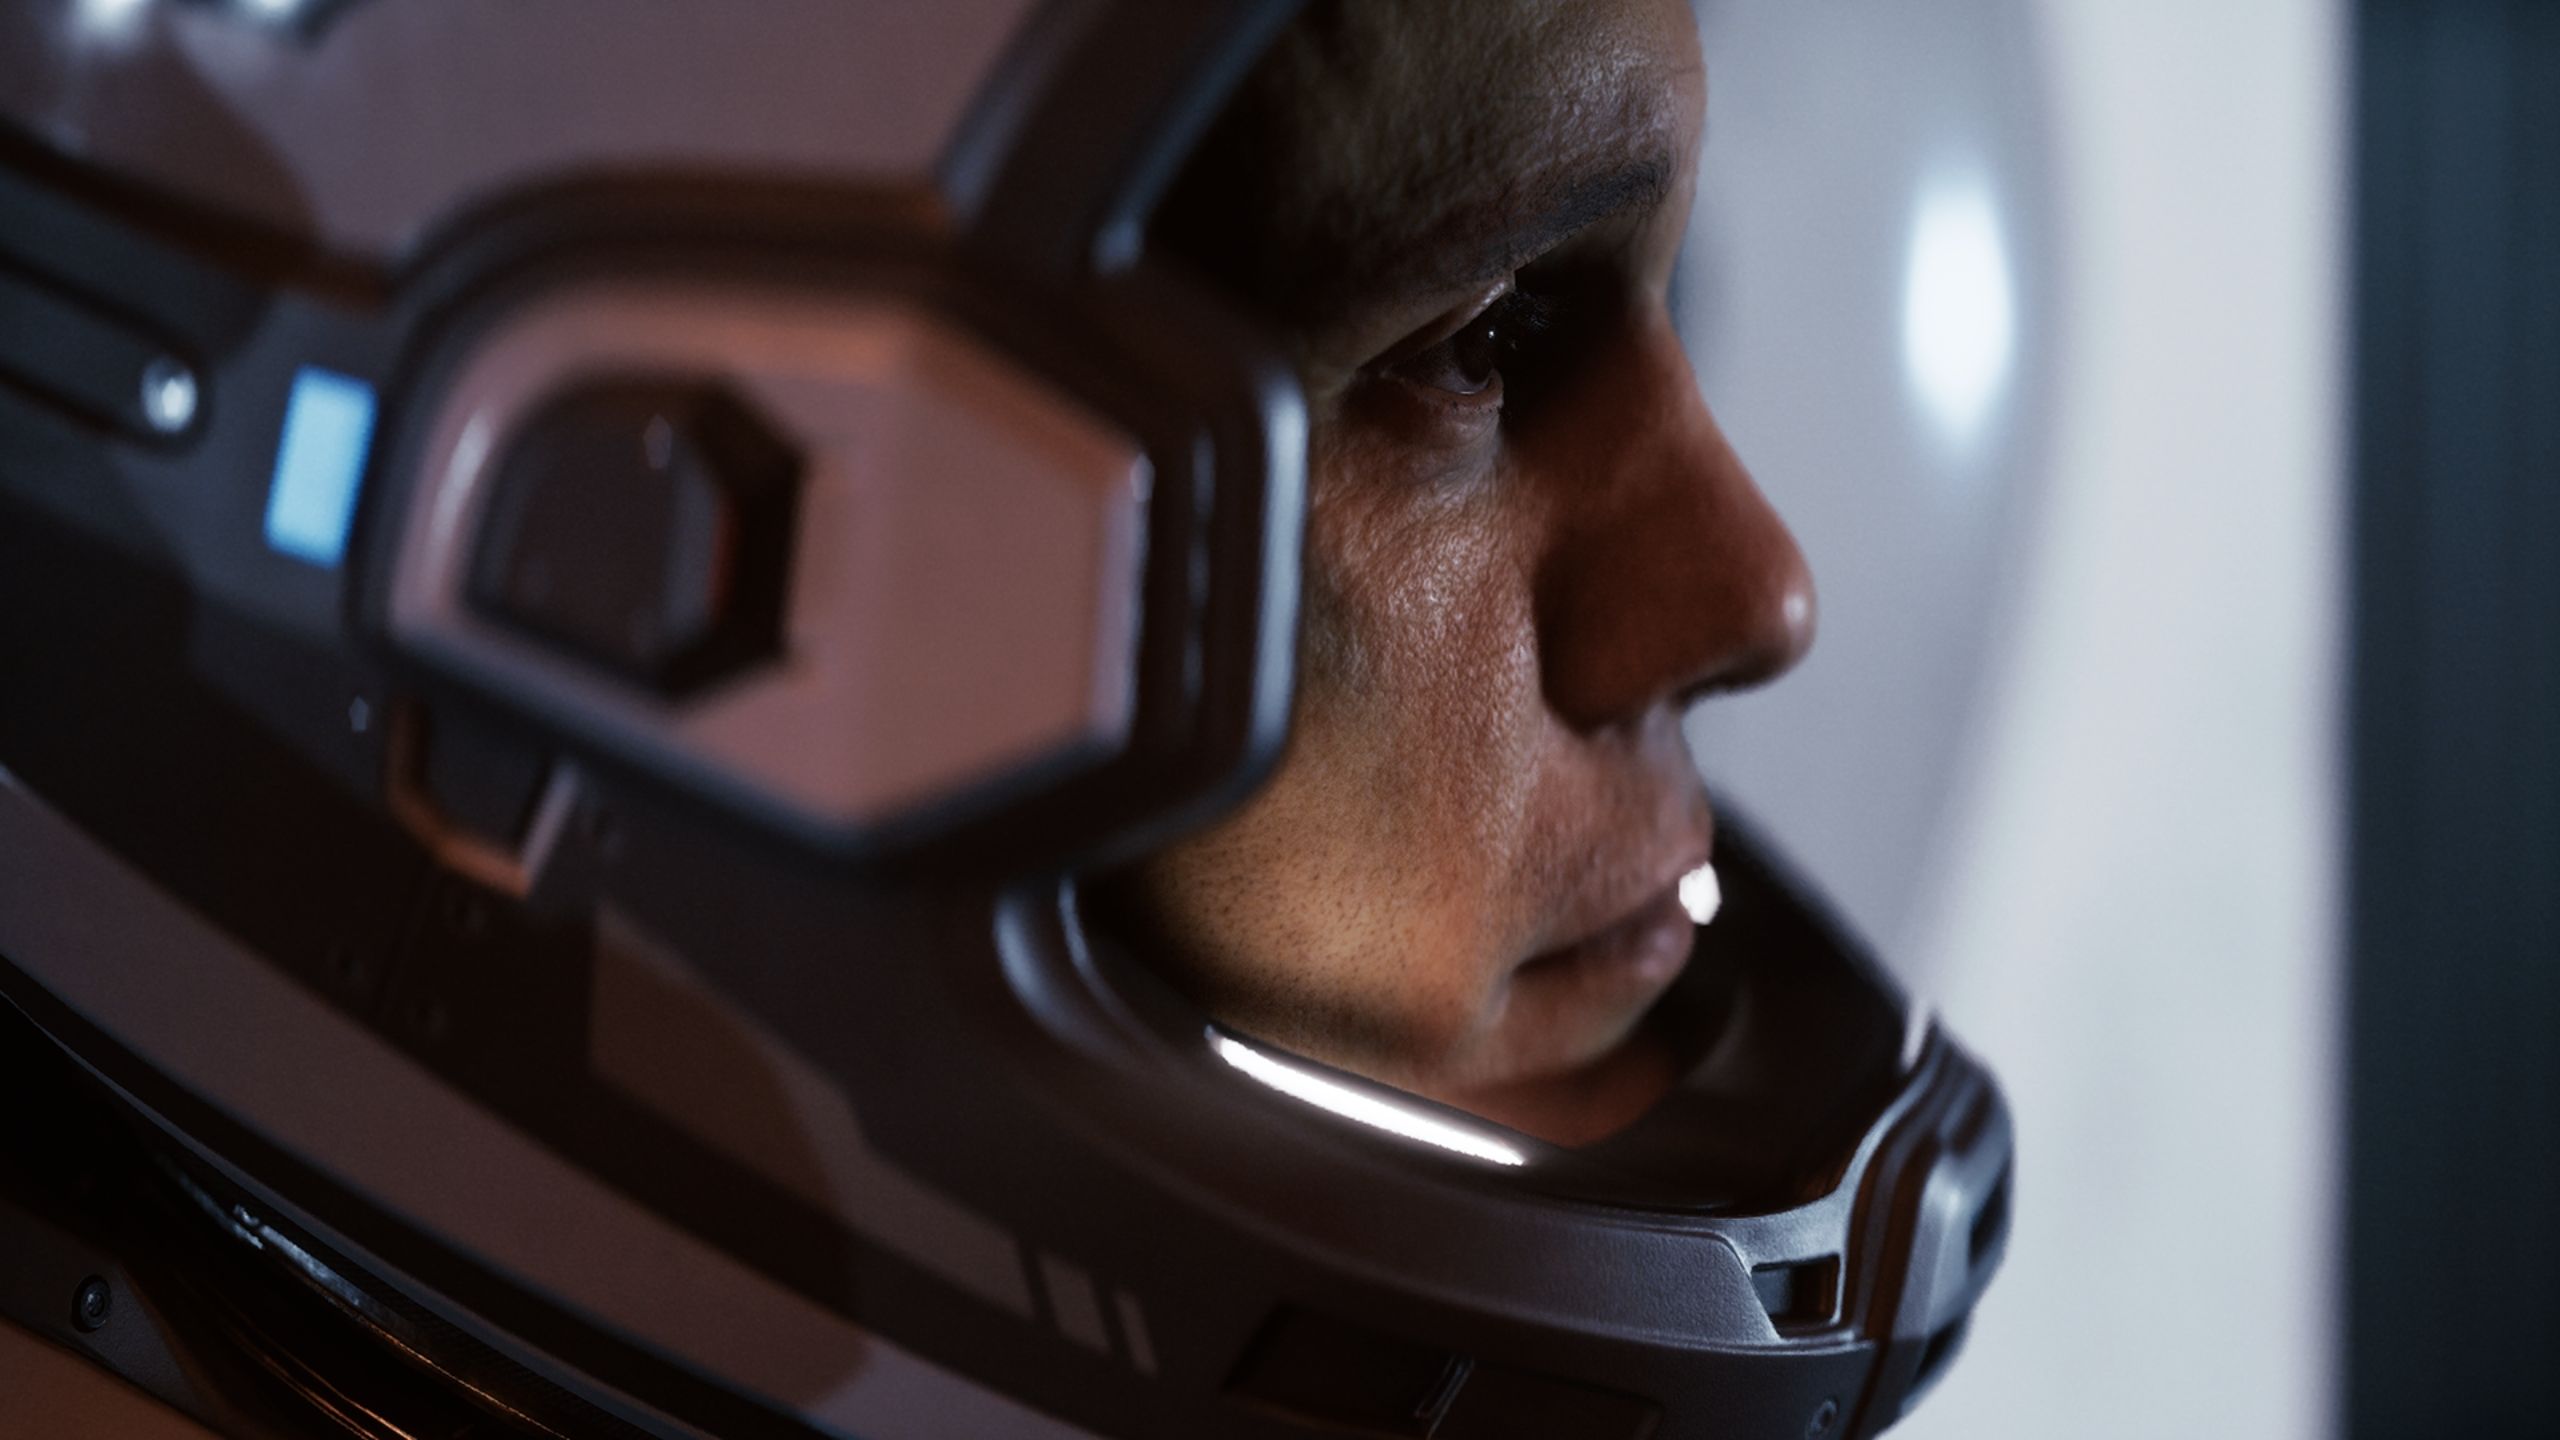
Supermassive Games has stepped outside of its usual horror style to create its most visually impressive game yet, The Dark Pictures: Directive 8020. Built using Unreal Engine 5, this sci-fi horror game is stunning, but it’s also very demanding on your computer, potentially causing performance issues even on powerful PCs due to features like ray tracing and complex atmospheric effects. If you’re experiencing lag or stuttering while playing in the Tau Ceti f colony, you’re not the only one. This guide will help you adjust the graphics settings to find the best balance between visual quality and a smooth, consistent 60+ FPS gameplay experience.
Directive 8020 Best PC Settings (Optimized Graphics)
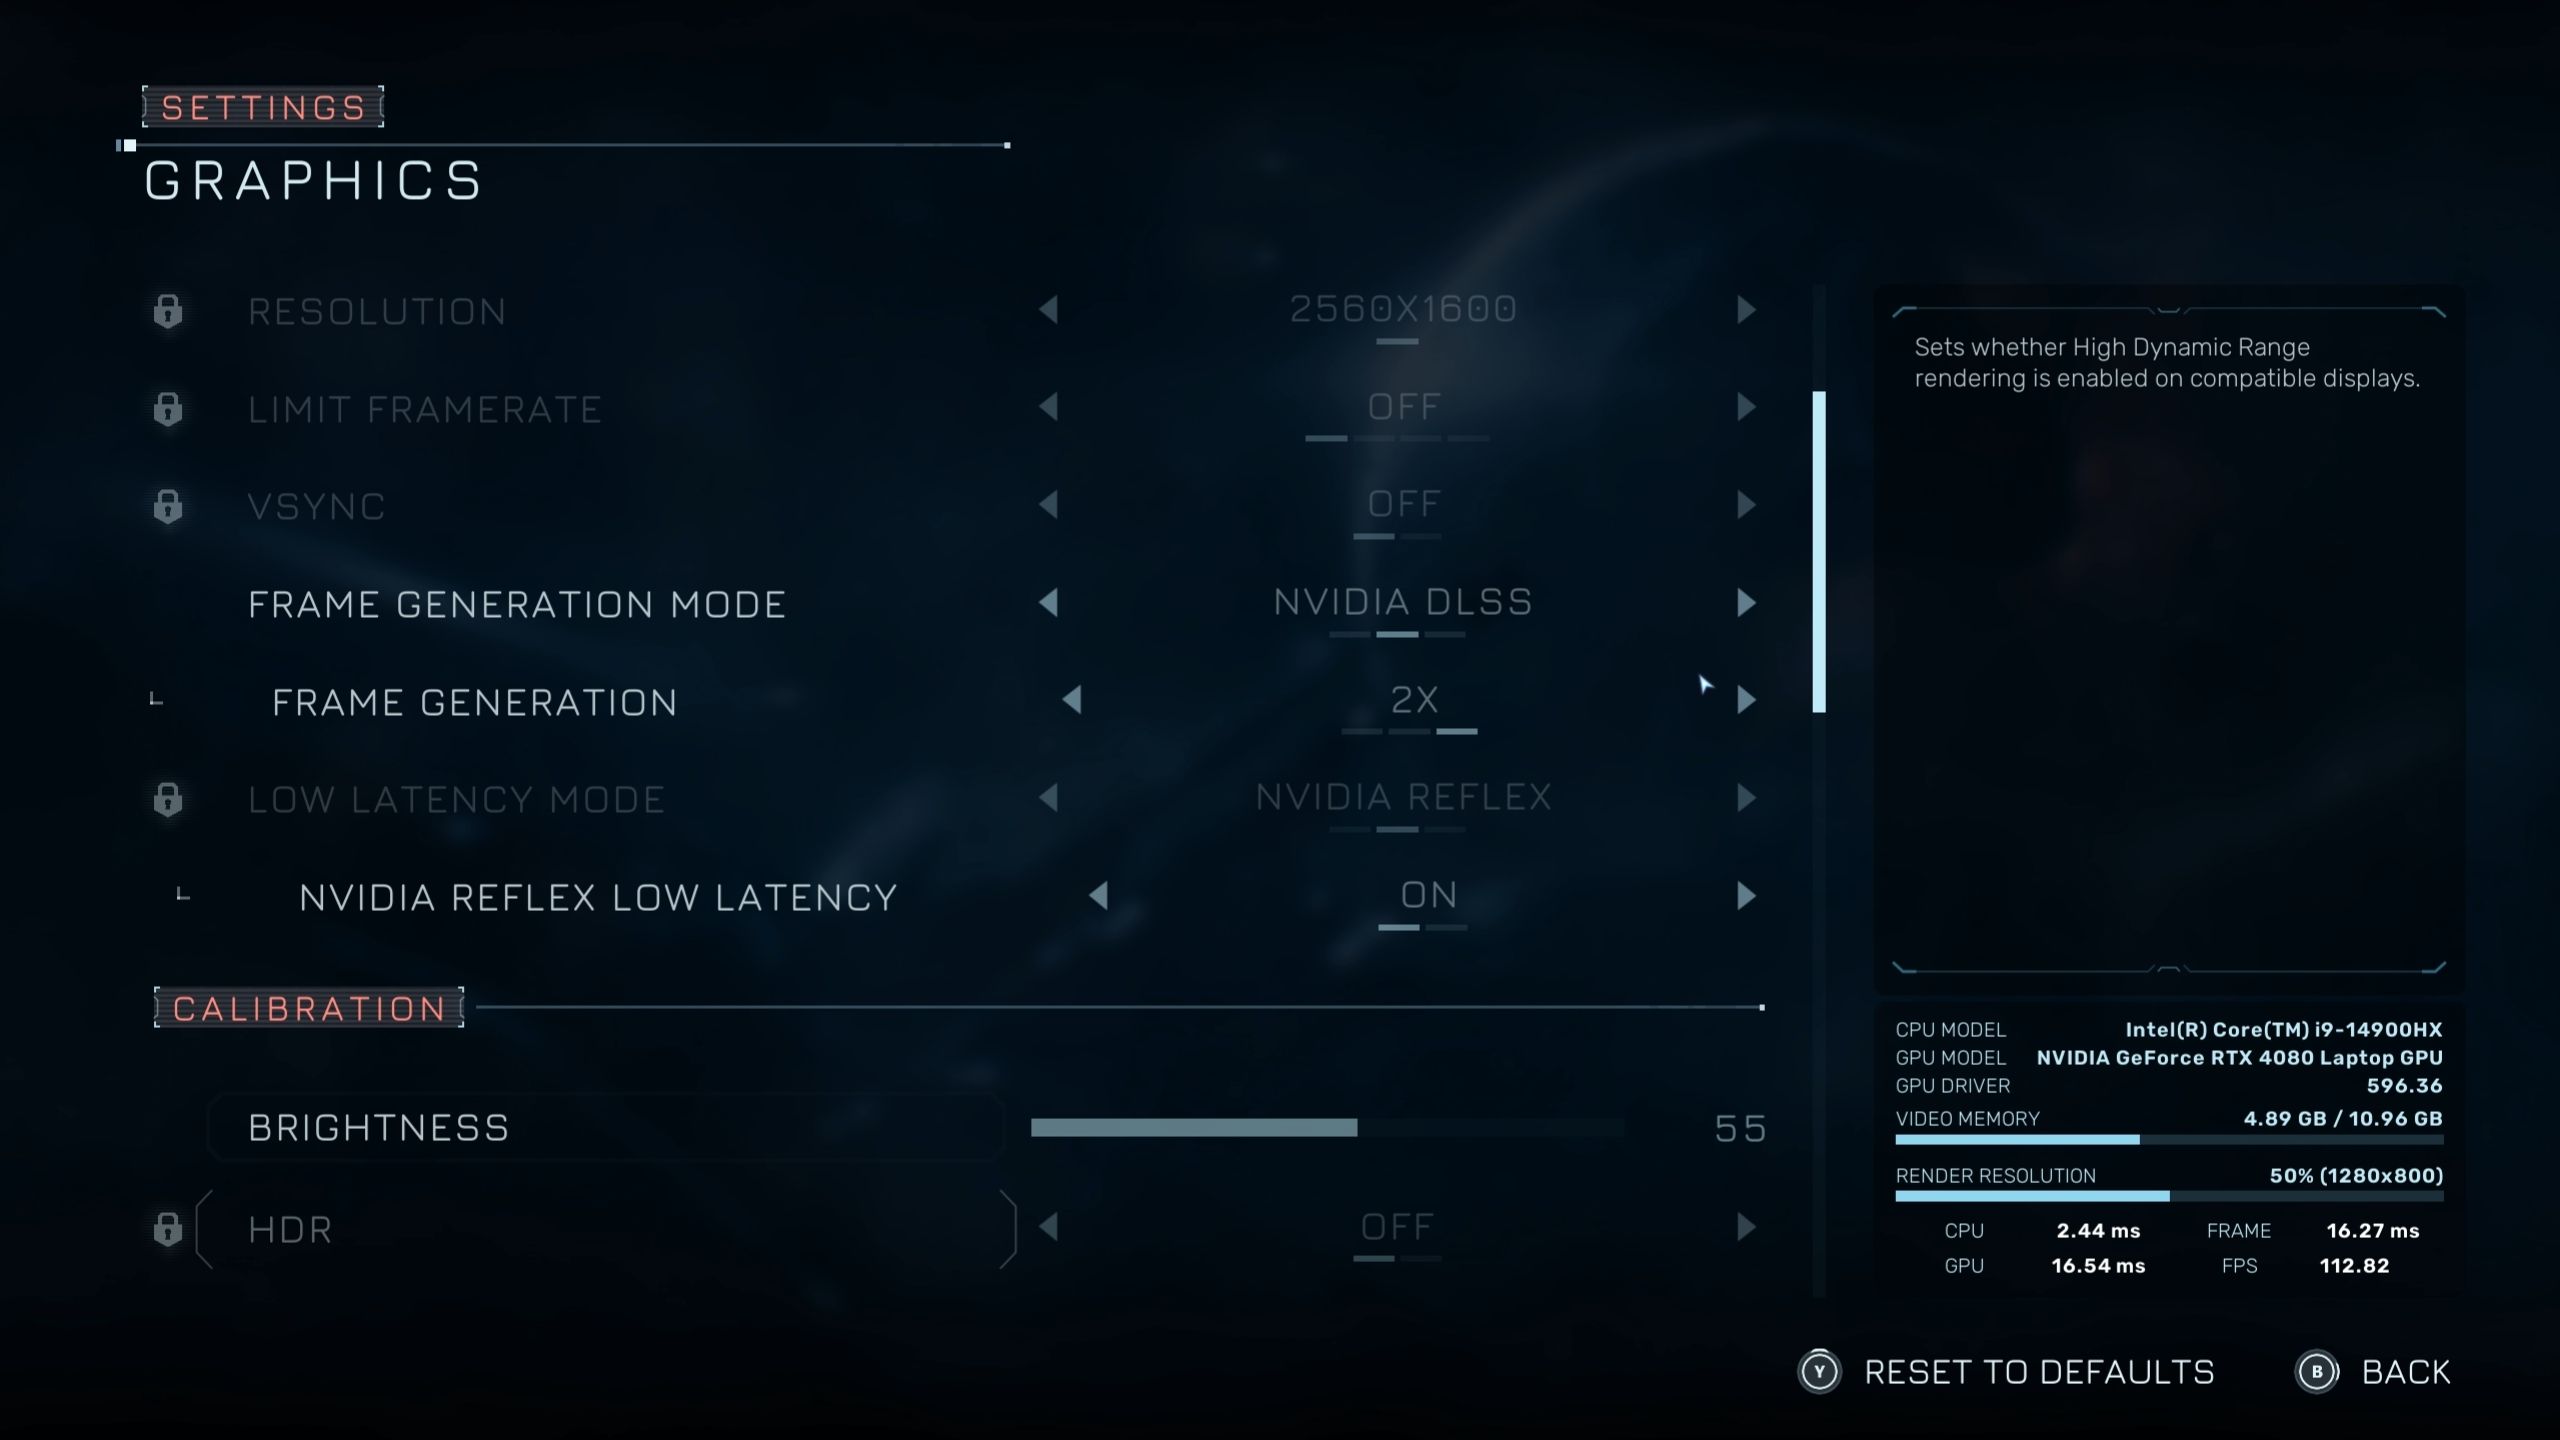
Directive 8020 offers a lot of visual settings that PC players can adjust to get the best balance between how good the game looks and how well it runs. Some of these settings are simple and don’t affect performance much, but others can significantly impact the game’s smoothness.
To ensure smooth gameplay with excellent graphics in Directive 8020, here are the recommended PC settings to try.
| Type | Graphics Option | Best Setting | Notes |
|---|---|---|---|
| Display | Screen Mode | Borderless | While there’s an option to use the Exclusive Fullscreen mode, Borderless works just as fine. |
| Aspect Ratio | Display Dependent | Regular monitors usually have a 16:9 aspect ratio, while Ultrawide monitors support 21:9. | |
| Resolution | Native | Using anything less than native resolution will make textures and in-game environments blurry. It’s recommended to use an AI upscaler instead. | |
| Frame Generation Mode | DLSS | Players with Nvidia RTX 40 series GPU will only be able to use Frame Generation in Directive 8020, as AMD FSR Frame Generation isn’t available at launch. However, players with other GPUs can try using the Intel XESS version for the time being. | |
| Upscaling | Upscaler | DLSS/FSR | Use Nvidia DLSS or AMD FSR upscalers for a significant boost in performance while maintaining great visual quality. |
| Super Resolution | Balanced | Using the balanced preset for upscaler will set your rendered resolution to 50% of its value, and upscale it up to your native resolution for a boost in performance with a slight reduction in graphics quality. | |
| Ray Reconstruction | Off | Ray Reconstruction is a component of the hardware-based Ray Tracing feature in Directive 8020. If you decide to use Ray Tracing, turning on Ray Reconstruction can further refine the quality of in-game reflections and shadows, with improved de-noising. However, it can have a significant impact on average FPS. | |
| Sharpness | 2 or above | For players who opt for ‘Quality’ or ‘Balanced’ Super Resolution preset can use the sharpness slider to improve texture clarity. | |
| Quality | Antialiasing Quality | The Antialiasing setting only applies to players who use TAA as an upscaler. Since we’re using DLSS/FSR upscalers, this setting won’t have an effect. | |
| Shadow Quality | Medium | Medium shadows look just as great as the high preset, but improve average FPS quality. I’ve seen the most FPS gains after switching to low, but the quality difference is stark and not worth it. | |
| Global Illumination Quality | Medium | GI handles indirect lighting on in-game subjects, and is one of the most taxing settings in Directive 8020, which can impact your FPS heavily. It’s best to keep this set at Medium, which looks just as great. | |
| Reflection Quality | Low | Low reflections look great since they utilize a tried-and-tested Screen Space Reflections (SSR) tech. Using Medium or High will switch reflections to Lumen-based, which can have a major impact on performance, since there are several metallic/reflective surfaces in Directive 8020. | |
| Post-Processing Quality | High | It does not impact the FPS much, but it will improve the look and feel of textures, especially the details on the character model’s skin via Subsurface Scattering. | |
| Effects Quality | High | Similar to post-processing, effects also don’t have a major impact on the game’s performance but improve various in-game particle effects and other cinematic moments like explosions. | |
| Texture Quality | GPU VRAM Dependent | 6GB VRAM: Low, 8GB VRAM: Medium, 10GB+ VRAM: High | |
| Ray Tracing | Ray Tracing | Off | Ray Tracing is a highly demanding feature, and the game looks good enough without it. However, if you have some GPU horsepower to spare, feel free to turn it on. |
| Path Tracing | Off | While on the subject of Ray Tracing, even if you can turn on Ray Tracing, Path Tracing is a whole other beast that can reduce your average FPS by 60%, depending on the GPU. This setting is meant for only the latest GPUs (e.g., Nvidia RTX 5080 or 5090) and shouldn’t be activated on anything less. | |
| Camera Effects | Motion Blur | Preference | Motion Blur often distorts the environment and texture quality in various scenes with motion involved. While it’s meant to enhance the cinematic feel, turning it on depends on how you feel about the effect in action. |
| Film Grain | 0% | – | |
| Chromatic Aberration | 50% | – | |
Here are the recommended settings for players looking to get the best performance in Directive 8020 on their PCs. These settings were tested on a machine with an Intel i9-14900HX processor, Nvidia RTX 4080 graphics card, and 32GB of RAM. During testing, I consistently achieved 75-80 frames per second while exploring the game world, with frame rates dipping to around 65-70 FPS during more demanding combat sequences.
Okay, so this game is built on Unreal Engine 5, which means it’s super pretty, but also a little demanding on your PC. I was worried about performance, but honestly, it runs great if you tweak a few things! I found that if I avoided the really intense settings like Path Tracing and Ray Reconstruction and used upscaling and Frame Generation, I was easily getting a smooth 60+ FPS after following some guides. It makes a huge difference!
Read More
- NTE Drift Guide (& Best Car Mods for Drifting)
- How to Get the Wunderbarrage in Totenreich (BO7 Zombies)
- How to Beat Turbines in ARC Raiders
- Change Your Perspective Anomaly Commission Guide In NTE (Neverness to Everness)
- NTE Fan Shows Off Mint Cosplay
- Diablo 4 Best Loot Filter Codes
- Deltarune Chapter 1 100% Walkthrough: Complete Guide to Secrets and Bosses
- Top 8 UFC 5 Perks Every Fighter Should Use
- Brent Oil Forecast
- Danganronpa 2: A Complete Guide To Gifts
2026-05-12 17:10