The world of REPLACED is rich with detail, and discovering its secrets is part of the experience. As you play as Warren Marsh, you’ll find many collectibles – things like story fragments, upgrades, and even music – that add layers to the world and deepen your understanding of Warren’s quest for change.
Throughout most of the game, you’ll find lots of collectibles hidden in various areas. You’ll need to explore carefully to discover them all! If you’re having trouble locating them, here’s a guide to finding every collectible in REPLACED.
How to Get Collectibles in REPLACED
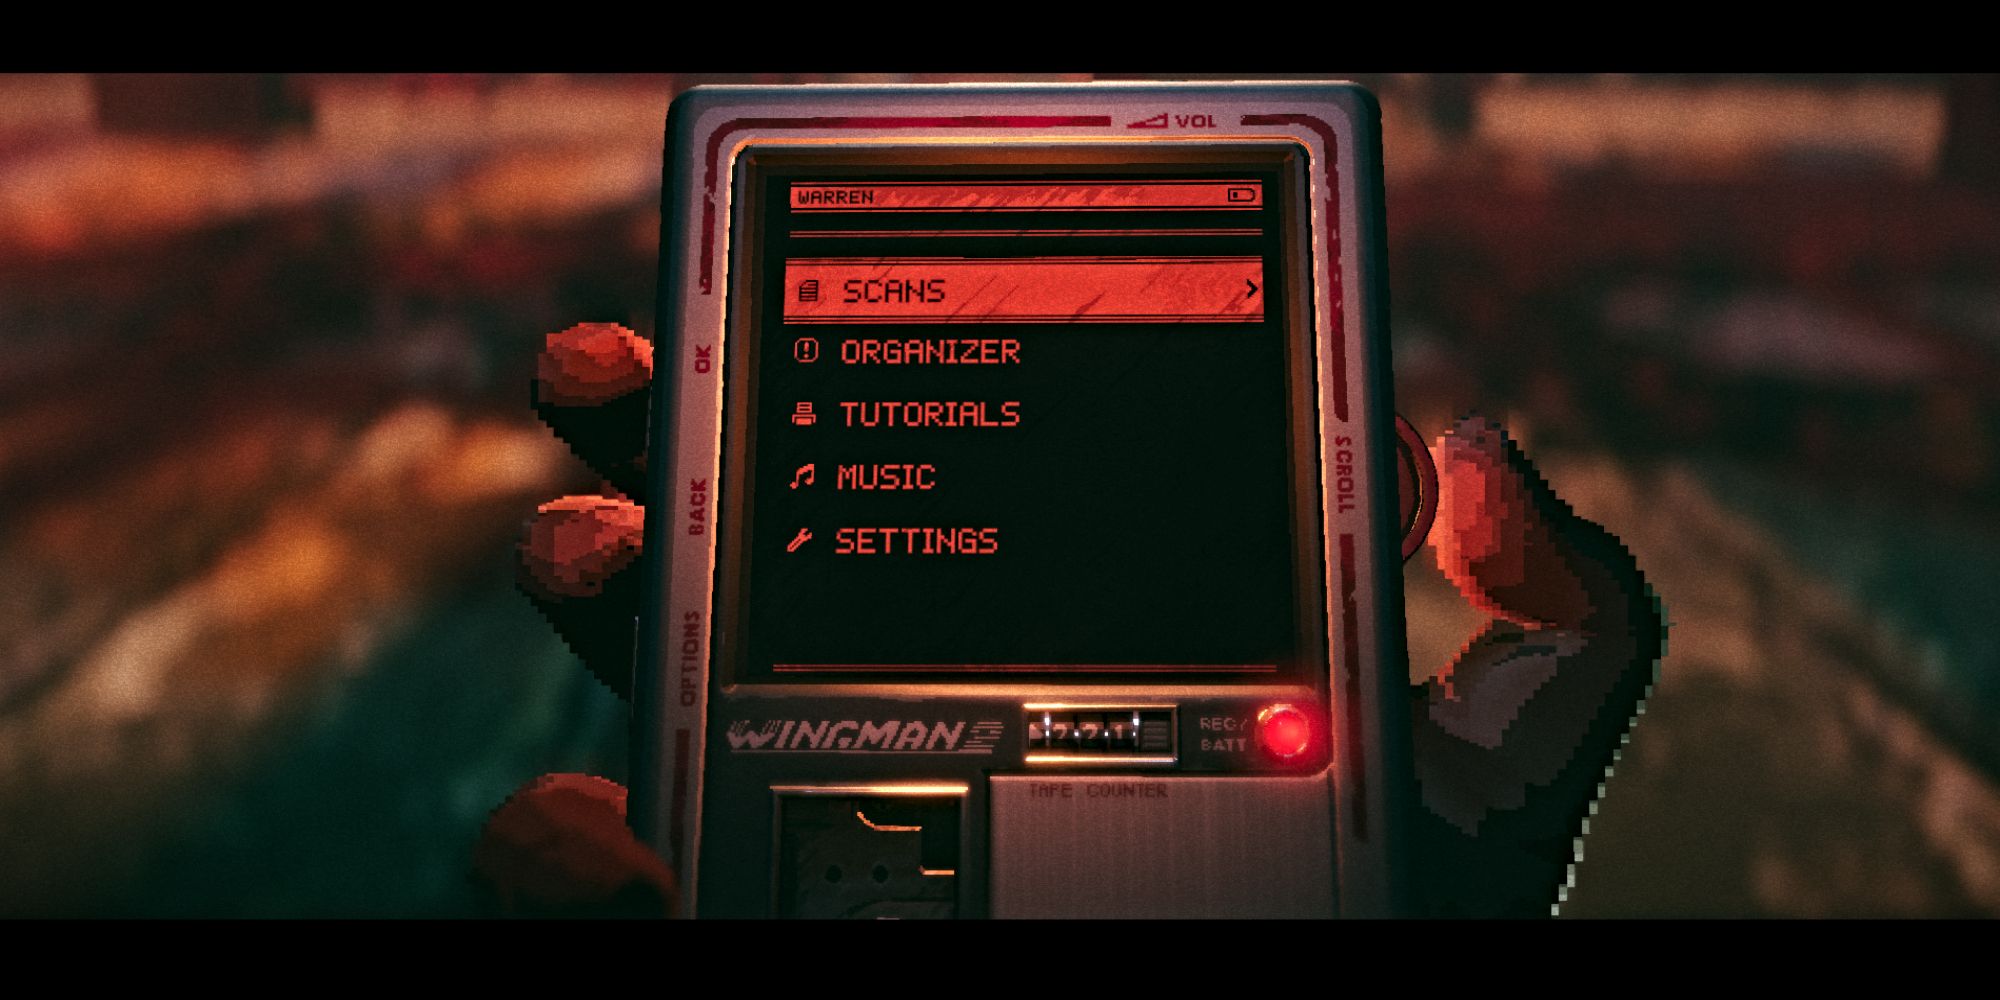
Throughout REPLACED, you can find collectibles in each chapter by scanning for them with your Walkman. These items offer extra details about the game’s story and world, expanding on what you learn as you play.
You can find information about each collectible by going to the ‘Scan’ area of your Walkman. These details include playable Music Tracks (found in the ‘Music’ section), and upgrades for your gun and health/med-stim.
Collecting all items in REPLACED requires careful attention to detail. The game doesn’t let you revisit chapters or start a new game with your progress saved, meaning any items you collect are kept only for that single playthrough. While your Walkman’s ‘Scans’ section shows some of your progress, the game doesn’t fully track what you’ve found. Importantly, if you miss any collectibles, you’ll need to find all of them again on your next attempt to achieve 100% completion.
Collecting all the collectibles in REPLACED will earn you the ‘This Is the World We Live In’ achievement.
All Collectible Locations in REPLACED
Okay, so I’m a completionist and I’ve been hunting down everything in REPLACED! There are 111 collectibles hidden throughout the game – pretty much in every area and chapter. I’ve put together a complete guide showing exactly where to find them all, so you don’t have to spend ages searching like I did!
Chapter 1
Below is a list of all collectibles found in the first chapter of the game.
| Collectible Name | Location |
|---|---|
| Med-Stim | Automatically unlocks at the start of the chapter. |
| Huxley | Automatically unlocks at the start of the chapter. |
| Lab Rat (Music Track) | On the ground inside the ruined subway tunnel near the start of the chapter. |
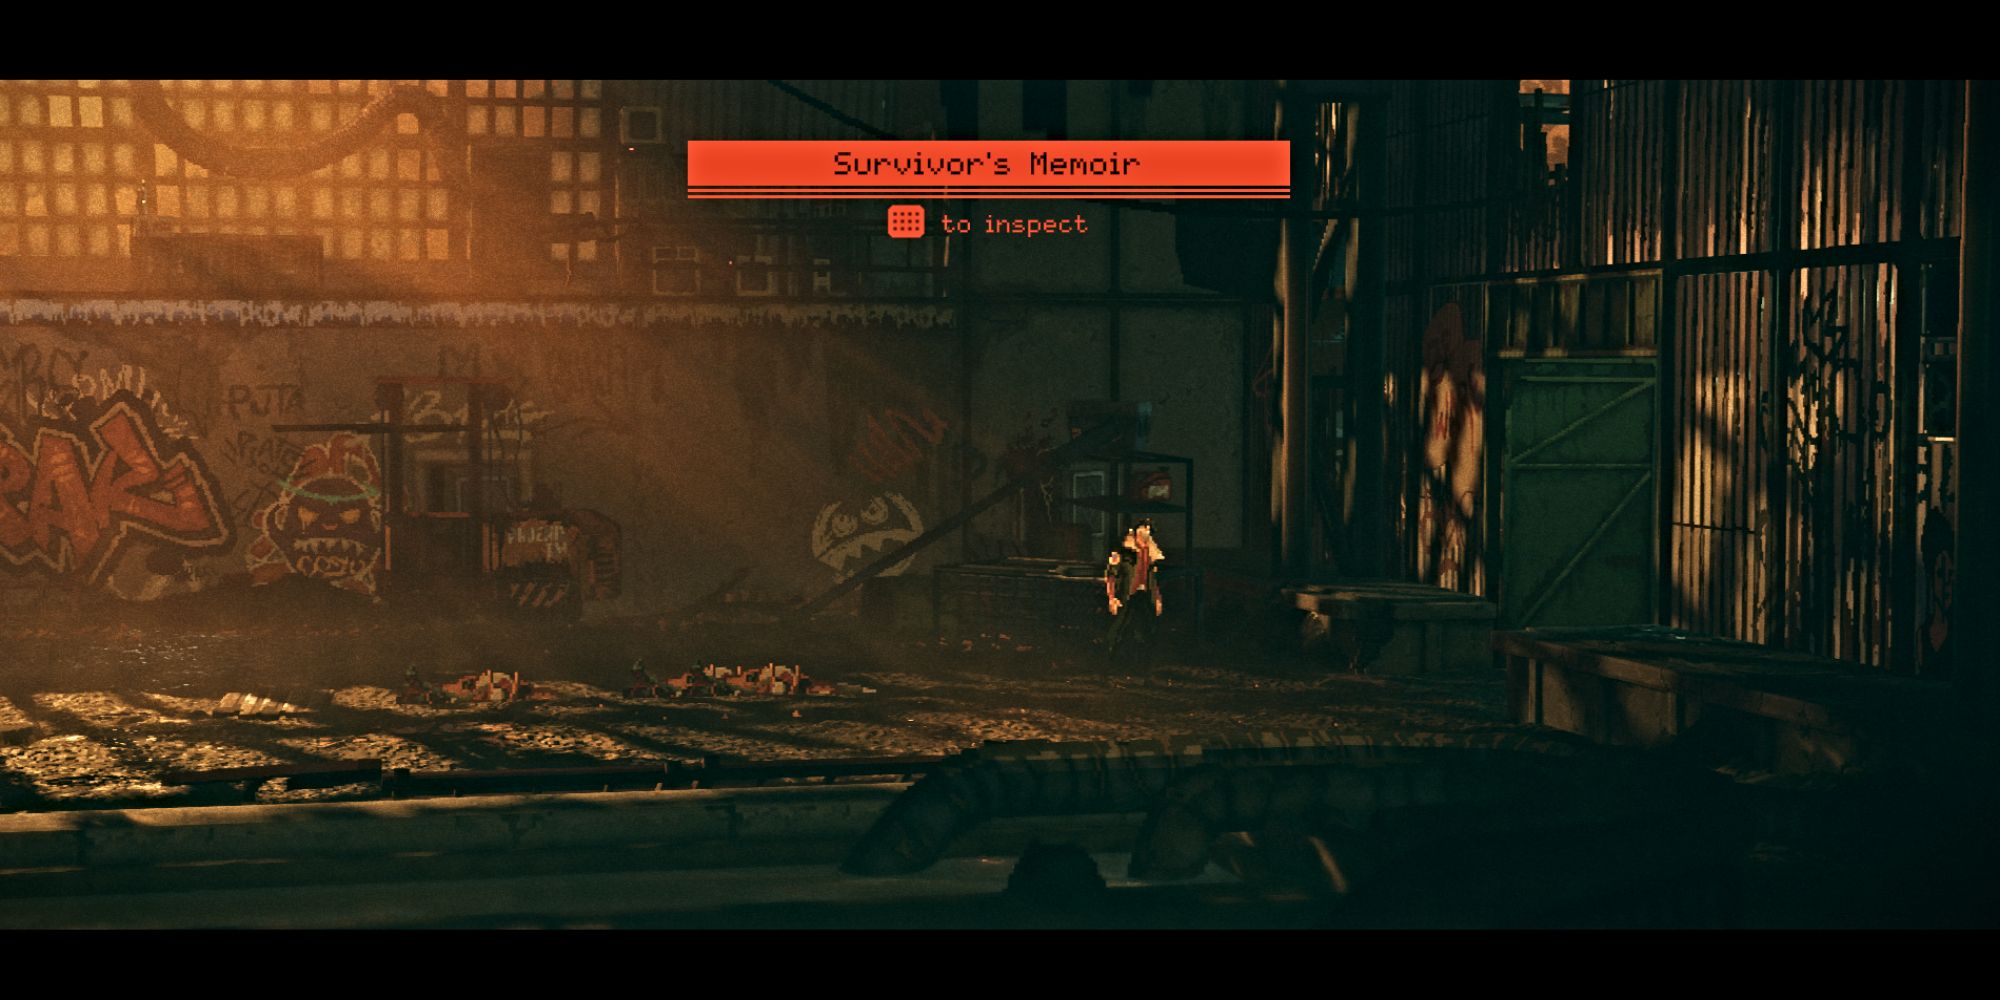
| Survivor’s Memoir | On top of a box inside the building where you first fight Termite enemies. |
| The Catastrophe: 20 Years Later | A sign inside the abandoned farmhouse. |
| Board Game Box | On the ground inside the trailer park area after fighting more Termite enemies. |
| Goodbye Letter | Run across the road before you ‘Proceed’ toward Phoenix-City and this is on the ground next to an abandoned van. |
| Genetic Profile (Health Upgrade) | In front of Diner building during the Termite stealth sequence. |
| Eviction Notice | Posted on the boarded-up entrance of a building after the first Termite stealth sequence (next to Mama’s Coffee Shop). |
| Pawn Shopkeeper’s Note | On the counter to the right in the T-Mart pawn shop after defeating a mob of Termite enemies. |
| Preacher’s Diary | In the yard behind a white house in the abandoned neighborhood. After climbing over the brick wall into the yard, it’s on a box beside the house. |
| Portative Battery | Automatically unlocked while completing the short puzzle with the battery inside the abandoned building to power up the generator. |
| Inaugural Address | Inside the same abandoned building as the previous collectible. You’ll find it on the second floor, on top of the banister, which you can reach after closing the gap in the walkway with the generator. |
| Archived Poster | Inside the same abandoned building as the previous collectible. You’ll find it on the second floor in a filing cabinet, which you can reach after closing the gap in the walkway with the generator. |
Chapter 2
Below is a list of all collectibles found in the second chapter of the game.
| Collectible Name | Location |
|---|---|
| David’s Quest | A hidden collectible. Talk to David near the stairs to the train platform to pick up his side quest. |
| Electronic Components | A hidden collectible. Go inside Western Station, then head into the arcade on the west side of the concourse. Speak to Susan to pick up her side quest to fix the arcade machines. Go to the ticket booth outside near the Hospital entrance and interact with it to get the components she needs, which then unlocks the collectible. |
| Donor Rush Arcade Machine | A hidden collectible. After bringing the electronic components to Susan, the first arcade machine will become playable and this collectible will unlock. |
| Immune Modulator (Med-Stim Upgrade) | Get the highest score in the Donor Rush arcade game, then speak to Susan to unlock this upgrade and collectible. |
| Susan’s Binoculars | After completing Susan’s quest and beating Donor Rush with the highest score, speak to her to get her Binoculars, which you can then give to David for his quest to fix his telescope. |
| Genetic Profile 2 (Health Upgrade) | Complete David’s side quest and speak to him one last time to get this upgrade and collectible. |
| Tower Districts Prospect | On top of a trashcan by the abandoned van to the right of the Workshop entrance at Western Station. |
| Strange Counting Rhyme | On a sign on the main street outside Western Station, slightly to the right of the station’s entrance. |
| Disposal’s Diary | On the sidewalk west of the Western Station’s main entrance, in front of a red tent (just before the overpass). |
| Old FRPS Booklet | Inside the Hospital area on the side of a white pillar next to a van on the right side. |
| Endless Meadow (Music Track) | Inside the Western Station concourse area at the ‘Cassettes’ market boot in the center. |
| Phoenix Corporation is Born | Inside the Western Station concourse on the upper level to the left, near the garden area. |
| A Place to Call Home (Music Track) | Go inside Susan’s arcade, and this collectible is in the back room on the right. |
| Phoenix-City Wall Specs | On a chair to the right of where Matriarch and Ironwood are standing at the far left end of the diner area in Western Station. |
| Cat Inside the Diner | Interact with the cat sitting on the counter inside the Western Station diner. |
| Doctor’s Quest | A hidden collectible. Speak to the Doctor inside the Hospital area at Western Station to pick up his quest. |
| Note to Yo-Yo | Go into Yo-Yo’s workshop at Western Station and you’ll find this collectible on top of a box immediately to the right after entering. |
| Underground Chatroom | Interact with the computer kiosk in Yo-Yo’s workshop and select the two options on the screen, including ‘Check the recent news’ and ‘Visit an underground chatroom’. |
| Laboratory Incident News | Interact with the computer kiosk in Yo-Yo’s workshop and select the two options on the screen, including ‘Check the recent news’ and ‘Visit an underground chatroom’. |
| Vacuum Regulator | Speak to Yo-Yo to get the vacuum regulator for the Doctor as part of his quest. |
| Rechargeable Ampoule (Med-Stim Upgrade) | Deliver the vacuum regulator to the Doctor, and you’ll receive this as a reward for completing the quest. |
Chapter 3
Below is a list of all collectibles found in the third chapter of the game.
| Collectible Name | Location |
|---|---|
| Prospero Information Board | While walking through the subway tunnel with Tempest, you’ll find this on a white board on the platform. Go up the steps and then to the left and it’ll be on the tile wall. |
| Genetic Profile 4 (Health Upgrade) | After acquiring the Pickaxe, use it to cross the broken elevated walkway as part of the brief tutorial, then keep running until you reach the edge of the platform. Instead of progressing, turn and go into the open door to access the hidden room. Run all the way to the left until you can get this upgrade and the collectible at the far end. |
| Ironwood’s Interview | While running along the subway tracks, go up the steps to the platform when you reach the Prospero station (it’ll be indicated on the back wall). Turn and run left until you reach a small booth room, and pick up the collectible inside. |
| Genetic Profile 3 (Health Upgrade) | Backtrack across the platform to the Prospero station, and this time run to the right and into a hidden room covered in white subway tiles. It’ll be off-screen, but move around in the room until you get the prompt to scan and get the upgrade/collectible. |
| Prospero Incident Recording | Run all the way across the subway tracks to the right until you reach a collapsed dead end. After Reach’s dialogue about the people trapped in the mines, climb up onto the small ledge in front of the rubble to get the collectible. |
| Termite’s Diary | While climbing up the elevator shaft, this collectible will be on the left side of the metal walkway. |
| Solving a Problem (Music Track) | After the fight with Geiger, you’ll find this music collectible on the ground in front of an abandoned subway car on the left side of the room. |
| Warden’s Letter | In the section just past the area where you fought Geiger, run to the right and then up the steps and to the left through the hidden room behind the platform. Keep running left until you see this collectible at the far end of the wall. |
| Water Station Notice | In the water treatment plant section, climb all the way up and to the left until you reach the elevated platform there via your pickaxe. This collectible will be on the side of the valve machine. |
| Kinetic Inductor 1 (Gun Upgrade) | In the same room with the steam obstacle puzzle, this upgrade is in the bottom right corner of the room on top of a metal grate. |
| Kennedy’s Speech | In the flooded area of the tunnel, drop from the walkway into the flooded lower level and then run to the level until you find this collectible on top of a box. |
| Corpse Butchering Guide | In the room full of glowing green lights, run to the left past the cart you can move and this collectible will be posted on one of the support beams. |
| Incriminating Chat | In the same room, climb your way up to the floating platform where you need to unlock the slave cages. Interact with the computer console there and view the info in the ‘Delete Later’ tab to unlock this collectible. |
| The City Gets a New Name | In the section where you have to cross some spinning obstacles, take a ladder down from the main walkway and then cross the lower area to the right. This collectible will be at the far end. |
| New Prospero Head Worries | After fighting a mob of Termites in the next enemy area, turn and run to the left until you find this collectible at the very far end by a wall. |
| Unsent Letter Home | From the same room, run to the right and crawl through the narrow passage ahead. Immediately turn and climb up to the upper level, then run left until you reach a roundabout area. Make your way around to the left side, then climb up a ladder to the top level. Run to the right until you reach an open doorway to a room. The collectible is inside. |
| Miner’s Last Hours | While climbing up the vertical shaft as the tunnels collapse, crawl through the open vent shaft on the right until you reach the next room. Run right to the far end, and this collectible will be next to a corpse. |
| Prospero Universal Keycard | This story progression item is on the table surrounded by dead miners. |
Chapter 4
Below is a list of all collectibles found in the fourth chapter of the game.
| Collectible Name | Location |
|---|---|
| Doctor’s Orders | After waking up in the Western Station’s hospital at the start of the chapter, run left until you reach the main area of the hospital and this collectible will be near the quarantine area. |
| Family Photo | A key item picked up as part of the Old Man’s quest in the Hospital. |
| Genetic Profile (Health Upgrade) | This collectible/upgrade is provided as a reward for completing the Old Man’s quest. |
| Nursery Rhyme | On the main road at Western Station, just to the right of the station’s main entrance on a sign. |
| Great Power, Great Responsibility (Music Track) | Inside the Western Station’s main concourse area. Go down the steps to the lower level of the concourse, and this will be in the ‘Cassettes’ market booth. |
| Phoenix Initiative Takes Control | In the main concourse area of the Western Station on the right side. |
| About Reach | In the diner area of the Western Station at the far left end near Matriarch and Ironwood’s headquarters. |
| Edward’s Diary | Speak to Edward in the main concourse area of Western Station to pick up his side quest. |
| Old Logs | Part of Edward’s side quest at Western Station. You’ll get this after completing the quest itself. |
| Rechargeable Ampoule 2 (Med-Stim Upgrade) | The main reward for completing Edward’s side quest at Western Station. |
| Station Meal | Part of Excalibur’s side quest at Western Station. |
| Unsent Letter to Mole | Provided along with the pickaxe upgrade when you complete Excalibur’s quest. |
| Prayer of the Damned Ones (Music Track) | Located in the hidden room that Excalibur leads you to beneath the train platform as part of his side quest. The collectible itself is immediately to your right after entering. |
| Reduction Gear (Pickaxe Upgrade) | The main reward for completing Excalibur’s side quest. |
| Cat Inside Yo-Yo’s Workshop | Interact with the cat sitting in the chair on the left side of Yo-Yo’s workshop. |
| Solar Panels Are Safe | Interact with the News kiosk in Yo-Yo’s workshop and select the ‘Check the recent news’ tab to view the information. Back out of the screen menu and this collectible will unlock. |
| Ironwood’s Note | Go up the stairs to the train platform at Western Station and inspect the machine near David’s telescope to get this collectible. |
| Kinetic Inductor 2 (Gun Upgrade) | Get the highest score on the Jumper arcade game and then speak to Susan to get this upgrade/collectible as a reward. |
| Mommy’s Letter | On the ground behind the desk that Susan is sitting on. |
Chapter 5
Below is a list of all collectibles found in the fifth chapter of the game.
| Collectible Name | Location |
|---|---|
| Protester’s Note | After using a cart to jump into a building near the start of the chapter, you’ll find this collectible on top of a barrel inside. |
| Cult Leader Arrested | In the same room, jump down from the top of the subway car, then turn and run left through the car until you reach the other side of the lower level. This collectible will be on the tracks. |
| Genetic Profile 6 (Health Upgrade) | Again in the same room, drop to the lowest level beneath the subway car itself, and this collectible will be on the ground. |
| Termite’s Regrets | Once on the roof of a snow-covered building (where Reach says “our body has reached its limits”) run to the left and this collectible will be next to a corpse. |
| Help Those In Need | In the next section, when Reach mentions that they “don’t want the gun to explode”, run to the left and this collectible is posted on the wall of the rusted building. |
| More Donors Needed | From the last collectible, follow the main path to the right until you come across a PCPD info hub kiosk. Interact with it and view the tabs listed to get this collectible. |
| Update Notes | From the last collectible, follow the main path to the right until you come across a PCPD info hub kiosk. Interact with it and view the tabs listed to get this collectible. |
| Watergate Scandal | Climb up the ladder to the level with the giant billboard that you’ll need to jump across to progress. Before you do, run into the building immediately to the right and this collectible is found inside. |
| Action Figure | In the flooded area that has electrified water, use your pickaxe to carefully cross the area and this collectible is on the ledge beneath the one you need to reach to progress. |
| Portable Solar Panel | While climbing up the tall crane, jump across to a ledge of the building to the right and climb up into a narrow passage in the side of the building that’s noticeably lit red. The collectible is on top of a crate in the room on the other side. |
| Rusted Pin | In the section where you see a large satellite array, run to the left and this collectible is on the ground beneath an overhang. |
| PCPD Trooper’s Report | Interact with the PCPD info hub kiosk in front of the satellite array and view the info tabs on the screen. |
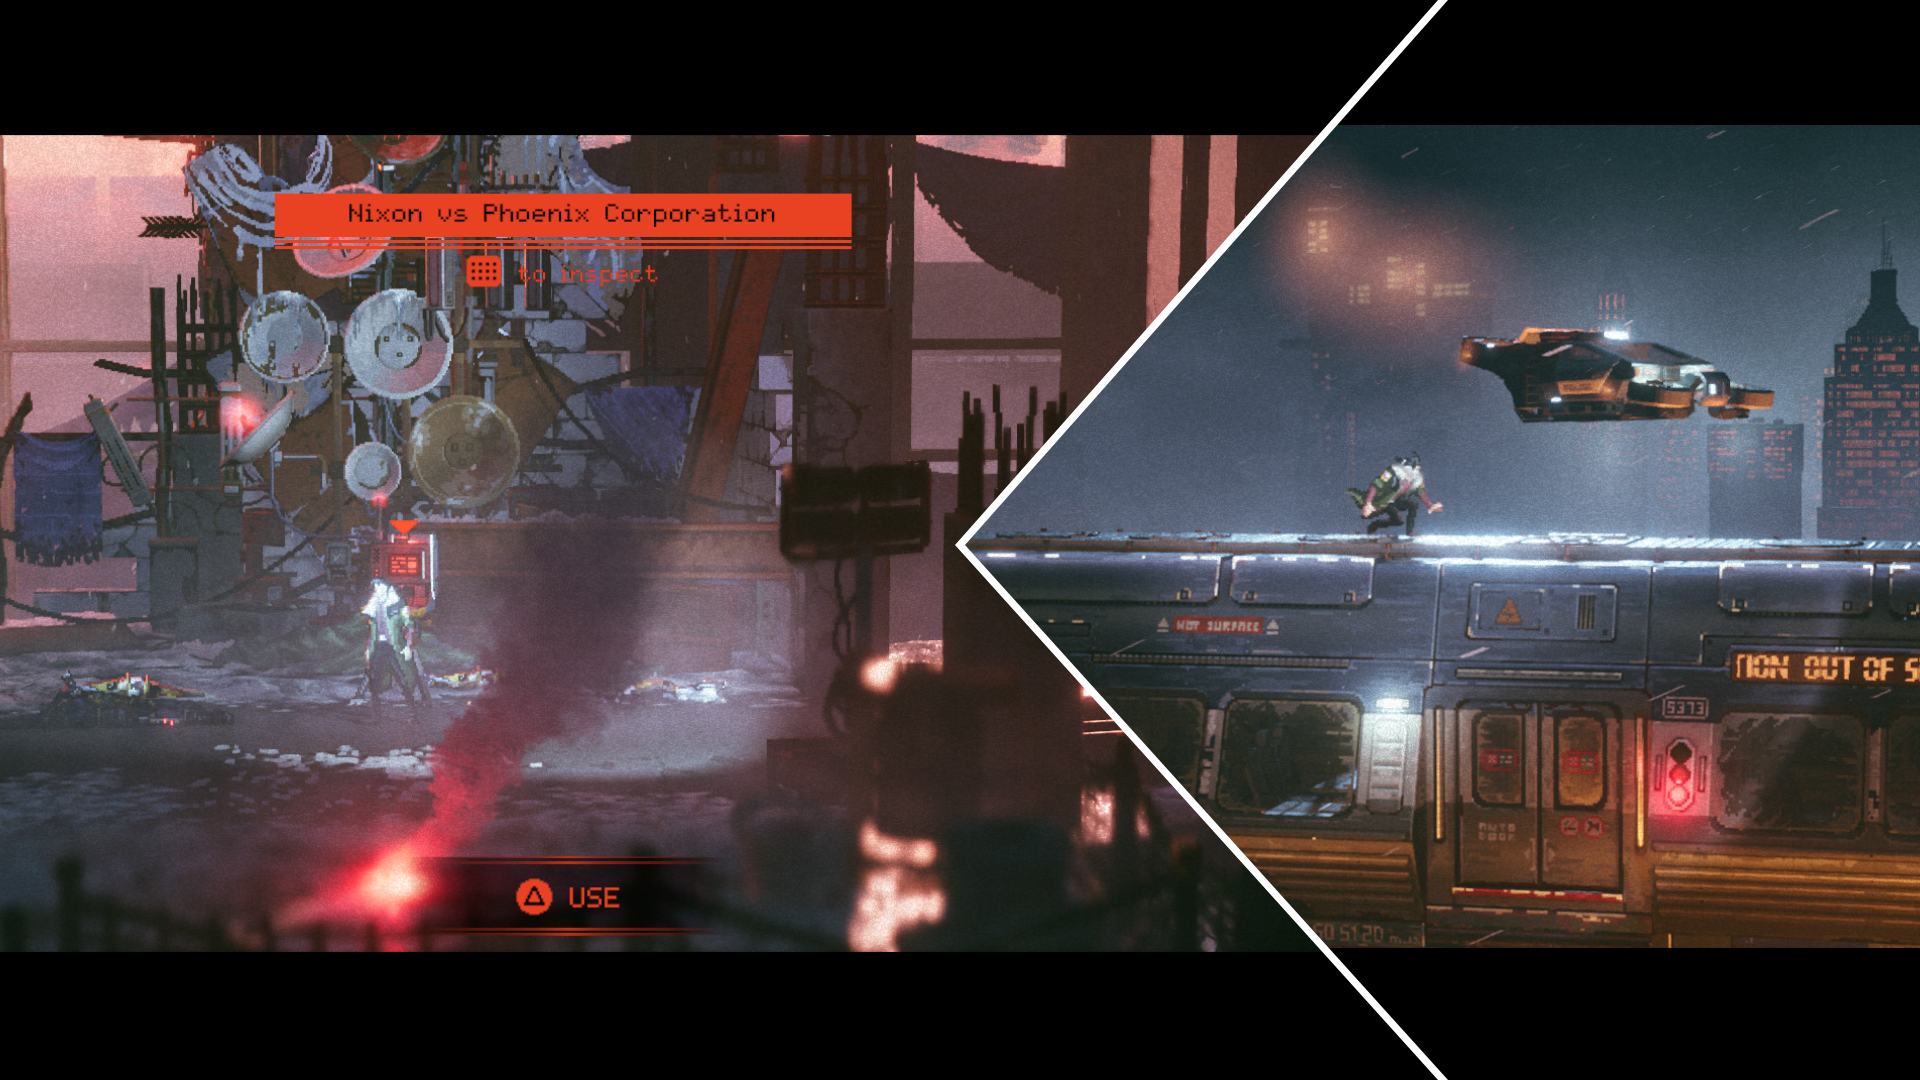
| Nixon vs Phoenix Corporation | Interact with the PCPD info hub kiosk in front of the satellite array and view the info tabs on the screen. |
| A View to Die For (Music Track) | On the lower level of an abandoned building in the open grass fields where you have to complete a stealth section against police drones. |
| Kinetic Inductor 4 (Gun Upgrade) | On the lower level of an abandoned building in the open grass fields where you have to complete a stealth section against police drones. |
Chapter 6
Below is a list of all collectibles found in the sixth chapter of the game.
| Collectible Name | Location |
|---|---|
| Souvenir Key Chain | At the start of the chapter, where you have to cross a steam obstacle section to pass a facility with white and blue pipes, this collectible is on the elevated platform to the left where the course starts. |
| Kinetic Inductor 3 (Gun Upgrade) | At the same facility, this upgrade/collectible is inside the room on the lower level of the facility. Get this before progressing to the next section. |
| Trading Worldwide | In the storage warehouse with security camera obstacles, climb the floating platforms all the way to the left until you find this collectible on the last platform. |
| Phoenix Tech Show | On the lower level of the break room on the table in the center. |
| Classified Protocols | Interact with the computer in the first cubicle on the right in the PC Lab and read the info found in both tabs on the screen. |
| Climatologist Letter | Interact with the computer in the first cubicle on the right in the PC Lab and read the info found in both tabs on the screen. |
| Scratched Wingman | After taking the elevator up to the next floor, run left and past a security camera obstacle. This collectible is on the counter in front of a shuttered window. |
| Genetic Profile 7 (Health Upgrade) | Climb across the server room to the right, and then drop down into an opening in the floor below. Crawl through the narrow passage to the left and this upgrade/collectible is near the end. |
| Surgical Station Manual | After a fight with a mob of security officers, this collectible is found inside the surgery lab to the right on top of a table. |
| R.E.A.C.H. Manual | Keep running to the right through the lab areas and this collectible is in the ‘Clear Zone’ room on a table at the far end. |
| Abandoned Forest (Music Track) | After climbing up through the vertical shaft to the floor that leads to Roof Access, run to the right and this collectible is in a stereo near an electrified section of the floor. |
| Firefighters’ Audiologs | On top of an HVAC unit on the snow-covered roof of the building. |
| Private Diary | Once back inside, run past the elevator lift to the right and into the red-lit room. This collectible is on top of a computer console at the far end. |
| Guard’s Burned Letter | Inside the Central Core room with the wall of blinking lights, this collectible is on a crate on the left side (around the moment where Reach says “our journey is nearly over”). |
| Kinetic Inductor 5 (Gun Upgrade) | Inside the battery storage room to the left of the R.E.A.C.H. control room. You need to hack the door to get inside, and the collectible will be on a shelf. |
| McVeigh Profile | After the brief cutscene that shows Warren going into the elevator with glass doors, climb up the vertical shaft into a narrow passage on the left. You’ll find the collectible at the far end. |
Chapter 7
Below is a list of all collectibles found in the seventh chapter of the game.
| Collectible Name | Location |
|---|---|
| Friendly Note | You’ll find this collectible on top of a striped roadblock near the van inside the main area of the Hospital at Western Station. |
| The Council’s Message | This collectible is posted on the board outside the Western Station to the left of the main entrance. |
| Child’s Rhyme | This collectible is found on the sign on the main street just outside the Western Station to the right. |
| Cat near Workshop entrance | Interact with the orange-white cat sitting on the barrel near the entrance to Yo-Yo’s workshop. |
| The Biggest Fan Quest | Pick up The Biggest Fan quest for Tempest on the table inside Veronica’s room. |
| Second Chance (Music Track) | This collectible is found on the box just to the right of the table where you picked up the previously mentioned quest in Veronica’s room. |
| No Tomorrow (Music Track) | This collectible is found inside the stereo inside Tempest’s room. |
| The Tempest-Man Flies! | One of the six comics you need to find for The Biggest Fan quest. These are in set locations but are randomized. See the previously mentioned quest guide for the locations. |
| The Red Nuke | One of the six comics you need to find for The Biggest Fan quest. These are in set locations but are randomized. See the previously mentioned quest guide for the locations. |
| Love and Masks | One of the six comics you need to find for The Biggest Fan quest. These are in set locations but are randomized. See the previously mentioned quest guide for the locations. |
| From the Ashes | One of the six comics you need to find for The Biggest Fan quest. These are in set locations but are randomized. See the previously mentioned quest guide for the locations. |
| High Stakes | One of the six comics you need to find for The Biggest Fan quest. These are in set locations but are randomized. See the previously mentioned quest guide for the locations. |
| The Ultimate Sacrifice | One of the six comics you need to find for The Biggest Fan quest. These are in set locations but are randomized. See the previously mentioned quest guide for the locations. |
| Void (Music Track) | In the main concourse area of Western Station at the ‘Cassettes’ market booth on the lower level. |
| Termite Lair is Gone | In the diner area of the Western Station on the table where Matriarch and Ironwood’s headquarters is. |
| Adrenaline Injector (Health Upgrade) | Get the highest score on the Horror arcade game and then speak to Susan to get this collectible/upgrade as your reward. |
| Wall Conspiracy Forum | Interact with the News kiosk in Yo-Yo’s workshop and read each info tab to automatically unlock this collectible. |
| R.E.A.C.H. Is Our Future | Interact with the News kiosk in Yo-Yo’s workshop and read each info tab to automatically unlock this collectible. |
| Balance Unit (Overdrive gain increased) | Automatic quest reward for finding all six of Tempest’s comics for ‘The Biggest Fan’ quest. |
| Trooper’s ID | Provided as part of Sandra’s side quest, which you can pick up in the main concourse of Western Station. |
| Trooper’s File | You’ll find this on the News kiosk in Yo-Yo’s workshop. Select ‘Check PCPD ID card’, then back out to get the chance to hack the kiosk. Once done, interact with the kiosk again and choose the same selection until you get the option to select ‘Londin, Stanley’. Do so, and then back out to get the collectible. |
| Trooper’s Diary | Given as one of the rewards for completing Sandra’s quest. |
| Genetic Profile 9 (Health Upgrade) | Given as one of the rewards for completing Sandra’s quest. |
Chapter 8
Below is a list of all collectibles found in the eight chapter of the game.
| Collectible Name | Location |
|---|---|
| Project Havoc Flyer | Posted on a garage shutter covered in graffiti on the ground level near the start of the chapter. |
| Feather Squad Movie Poster | After crossing the street monitored by a security drone, you’ll find this collectible posted on the outside of the Golden Age movie theater. |
| Veronica’s Concert Poster | Go inside the Round Table music store and this collectible is posted on the wall on the far right side near the main counter. |
| Alone In a Crowd (Music Track) | Found in the ‘Classic’ section of the music store on the lower level. |
| Rust (Music Track) | Speak to the Music Shop Clerk behind the counter and then you’ll find this collectible on the top shelf of the ‘Classic’ section on the lower level. |
| Weather Forecast | Interact with the News kiosk on the lower level of the city next to the Food Vault shop and read through each tab of information to automatically unlock this collectible. |
| Election News Article | Interact with the News kiosk on the lower level of the city next to the Food Vault shop and read through each tab of information to automatically unlock this collectible. |
| PCPD Celebration | Interact with the News kiosk on the lower level of the city next to the Food Vault shop and read through each tab of information to automatically unlock this collectible. |
| How to Deal With a Loss | Speak to the man smoking a cigarette next to the News kiosk on the lower level of the city. |
| Bodycam Recording | Go down to the lower level of the city and then cross the obstacles to the left until you reach the narrow passage. Crawl through until you drop down into a police station full of enemies. Defeat them, then find this collectible on the computer console on the left side of the room. |
| Center Tower Mini-Model | While crossing the sewers, drop down to the lower level platforms on each pillar, and then go back to the left. This collectible is on the lower platform of the first pillar. |
| Rechargeable Ampoule 3 (Med-Stim Upgrade) | Inside the shallow nook on in the far right wall of the ‘DEP 311’ room. Use the steam cart to double jump up to the nook. |
| Commercial Clinic Leaflet | While climbing up through the vertical shaft, climb up into the passage on the right side until you drop down into the room where you can hack the machine to change the queue number at the bank. The collectible is on the floor at the very end of the hall. |
| Genetic Profile 8 (Health Upgrade) | Make your way across the walkway back through the sewer section, and drop down through a gap in the walkway to the lower platform where you’ll find this collectible. |
| Dusk (Music Track) | After finishing the story objective with the sanitation workers, climb up on to the scaffolding section, and this collectible is on the lowest level on the left side. |
| Stranger in the Mirror (Music Track) | On the desk in the office room to the right inside Warren’s apartment. |
Chapter 9
Below is a list of all collectibles found in the ninth chapter of the game.
| Collectible Name | Location |
|---|---|
| Secret Orders | Lying next to a corpse on the sidewalk to the left of the Western Station’s main entrance. |
| Ash (Music Track) | On the lower level of the Western Station’s main concourse on the right side. |
| Makeshift Task Board | Large board with a map inside Veronica’s room (near where Veronica is sitting). |
| Medical Journal | On top of a gurney a short distance to the left of where Veronica’s sitting. |
| Milky Way (Music Track) | Speak to Yo-Yo on the main street outside Western Station. |
| Elite’s Diary | After Ironwood’s rebels infiltrate the security office in the Central Tower, this collectible is on the floor on the far right side. |
| On the Subject of the Disposals | On the console near where Ironwood’s rebels are standing in the security office. |
| Exquisite Menu | On the fourth level of the Central Tower’s atrium area on the left side. |
| Genetic Profile 10 (Health Upgrade) | On the fourth level of the Central Tower’s atrium area on the left side (same area as the previous collectible). |
| Black Widow Letter | On the counter in the elevated area on the right side of the newsroom. |
| Interview for Editing | On top of a speaker on the left side of the newsroom. |
| Letter Dropped From the Trash | On the counter in the elevated area on the left side of the newsroom (near the wall of TV screens). |
| Doctor’s Journal | Inside a large planter on the right side of the empty office (Ironwood will have some dialogue while you pass through here). |
| Matriarch’s Profile | After rescuing Tempest inside the lab, keep running to the left and then interact with the Tower 12 Info Hub kiosk. Reach each tab of information to unlock this collectible. |
| Corporate Wars | After rescuing Tempest inside the lab, keep running to the left and then interact with the Tower 12 Info Hub kiosk. Reach each tab of information to unlock this collectible. |
Read More
- Robinhood’s $75M OpenAI Bet: Retail Access or Legal Minefield?
- All Skyblazer Armor Locations in Crimson Desert
- How to Get the Sunset Reed Armor Set and Hollow Visage Sword in Crimson Desert
- How to Catch All Itzaland Bugs in Infinity Nikki
- Speedsters Sandbox Roblox Codes
- Who Can You Romance In GreedFall 2: The Dying World?
- Top 10 Must-Watch Isekai Anime on Crunchyroll Revealed!
- Black Sun Shield Location In Crimson Desert (Buried Treasure Quest)
- Invincible: 10 Strongest Viltrumites in Season 4, Ranked
- USD CNY PREDICTION
2026-04-28 16:32