Dealing with Gray Zone Warfare has been incredibly expensive, and the UNLRA quest has been the biggest financial drain of all.
The quests themselves aren’t particularly unique, but completing them means battling through three security checkpoints near the busy Tiger Bay Mall and the Harrison police station, which is frequently under attack.
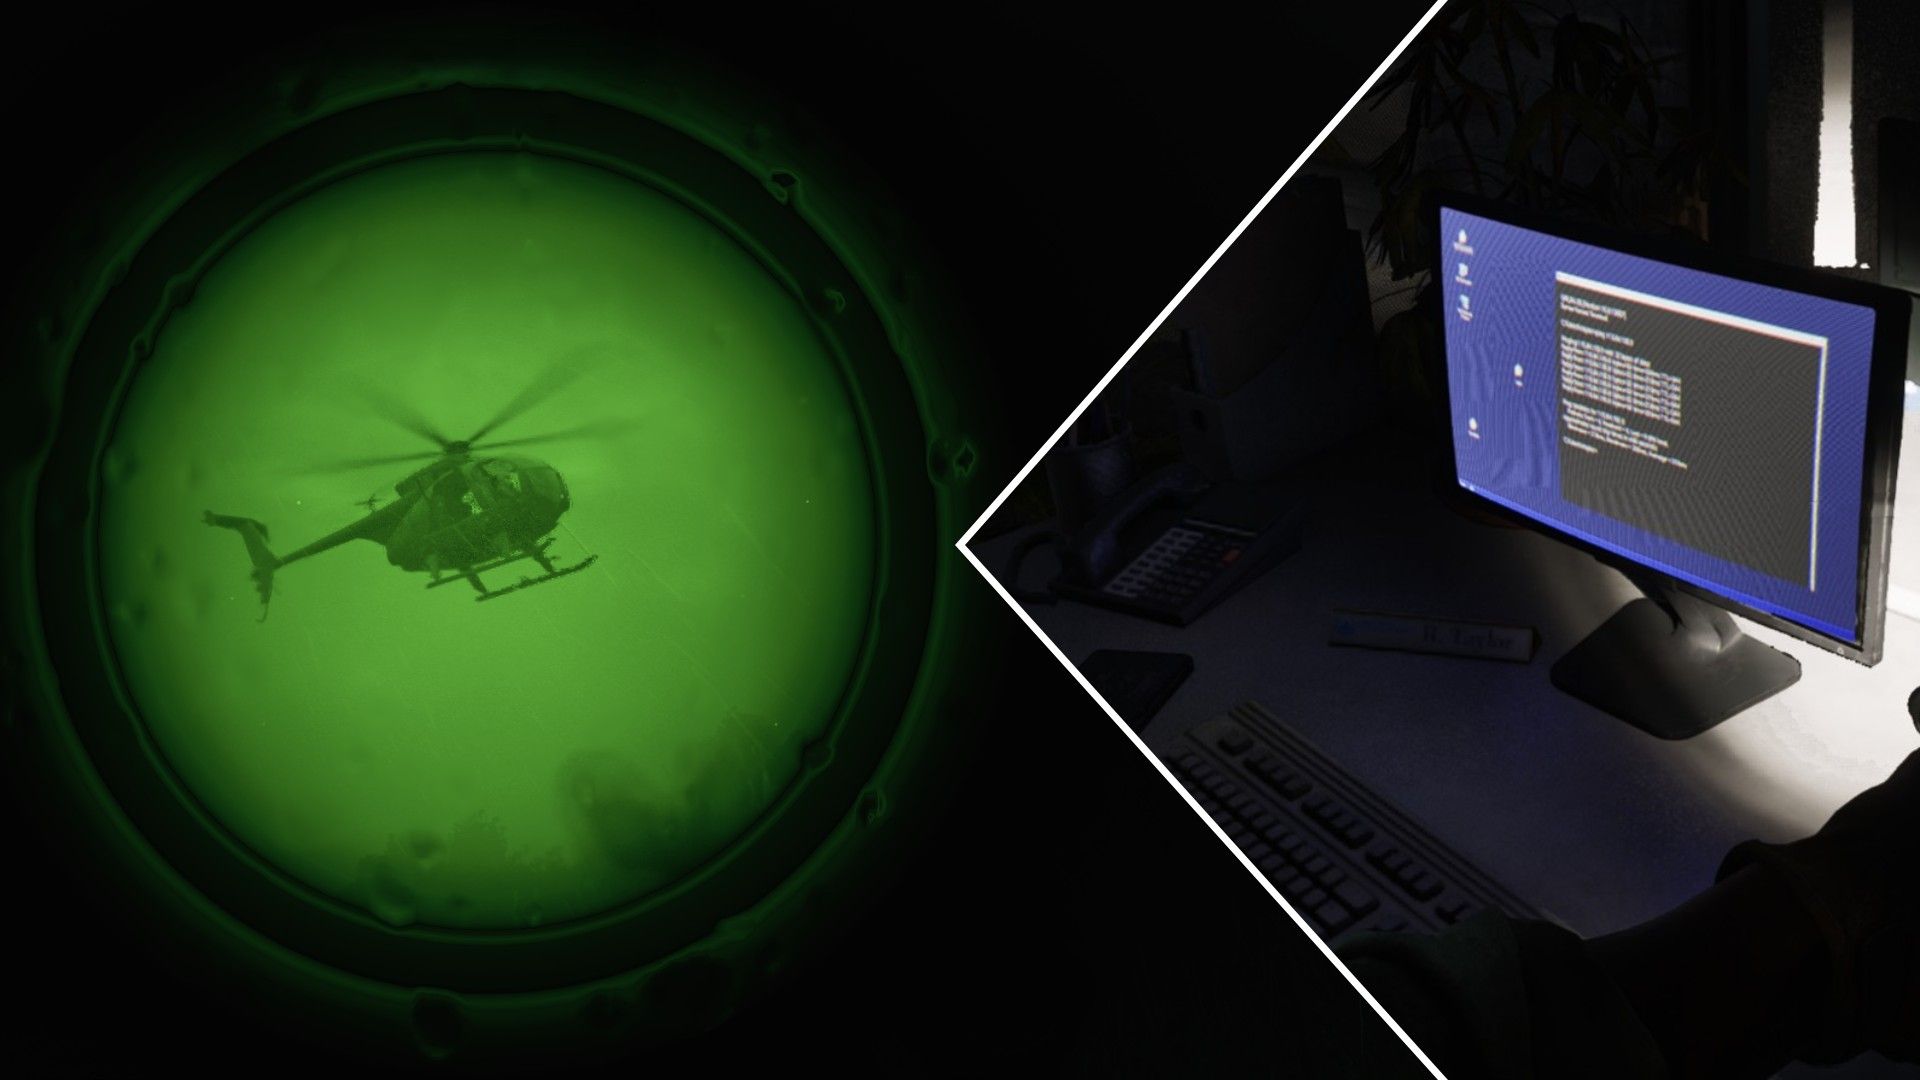
Handshake needs your help with a risky mission: investigate the failed evacuation of Lamang in Tiger Bay and find evidence of wrongdoing by the UNLRA. Prepare to travel – you’re taking a helicopter.
This walkthrough has been updated to match the new UNLRA quest introduced in update 0.4 Spearhead.
Gray Zone Warfare: UNLRA Walkthrough
During the UNLRA quest, you’ll face off against bandits and the Lamang Armed Forces, and you’re also likely to run into mercenaries working for other groups.
Soldiers from the LAF guarding checkpoints now wear improved Pantsir vests offering NIJ level III+ protection, and they usually carry AK-12 assault rifles. They typically use 7N10 rounds (5.45x39mm), which can penetrate armor up to level III.
The bandits you’ll encounter in the UNLRA HQ and the container dorms aren’t much of a challenge. They have poor equipment and use low-quality ammunition.
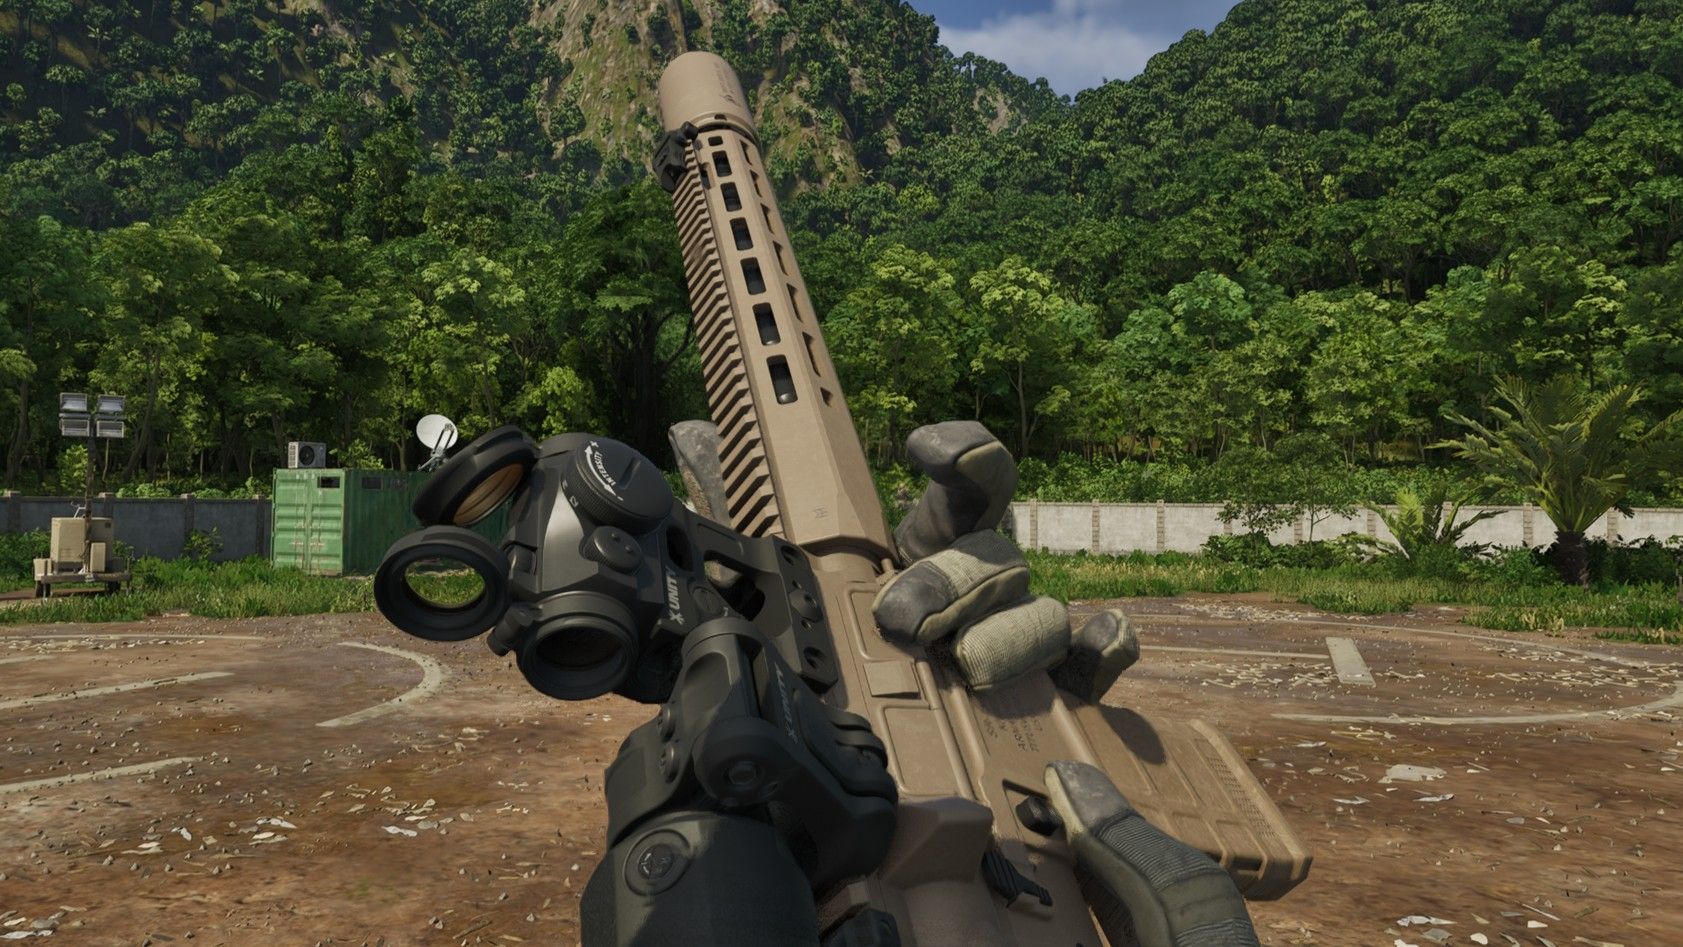
The main problem I ran into while trying to finish the quest was other PMCs attacking Tiger Bay. Because so many people are moving around, staying hidden is key to survival. I recommend using a gun with a silencer and a scope or magnifier. While clearing checkpoints might not always be quiet, it can give you a short window of time before enemies start shooting back.
To finish the quest, you absolutely need to have the UNLRA HQ Office Key Card with you, unless someone else unlocks the door for you.
This item is very rare, usually found randomly when searching enemies in Tiger Bay. It sometimes appears in a specific location – either inside the UN container dorms entrance tent at coordinates (133, 201), or in the UN officer’s apartment near the restaurant by the northeastern UNLRA checkpoint (131, 197), though these locations aren’t always reliable.
It’s best to get the keycard before you begin the quest. While you can start without it, you’ll probably end up failing, losing reputation with Handshake, and having to restart from the beginning.
Locate Intel at the Southern UNLRA Checkpoint
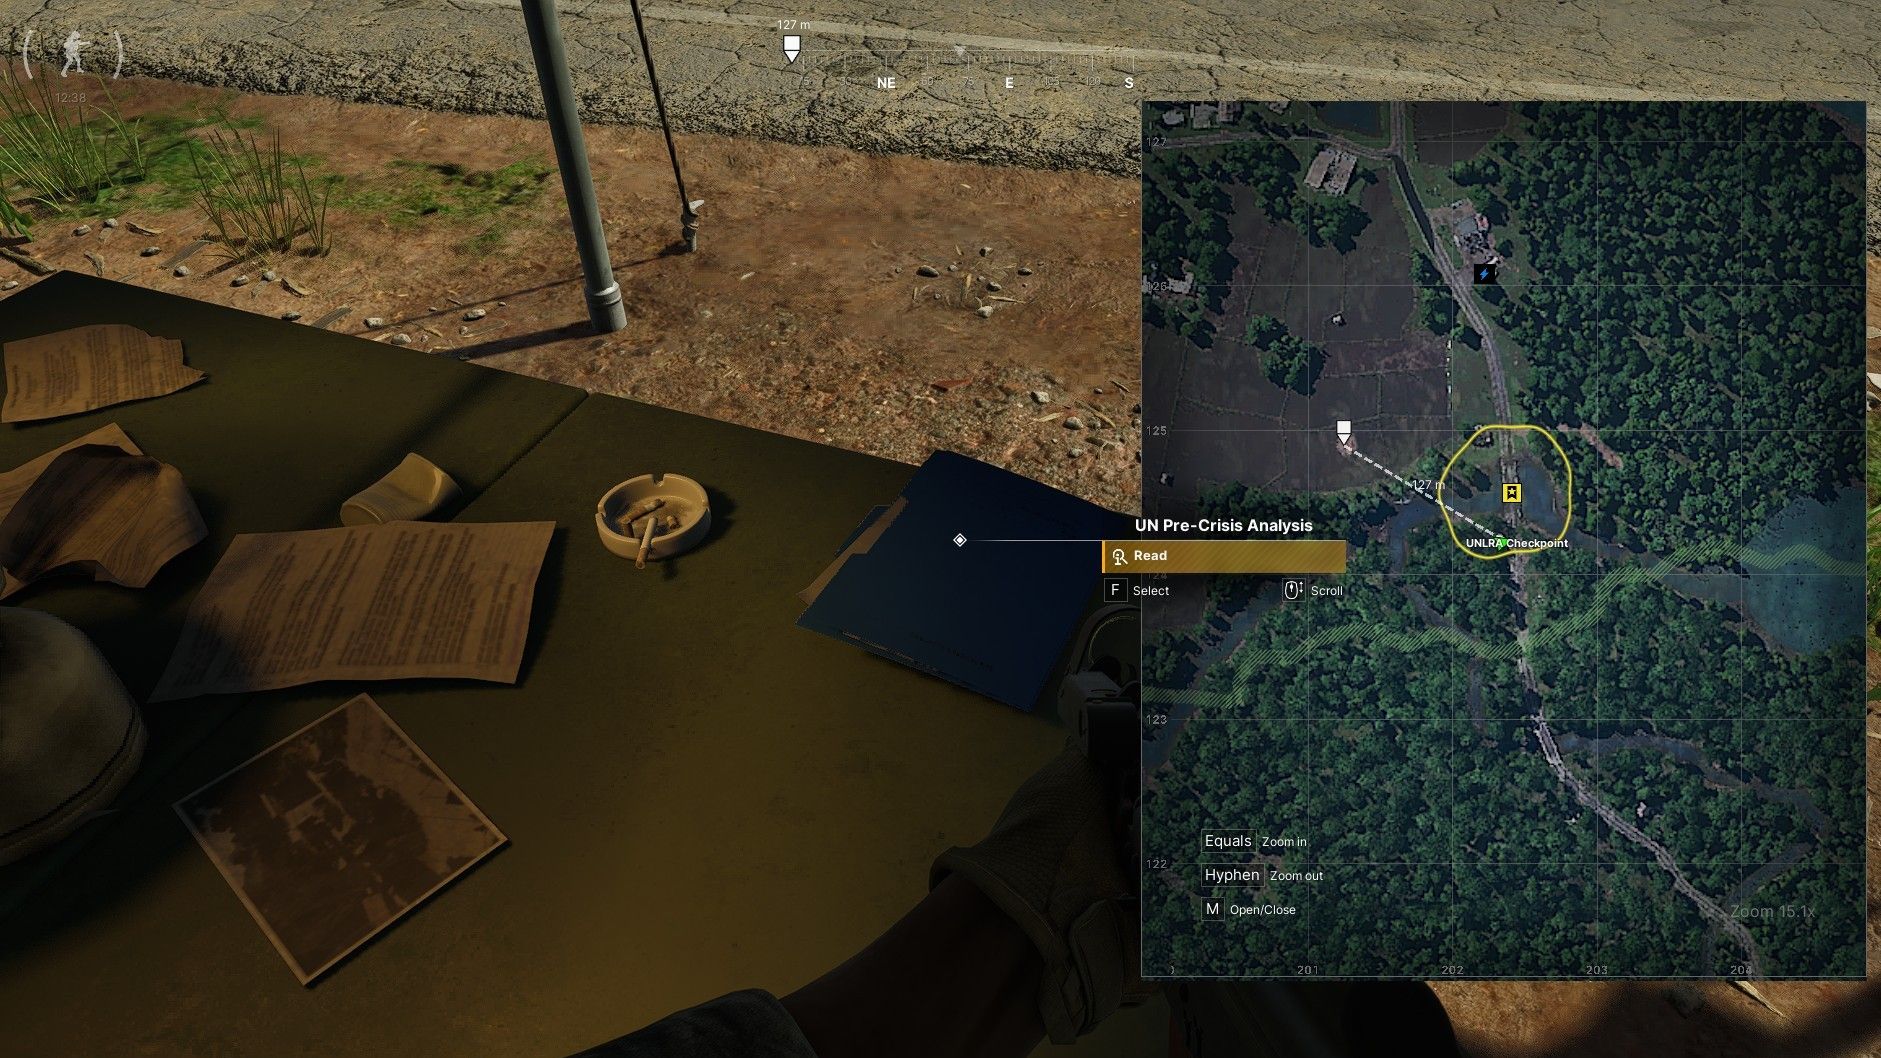
Okay, so my first mission is pretty simple – a quick warm-up. I need to head south of Tiger Bay to this UN checkpoint near the bridge – the coordinates are 124, 202. Apparently, there’s a small group of bandits hanging around, and I just need to take them out. Nothing else to worry about right now, thankfully!
Look for a blue folder labeled “UN Pre-Crisis Analysis” on the left side of the road. After reviewing it, go to Handshake to proceed.
Gather Intel From the First LAF Checkpoint in Tiger Bay
Now that’s done, head to the LAF checkpoint south of Tiger Bay at coordinates (127, 201). Be careful – at least five soldiers are guarding the area. You’ll also be exposed to gunfire from bandits on the nearby floating restaurant and from the gas station along the way.
After sending the soldiers on their way, go inside the tent and use the secure laptop on the desk near the radios.
Gather Intel From the Second LAF Checkpoint in Tiger Bay
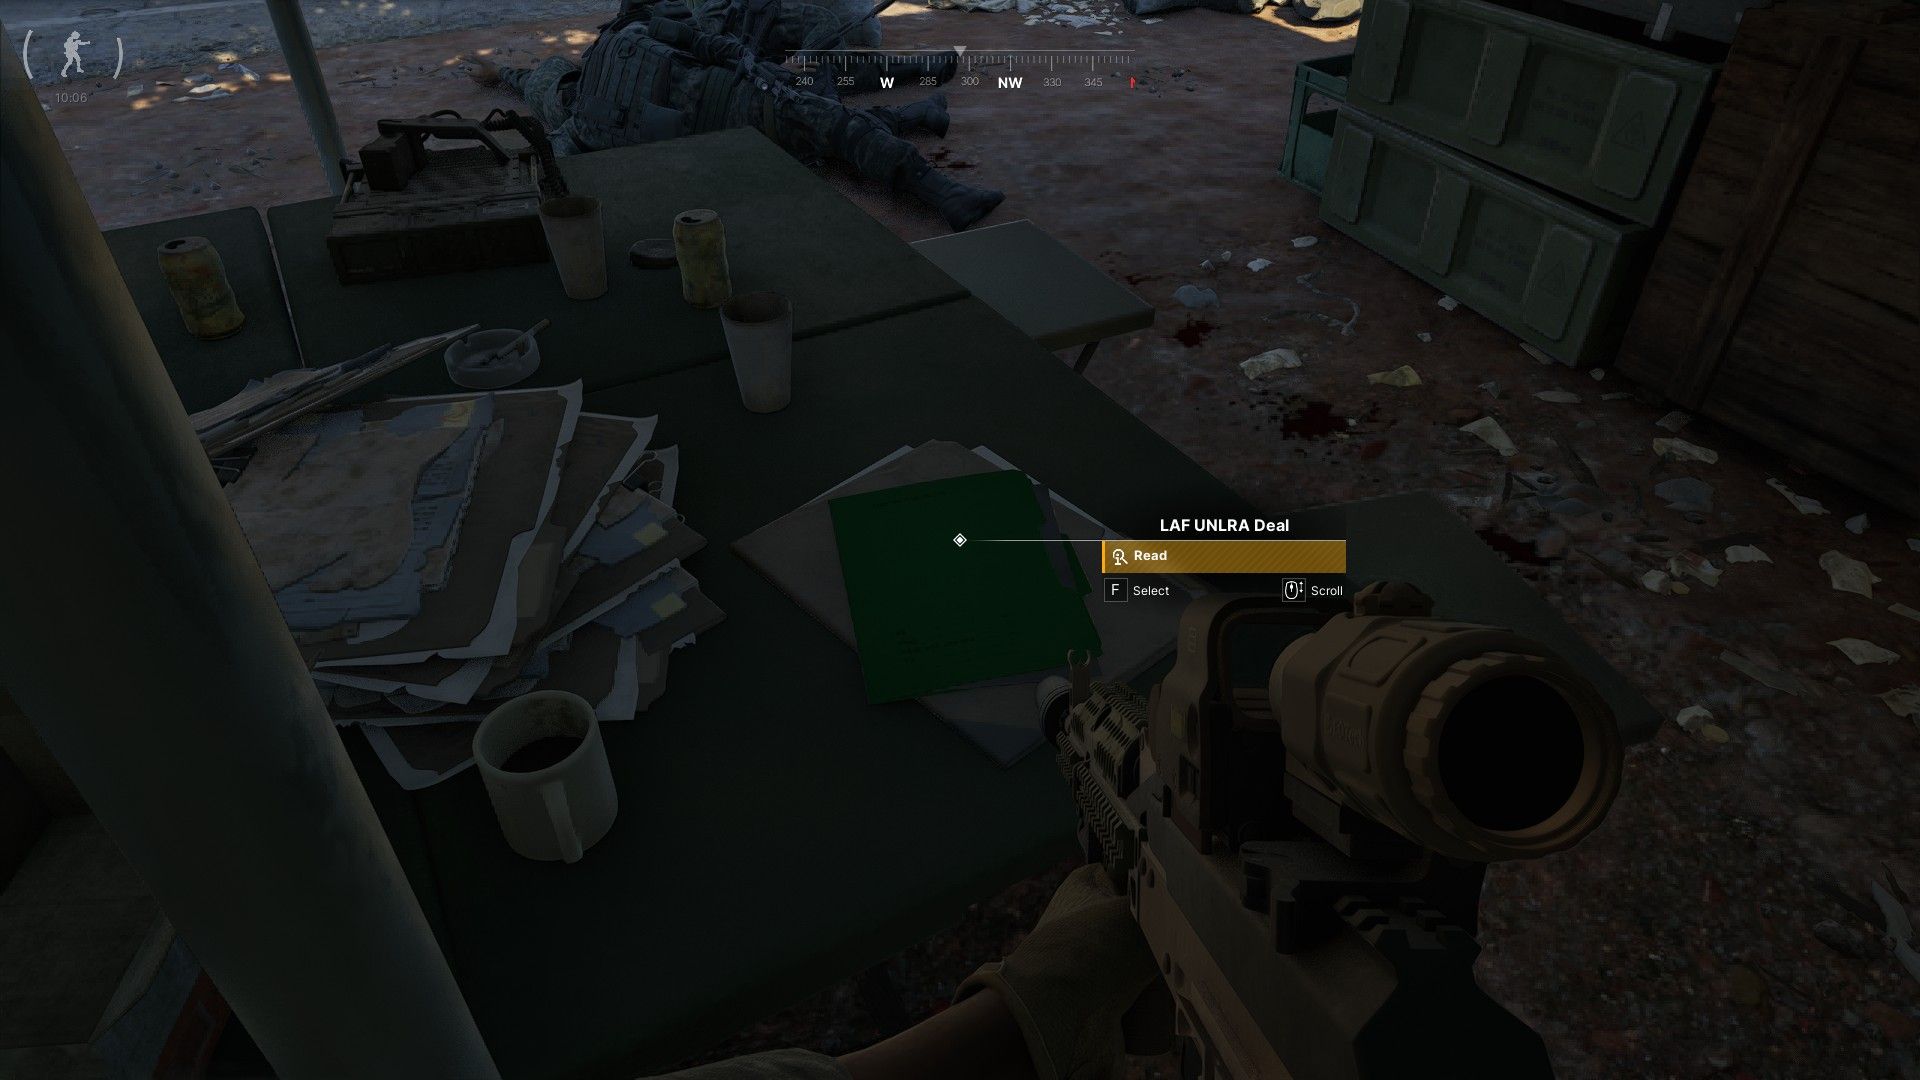
Your next stop is the LAF checkpoint on the northern side of Tiger Bay (132, 198).
You’re free to try running across the city if you want to risk it, but I’d rather head to landing zone Juliett 3, take a quick flight to Juliett 1, and skip a major fight.
You have a clear view of most of the guards from the road to the checkpoint, allowing you to eliminate them. However, as you get closer and turn right, be aware of soldiers patrolling the street, as they can fire into the tent.
First, make sure the area is clear. Then, go inside the tent and scan the green folder located on the desk next to the white coffee mug. This folder is labeled ‘LAF UNLRA Deal’ and contains the information you need to move forward.
Locate an Active UNLRA Terminal Inside Their HQ at Tiger Bay
Head to the UNLRA headquarters building, which is in the northeast part of the city at coordinates (132, 201). Don’t forget your keycard! If you don’t have it, you can try waiting near a bush for someone to unlock the door, or ask a member of one of the factions for assistance.
Subscribe for deeper Gray Zone Warfare tactics
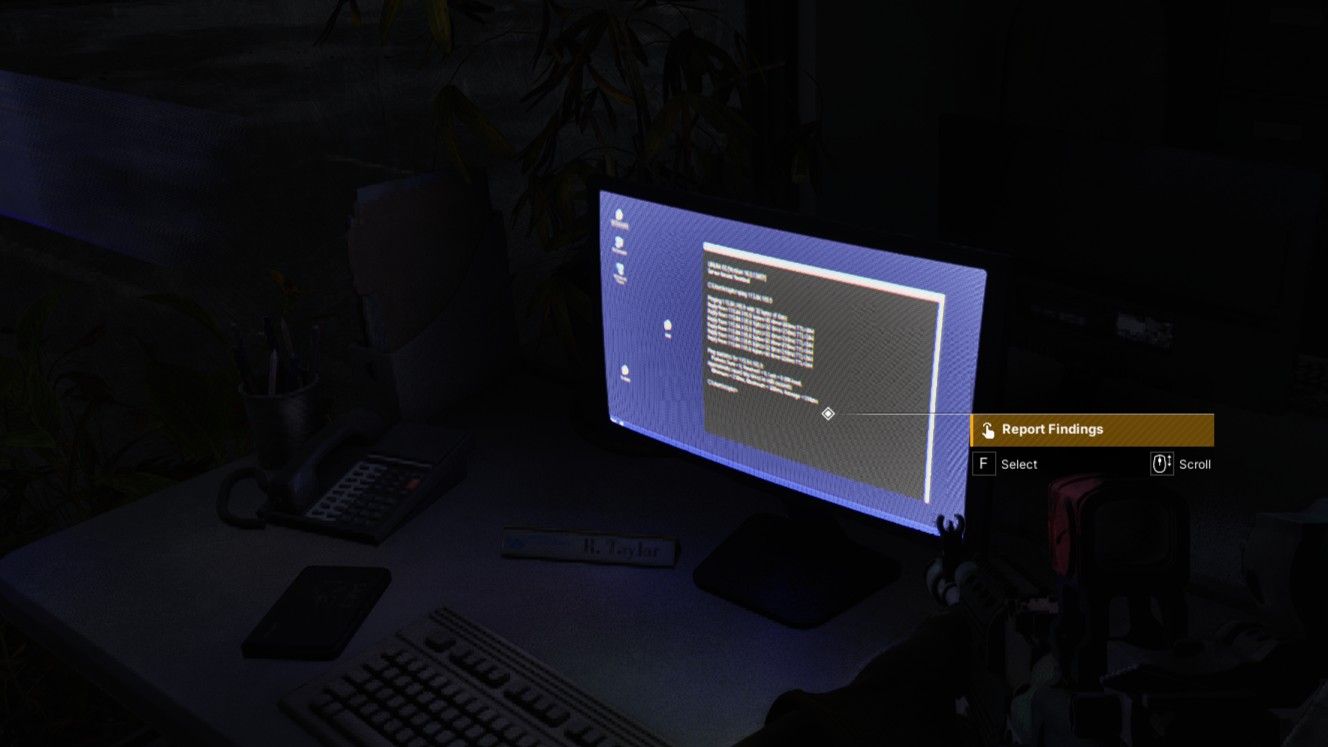
No matter which way you go, enter the building using the front door and immediately turn right. You’ll see a door with a keycard reader on your left. Once inside, use the computer that’s already powered on.
Search the UNLRA Container Dorms and Find Out What Happened to R. Taylor
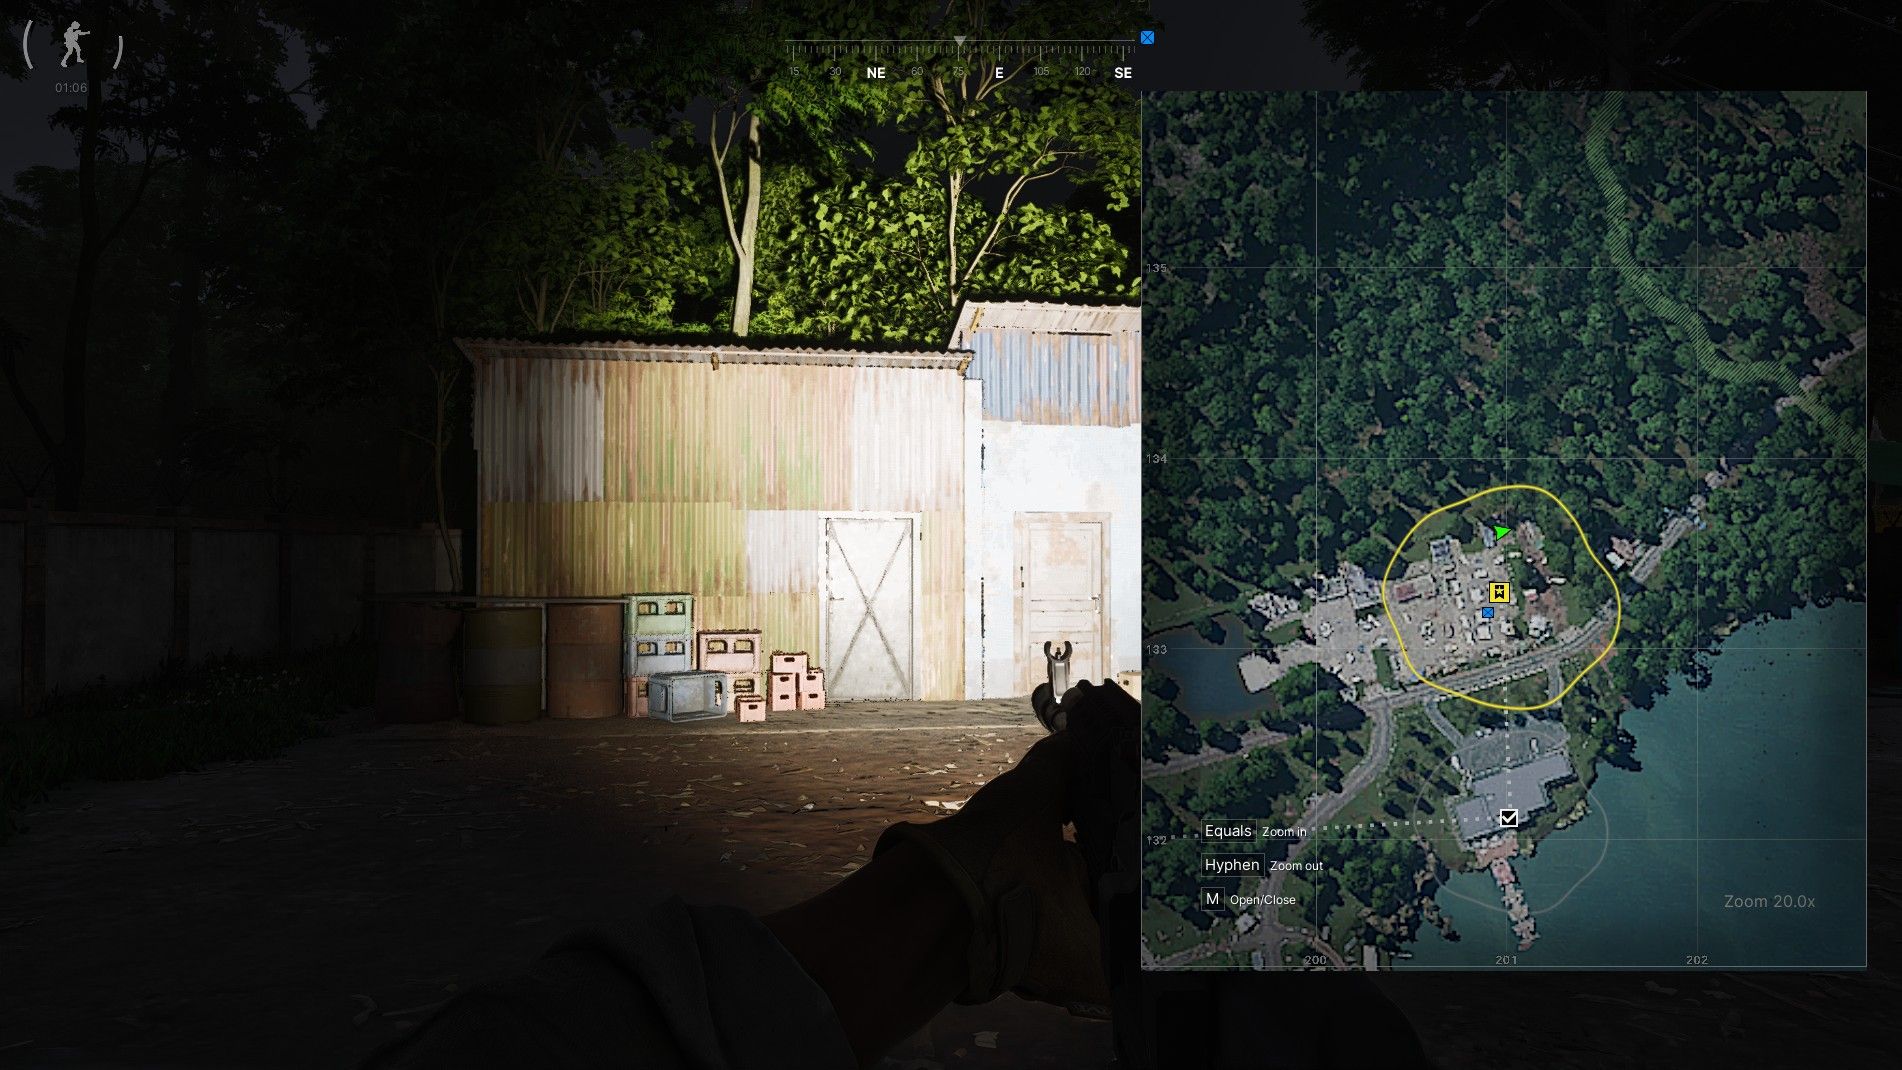
Okay, so I hit a snag. The computer terminal is locked, but not with the card I used to even get in here. Apparently, I need the login info for some UN officer named R. Taylor. Luckily, Handshake figured out he’s probably staying in the container dorms just across the street, so that’s where I’m headed next.
Unfortunately, we haven’t been able to reach R. Taylor for comment. You’ll find him in the storage shed at the northeast corner of the dorms. Search his person to find the security card you need.
Use the Security Card to Access the Terminal and Download the Data from the Server
Now that you have the security card, return to the terminal inside the HQ building. Use R. Taylor’s card to access the data, and then remove the USB drive from the PC tower.
Once you retrieve the item, simply return to base or any friendly outpost and give it to Handshake to finish the UNLRA quest.
If your faction controls the area, you can head to COP Diamond to the east. I wouldn’t recommend using LZ India 2 for extraction, though, as there are sometimes enemies firing from the nearby hills. If you want quieter landing zones, you can go north past the dorms, through the jungle, to reach either Juliett 1 or Oscar 3.
Read More
- Re:Zero Season 4, Episode 6 Release Date & Time
- NTE Drift Guide (& Best Car Mods for Drifting)
- How to Get the Wunderbarrage in Totenreich (BO7 Zombies)
- How to Beat Turbines in ARC Raiders
- Change Your Perspective Anomaly Commission Guide In NTE (Neverness to Everness)
- Diablo 4 Best Loot Filter Codes
- Top 8 UFC 5 Perks Every Fighter Should Use
- Danganronpa 2: A Complete Guide To Gifts
- Brent Oil Forecast
- Danganronpa: Trigger Happy Havoc – Complete Guide To Gifts
2026-05-13 23:10