In Subnautica 2, building the Tadpole is just the beginning. A major focus will be customizing it with upgrades to tackle different challenges. This applies to your starting tools too – the Scanner and Sonic Resonator will both need significant improvements as you progress through the game.
Once you find the Alien Ruins, prioritize upgrading your Tadpole so you can explore the deeper ocean areas. Certain upgrades are essential to continue playing, so it’s important to build a Modifications machine at your base and quickly learn the recipes you need.
Tool Modifications
These improvements focus solely on the tools you use directly. Currently, only two tools have enhanced versions available.
Bioscanner
- Blueprint Location: Move 540 meters towards 125 degrees from Alien Ruins. Blueprint is inside a crashed base.
- Crafting Recipe: Scanner (1x), Enameled Glass (2x), and Conduit Crystal (3x)
The Bioscanner is key to getting new Biomods, which are special abilities that boost your skills and help you succeed on your adventures.
Even if you’ve already scanned every creature in the game, upgrading to a Bioscanner requires you to rescan some of them to unlock their unique biomods.
You’ll also need the Bioscanner to fix the turbine at the alien power plant – it’s part of the main campaign.
Feedback Resonator
- Blueprint Location: The first instance is located near a pool in the Metal Farms. Move northeast from the Angel Comb in Alien Ruins’ region to find it. The second instance is also in Metal Farms. It’s located on a platform at the far end of the green pools.
- Crafting Recipe: Sonic Resonator (1x), Enameled Glass (2x), Conduit Crystal (2x), and Strontium (2x)
The main improvement in the new Feedback Resonator is its increased range.
Okay, so in this game, you’ve got different resonators, and they change how you play. The Sonic Resonator forces you to get right up close and personal with the resource nodes and those Bloom Biofilms, which can be a pain. But the Feedback Resonator? That’s a game-changer. It lets you take those same targets out from a distance. And trust me, mastering that long-range ability is absolutely crucial when you get to the second region and need to cleanse the Angel Comb. It makes a legitimately difficult task manageable, and honestly, a lot more fun.
Tadpole Upgrade Modules
The Tadpole lets you explore the deepest parts of the ocean without needing to constantly monitor your oxygen supply. While the basic Tadpole is useful, you can significantly improve its capabilities by discovering blueprints and crafting new modules to install in its upgrade slots.
Depth Module Mk. 1
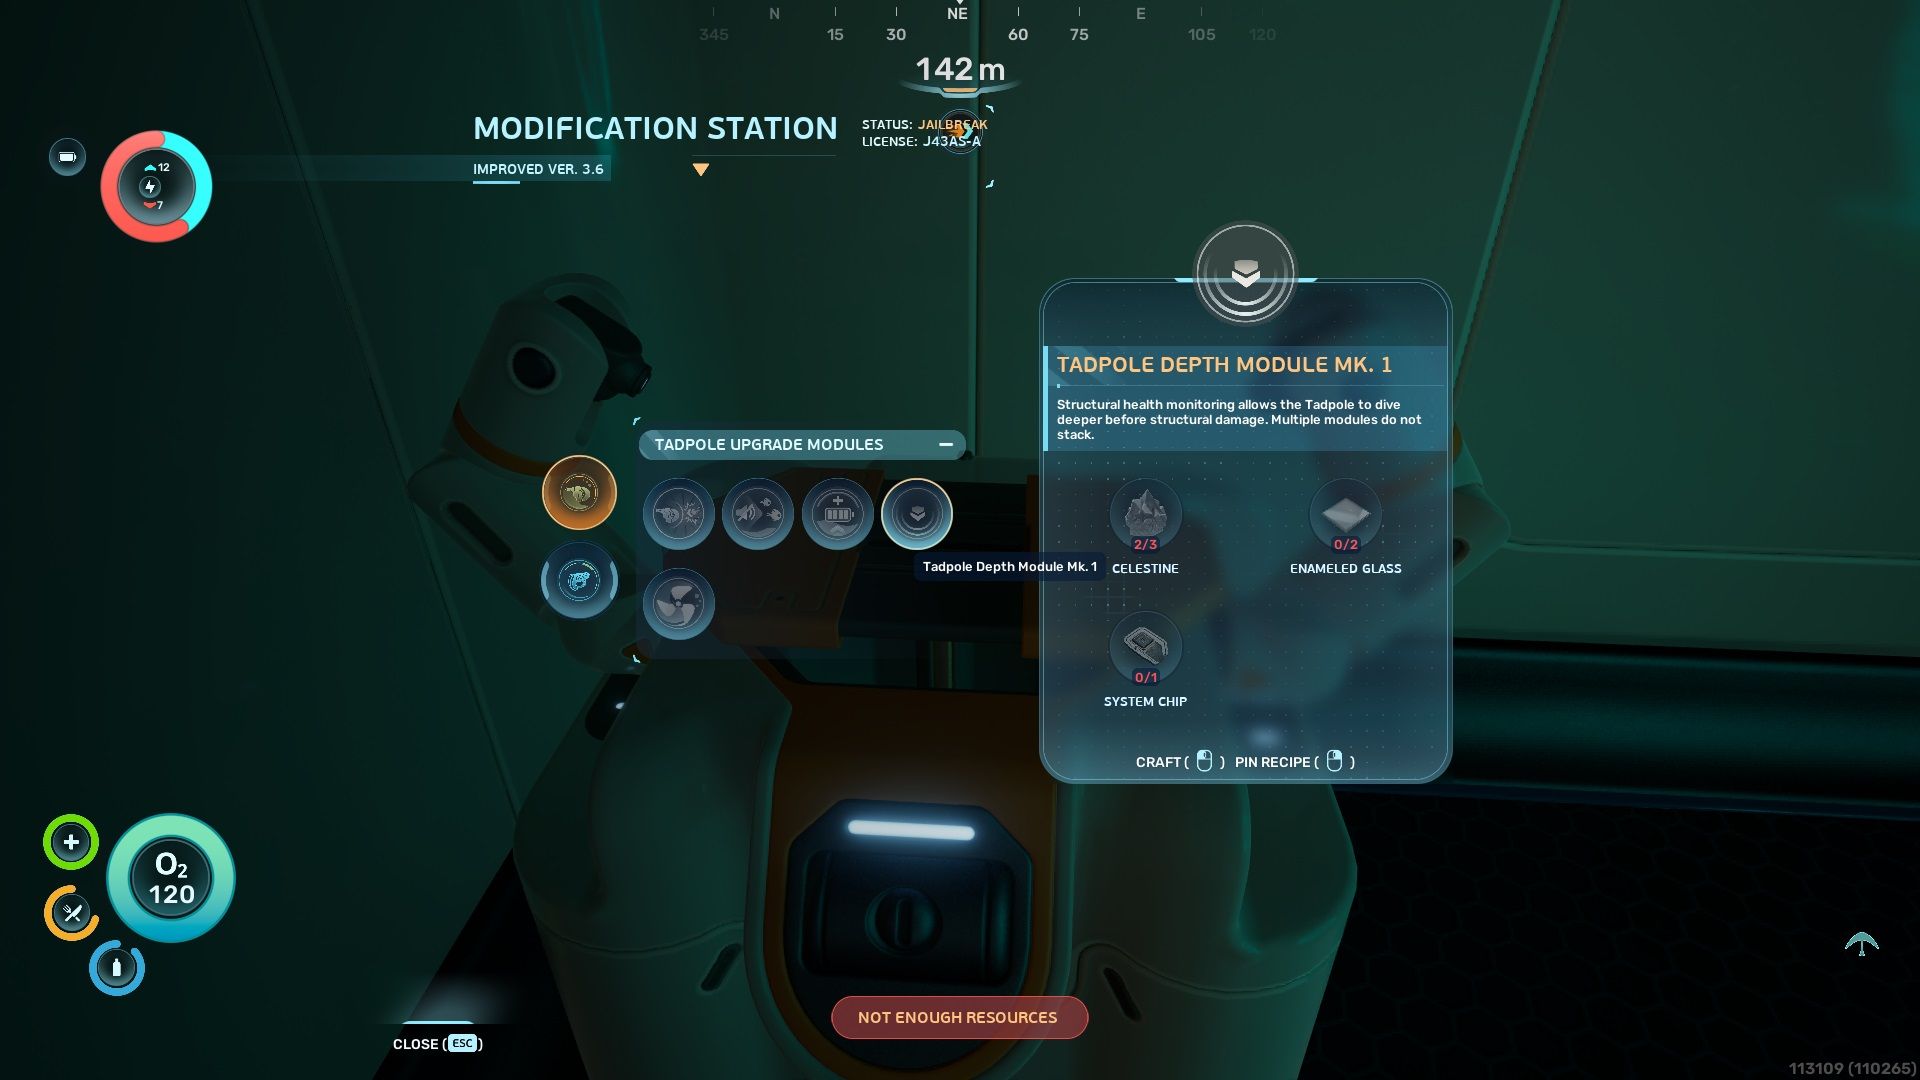
- Blueprint Location: Move 268 meters to 155 degrees. You will spot a hole in the cliff below. Move downward through back-to-back holes until you find the blueprint next to a wrecked Tadpole.
- Crafting Recipe: Celestine (3x), Enameled Glass (2x), System Chip (1x)
Okay, so here’s the deal: if you want to get to the really good stuff, you absolutely need the Depth Module. A lot of the best resources are way down deep – we’re talking over 400 meters! Honestly, even if you could reach them without the module, you’d run out of air before you got there. It’s a total game-over situation without it, trust me.
The Depth Module should be your first upgrade. It allows you to access the Metal Farms and quickly clear the Bloom Biofilm using the Feedback Resonator, letting you claim the beneficial buff within Angel Comb.
Strike Armor
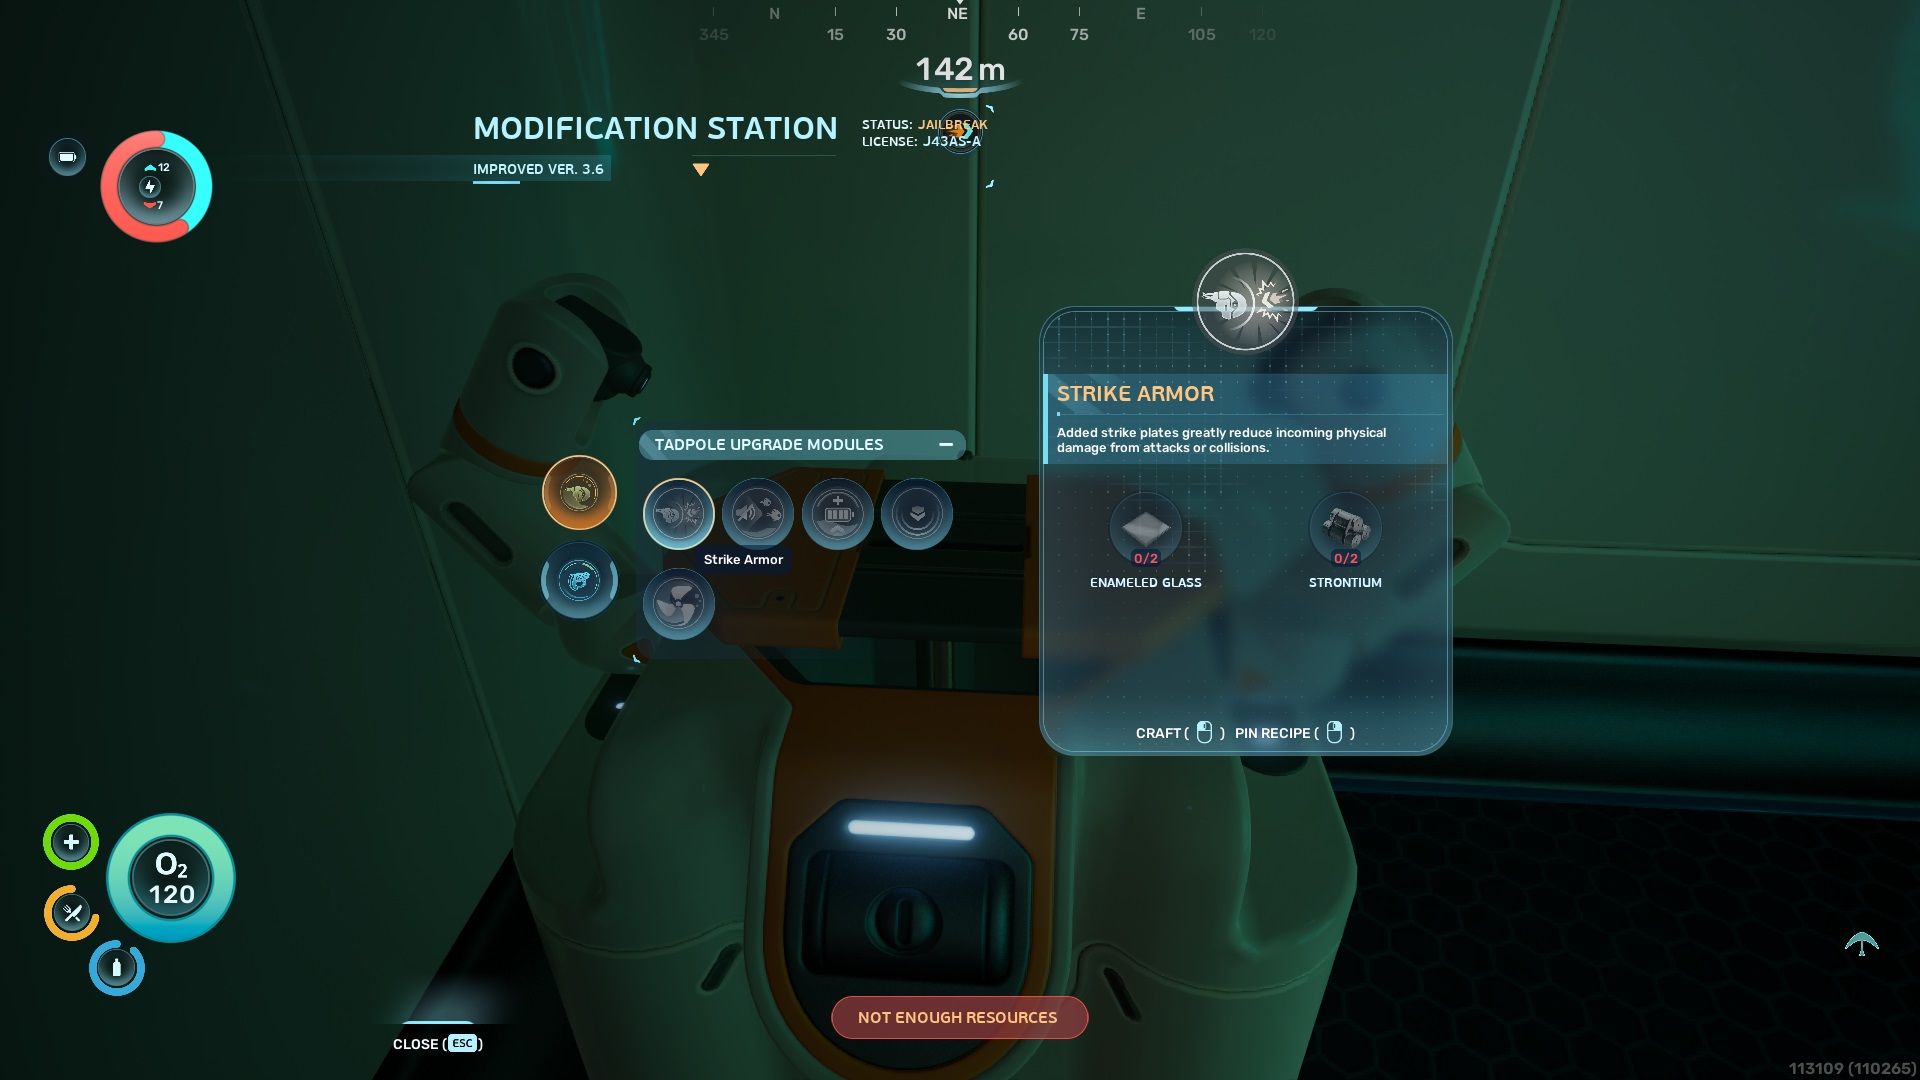
- Blueprint Location: Move 203 meters towards 195 degrees from Alien Ruins while also going deeper into the ocean. You will find the blueprint on a platform with a bunch of boxes.
- Crafting Recipe: Enameled Glass (2x) and Strontium (2x)
This upgrade is completely optional. If you choose to add Strike Armor, Tadpole will take less damage from both crashes and attacks from enemies.
Since you can fix the Tadpole quickly with the Repair Tool, the Strike Armor isn’t that important. It’s okay to skip this upgrade and prioritize others that will help you more.
Cavitation Muffler
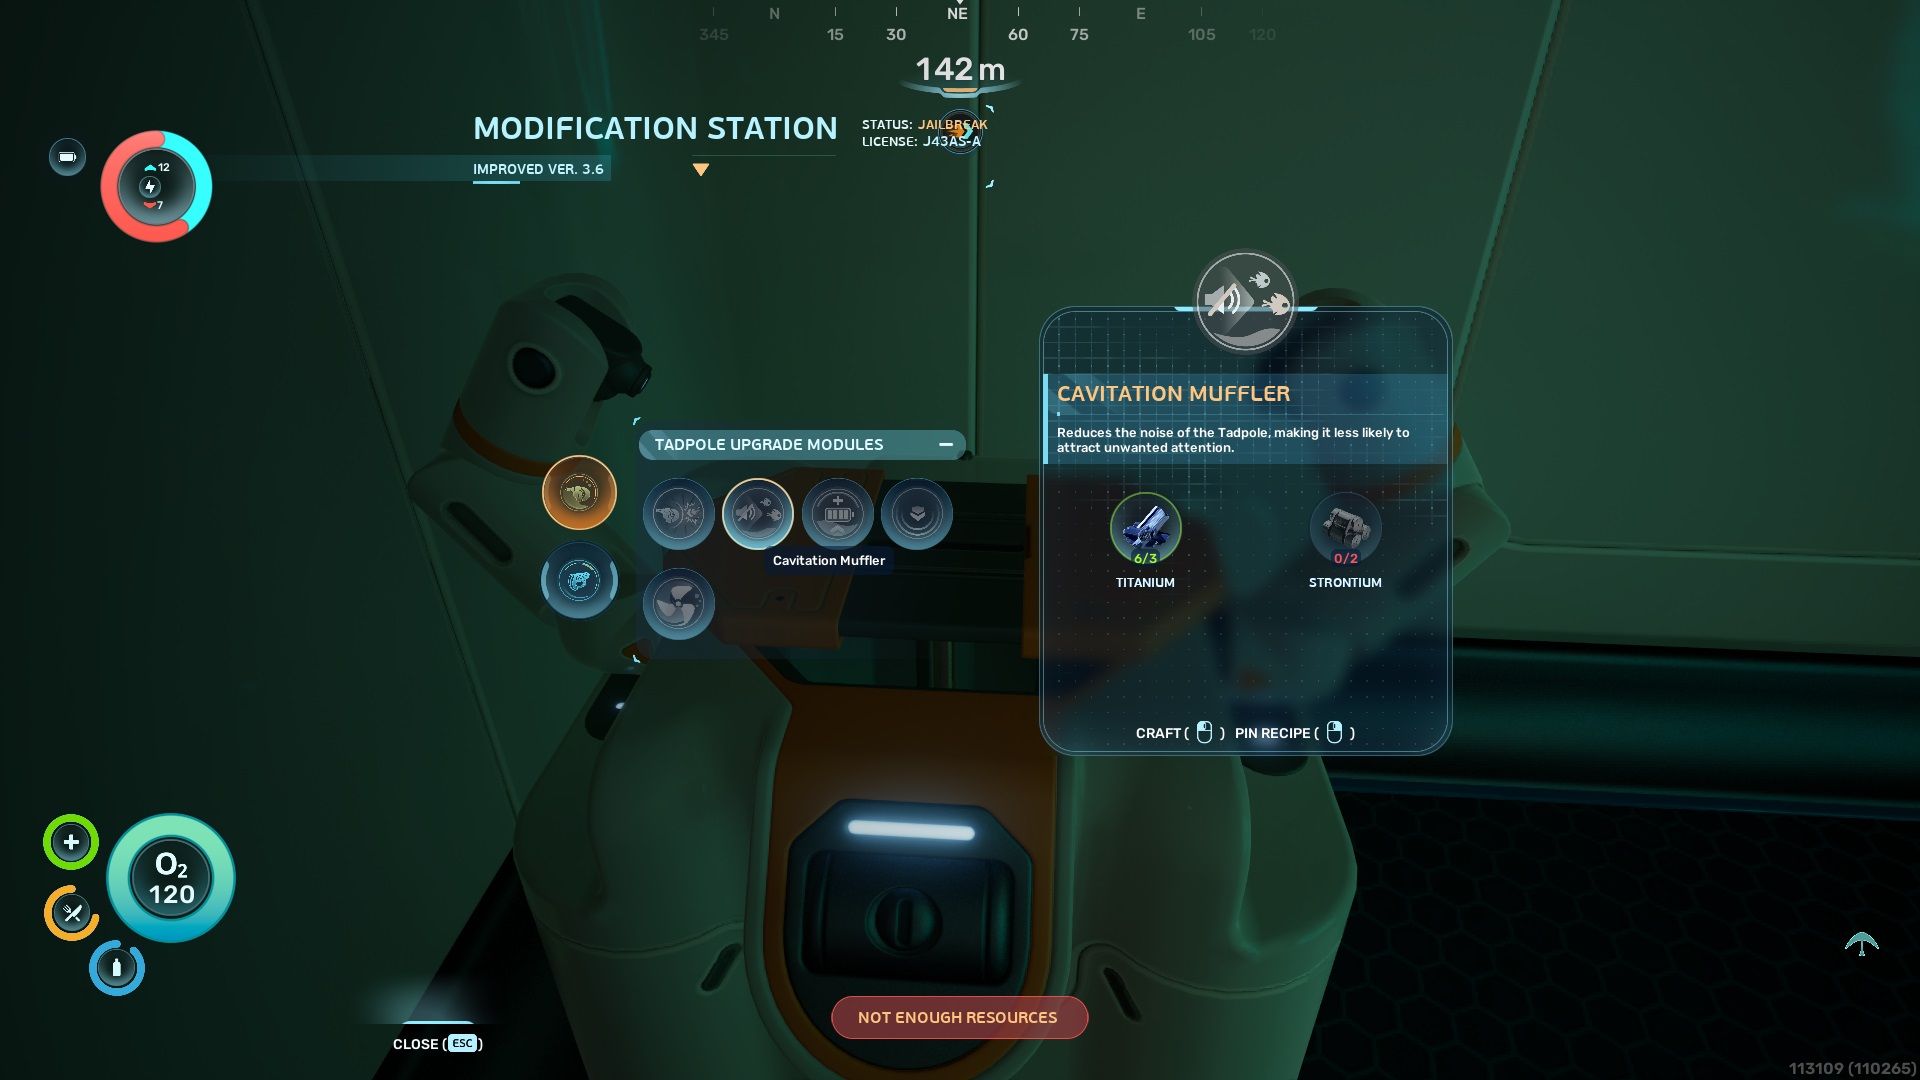
- Blueprint Location: Move northeast from Angel Comb in the Alien Ruins’ region until you reach Metal Farms. Hug the left cliffs, on top of which you will spot a platform with a part of it buried under the sand.
- Crafting Recipe: Titanium (3x), Strontium (2x)
The Cavitation Muffler keeps enemies unaware of you, as long as you maintain a safe distance.
This offers stronger defense than Strike Armor. It’s more effective to avoid dangerous creatures by staying hidden than to risk fighting them and drawing unwanted attention.
Photovoltaic Charger
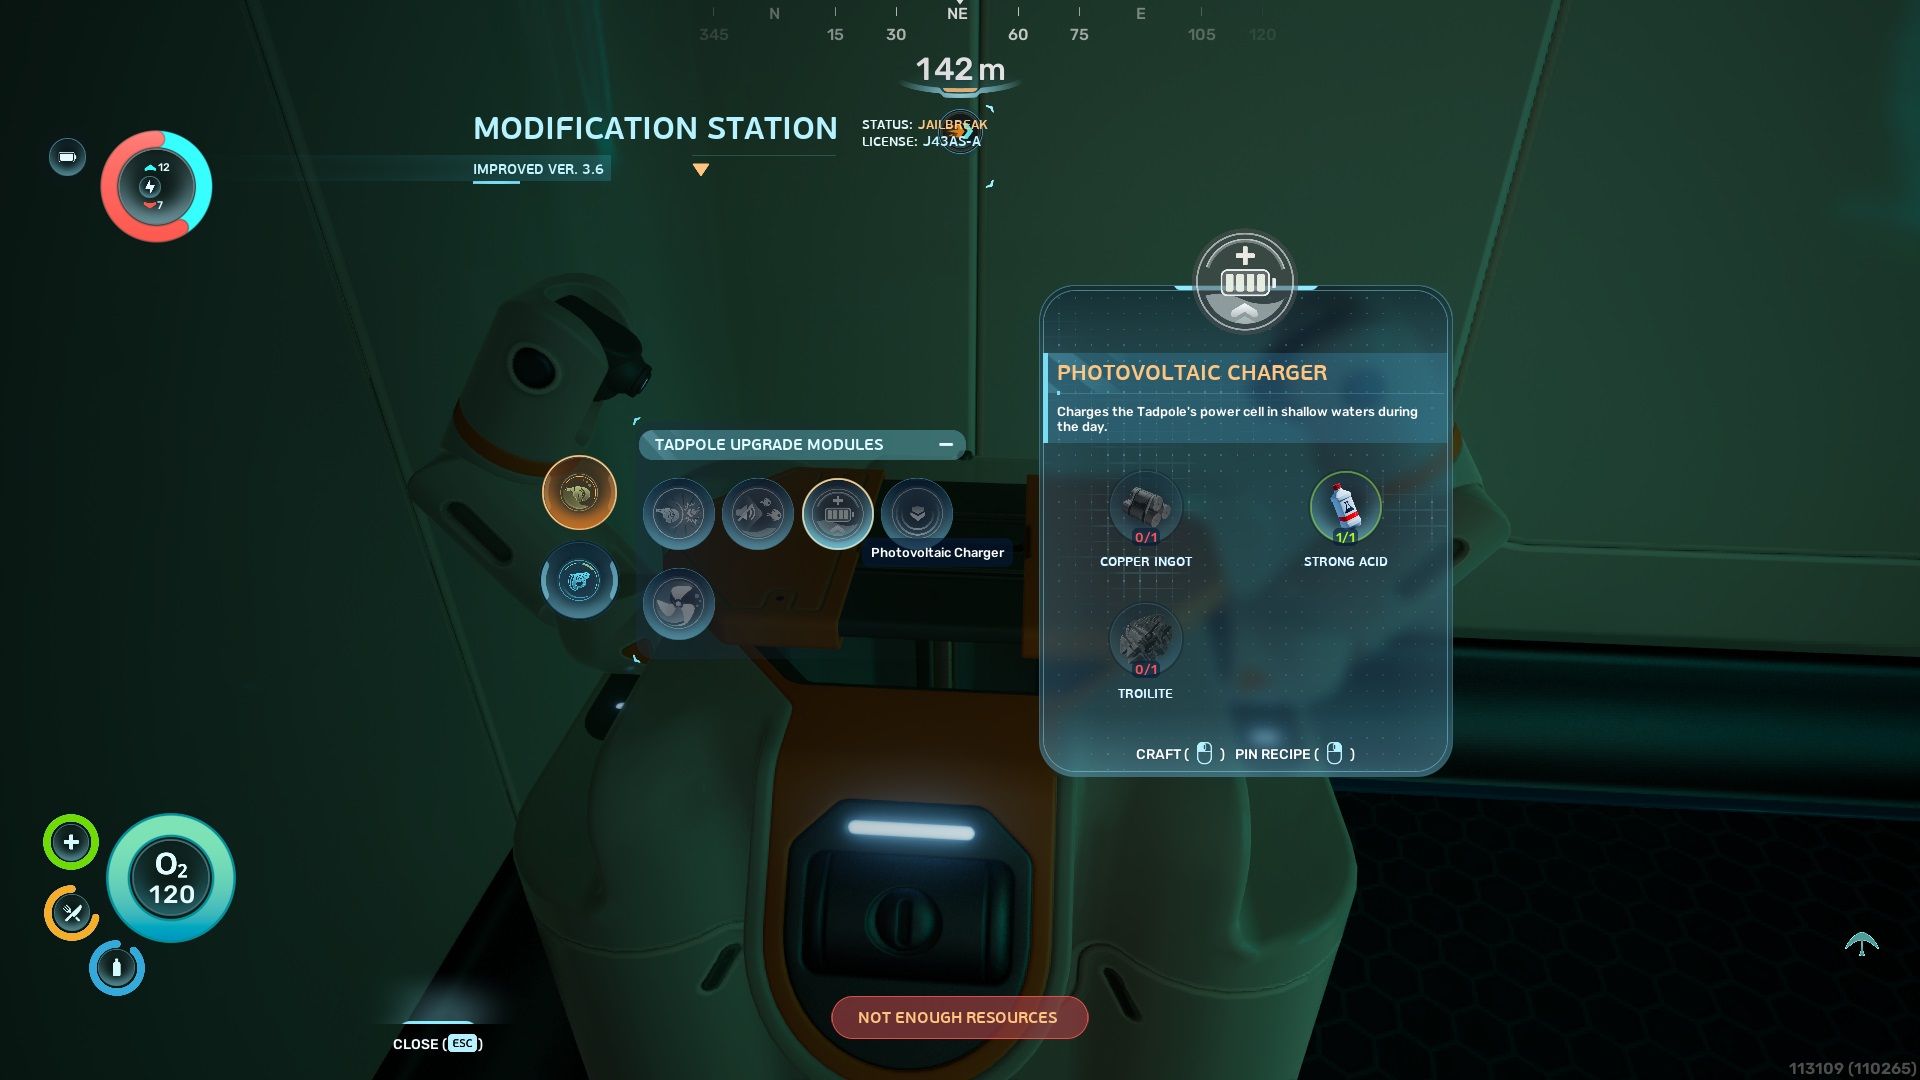
- Blueprint Location: It is in the same crashed base where Bioscanner is located. Move 540 meters towards 125 degrees from Alien Ruins. The blueprint is inside the Cicada Wreck.
- Crafting Recipe: Copper Ingot (1x), Strong Acid (1x), Troilite (1x)
It’s best to set up two charging stations for the Tadpole – one close to the Alien Ruins and another near the Lifepod. But, a Photovoltaic Charger can help you stay out exploring longer during the day.
Okay, so here’s the deal with the Tadpole’s new power cell. It basically recharges itself when you’re in shallow water and it’s daytime. It’s super handy when you’re first starting out, exploring that initial area. But don’t rely on it too much in the deeper sections, like the Alien Ruins. The charging only really works in shallow water, so you won’t get much juice down there.
Engine Efficiency
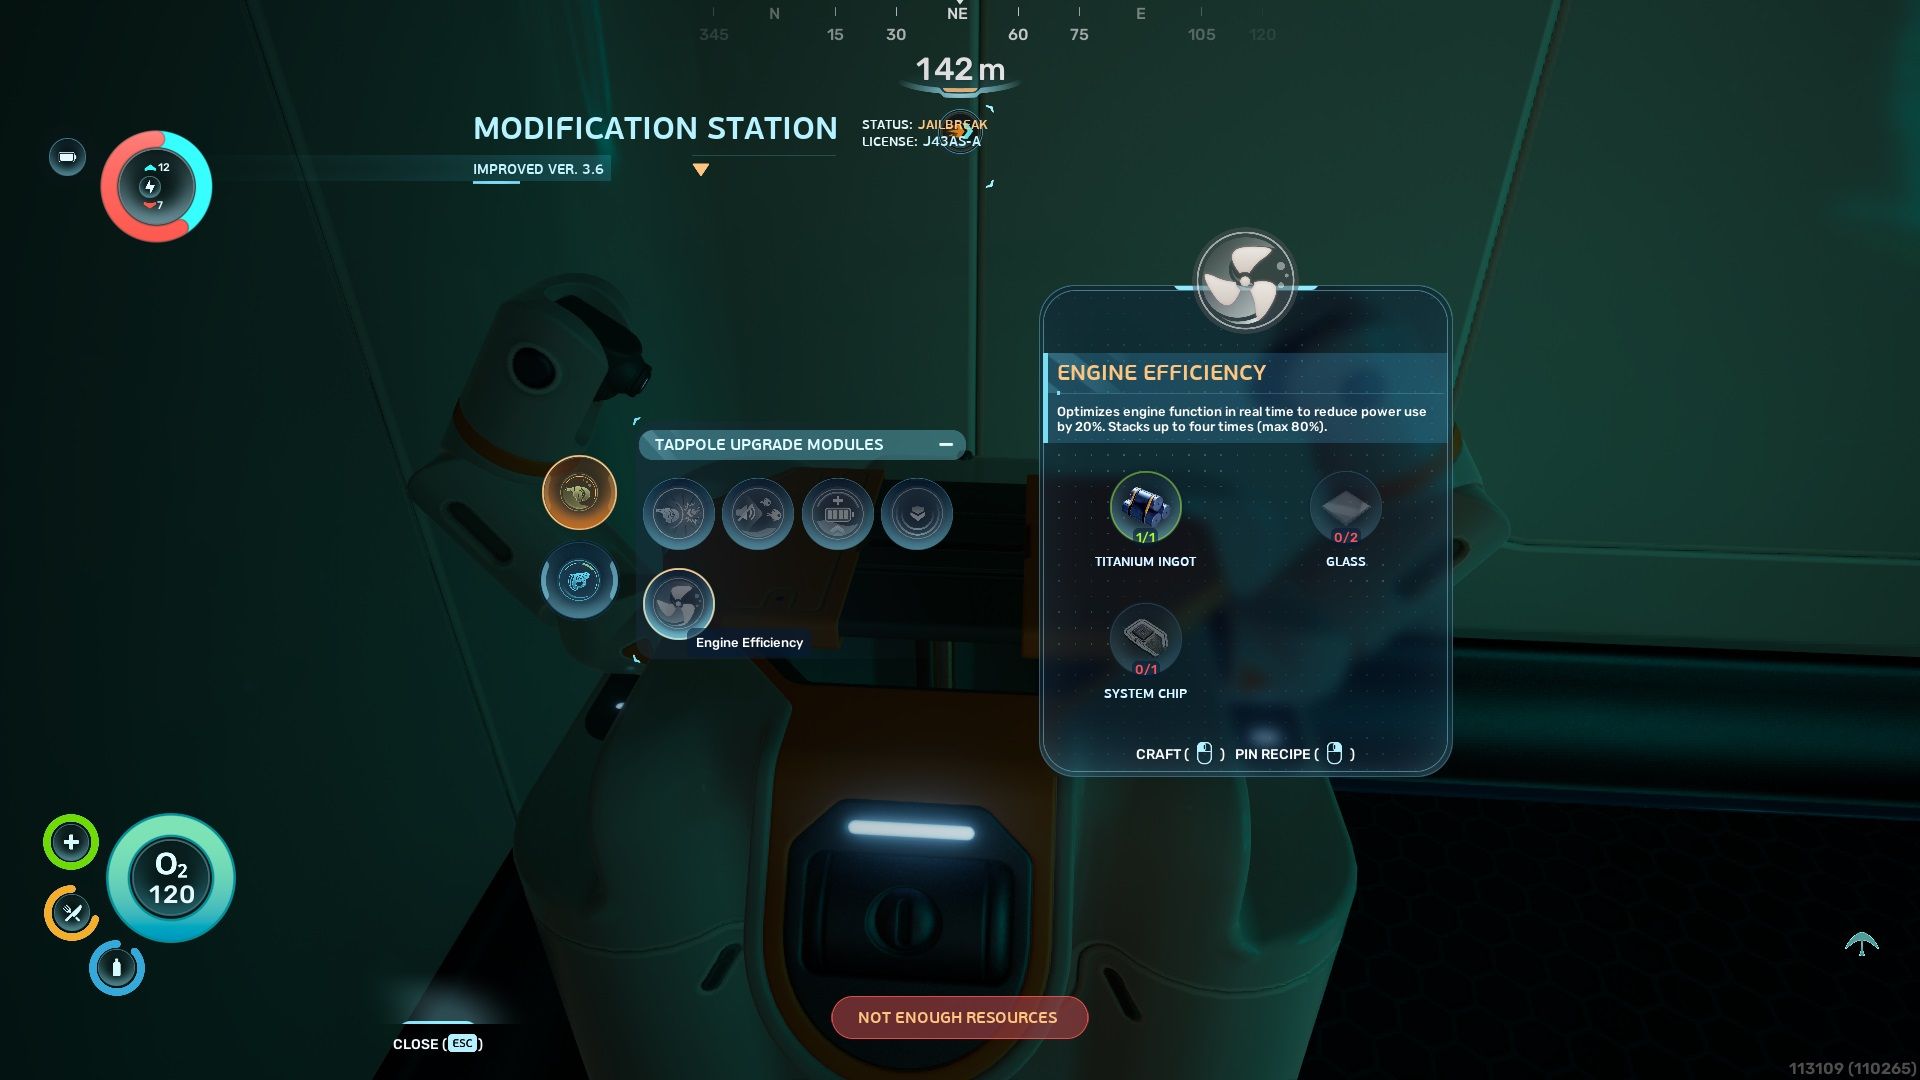
- Blueprint Location: It is inside the Alien Ruins’ base. Head inside through the hatch and take a right to find the blueprint.
- Crafting Recipe: Titanium Ingot (1x), Glass (2x), System Chip (1x)
I’ve found that Engine Efficiency is way more useful than a simple solar charger. Instead of adding power, it actually makes Tadpole’s engines use 20% less power from the cell, which is a huge help when resources are tight!
Great news! You can apply this upgrade multiple times. The Tadpole has four module slots, and by filling them all with the Engine Efficiency upgrade, you can cut your power consumption by a significant 80%.
The Depth Module is crucial for going further, so it’s worth swapping one of your Engine Efficiency modules to replace it. Even after the swap, you’ll still have 60% more power, allowing you to explore for a much longer time.
Read More
- NTE Drift Guide (& Best Car Mods for Drifting)
- All Aswang Evidence & Weaknesses in Phasmophobia
- Diablo 4 Best Loot Filter Codes
- Conduit Crystal Location In Subnautica 2
- Where to Find Prescription in Where Winds Meet (Raw Leaf Porridge Quest)
- Forza Horizon 6: Find the Ohtani Treasure Chest Location
- Boruto: Ikemoto Has Already Hinted At Sasuke’s New Eye After Return
- Best Burst & Full Auto Builds for the M16A4 in BF6
- Starsand Island’s Rarest Achievements and How to Earn Them
- How to Unlock All Maps in Far Far West
2026-05-22 23:35