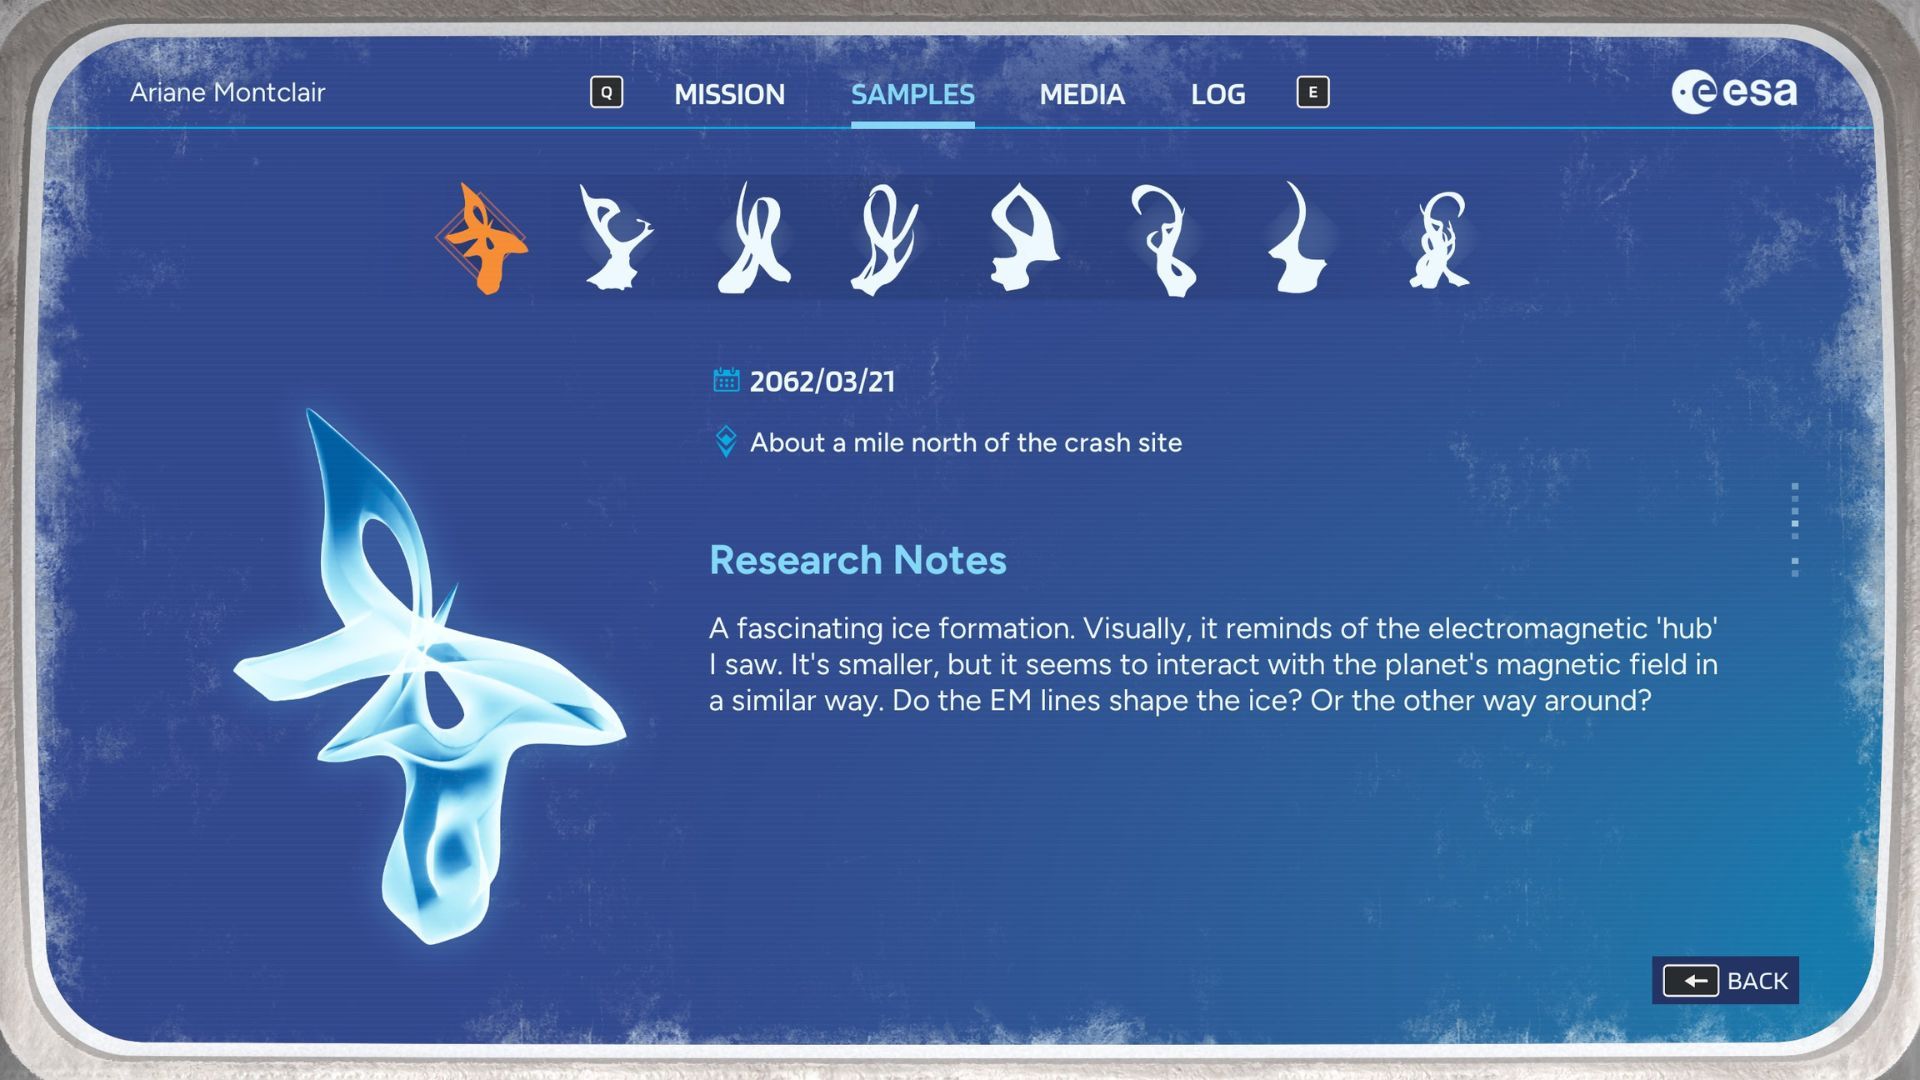
In the game Aphelion, Glyphs are a key collectible. As you play as Ariane, you’ll discover eight Glyphs that reveal more about Persephone and Ariane’s thoughts on her. If you collect all eight, you’ll unlock the Expert Glaciologist achievement.
To help you unlock everything in Aphelion and learn its story, we’ll show you where to find all eight Glyphs. We suggest collecting the Secondary Markers as you go, since each Glyph is linked to one of them.
Where to Find Every Glyph in Aphelion
Aphelion Glyph Location List
As a big fan of Aphelion, I’ve put together a guide showing exactly where to find each Glyph. It lists which chapter of the story each one appears in, and even tells you where in that chapter to look. Hopefully, this will help everyone collect them all!
| Chapter | Location |
|---|---|
| 2 | On the Ice Formation on the right side of the cave’s entrance. |
| 4 | On the Ice Formation on the lower left ledge after exiting the cave. |
| 4 | After escaping from Nemesis the second time, you’ll be in a foggy area with tons of geysers. This Glyph will be on the Ice Formation in this area. |
| 5 | At the Ice Formation outside the Annex, where Nemesis appears. |
| 7 | On the Ice Formation left of the ice patch at the start of the Equatorial Storm. |
| 7 | On the Ice Formation in the cave after escaping from the Nemesis Arena. |
| 10 | On the first Ice Formation in a hidden chamber close to the start of this mission. |
| 10 | On the second Ice Formation in this chapter, which will be on the right side of the path in the middle of a river. |
If you’re having trouble finding a specific Glyph, go to the Chapter Selection menu after finishing the game. Each chapter will display how many Glyphs it contains and how many you’ve already collected, helping you pinpoint which ones you’re still missing.
How to Find Glyphs in Aphelion

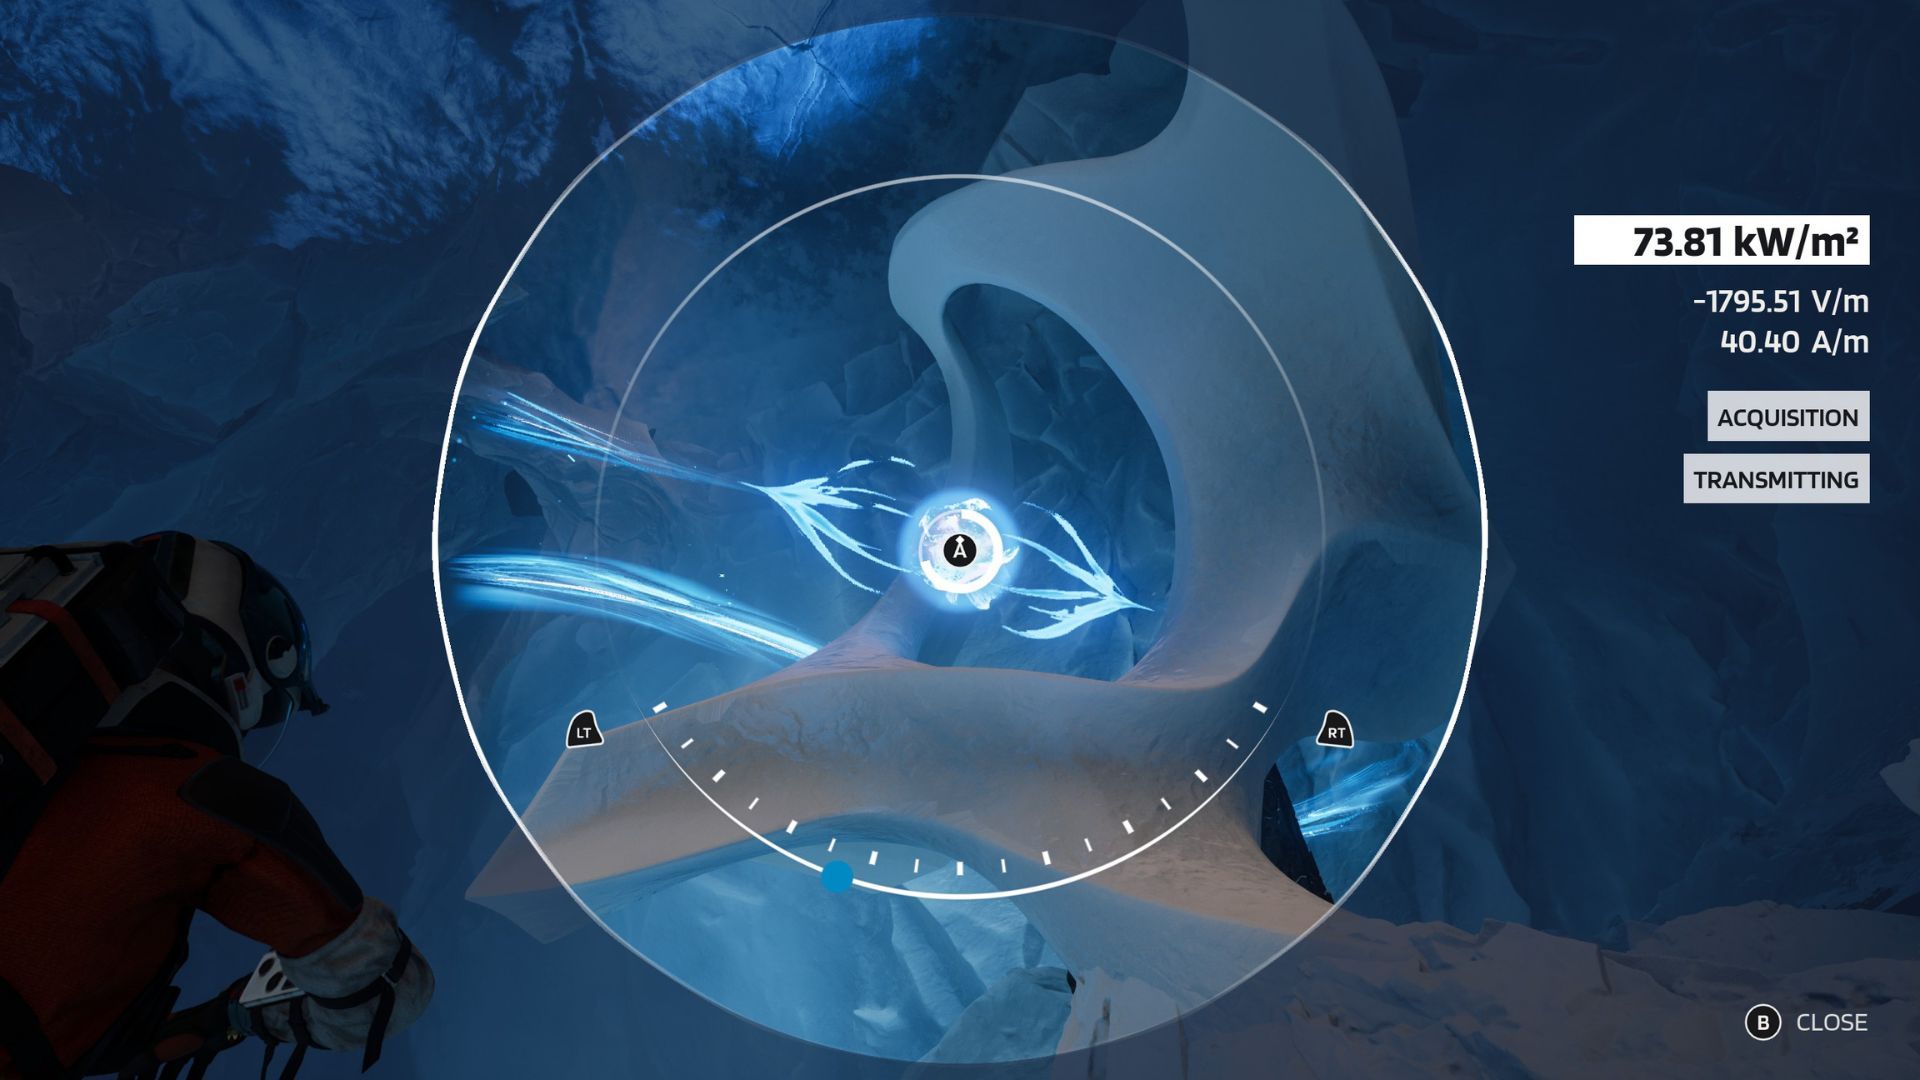
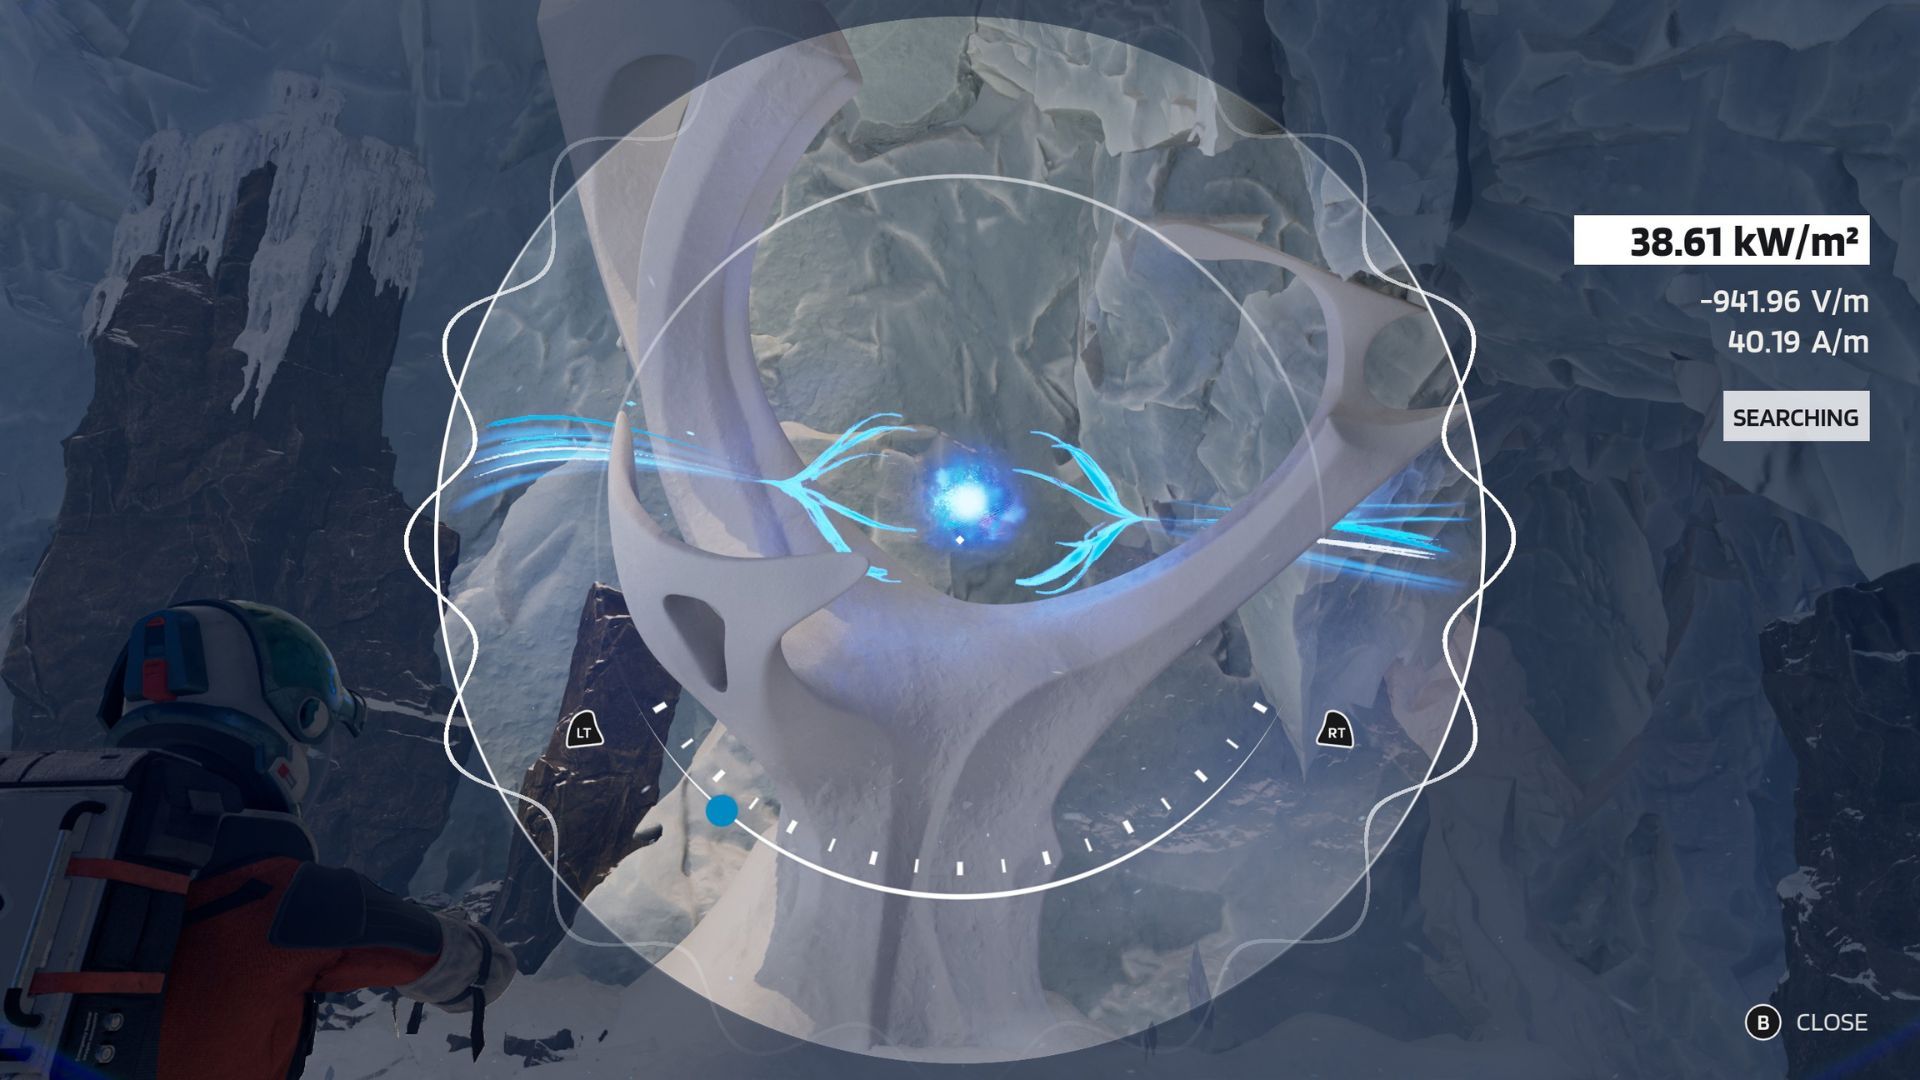
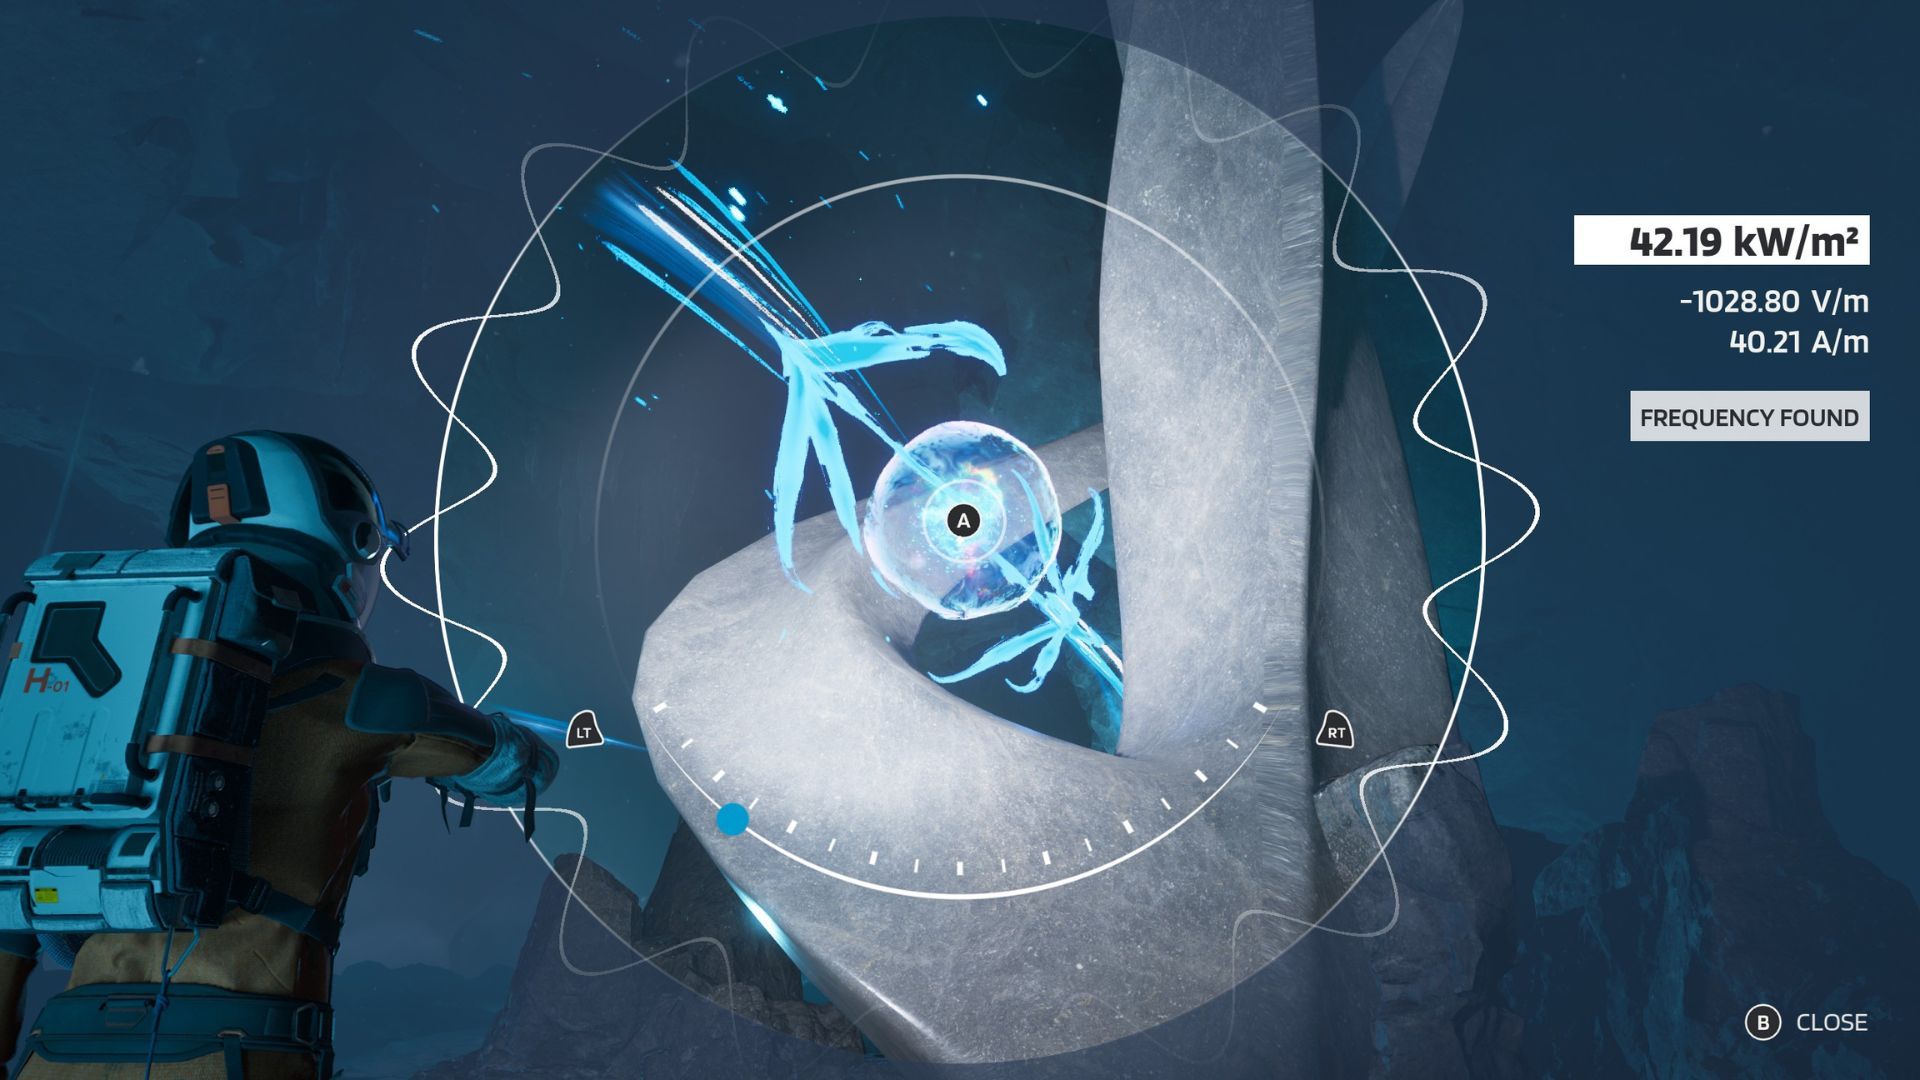
While playing Aphelion, players can discover Glyphs located on or near Ice Formations. To find these Glyphs, use your EM Scanner and adjust its frequency.
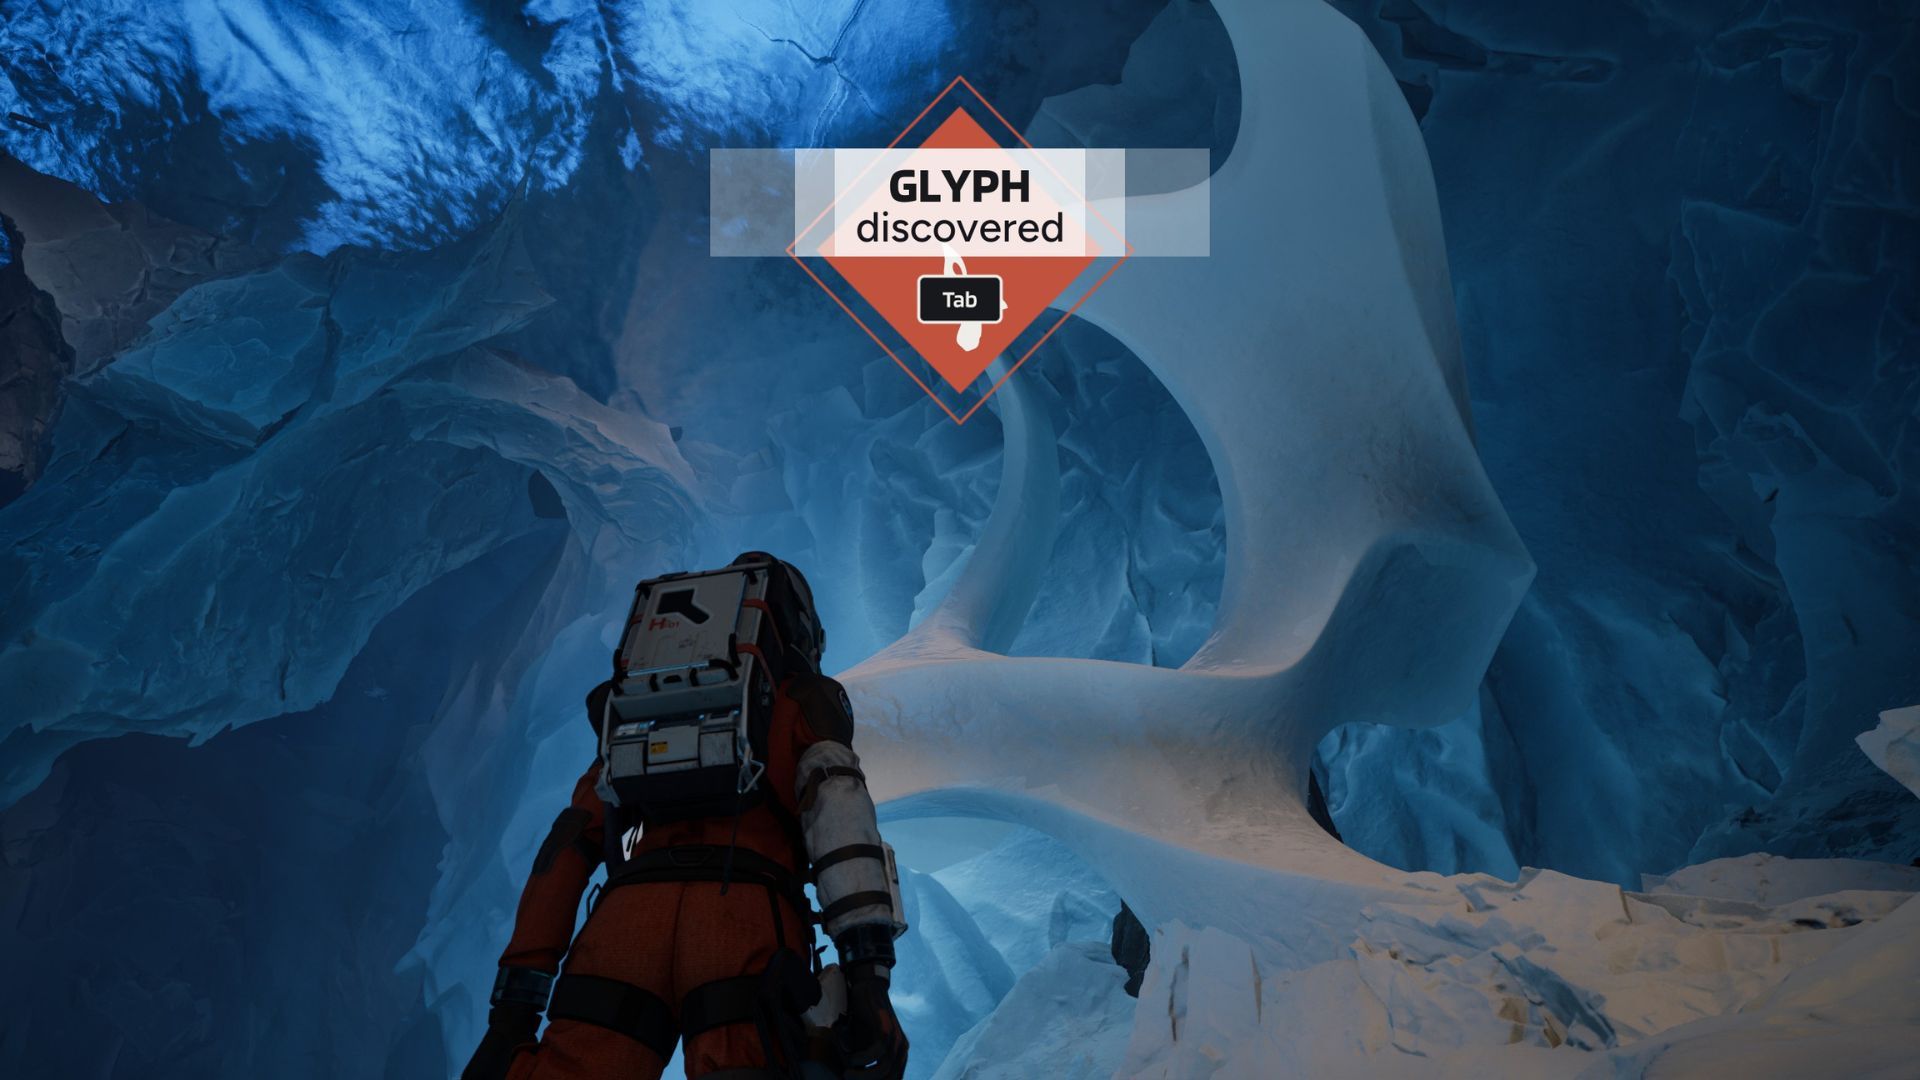
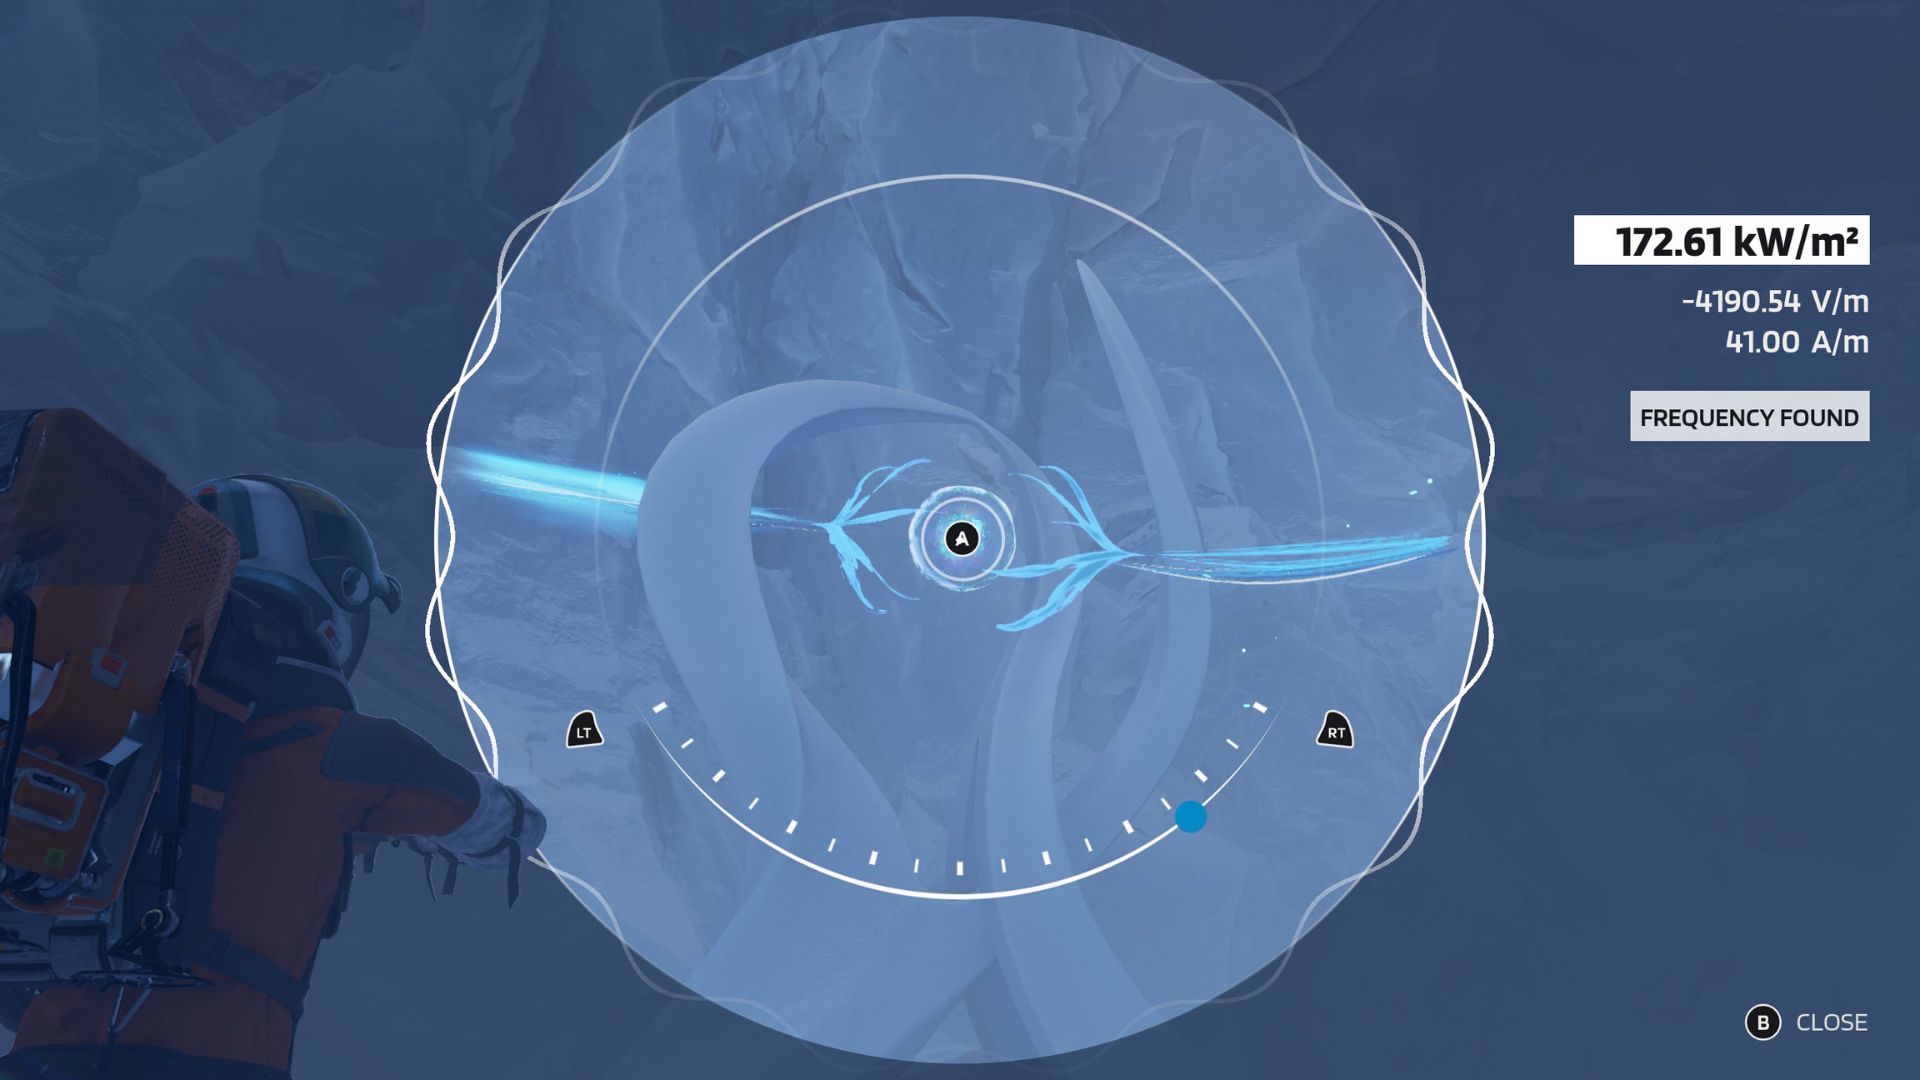
When you tune your frequency to match an Ice Formation with a Glyph, a glowing orb will appear. If your frequency is just right, an icon will show you which button to press and hold to claim the Glyph.
All Glyph Locations in Aphelion
Aphelion Glyph Location Guide
In Aphelion, players can find 8 hidden Glyphs. We’ve put them in the order you’ll come across them while playing the game. If you collect all 8, you’ll unlock the Expert Glaciologist achievement.
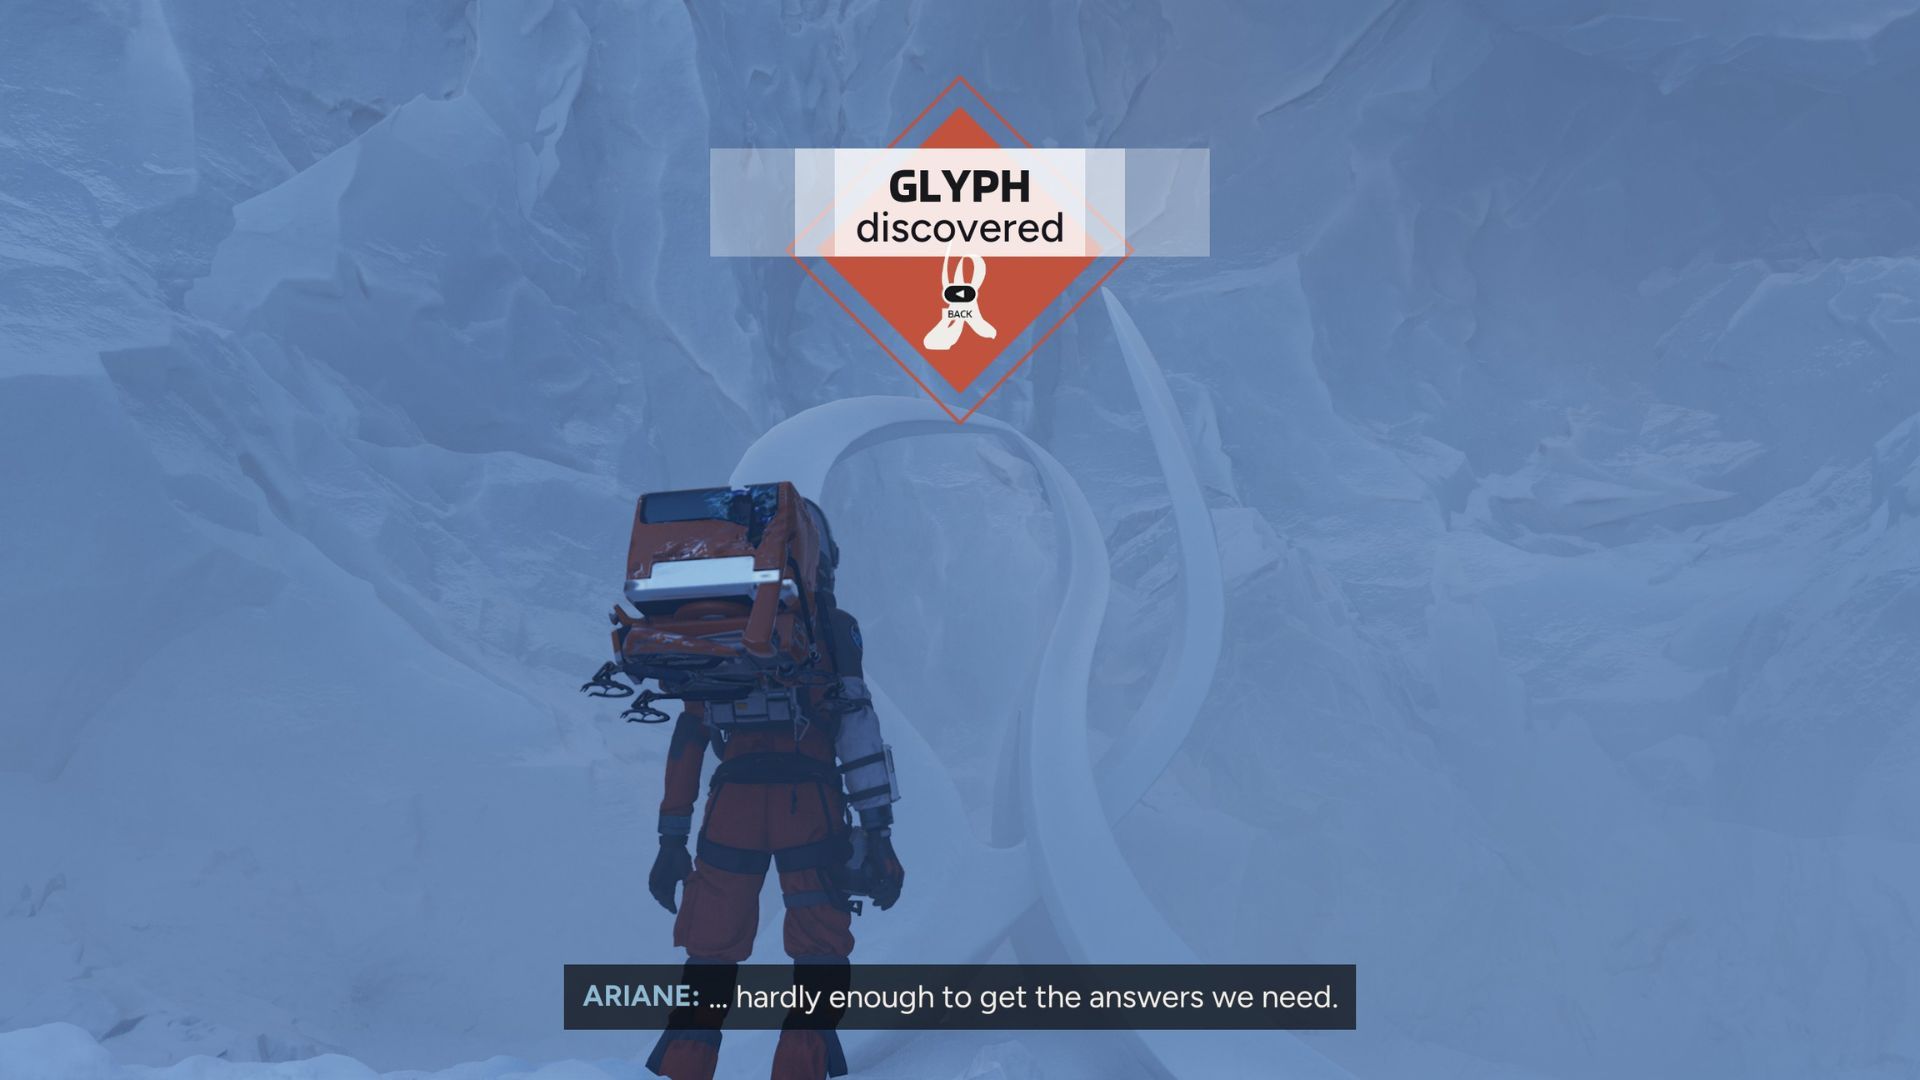
- Chapter: “The Pulse”
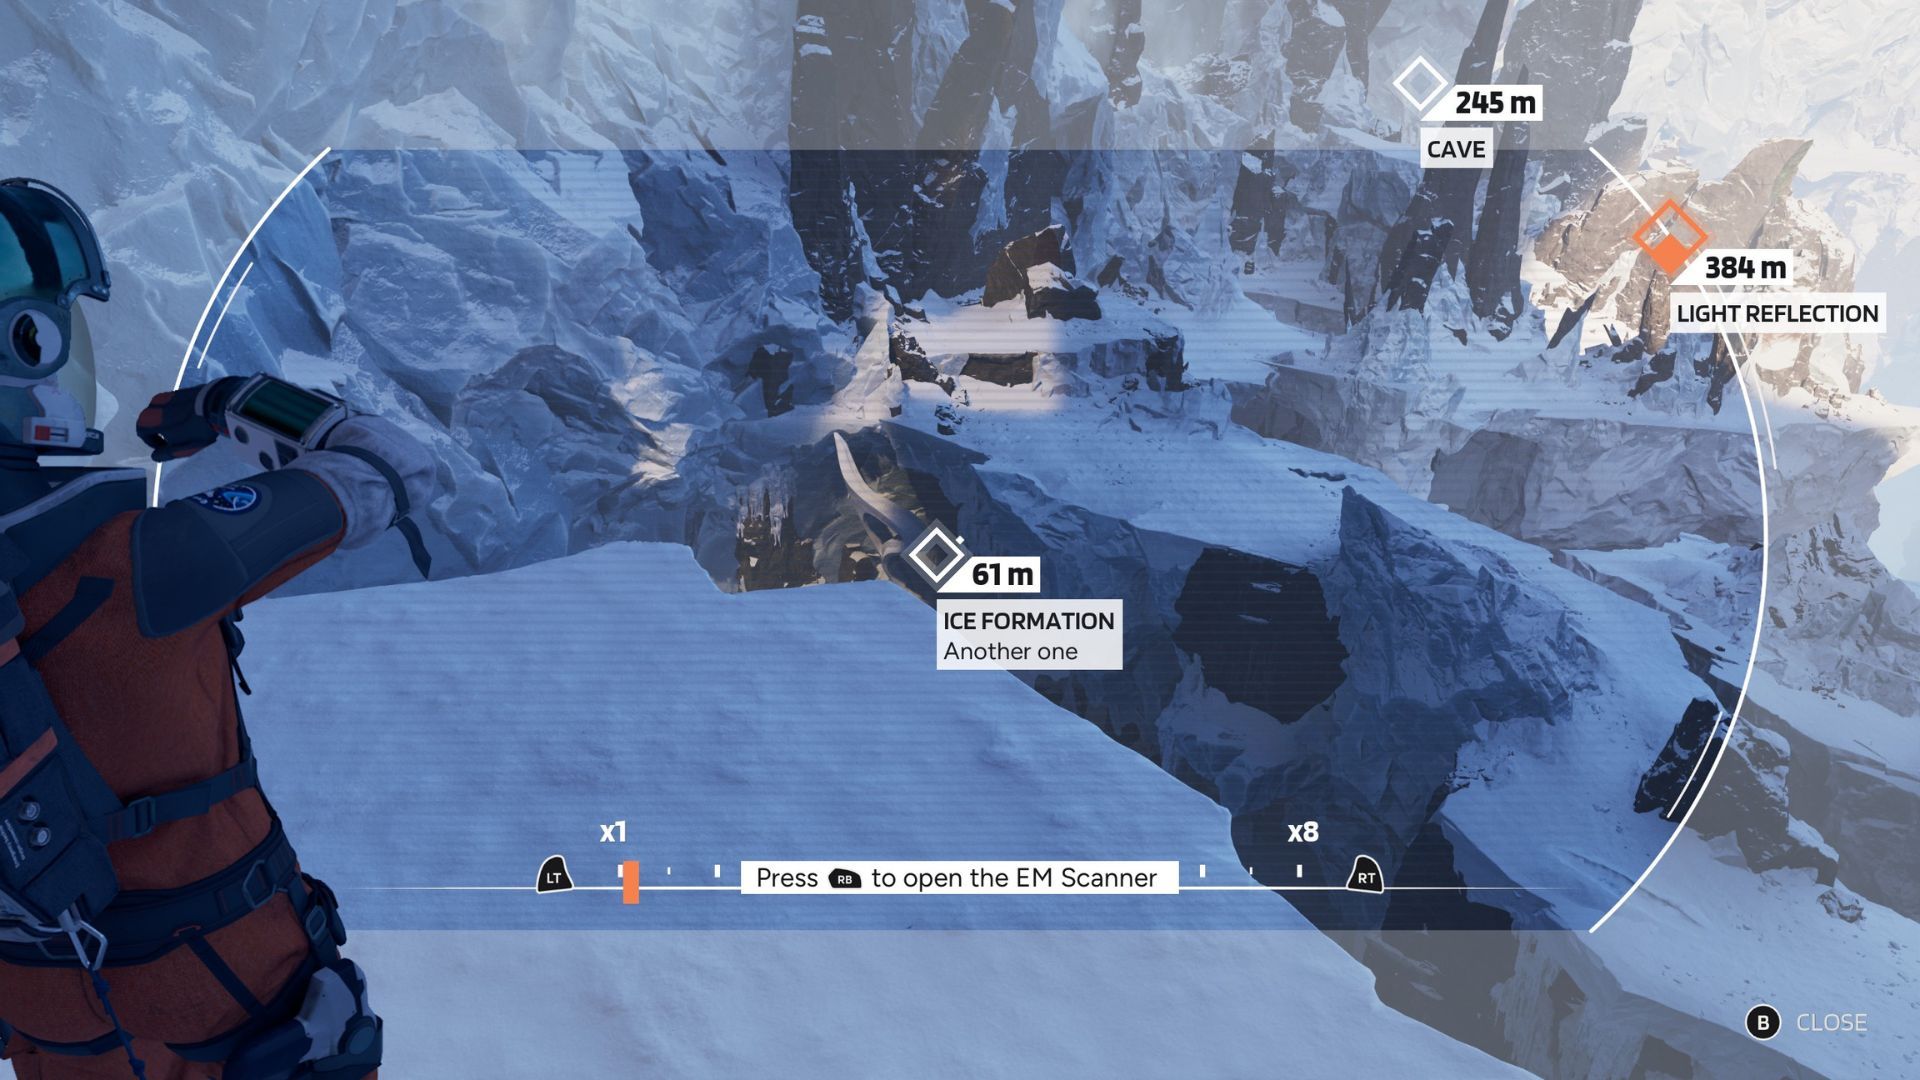
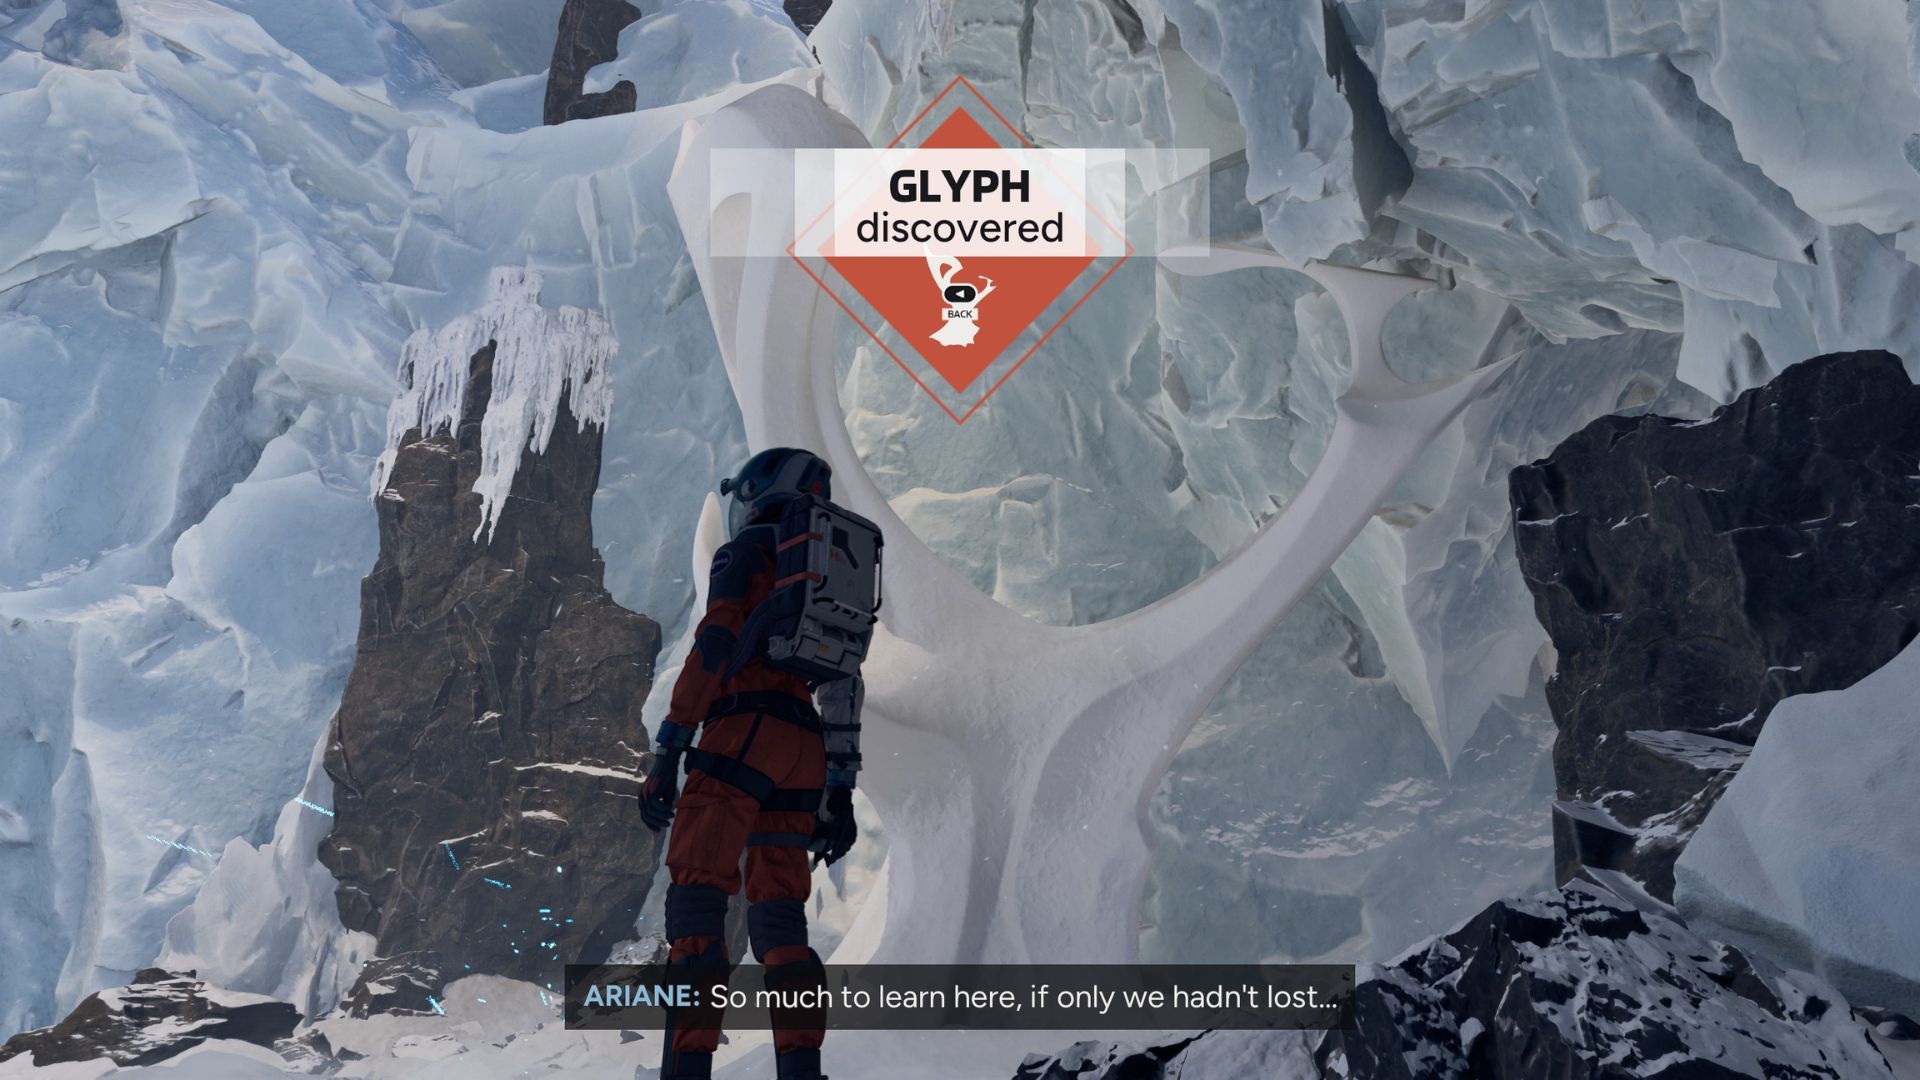
The second chapter of Aphelion begins in a frozen cave. Once inside, use your Pathfinder to search for a way out. Then, point the Pathfinder towards the right side of the cave to locate an Ice Formation near the entrance. Scanning this formation with the EM Scanner will uncover the first Glyph in the game.
- Chapter: “The Onyx Forest”
Once you finish the first section of Chapter 4, you’ll exit the cave and head back outside. Use the Pathfinder to scan the area, specifically aiming it at the ledges on the lower left side, to locate an Ice Formation – it’s marked as a Secondary Marker.
Once you’ve marked the Ice Formation’s location, head right. Stay on this path until you see a ledge you can jump to on the left. From there, climb down the wall to reach the Ice Formation and the Glyph located there.
- Chapter: “The Onyx Forest”
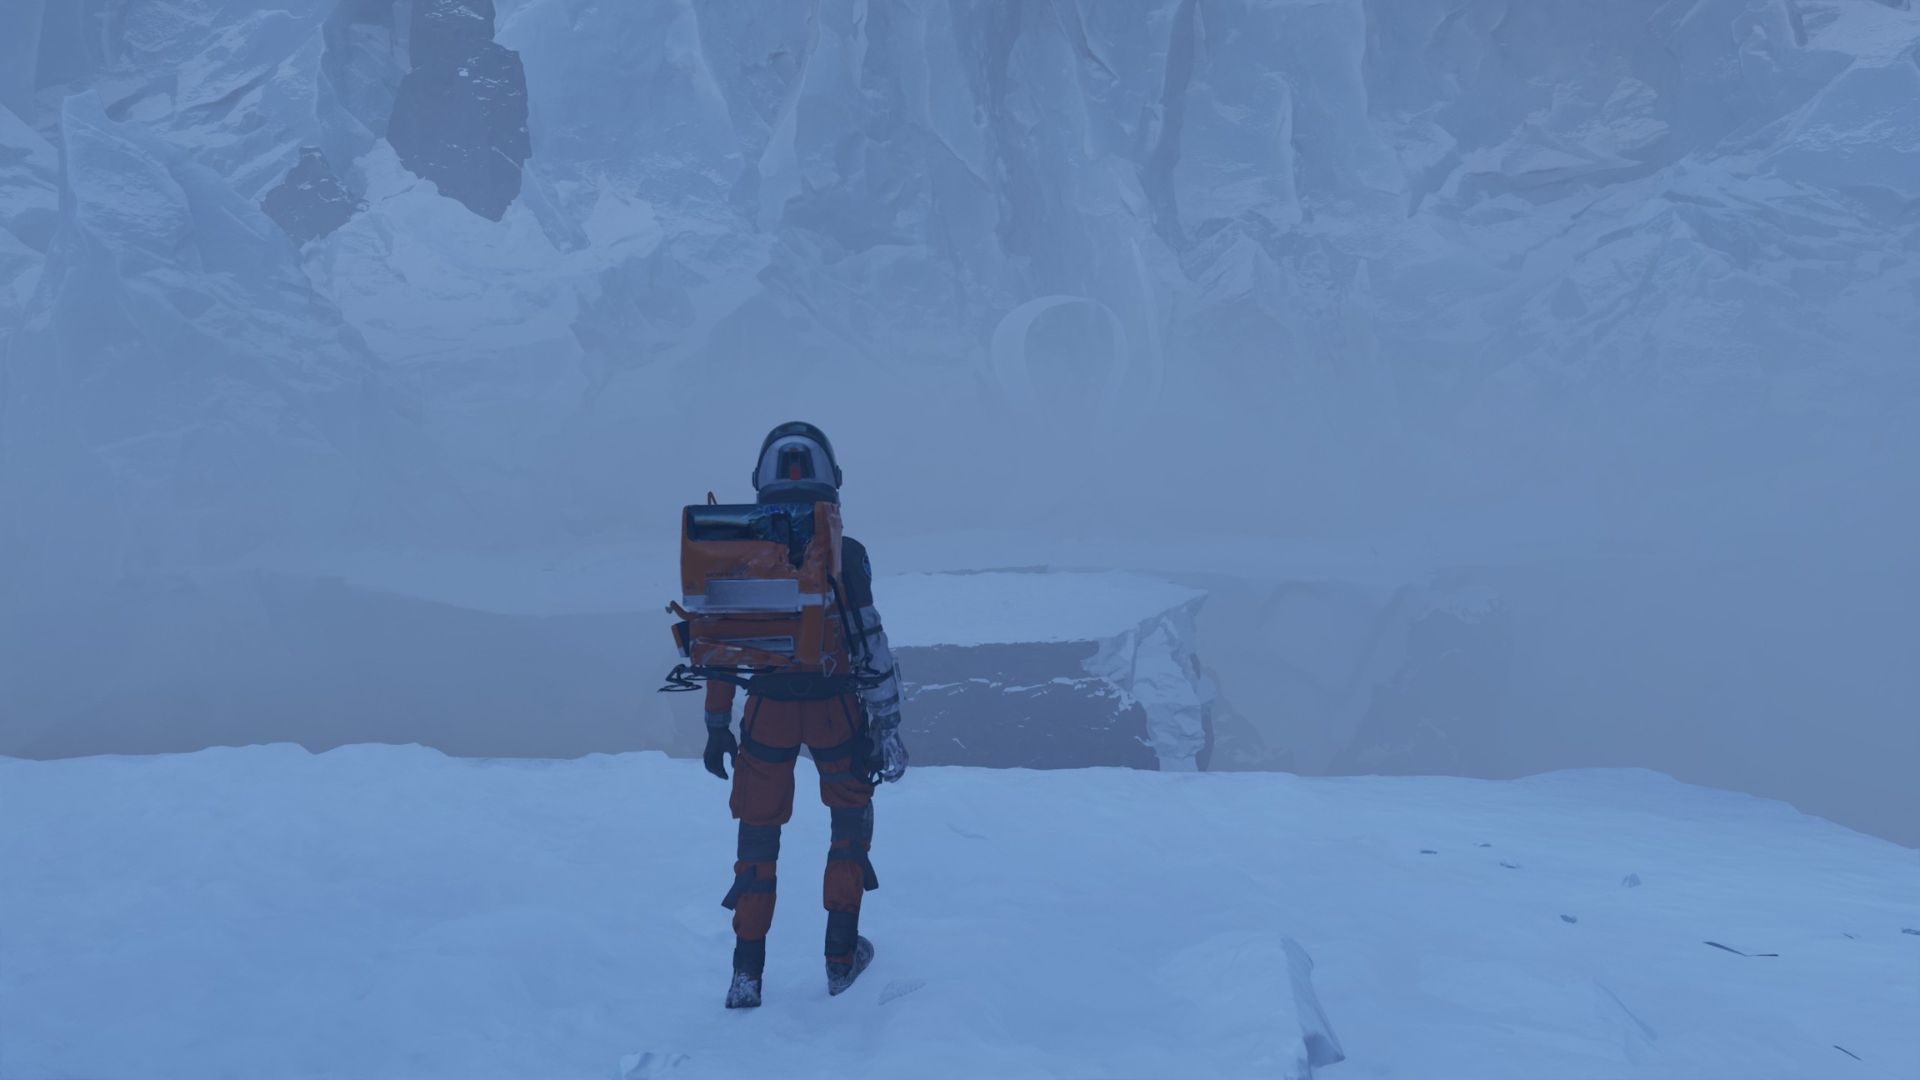
Having escaped Nemesis again, you’ll come out of a cave and find yourself in a foggy area with geysers. Follow the path until you reach a fork in the road – you’ll have three options: left, right, or straight ahead. The left path leads to a ledge with a machine, while going straight will get you closer to your main goal.
If you go to the right, you’ll encounter a short jumping puzzle with a couple of geysers. Carefully jump across, avoiding the geysers, to reach the second Ice Formation in this area. Scan the formation with the right frequency to discover a Glyph.
- Chapter: “The Outpost”
Okay, so once I finish up in the Annex, I need to head back to the main lab. The way back involves a jump across a gap to this clearing with a big ice formation. Just a heads-up though – making that jump will actually cause Nemesis to show up, so I need to be ready for a fight!
The Glyph is located at the bottom of the ice formation. We were able to activate it without much trouble before fighting Nemesis. If you’re having difficulty with Nemesis, activating the Decoy Anomaly to the right will buy you some time to reach and activate the Glyph.
- Chapter: “The Storm”
You can find this Glyph early in Chapter 7’s Equatorial Storm. As soon as you enter the storm area, look for three rocks you can take cover behind. The Glyph is located near the third rock, which is to the right of an icy patch.
Walk carefully across the icy area to get to the ice formation. You’ll find a rock there that will protect you from the storm, keeping you safe from the cold. Change the settings on your EM scanner and then activate the anomaly within the ice formation to find the Glyph.
- Chapter: “The Storm”
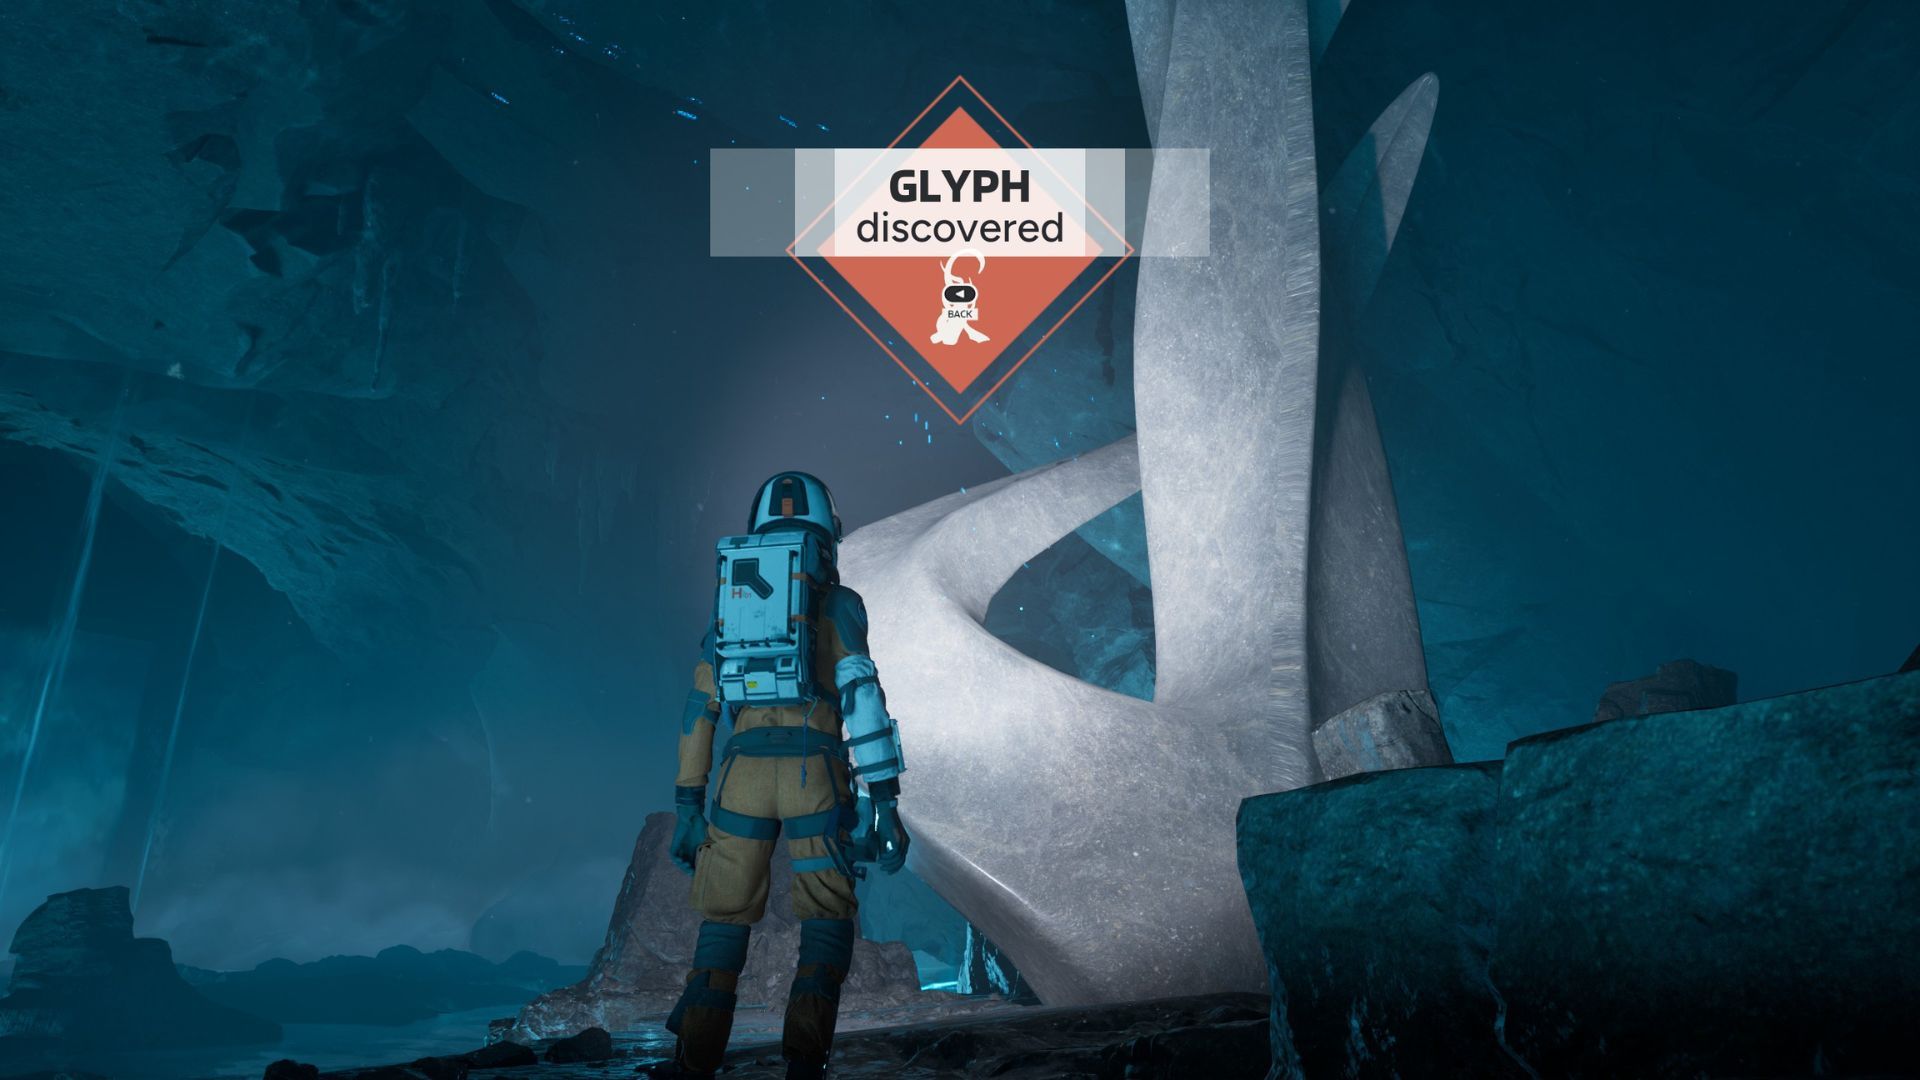
In Chapter 7, players need to escape the Nemesis Arena and then climb a cave to get outside. Inside the cave, they’ll find a Secondary Marker called the Ice Formation.
Ascend the cave to reach a path located behind the ice formation. Tune your EM Scanner to the same frequency as the formation, and then activate it to obtain a new glyph.
- Chapter: “The Styx”
Early in Chapter 10, you’ll see a vision of Thomas walking across a small bridge. After you climb the wall at the bridge’s end, climb as high as you can and then move to the right to reach a higher platform.
Carefully cross the narrow path ahead – it will take you to a strange area. Once you’ve dealt with that, a crystal will appear. Use it to swing across to the other side. Look for an opening in the wall on your left; it leads to a secret room where you’ll find an Ice Formation.
To activate the Glyph, you need to get to the correct floor of the room. Once you’ve done that, you can head left to go back to the main cave.

- Chapter: “The Styx”
Okay, so I finally figured out where the last Glyph in Aphelion is! It’s in Chapter 10, on the second Ice Formation. Honestly, it looked impossible to get to at first, but there is a way – a direct path right to it! I was so relieved when I found it.
You’ll see the Ice Formation on a lower section of the path shortly after you descend a ledge. Look for it before you climb the next two ledges to reach the Project Aphelion station. White markings on the ground to the right of this lower area will show you where to climb down.
Okay, so if I drop down from this ledge, it takes me straight to the Ice Formation. Once I grab the Glyph there, I can just retrace my steps – take the same path back – and keep going on my adventure. It’s a nice little loop!
Read More
- NTE Drift Guide (& Best Car Mods for Drifting)
- All Aswang Evidence & Weaknesses in Phasmophobia
- Diablo 4 Best Loot Filter Codes
- Conduit Crystal Location In Subnautica 2
- Where to Find Prescription in Where Winds Meet (Raw Leaf Porridge Quest)
- Boruto: Ikemoto Has Already Hinted At Sasuke’s New Eye After Return
- Best Burst & Full Auto Builds for the M16A4 in BF6
- Forza Horizon 6: Find the Ohtani Treasure Chest Location
- How to Unlock All Maps in Far Far West
- Deltarune Chapter 1 100% Walkthrough: Complete Guide to Secrets and Bosses
2026-05-01 23:39