In Subnautica 2, your inventory fills up quickly, particularly when you’re first starting out. You’ll be juggling crafting materials, tools, and supplies, and space is limited. Luckily, inventory management becomes much simpler once you begin using Portable Lockers, expanding your storage, and focusing on carrying only essential items in Subnautica 2.
Best Early Inventory Management Tips
Take these actions to deal with a tight inventory in the early game:
- Carry a Portable Locker with you for 15 additional inventory slots.
- Hunt down Colonist Bunkers and use the Biobeds inside them for permanent inventory upgrades.
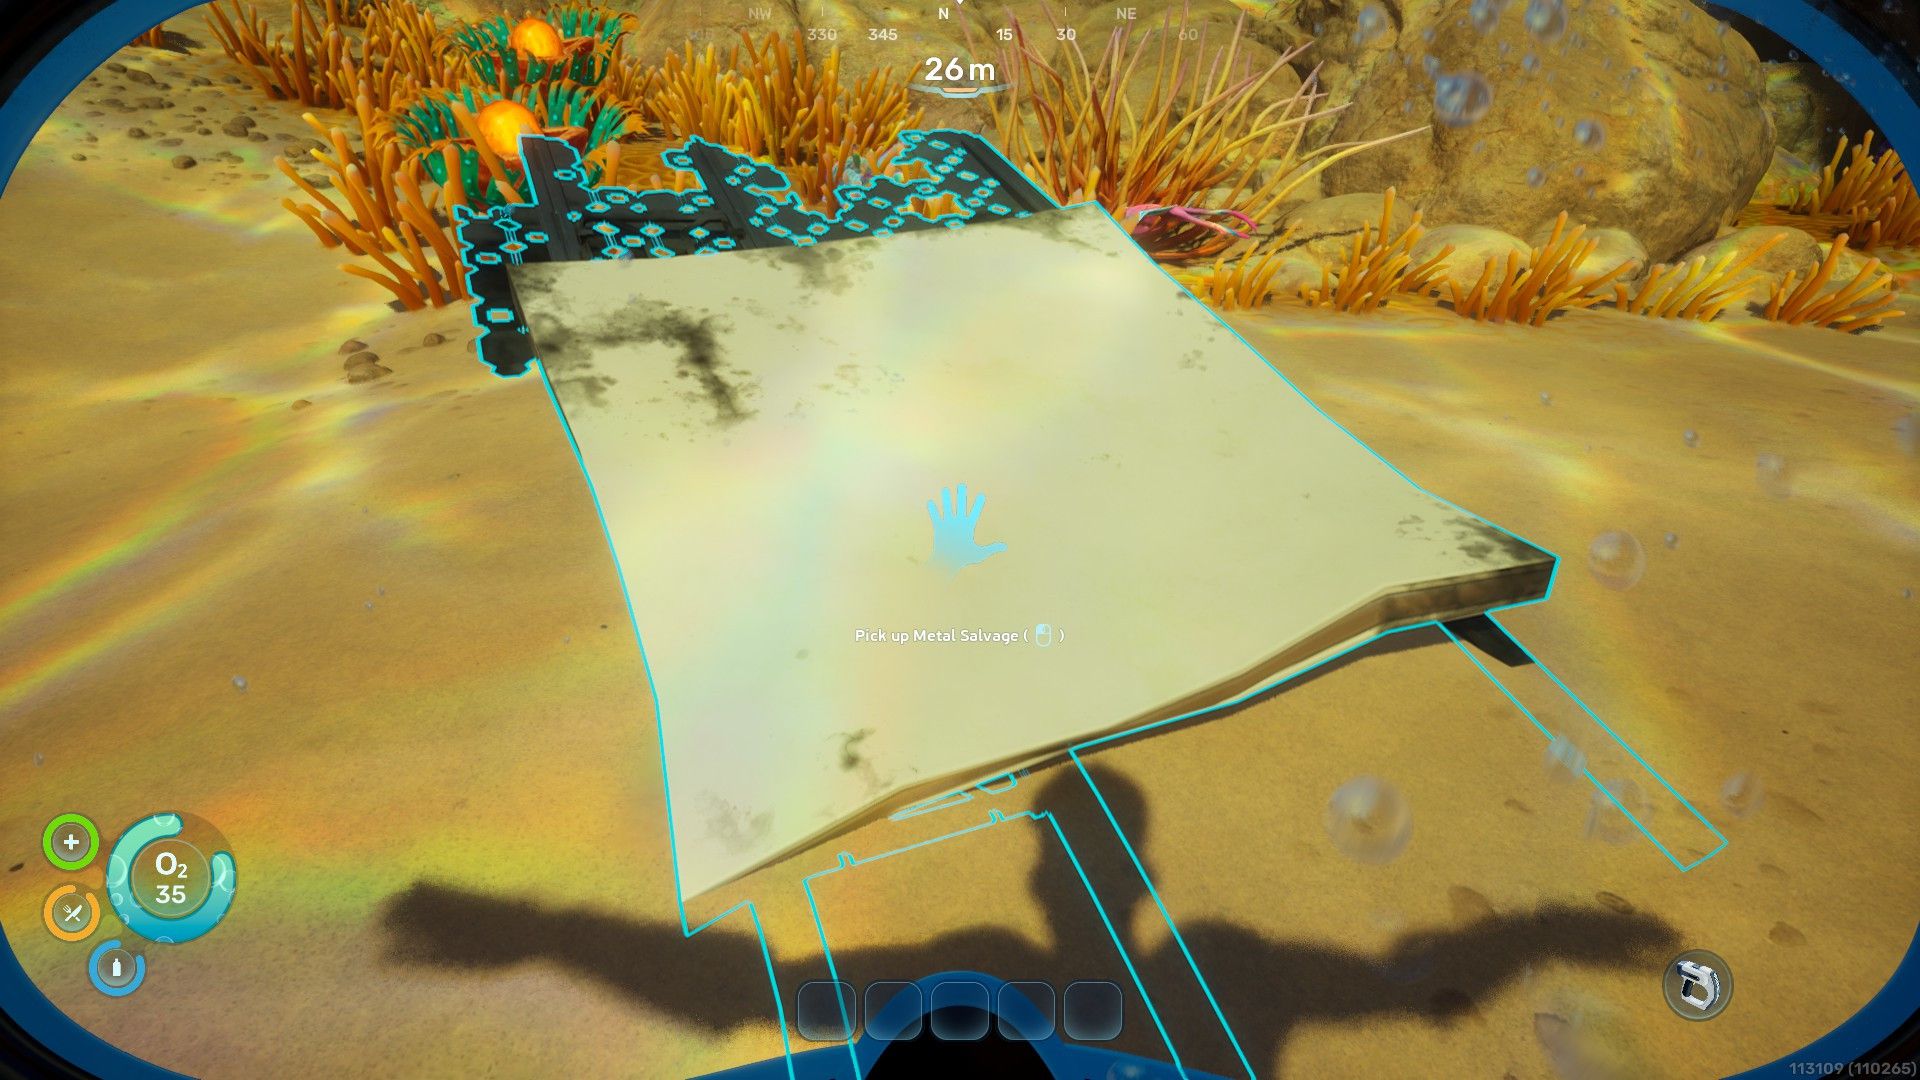
- Don’t break down Metal Salvage until you need the Titanium.
- Gather only what you need for the recipes you’re currently working on.
- Don’t take tools and consumables you won’t use on every outing.
- Build lockers in your base as soon as you get one established.
Portable Lockers Are the Key at the Start
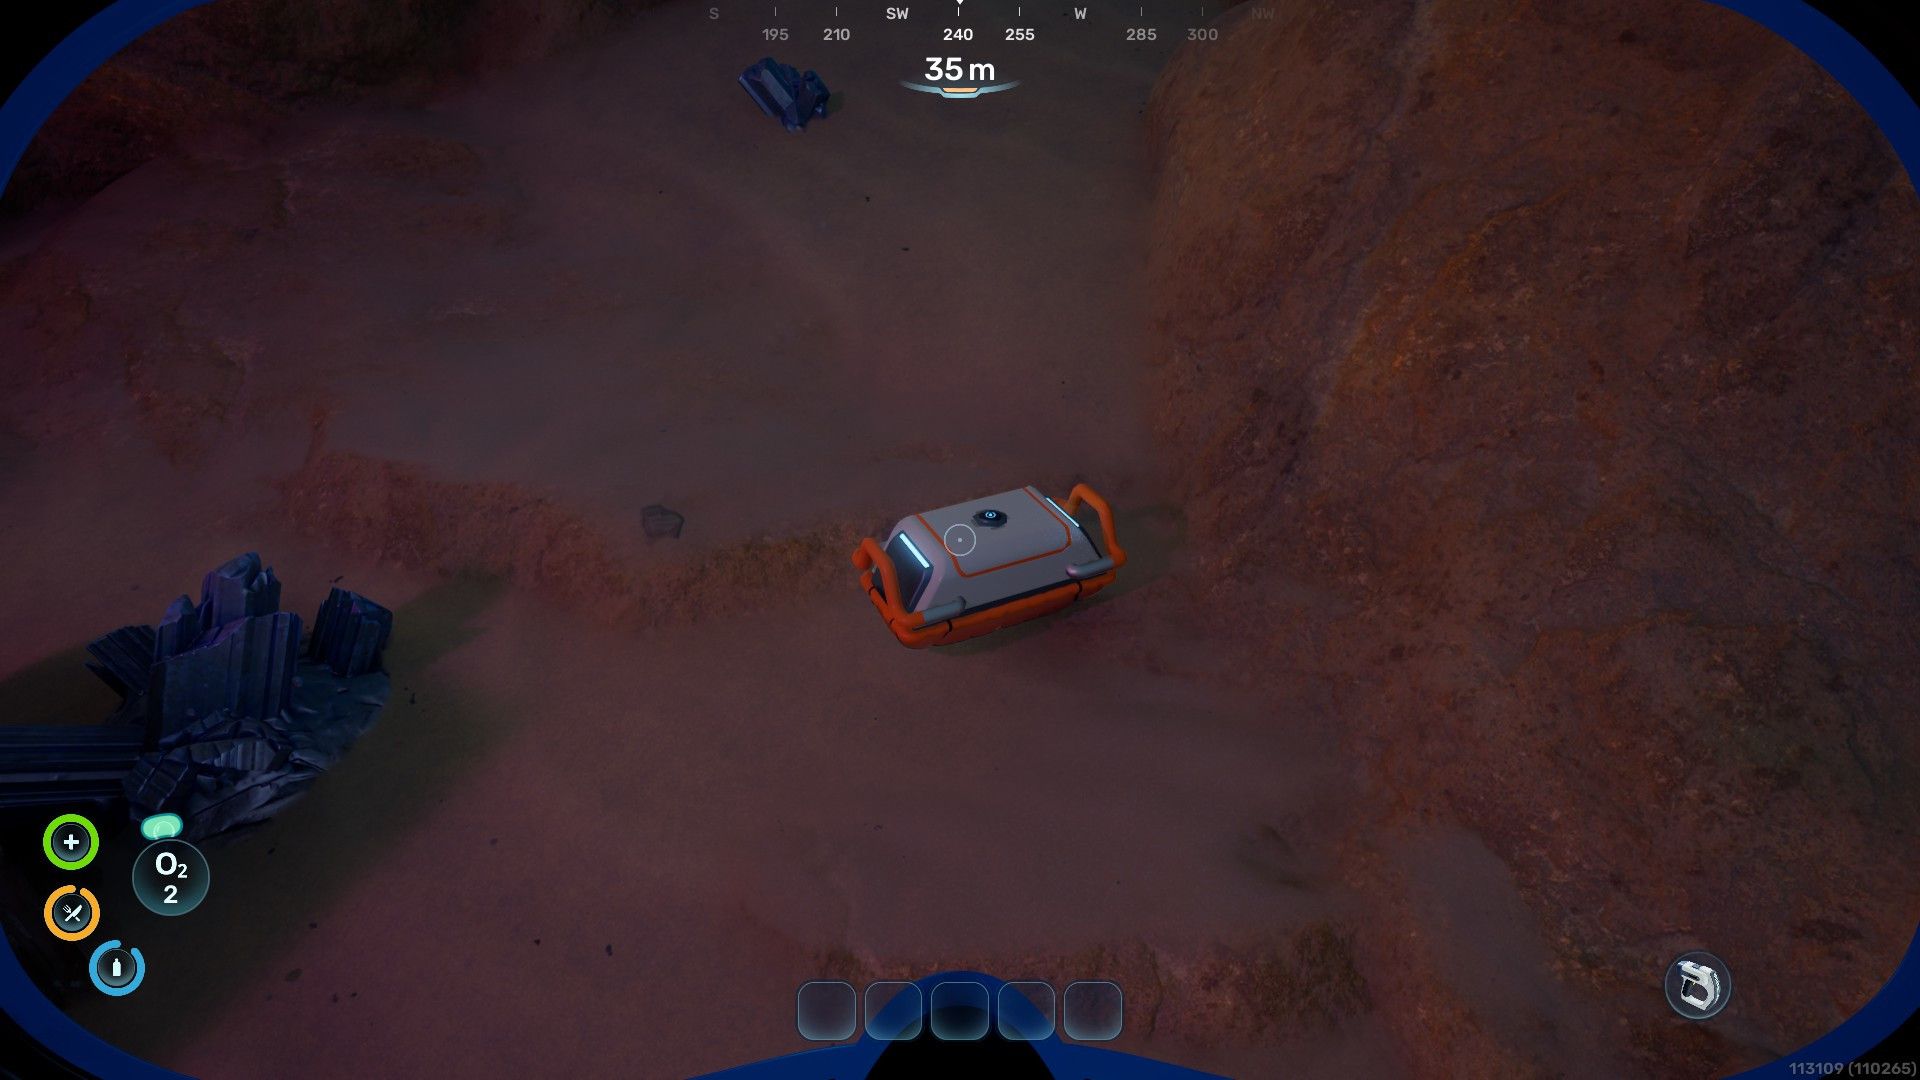
While exploring caves and buildings, you’ll find Portable Lockers. One is conveniently located at the bottom of the cave right under your Lifepod, offering a quick and simple way to expand your inventory early in the game.
These containers give you 15 extra spaces to store items, which is really helpful when you’re out exploring. Although you can’t use tools while carrying one, the added storage is a great benefit, particularly early in the game, letting you stay out longer before needing to return to your base to deposit resources.
Once you’re back at the Lifepod with a full inventory and a Portable Locker, you can store your items in the Wall Locker or leave them directly inside the Portable Locker. After crafting a Habitat Tool, you can create more Portable Lockers, which is a helpful way to manage your resources even before building a base.
Soon, you’ll be able to connect a Portable Locker to your vehicle, letting you easily bring it along on long expeditions.
Unlock Extra Inventory Slots Through Biobeds
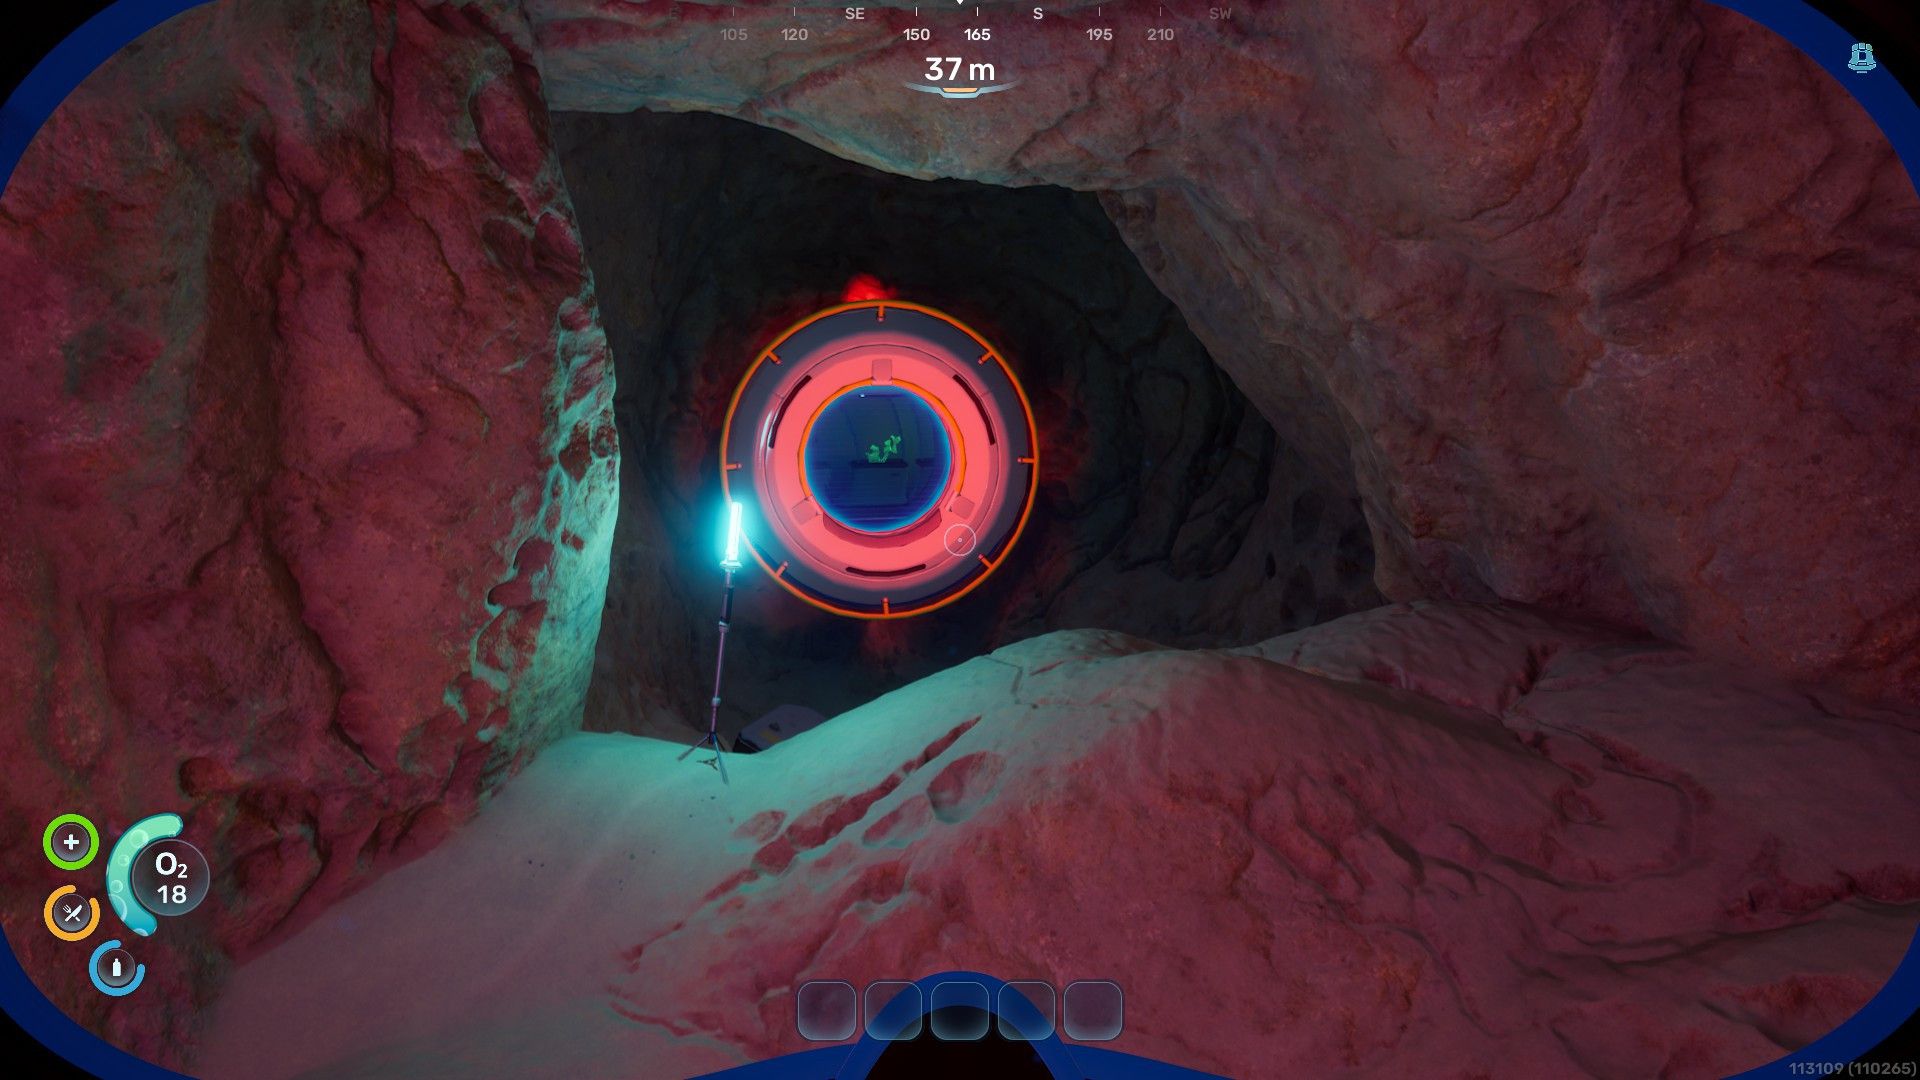
Okay, so I figured out a really cool way to get more inventory space! There are these Biobeds in the Colonist Bunkers, and if you interact with them, they unlock extra slots. The best part is, unlike those Portable Lockers which are temporary, Biobeds permanently increase how much I can carry. Seriously, finding these early on is a game-changer – they’re super valuable!
As you explore, keep an eye out for Colonist Bunkers hidden in caves – you might spot them thanks to underwater lights nearby. Also, the NOA sometimes directs you to these bunkers with early mission waypoints. Don’t forget to use the Biobed if you find one!
Focus on Inventory Management Alongside Expansion
These suggestions won’t magically give you more products to sell, but they can still help if you’re having trouble keeping track of what you do have.
Keep Metal Salvage Intact Until You Need Titanium
You’ll use a lot of Titanium while playing, as it’s essential for building your base, making vehicles, and more. You can get Titanium by breaking down Metal Salvage, which you’ll find scattered around the world, using a Fabricator. Each piece of Metal Salvage only takes up one space in your inventory, but gives you four Titanium when processed, so it’s best to save it until you actually need the Titanium.
Use Pinned Recipes to Inform Your Gathering
It’s easy to get carried away gathering everything you find, but focusing on the materials you need right now will help you avoid filling up your inventory. To stay organized, use the Blueprint menu to pin recipes you’re actively crafting. Just right-click on an item you want to make, and the necessary materials will appear pinned to the top-right of your screen.
The Hot Bar is An Extension of Your Inventory
As a player, I love how the game lets me put tools and useful items right on the hot bar at the bottom of the screen – it’s like having five extra pockets! It’s really handy for quick access, but you still need to think about what you bring. Like, if I’m going out to gather stuff, I’d definitely put Water on the hot bar, but probably leave the Habitat Builder behind – no need for that on a simple gathering trip!
It’s best to pack lightly and only bring what you’ll actually use during your trip or activity.
Build Lockers at Your Base
Okay, so once I got my base set up, the first thing I did was build some lockers. The Habitat Tool lets you do that, and honestly, Wall Lockers are super quick to craft. Floor Lockers give you way more storage, though, so those are worth building too. Then, I used all those Portable Lockers I’d been collecting to haul resources from my Lifepod back to base – it made moving stuff so much easier!
Read More
- Re:Zero Season 4, Episode 6 Release Date & Time
- NTE Drift Guide (& Best Car Mods for Drifting)
- How to Get the Wunderbarrage in Totenreich (BO7 Zombies)
- How to Beat Turbines in ARC Raiders
- Diablo 4 Best Loot Filter Codes
- Change Your Perspective Anomaly Commission Guide In NTE (Neverness to Everness)
- Top 8 UFC 5 Perks Every Fighter Should Use
- Alan Wake Event in Phasmophobia, Explained
- Brent Oil Forecast
- Danganronpa 2: A Complete Guide To Gifts
2026-05-14 22:40