Video game bosses help players feel like they’re making progress and offer a rewarding experience when important goals are achieved. In the game Saros, each area ends with a tough boss fight against creatures called Overlords. These Overlords can be particularly difficult because they have a lot of health to deplete.
Because Saros is a roguelite game, you’ll encounter bosses again and again, even after you’ve already defeated them. If you’re struggling with a particular boss, the guide below provides tips and strategies to help you win against all of them.
The game features nine bosses. Eight of them each have a trophy to earn, with those trophies being of different rarities. The final boss has three unique trophies associated with it.
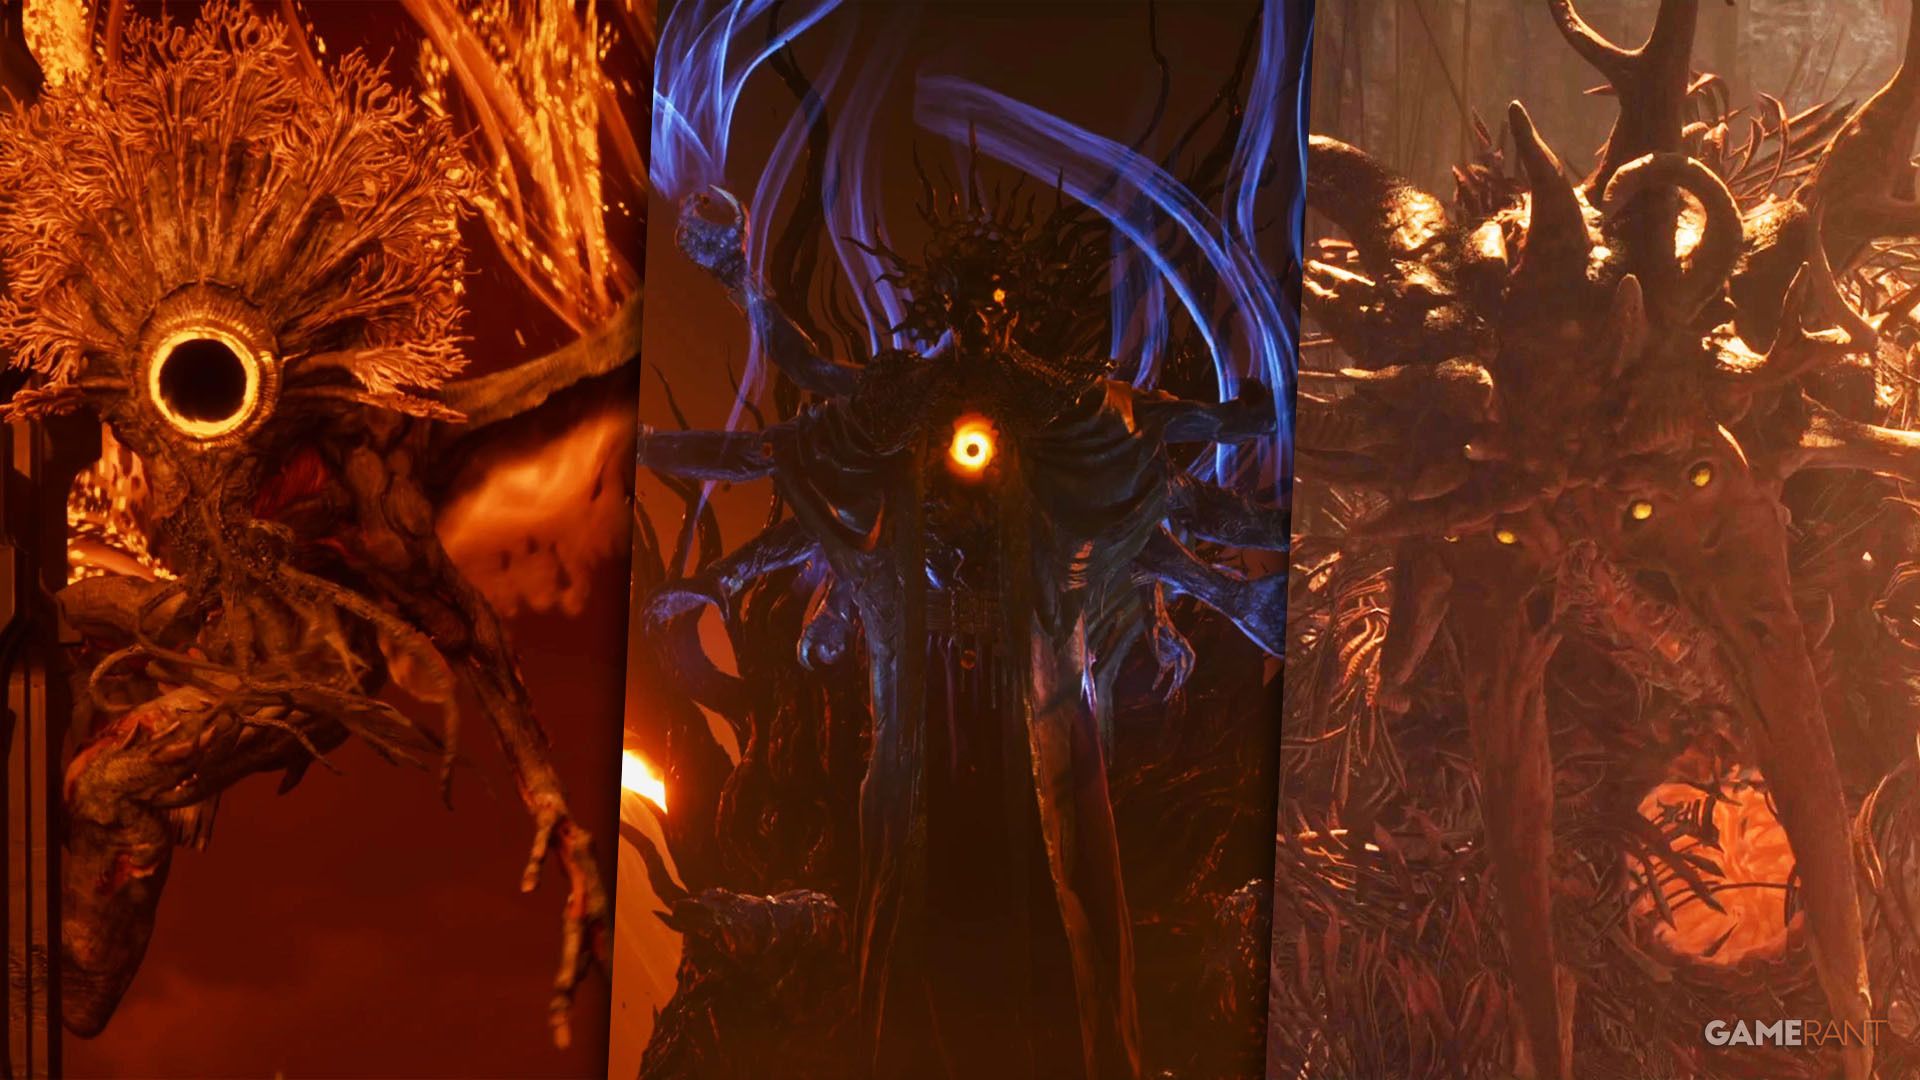
All Carcosan Overlords in Saros
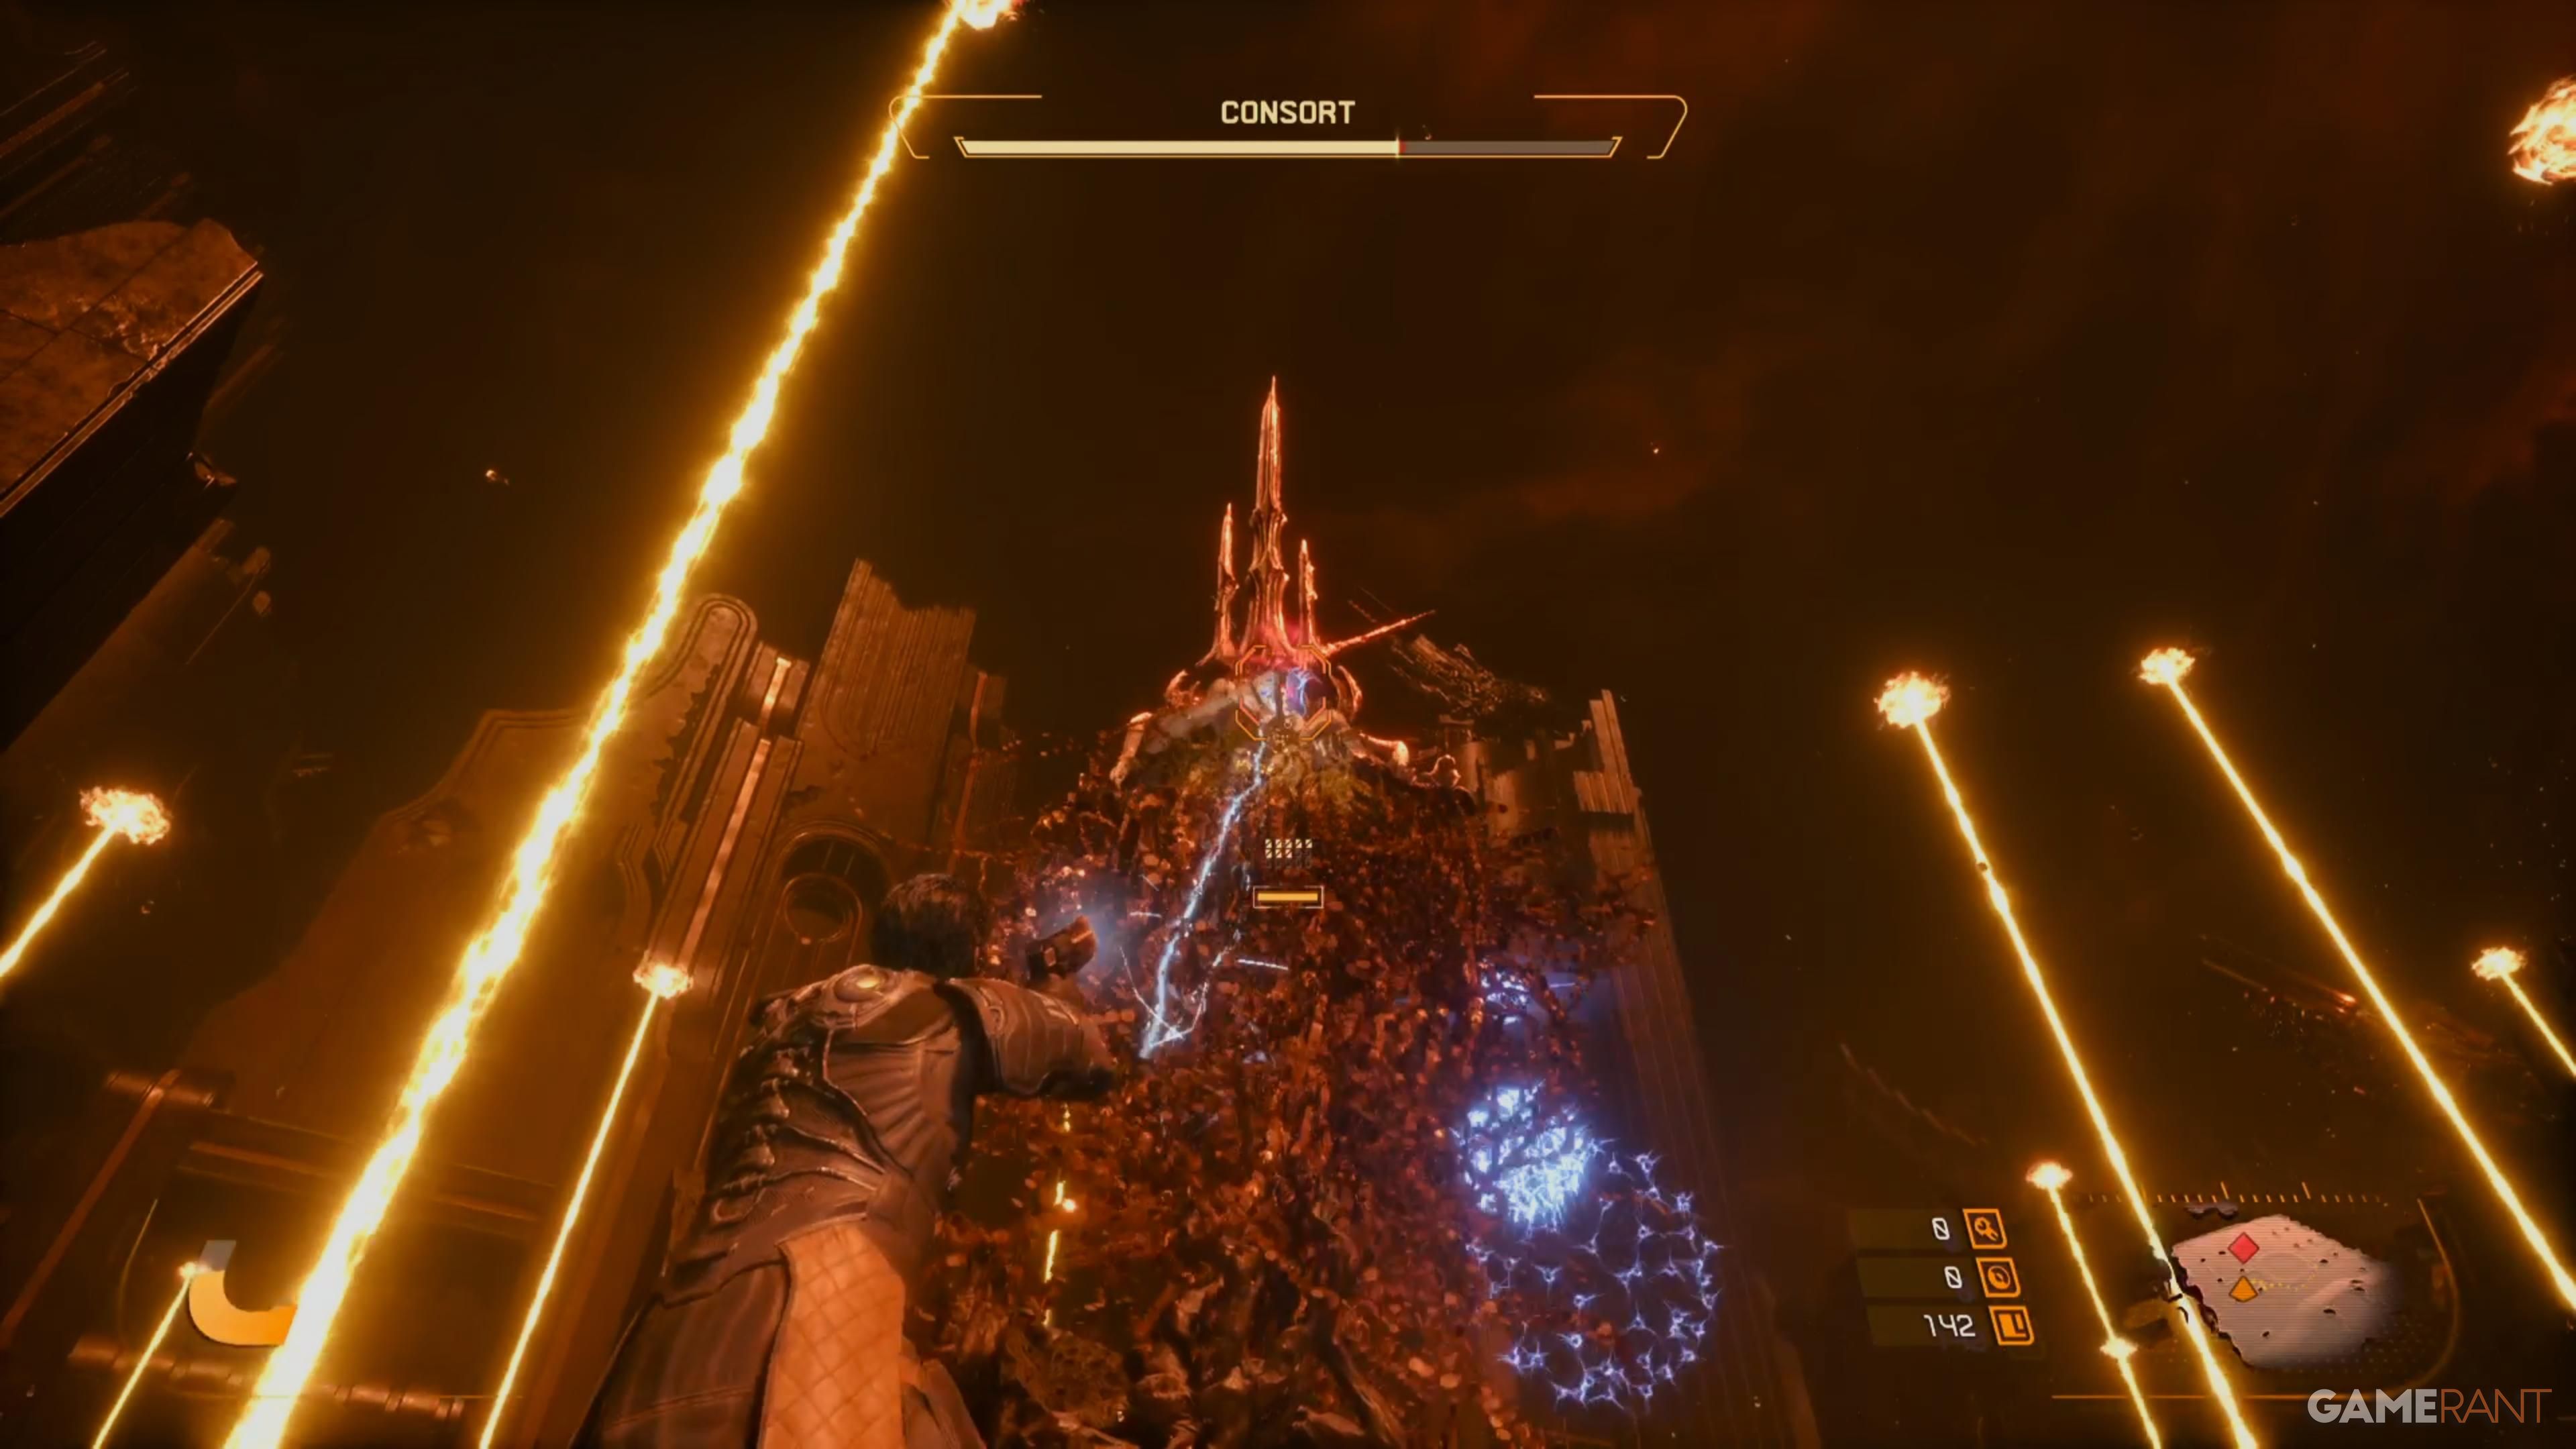
Consort
- Biome: Tutorial Boss
The Consort boss appears right after the game’s tutorial, in a unique area that isn’t considered a full biome. You only get one chance to defeat it – if you fail, a cutscene plays and Arjun appears in the Passage. Although you have just one attempt, the fight is manageable, and you can reload a saved game to try again if necessary.
To avoid damage from the boss, block blue attacks with your Soltari Shield. Use your dash to get out of the way of yellow attacks and beams. Red or Nova attacks can’t be dashed through, so jump over them to stay safe.
During the boss fight, you’ll see pillars you can use for cover. They’re really helpful for dodging the boss’s attacks! Just hide behind a pillar, quickly peek out to attack, and then hide again. This makes the fight much simpler, and if you win, you’ll get a Halcyon as a reward.
Prophet
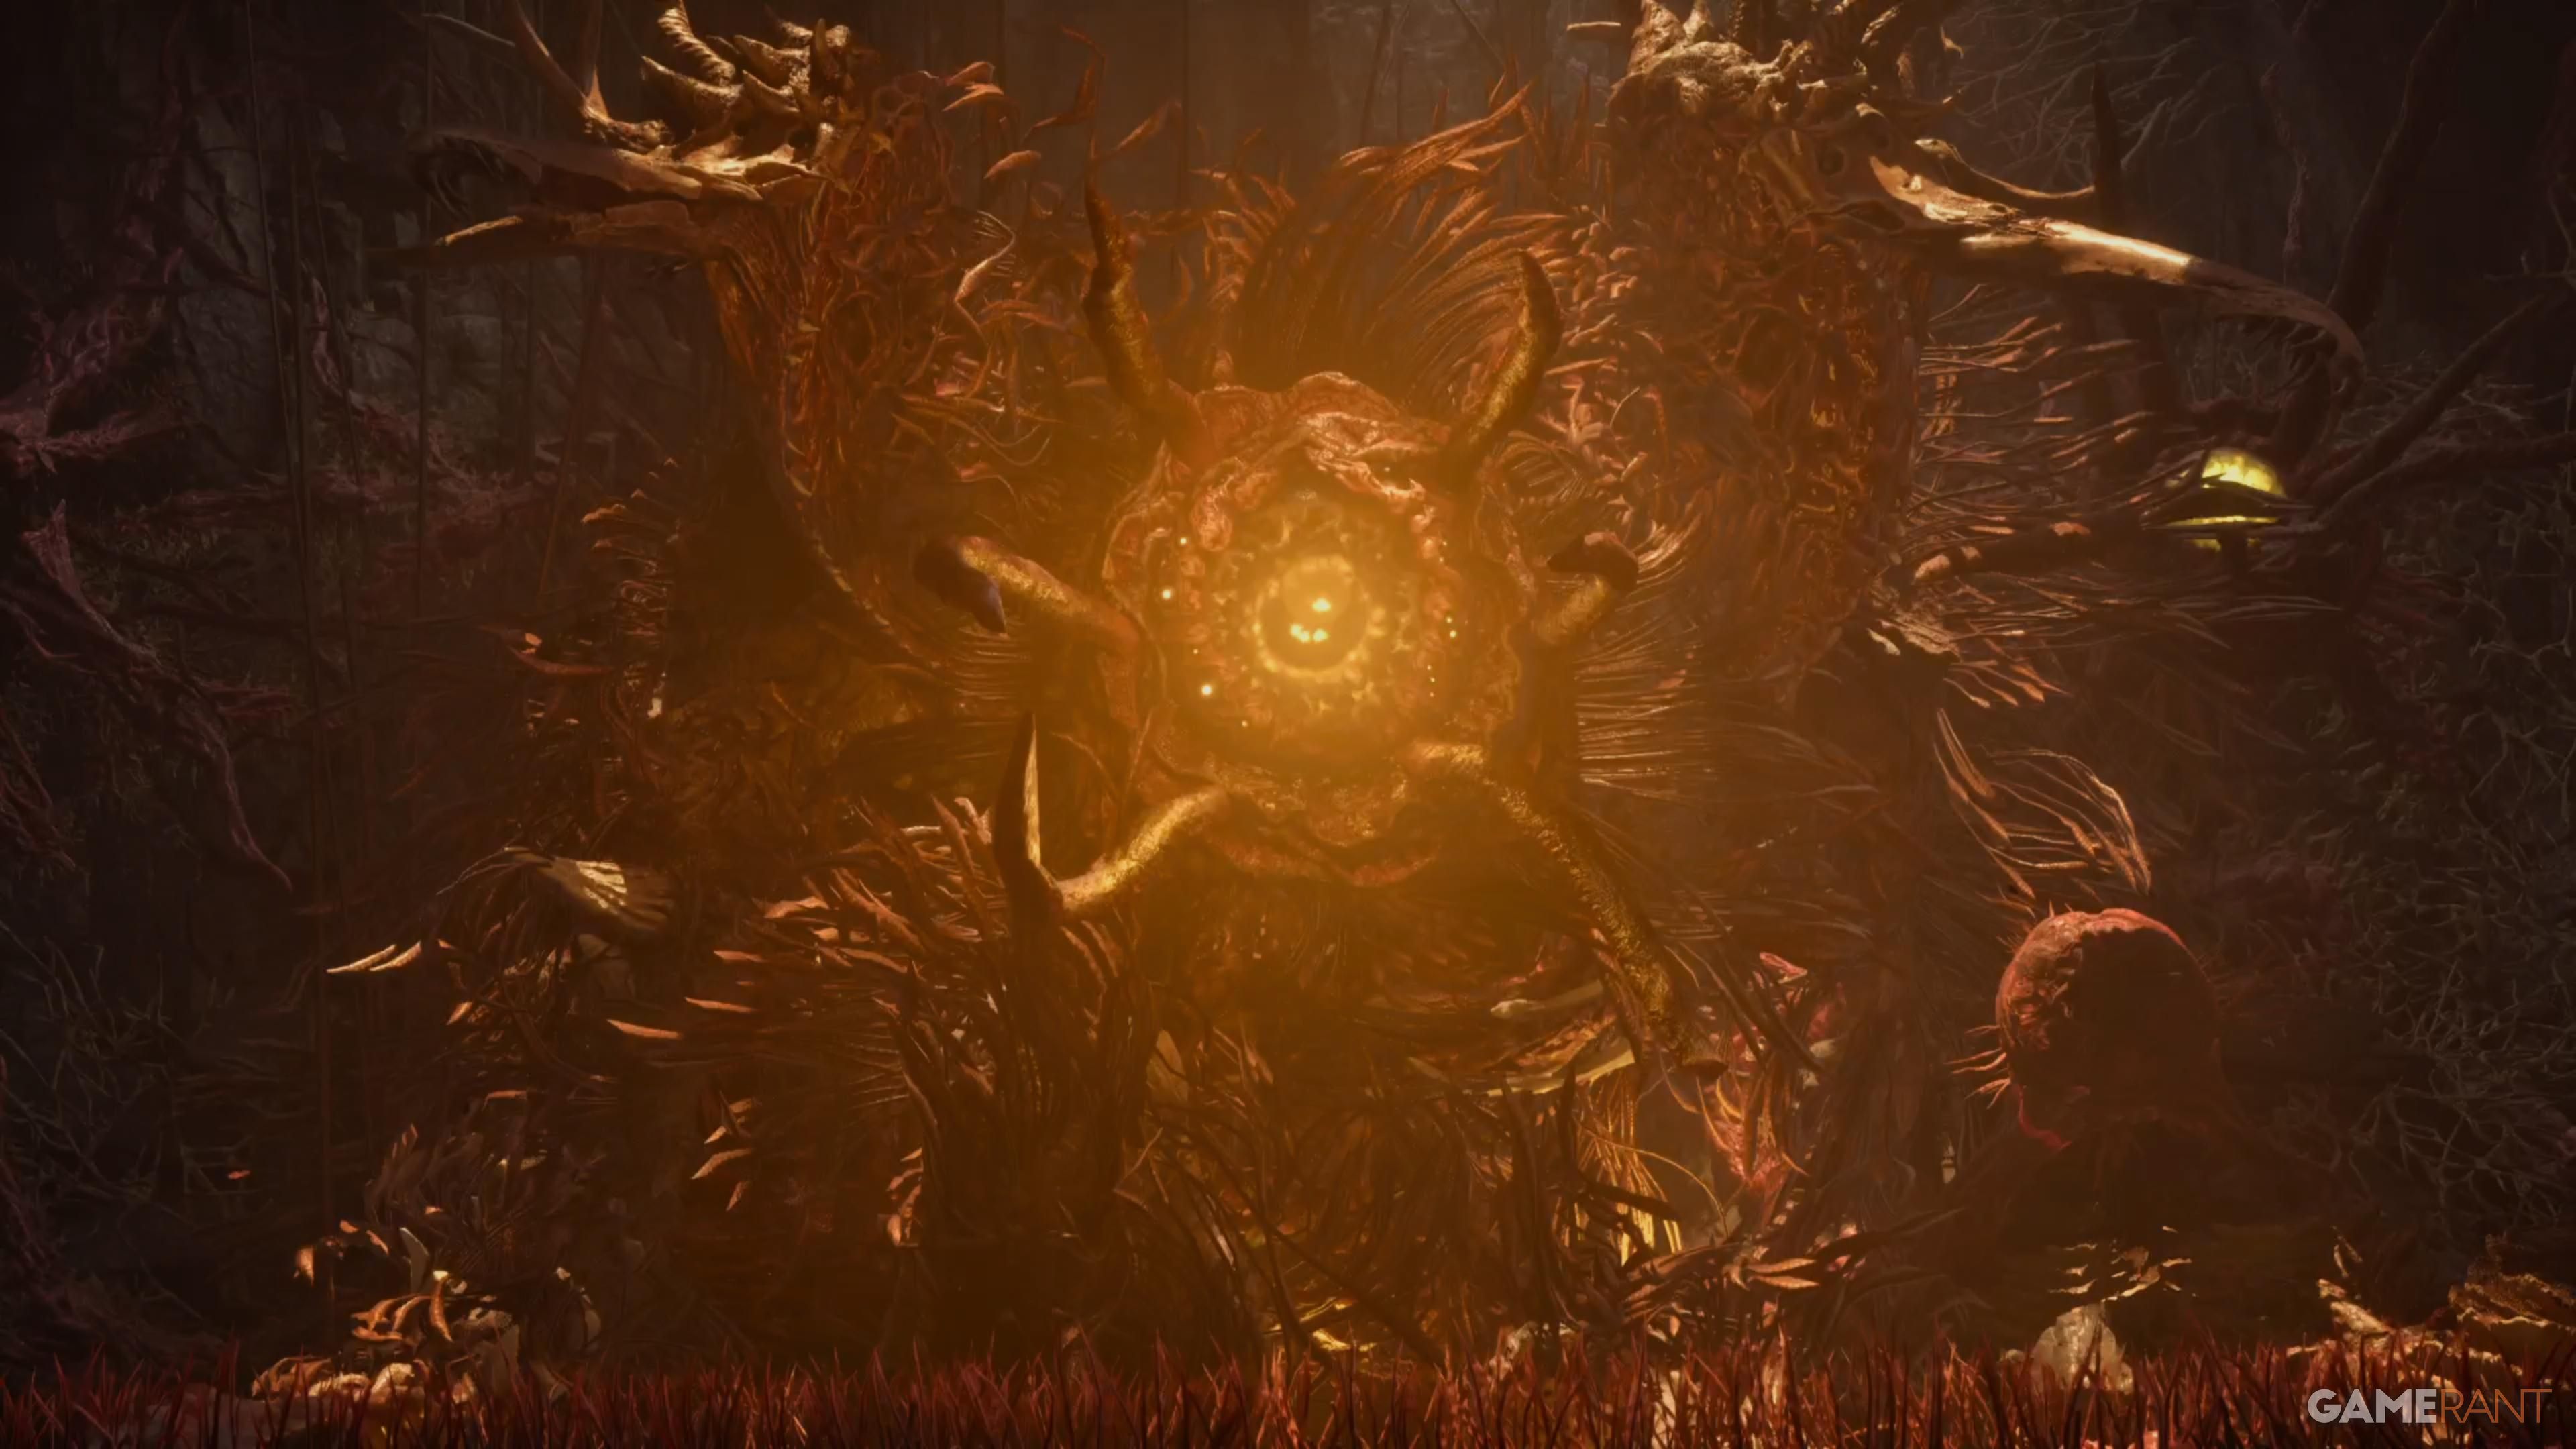
- Biome: Shattered Rise
Okay, so the first big boss, Prophet, shows up right after I finished exploring the first area. I had to push through the Eclipse, then hit a terminal to teleport back – that’s when the gate to the boss arena opened up. From there, it was just a drop down and straight into the fight!
To begin, prioritize destroying the glowing yellow plants along the edges of the arena – you won’t be able to hurt the boss until they’re gone. After that, the boss, Prophet, will start firing projectiles. Absorb the blue ones to power up, and quickly move to the side to dodge the yellow ones. The second phase introduces new attacks, but your strategy stays the same: eliminate the plants first, then attack the boss.
When the fight reaches its third stage, the boss will create walls of vines on either side, shrinking the space you have to move around. From then on, you’ll need to focus on damaging the boss while dodging its attacks in this tighter area.
Bastion
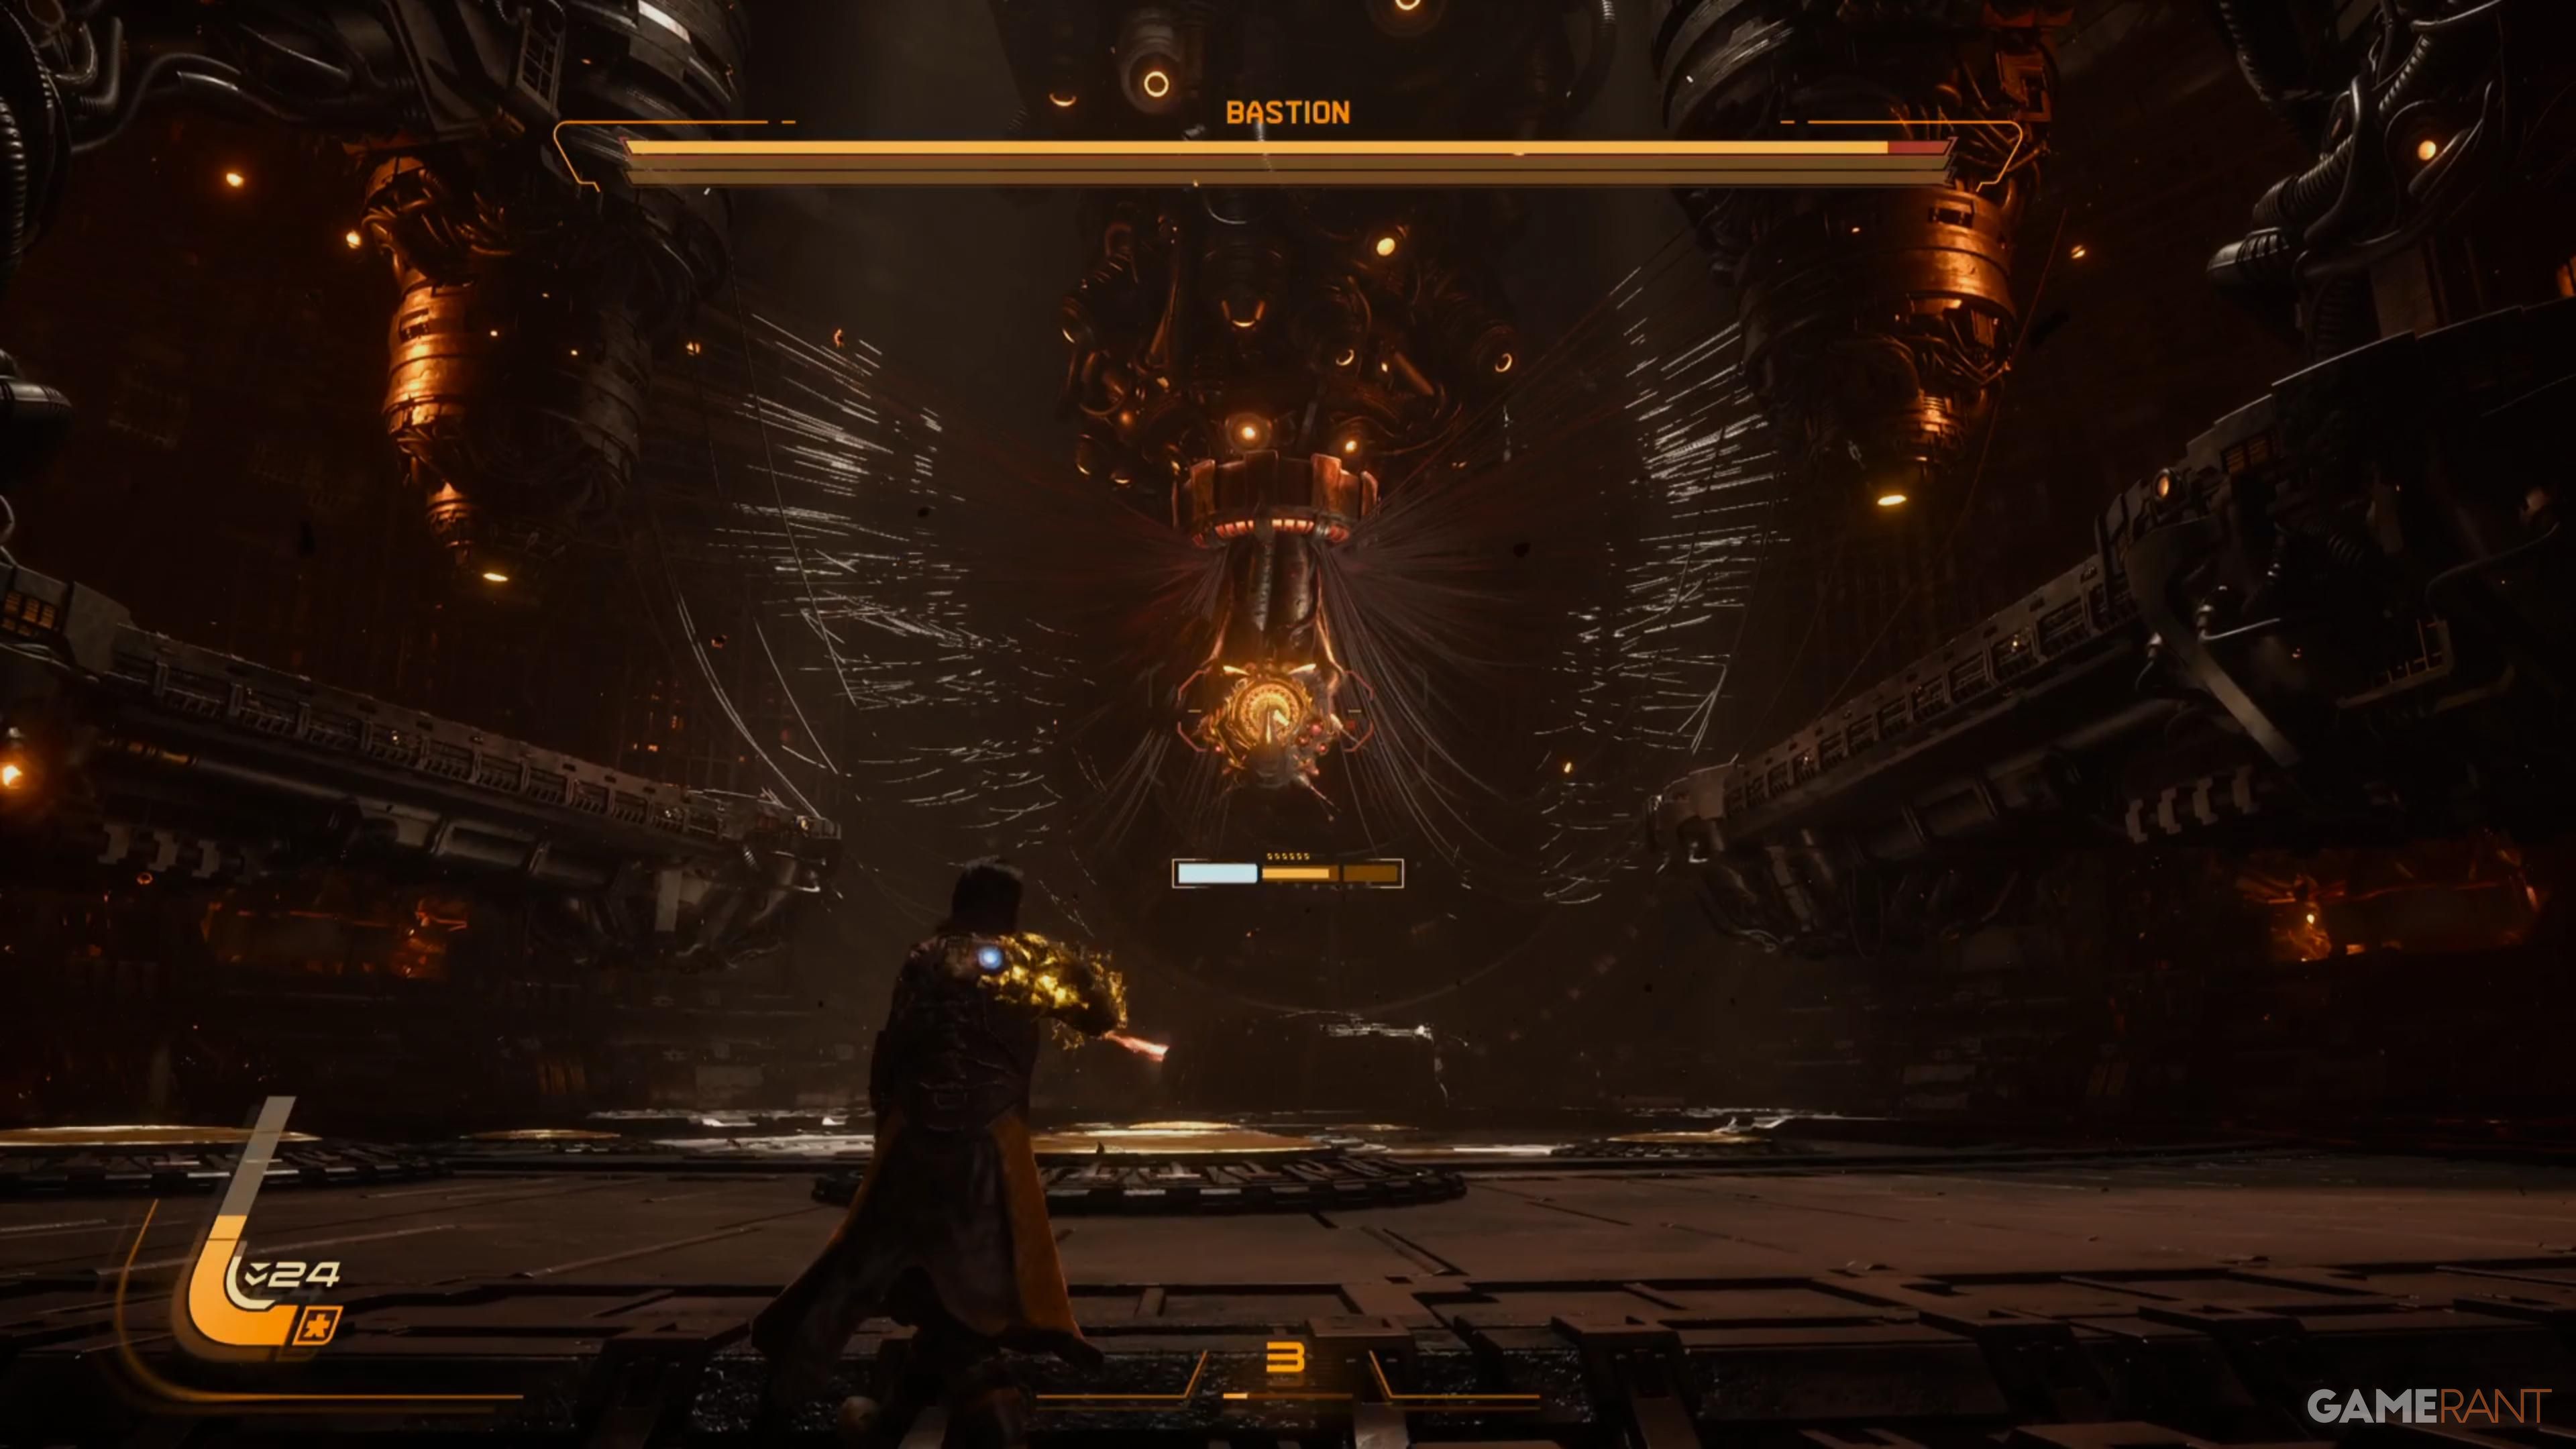
- Biome: Ancient Depths
When you enter the boss arena, you’ll see several Jump Pads that will be useful during the fight. The boss is a machine with a visible head, making it easy to target while you dodge. If the boss shoots blue projectiles, block with your shield. If they’re yellow, use your dash to get out of the way. When the boss, Bastion, creates expanding yellow rings, use the Jump Pads to quickly gain height and avoid them.
Once you reduce the boss’s health to zero, its head will pull back, and you’ll face some standard enemies. Defeating these enemies might reward you with Aether, which can restore your health. The rest of the battle will be similar to before, but the boss will use a few new attacks.
Rhabdom
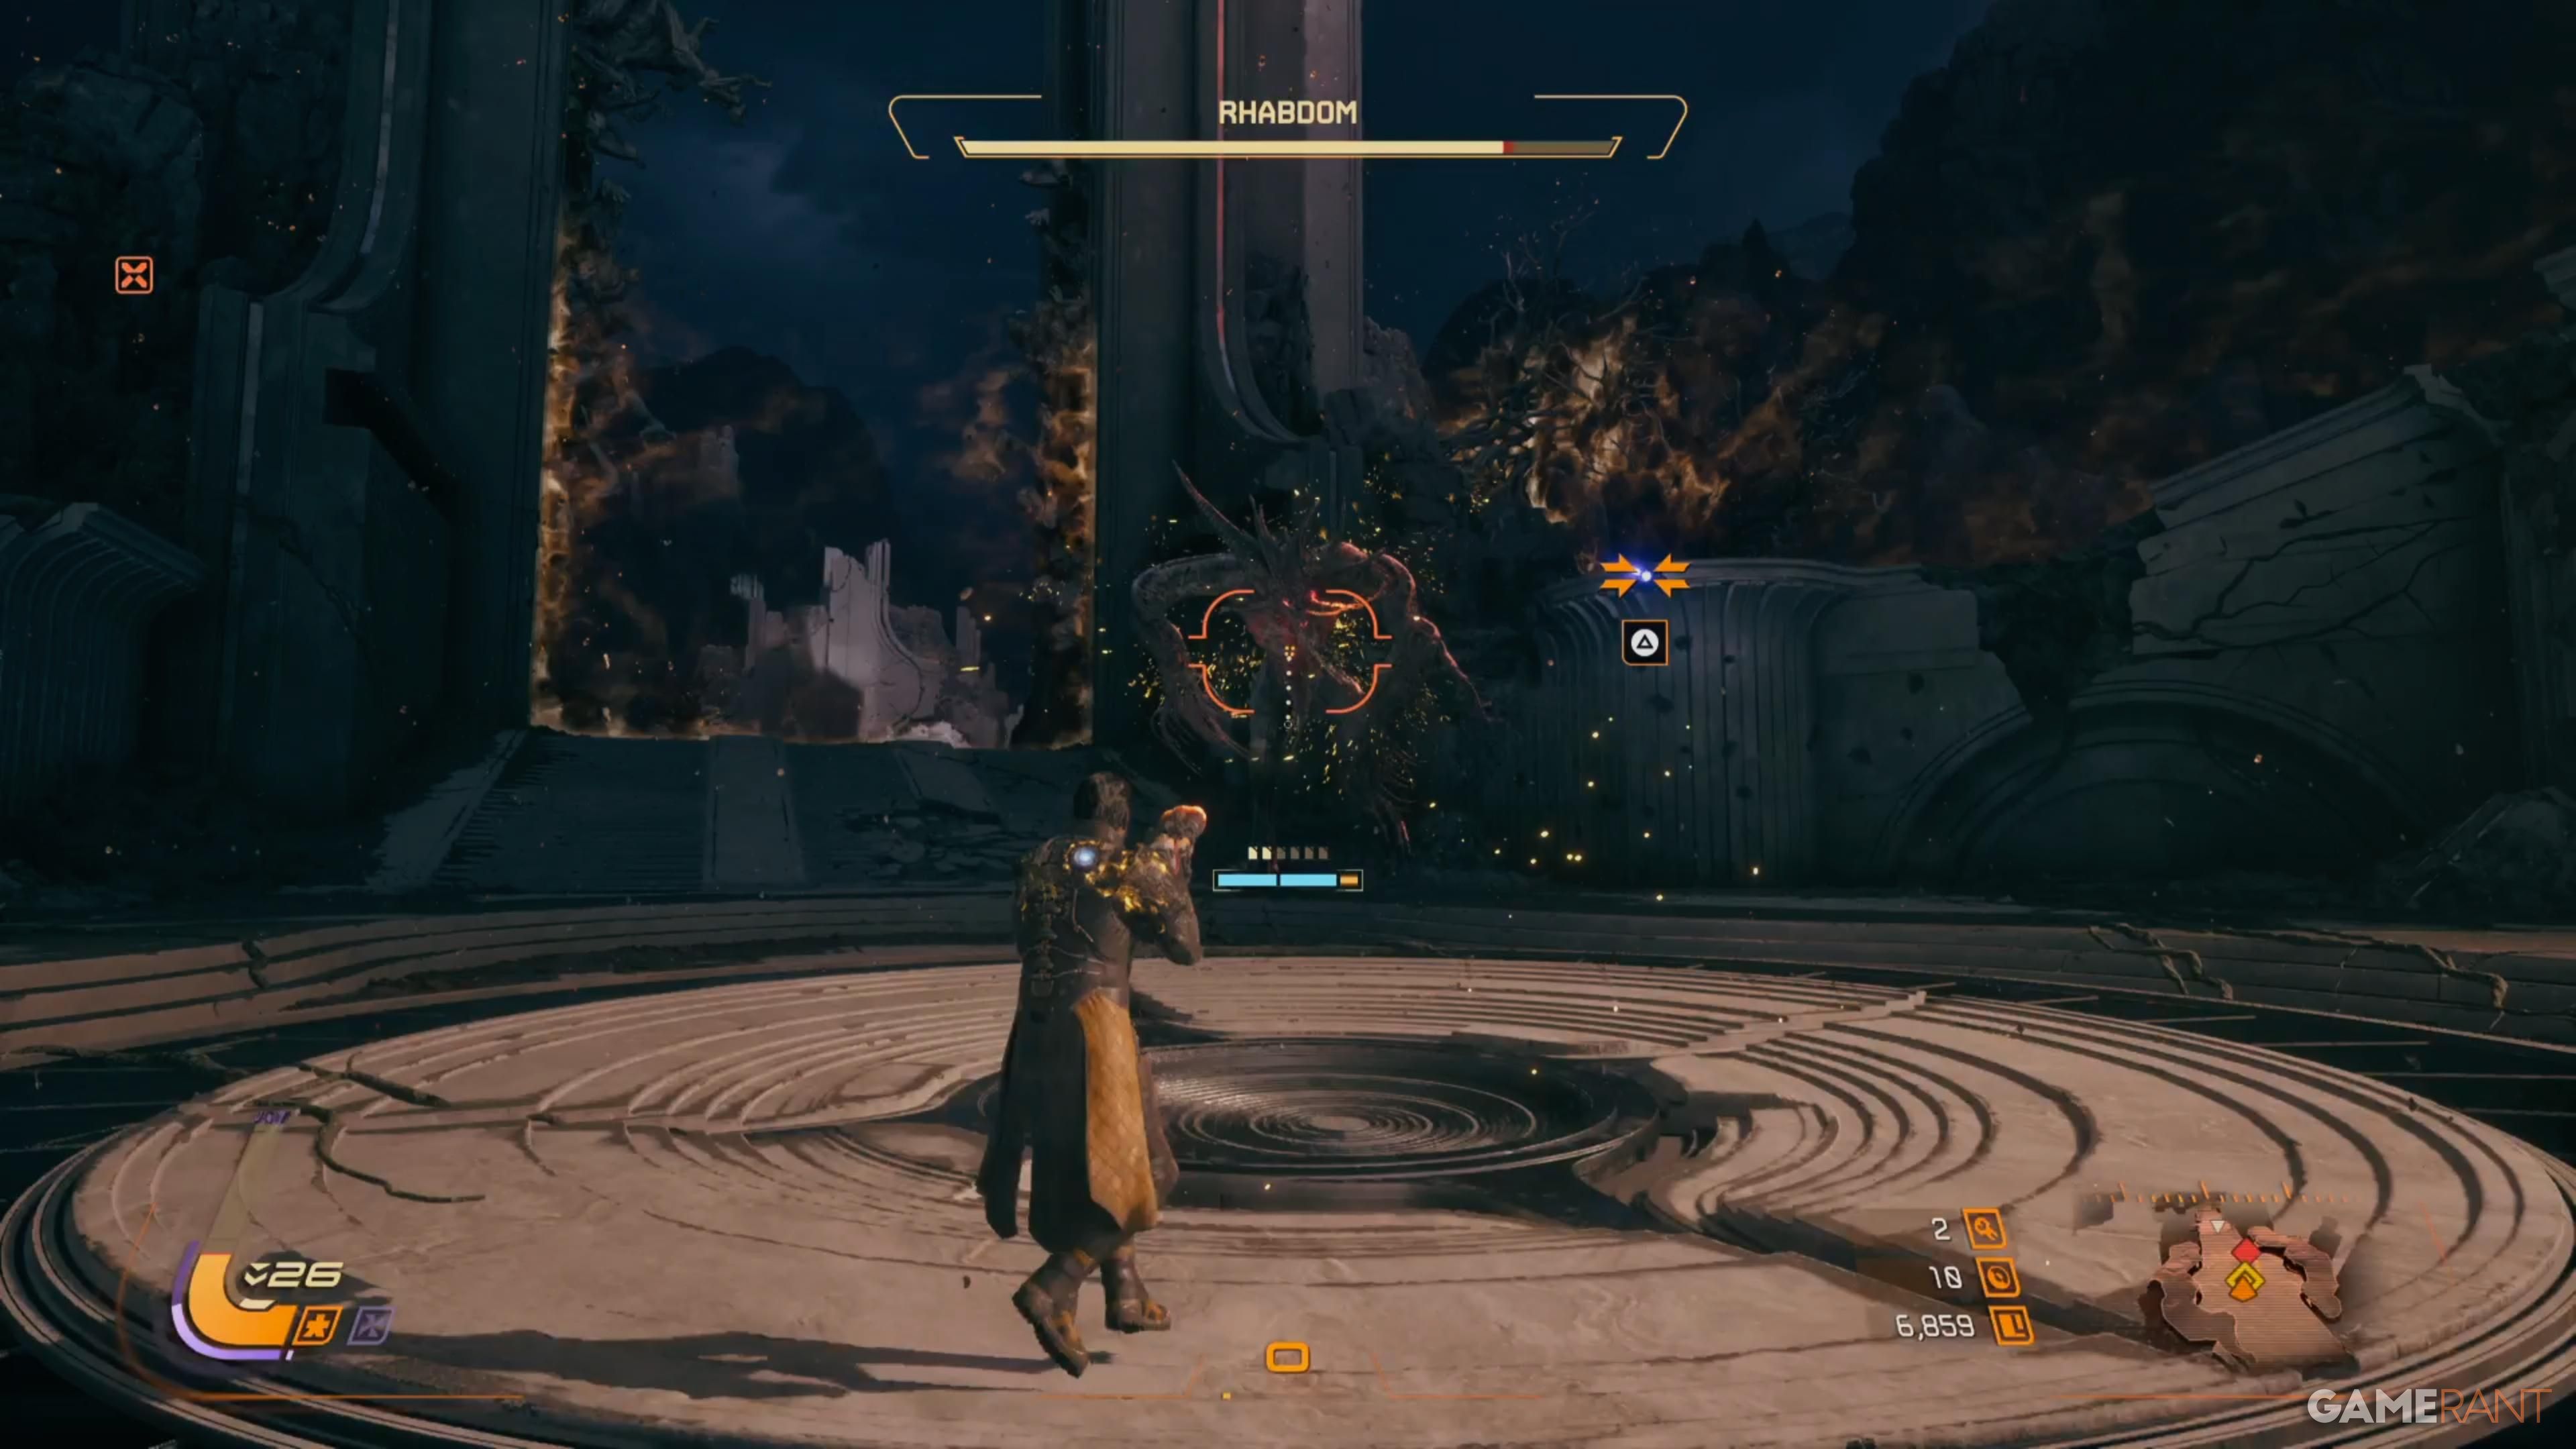
- Biome: Shattered Descent
Rhabdom is one of the easiest bosses in the game, feeling more like a smaller challenge than a major one. It only has one phase, and there’s a delay before it attacks, giving you time to use your Overdrive and a few powerful attacks to reduce its health by half before it even begins to fight back.
After this point, the battle becomes straightforward – just focus on staying away from the boss. It will jump towards you and fire red projectiles everywhere. Use your grapple to move around the arena, get to higher ground, and attack from above.
Legion
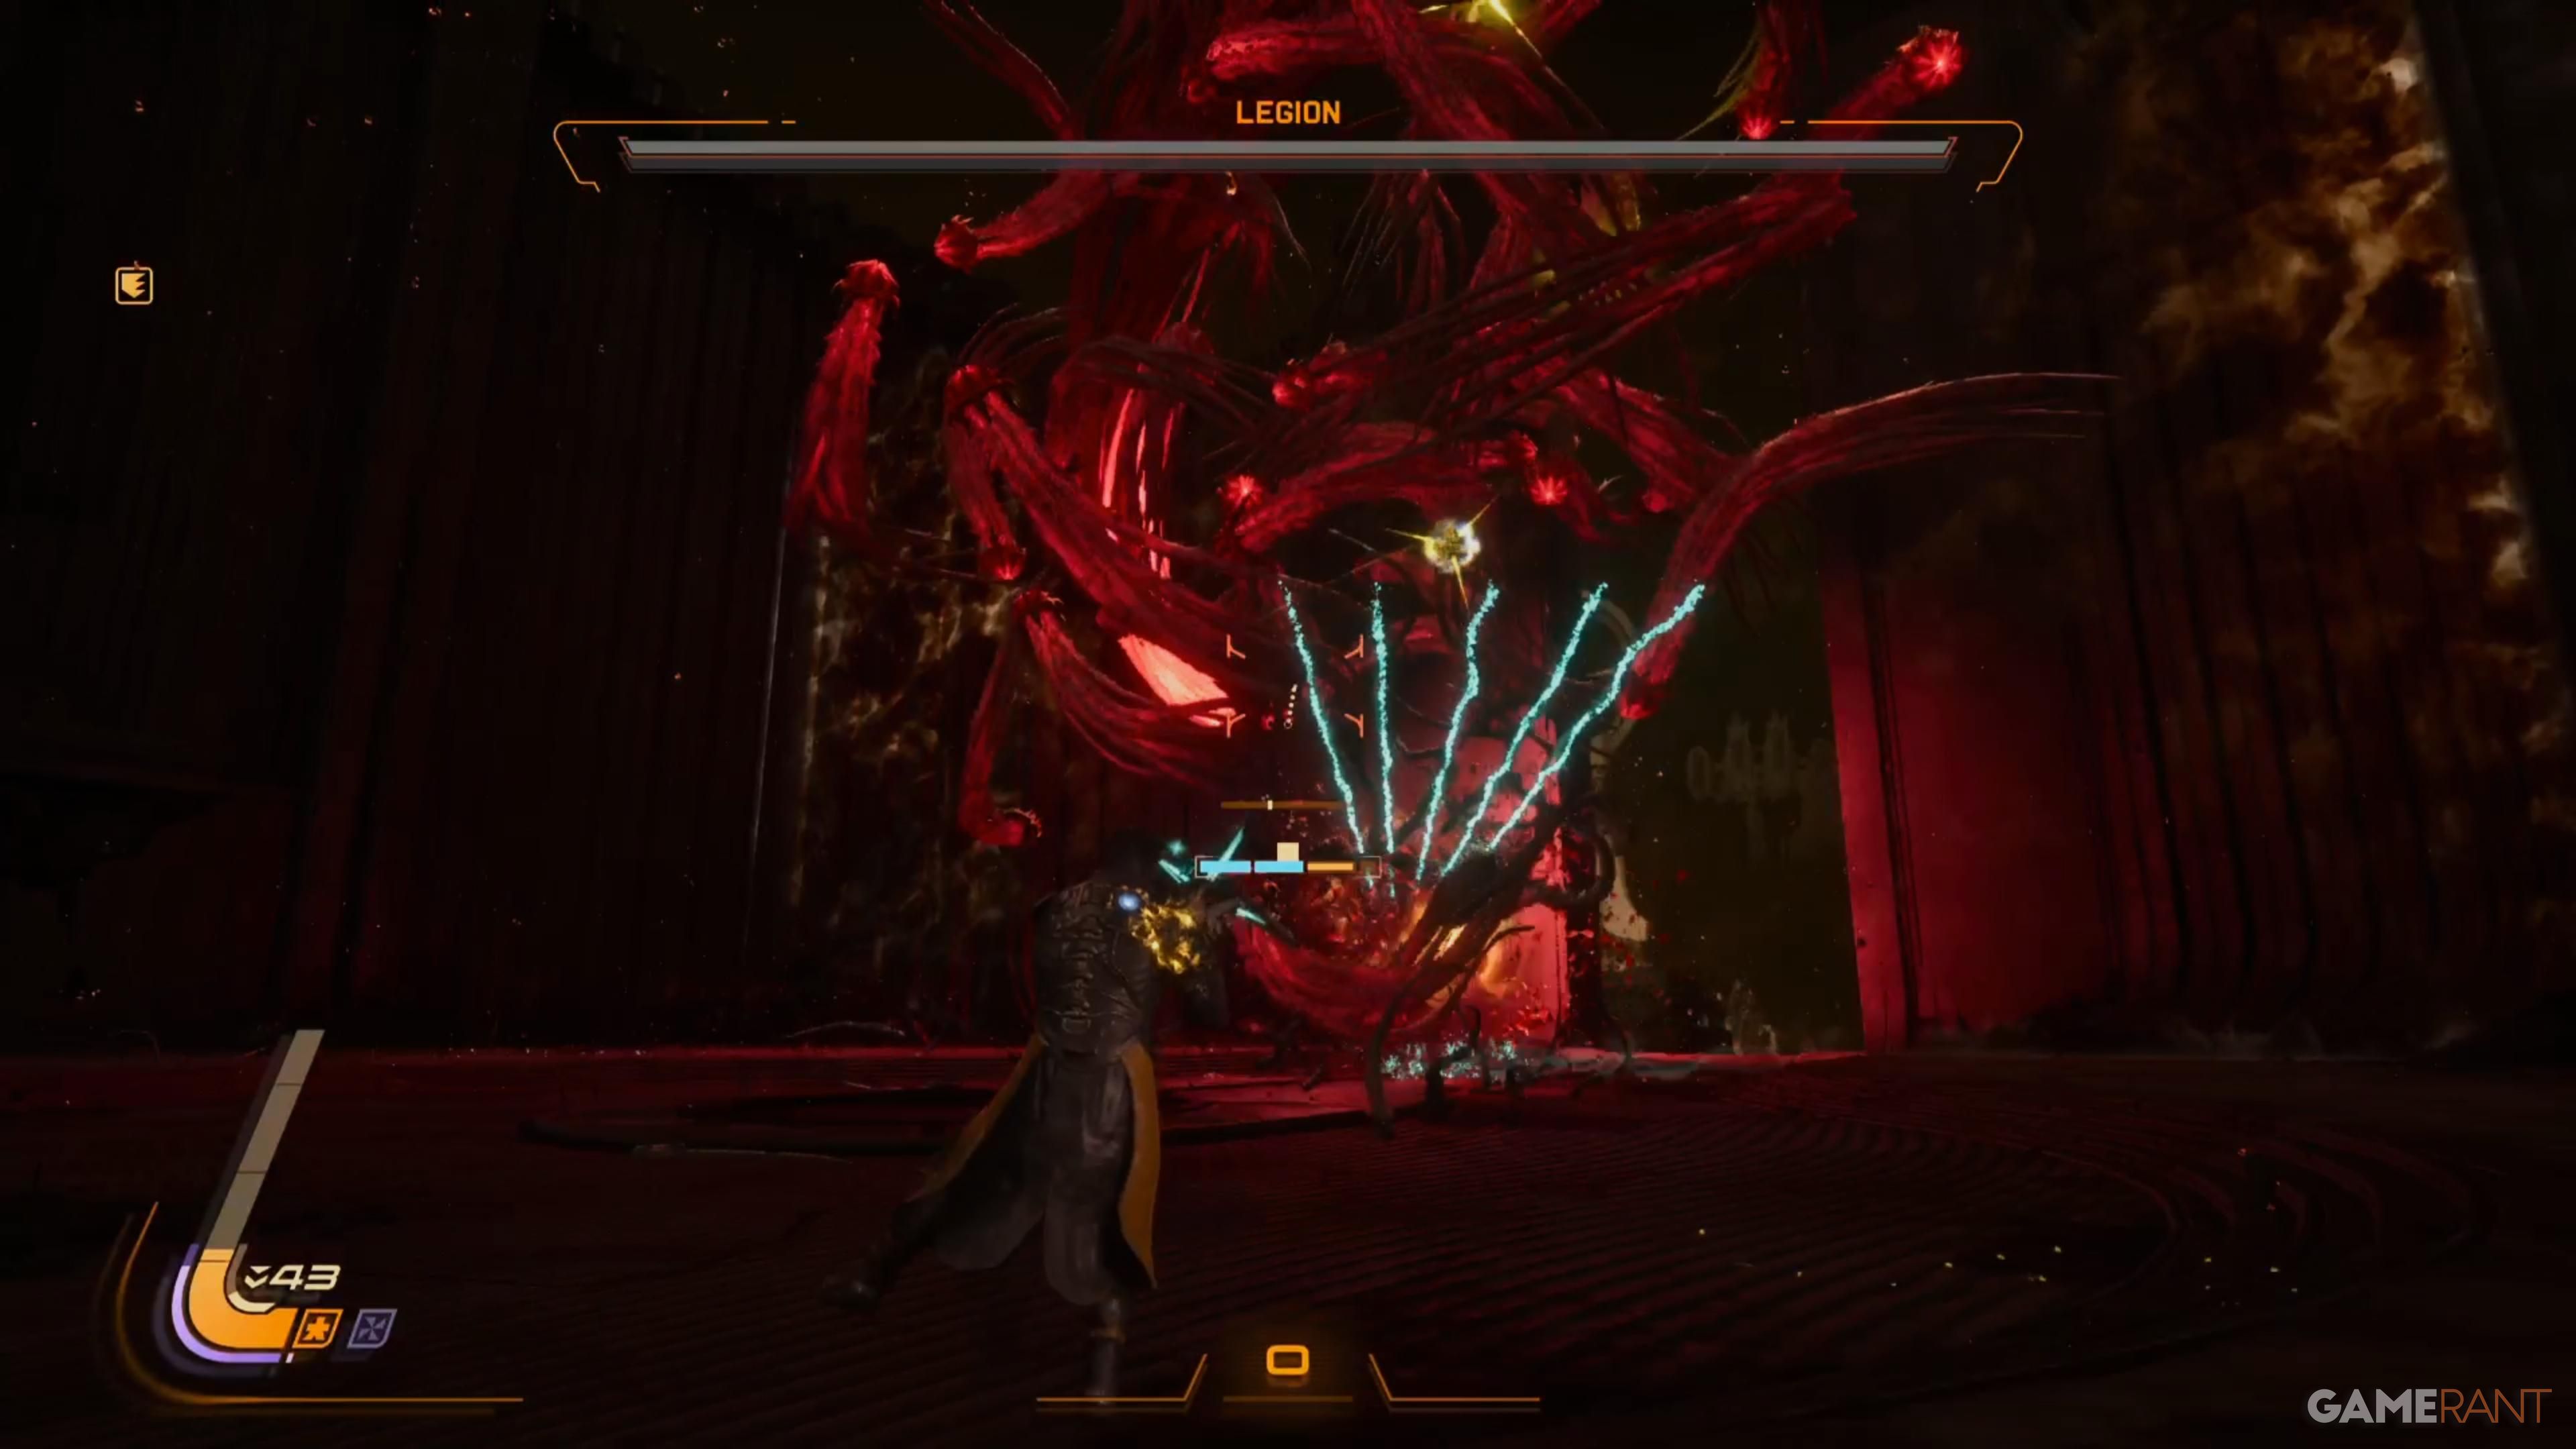
- Biome: Blighted Marsh
Legion, the game’s first flying boss, is made up of many smaller enemies that orbit around it. While you can destroy these surrounding enemies, it won’t actually hurt Legion itself. It’s best to avoid focusing on them too much because Legion constantly creates new ones during the battle.
This area is where you get the Repeater Crossbow, so it’s best to keep using it and upgrade it as much as possible. Its special secondary attack lets you damage the main boss while also hitting nearby enemies, as the shots split and automatically target them.
The boss frequently attacks with red projectiles, so stay mobile and use your dash to avoid them. Watch out for flying enemies that surround you and shoot inwards – jumping is a good way to dodge this particular attack.
Architect
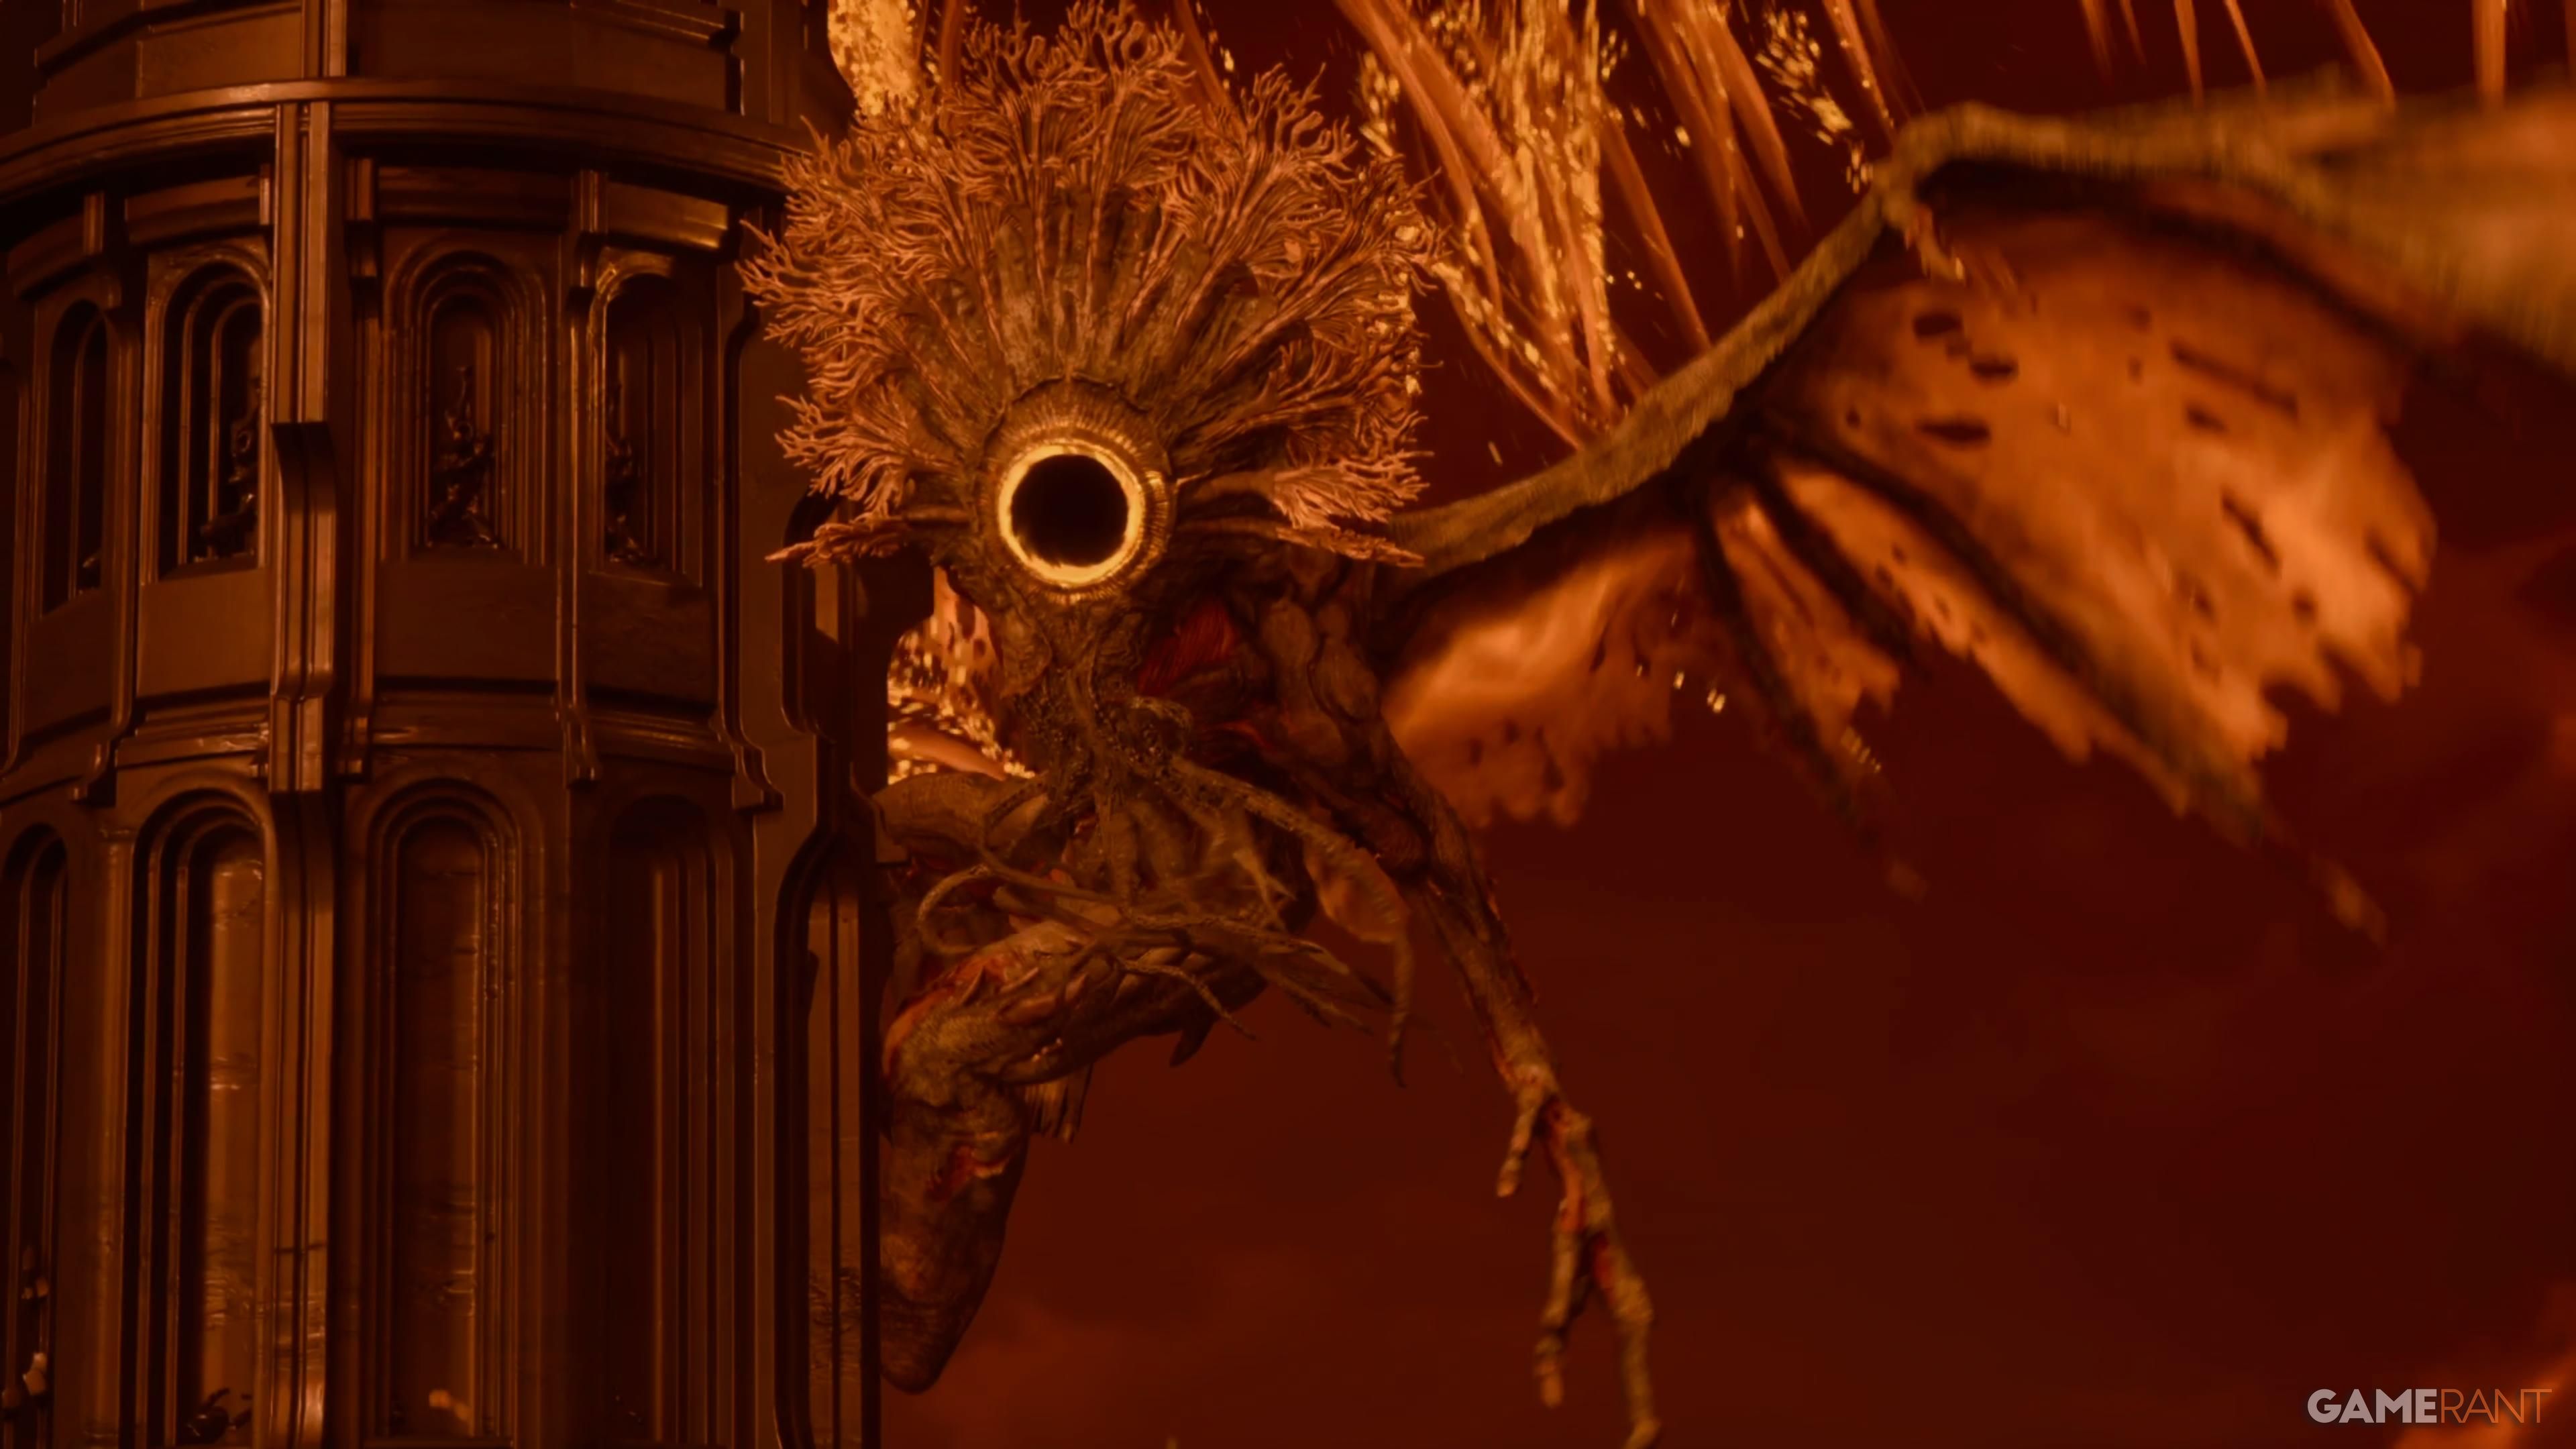
- Biome: Desecrated Fortress
Throughout the game, players will encounter a flying, dragon-like creature, and finally get to battle it in the fifth area. This boss, known as the Architect, attacks with many fast-moving red projectiles. While you can jump or dash to avoid them, perfectly timing a parry is the best way to create an opening and deal damage before the next attack comes.
The boss frequently moves around the arena, making shotguns generally a poor choice for this fight. However, the Annihilator Shotgun can still be effective if you use its alternate fire mode. Also, be prepared to grapple quickly after each phase, as the boss destroys sections of the floor, sending you flying.
Who’s That Character? ![]() Identify the silhouettes before time runs out.
Identify the silhouettes before time runs out.
Shepherd
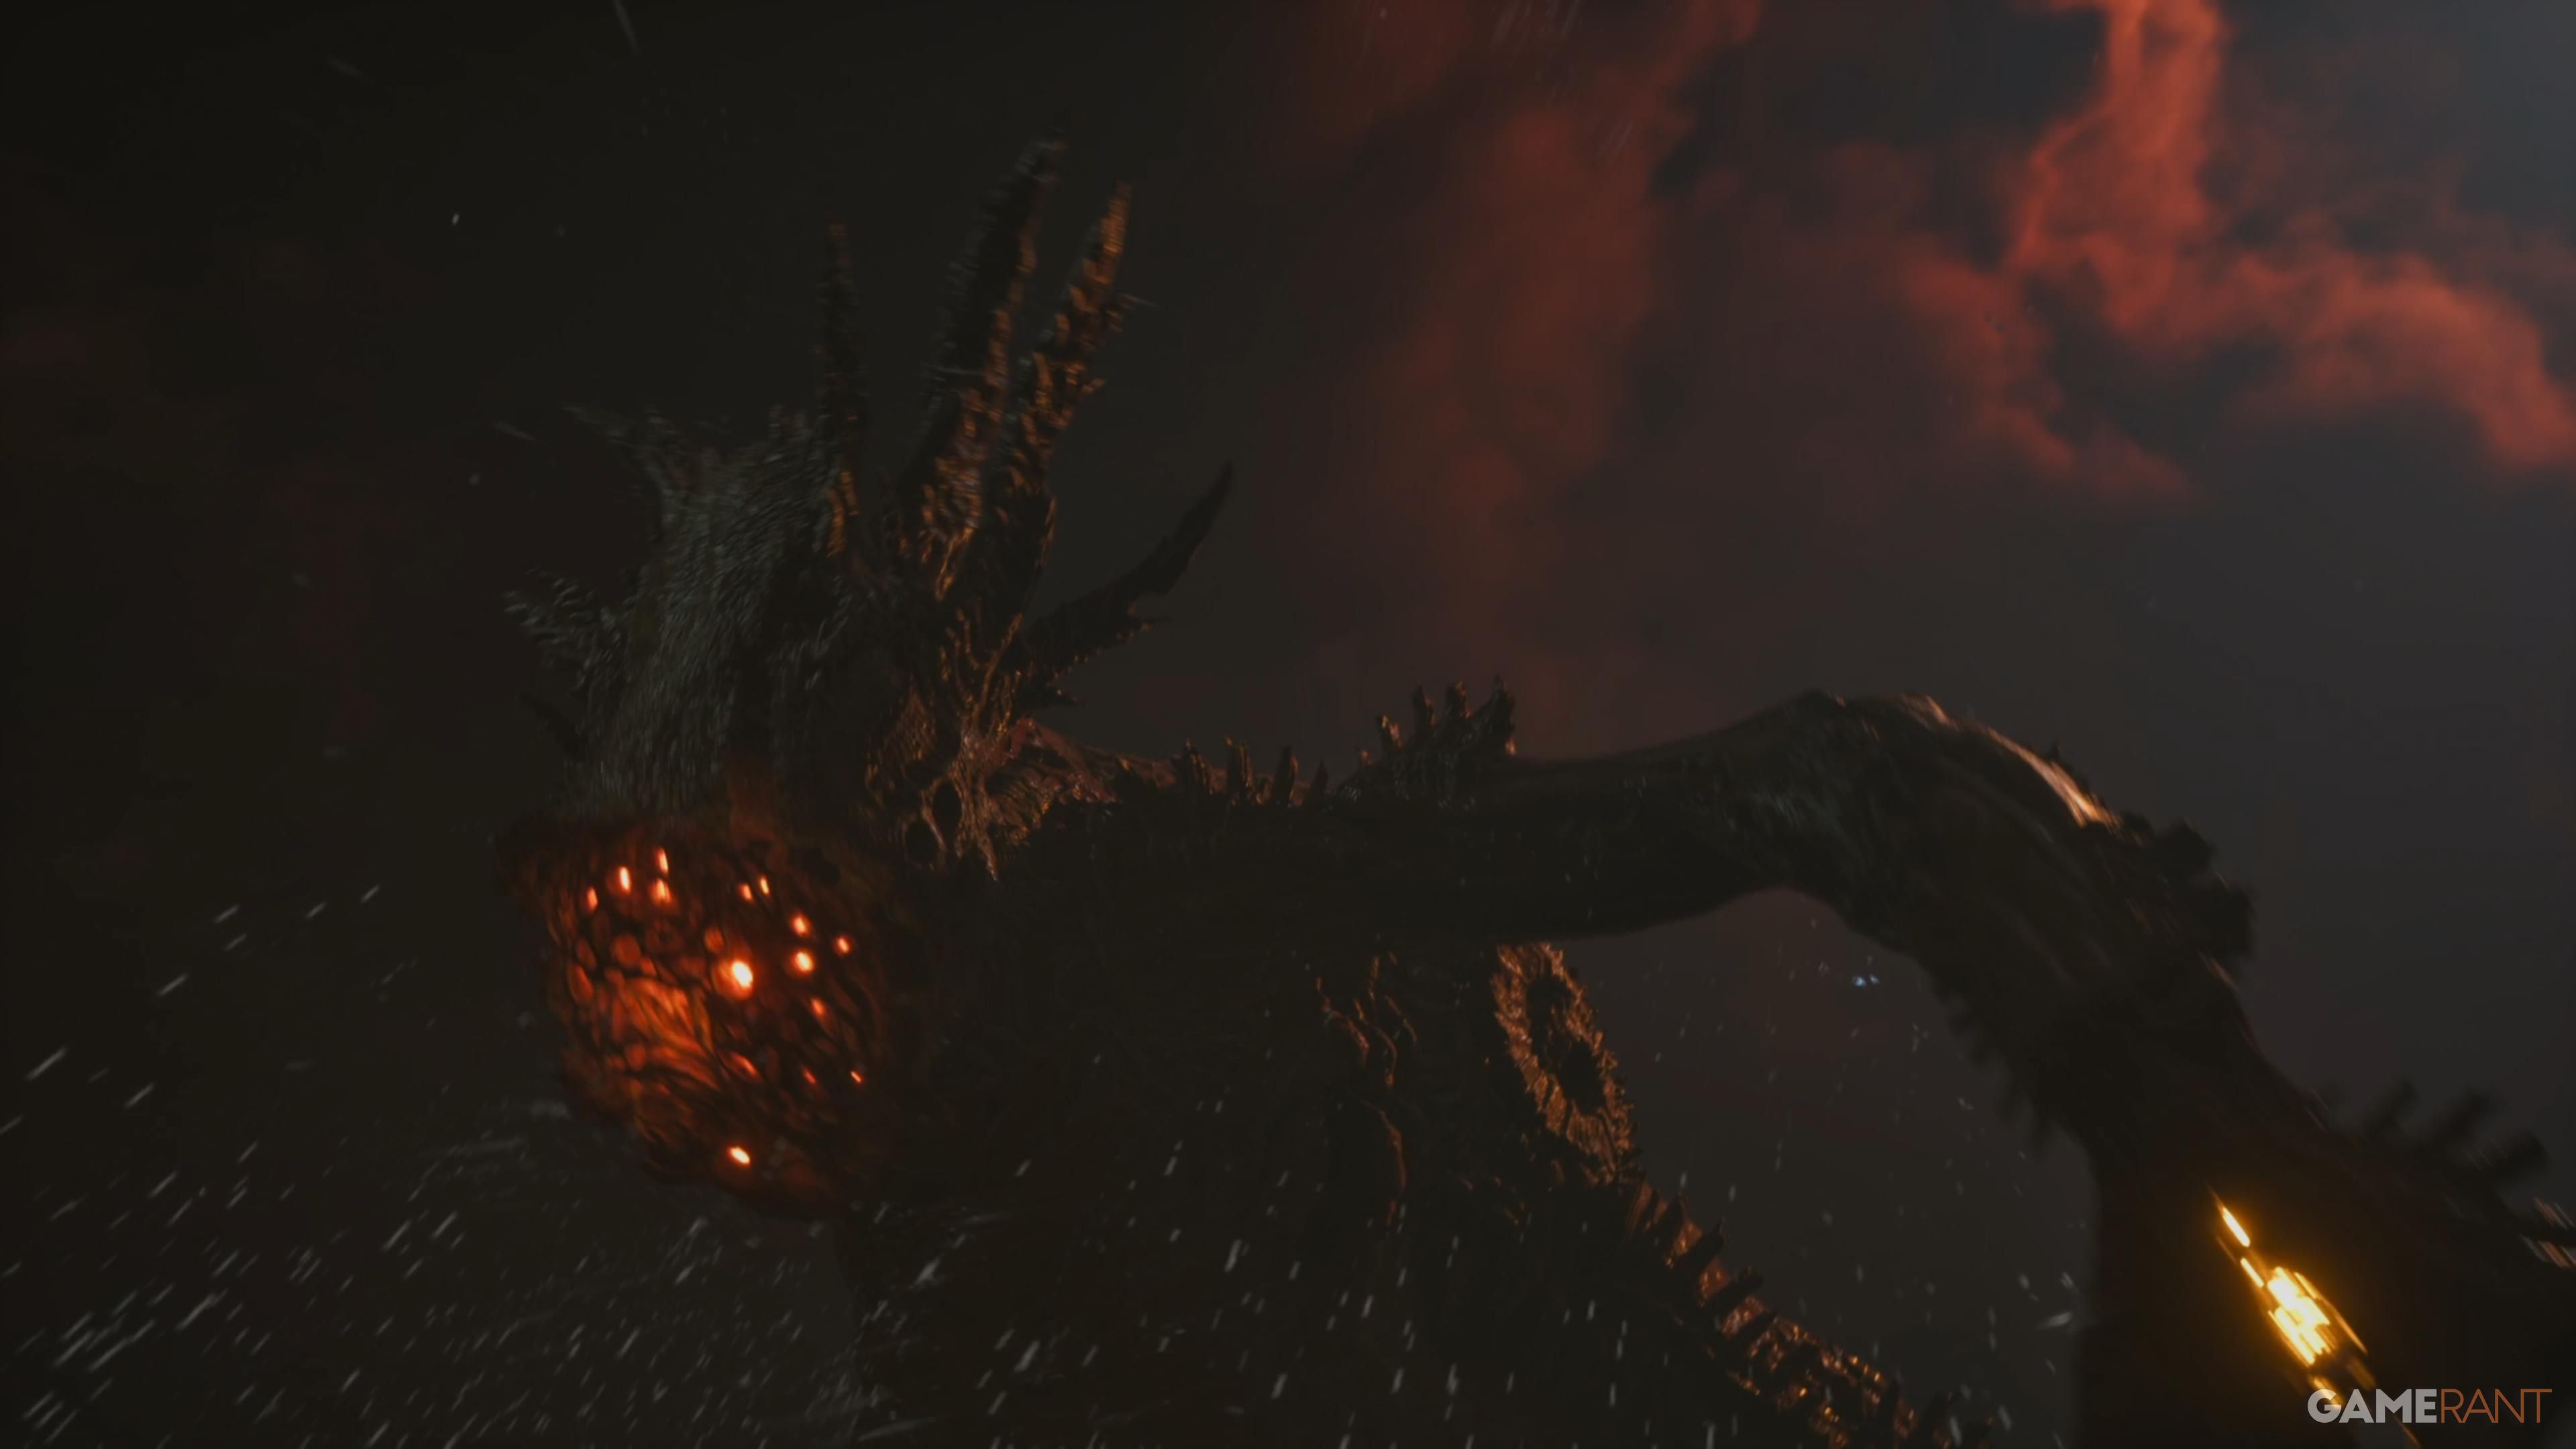
- Biome: Acolyte’s Haven
The Shepherd boss fight is arguably the most visually impressive in the game. It starts with dealing with several large tentacles. Once those are down, the boss itself appears, and you can begin attacking while dodging its projectiles. The fight gets harder in the second phase as the boss moves to the side, limiting your movement space. Red projectiles will also start coming from the sides, but you can deflect them back at the boss to inflict damage.
The last part of the fight is the simplest, and this is where you’ll get the most out of your Overdrive ability. It’s best to save Overdrive for this final stage, because the boss dives underwater around halfway through the second phase and comes back on the opposite side, making it less effective then.
Priestess
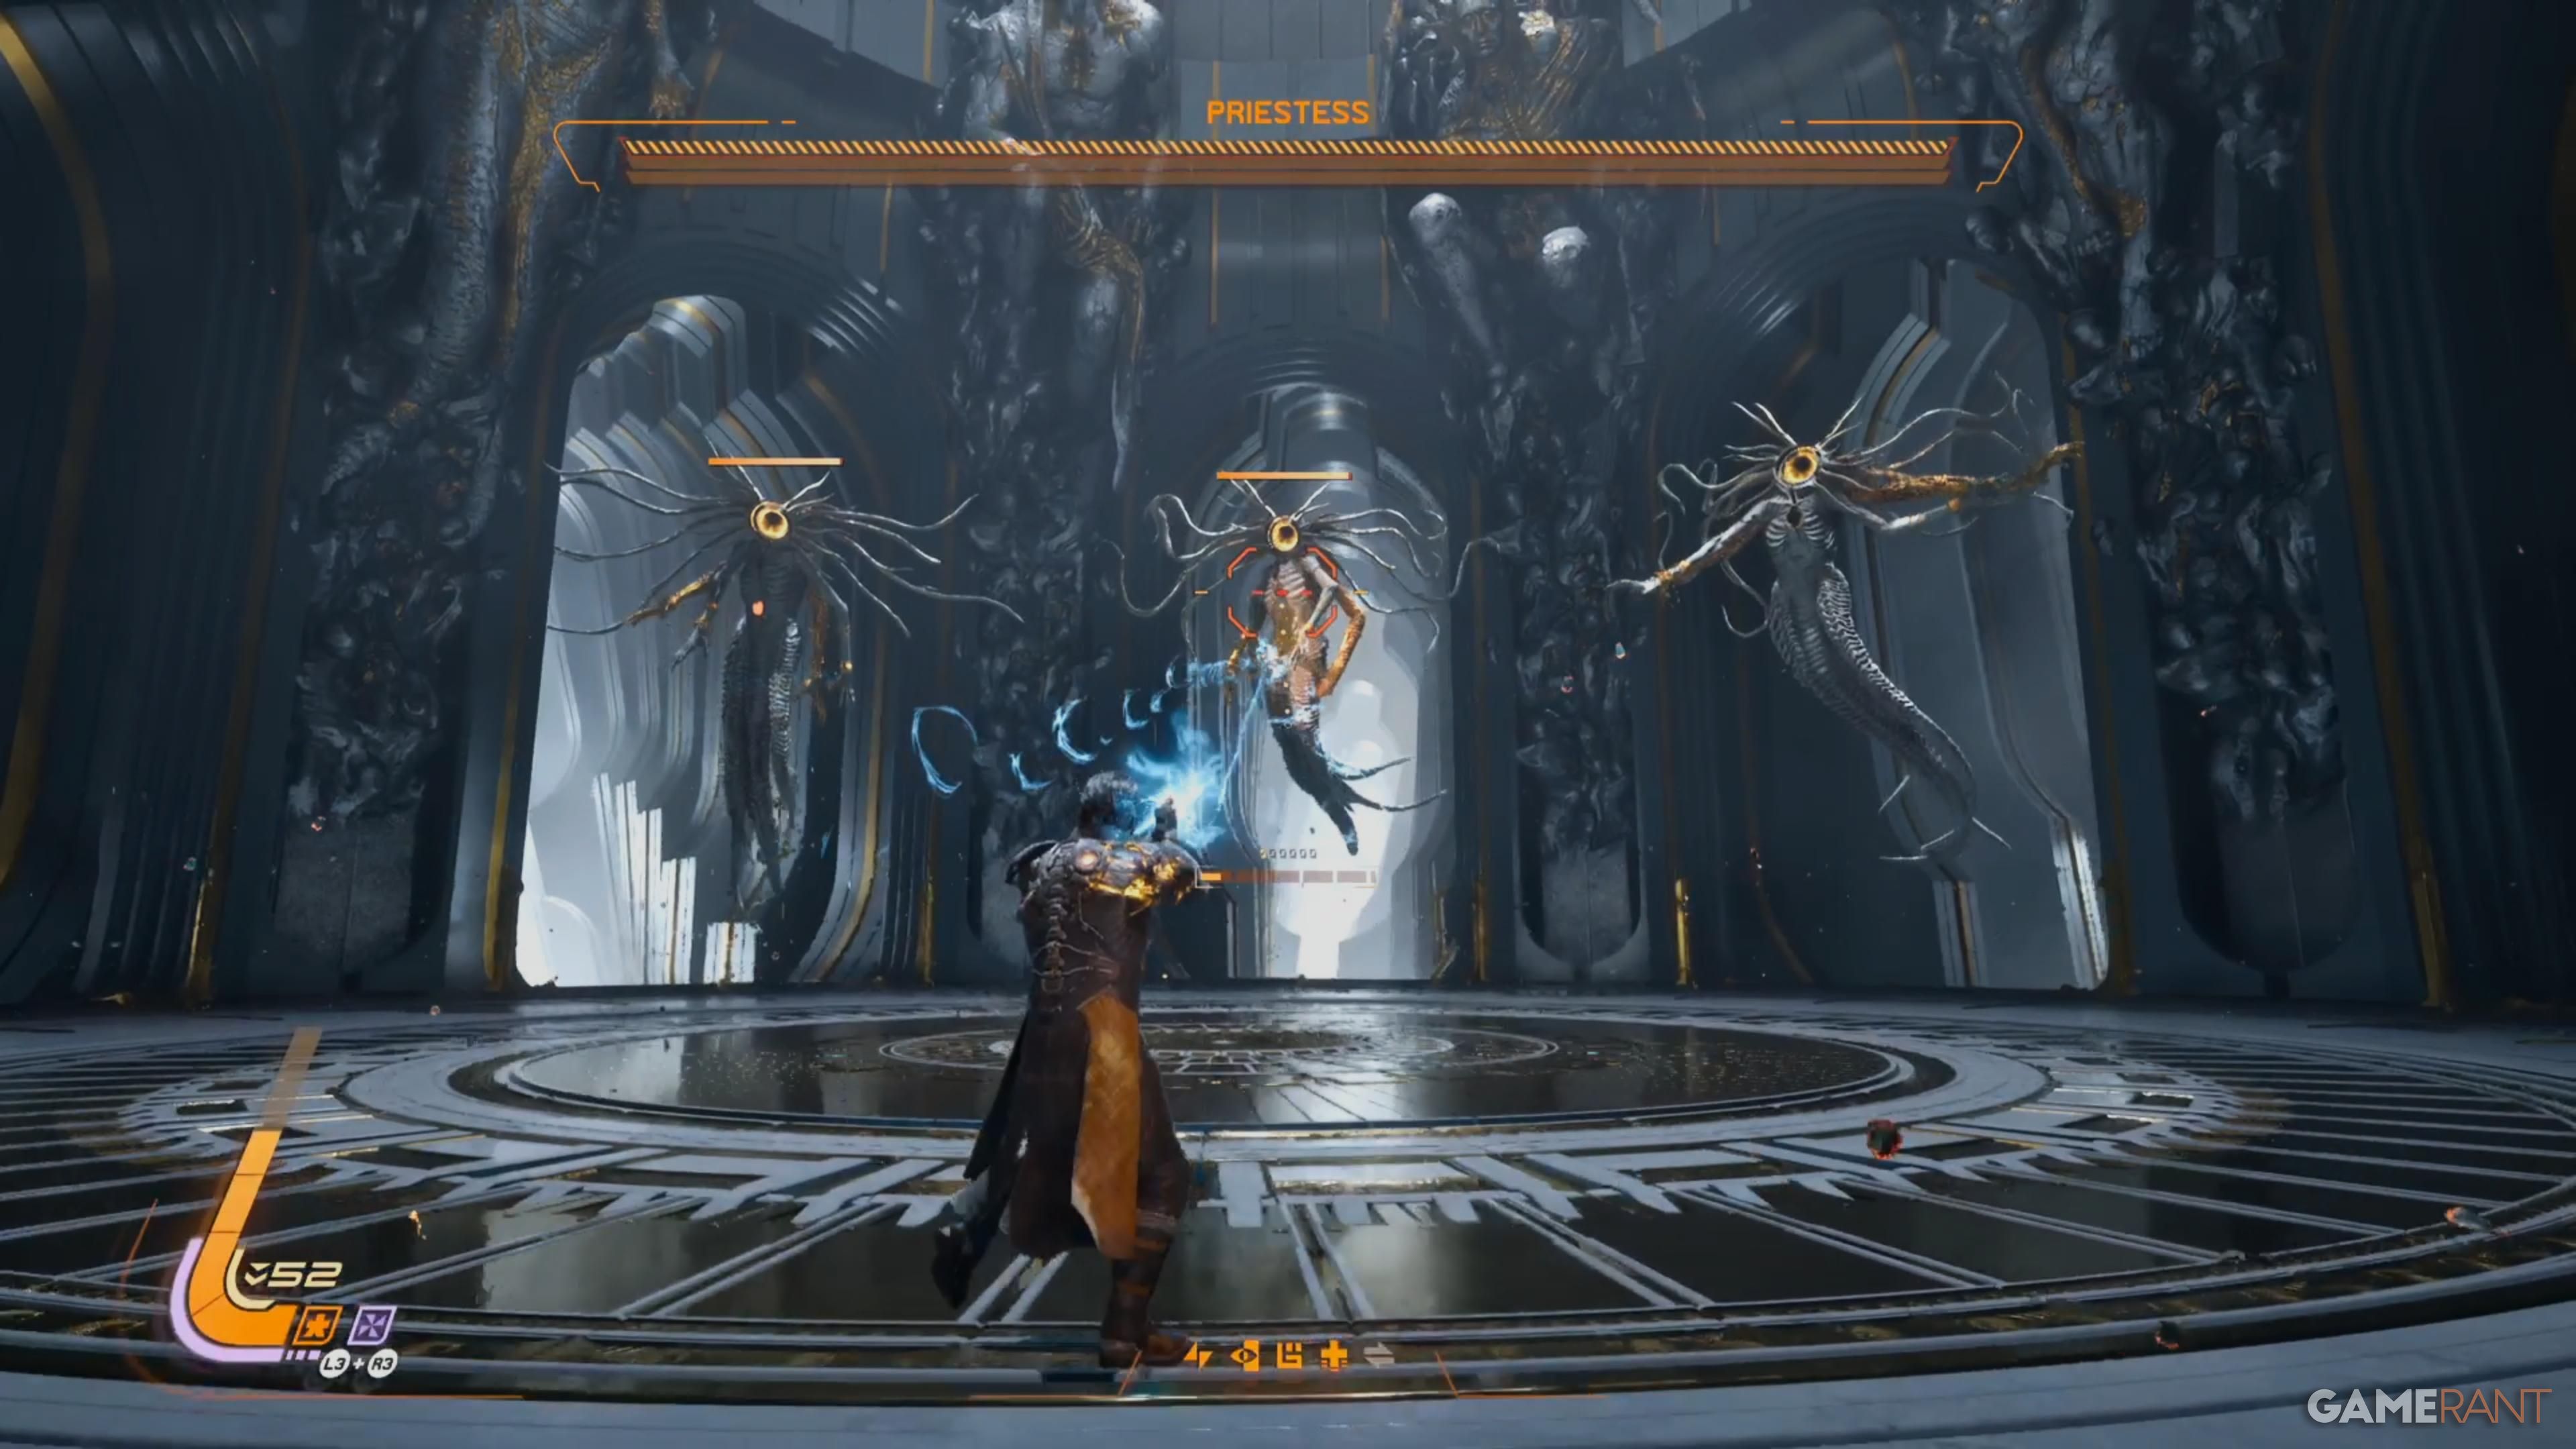
- Biome: Cathedral
The final boss in the Cathedral can be tough, particularly if you’re not familiar with its attack patterns. It starts by dividing into three separate entities, and you need to defeat two of them. Once only one is left, you’ll actually start dealing damage to its health. This pattern repeats, but don’t be discouraged if you struggle – the remaining phases of the fight are significantly easier.
During the second part of the fight, the boss transforms the arena and grows much bigger. Don’t bother shooting at the boss right away. Instead, quickly find and hit the bells located around the sides of the arena using a close-range attack. There are three bells, and hitting them all will cause two of the Priestesses to vanish, allowing you to easily defeat the remaining one.
During the third stage, the battle area transforms once more, and the boss gets significantly bigger – but now there’s only one boss to fight. The area is filled with platforms, and you’ll start dealing damage to the boss by ringing two bells at the beginning of this phase. While you’re doing that, watch out for attacks coming from the platforms themselves.
King
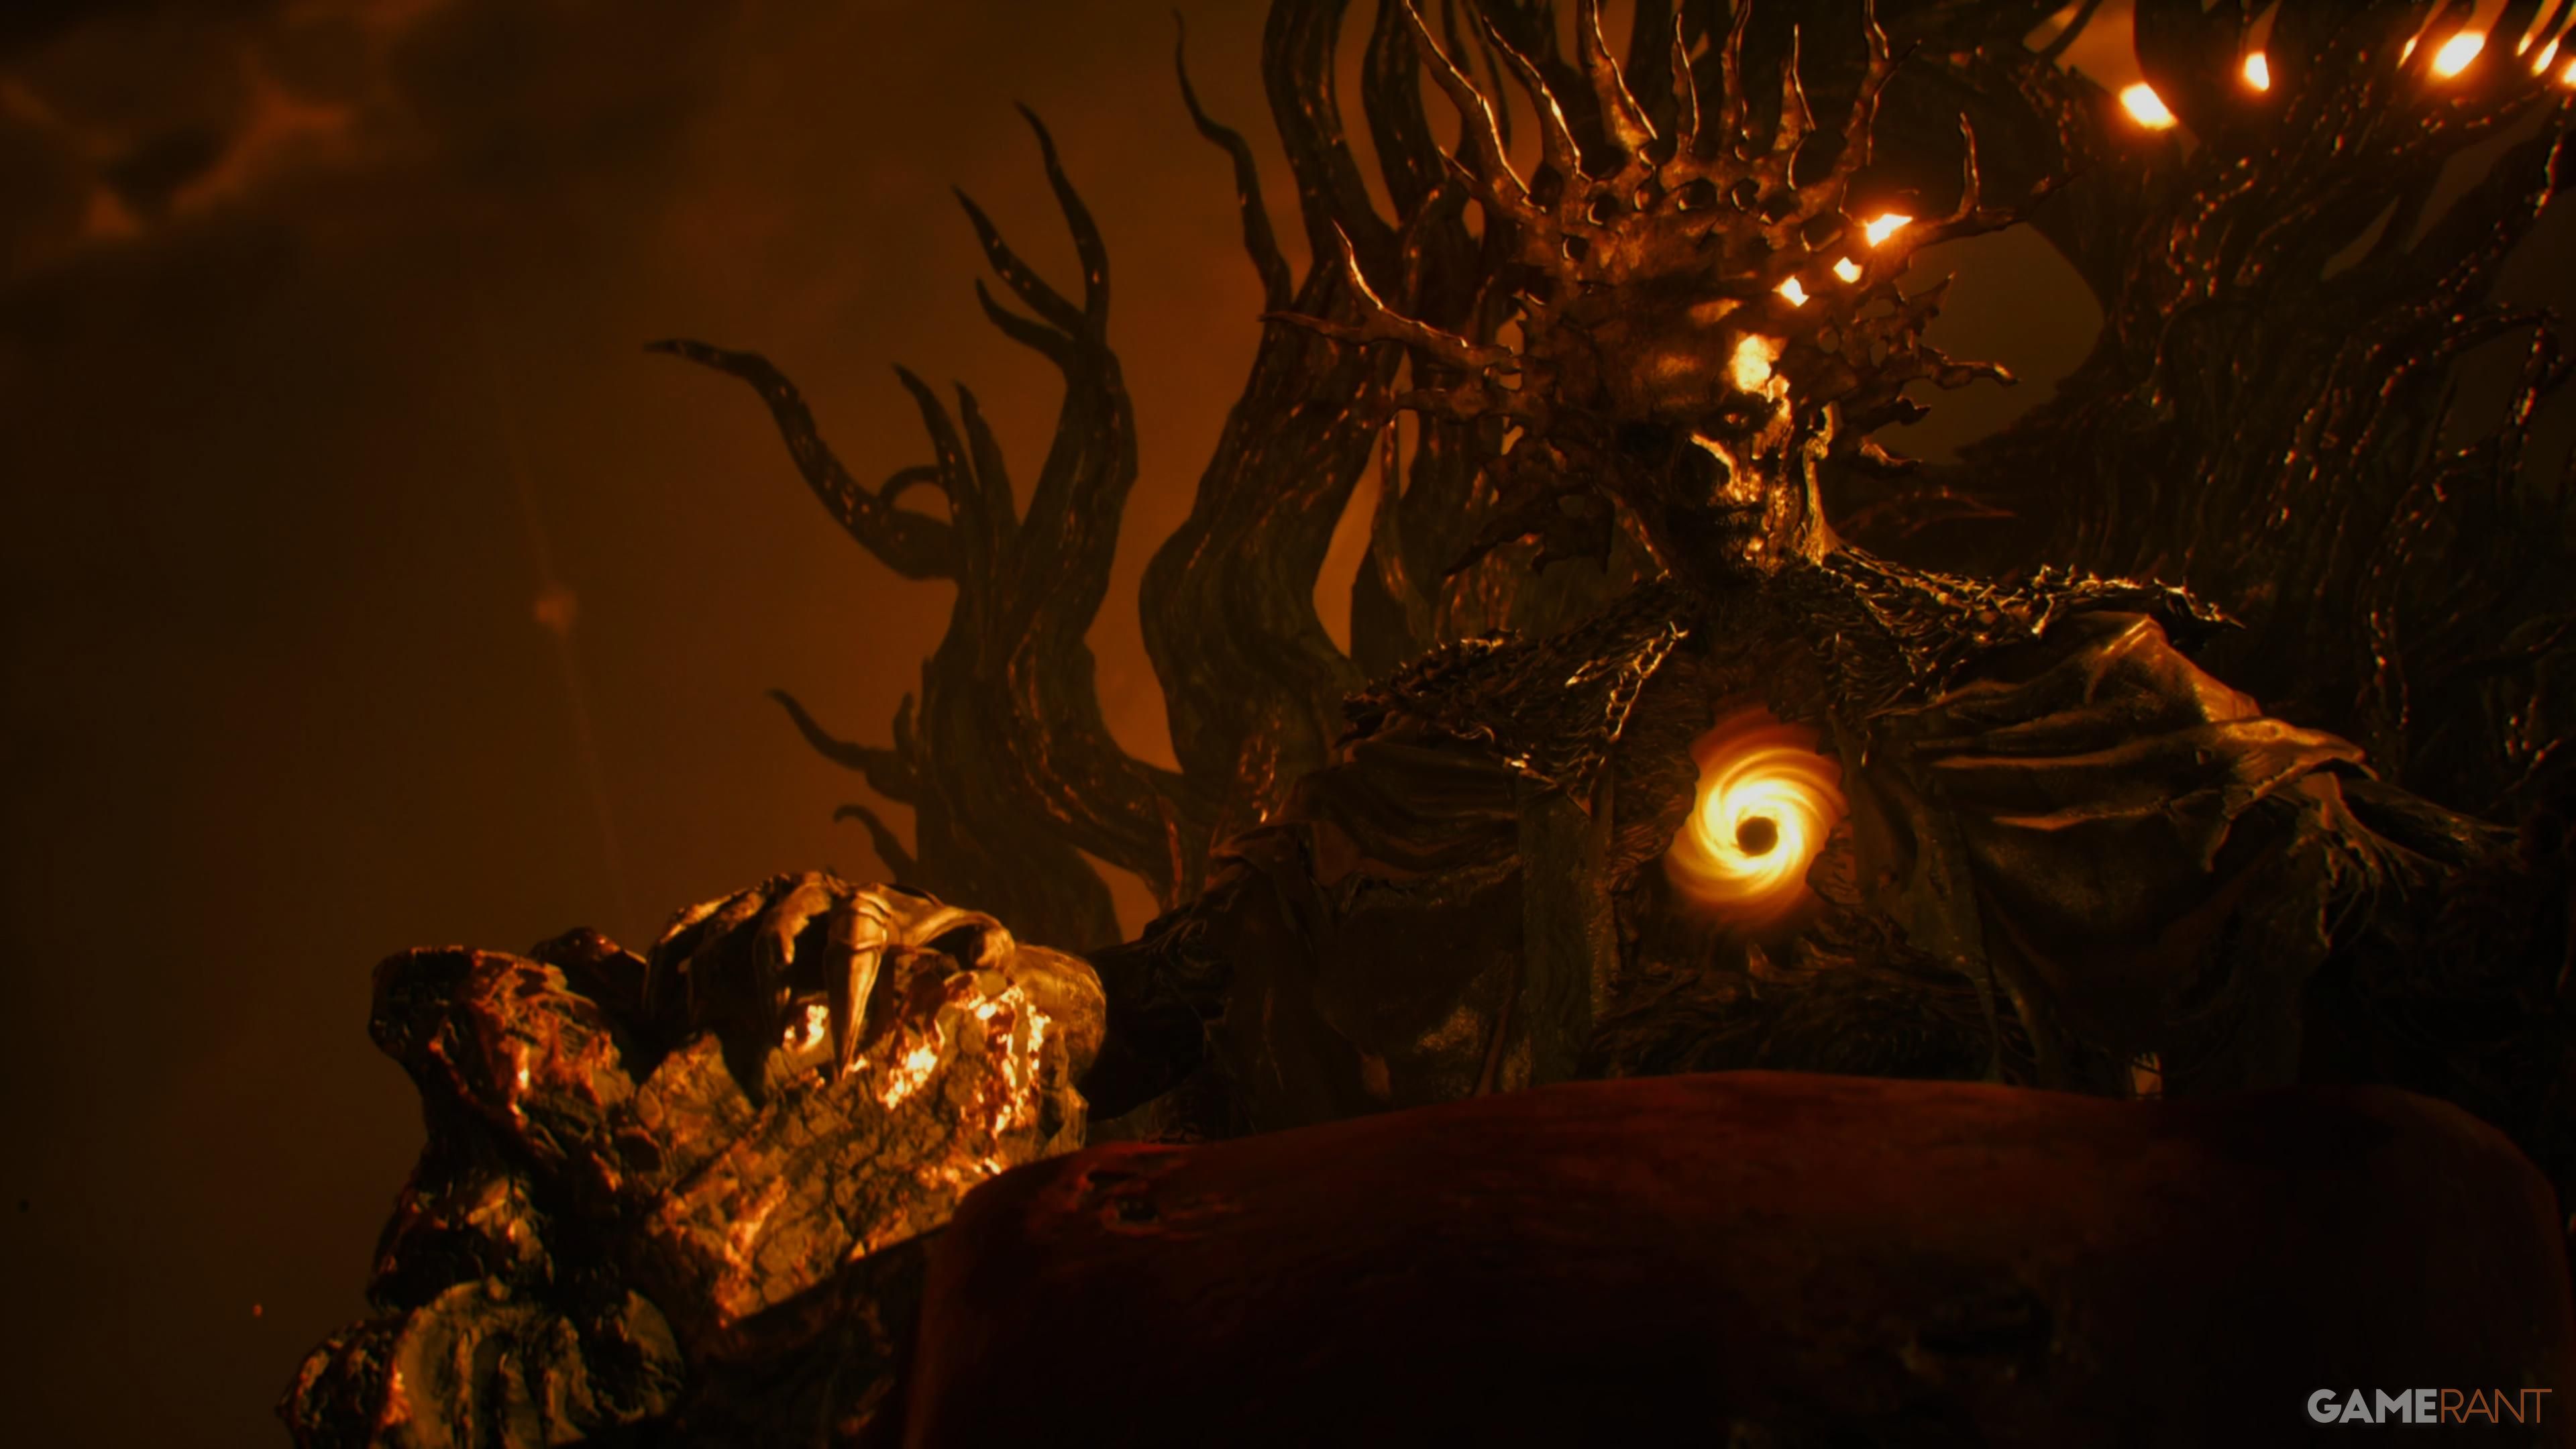
- Biome: Yellow Shore
The King, the final boss, awaits you at the end of the Yellow Shore and is a truly difficult opponent. This entire area is a one-life zone – if you lose, you have to start over. Like other bosses, the King has three phases, and you’ll need to learn his various attacks to succeed.
During the battle, the King will protect himself with a yellow shield. To defeat it, you’ll need to get close and use your Blazing Strike. When the shield appears, he’ll send out several expanding red rings – jump and dash to evade them. After the shield is destroyed, the King will go back to his regular attacks.
During the second part of the fight, the boss will start attacking up close, teleporting to you and dealing a lot of damage. Watch for him to pause his ranged attacks, lean back, and then rush forward. In the third phase, he’ll move around much faster, teleporting all over the arena while shooting projectiles. You’ll need to constantly check your surroundings and move the camera to avoid attacks from behind.
Read More
- NTE Drift Guide (& Best Car Mods for Drifting)
- All Aswang Evidence & Weaknesses in Phasmophobia
- Where to Find Prescription in Where Winds Meet (Raw Leaf Porridge Quest)
- Conduit Crystal Location In Subnautica 2
- How to Get Necrolei Cyst & Strong Acid in Subnautica 2
- Diablo 4 Best Loot Filter Codes
- Boruto: Ikemoto Has Already Hinted At Sasuke’s New Eye After Return
- How to Get the Wunderbarrage in Totenreich (BO7 Zombies)
- Best Burst & Full Auto Builds for the M16A4 in BF6
- USD RUB PREDICTION
2026-04-30 18:23