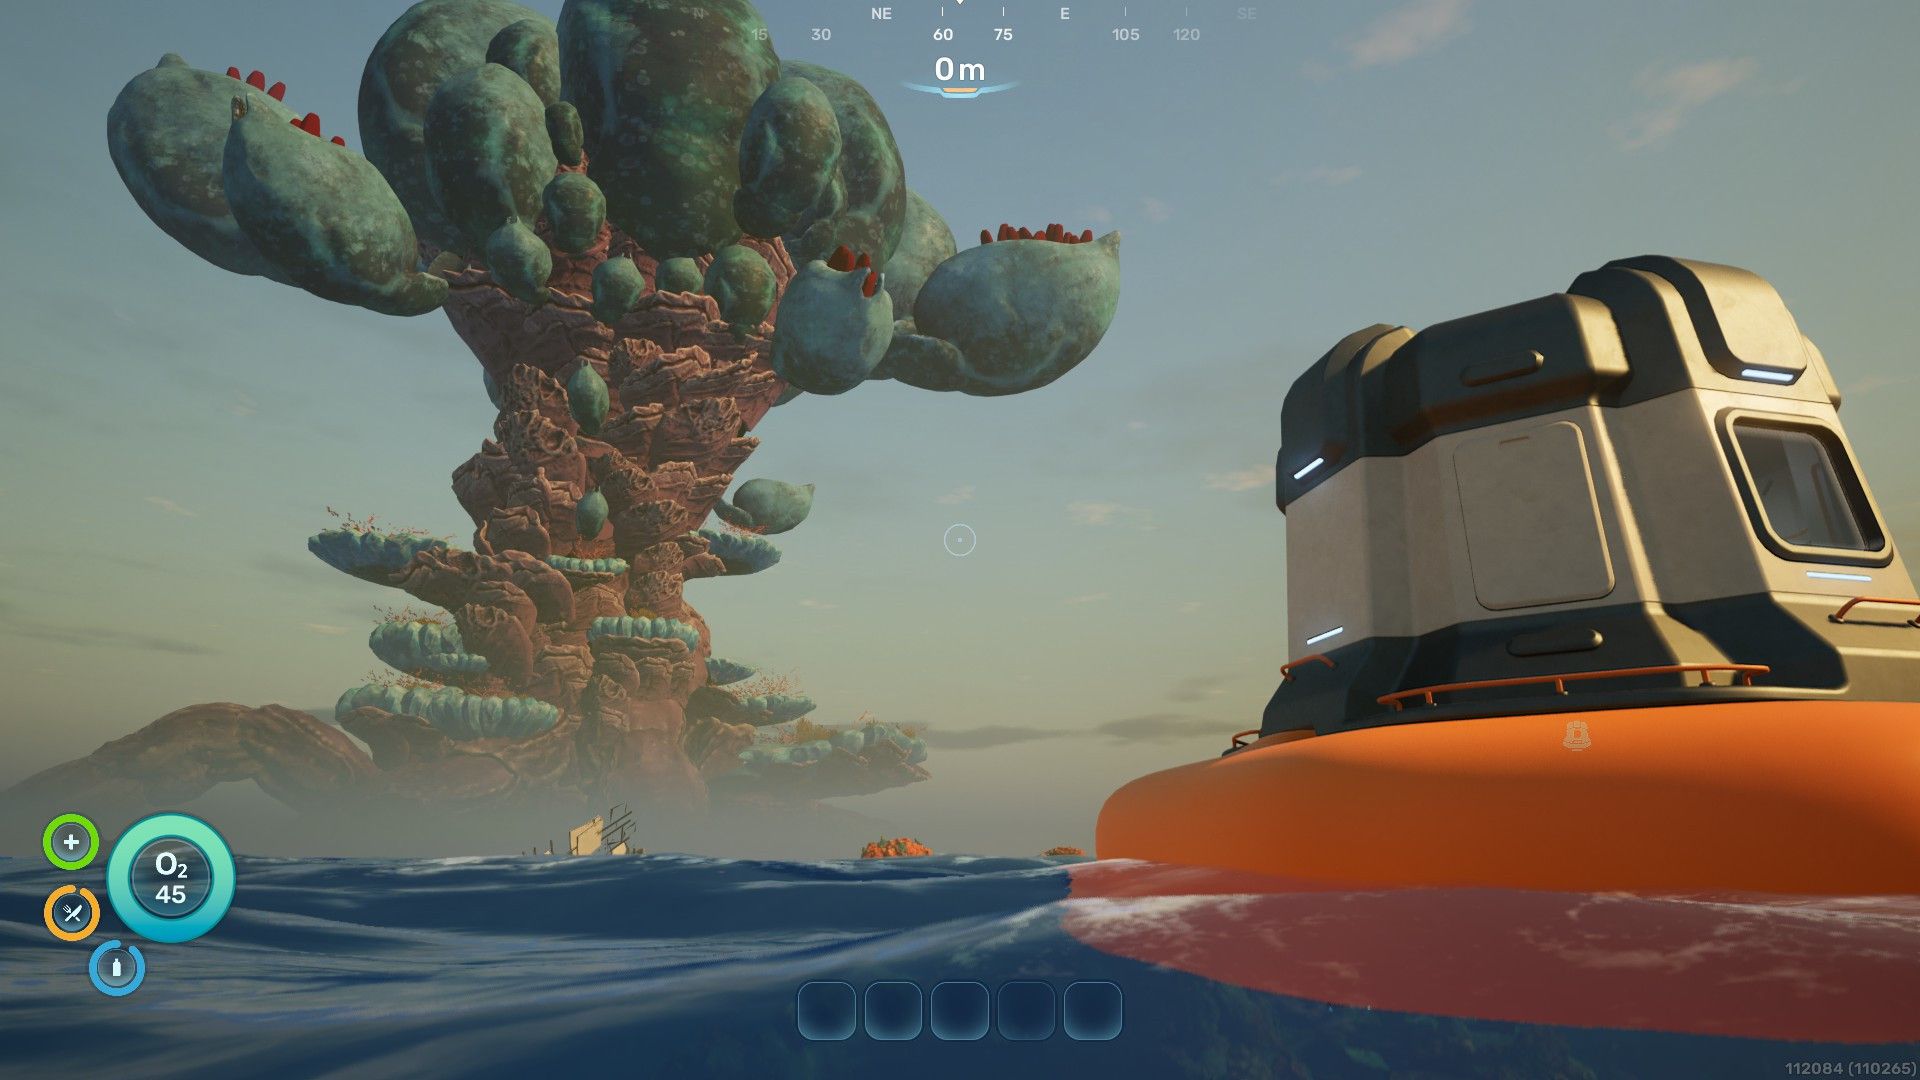
Starting Subnautica 2 and feeling a bit lost? You can begin exploring right away, but getting a few key tools, upgrades, and adaptations early on will make surviving much easier. This guide shares the best way to progress at the beginning of the Subnautica 2 Early Access version.
Sometimes, your Lifepod’s AI, NOA, will ask you to locate black boxes. You can pause the main story to search for them if you like, but it’s best to have a Scanner equipped beforehand.
Outing #1
Deal With Water
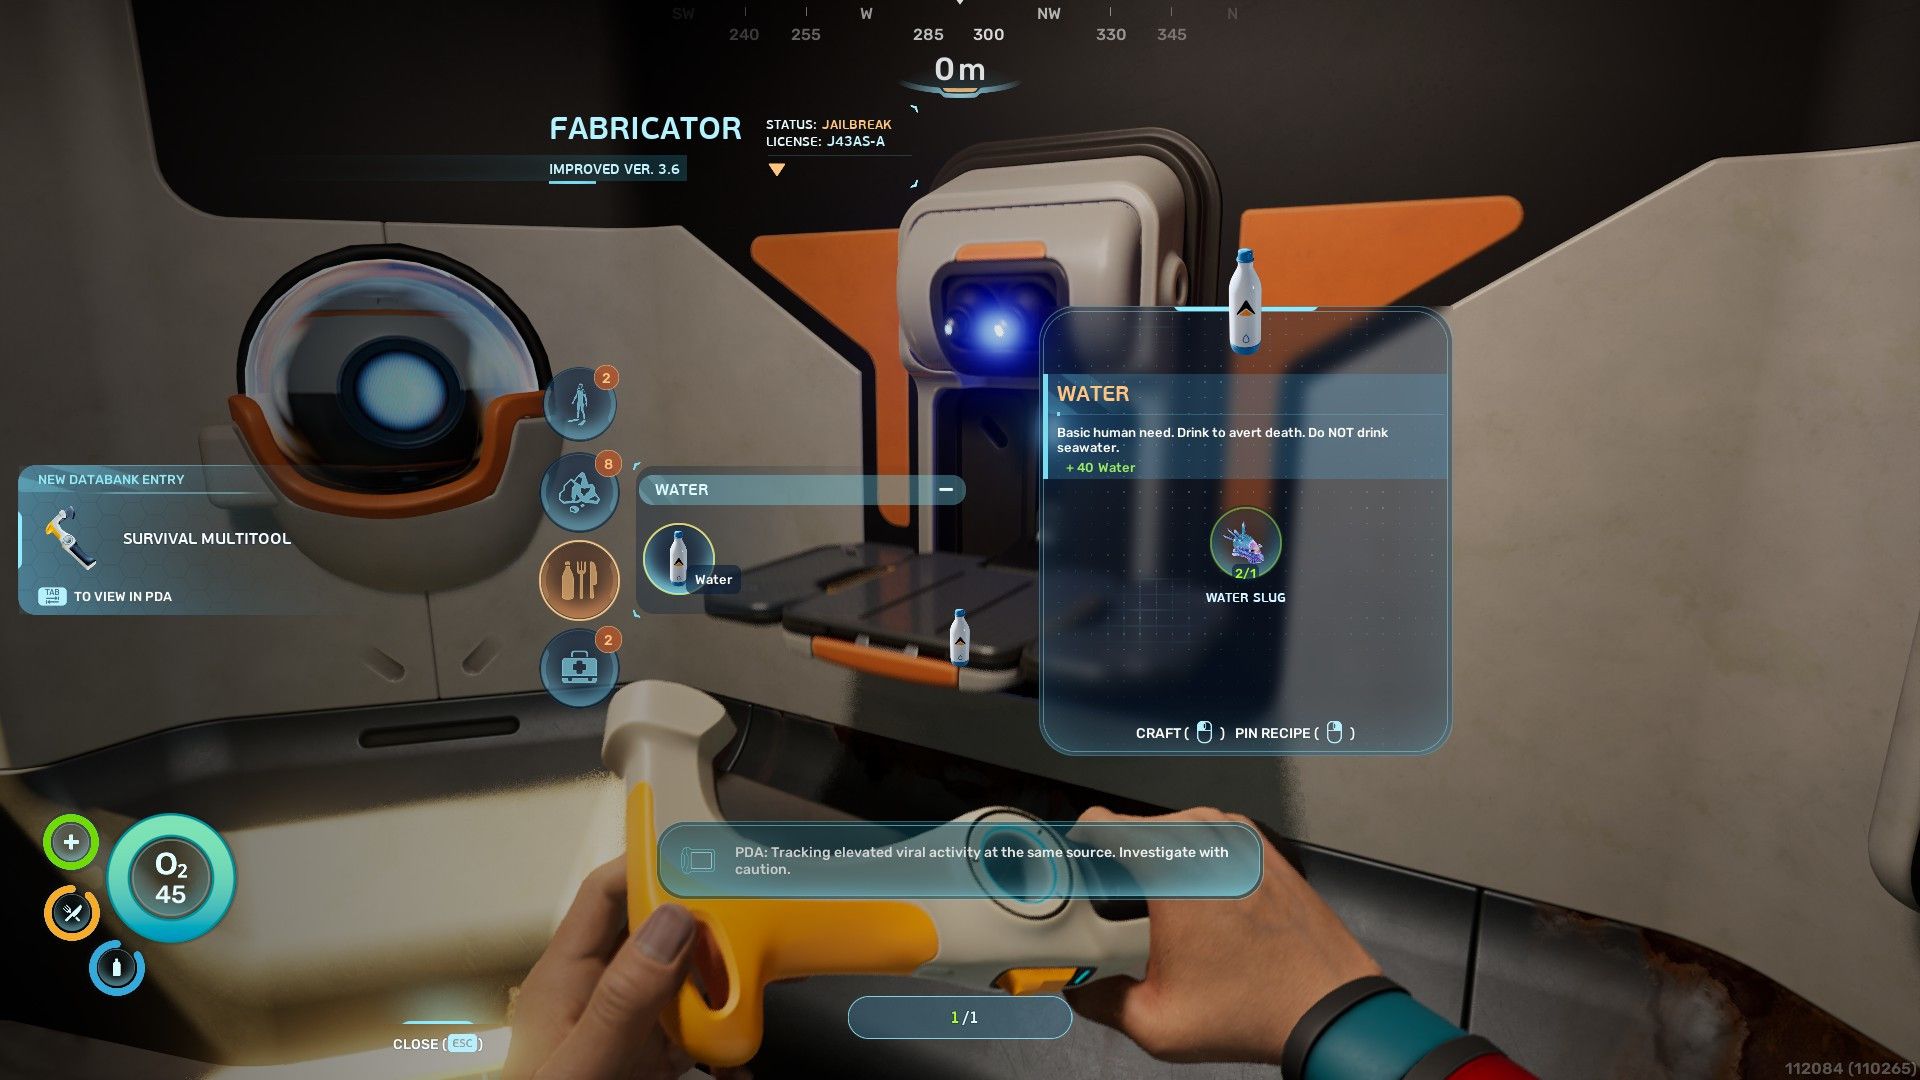
You’ll see circles at the bottom-left of your screen showing your Health, Food, and Water levels – keep an eye on all three to stay alive! Getting Water is simple: collect the blue, jelly-like creatures called Water Slugs from the ocean floor, then use the Fabricator in your Lifepod (under the Sustenance menu) to turn them into Water. Make sure to collect a few Water Slugs on your first dive!
Make a Survival Multitool
Okay, so while I’m grabbing those Water Slugs, I need to keep an eye out for Titanium – there’s some lying around. Once I’ve got at least three pieces, I’ll head back to the Lifepod and use the Fabricator – you find it in your personal menu – to craft a Survival Multitool. I’ll definitely need that for my next trip out there!
(Optional) Make an Air Bladder
When you first start exploring, if you find bright orange, round objects called Lucifer Rotsac, collect them. You’ll need two of these to make Rubber using your Fabricator. Then, combine the Rubber with two Titanium pieces to craft an Air Bladder.
This tool isn’t essential, but it can instantly restore 25 oxygen. It automatically refills whenever you reach the surface or touch a bubble from an Oxygen Tunic. A full Air Bladder also allows for a quick trip back to the surface, which can be really useful if you’re running low on oxygen.
Outing #2
Make a Scanner
The Scanner is a key tool in Subnautica 2. It’s how you’ll find the instructions to build essential items like tools, bases, vehicles, and anything else you need to progress, so you should prioritize crafting one early in the game.
Okay, so to make this work, you’ll need two Titanium, two Quartz, and one Basic Battery. You craft the battery at the Fabricator – it takes two Copper and two Acidic Raion Pouches. Luckily, getting those materials isn’t too hard, and here’s how I’ve found is the quickest way to do it!
- Swim into the hole directly underneath the Lifepod. Collect Titanium from the floor and Copper from the walls. Then use your Survival Multitool to cut Acidic Raion Pouches from the purple and green fauna on the ground. Look for plants that emit blue bubbles, which refill your oxygen, while collecting these materials if needed.
- Go to the surface and swim to the nearest Coral Dome (orange rock-like structure emerging from the water). Quartz can be found on the walls inside these domes.
Now that you have the necessary materials, return to the Lifepod and craft the Scanner. Put it in your quick access bar so you can scan everything you encounter during your explorations.
(Optional) Make Distraction Flares
If you have extra Titanium and Quartz, you can craft Distraction Flares using your Fabricator (find them in the Consumables menu). These are handy for leading away dangerous creatures, but aren’t essential right away.
Outing #3
Scan Everything
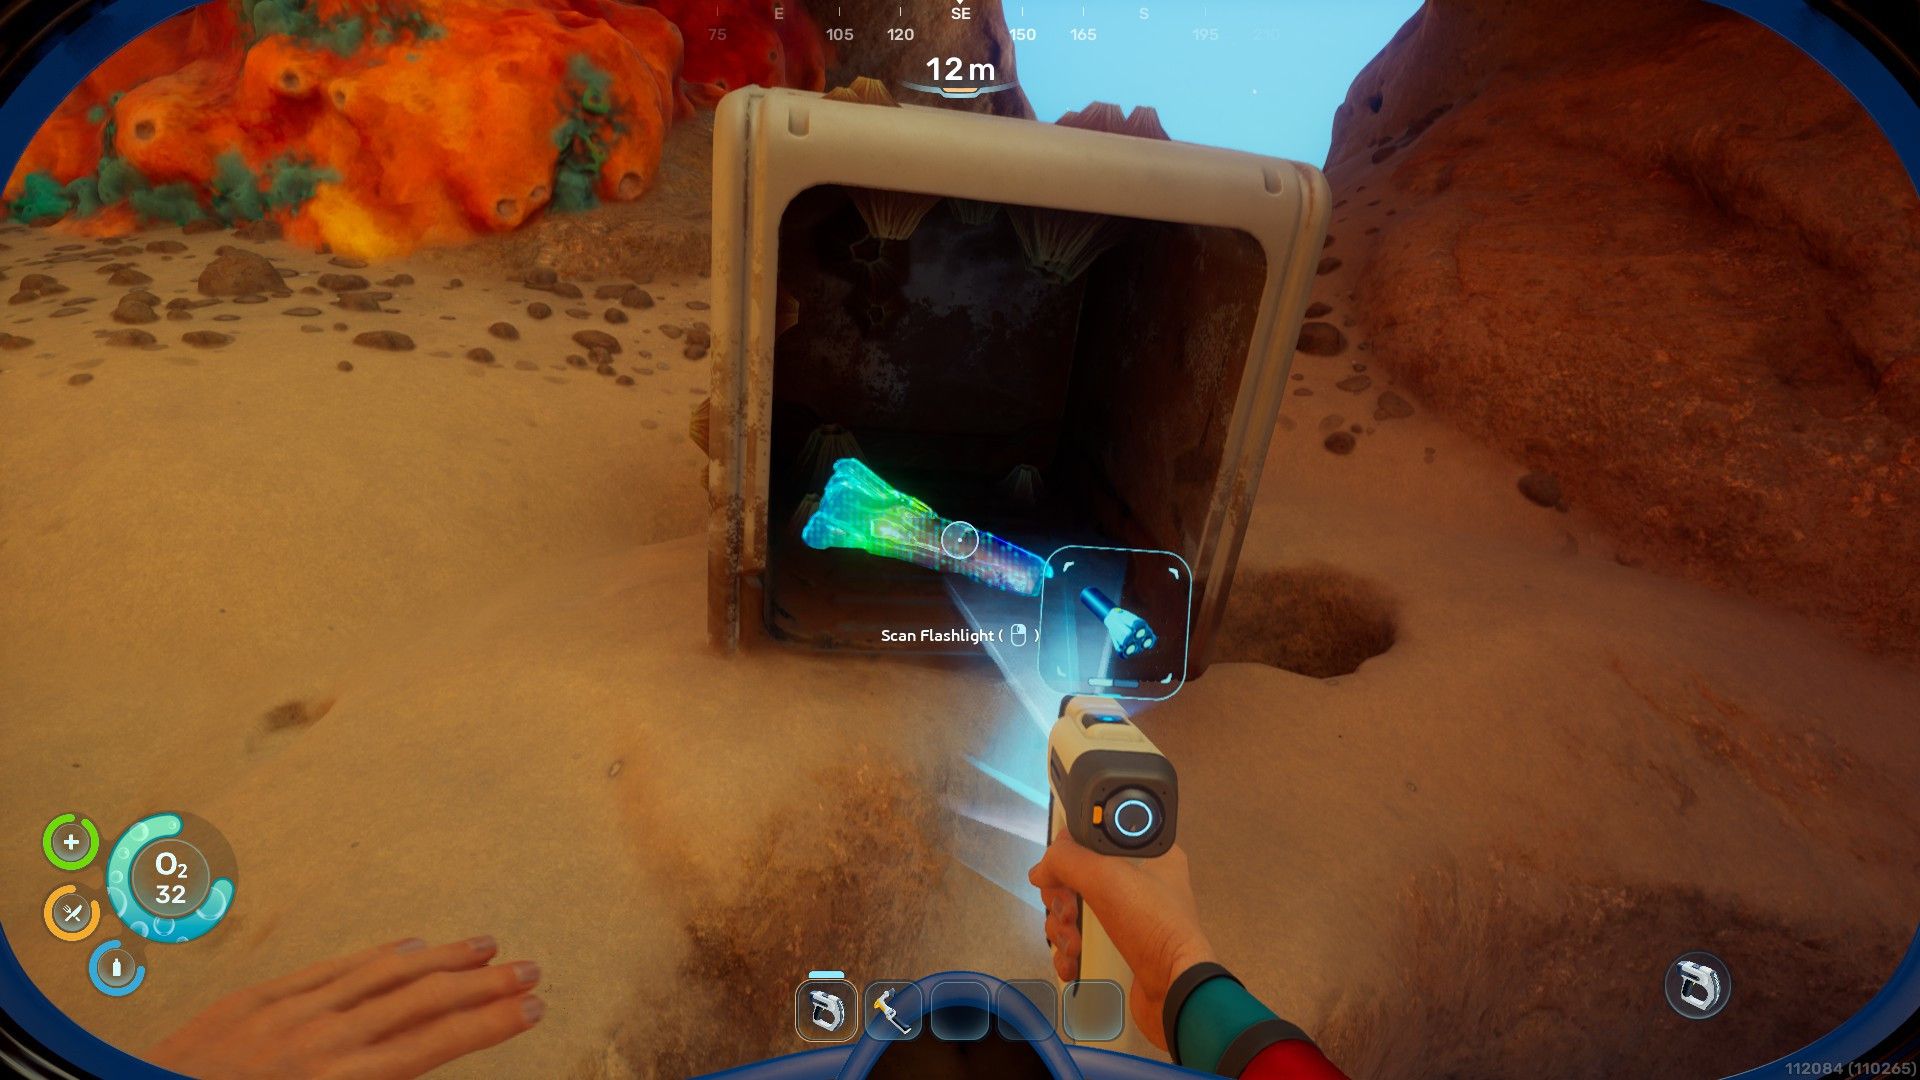
Even though I’m still explaining things, begin scanning everything you find right away. It’s especially important to scan Flashlights, Habitat Builders, Sonic Resonators, and Wakemakers early in the game. You’ll need to scan several of each of these tools before you can unlock their blueprints.
If you’ve unlocked a blueprint, you’ll get materials from scanning another object of that type.
Deal With Hunger
If you’ve been gathering Fibrous Pulp or fishing, you might have developed a food intolerance that stops you from eating local plants and animals. To fix this, you need to unlock the Digestion Adaptation.
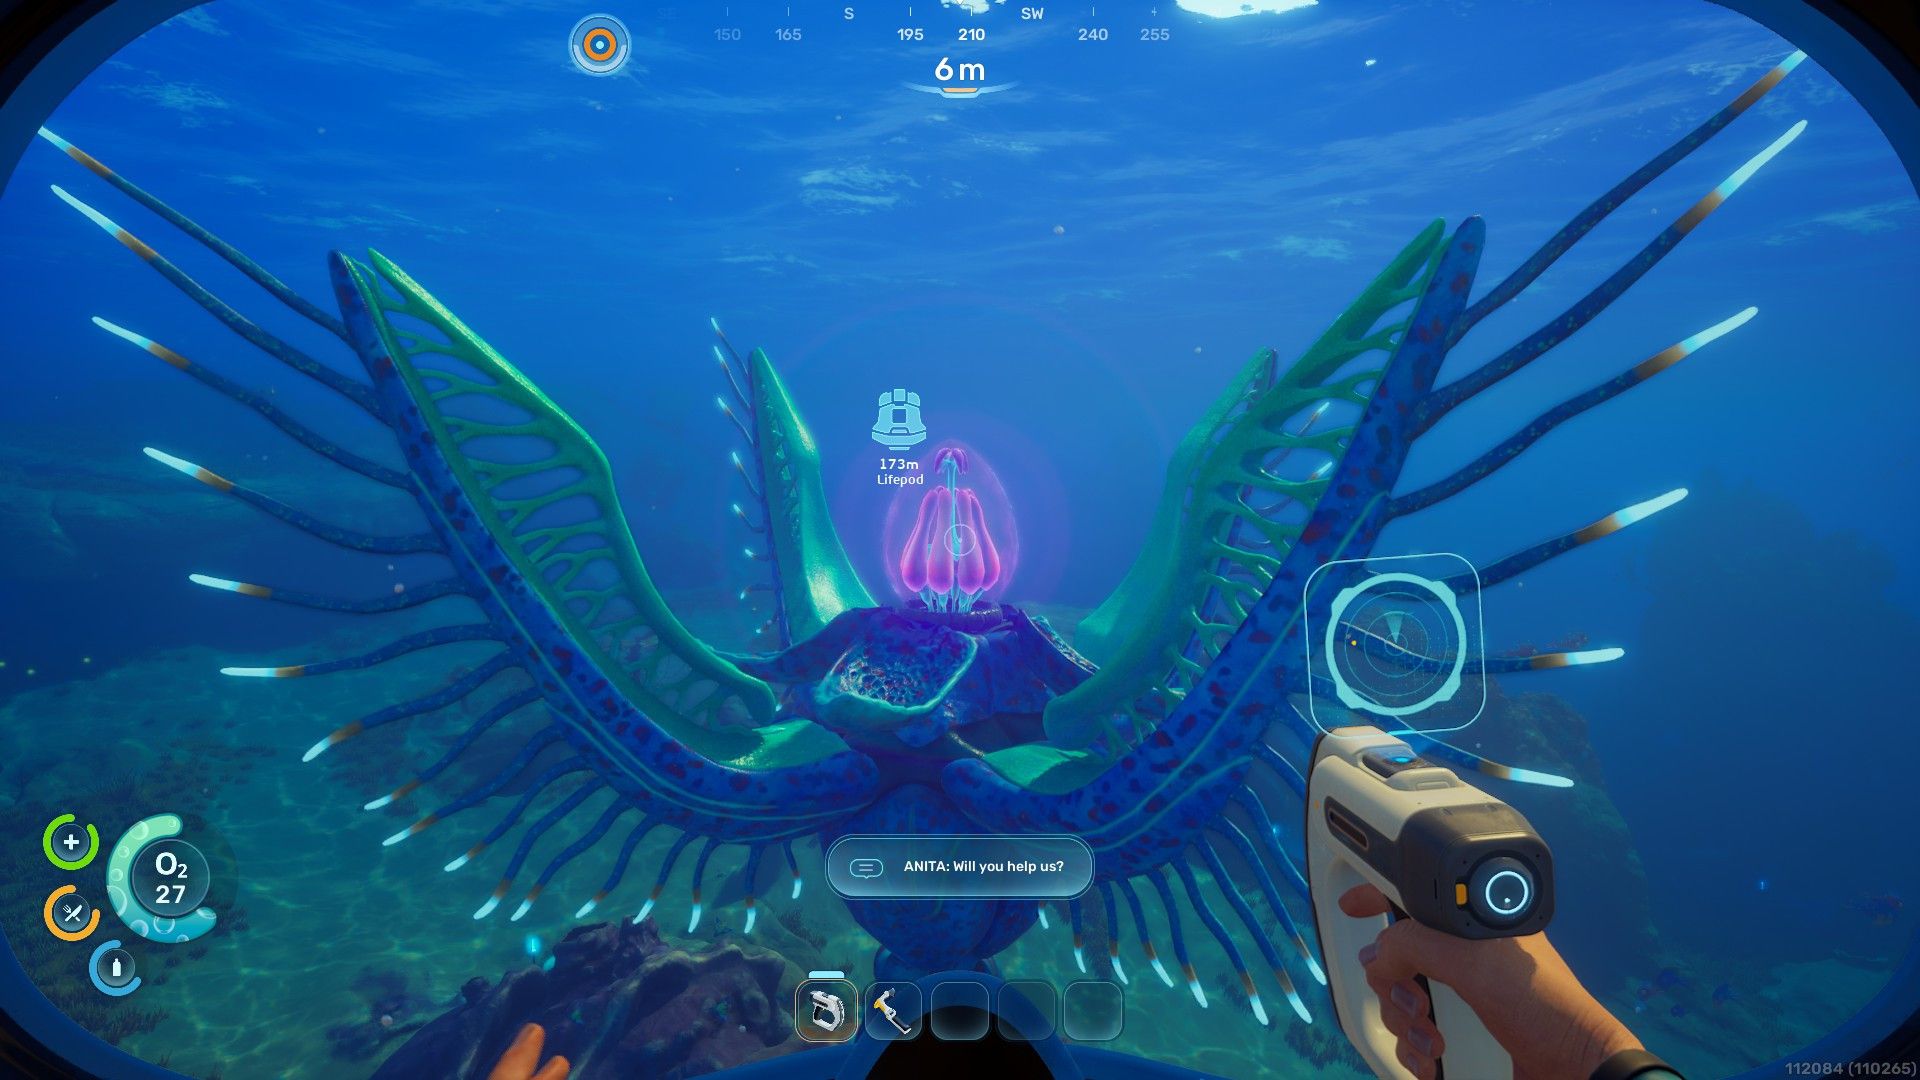
To get food, you’ll need to find the Angel Comb – a large, pink plant located 158 meters northeast of your Lifepod. Your Lifepod’s AI will eventually ask you to find a black box near it, but you can unlock the ability to create food (Digestion) beforehand. Once you have the Adaptation upgrade, you can either catch fish or use your Multitool to gather Fibrous Pulp from plants, then turn them into food using the Fabricator’s Sustenance menu.
You can find some safe food in the storage locker of the Lifepod, which is useful to eat before you unlock the Digestion Adaptation.
Make Fins and a Standard Air Tank
When you’re exploring, gather materials to craft fins – these will help you swim more quickly – and a Standard Air Tank, which boosts your oxygen capacity by 30. Here’s where to find everything you’ll need:
- Rubber: You make Rubber in your Fabricator (Resources menu) with Lucifer Rotsacs, which are glowing orange orbs found on the ocean floor near the Lifepod.
- Fiber: Fiber is created by combining two Fibrous Pulp in your Fabricator (Resources menu). Use your Survival Multitool on the plants you collected Lucifer Rotsacs from to get the pulp you need.
- Silver: This is definitely the hardest resource to get at this point. If you can’t locate any, swim about 290-350m north of the Lifepod and look in shallow caves (approx 35m depth).
Once you’ve gathered the necessary resources, return to your Lifepod and craft the items in your Fabricator (found in your Personal menu). These will significantly help with exploration, especially the Air Tank. Running out of Oxygen is a common problem when you first start exploring caves, so the Air Tank is a crucial early upgrade.
(Optional) Power Up the Welcome Center
When you’re exploring, find a Basic Battery and bring it to the Welcome Center (about 85 meters southeast of your Lifepod). Powering it up will unlock the Biolab. The Biolab lets you use Biomods, which give you helpful upgrades, but you can build your own Biolab later, so it’s not essential to get them right away.
Outing #4
Make a Flashlight & Habitat Builder
Now you can start building a Flashlight to help you explore and a Habitat Builder to create your base. You can craft both of these using the Fabricator in your personal menu, and you should already know where to find the materials you need.
You can’t craft these tools yourself – you need to locate them first and use your Scanner to identify them. To get started, you’ll need to scan two Habitat Builders and two Flashlights, and luckily, there are some readily available nearby:
- Flashlight
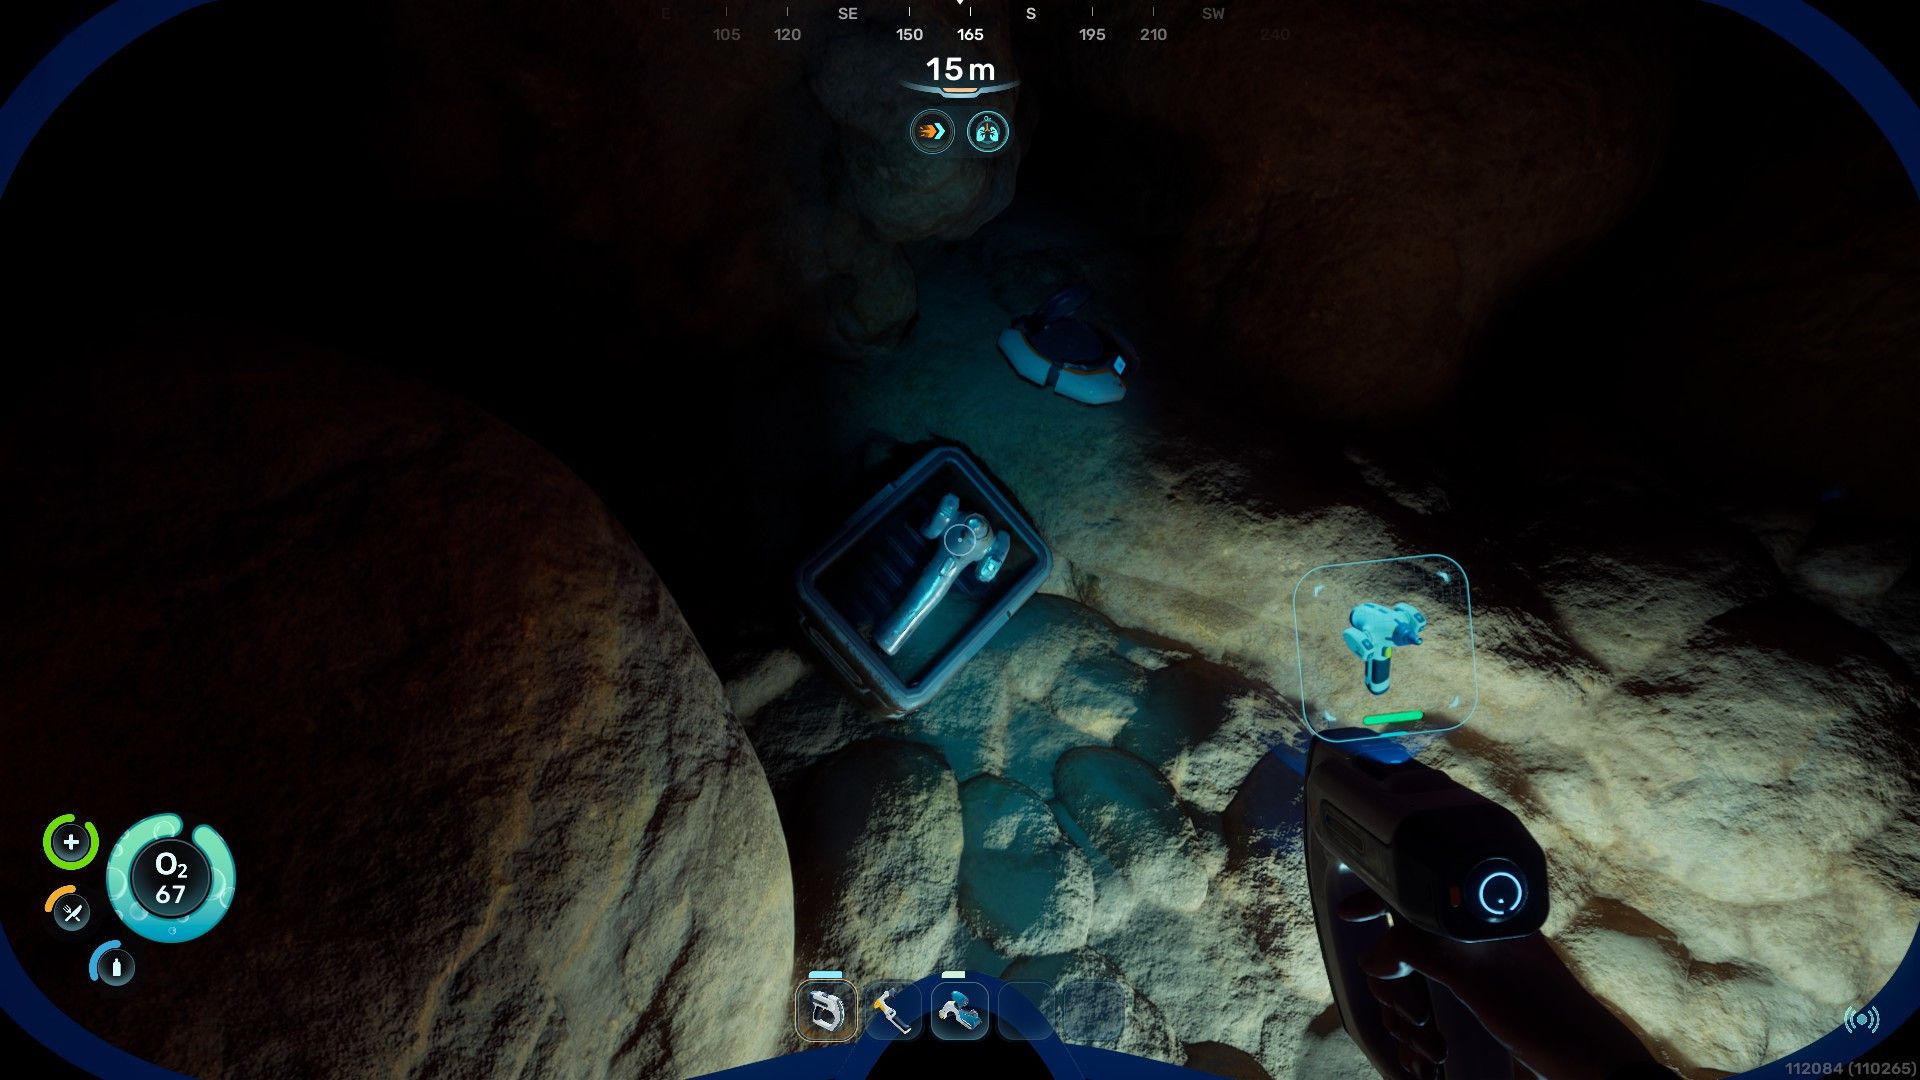
- There is a Coral Dome 30m east of the Lifepod. Swim down 11m to find a Flashlight in an open container.
- Swim into the hole directly under the Lifepod. There is a Flashlight in an open container at the bottom.
- Habitat Builder
- There’s a large structure called the Welcome Center 85m southeast of the Lifepod. Enter and swim through the hole in the floor to find a Habitat Builder.
- There’s a Habitat Builder on a platform near the Angel Comb that gives you the Digestion Adaptation (164m northeast of the Lifepod, 19m depth).
Next Steps
Now that you’ve gotten a good start, it’s time to build a base! This will unlock a Fabricator, letting you craft essential tools and electronics to advance, such as Wiring Kits and the Sonic Resonator. Keep exploring and scanning – there’s still plenty to discover, including new tools, cosmetic items, and vehicles.
Read More
- Re:Zero Season 4, Episode 6 Release Date & Time
- NTE Drift Guide (& Best Car Mods for Drifting)
- How to Get the Wunderbarrage in Totenreich (BO7 Zombies)
- How to Beat Turbines in ARC Raiders
- Diablo 4 Best Loot Filter Codes
- Change Your Perspective Anomaly Commission Guide In NTE (Neverness to Everness)
- Top 8 UFC 5 Perks Every Fighter Should Use
- Brent Oil Forecast
- EUR CNY PREDICTION
- Danganronpa 2: A Complete Guide To Gifts
2026-05-14 18:13